Posted on

Nov 8 Weekly Meal Plan

cauliflower pizza

Make sure to go to How this page works first if you haven’t yet.

Set Your Pace

  • If you’re a beginner at meal prep: Be prepared to set aside 2-3 hours. Once mise en place is complete, all of these recipes can be completed one by one.
  • If you’re a meal prep pro, use the sequenced steps below: These steps give you the flexibility to cook items simultaneously in a sequence of events.
  • Be sure to set timers and check on food items to avoid overcooking. Sequencing will save you time and meal prep can be done in 1-2 hours.

Meal Prep Run Down

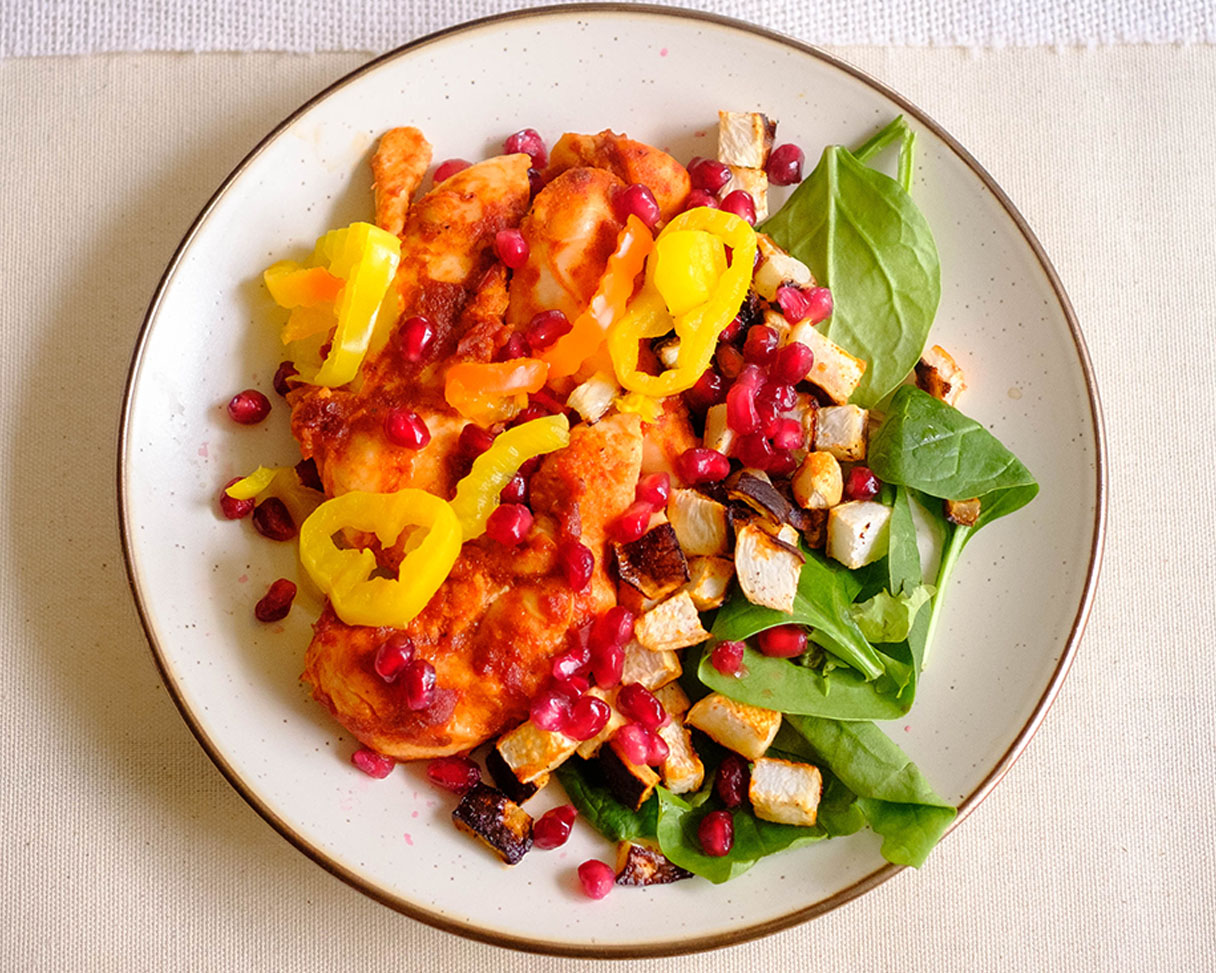
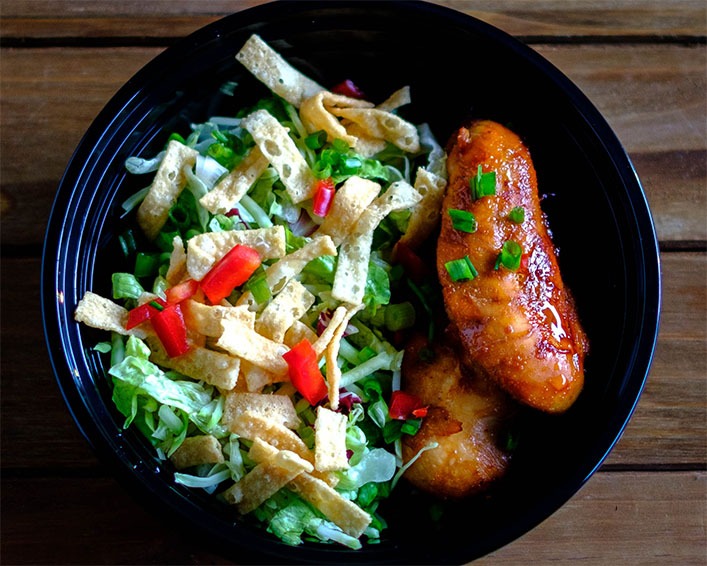
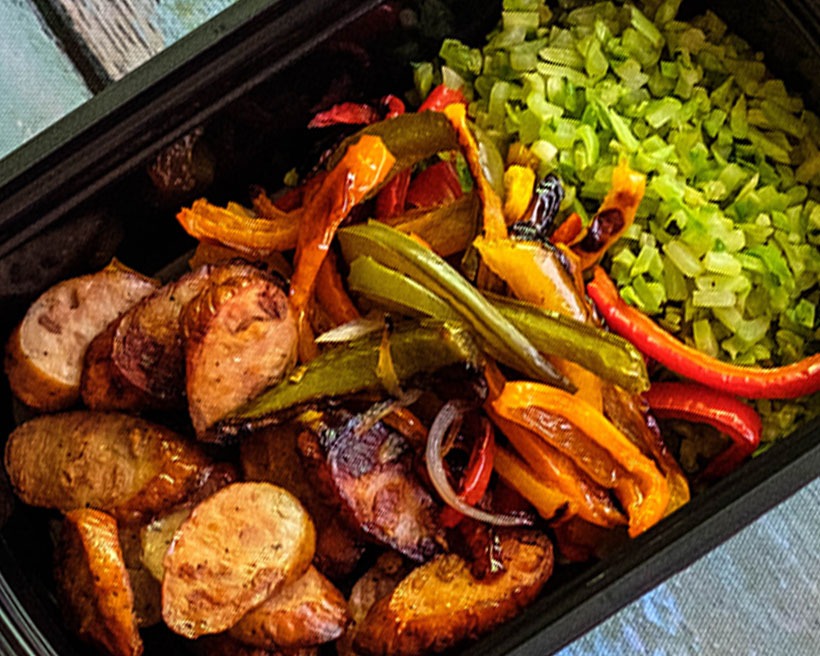
  1. First, prepare the items that require the oven such as the cauliflower sausage pizza, baked apple cinnamon oatmeal, and balsamic chicken with green beans & baby carrots.
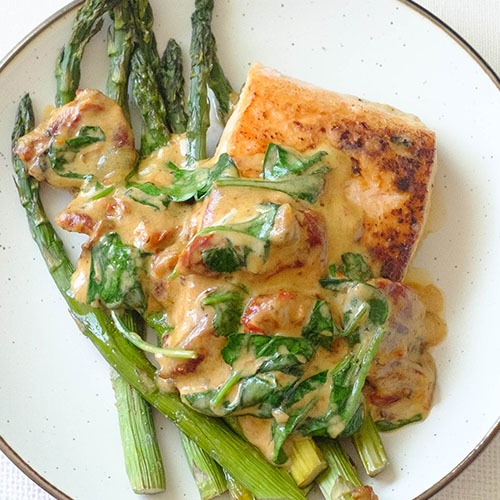
  2. Next, start pan frying the salmon and cooking the brussels sprouts. While the salmon is cooking, prepare the fried eggs with apple and sausage hash.
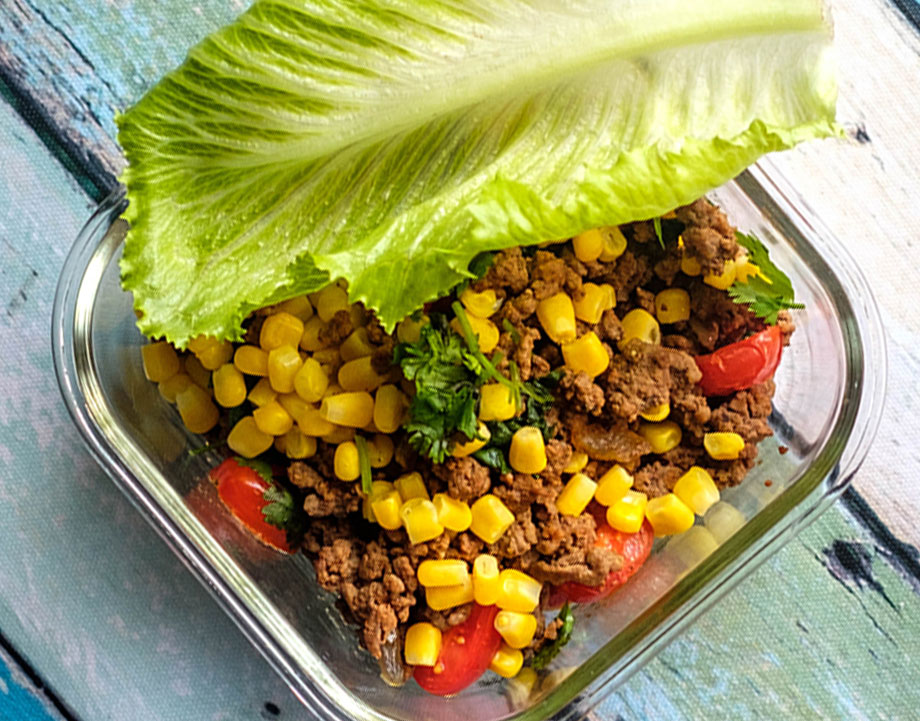
  3. Lastly, assemble the lettuce deli wrap.
  4. When everything is finished cooking, plate everything up in containers, and let them cool before refrigerating.

If you’re sequencing your meal prep, be sure to keep an eye on everything! Make sure food is kept refrigerated under 40F degrees until ready to eat.

Assembly Tips

  • Evenly divide meals according to the serving size
  • Let all items cool before placing them in the refrigerator
  • Keep all items refrigerated under 40F until ready to eat or reheat
  • Breakfast: Both meals can be reheated in the microwave.
  • Lunch: The lettuce deli wrap can be served chilled, while the cauliflower pizza can be reheated in the microwave
  • Dinner: Both meals can be reheated in the microwave

Extra Flavors and Substitutions

  • Apple & Sausage Hash: You can use any kind of sausage. If you want to consolidate ingredients, you can use the same sausage for the hash and the sausage for the cauliflower pizza
  • Oatmeal: You can use pears instead of apples
  • Lettuce Wrap: You can use any kind of deli meat and stuff it with extra sliced veggies of your choice
  • Salmon & Brussel Sprouts: You can substitue the brussels sprouts with broccoli or cauliflower
  • Supplement meals with additional snacks such as fresh veggies and fruit for additional daily caloric needs. You can use lime/lemon and olive oil in place of salad dressing

Extra Leftover Ingredients Not Used

  • Protein: Freeze any uncooked meats and save for a later recipe, or you can cook the full amount, and freeze the portion that you do not eat, and save for later use.
  • Veggies: Freeze any leftover veggies for later use. Use leftover herbs in omelets or other dishes for the weekend

What Else

How This Page Works
Meal Prep 101
Weekly Meal Plans
Specialty Diets
Recipe Inspirations
Helpful Resources

Posted on

One-Pot Chicken Marinara with Kale and Sweet Potato

chicken marinara

This easy one-pot dish is simply made with chicken stewed in marinara sauce and paired with sweet potatoes and kale. This is a hearty and chunky chicken recipe that is sure to warm you up on a cold night and only takes a few simple steps.

Meal prep tips for One-Pot Chicken Marinara

  • Chicken: We used chicken breast to keep it lean, however, if you prefer dark meat, feel free to use boneless skinless chicken thighs.
  • Sweet Potatoes: We used sweet potatoes, however, if you want to use regular potatoes, try them with red baby potaotes to cut your down your prep.
  • Vegetables: We paired it with baby kale for extra veggies and nutrients, however, you can use other vegetables such as bell peppers, baby carrots, or even spinach.
  • Marinara Sauce: If you don’t have marinara sauce, you can substitute with tomato sauce and just add some italian seasoning.
chicken marinara

One Pot Chicken Marinara with Kale & Sweet Potato

No ratings yet
Prep Time 5 minutes
Cook Time 30 minutes
Course dinner, Main Course
Cuisine American, Italian
Servings 2

Equipment

  • knife
  • cutting board
  • spatula
  • soup pot

Ingredients
  

  • 12 oz chicken breast
  • 1 each sweet potato
  • 1/4 cup red onions (diced)
  • 2 cups marinara sauce
  • 4 cups baby kale
  • 1 tsp garlic powder
  • 1/2 tsp salt
  • 1/4 tsp pepper
  • 1 tbsp olive oil
  • 1/2 cup water

Instructions
 

  • Cut the chicken breasts into 1 inch cubes
  • Wash and peel the sweet potato and cut in 1 inch cubes
  • Add oil to a soup pot on medium high heat and saute red onions until they soften
  • Next, add the chicken breasts and saute for about 3 to 5 minutes until it is golden brown
  • Then, add the marinara sauce and water in the pot and mix well
  • Add the sweet potato and bring the liquid to a boil. After it is boiling, lower the heat to low medium and cover the pot with a lid. Simmer for abot 20 minutes until the chicken fully cooks to an internal temperature of 165F
  • Finally, remove the lid and stir in the baby kale until it wilts
Posted on

Oven-Baked Stuffed Primavera Chicken

Stuffed Chicken

This stuffed chicken breast is literally packed with bright colors and vibrant flavors. This is a great, easy chicken dinner if you are looking for a low-cost meal recipe.

Meal prep tips for Stuffed Primavera Chicken Breasts

  • We used boneless, skinless, chicken breast meat, however, you can also use chicken thighs.
  • The best vegetables to use are the ones you can easily slice such as yellow squash, zucchini, bell peppers, tomatoes, and onions. Feel free to add herbs on top for more flavor.
  • We kept this recipe dairy free, but if you want to add a depth of flavor, sprinkling shredded mozzarella cheese on top makes for a delicious combination.
  • We kept it simple with italian seasoning and paprika, but using any combo of spices works just as well.
Stuffed Chicken

Primavera Stuffed Chicken Breasts

Colorful and vibrant stuffed primavera chicken breasts perfect for a healthy meal prep dish.
No ratings yet
Prep Time 5 minutes
Cook Time 30 minutes
Course lunch, Main Course
Cuisine American
Servings 2

Equipment

  • knife
  • cutting board
  • sheet pan
  • oven
  • mixing bowls

Ingredients
  

  • 12 oz chicken breasts
  • 1/4 cup zucchini (sliced)
  • 1/4 cup yellow squash (sliced)
  • 1/4 cup yellow bell pepper (sliced)
  • 1/4 cup red bell pepper (sliced)
  • 1/4 cup red onions (sliced)
  • 1/4 teaspoon Italian seasoning
  • 1/4 teaspoon garlic powder
  • 1/4 teaspoon paprika
  • 1/4 teaspoon salt
  • 1 tablespoon olive oil

Salad Dressing and Spring Mix

  • 1 lemon (juiced)
  • 1 teaspoon dijon mustard
  • 1 tablespoon honey
  • 4 tablespoons olive oil
  • 1/4 teaspoon garlic powder
  • 1/4 teaspoon pepper
  • 1/4 teaspoon salt
  • 4 cups spring mix

Instructions
 

  • Preheat hte oven to 400F. Using a sharp knife, cut slits in each chicken breast, about 1/2 inch apart, being careful not to cut through completely. Stuff the slits with a mixture of sliced veggies, alternating with each slit.
  • Sprinkle the chicken with the seasonings and drizzle with olive oil. Bake in the oven for about 25 to 30 minutes until the chicken is cooked through to an internal temperature of 165F. (optional) during the last 5 minutes, you can sprinkle with shredded cheese to let it melt.
  • Meanwhile, in a mixing bowl, mix together the salad dressing ingredients until it is well blended.
  • Serve the stuffed chicken breasts with a side salad and salad dressing.
Posted on

Heart-Healthy

Stuffed Chicken

Make sure to go to How this page workfirst if you haven’t yet.

What Else

How This Page Works
Meal Prep 101
Weekly Meal Plans
Specialty Diets
Recipe Inspirations
Helpful Resources

Posted on

Nov 1 Weekly Meal Plan

pork chops

Make sure to go to How this page works first if you haven’t yet.

Set Your Pace

  • If you’re a beginner at meal prep: Be prepared to set aside 2-3 hours. Once mise en place is complete, all of these recipes can be completed one by one.
  • If you’re a meal prep pro, use the sequenced steps below: These steps give you the flexibility to cook items simultaneously in a sequence of events.
  • Be sure to set timers and check on food items to avoid overcooking. Sequencing will save you time and meal prep can be done in 1-2 hours.

Meal Prep Run Down

  1. First, prepare the items that require the oven such as the sausage marinara and squash noodles.
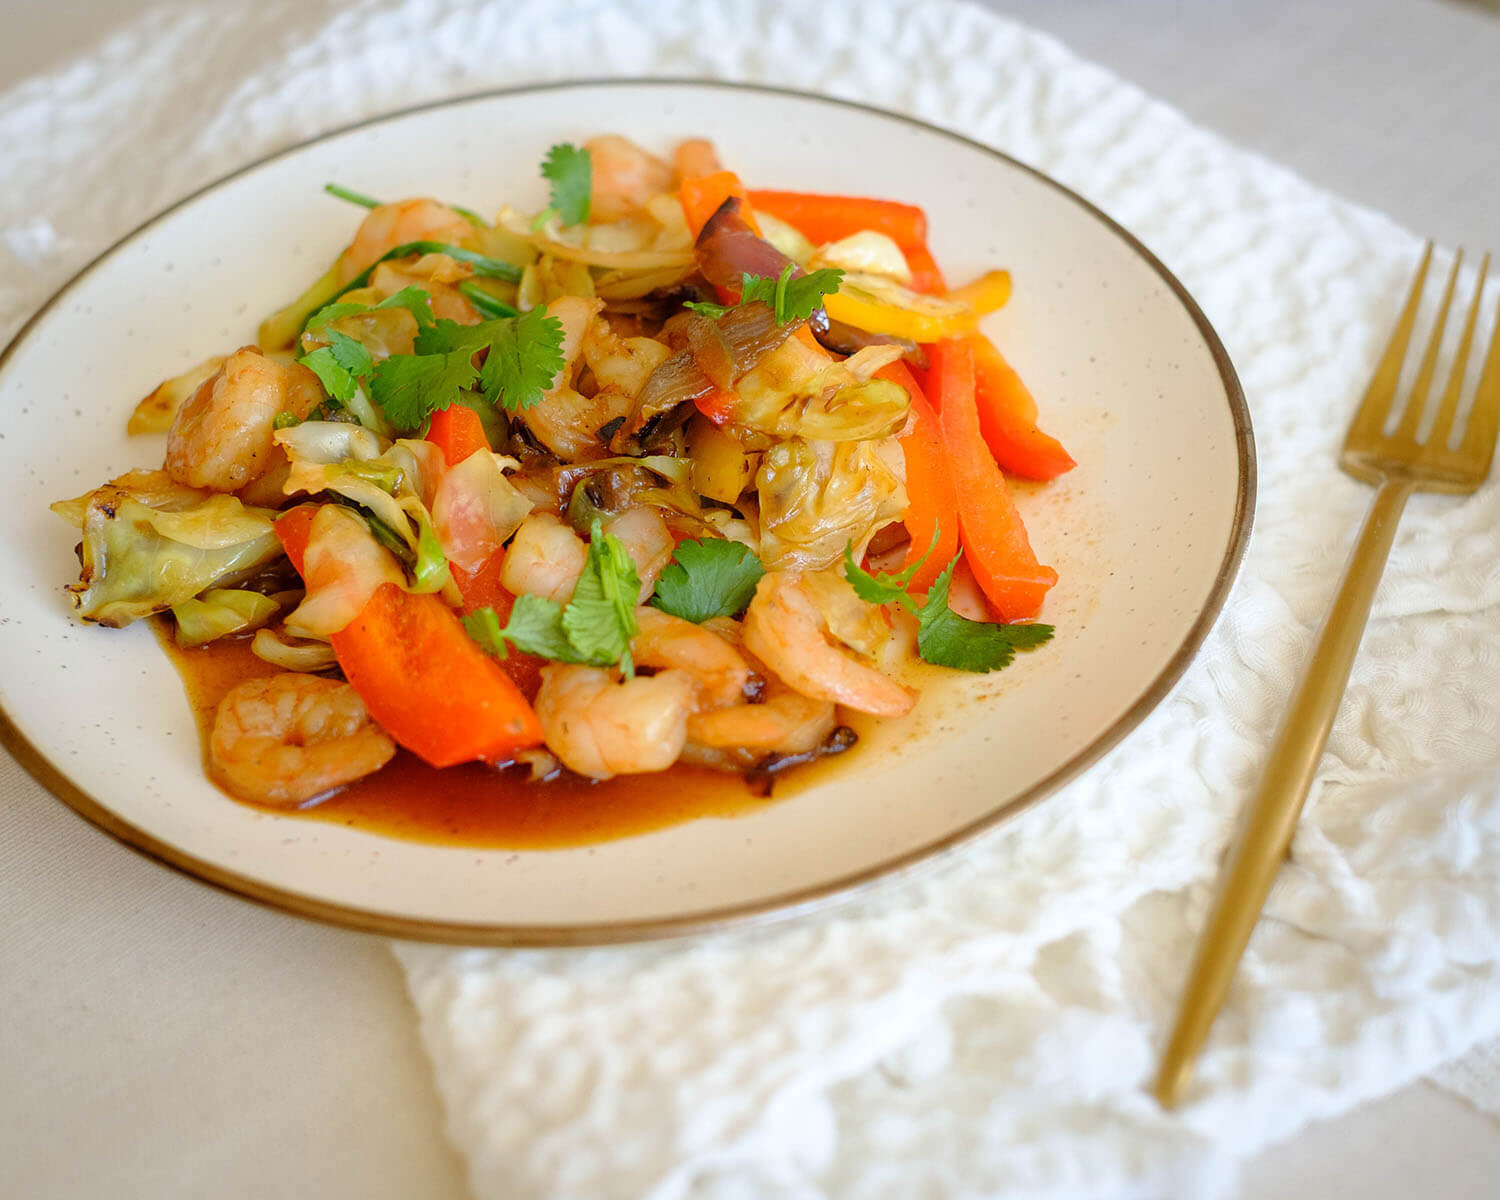
  2. Next, start grilling they honey soy steak. While the steak is grilling, pan-sear the pork chops, and saute the shrimp.
  3. Then, prepare the breakfast burritos.
  4. Lastly, assemble the yogurt.
  5. When everything is finished cooking, plate everything up in containers, and let them cool before refrigerating.

If you’re sequencing your meal prep, be sure to keep an eye on everything! Make sure food is kept refrigerated under 40F degrees until ready to eat.

Assembly Tips

  • Evenly divide meals according to the serving size
  • Let all items cool before placing them in the refrigerator
  • Keep all items refrigerated under 40F until ready to eat or reheat
  • Breakfast: The breakfast burritos can be reheated in the microwave, serve the yogurt chilled.
  • Lunch: The steak and shrimp can be reheated in the microwave, serve the salad items chilled
  • Dinner: Both meals can be reheated in the microwave

Extra Flavors and Substitutions

  • Breakfast burrito: You can fill the burrito with any topping you like such as bell peppers and onions or even sausage crumbles
  • Squash noodles: You can use regular pasta instead of squash noodles
  • Supplement meals with additional snacks such as fresh veggies and fruit for additional daily caloric needs. You can use lime/lemon and olive oil in place of salad dressing

Extra Leftover Ingredients Not Used

  • Protein: Freeze any uncooked meats and save for a later recipe, or you can cook the full amount, and freeze the portion that you do not eat, and save for later use.
  • Veggies: Freeze any leftover veggies for later use. Use leftover herbs in omelets or other dishes for the weekend
What Else

How This Page Works
Meal Prep 101
Weekly Meal Plans
Specialty Diets
Recipe Inspirations
Helpful Resources

Posted on

Oct 25 Weekly Meal Plan

Mexican Chicken Soup

Make sure to go to How this page works first if you haven’t yet.

Set Your Pace

  • If you’re a beginner at meal prep: Be prepared to set aside 2-3 hours. Once mise en place is complete, all of these recipes can be completed one by one.
  • If you’re a meal prep pro, use the sequenced steps below: These steps give you the flexibility to cook items simultaneously in a sequence of events.
  • Be sure to set timers and check on food items to avoid overcooking. Sequencing will save you time and meal prep can be done in 1-2 hours.

Meal Prep Run Down

  1. First, prepare the items that require the oven such as the roasted broccolini & baby potatoes.
  2. Next, start cooking the chicken soup. While the chicken soup is cooking, pan-sear the tilapia, and cook the chili chicken.
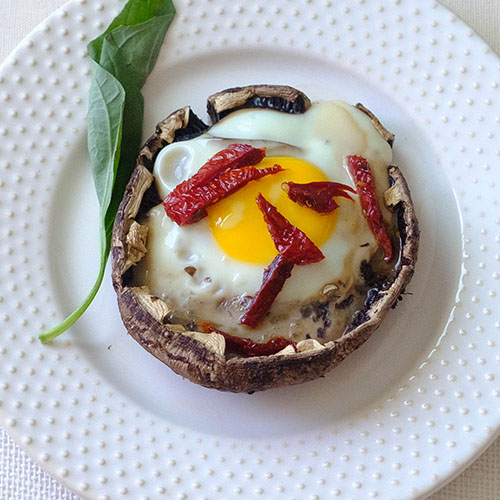
  3. Then, prepare the breakfast items such as the scrambled eggs and pancakes.
  4. Lastly, assemble the beef pastrami antipasto.
  5. When everything is finished cooking, plate everything up in containers, and let them cool before refrigerating.

If you’re sequencing your meal prep, be sure to keep an eye on everything! Make sure food is kept refrigerated under 40F degrees until ready to eat.

Assembly Tips

  • Evenly divide meals according to the serving size
  • Let all items cool before placing them in the refrigerator
  • Keep all items refrigerated under 40F until ready to eat or reheat
  • Breakfast: Both meals can be reheated in the mircowave, serve the strawberries chilled.
  • Lunch: Serve the Beef Pastrami Antipasto chilled, while the Chili Chicken can be reheated in the microwave
  • Dinner: Both meals can be reheated in the microwave

Extra Flavors and Substitutions

  • Scrambled Eggs and Beans: You can use any kind of beans such as pinto beans
  • Antipasto: You can use any kind of deli meat such as turkey or ham
  • Soup: If you have leftover beans, you can add it to the soup
  • Supplement meals with additional snacks such as fresh veggies and fruit for additional daily caloric needs. You can use lime/lemon and olive oil in place of salad dressing

Extra Leftover Ingredients Not Used

  • Protein: Freeze any uncooked meats and save for a later recipe, or you can cook the full amount, and freeze the portion that you do not eat, and save for later use.
  • Veggies: Freeze any leftover veggies for later use. Use leftover herbs in omelets or other dishes for the weekend
What Else

How This Page Works
Meal Prep 101
Weekly Meal Plans
Specialty Diets
Recipe Inspirations
Helpful Resources

Posted on

Oct 18 Weekly Meal Plan

chili fries

Make sure to go to How this page works first if you haven’t yet.

Set Your Pace

  • If you’re a beginner at meal prep: Be prepared to set aside 2-3 hours. Once mise en place is complete, all of these recipes can be completed one by one.
  • If you’re a meal prep pro, use the sequenced steps below: These steps give you the flexibility to cook items simultaneously in a sequence of events.
  • Be sure to set timers and check on food items to avoid overcooking. Sequencing will save you time and meal prep can be done in 1-2 hours.

Meal Prep Run Down

  1. First, prepare the items that require the oven such as the egg frittata, roasted butternut squash fries, and sweet and sour chicken.
  2. Next, prepare the pork chops in the Instant Pot and boil the rutabaga.
  3. Meanwhile, prepare the chili.
  4. Lastly, finish preparing the pork chops and mashed rutabaga.
  5. When everything is finished cooking, plate everything up in containers, and let them cool before refrigerating.

If you’re sequencing your meal prep, be sure to keep an eye on everything! Make sure food is kept refrigerated under 40F degrees until ready to eat.

Assembly Tips

  • Evenly divide meals according to the serving size
  • Let all items cool before placing them in the refrigerator
  • Keep all items refrigerated under 40F until ready to eat or reheat
  • Breakfast: The egg frittata can be reheated in the microwave. Slice the apples the same day you are ready to eat them to prevent the apples from browning.
  • Lunch: Keep the shrimp chilled and prepare the apple slices and avocado the same day you are ready to eat them to prevent the avocado and apples from browning. The chicken and bell peppers can be reheated in the microwave
  • Dinner: Both meals can be reheated in the microwave

Extra Flavors and Substitutions

  • Apple Nachos: You can use any kind of fruit and any kind of nuts for your toppings. Substitute honey with peanut butter for a lower carb option
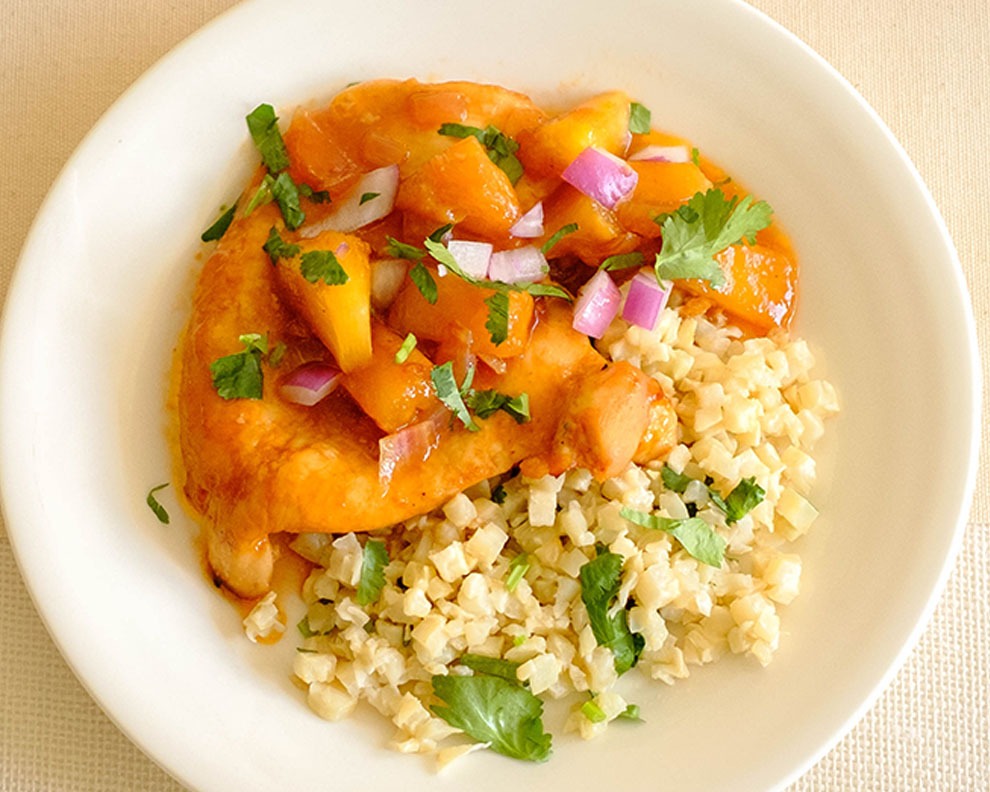
  • Sweet & Sour Chicken: You can use any kind of cut of chicken such as wings or even boneless options such as chicken breasts or chicken tenderloins. Serve with a side of rice or cauliflower rice
  • Chili Fries: You can use any any kind of meat such as ground turkey or chicken. If you can’t find butternut squash fries, you can substitute with sweet potato or regular potatoes
  • Supplement meals with additional snacks such as fresh veggies and fruit for additional daily caloric needs. You can use lime/lemon and olive oil in place of salad dressing

Extra Leftover Ingredients Not Used

  • Protein: Freeze any uncooked meats and save for a later recipe, or you can cook the full amount, and freeze the portion that you do not eat, and save for later use.
  • Veggies: Freeze any leftover veggies for later use. Use leftover herbs in omelets or other dishes for the weekend
What Else

How This Page Works
Meal Prep 101
Weekly Meal Plans
Specialty Diets
Recipe Inspirations
Helpful Resources

Posted on

Pumpkin Cranberry Oat Crumb Bar

cranberry crumble

This Pumpkin Cranberry Oat Crumb Bar can easily lift your spirits with the satisfying flavor of something sweet, spicy, and warmth. 

Ease of Making: Medium

The texture is hearty with the rolled oats, chopped walnuts, and aromatic pumpkin spice. This dessert combines the best flavors of fall with pumpkin puree, dried cranberries, and vanilla extract.

Homemade oat bars are a nutritious, customizable, and cost-effective snack option that offers convenience and a sustainable alternative to store-bought bars. They are a great way to satisfy your hunger, boost your energy, and support a healthy lifestyle.

Making oat bars at home allows you to customize the recipe to suit your taste and dietary preferences. You can experiment with different flavors, textures, and add-ins like chocolate chips, coconut flakes, or spices. Oat bars can also be tailored to accommodate dietary restrictions such as gluten-free, dairy-free, or vegan options.

Oat bars are often made with nutritious ingredients like oats, nuts, seeds, dried fruits, and natural sweeteners. Oats are rich in fiber, vitamins, minerals, and antioxidants, making them a healthy choice for a snack. Store-bought granola bars or energy bars can be quite expensive, especially if you consume them regularly. Making oat bars at home is a cost-effective alternative.

Meal prep tips for Cranberry Crumb Oat Bar Desserts

  • Bring the butter to room temperature so that it is easier to cream together with the sugar
  • You can use either dried fruit or fresh cranberries with this recipe
  • Finely chop the walnuts so that they are easier to fold into the batter and no one gets a big chunk of walnut in their bite
  • Cool the crumb bar before trying to cut them
  • You can also freeze them and reheat them when you are ready to enjoy them
cranberry crumble

Pumpkin Cranberry Crumble Cake

No ratings yet
Prep Time 10 minutes
Cook Time 40 minutes
Course Dessert
Cuisine American
Servings 12

Equipment

  • mixing bowls
  • spoons
  • mixer

Ingredients
  

  • 1.25 cup all purpose flour
  • 1/4 tsp salt
  • 1/2 tsp baking soda
  • 1/2 tsp baking powder
  • 1 tsp pumpkin spice (or ground cinnamon)
  • 1/2 cup unsalted butter (softened)
  • 1/2 cup granulated sugar
  • 1/2 cup brown sugar
  • 2 tsp vanilla extract
  • 2 each eggs
  • 1 cup rolled oats
  • 3/4 cup chopped walnuts
  • 3/4 cup dried cranberries
  • 3/4 cup pumpkin puree

Instructions
 

  • Pre-heat the oven to 350F
  • In a bowl, add the softened butter and sugar and whisk them together until creamy
  • Next, add the eggs, pumpkin puree, and vanilla extract and whisk it together
  • Then, add the pumpkin spice, baking soda, baking powder, and salt. Pour in the flour in batches and continue to mix it all together
  • Afterwards, add in the rolled oats, cranberries, and chopped walnuts
  • Grease a baking dish and pour in the batter
  • Place it in the oven for 35-40 minutes until the center is fully cooked. Test it with a toothpick by inserting it into the center of the cake. If cooked, it should come out clean
  • Allow it to cool before slicing into bite size squares
Posted on

Creamy Cauliflower Mashed “Potatoes” with Roasted Pistachios

mashed cauliflower

This cauliflower mashed “potatoes” is so much creamier than you can ever imagine. It is filled with such great flavor and serves as a great low-carb alternative to your classic mashed potatoes.

Ease of Making: Easy

This would make a perfect side dish for any cold winter feast and will be a great addition to Thanksgiving entrees. 

If you’re looking for an easy side dish to prep for the holidays, try this dish. No need for peeling and cooks in less time than your classic mashed potatoes.

How to Cook Cauliflower Mashed “Potatoes”

  1. Start with steaming your cauliflower florets.
  2. Meanwhile, saute the garlic.
  3. After the cauliflower florets have gotten tender, add the garlic and florets into a blender.
  4. Season with salt and blend until smooth.
  5. Place the cauliflower in a heated pot and mix in the butter, sour cream, and parmesan cheese
  6. Top it off with fresh chives and roasted pistachios

Meal prep tips for Mashed Cauliflower

Does cauliflower really taste like mashed potatoes?

While the texture may be close, they will not exactly taste the same. Cauliflower will naturally be blander because of the water content. Try roasting the cauliflower instead of steaming for a firmer mash. Roasting it will also give it a sweeter and nuttier flavor. We also added the same herbs that we normally would add to mashed potatoes such as chives.

How to make mashed cauliflower creamy?

Mix in cheese, butter, sour cream, and milk to make it rich and smooth.

What can you eat with Mashed Cauliflower?

It is a great side dish to accompany any roasted or pan-fried protein such as tender roasted beef, pork chops, or roasted chicken.

mashed cauliflower

Creamy Mashed Cauliflower “Potatoes” with Roasted Pistachios

No ratings yet
Prep Time 5 minutes
Cook Time 20 minutes
Course Side Dish
Cuisine American
Servings 6

Equipment

  • boiling pot
  • steamer
  • immersion blender or food processor

Ingredients
  

  • 8 cups cauliflower florets
  • 1/4 cup unsalted butter
  • 1/4 cup sour cream
  • 1/4 cup parmesan cheese
  • 6 each garlic cloves (peeled)
  • 1/2 cup roasted pistachios (shelled)
  • 2 tbsp chives (chopped)
  • 1/4 tsp salt
  • 1 tbsp olive oil

Instructions
 

  • Boil water in a large pot. Place the cauliflower in the steamer and place it over the large pot. Steam for 15 minutes until the cauliflower is tender
  • Next, add olive oil to a medium pot and saute the garlic for about a minute until it is toasted
  • Add the cauliflower, garlic, and salt in a food processor and blend until smooth
  • Scoop the cauliflower into another heated medium sized pot and stir in the sour cream, butter, and parmesan cheese. Add salt to taste
  • Top it off with freshly chopped chives and roasted pisatchios

If you love this recipe, check out these other recipes we know you’ll love too:

Posted on

How to Make Instant Pot Beef Ragu

Beef Ragu

Tender, melt in your mouth, shredded beef that is comfortingly satisfying for the cooler weather. Make this instant pot beef ragu recipe to warm the body and soul.

Ease of Making: Easy

Here’s a savory and rich beef ragu simmered in diced tomatoes, garlic, Italian seasonings, and fresh herbs that is perfect for the fall comfort meal. Enjoy it over a bed of pasta or mashed potatoes.

This is the perfect dish to batch cook for the colder weather. It is quick and easy to make but tastes like it’s been simmering all day long. Make it a weekly staple for your family dinners or bring it to holiday gatherings and make it the new family favorite.

How to Cook Beef Ragu in the Instant Pot

It’s easy to make a tender roast in the Instant Pot, all you need to do is follow a few simple steps:

  1. Turn on the Saute Setting and start browning your meat followed by adding the aromatics such as onions and garlic.
  2. Sprinkle in the seasonings.
  3. Add any liquid. In this recipe we used diced tomatoes, tomato sauce, and dry red wine.
  4. Close the Instant Pot and seal it.
  5. Press the meat/stew setting and set your timer.
  6. After it finishes cooking, carefully release the quick release for the steam (following the manufacturer’s instructions).

Meal prep tips for Instant Pot Beef Ragu

How much meat can you cook at one time?

For a 6 quart size, you can fit 4-6 lbs of meat. However, you will need to take into consideration the other ingredients such as the cooking liquids and additional veggies. For this recipe, we kept it around 2 to 3 lbs.

Does the meat need to be completely covered in liquid?

You normally will need at least one cup of liquid. The protein itself already contains water that will sweat out, and there is additional moisture from the vegetables.

What can you serve with Beef Ragu?

We love to eat it with egg noodles, but you can also serve it with veggie noodles such as spiralized zucchini or spaghetti squash for a low-carb spin on this recipe. Creamy polenta is also a nice change from pasta or you can serve it on top of mashed potatoes or fluffy rice pilaf.

What to do with leftover beef ragu?

This Instant Pot beef ragu freezes really well and can keep up in the freezer for up to three months. However, you can also make sandwiches with the leftovers or add them as a topping to your baked potatoes.

Beef Ragu

Instant Pot Beef Ragu

No ratings yet
Prep Time 10 minutes
Cook Time 40 minutes
Course dinner, Main Course
Cuisine American, Italian
Servings 6

Equipment

  • knife
  • cutting board
  • spatula
  • Instant Pot

Ingredients
  

  • 2.5 lbs boneless beef chuck roast (cut into 2 inch chunks)
  • 4 each garlic cloves
  • 1/4 cup white onion (diced)
  • 1 each small carrot (diced)
  • 1/4 cup tomato paste
  • 28 oz canned diced tomatoes
  • 8 oz tomato sauce
  • 1/2 cup dry red wine
  • 1 tsp italian seasoning
  • 1/4 tsp ground cinnamon
  • 2 each bay leaves
  • 2 tbsp fresh basil (chopped)
  • 1/2 tsp salt
  • 1/2 tsp pepper
  • 1 tbsp olive oil

Instructions
 

  • Place the Instant Pot on the saute setting on high heat
  • Season the beef with salt and pepper and add oil to the Instant Pot
  • In small batches, add the beef and cook on all sides until evenly browned (about 3 to 4 minutes). After each batch has browned, remove it from the pot and set it aside for later.
  • Next, add the onions, carrots, and garlic. Stir it all around for 2 minutes
  • Then, add the tomato paste and stir for another minute. Afterwards, pour in the wine and scrape any of the browned bits from the bottom of the pot
  • Finally, add the diced tomatoes, tomato sauce, Italian seasonings, ground cinnamon, and bay leaves
  • Carefully add the beef chunks back into the liquid
  • Turn off the saute setting and select the manual setting to adjust the pressure to high and set the time for 30 minutes. Make sure the valve is in the sealed position
  • After it has finished cooking, follow the manufacturer's directions for quick-release of the pressure
  • Remove the beef from the Instant Pot and use two forks to shred the meat. Place it in a deep serving dish and pour the remaining sauce on top. Season with salt and pepper to taste
  • Serve with fresh pasta, rice pilaf, or mashed potatoes. Garnish with additional freshly chopped basil

If you love this recipe, check out these other recipes we know you’ll love too: