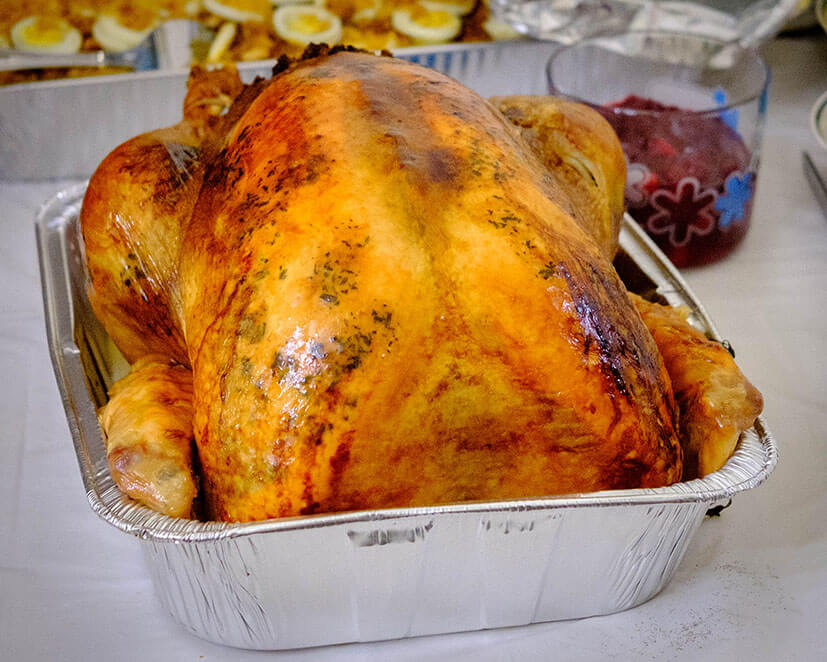
While turkey has become the centerpiece for Thanksgiving and the Winter Holidays, it is a nutritious source that can be enjoyed throughout the year.
Health Benefits of Turkey
Turkey is best known for its high amount of protein which is responsible for the growth, repair, and maintenance of cells. Turkey is also rich in nutrients, particularly in B Vitamins which impact your energy levels, brain function, and cell health. Turkey also has a high amount of selenium and is a good source of zinc, copper, phosphorus, magnesium, potassium, and iron. All these minerals impact body processes. Turkey also contains omega-3 fats which help in promoting heart health.
Here are some health benefits:
- Turkey is a high protein food that can help promote muscle growth and support the maintenance of muscle mass, especially after exercise and strength training.
- Since it is a high protein source, it can support weight loss by reducing appetite and hunger levels by promoting the feeling of fullness. This is partly due to the protein reducing the level of the hunger hormone ghrelin.
- The B vitamins in turkey support efficient energy production which helps convert proteins, fats, and carbohydrates into usable energy.
- The selenium in turkey is an essential component required for thyroid hormone metabolism, antioxidant defense systems, and immune function.
- Turkey also contains tryptophan which produces serotonin which is a neurotransmitter that helps improve your mood and provides calming properties that can aid in promoting sleep.
Nutrition Information in 1 serving –Turkey nutrition depends on the part of the turkey. For example, the darker meat found in the legs or thighs has more fat and calories than white meat. According to USDA, here are several turkey nutrition facts for the different types of cut:
| Cut of Turkey | Serving Size | Calories | Total Fat (g) | Total Carbohydrates (g) | Total of Protein (g) |
| Turkey Breast roasted | 3 oz | 160 | 6 | 0 | 24 |
| Turkey drumstick roasted | 3 oz | 170 | 10 | 0 | 23 |
| Turkey Thigh roasted | 3 oz | 190 | 10 | 0 | 23 |
Best Uses of Turkey
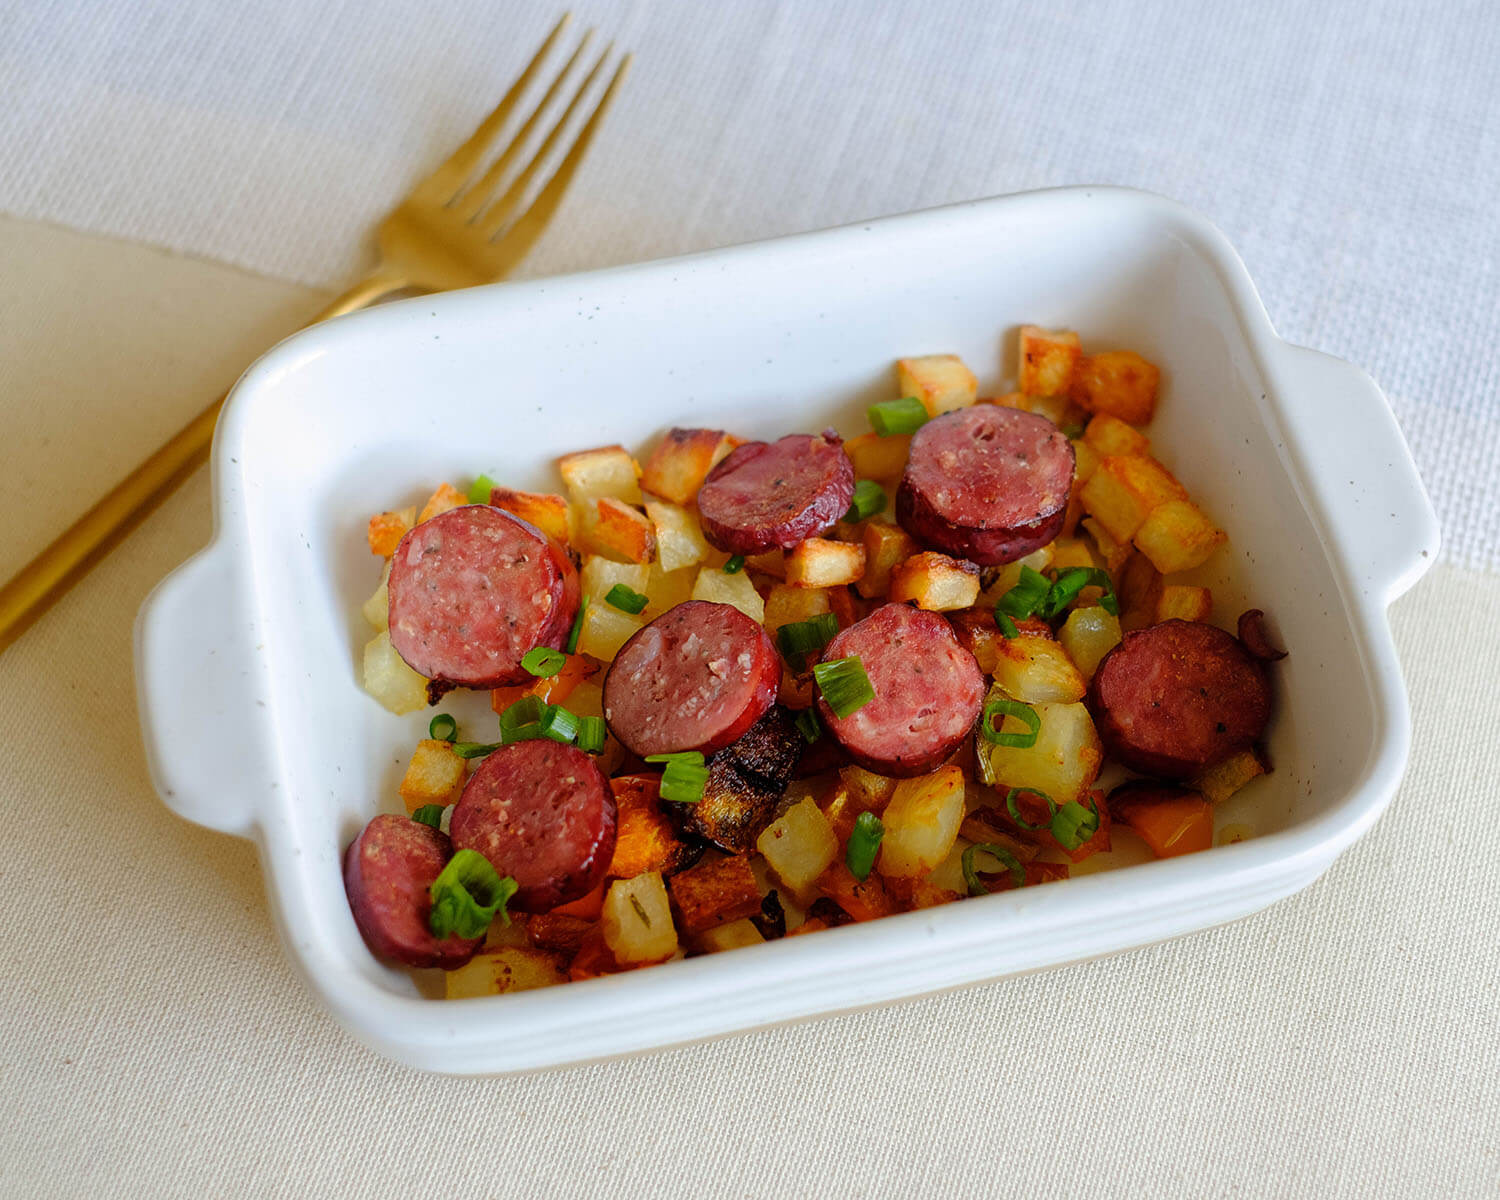
It is best to consume whole turkey meat rather than consuming the processed turkey products since they can be loaded with sodium. These processed varieties can include sausages, turkey ham, and hot dogs.
Diet Friendliness Chart
| Diet Friendliness | Yes | No |
| Keto | x | |
| Diabetic | x | |
| Gluten Free | x | |
| Dairy Free | x | |
| Low Calorie | x | |
| Alkaline | x | |
| Vegan | x | |
| Vegetarian | x | |
| AIP | x | |
| Allergy Friendly | x | |
| Low Carb | x | |
| Paleo | x |
Cook Time: The internal temperature of turkey should reach 165F. This includes ground turkey, turkey tenderloins, and any other raw cut of turkey.
- If you are roasting a whole turkey at 350F, it will usually take about 15 minutes of cooking time for each pound when it is not stuffed. If the turkey is stuffed, it usually takes about 20 minutes per pound.
- If you are cooking a smaller piece such as turkey tenderloin, it will take about 30-35 minutes at 400F.
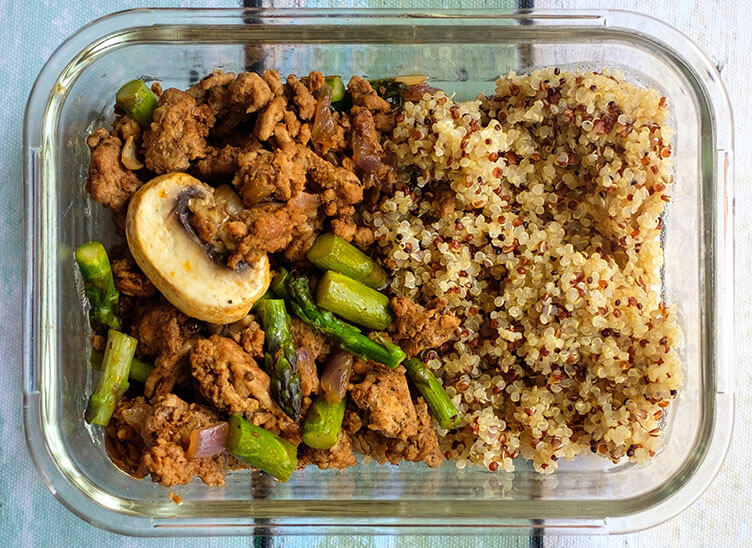
- If you are sauteeing ground turkey, it usually will take about 8 to 10 minutes.
History of Turkey
Turkey has long been a long staple food of Mayans, Aztecs, and other indigenous people of Mexico, Central America, and the southern parts of the United States. Turkey became a hit with Spanish explorers that they brought them back to Spain and eventually the birds were bred and domesticated in other areas of Europe. In Europe, people thought of turkeys as an expensive luxury food and were eaten on special occasions. As European settlers began to homestead America, they brought their domestic turkeys with them, however, they found the same birds running wild and free. Eventually, it is suggested that Ben Franklin wanted turkey to be the American bird because of its nutritious and wonderful taste that also had economic value for colonists.
FAQ – About Turkey
- Why is turkey bad for you?
- Consuming too much turkey that has been processed such as hot dogs, sausages, bacon, can have high amounts of sodium. Too much sodium in the diet can increase risks of obesity, heart disease, high blood pressure, and high cholesterol. Go for fresh, lean, organic, and pasture-raised turkey.
- What is the chemical in turkey that makes you sleepy?
- Turkey is often blamed for making you drowsy because it is packed with a nutrient called tryptophan. However, many other types of meat and protein products actually pack comparable amounts. Although tryptophan helps make a neurotransmitter called serotonin that can promote a slow-wave sleep, eating turkey does not translate the amplified serotonin production in the brain to cause sleepiness. Instead, what makes people sleepy after Thanksgiving dinner is the stretching of the small intestine that induces sleepiness and protein-fat loading of the stomach. This causes more blood to go to the gastrointestinal tract rather than the brain or other muscles. In addition, the nervous system conserves energy reducing heart rate, blood pressure while increasing salivation and gastric action for digestion.
- .Is turkey better for you than beef?
- Surprisingly there are not major nutritional differences between ground turkey and beef as long as you select the same ratio of lean to fat. The lower the fat content and the less saturated fat that you consume will help you lower your risk for heart disease.
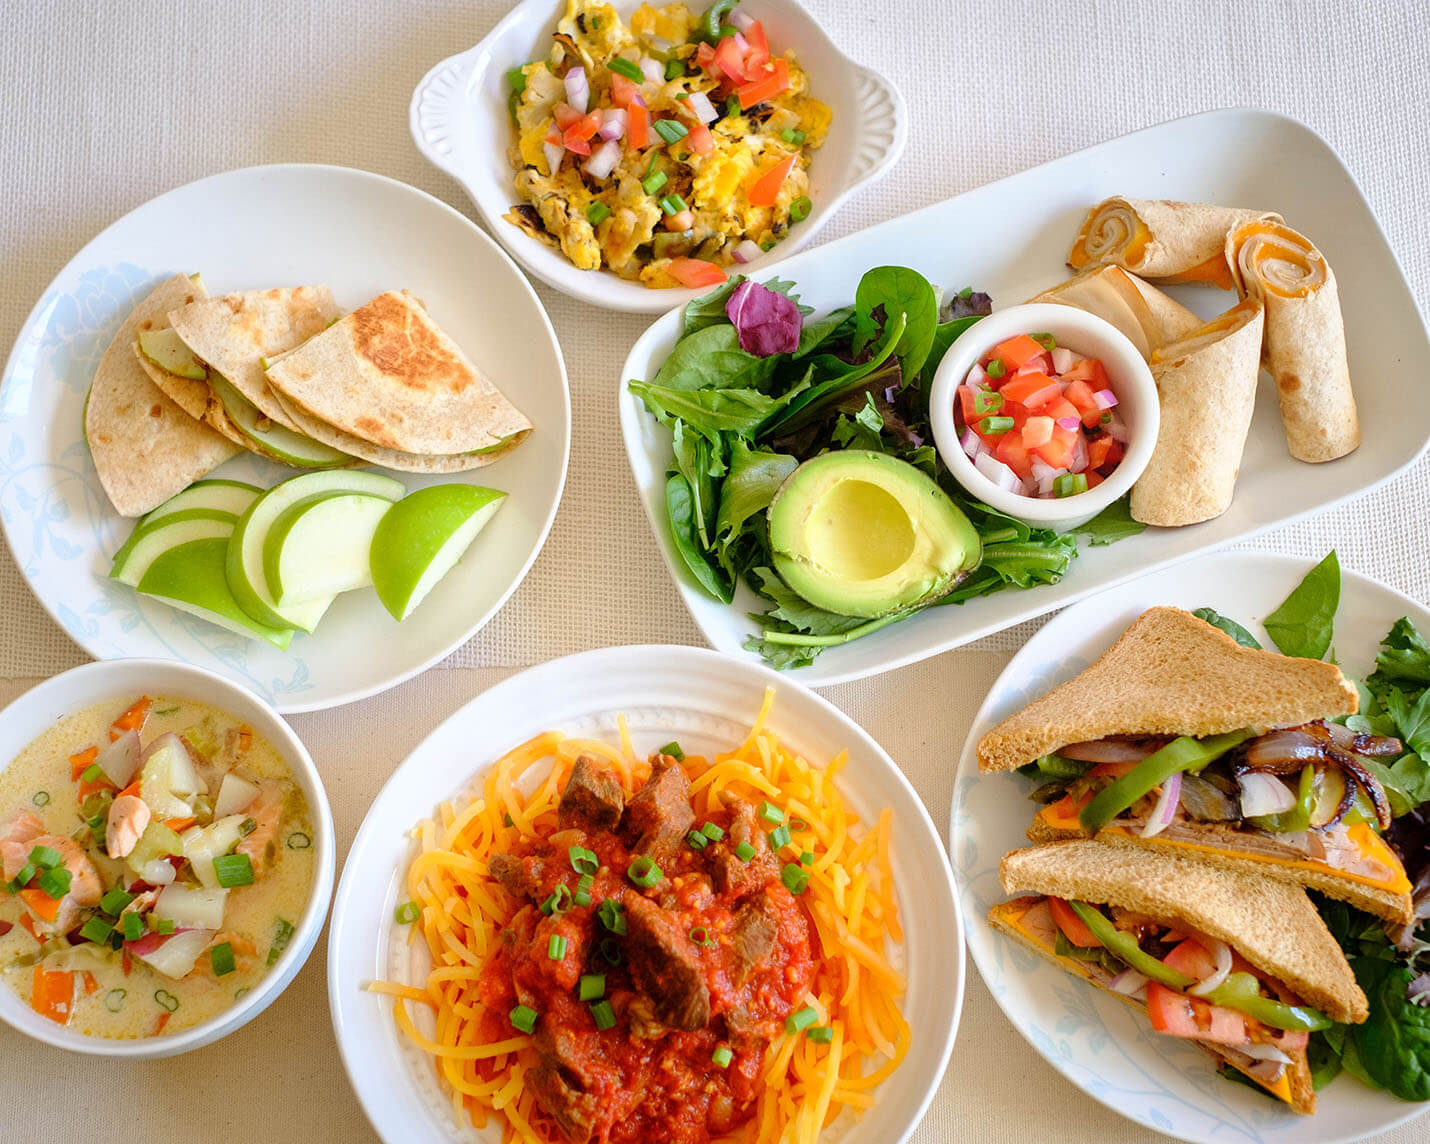
Recipe Ideas for Turkey
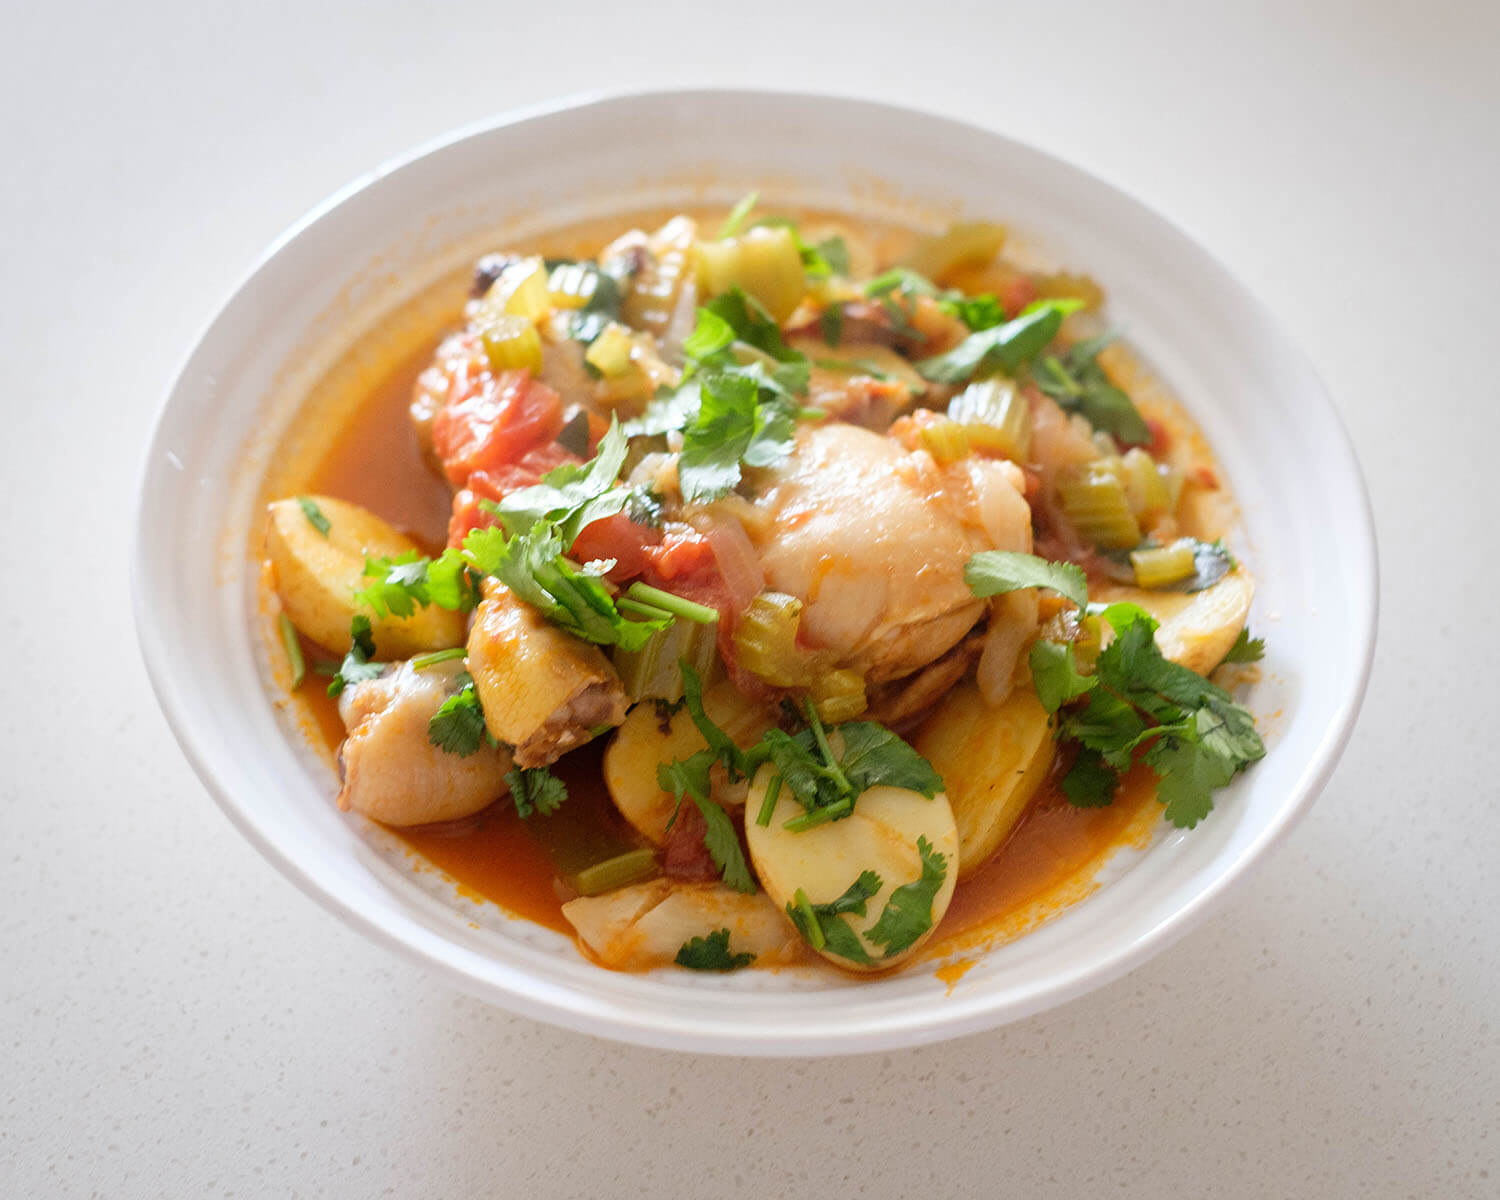
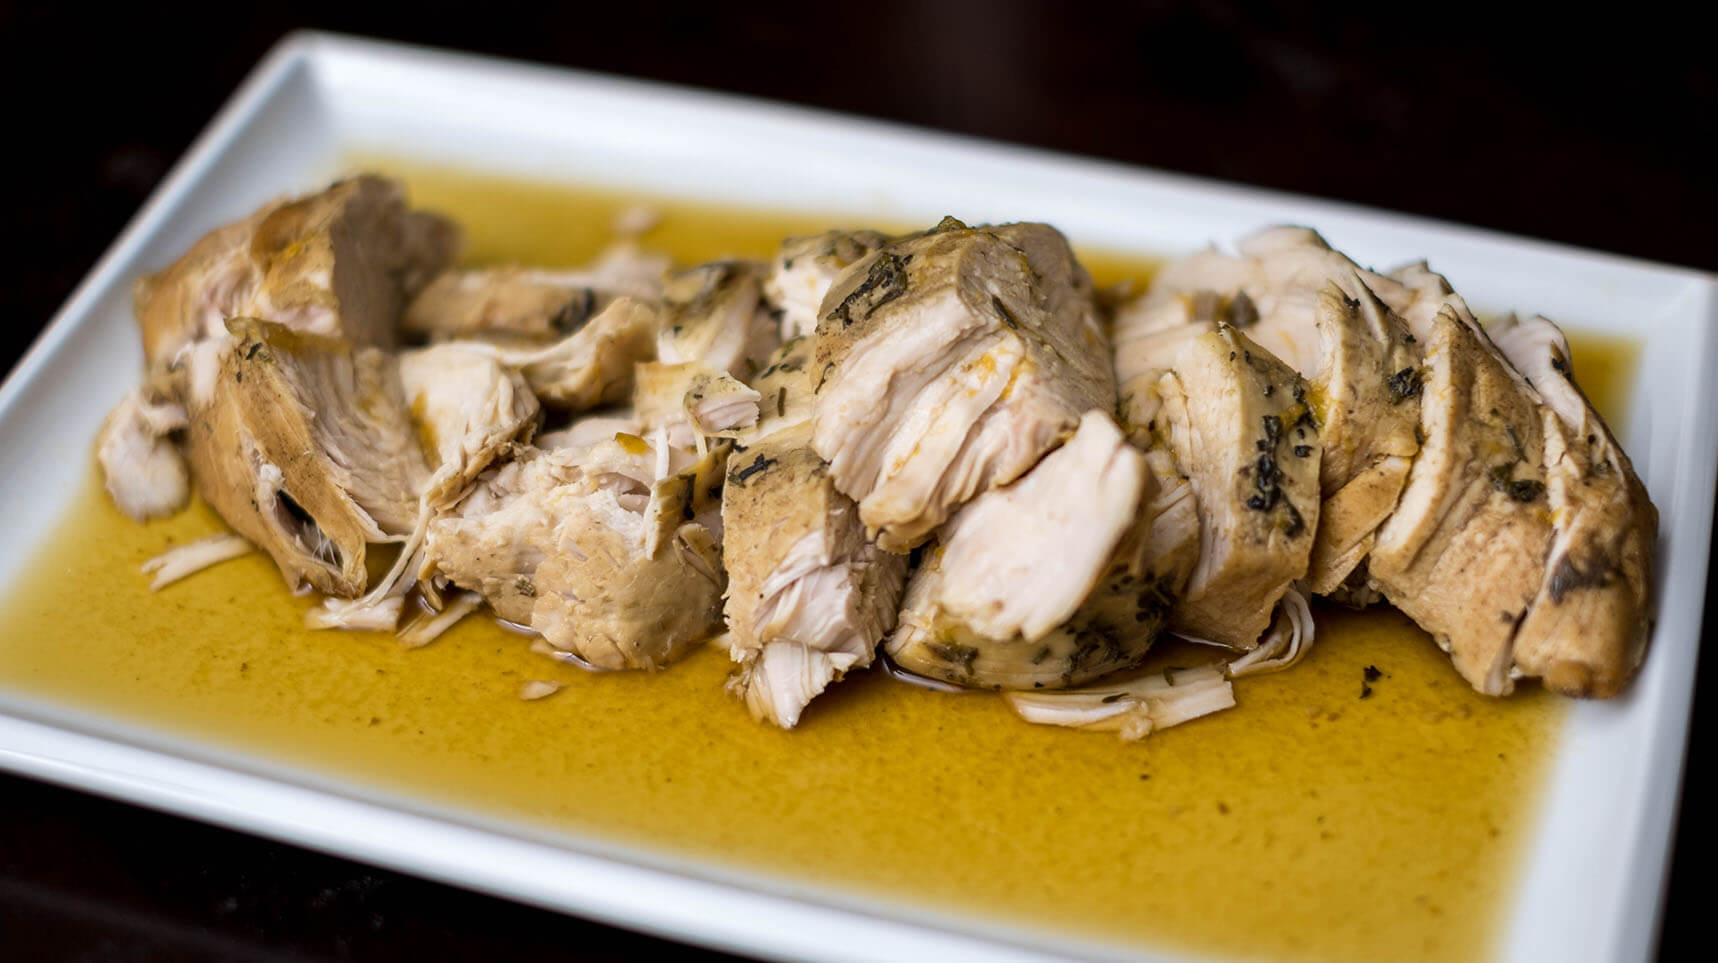
Oven-Baked Turkey Tenderloin
This turkey tenderloin is braised in the oven with broth and aromatics such as celery, onions, and carrots. It is flavored with lots of garlic and thyme for ultimate flavor. A great alternative if you don’t want to roast a whole turkey.
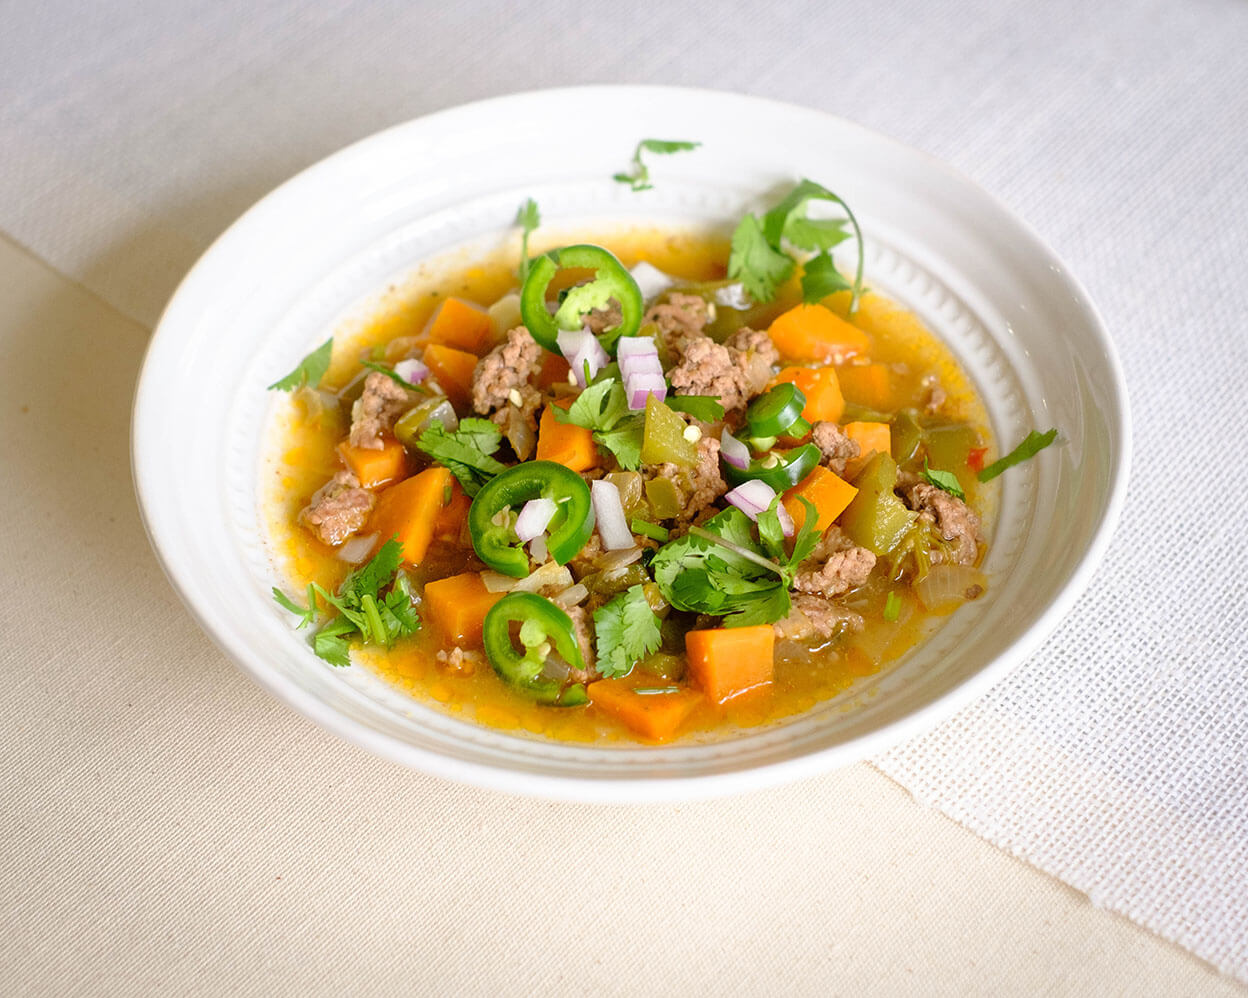
Turkey Soup
This soup is a gluten-free meal that comes together in one pot. It has turkey sausage, chicken stock, coconut milk, kale, potatoes, onions, and minced garlic.

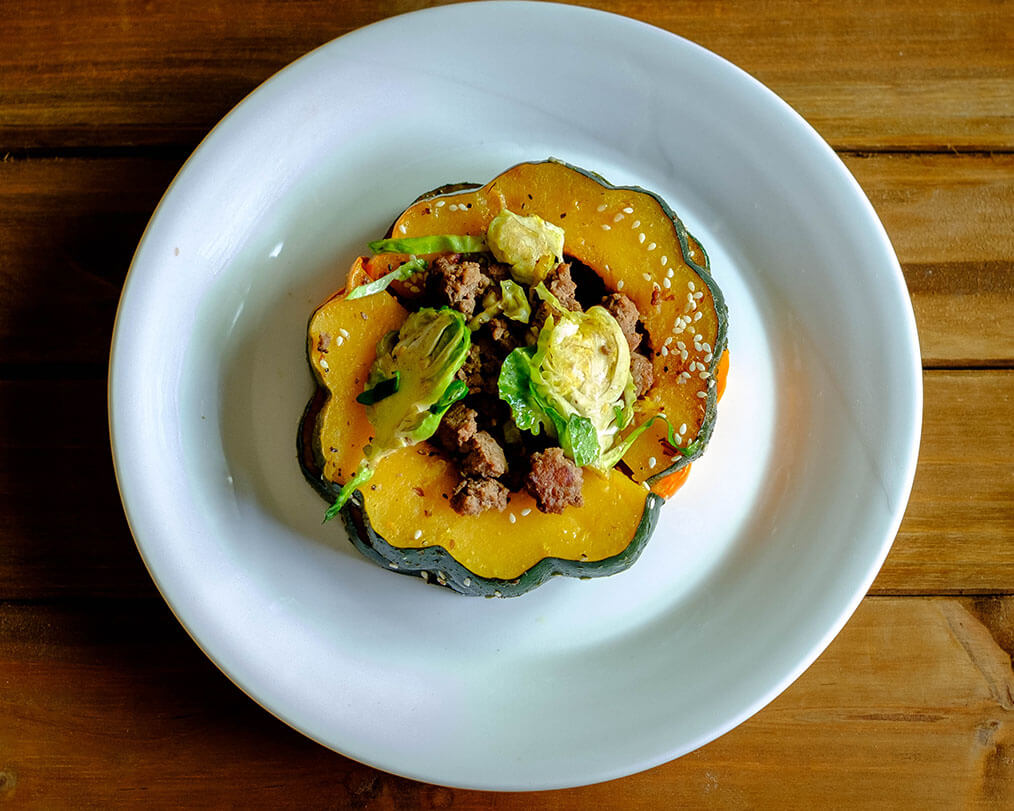
Stuffed Acorn Squash with Turkey
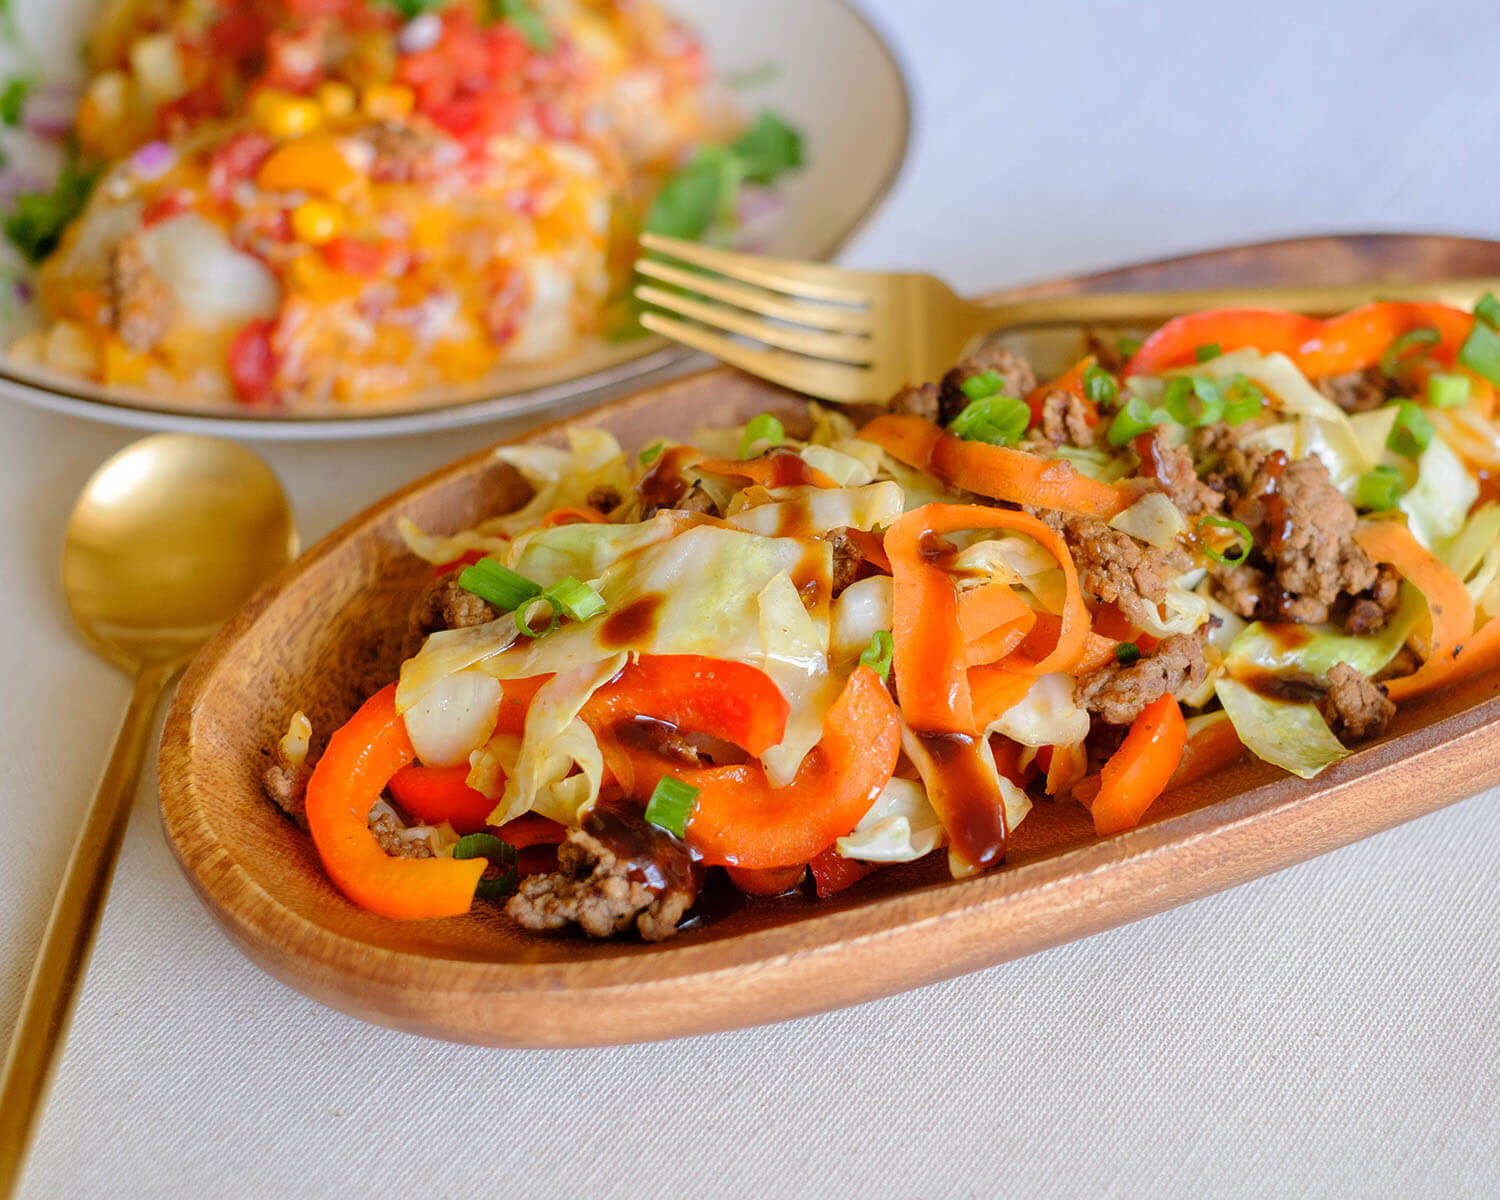
This is a great fall dinner recipe. Bake the acorn squash, meanwhile, saute the ground turkey. Once the turkey is cooked, place it in the middle of the squash and let it continue to bake in the oven.
Here are some Turkey Recipes we think you may enjoy: