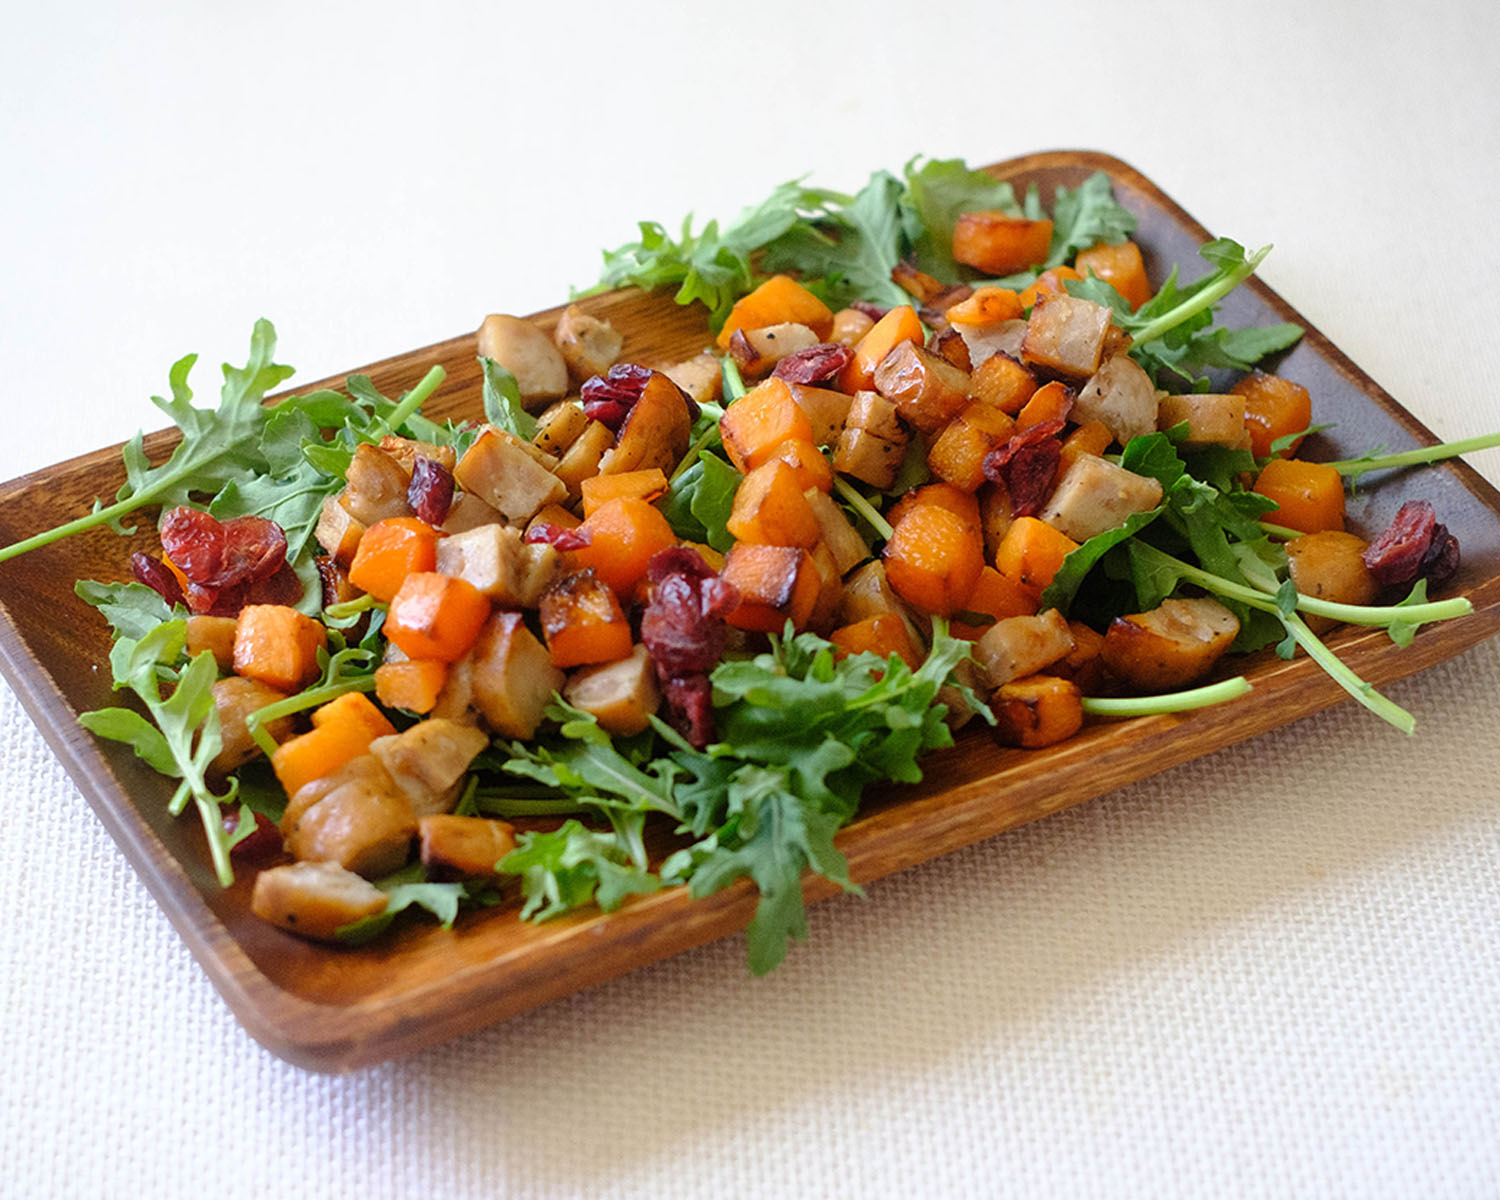
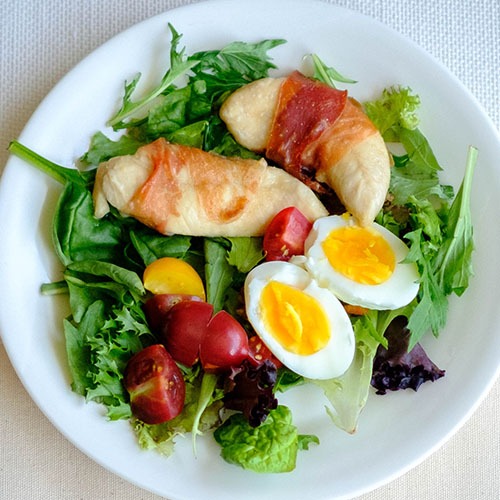
In the world of meal prep, there’s no season quite like autumn to inspire creativity in the kitchen. The vibrant colors, rich flavors, and cozy aromas of fall ingredients make for a delightful culinary experience. If you’re on the lookout for a healthy and satisfying lunch option that embodies the essence of autumn, look no further than our Arugula Salad with Roasted Butternut Squash and Chicken Sausage. This dish not only tastes amazing but is also a perfect addition to your weekly meal prep rotation. Let’s dive into the details of this delicious and nutritious recipe while optimizing it for your healthy lunch salad meal prep needs.
This post may contain affiliate links. Please see our privacy policy for details.

5 Reasons to Choose Arugula Salad with Roasted Butternut Squash and Chicken Sausage for Your Autumn Meal Prep:
- Autumn brings us the best of seasonal produce, and this meal celebrates it beautifully. Butternut squash, with its sweet and nutty flavor, is at its peak in the fall. Pair it with peppery arugula, and you’ve got a salad that’s bursting with the flavors of the season.
- Arugula, the star of this salad, is not only delicious but also incredibly nutritious. It’s rich in vitamins A, K, and C, and it adds a delightful peppery bite to your meal. The butternut squash offers a hearty dose of fiber, vitamins, and minerals, while the chicken sausage provides a lean protein source to keep you energized throughout the day.
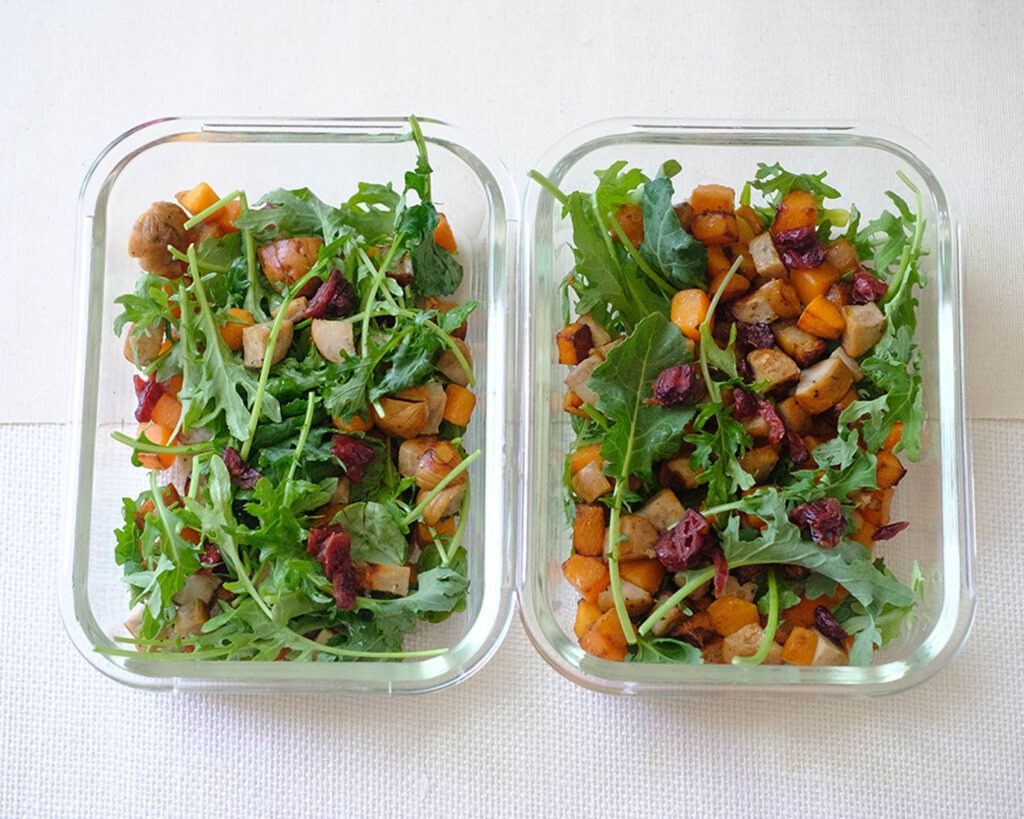
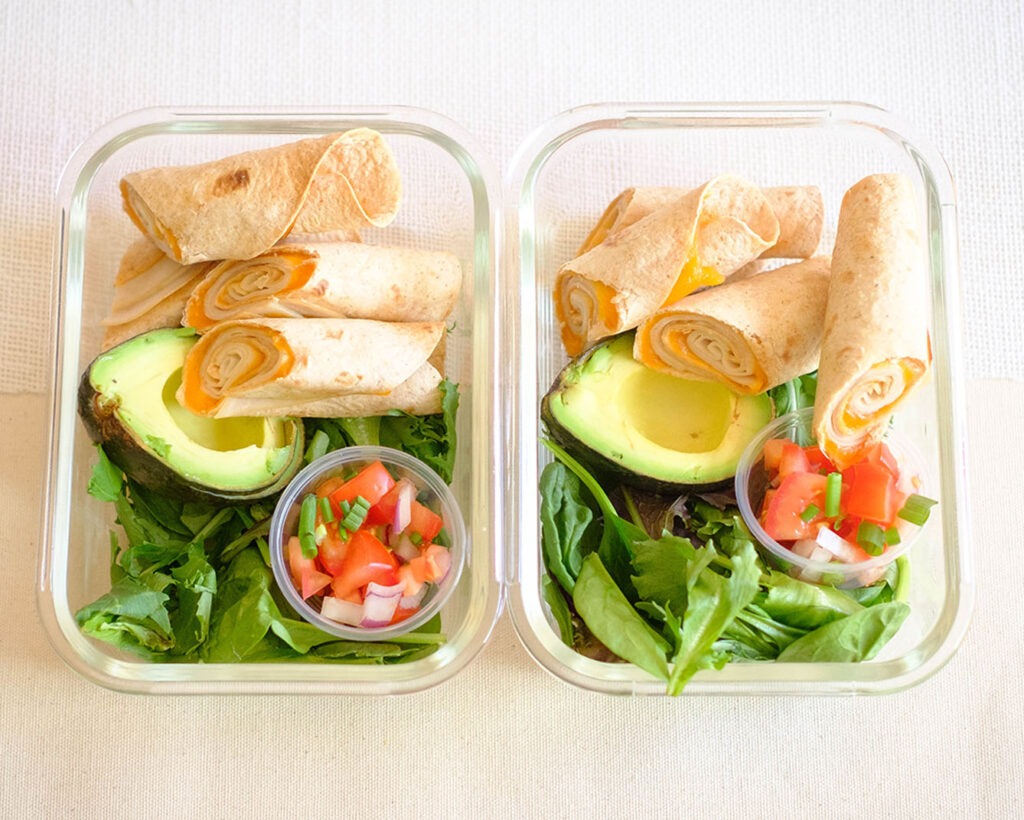
- Meal prep is all about making your life easier, and this recipe is no exception. By preparing a batch of Arugula Salad with Roasted Butternut Squash and Chicken Sausage ahead of time, you’ll have a delicious, ready-to-go lunch that requires minimal effort during busy weekdays.
- The combination of savory chicken sausage, sweet roasted butternut squash, and the tartness of dried cranberries creates a delightful balance of flavors in every bite. This salad is a symphony of taste sensations that will keep you eagerly coming back for more.
- While we’re sharing a specific recipe, feel free to customize it to suit your preferences. You can experiment with different types of sausage, add some toasted nuts for extra crunch, or even swap out the dried cranberries for pomegranate seeds for a refreshing twist.

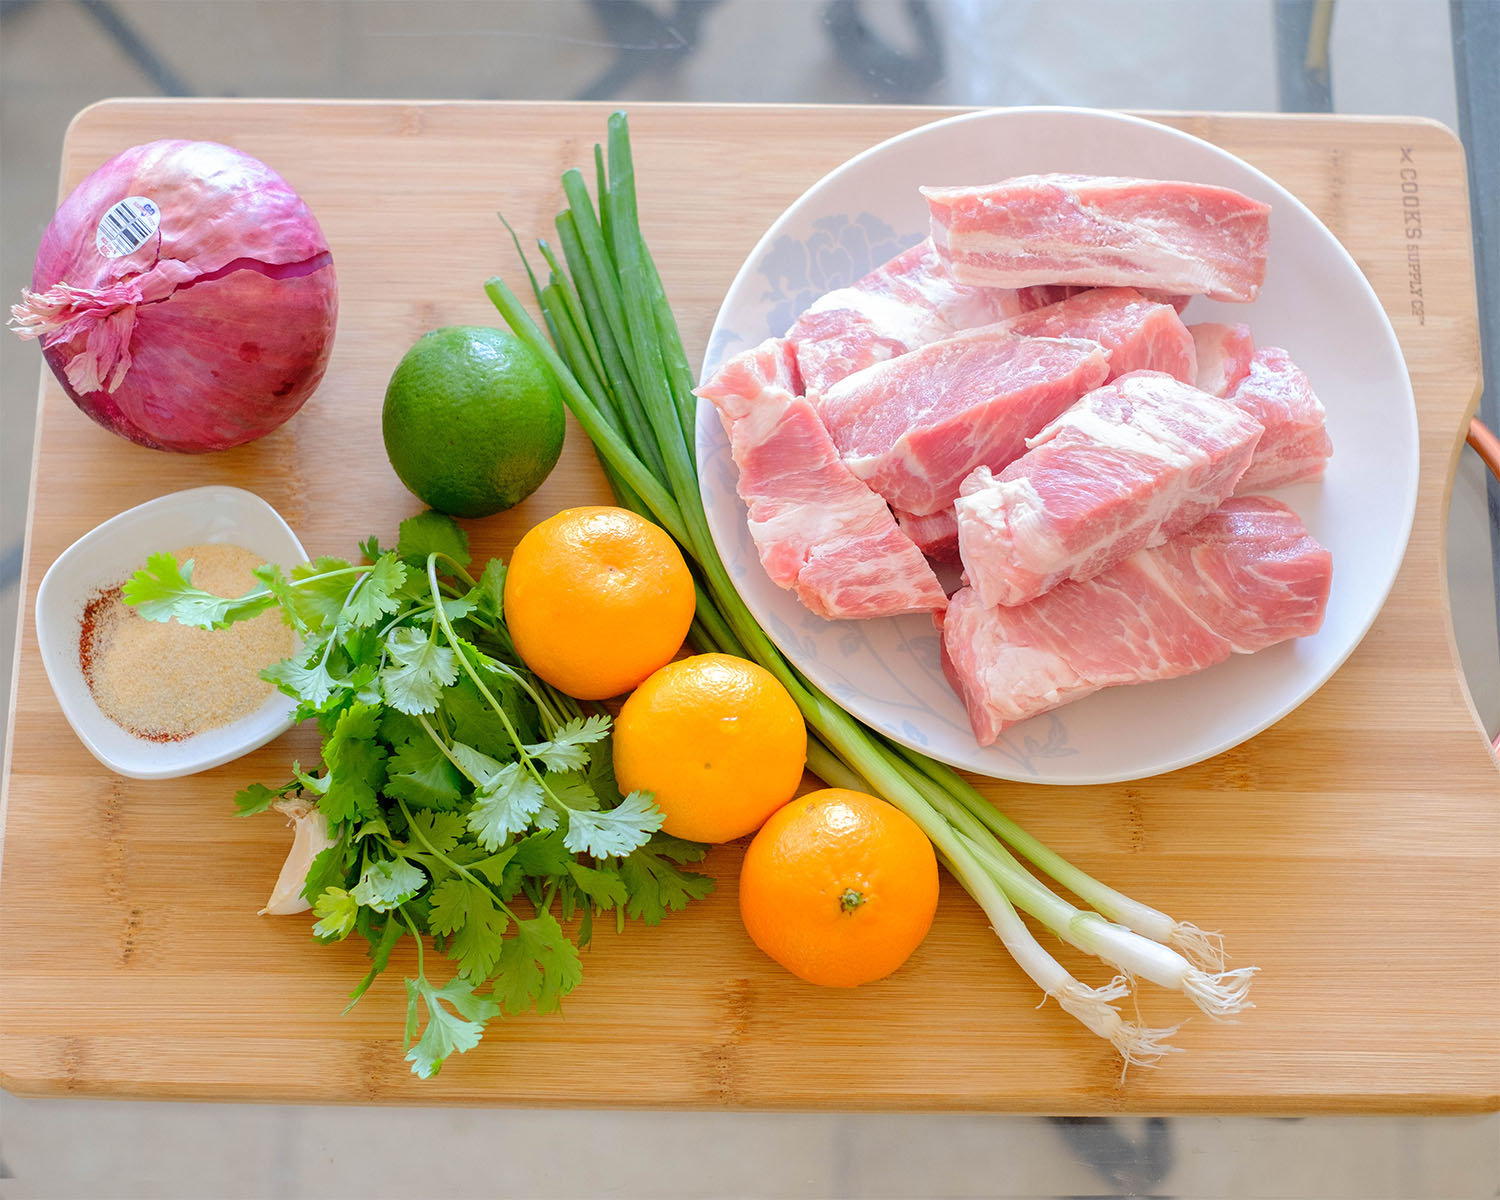
Ingredients You’ll Need
- Arugula Salad: Arugula is a leafy green vegetable with deep green, lobed leaves. It has a distinctive peppery and slightly bitter flavor, making it a popular choice in salads and as a garnish. Arugula is packed with essential nutrients, including vitamins A, C, and K. Vitamin K, in particular, is crucial for bone health and blood clotting. Arugula is a low-calorie food, making it an excellent choice for those looking to maintain or lose weight while still getting essential nutrients.
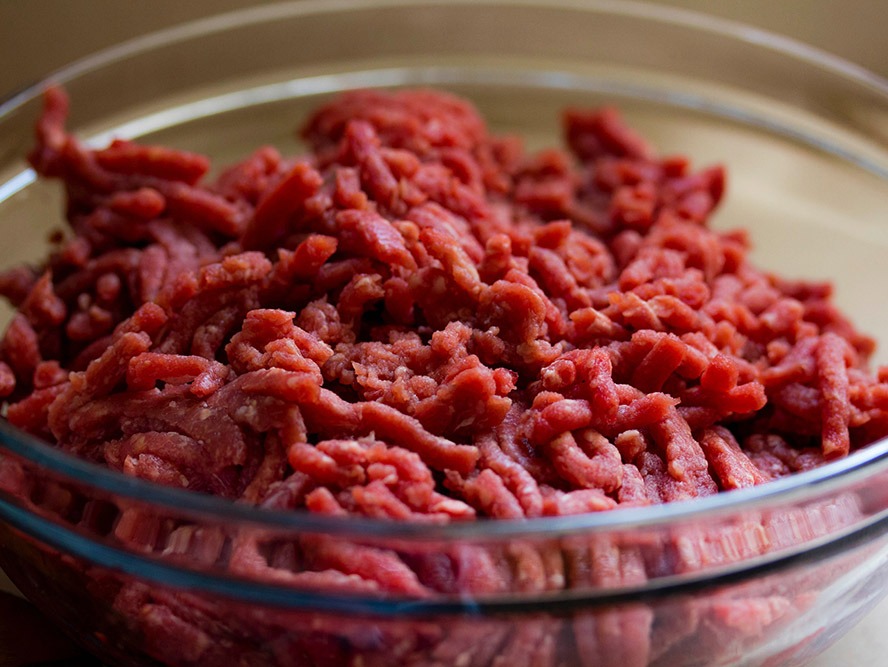
- Chicken Sausage: Chicken sausage is a flavorful and lean alternative to traditional pork sausage. It’s made from ground chicken meat and is often seasoned with herbs and spices.
- Butternut Squash: Butternut squash is a type of winter squash characterized by its bell-like shape and pale orange flesh. It has a sweet and nutty flavor. Like arugula, butternut squash is relatively low in calories, making it an excellent choice for those looking to maintain a healthy weight.
- Dried Cranberries: Dried cranberries are made from fresh cranberries that have been dried to preserve their tart and slightly sweet flavor. Cranberries, whether fresh or dried, are packed with antioxidants, including vitamin C and various phytochemicals, which may help protect against chronic diseases.
How to Meal Prep this Healthy Lunch Salad
- Preheat the oven to 400°F (200°C). While the oven is preheating, prepare the sausage and butternut squash.
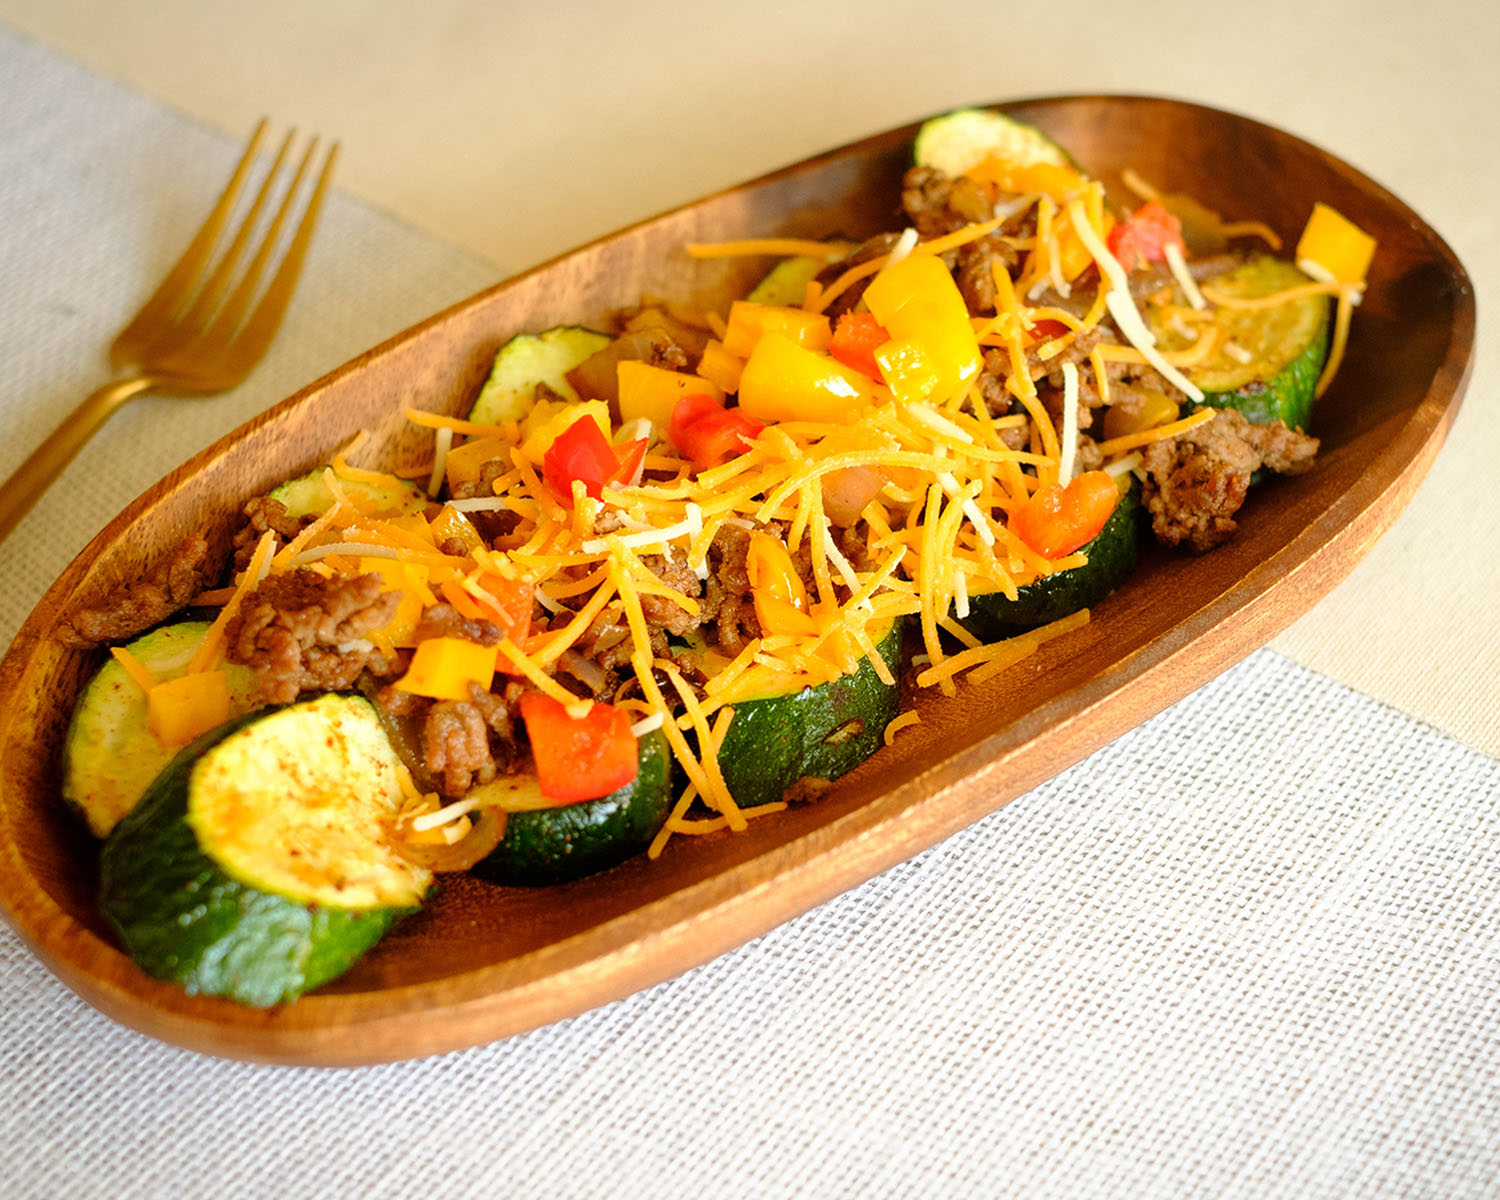
- Dice the chicken sausage and butternut squash into small, uniform squares. This ensures even cooking and a harmonious texture in your salad.
- Place the diced sausage and butternut squash on a baking sheet. Sprinkle them with garlic powder and a pinch of salt. Drizzle olive oil over the ingredients, making sure they are fully coated. Toss them gently to distribute the seasonings evenly.
- Bake in the preheated oven for approximately 15 minutes or until the butternut squash is tender and slightly caramelized, and the sausage is cooked through.
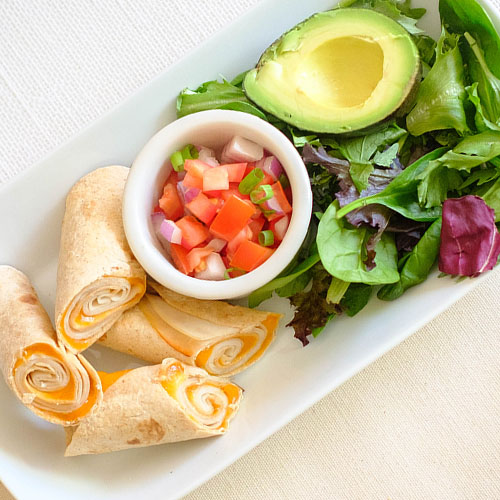
- Once the roasted butternut squash and chicken sausage are ready, let them cool for a few minutes. You can enjoy them warm or at room temperature.
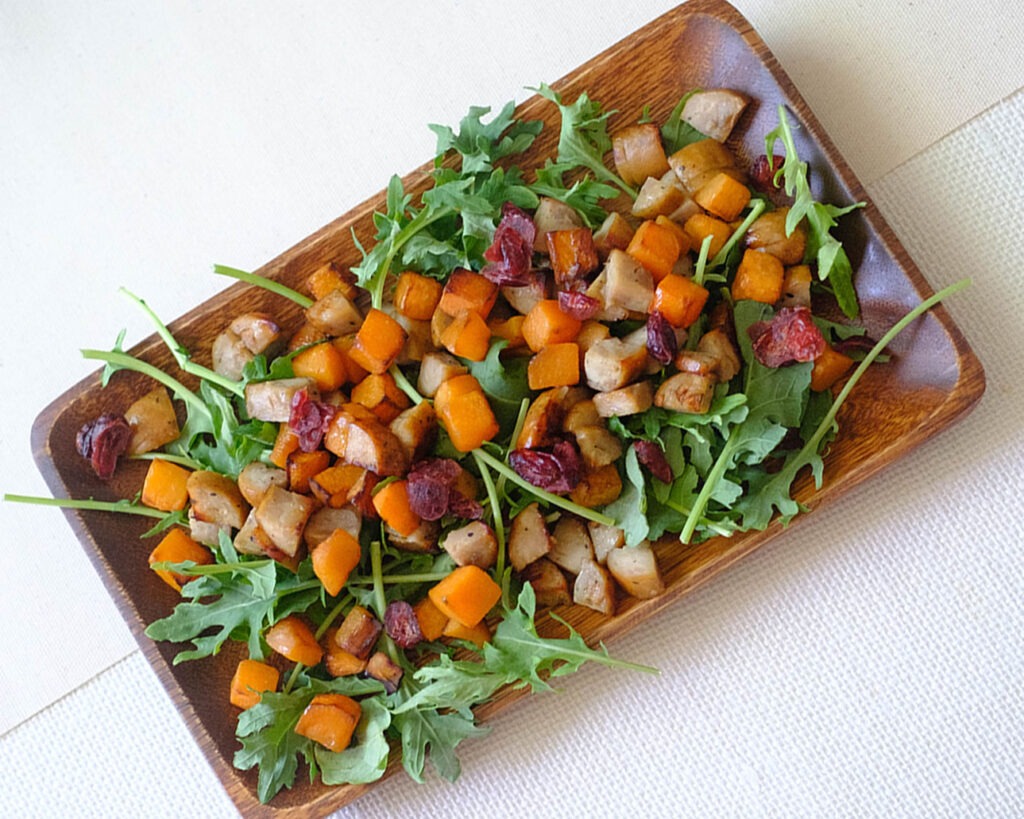
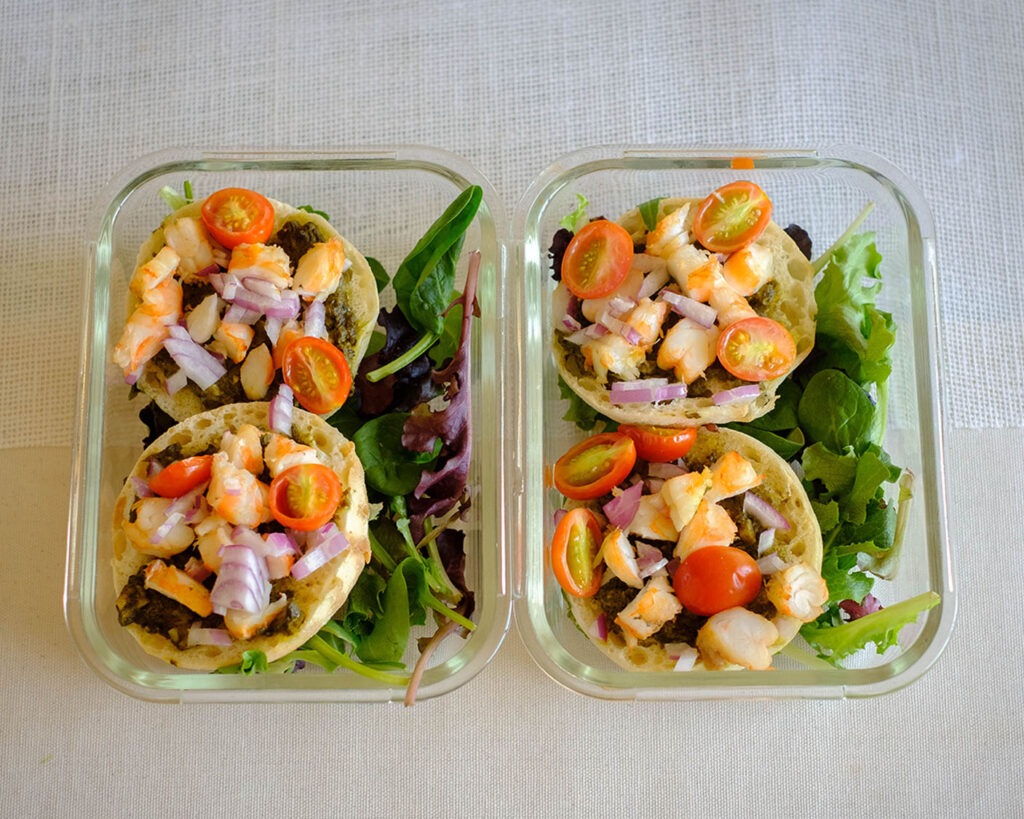
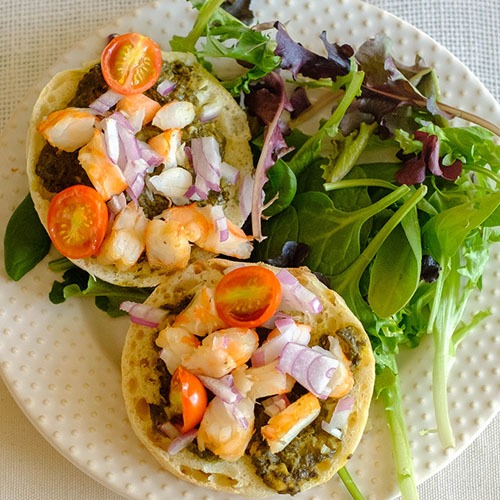
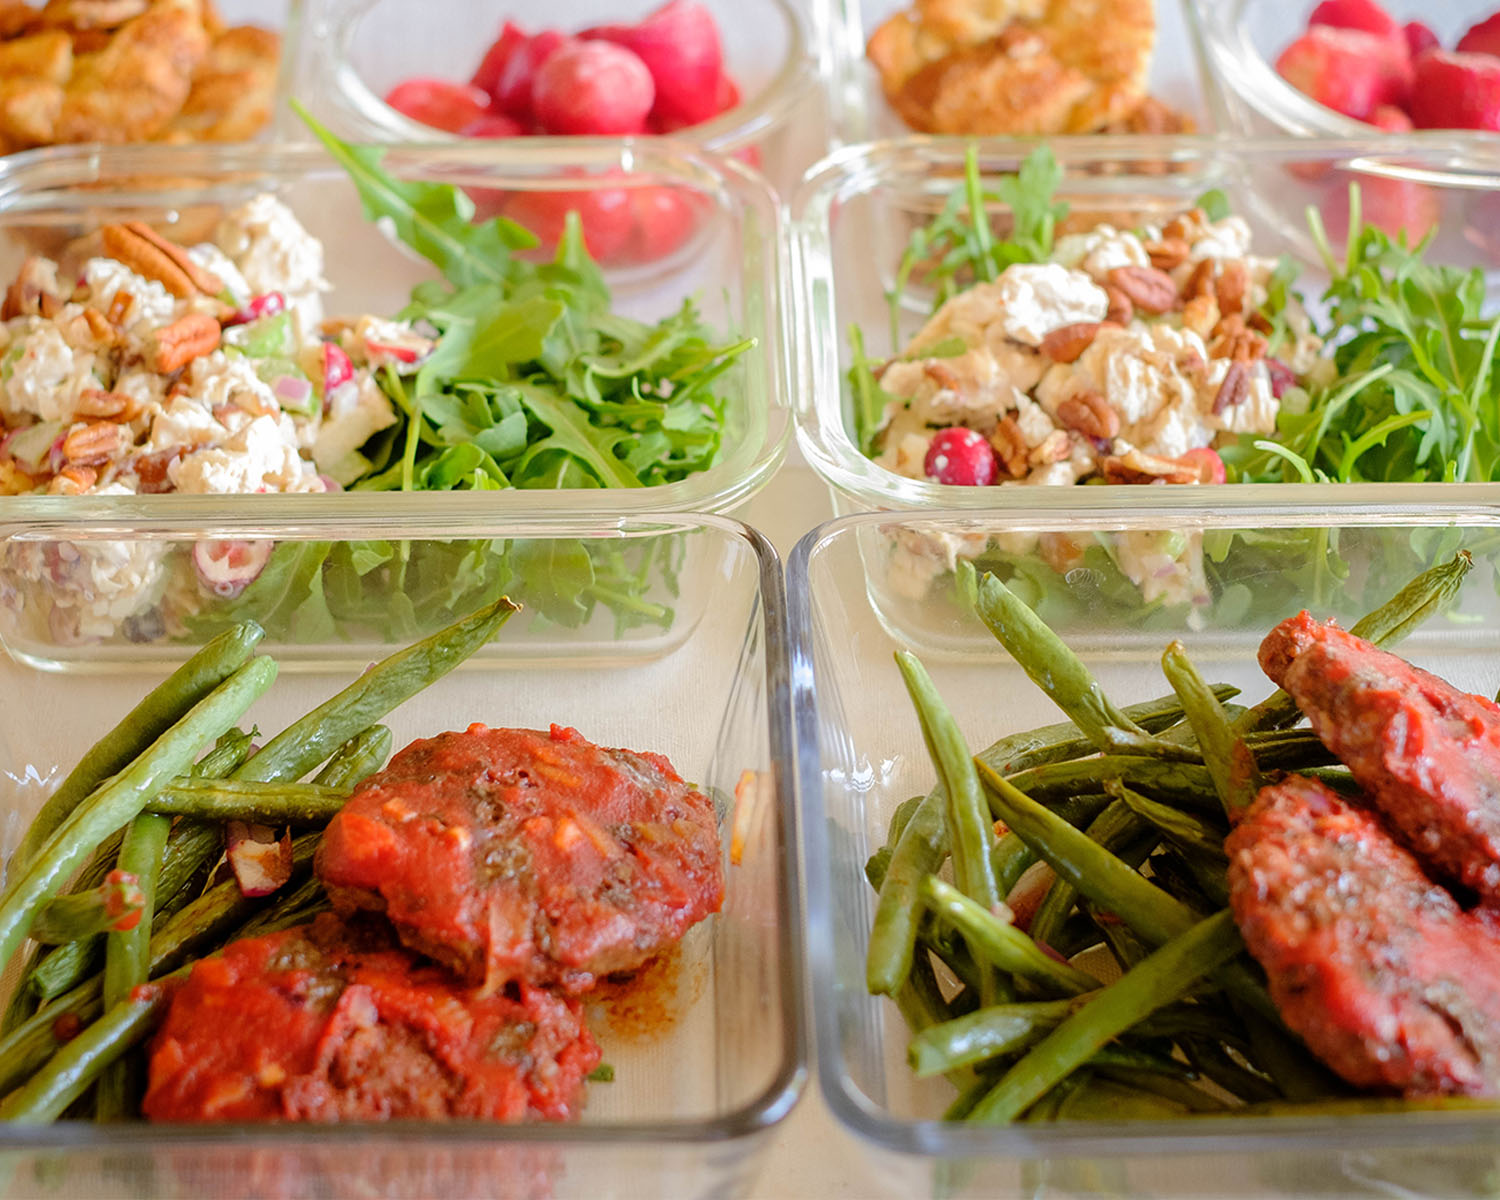
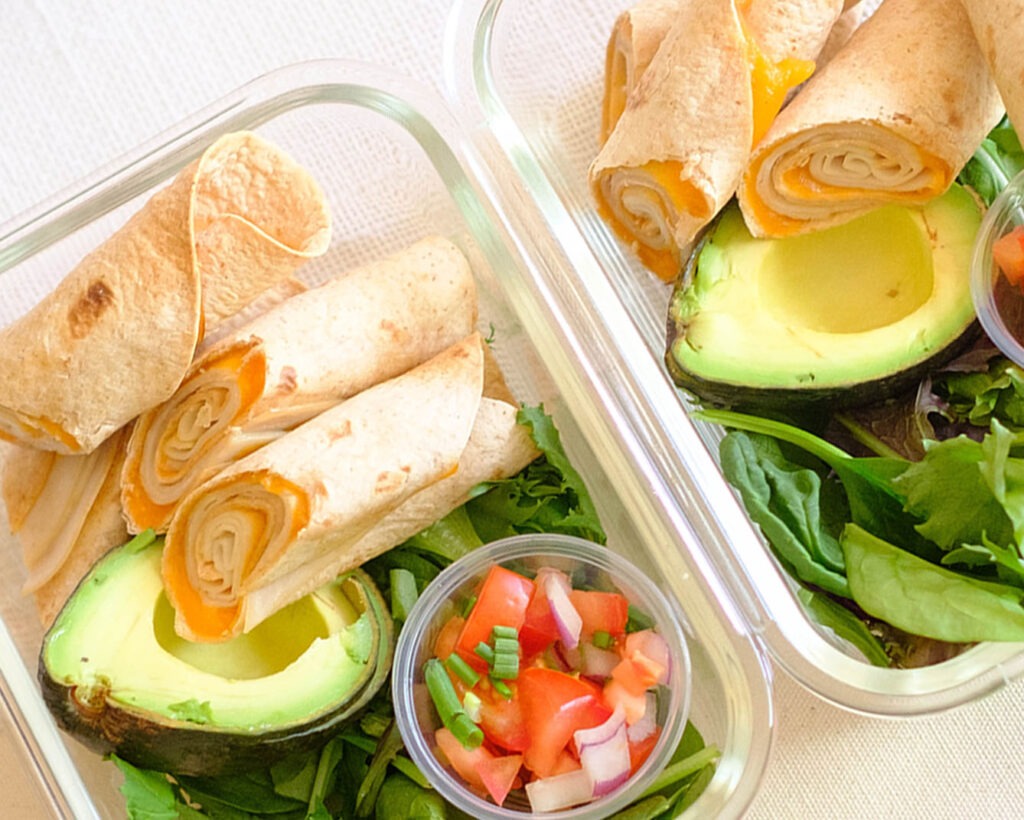
- To assemble your meal prep containers: Start with a generous bed of fresh arugula leaves. Top it with the roasted butternut squash and chicken sausage. Drizzle your favorite vinaigrette dressing over the salad and finish by sprinkling in the dried cranberries for a pop of color and sweetness.
Reference the recipe card below for detailed instructions.
Meal Prep Tips:
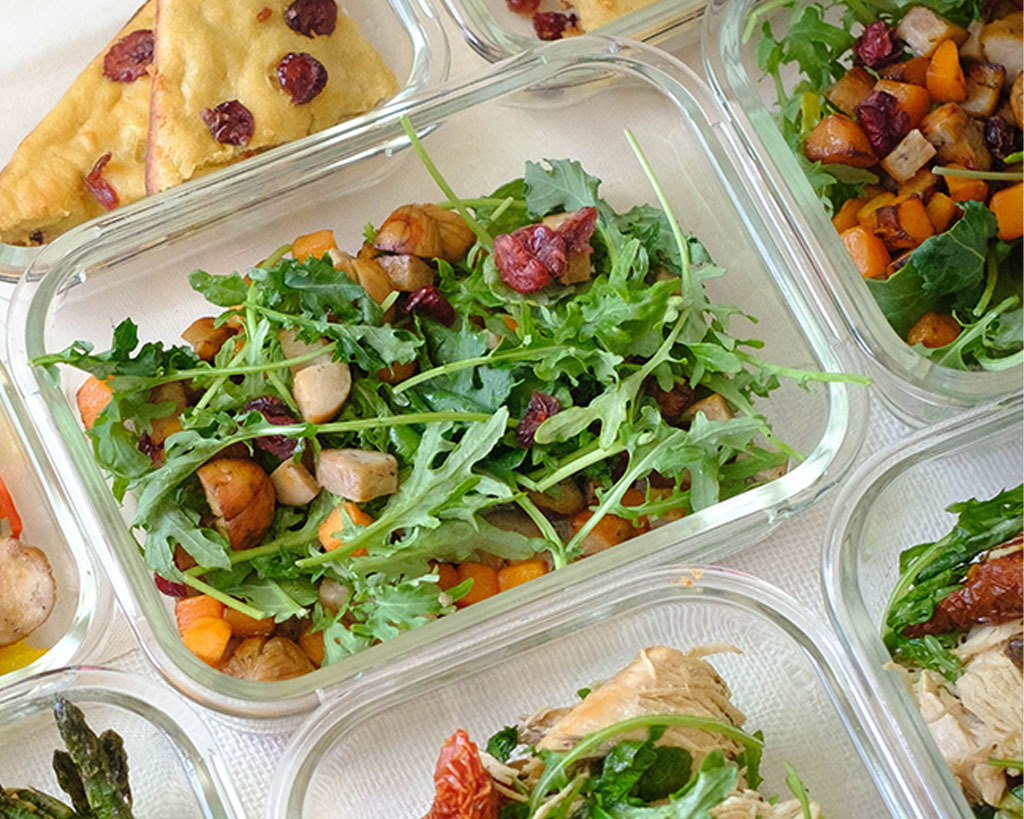
- Keep Dressing Separate: Dress the Salad Just Before Eating: To prevent the salad from becoming soggy if you’re meal prepping for the week, store the dressing separately and add it to the salad just before eating.
- Experiment with Spices: Customize the flavor of your chicken sausage and butternut squash by experimenting with different spices. Try paprika, thyme, rosemary, or cumin for added variety.
- Add Nuts or Seeds: For added texture and nutrition, consider adding toasted nuts or seeds like almonds, walnuts, or pumpkin seeds to your healthy lunch salad.
Ingredient Swaps:
- Arugula Salad: f you find arugula’s peppery taste too strong, you can replace it with fresh baby spinach. Spinach is milder in flavor but still rich in nutrients.
- Chicken Sausage: If you’re vegetarian, consider using vegetarian or plant-based sausage alternatives made from ingredients like mushrooms, beans, or tofu. You can also substitute chicken sausage with lean turkey sausage or even grilled chicken breast for a lower-fat option.
- Butternut Squash: If butternut squash isn’t your favorite, try using acorn squash, pumpkin, or sweet potatoes instead. They’ll provide a similar texture and sweetness.
- Dried Cranberries: Swap dried cranberries for raisins, dried cherries, or chopped dried apricots if you prefer a different dried fruit.


Frequently Asked Questions
Can I freeze the roasted butternut squash and chicken sausage for later use?
Yes, you can freeze the roasted butternut squash and chicken sausage in separate airtight containers for up to 2-3 months. Thaw in the refrigerator before reheating or using in salads.
What dressing goes best with this salad?
A balsamic vinaigrette or a honey mustard dressing complements this salad beautifully. You can also try a citrus-based dressing for a tangy twist.
What can I do with leftover roasted butternut squash and chicken sausage?
Leftovers can be used in various ways. Try adding them to omelets, grain bowls, or as toppings for pizza or pasta dishes.


Arugula Salad with Butternut Squash and Sausage
Equipment
Ingredients
Instructions