
If you’re a busy bee trying to eat well during the work week but crave the bold, vibrant flavors of takeout, this Thai Basil Chicken Stir-Fry is your new best friend. It’s quick, versatile, and perfect for meal prepping so you can have healthy, satisfying meals ready to go with no last-minute takeout temptations required!
This post may contain affiliate links. Please see our privacy policy for details.

Why You’ll Love This Recipe for Meal Prep:
- Quick & Efficient: You can prep this entire dish in under 20 minutes—perfect for busy weeknights.
- Protein-Packed: Ground chicken keeps you full and fueled for long days without feeling weighed down.
- Flavor Explosion: Ginger, sweet chili, and basil deliver bold takeout-worthy flavors without the guilt.
- Customizable Veggies: Swap in your favorite seasonal vegetables or whatever’s in your fridge for variety all week.
- Versatile with Sides: Pair with rice, noodles, quinoa, or lettuce wraps—the choice is yours!
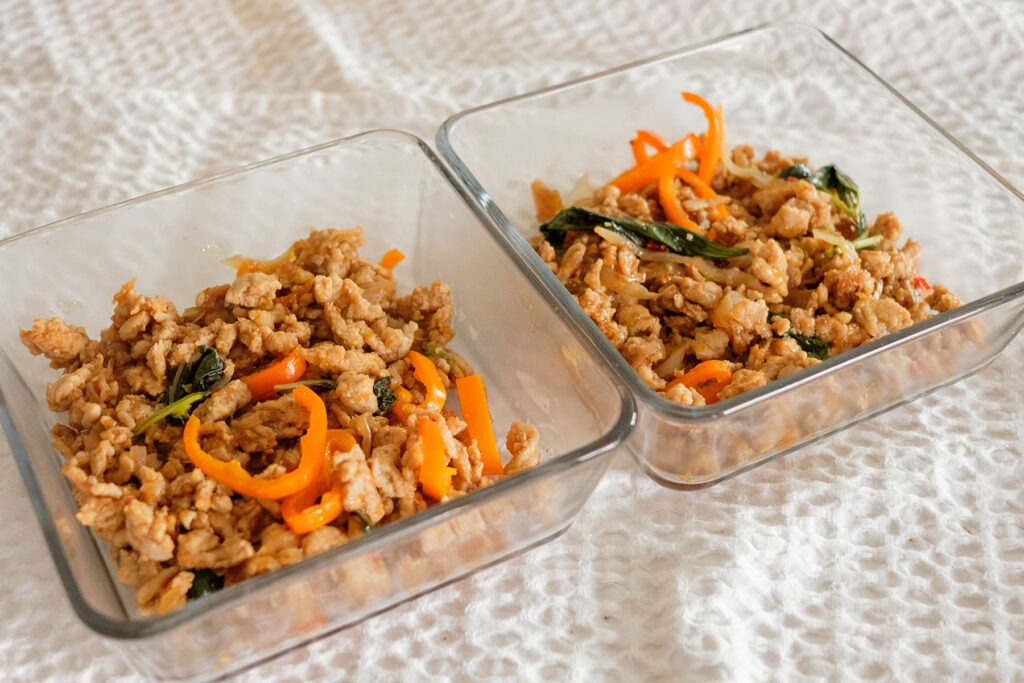
- Reheats Perfectly: This stir-fry maintains its texture and flavor when stored in meal prep containers for the week.
- Healthy & Balanced: Lean protein, fresh veggies, and a flavorful sauce create a meal that’s both satisfying and nutritious.
Chicken Stir Fry Ingredient Breakdown
- Ground chicken: Lean, quick-cooking, and absorbs the bold flavors of the sauce, keeping the dish protein-rich and satisfying.
- Olive oil: Provides a healthy fat for sautéing and helps the aromatics and chicken cook evenly while adding subtle richness.
- Onions: Sweet and savory base that softens as it cooks, adding depth and balance to the dish.
- Green onions: Mild onion flavor with a fresh, slightly sharp note; adds brightness and color.
- Mini bell peppers: Crunchy, slightly sweet, and colorful; contrast perfectly with the tender chicken while adding a fresh veggie component.
- Basil leaves: Classic Thai flavor—herbaceous, aromatic, and slightly peppery; elevates the dish with authentic, vibrant notes.
- Oyster sauce: Rich, savory, and slightly sweet; provides umami that makes the dish taste indulgent without being heavy.
- Soy sauce: Salty and savory, balances the sweetness and enhances the umami flavors.
- Fish sauce: Adds authentic depth and complexity; just a touch provides a signature Thai flavor.
- Sweet chili sauce: Mild heat with a sweet edge; complements the savoriness of the chicken and sauce.
- Ginger paste: Warm, slightly spicy, and aromatic; brightens the flavors and pairs naturally with garlic and onion notes in the stir-fry.
How to Meal Prep Chicken Stir Fry with Basil
- Prepare your ingredients: Wash and dry your vegetables. Slice the onions and mini bell peppers into thin strips, dice the green onions, and slice the basil leaves. In a small bowl, whisk together the oyster sauce, soy sauce, fish sauce, sweet chili sauce, and ginger paste until smooth. Set aside.
- Cook the aromatics: Heat the olive oil in a large skillet or wok over medium-high heat. Once the oil is hot and shimmering, add the onions and green onions. Stir them around with a spatula for about 2–3 minutes, until they soften and release a fragrant aroma.
- Brown the chicken: Add the ground chicken to the pan. Use your spatula or spoon to break it apart into small crumbles as it cooks. Stir frequently until the chicken is no longer pink and starts to turn golden brown, about 5–6 minutes.
- Add the sauce: Pour the sauce mixture into the pan. Stir well so that every piece of chicken is coated. Let it simmer for 1–2 minutes so the flavors can blend and the sauce slightly thickens/
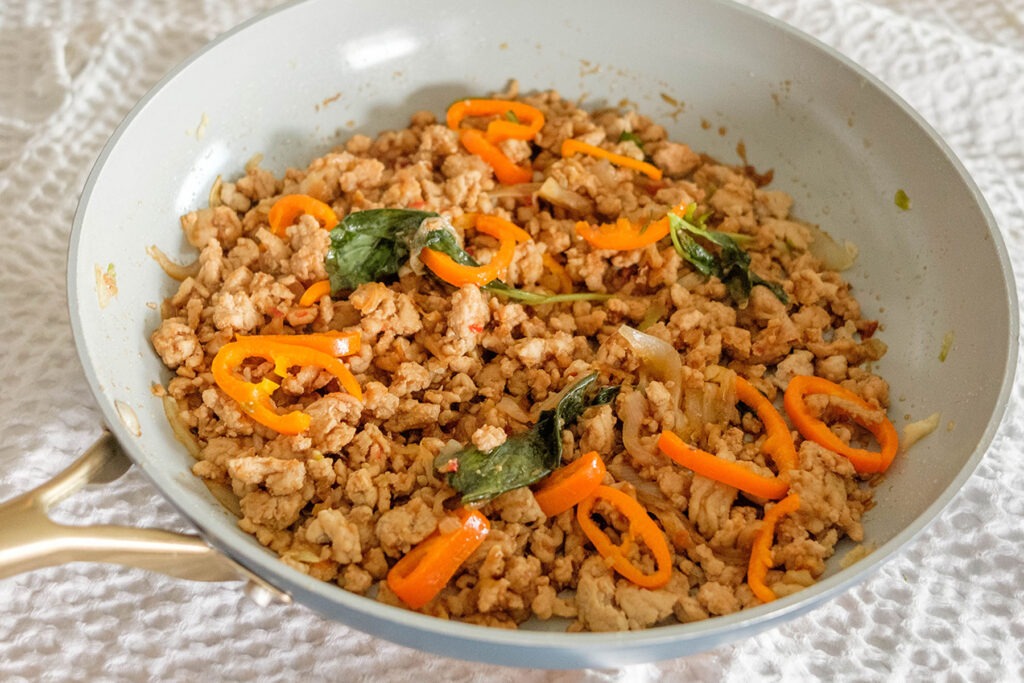
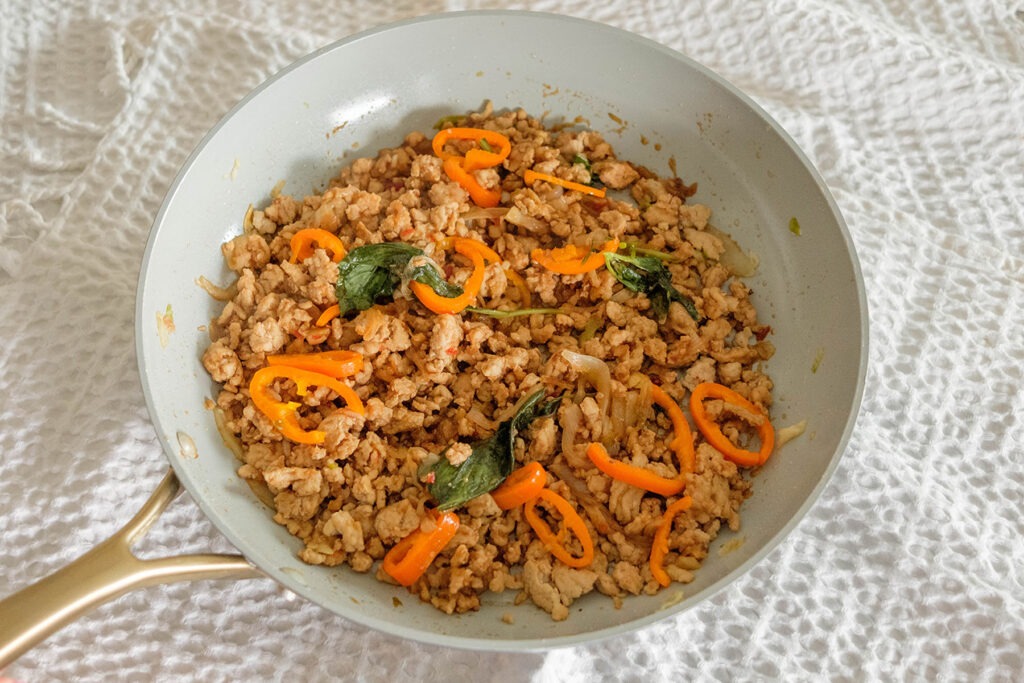
- Finish with vegetables and basil: Toss in the sliced mini bell peppers and basil leaves. Stir everything together for another 1–2 minutes, just until the peppers are slightly tender but still crisp and the basil has wilted
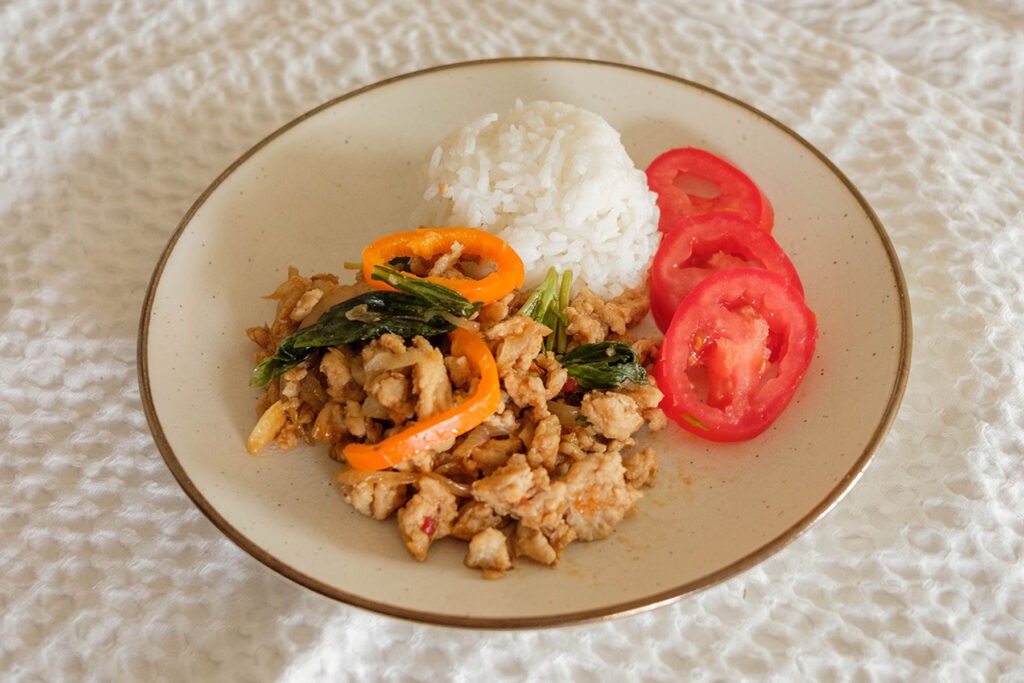
- Serve and enjoy: Remove from heat. Serve hot over a bowl of rice, quinoa, or noodles for a filling meal. For a lighter option, spoon the chicken mixture into lettuce leaves to make flavorful wraps.
Meal Prep Tips to Avoid Mistakes
- Prep your veggies and sauce before you start cooking so the process feels smooth instead of rushed.
- Give your chicken space in the pan to brown properly rather than steaming in an overcrowded skillet.
- Break up the chicken into small crumbles so it cooks evenly and absorbs the sauce instead of staying in bland clumps.
- Add bell peppers at the end to keep them crisp and colorful instead of overcooking them into mush.
- Stir in basil right before serving to keep it vibrant and fragrant instead of dull and wilted.
- Taste and adjust seasonings as you go for balanced flavor instead of ending up with food that’s too salty or flat.
- Let the stir-fry cool for 10–15 minutes before storing so your meal prep stays fresh instead of soggy.


Frequently Asked Questions
Can I freeze this dish?
Yes, the chicken and sauce freeze well for up to 2 months. For best results, freeze without the bell peppers and basil, then add those fresh when reheating.
What sides work best with this stir-fry?
It pairs beautifully with jasmine rice, brown rice, quinoa, noodles, or lettuce wraps for a lighter option.
Can I substitute the protein?
Definitely! Try ground turkey, ground pork, or even firm tofu for a vegetarian twist.


Thai Basil Chicken Stir Fry
Equipment
Ingredients
Sauce
Instructions
Video
Notes
Nutrition