Looking for a meal prep recipe that’s quick, easy, and packs a punch of flavor? You’ll need to try this Air Fryer Hot Honey Gochujang Chicken which is a healthy take on the classic hot honey chicken with bold Asian-inspired flavors that will make your taste buds dance! Perfect for busy professionals who want tasty, nutritious meals ready to go.
This post may contain affiliate links. Please see our privacy policy for details.
Why You’ll Love this Meal Prep Recipe
- Quick and fuss-free: Air fryer magic cuts cooking time while delivering crispy, juicy chicken.
- Bold flavor, minimal effort: The gochujang-honey marinade gives maximum flavor with minimal ingredients.
- Healthy twist: Uses lean chicken thigh and just enough sauce to keep it flavorful but not overly heavy.
- Scalable: Double or triple the recipe for multiple meals in one go.
- Versatile for sides: Pairs with grains, greens, or veggies for a complete meal prep option.
- Dippable sauce: Reserve a little marinade as a dipping sauce for lunches or snack-time protein hits.
- Meal prep-friendly storage: Keeps well in the fridge for 3–4 days, making weekday lunches or dinners stress-free.

Simple Ingredients You’ll Need:
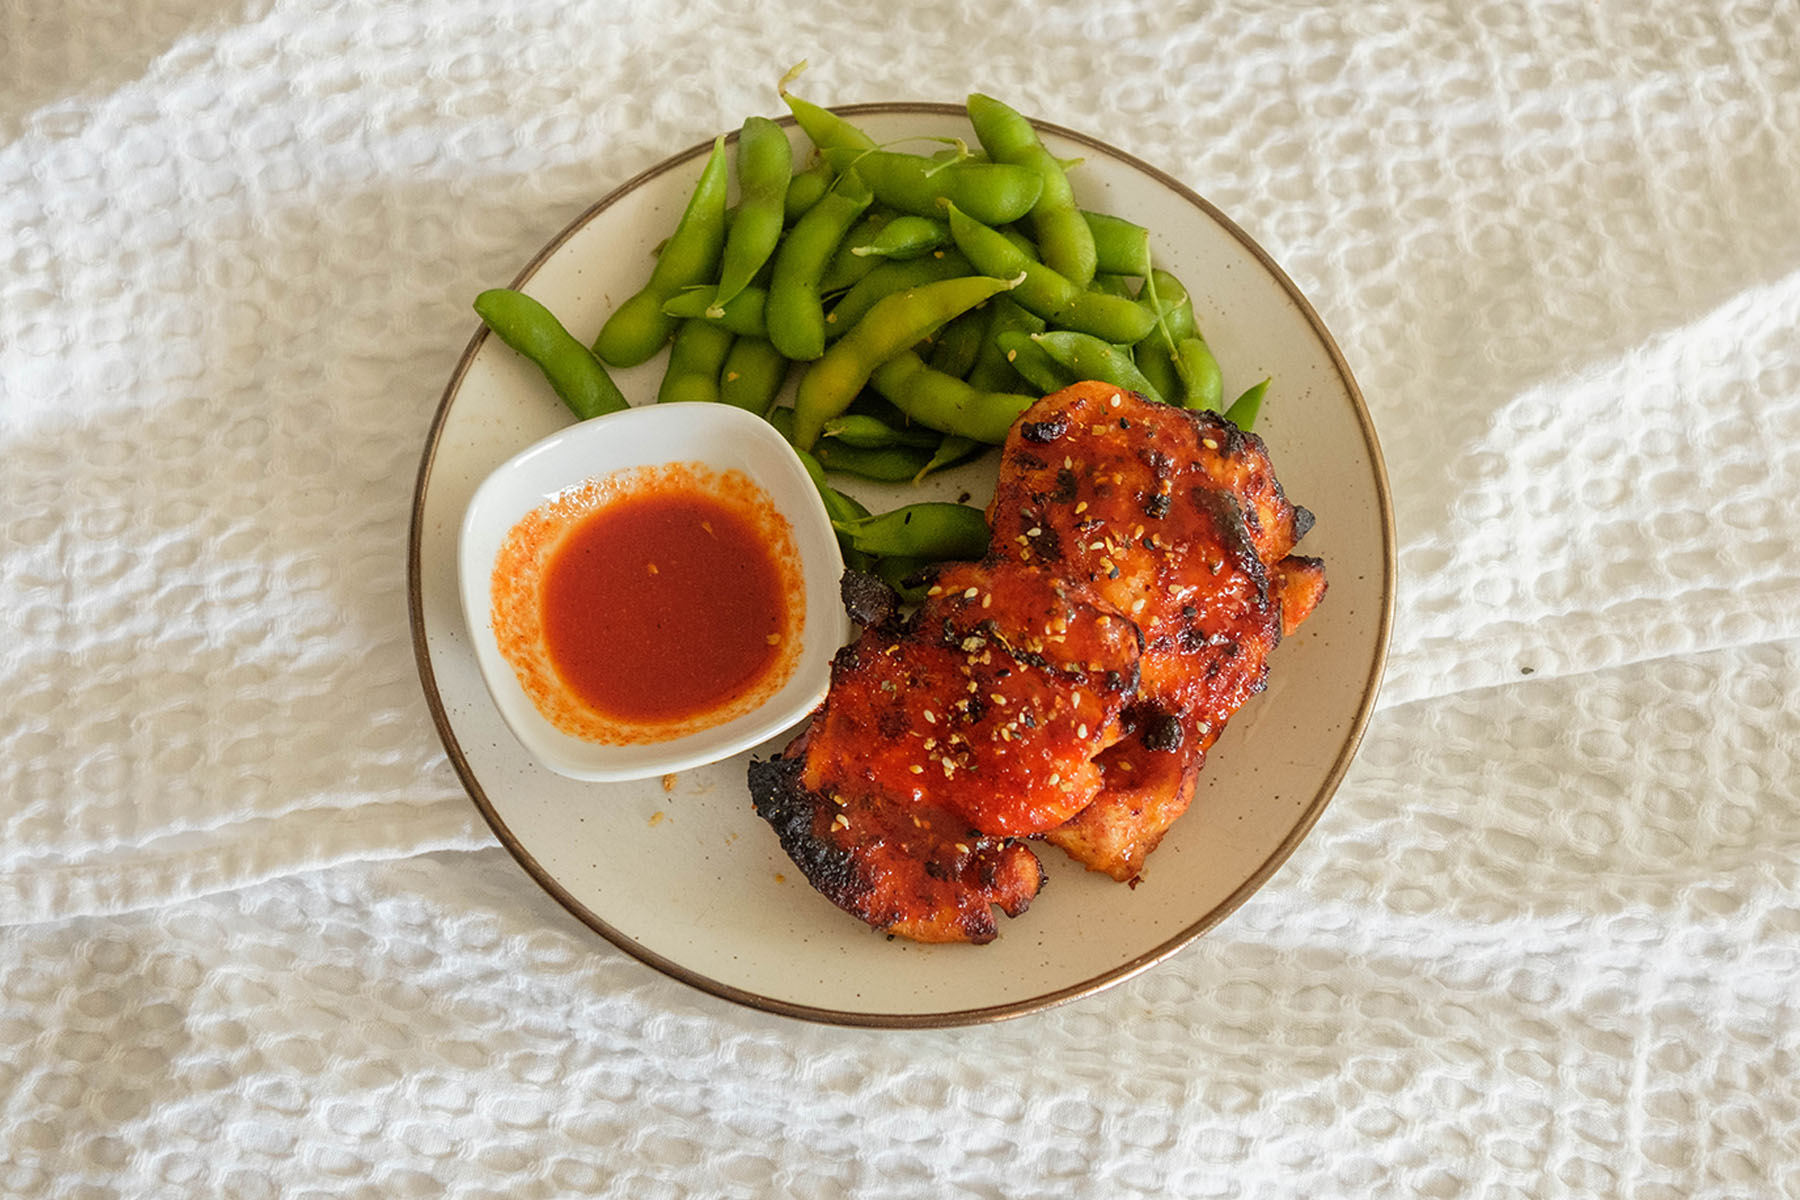
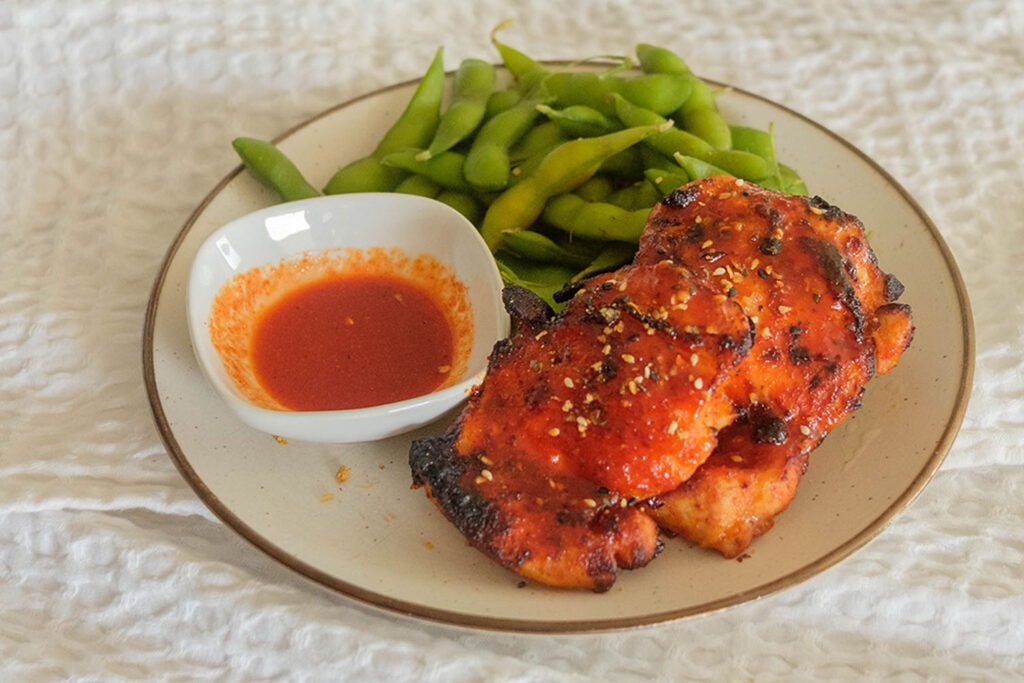
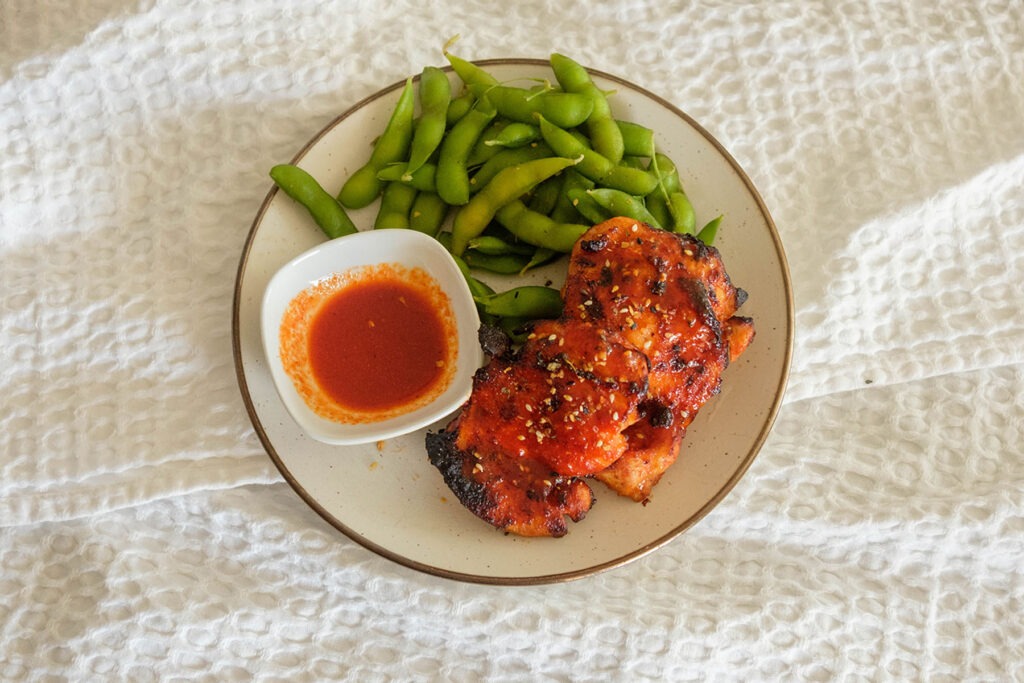
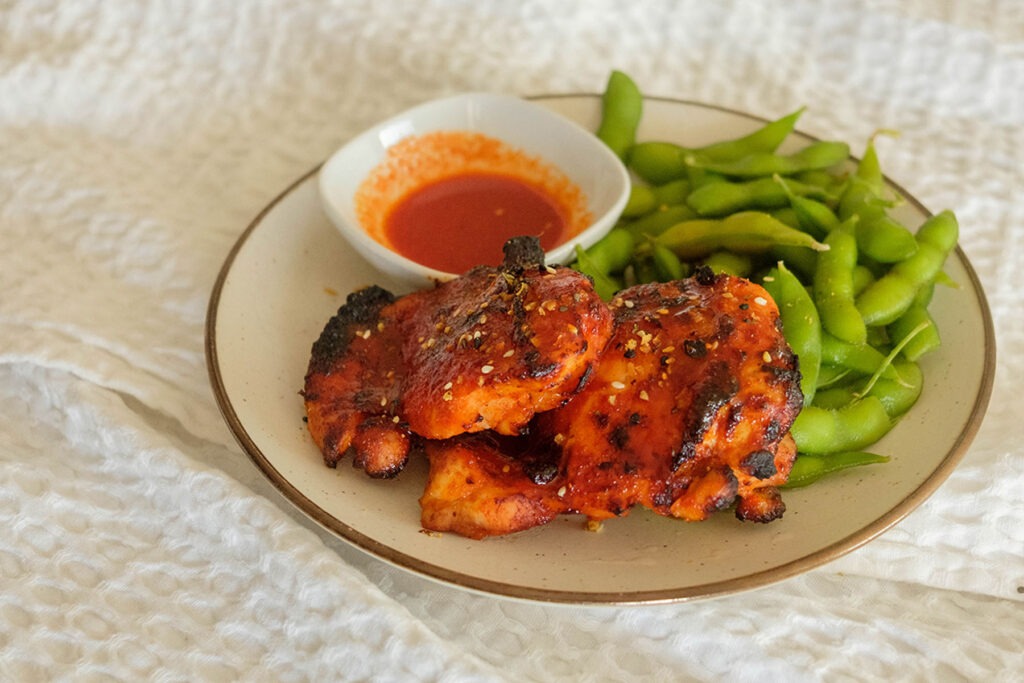
- Boneless Chicken Thigh (10 oz): Chicken thighs are juicy and tender, which makes them perfect for air frying. Unlike chicken breast, they stay moist even with high heat, so every bite is succulent and flavorful.
- Gochujang Sauce (2 tbsp): This Korean chili paste adds a bold, umami-packed heat with a subtle sweetness. It’s the flavor powerhouse of the dish, giving it that signature kick without being overpowering.
- Honey (2 tbsp): Honey balances out the spicy heat of the gochujang, creating that addictive sweet-spicy glaze. It also caramelizes beautifully in the air fryer, giving the chicken a slightly sticky, golden finish.
- Sesame Oil (1 tsp): Just a hint of sesame oil adds a rich, nutty aroma that rounds out the flavor profile and brings a true Asian flair to the dish.
- Fish Sauce (1 tbsp): Fish sauce might sound intimidating, but it’s a secret weapon here. It adds depth and umami, enhancing all the other flavors without tasting fishy.
- Lime Juice (1 tsp): Lime juice adds a bright, acidic pop that cuts through the richness of the chicken and honey glaze. It keeps the dish fresh and vibrant.
- Garlic Powder (¼ tsp): Garlic powder adds subtle savory notes, giving the chicken a warm and comforting background flavor.
- Black Pepper (¼ tsp): A small amount of black pepper provides gentle heat and complexity without competing with the gochujang.
- Salt (¼ tsp): Salt enhances all the flavors and ensures the chicken is perfectly seasoned.
- Optional: Sesame Seeds (1 tsp): Sprinkled on top, sesame seeds add a little crunch and a nutty accent that makes each bite more interesting and visually appealing.
How to Make Air Fryer Hot Honey Gochujang Chicken:
- Make the marinade: In a medium mixing bowl, combine the gochujang sauce, honey, sesame oil, fish sauce, lime juice, garlic powder, black pepper, and salt. Whisk everything together until smooth. Set aside about 2 tablespoons of the sauce to use later as a dipping sauce.
- Marinate the chicken: Add the chicken thighs to the bowl and use a spoon or your hands to coat each piece evenly with the sauce. Cover the bowl with plastic wrap or a lid and let the chicken marinate for at least 10 minutes. The longer you marinate, the more flavorful it will be.
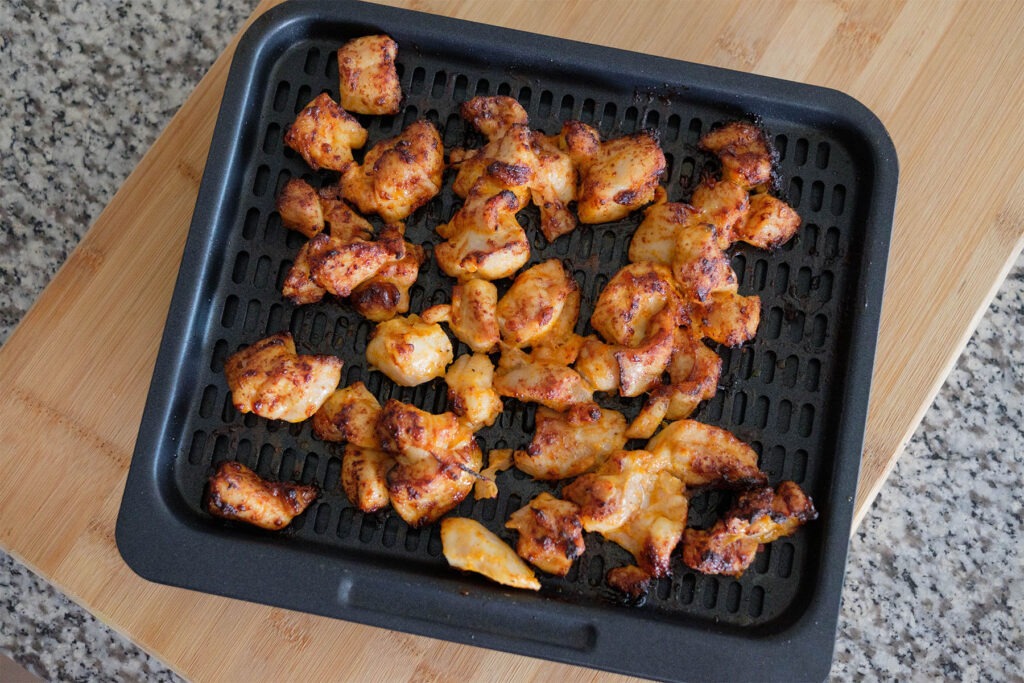
- Prepare the air fryer: Preheat your air fryer to 400°F (if your model requires preheating). Lightly spray or brush the air fryer basket with cooking spray to prevent sticking.
- Cook the chicken: Place the marinated chicken thighs on the air fryer rack in a single layer, making sure they aren’t overlapping. Cook for 8–10 minutes, flipping the chicken halfway through so it cooks evenly on both sides. Chicken is done when it reaches an internal temperature of 165°F and the outside is slightly caramelized.
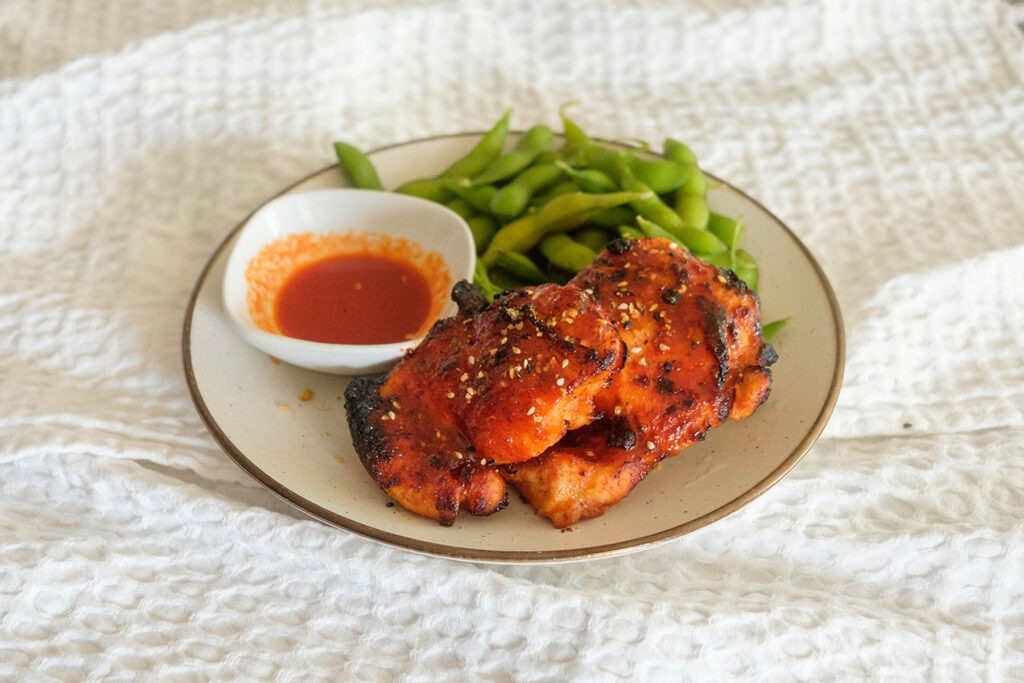
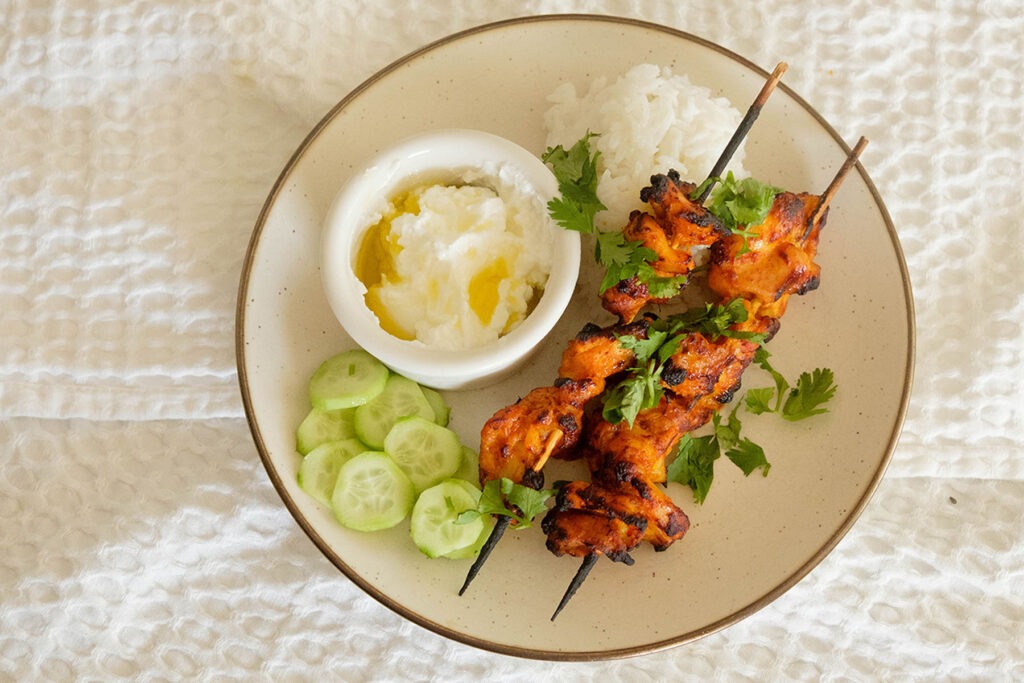
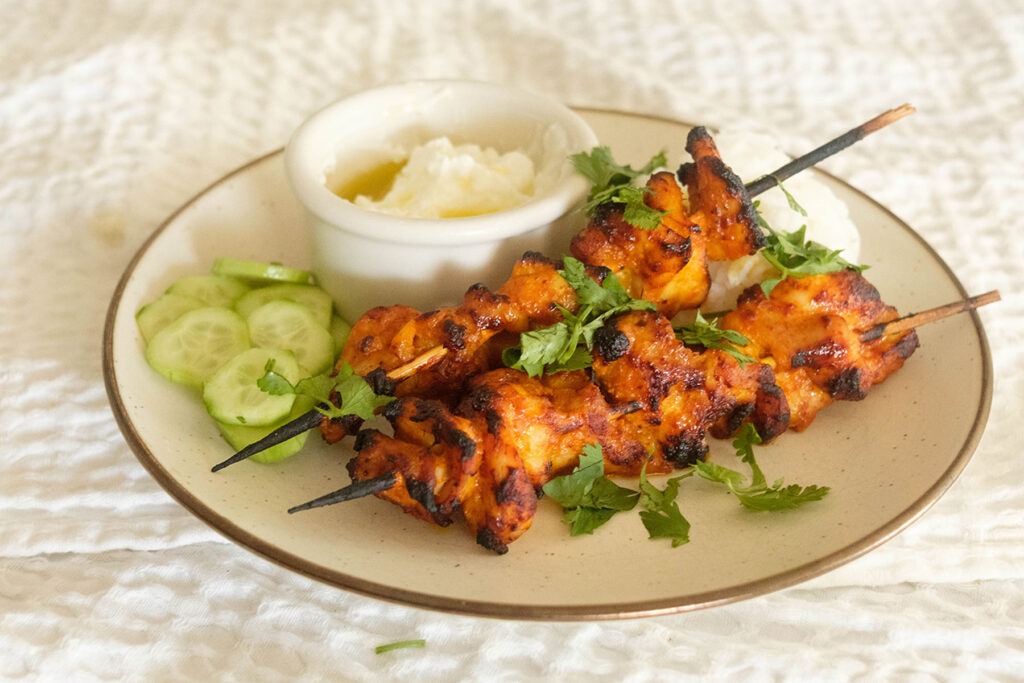
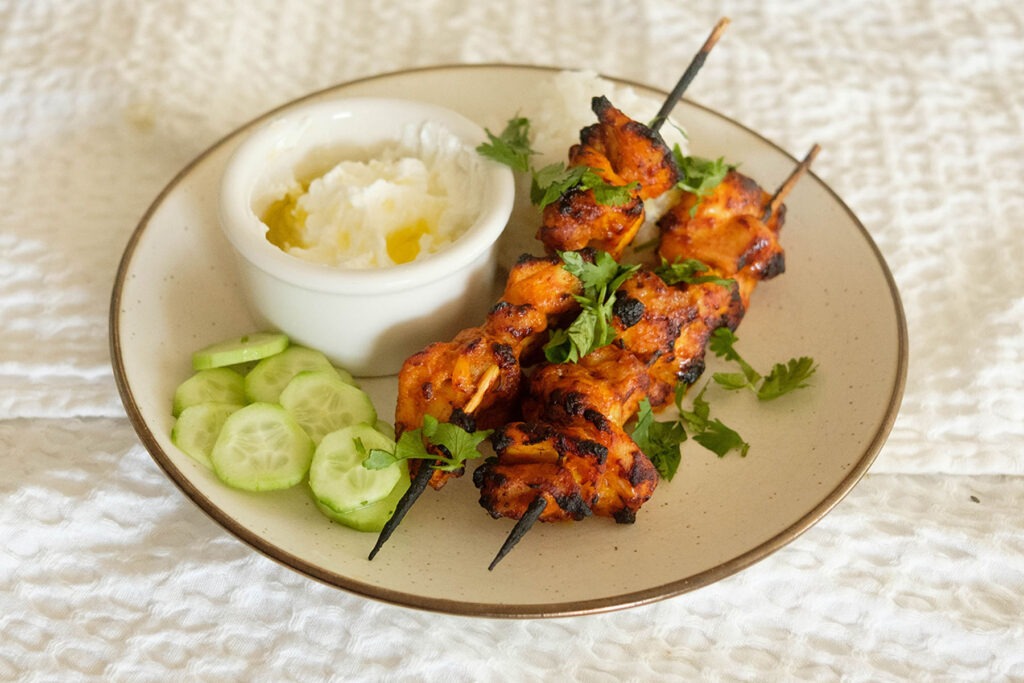
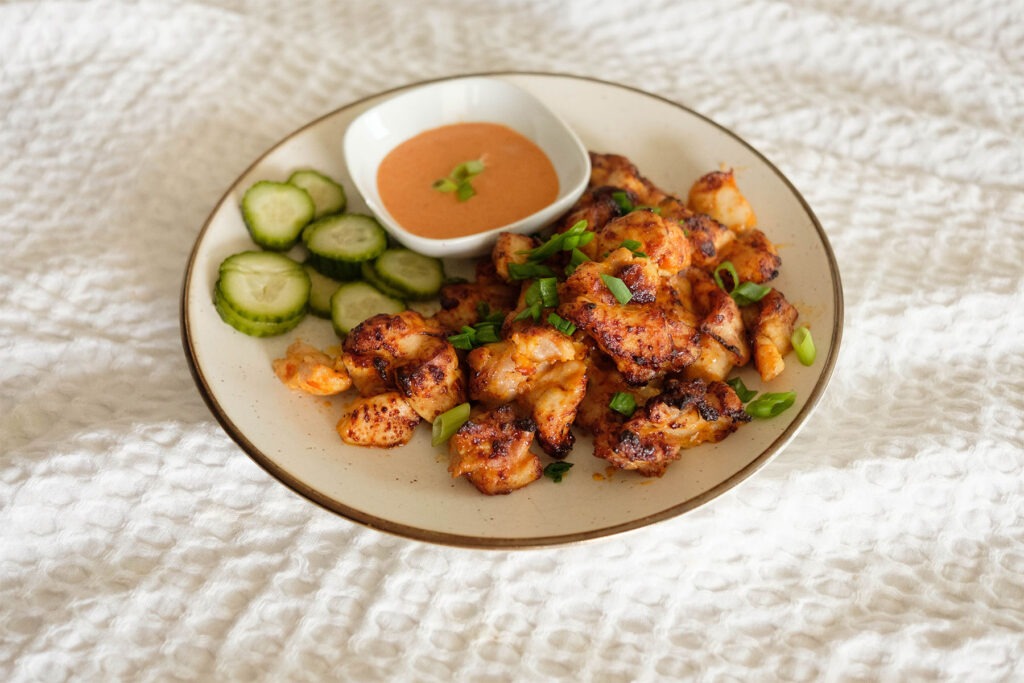
- Serve and garnish: Remove the chicken from the air fryer and sprinkle with sesame seeds, if using. Serve with your favorite sides like steamed edamame, roasted veggies, or rice. Use the reserved sauce as a dipping sauce for extra flavor.
Pairing Tips for a Complete Meal
- Steamed or roasted veggies: Broccoli, cauliflower, or snap peas add fiber, crunch, and color to your meal prep containers
- Whole grains: Brown rice, quinoa, or farro make a filling, nutritious base that soaks up the sauce nicely
- Leafy greens: Baby spinach or arugula adds freshness and balances the bold flavors of the chicken
- Edamame: High in protein and pairs beautifully with the Asian-inspired flavors of the chicken
- Cauliflower rice: A low-carb, quick-cooking option that keeps meals light and nutrient-dense
- Pickled vegetables: Kimchi, pickled carrots, or cucumbers add tang and help cut through the sweetness of the honey glaze.
- Avocado slices: Creamy texture that balances the spice and adds healthy fats for satiety.


Frequently Asked Questions
How spicy is this recipe?
The gochujang adds a mild to medium heat. If you prefer less spice, reduce the amount of gochujang or add a little more honey.
Can I adjust the sweetness or heat?
Yes! Add more honey if you like it sweeter or reduce the gochujang for a milder spice. You can also add a dash of sriracha for extra heat.
Can I make this recipe without an air fryer?
Yes! Bake in a preheated oven at 400°F for 12–15 minutes, flipping halfway through, until chicken reaches 165°F internally.


Air Fryer Hot Honey Gochujang Chicken
Equipment
Ingredients
Instructions
Video
Notes
Nutrition