
This post may contain affiliate links. Please see our privacy policy for details.
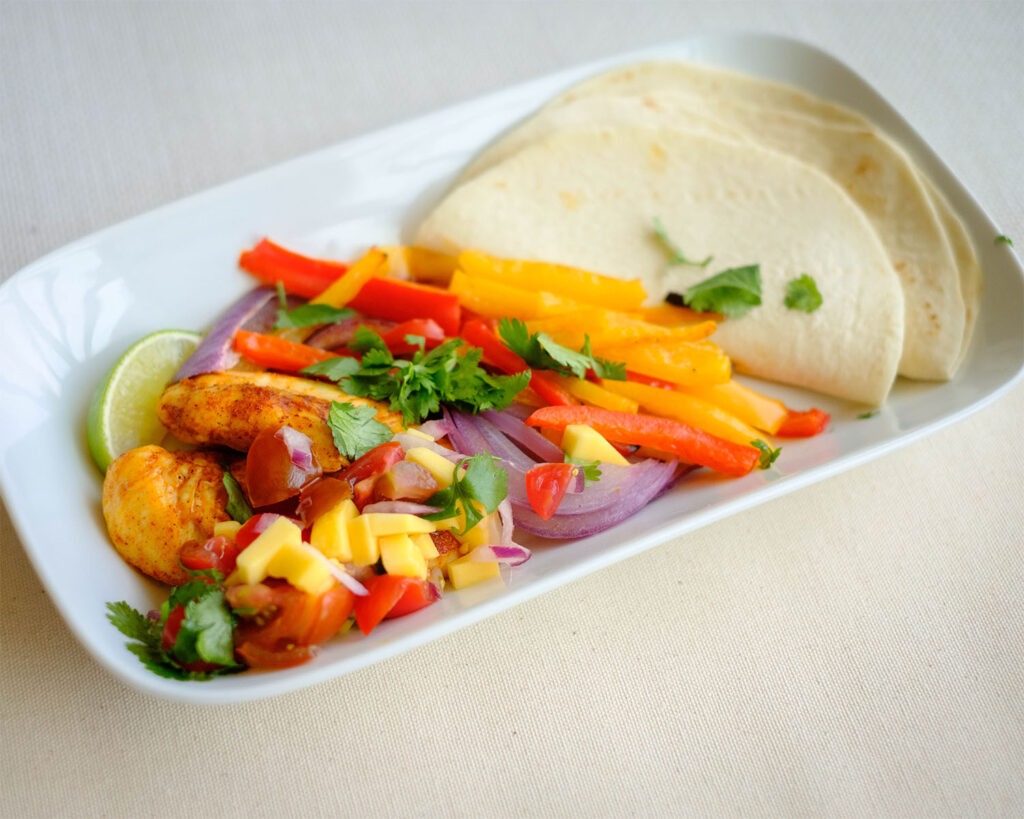
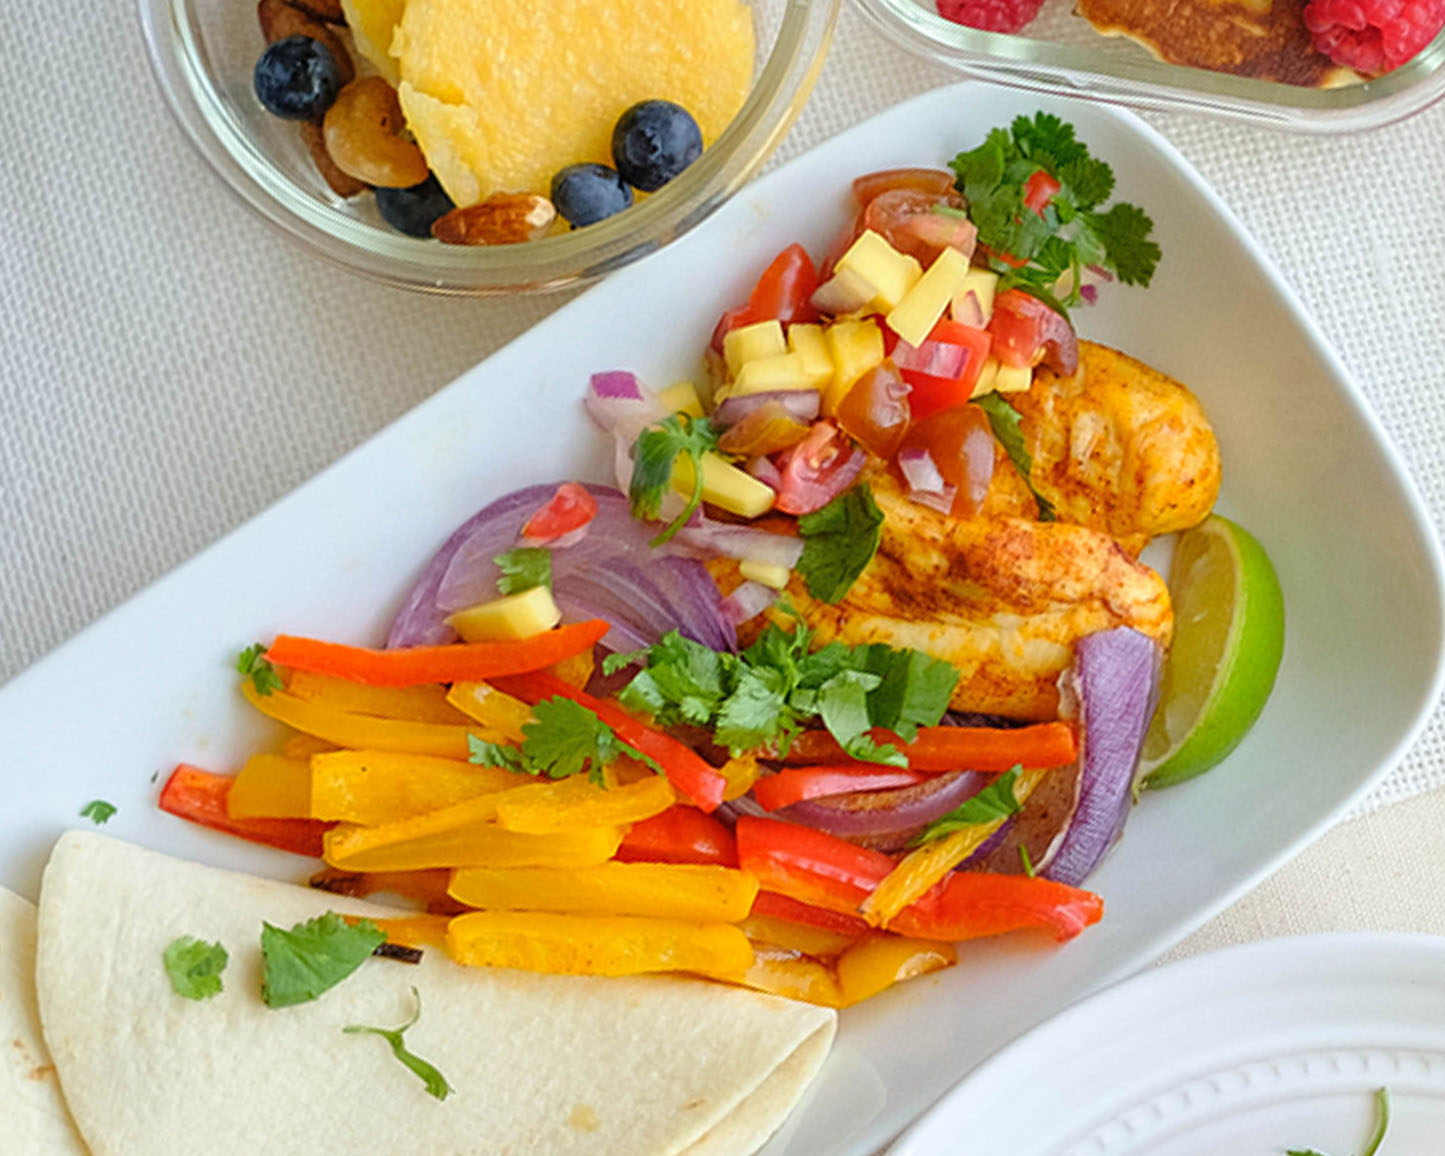
Sheet pan chicken fajitas are the fastest dinner you can make with tender chicken, and colorful veggies, and it’s an easy clean-up!
Why We Love This Oven Baked Chicken Fajitas
- There is no need to spend extra dollars at a restaurant for your weeknight dinner.
- This easy fajita dinner is budget-friendly and super tasty.
- You can bake everything in one pan and you get juicy chicken with sweet roasted peppers and onions, and the oven does all the work.

To Make Easy Baked Chicken Fajitas, You’ll Need
- Chicken Tenderloins: You can also use chicken breasts or boneless chicken thighs
- Bell Peppers and Onions: These ingredients add flavor and lots of color to the dish
- Fajita Seasoning: We made our own mixture, however, you can also use pre-mixed seasonings
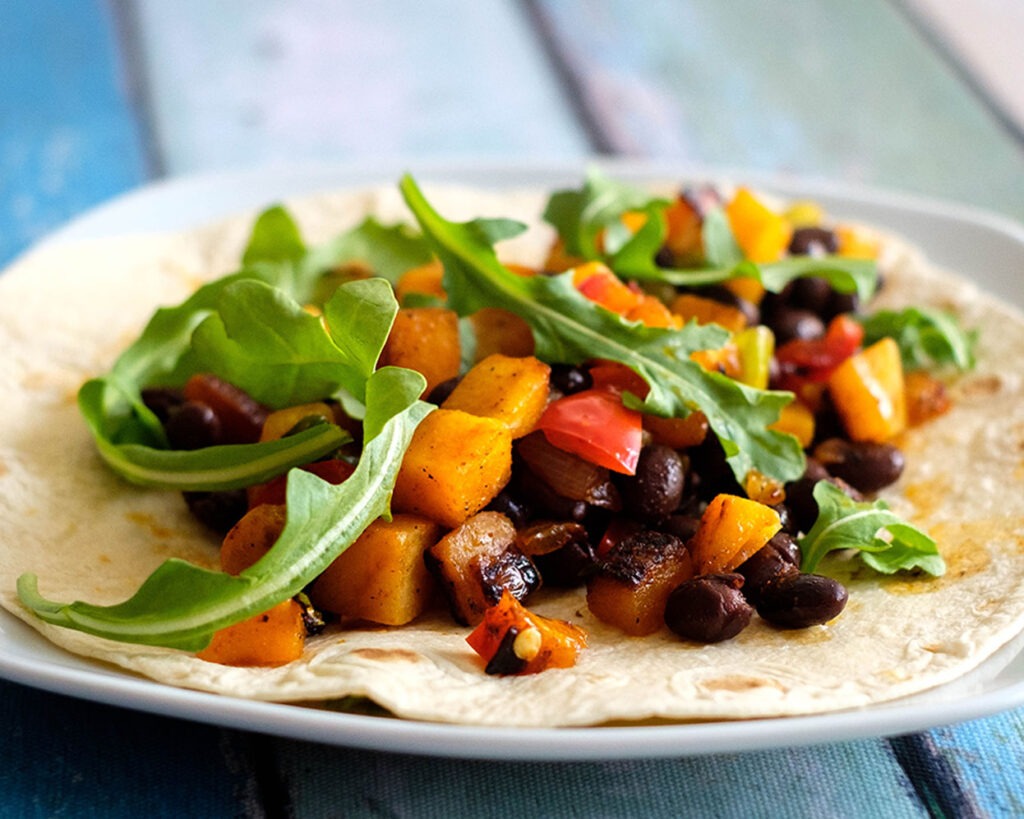
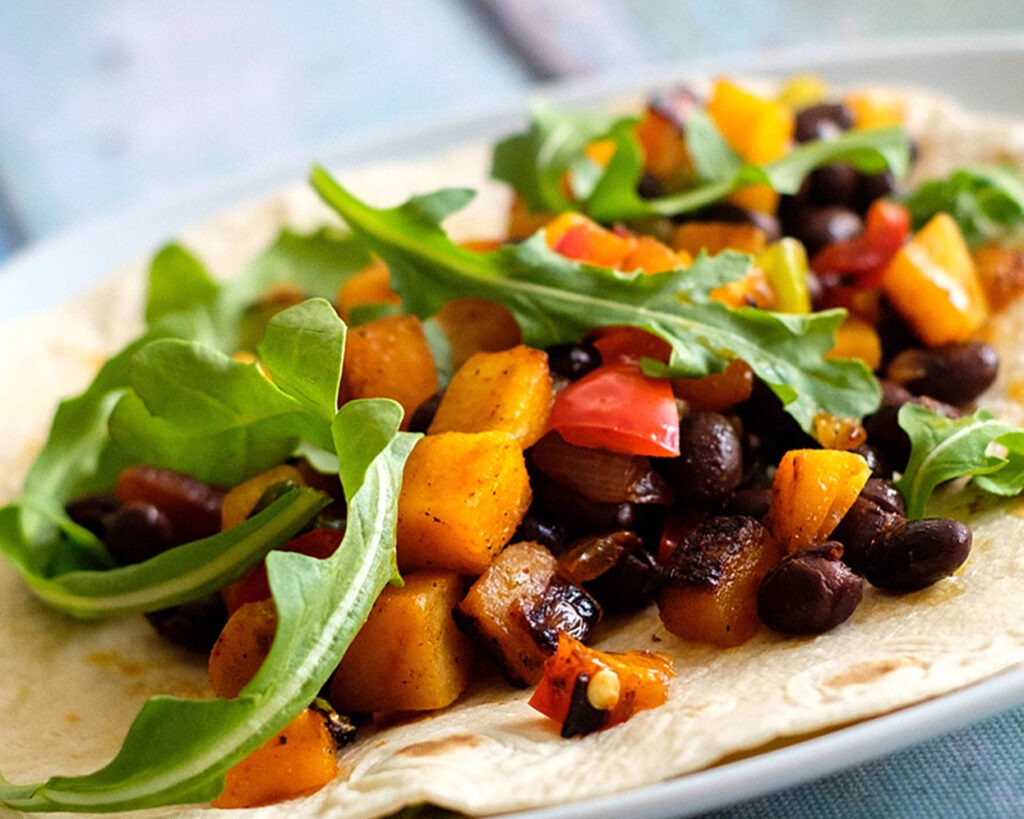
- Tortillas: Serve it up with your flour tortillas or corn tortillas. There are also low-carb options and vegetable options such as jicama tortillas if you are keeping it keto-friendly
- Mango Salsa: We love adding fruit to our salsa, especially if we have extra on hand. Other tasty toppings you can add are guacamole, pico de gallo, cheese, or sour cream

How to Cook Chicken Fajitas in the Oven
- Preheat the oven to 400F.
- Mix together your seasonings in a small bowl.
- Place the chicken tenderloins on one side of the sheet pan and the sliced peppers and onions on the other side.
- Coat all the ingredients with olive oil and sprinkle them with the seasonings.
- Bake everything in the oven until the chicken is fully cooked.
- Meanwhile, prepare the Mango Salsa and other toppings.
Reference the recipe card below for detailed instructions.
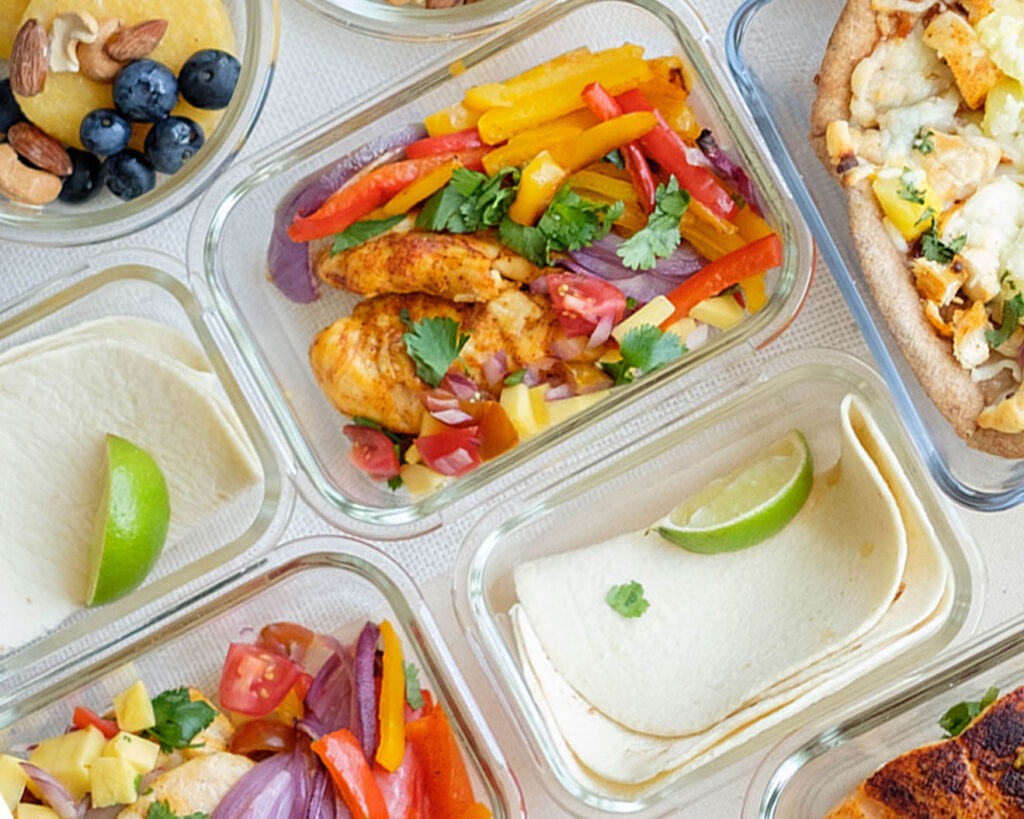
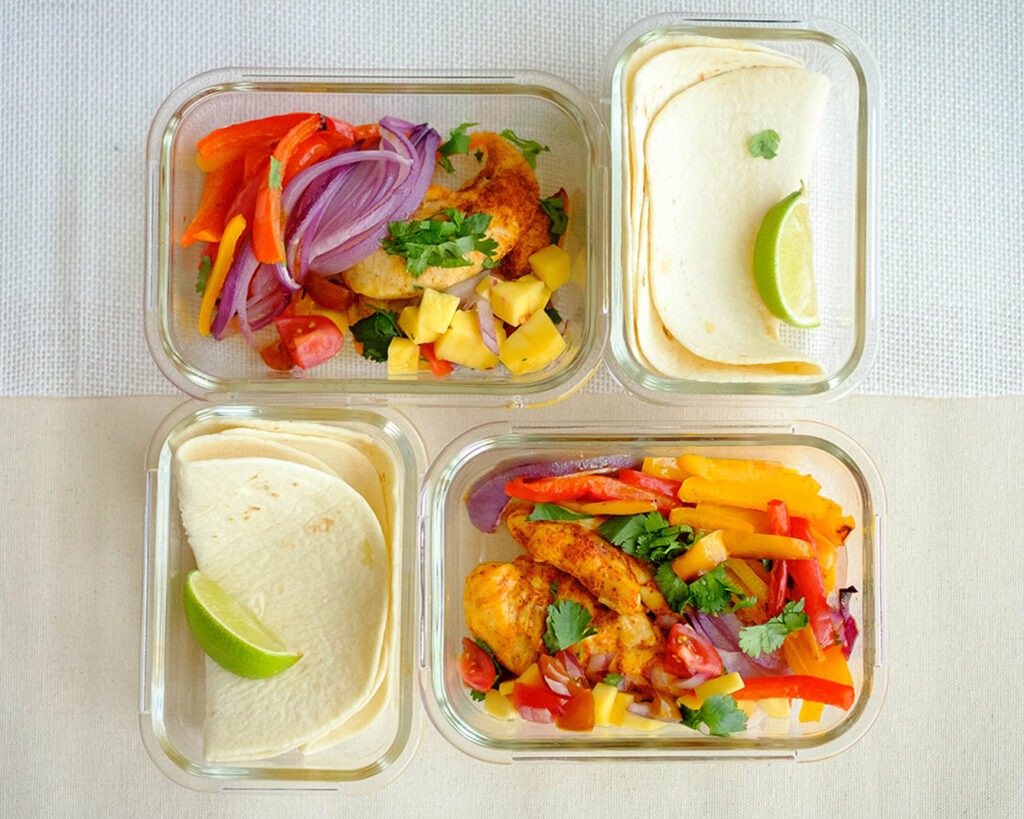
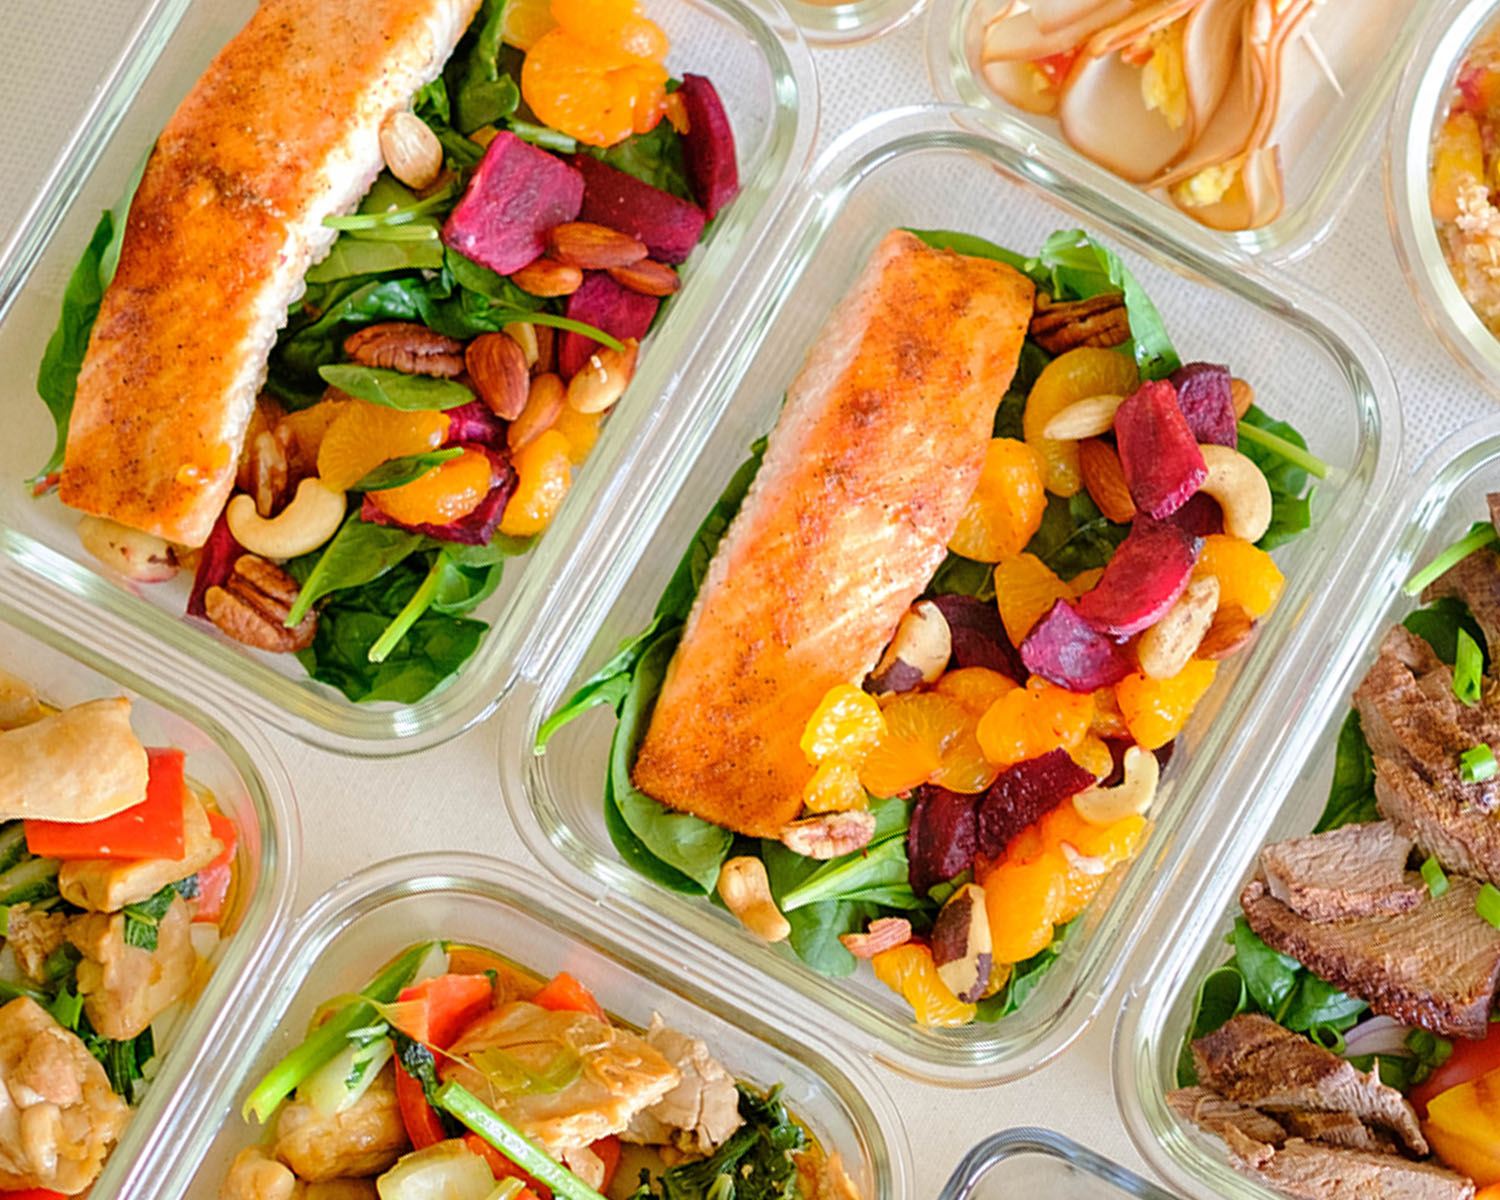
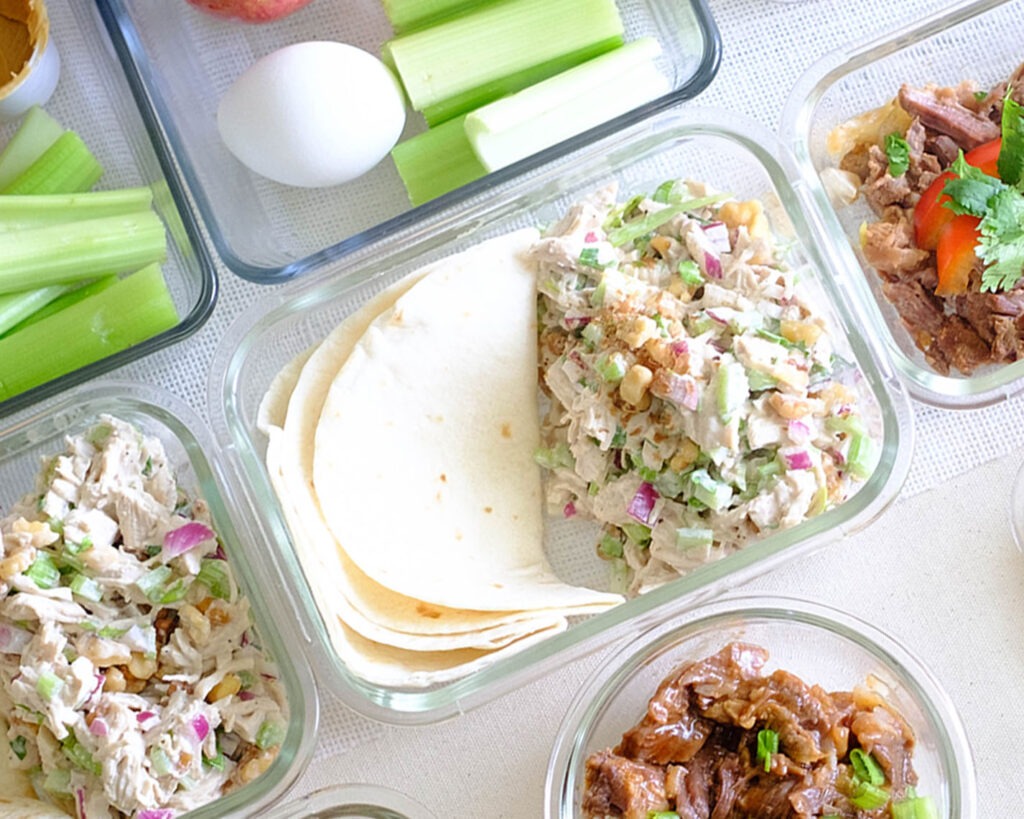
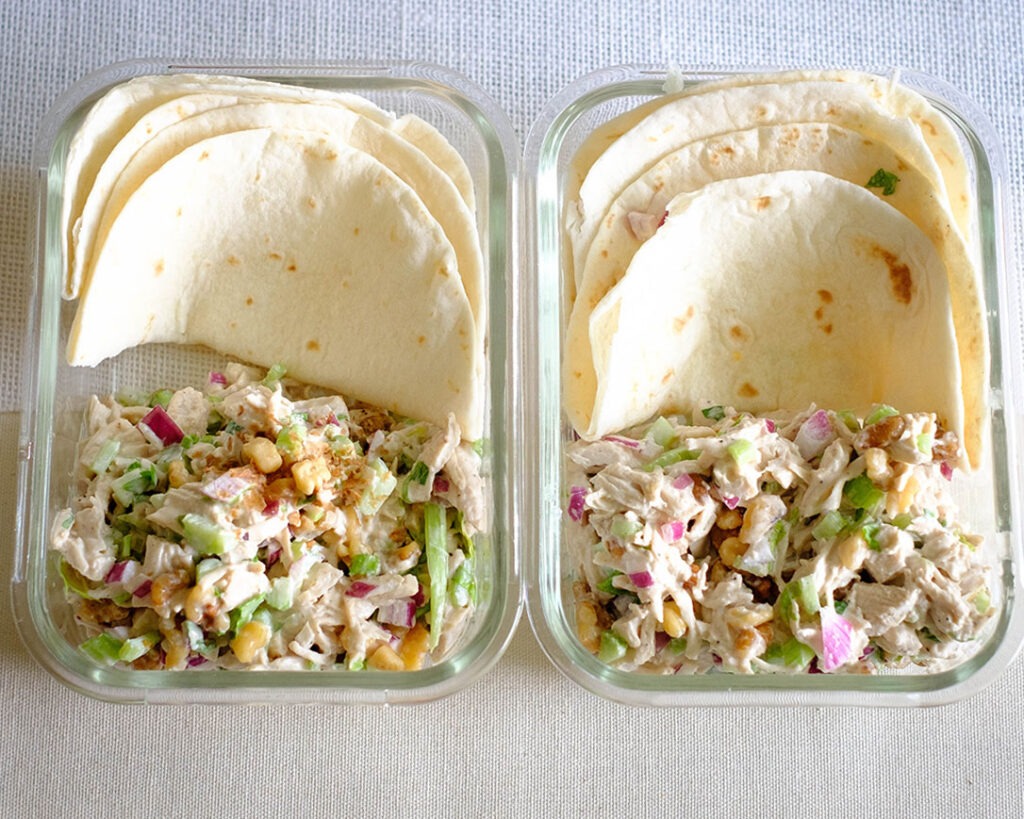
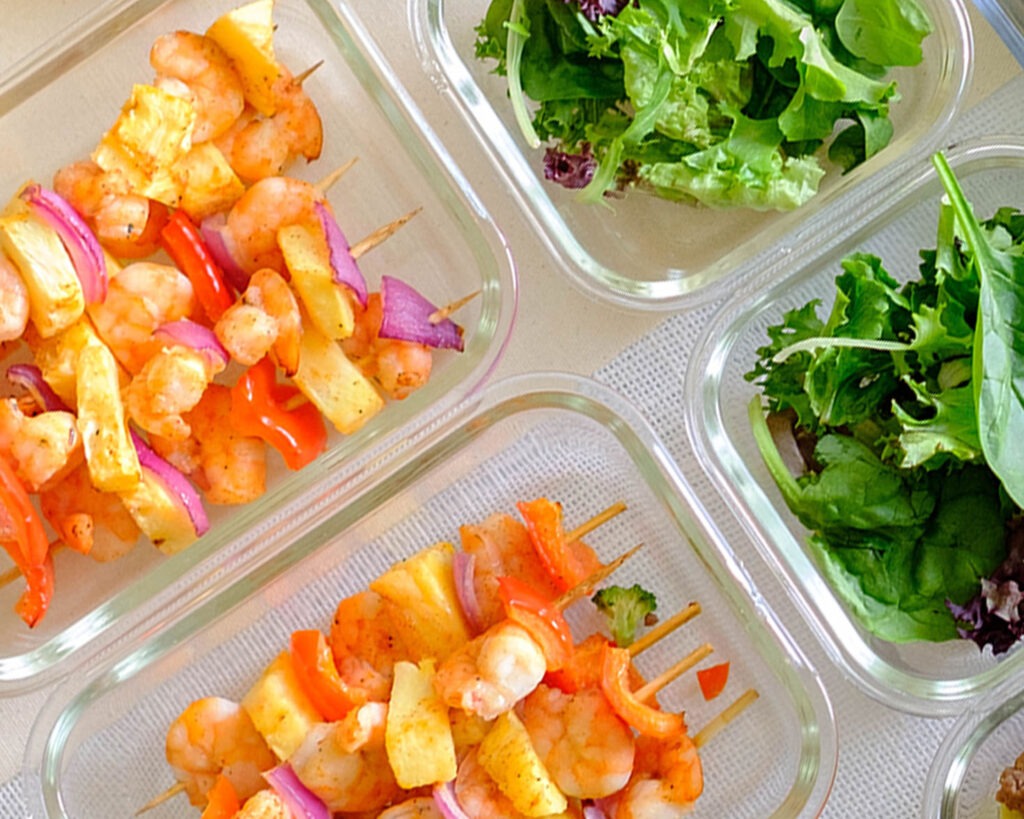
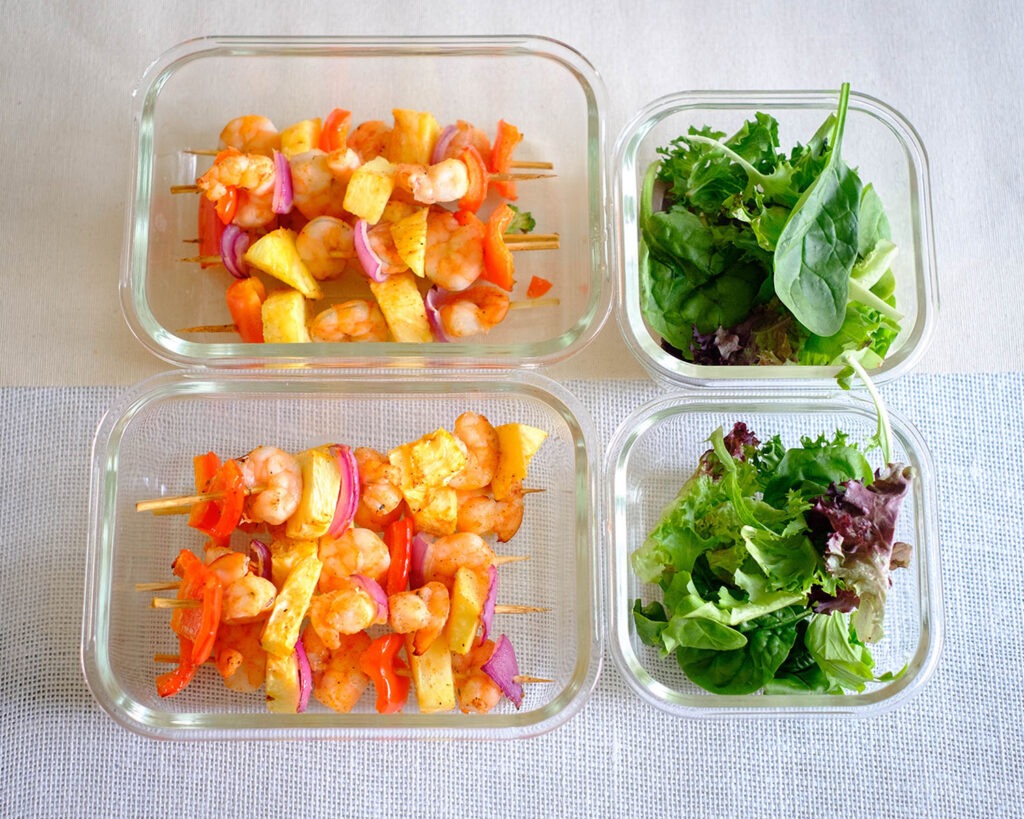
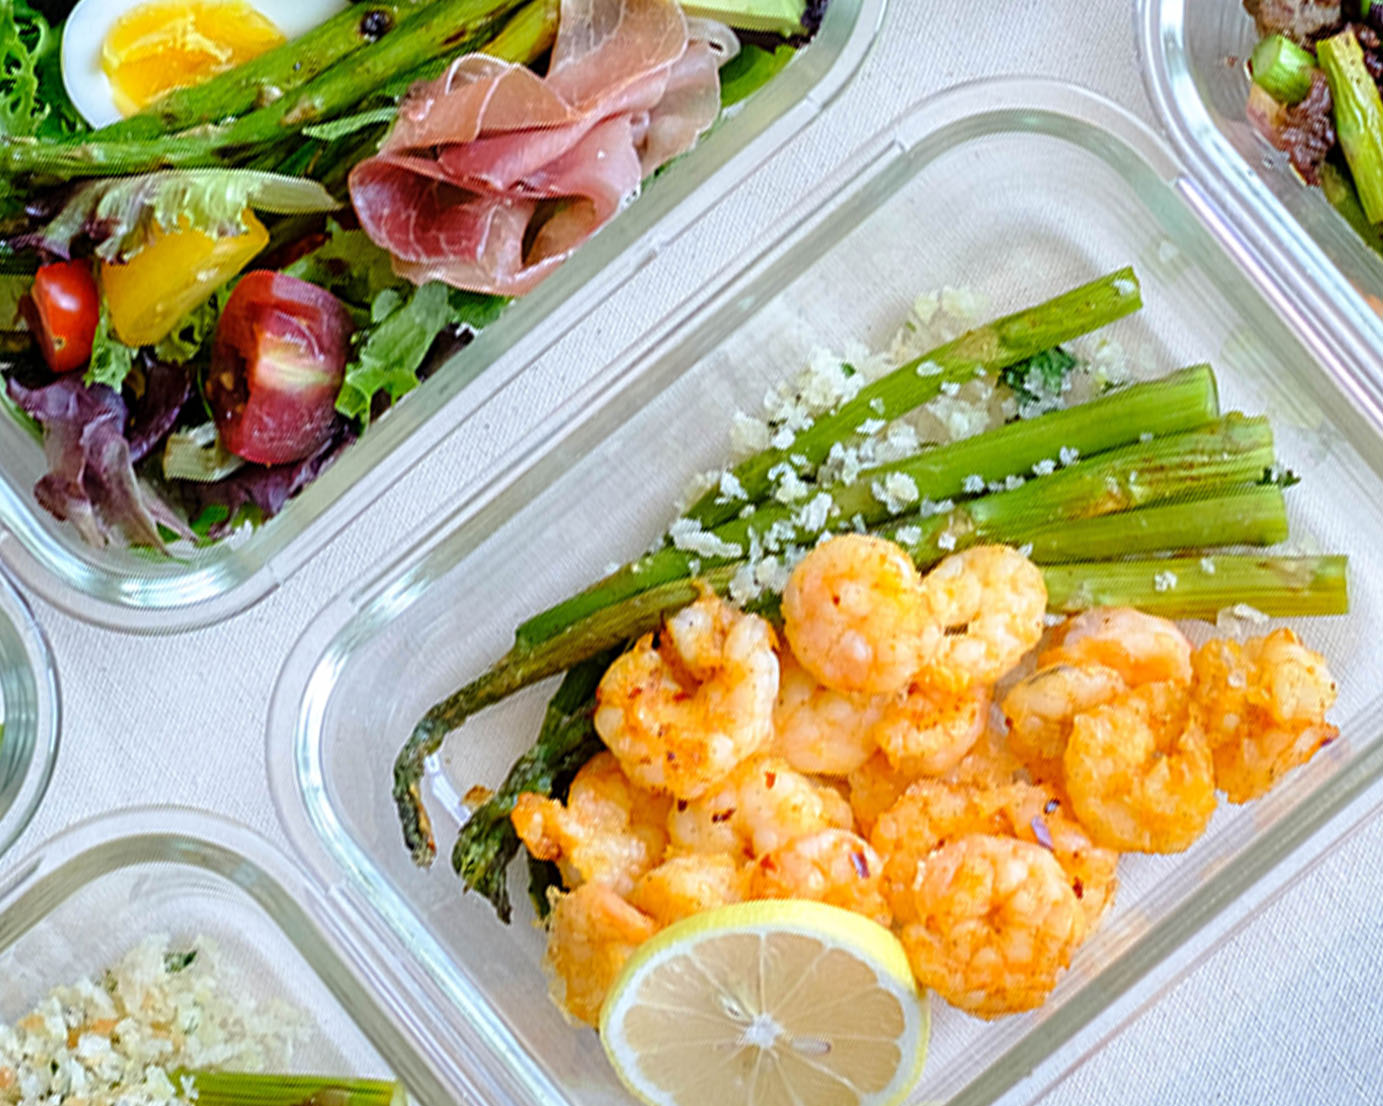
Meal Prep Tips for Baked Chicken Fajitas
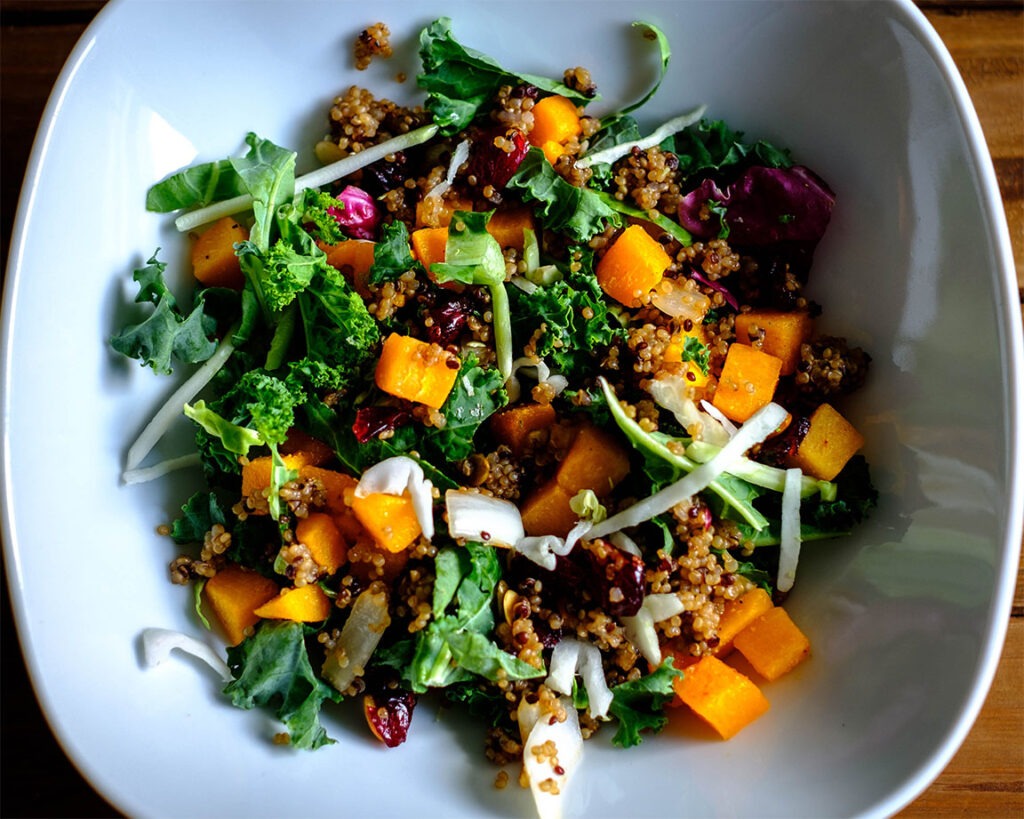
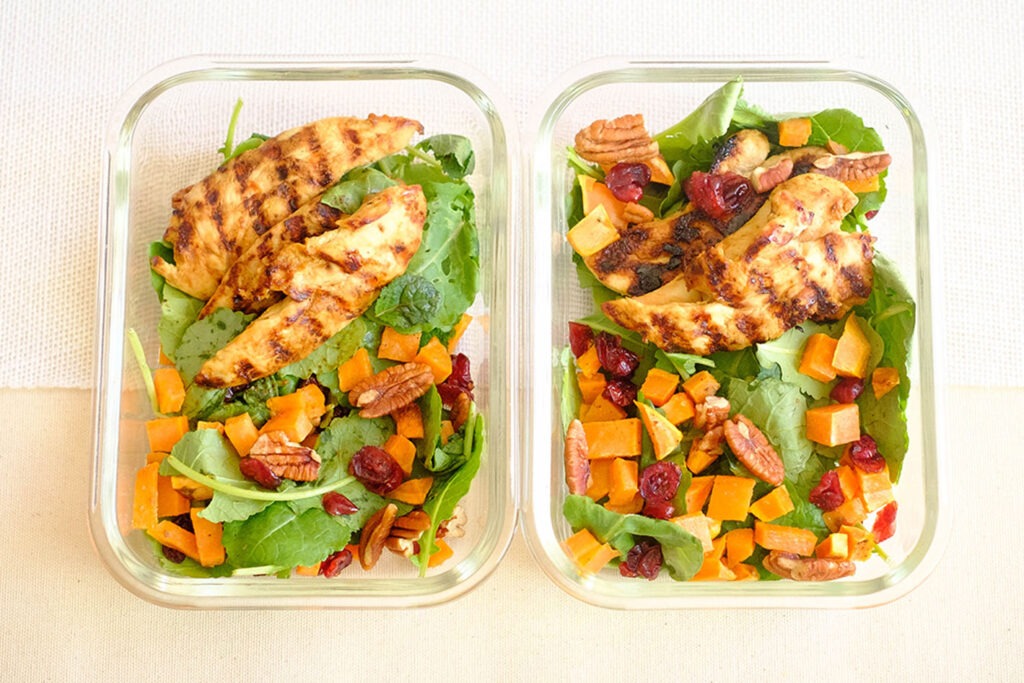
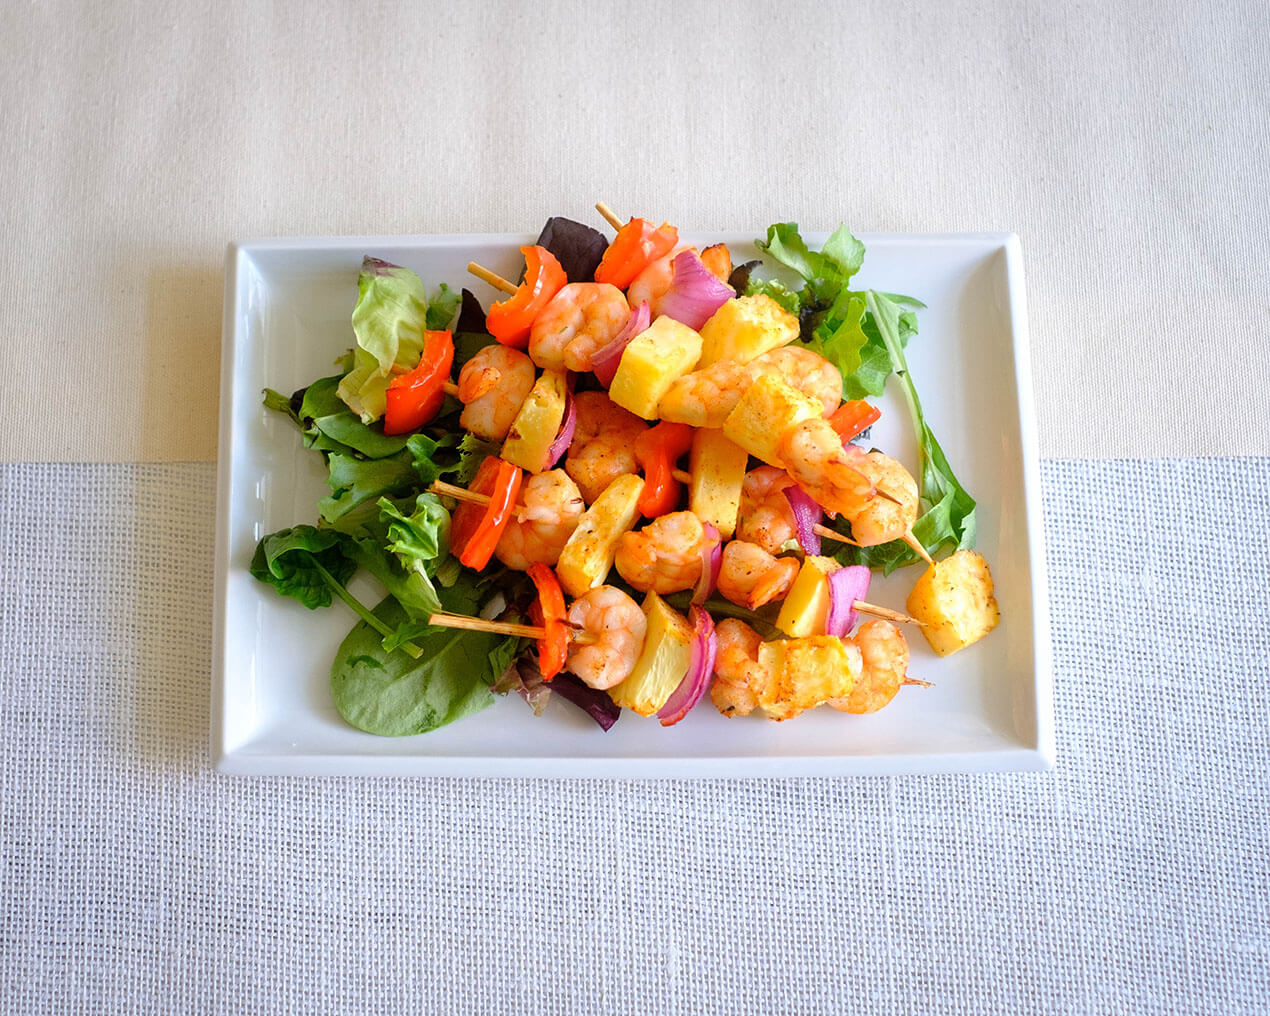
- Large Batches: If you decide to increase the batch size, you can serve the fajita chicken and veggies on top of a salad or serve it in a lettuce wrap or with a side of Spanish rice and beans.
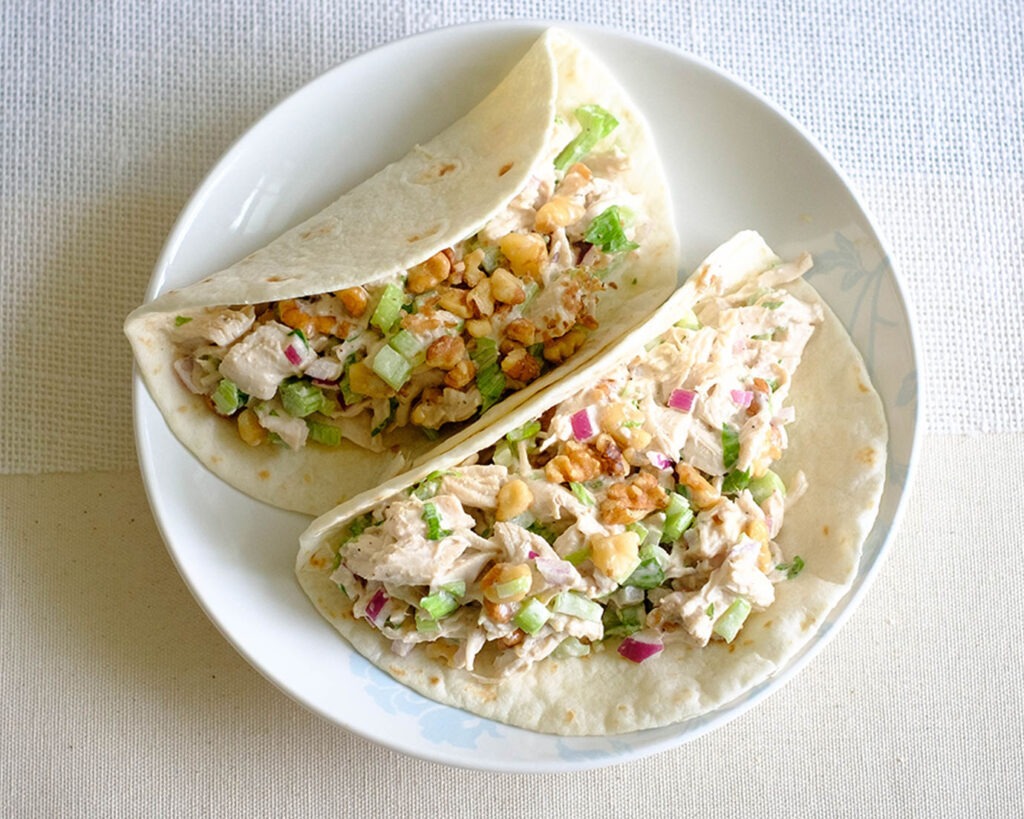
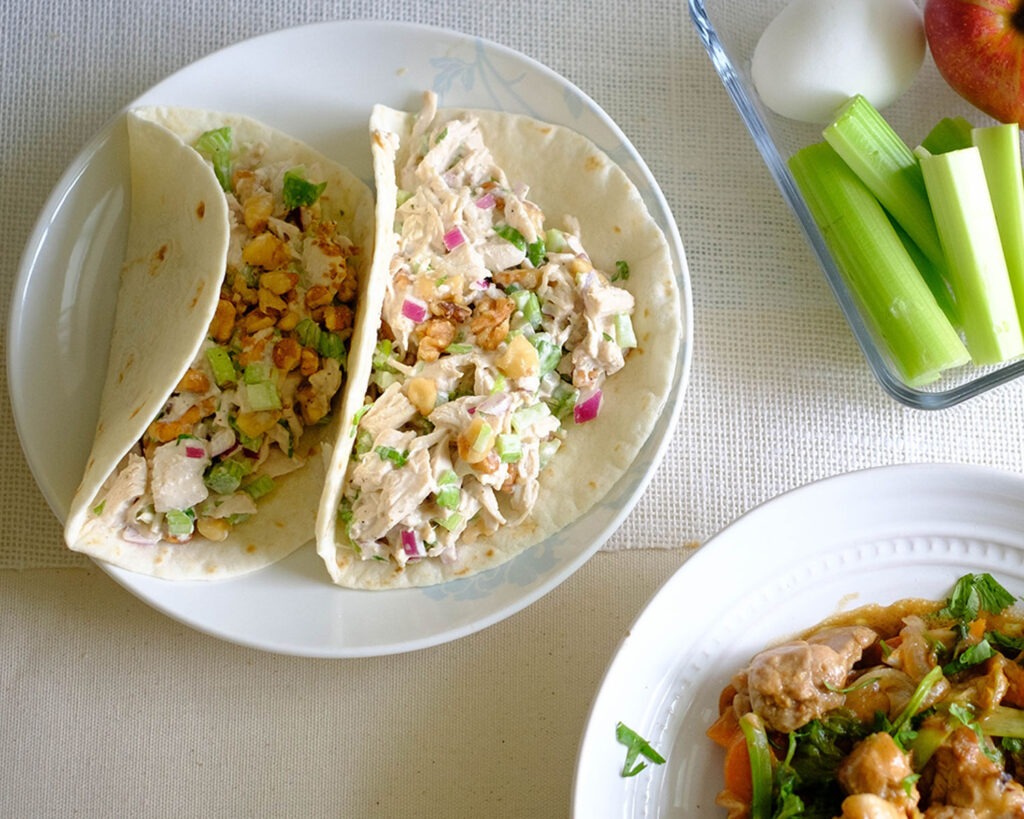
- Other Recipe Ideas: You can also add veggie fajitas with breakfast tacos. Make pasta with the chicken and bell peppers simply by adding them to penne pasta, and adding shredded parmesan cheese.
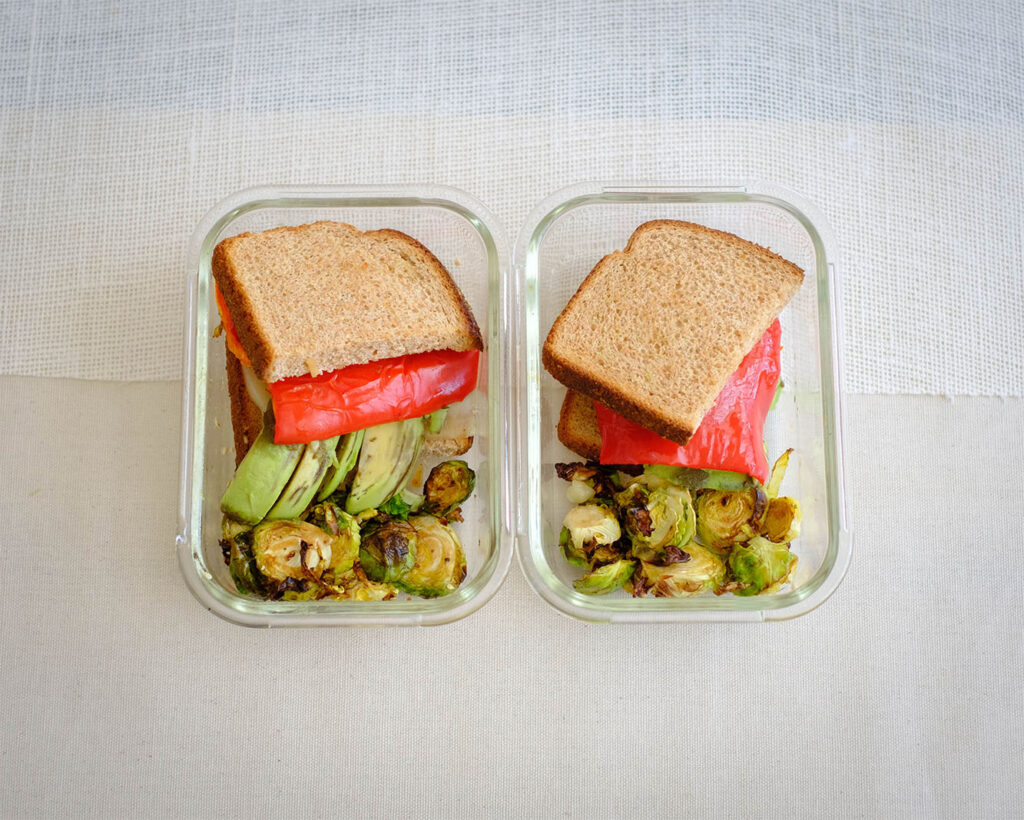
- Storage: Store in an airtight container in the refrigerator for up to 3 to 4 days for the best quality.


Frequently Asked Questions
Is chicken fajita healthy?
Yes, baking it in the oven is one of the healthiest ways to make chicken fajitas because this recipe uses healthy fat, lean meat, and healthy vegetables.
What goes well with fajitas?
Serve it with a cilantro corn salad, avocado salad, or baked black beans.
How do you cut chicken breast for fajitas?
If you are using chicken breasts instead of tenderloins, you will want to let the cooked chicken rest before slicing it into thin strips. Slice it the chicken breasts horizontally into ½-inch thick slices.


Oven Baked Chicken Fajitas with Mango Salsa
Equipment
Ingredients
Chicken & Seasoning
Fajita Veggies & Seasoning
Mango Salsa
Instructions