
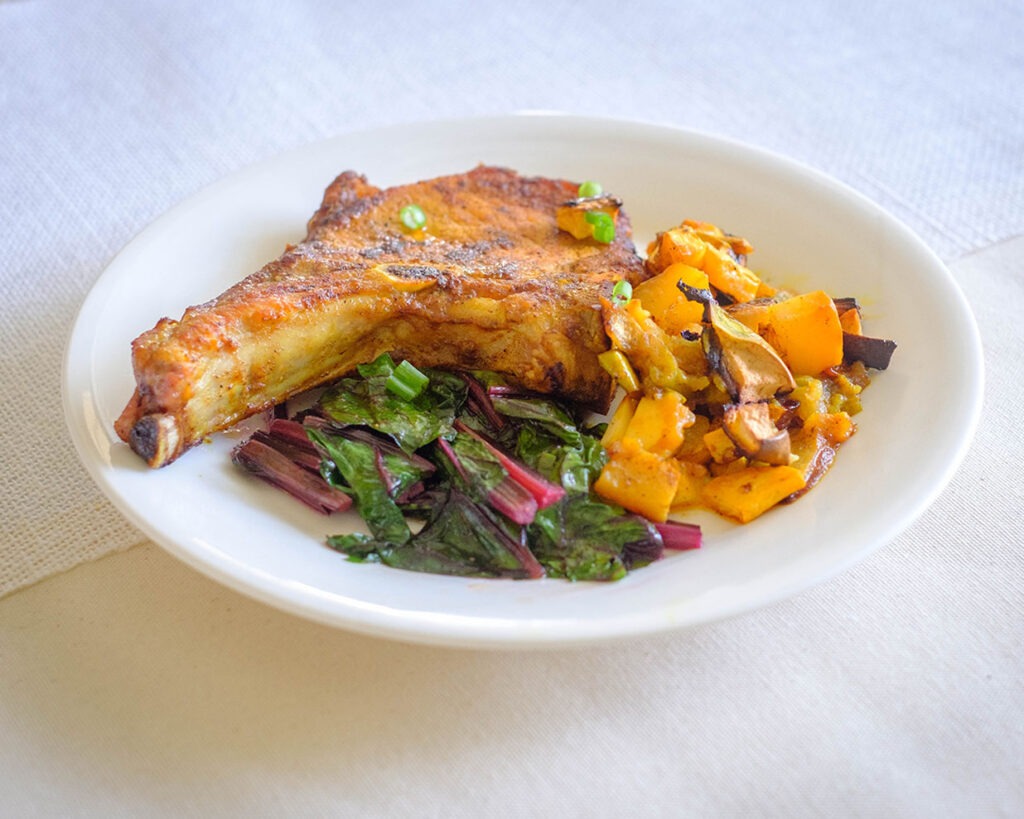
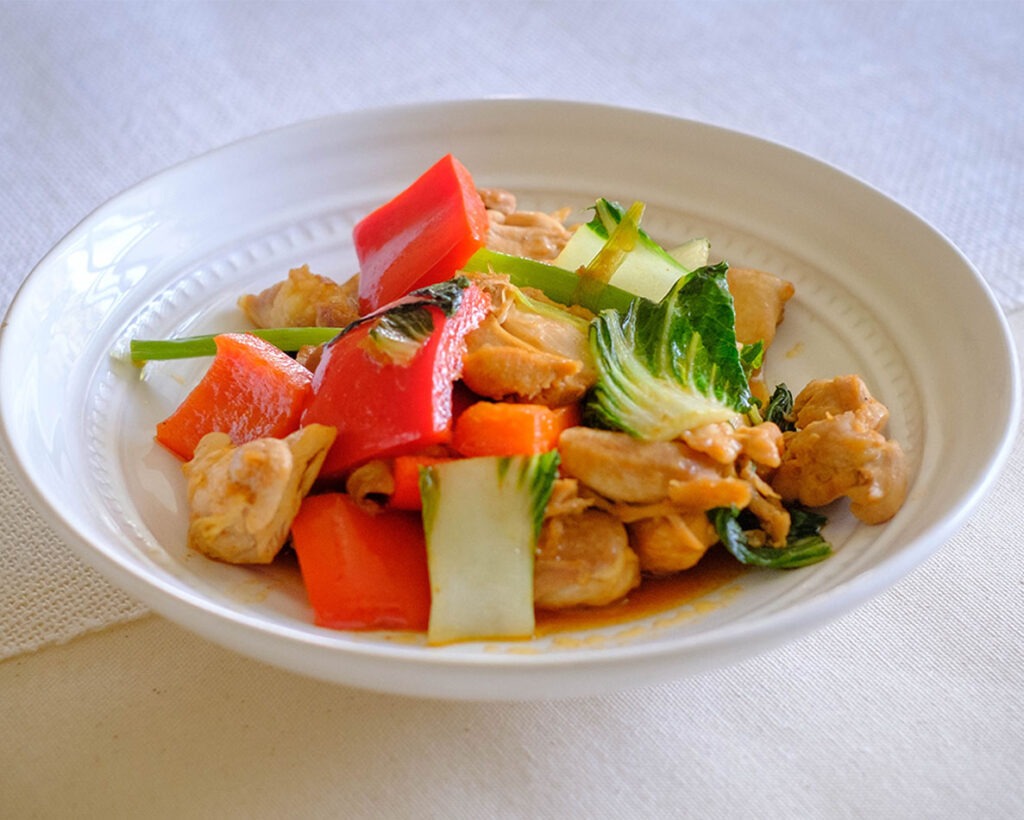
Hey there, busy bees! Are you looking for a meal prep idea that ticks all the boxes of being healthy, delicious, and super convenient? Look no further than my Honey Turmeric Pan-Fried Pork Chops with Rutabaga and Beet Leaves recipe. The combination of ingredients in this recipe not only maximizes the flavor profile but also ensures a balanced nutritional intake. The spices add depth and a wealth of health benefits, while the main components—pork, rutabaga, apples, and beet leaves—provide a good mix of protein, carbs, and fiber.
This post may contain affiliate links. Please see our privacy policy for details.
Why You’ll Absolutely Love This Recipe:
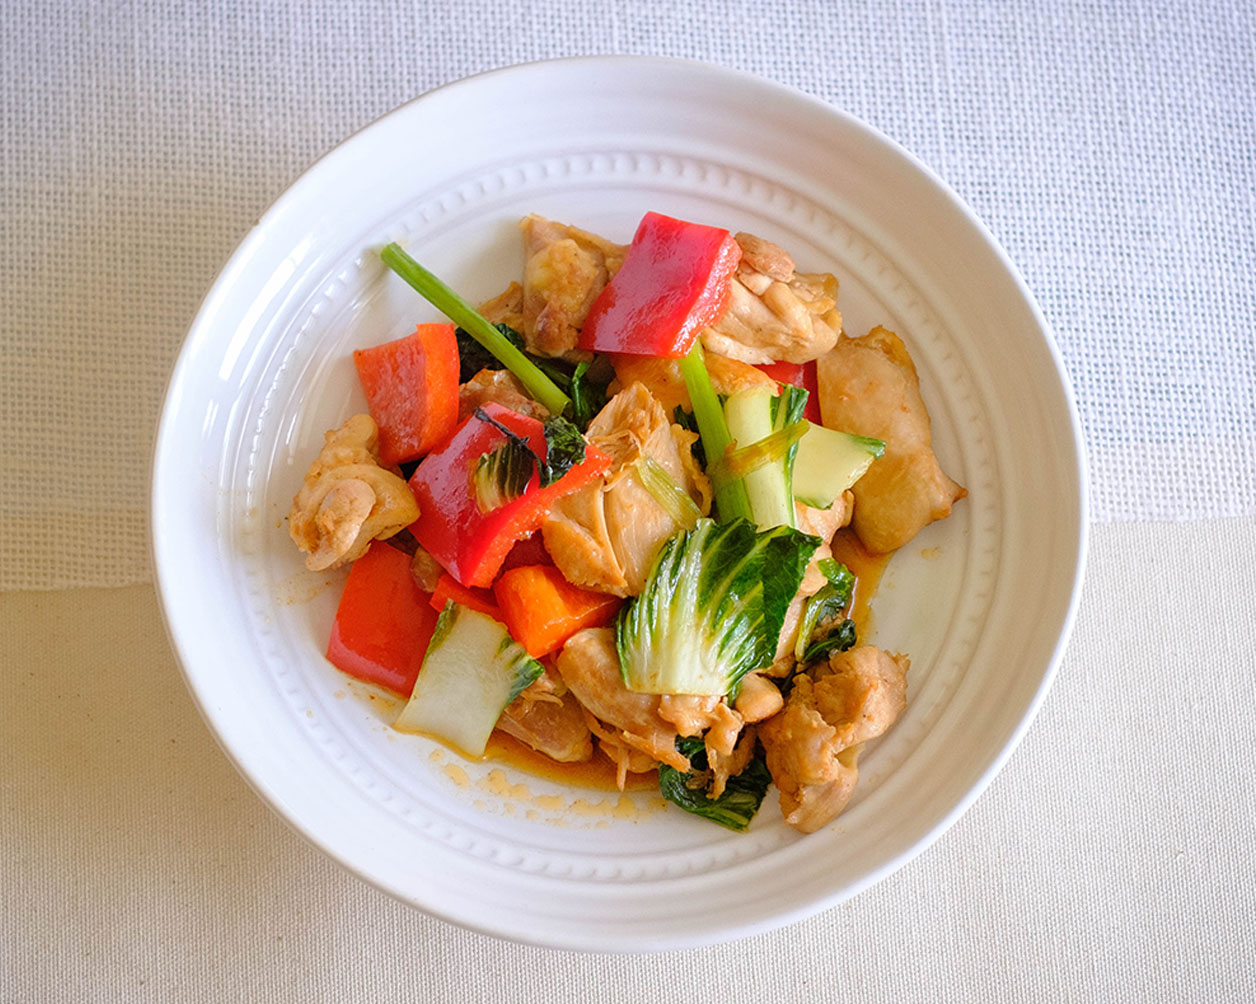
- Packed with Flavor: Each bite of these pork chops brings a burst of sweet honey and earthy turmeric, perfectly balanced by a touch of ginger and garlic. Paired with the savory-sweetness of rutabaga and apple hash, this dish delivers gourmet flavors right to your kitchen.
- Nutrient-Dense: We’re talking lean protein from the pork chops and a heap of vitamins and minerals from the beet leaves and rutabaga. This meal doesn’t just taste good—it’s good for you!
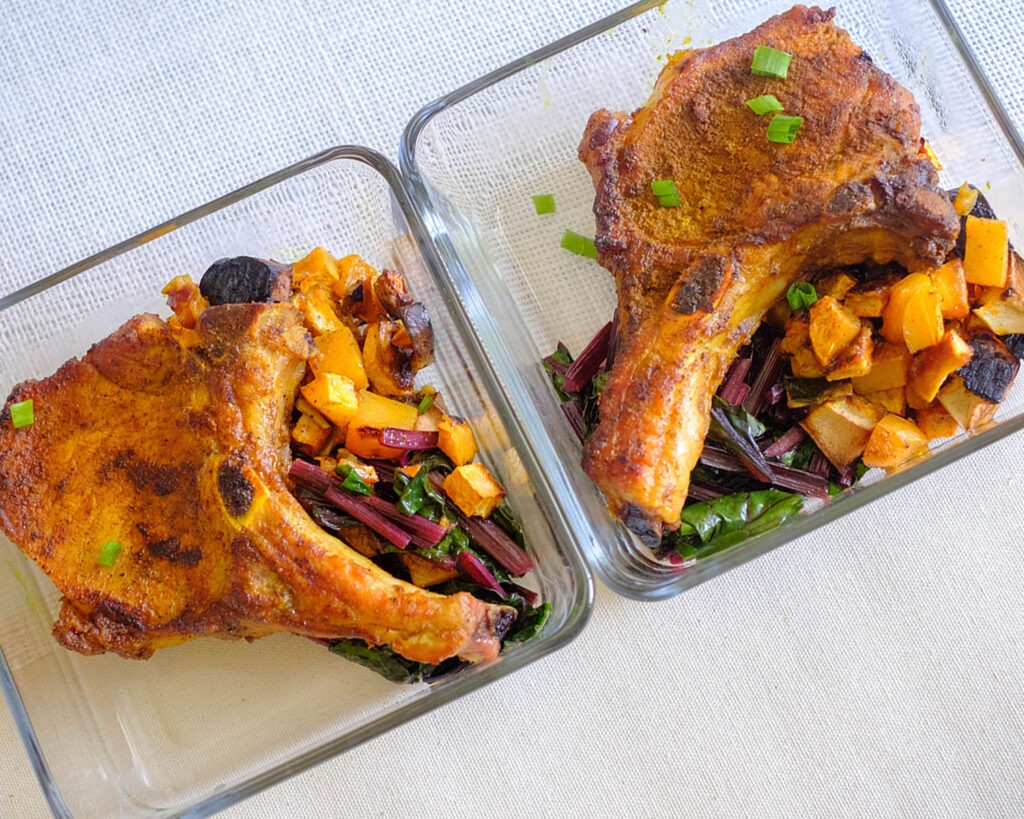
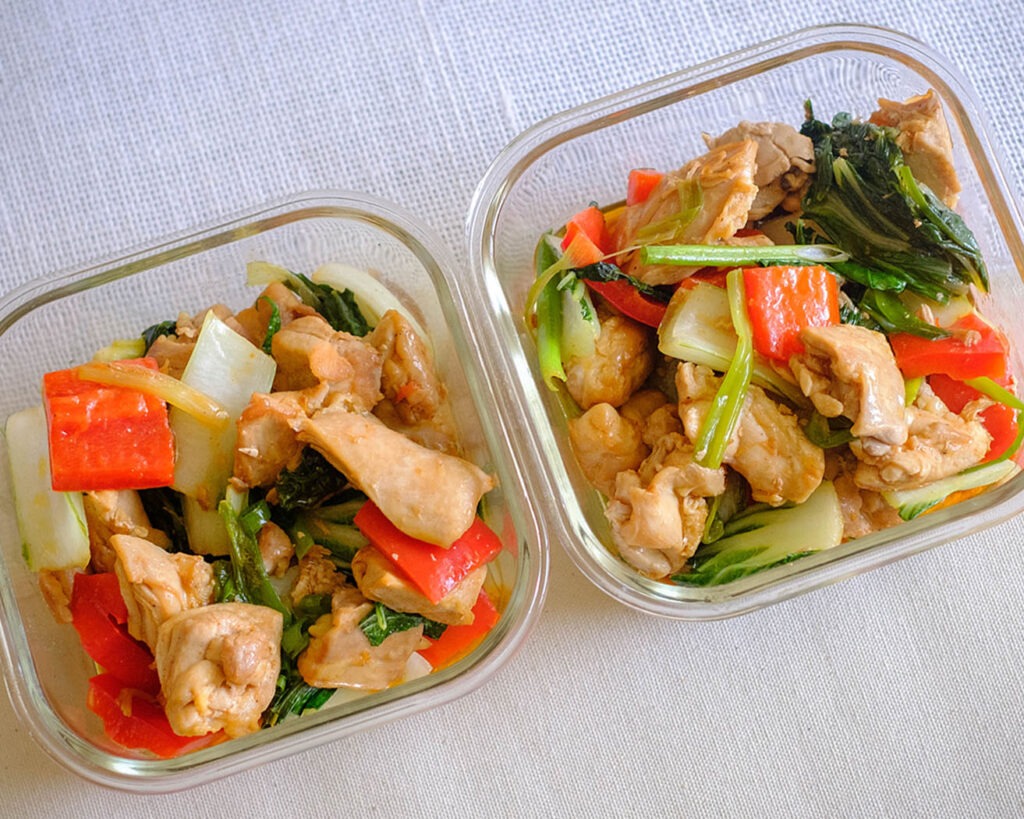
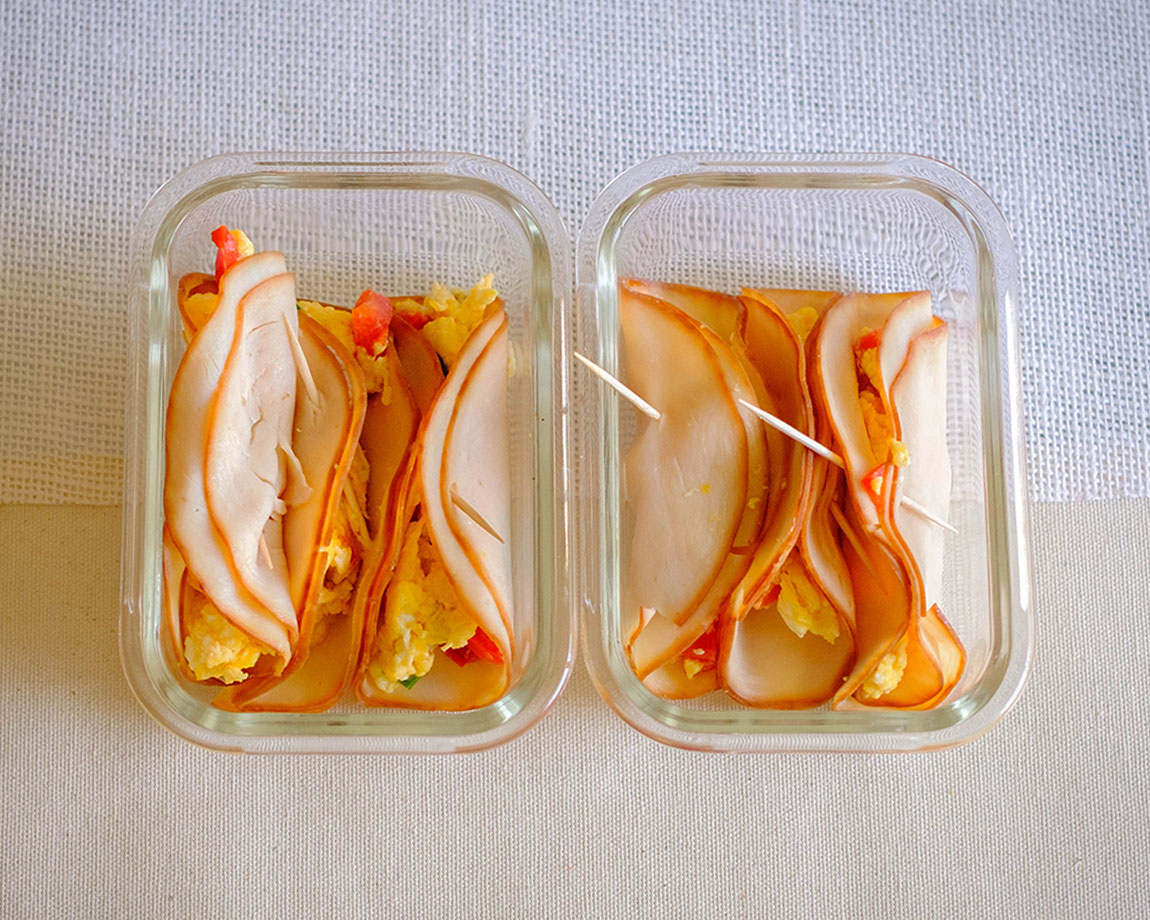
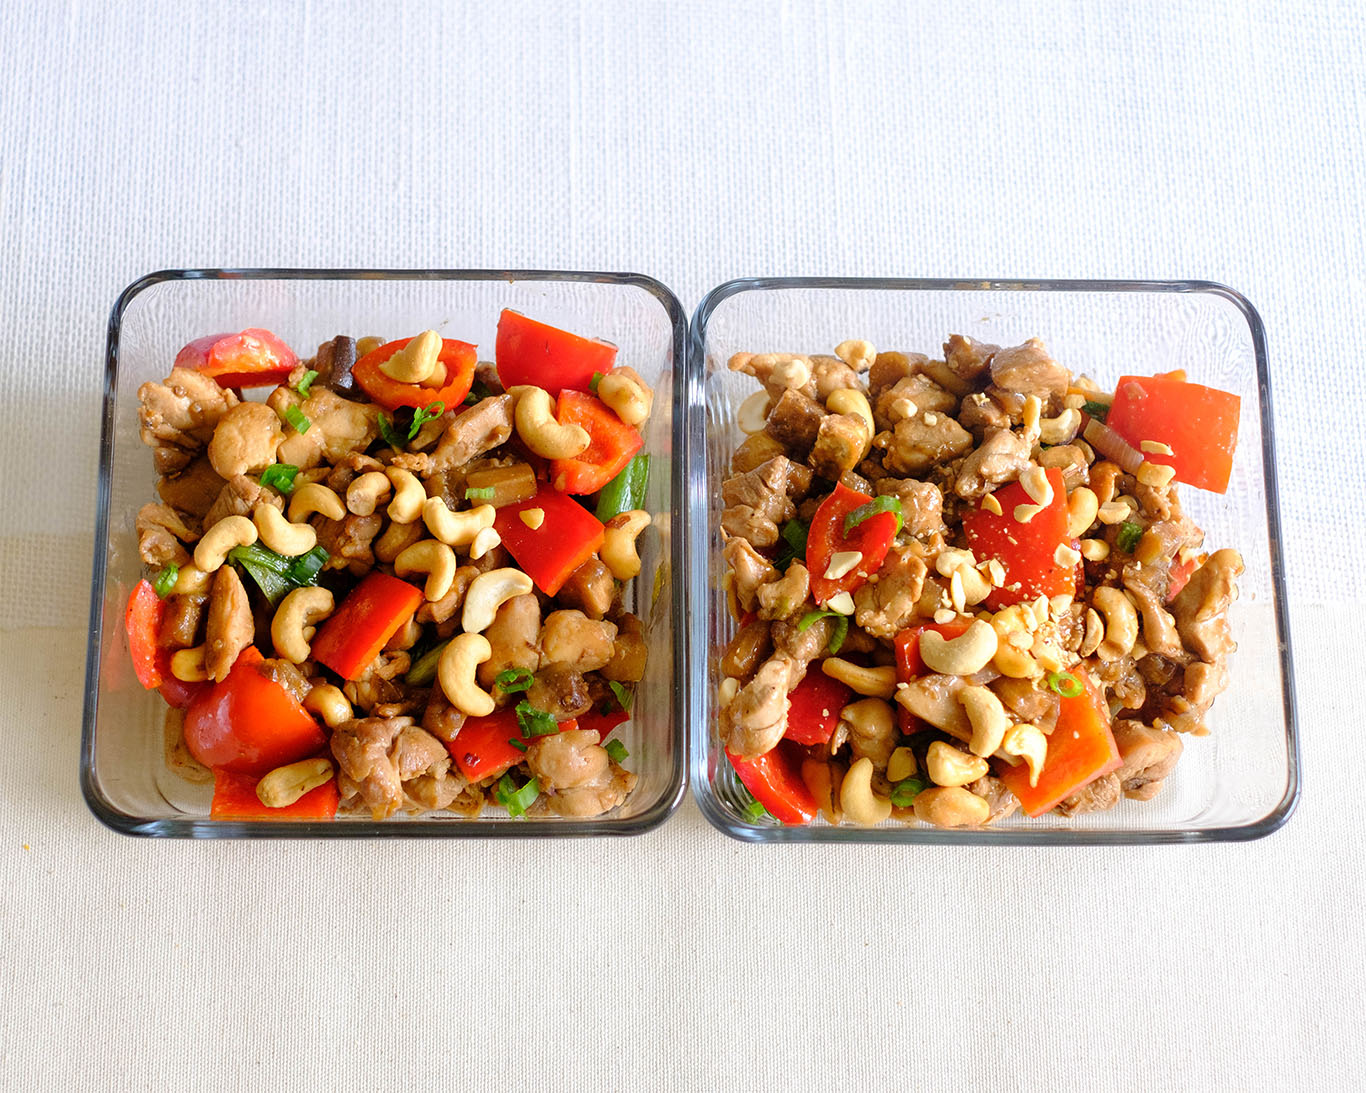
- Super Easy to Prep: Whether you’re a meal prep pro or just getting started, this recipe is straightforward. Spend a little time prepping and cooking on Sunday, and you’ll have a couple of days’ worths of meals ready to go.
- Customizable: Can’t find beet leaves? No problem! Swap them out for kale, spinach, or Swiss chard. This recipe is forgiving and flexible, letting you use what you have on hand.
- Budget-Friendly: This meal won’t break the bank. It uses simple ingredients that are often on sale and can be found in most grocery stores, making it perfect for keeping your finances in check without sacrificing taste or quality.

Ingredients You’ll Need
- Pork Chops: Pork chops are a great source of lean protein, essential for muscle repair and growth. They’re relatively inexpensive and very versatile, allowing for a variety of seasonings and cooking methods.
- Turmeric Powder: Turmeric is known for its anti-inflammatory properties, thanks to the compound curcumin. It adds a warm, earthy flavor and a beautiful golden color to the dish, enhancing the visual appeal and health benefits.
- Ginger Powder: Ginger adds a spicy, zesty kick to the pork chops. It’s also celebrated for its digestive and anti-inflammatory benefits, making it a great addition to a meal intended to be both flavorful and health-supportive.
- Garlic Powder: Garlic powder offers a convenient way to infuse the dish with rich, savory notes. Garlic is also known for boosting the immune system and enhancing heart health, adding another layer of nutritional value.
- Honey: Honey brings a natural sweetness that balances the earthiness of the turmeric and the heat of the ginger. It helps create a beautiful caramelized crust on the pork chops when seared. Besides its taste, honey is also favored for its antioxidant properties.
- Rutabaga: This root vegetable is a budget-friendly powerhouse packed with fiber, vitamin C, and potassium. Its mild, sweetly earthy flavor makes it a perfect base for absorbing the spices in the hash.
- Red Apple: Apples add a sweet, crisp contrast to the earthy rutabaga. They also contribute additional fiber and vitamin C to the dish, enhancing its nutritional profile without adding significant cost.
- Cinnamon Powder: Cinnamon not only pairs wonderfully with apples but also brings its own health benefits, including blood sugar regulation. Its sweet and warm flavor complements the savory elements of the meal, tying the hash together beautifully.
- Beet Leaves: Often discarded, beet leaves are a nutritious and economical choice. They are rich in vitamins A, C, and K, and add a vibrant color and a slightly bitter contrast to the sweet and savory flavors of the rest of the dish.
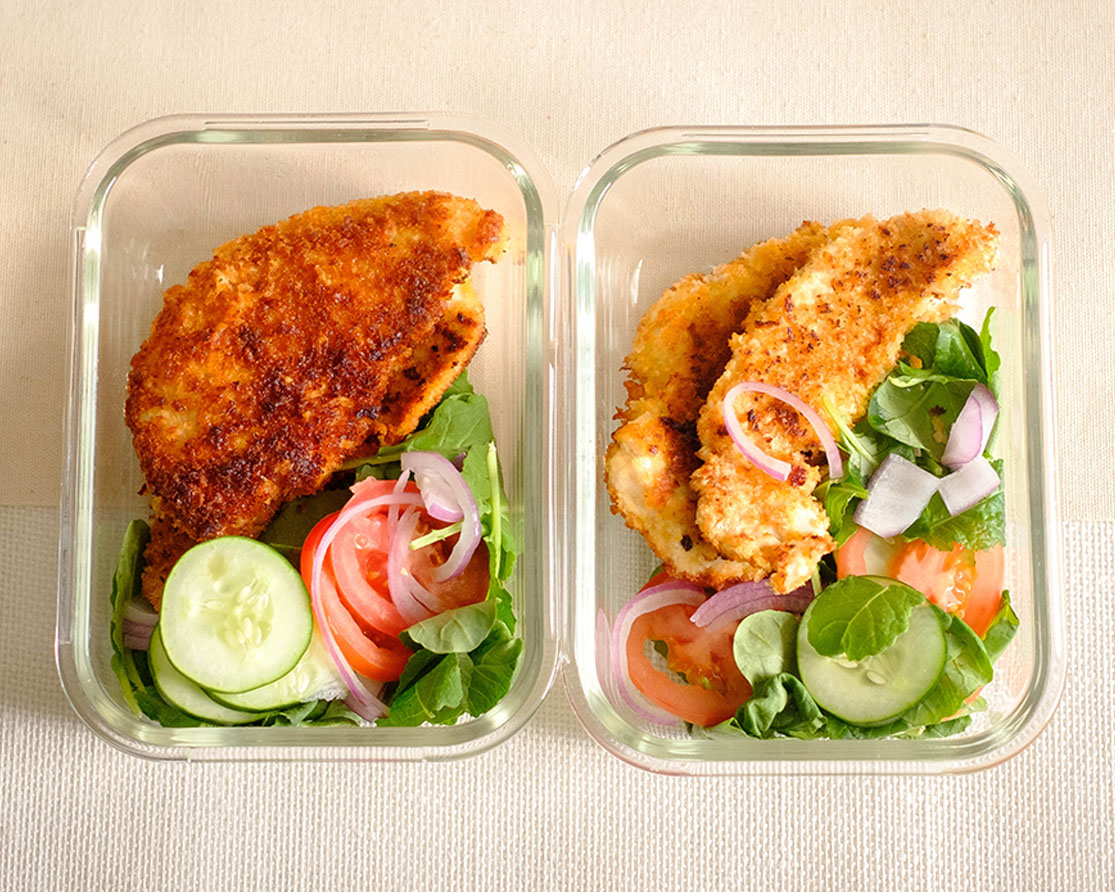
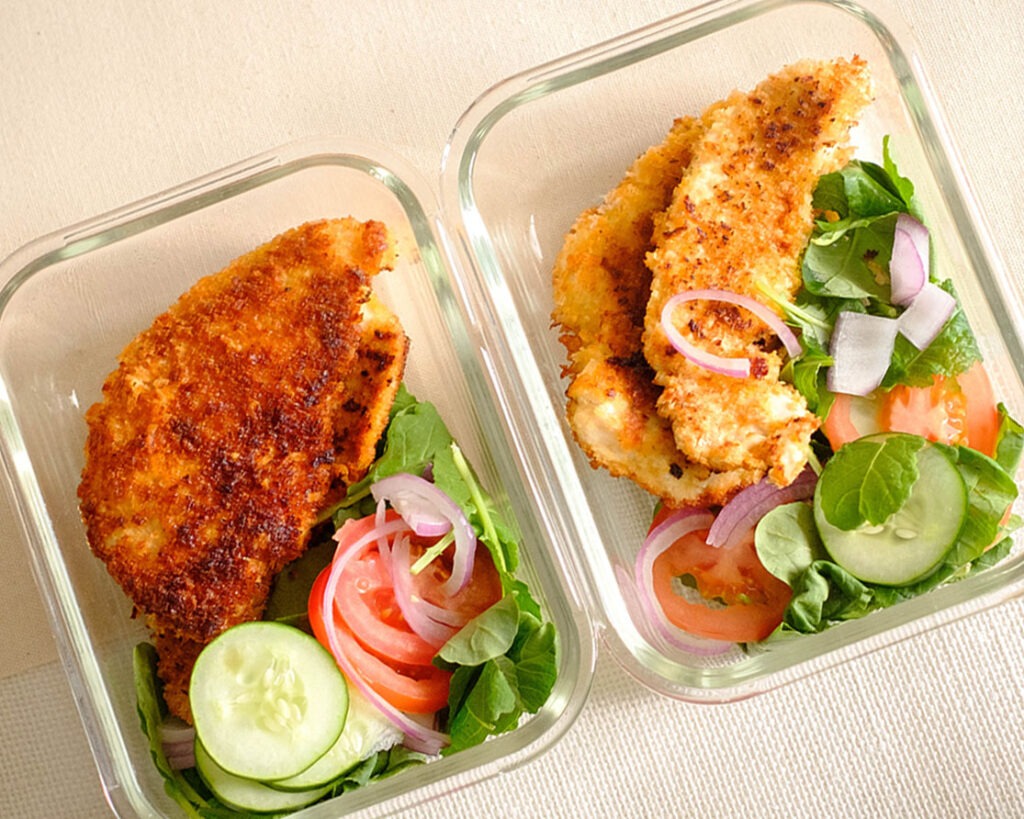
How to Meal Prep Honey Turmeric Pork Chops
- Pre-heat your oven to 400F. Toss the peeled and diced rutabaga with the diced apple, spices, and olive oil. Spread them on a sheet pan and roast in the oven for 20 minutes until tender and caramelized.
- Season and Sear: While your hash is roasting, season the pork chops with turmeric, ginger, garlic, salt, and pepper. Drizzle them with honey and a touch of olive oil. Heat a sauté pan on medium-high and sear each chop for about 4-5 minutes per side, until fully cooked and juicy to an internal temperature of 145F.
- In the same pan used for pork chops, add a little more oil if needed and throw in the chopped beet leaves. Sauté them until they wilt, seasoning with garlic powder and salt.
Reference the recipe card below for detailed instructions.
Ingredient Swap Tips:
- Pork Alternatives: If pork isn’t your preference or you want something lighter, chicken breasts or thighs can be a great substitute. Adjust cooking times accordingly.
- Root Vegetable Varieties: No rutabaga? Try sweet potatoes, parsnips, or carrots for your hash. These are all excellent at absorbing flavors and add their own unique sweetness to the dish.
- Different Greens: If beet leaves are hard to find, kale, spinach, or Swiss chard are perfect substitutes. Each brings a different nutrient profile and slight variations in flavor.
- Apple Alternatives: Pears can replace apples in the hash for a similar texture with a slightly different sweetness.


Frequently Asked Questions
Is this meal suitable for freezing?
The pork chops can be frozen after cooking, as can the rutabaga and apple hash. However, beet leaves are best enjoyed fresh, as their texture can become quite soggy upon thawing. If you must freeze the entire meal, consider swapping the beet leaves for another green like spinach, which freezes better.
Can I cook the pork chops on the grill?
Absolutely! Grilling the pork chops can add a delightful smoky flavor to the dish. Just make sure to still marinate them as per the recipe, and keep an eye on them as honey can burn if exposed to high heat for too long.
What is the best way to store the leftovers?
Store the pork chops, rutabaga and apple hash, and beet leaves in separate airtight containers in the refrigerator for up to 3-4 days. Keeping them separate helps maintain their distinct textures and flavors upon reheating.


Honey Turmeric Pork Chops with Rutabaga and Beet Leaves
Equipment
Ingredients
Pork Chops and Seasonings
Rutabga and Apple Hash
Beet leaves
Instructions
Rutabaga and Apple Hash
Pork Chops
Beet leaves
Notes
Nutrition