
If you’re anything like me, sometimes nothing hits the spot quite like takeout. But what if I told you that you could get those same bold, addictive flavors right at home, portioned just the way you like, and without the hidden extras that sneak into restaurant meals? Whether you’re a beginner in the kitchen or a busy professional trying to eat healthier, this recipe is designed to make homemade cooking easy, fun, and delicious. Here’s how to get started.
This post may contain affiliate links. Please see our privacy policy for details.

Reasons This Recipe is Great for Meal Prep:
- Quick & Easy: From prep to plate, you’re looking at about 15–20 minutes total. Perfect for busy weeknights.
- Meal Prep Friendly: Portion it into containers for a week’s worth of lunches or dinners—no last-minute scrambling.
- Flavor Bomb: You get all the bold, sweet-spicy flavors of takeout without the MSG or hidden sugars.
- Control Your Ingredients: Homemade cooking means you know exactly what’s going into your meals—less salt, less fat, more goodness.
- Protein-Packed: Chicken thighs give you that satisfying protein hit to fuel your day and keep you full.
- Air Fryer Magic: Crispy outside, juicy inside—no deep frying, no mess, just amazing texture.
- Customizable: Adjust the spice, swap chicken for tofu, or pair with your favorite veggies and grains. Meal prep has never been this fun!

Why The Ingredients Work So Well Together
When combined, these ingredients create a perfect balance of sweet, spicy, creamy, and savory flavors. The air fryer ensures a lightly crispy exterior while the sauce clings to each juicy cube. You get bold, restaurant-style flavor without the takeout price or mystery ingredients. Each spice and sauce complements the others, creating layers of flavor in every bite—perfect for meal prep, portion control, and keeping you satisfied throughout your busy day.
How to Make Air Fryer Bang Bang Chicken Bites:
- Preheat the Air Fryer: Set your air fryer to 400°F and let it heat up while you prep the chicken. Preheating helps the chicken cook evenly and get a nice crispy exterior
- Make the Bang Bang Sauce: In a small bowl, combine mayonnaise, sweet chili sauce, sriracha, and soy sauce. Stir well until smooth. Set aside half of the sauce for dipping or drizzling later
- Season the Chicken: Place your chicken cubes in a medium mixing bowl. Sprinkle with garlic powder, paprika, salt, and pepper. Toss well so each piece is evenly coated
- Coat with Sauce: Pour the remaining half of the bang bang sauce over the seasoned chicken. Use a spoon or your hands to gently mix until all pieces are fully coated. This ensures every bite is flavorful
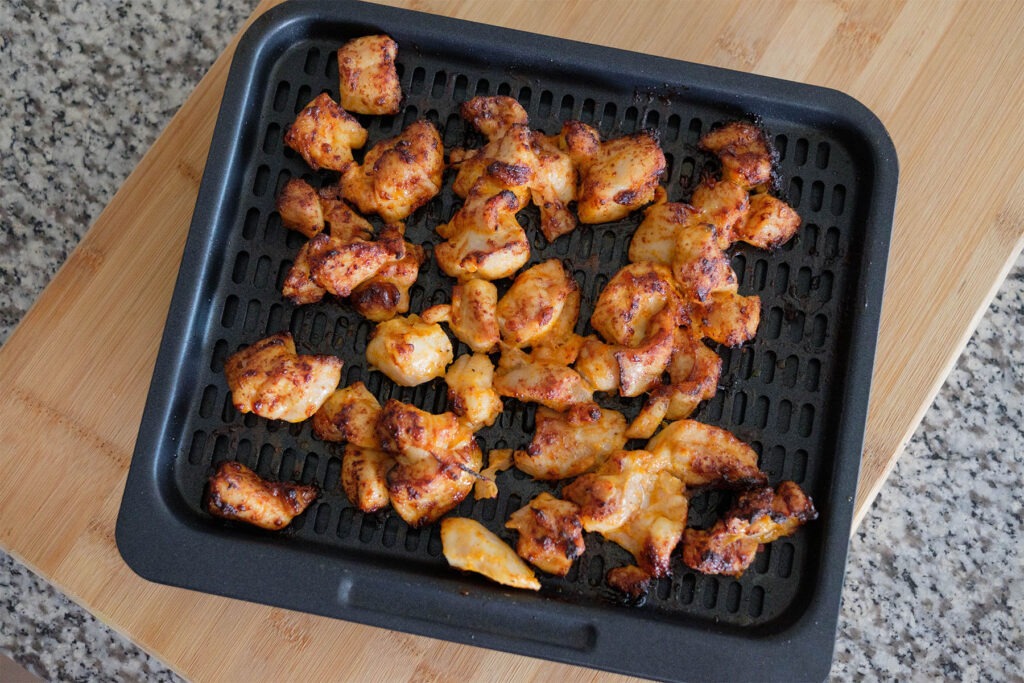
- Arrange in the Air Fryer: Spread the chicken in a single layer on the air fryer rack or basket, leaving a little space between each piece so they cook evenly and crisp up. Avoid overcrowding
- Cook the Chicken: Air fry for 8 minutes, flipping halfway through with tongs or a spatula. Chicken is done when it reaches 165°F internally and is lightly browned on the edges
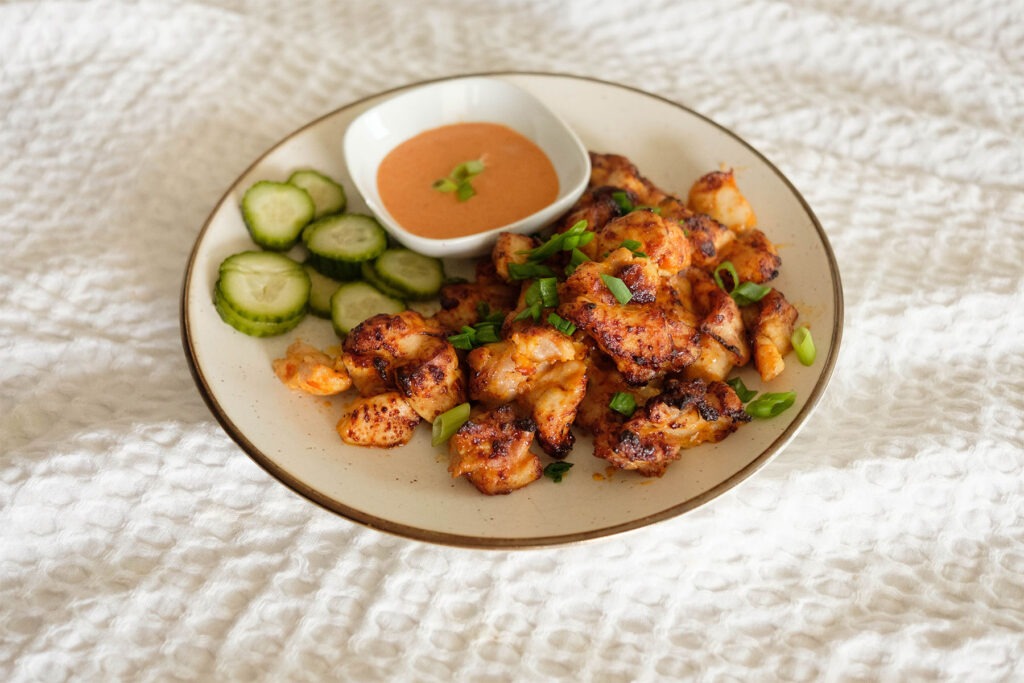
- Serve and Garnish: Transfer the chicken to a plate. Drizzle with the leftover sauce or serve it on the side for dipping. Sprinkle with green onions if desired. Pair with rice, vegetables, or your favorite meal prep sides.

Pairing Tips for a Complete Meal
- Grains: Serve over brown rice, quinoa, or cauliflower rice for a balanced, fiber-rich base
- Vegetables: Pair with roasted broccoli, bell peppers, snap peas, or steamed bok choy for color, crunch, and nutrients
- Salads: Toss with mixed greens, shredded carrots, cucumbers, and a light vinaigrette for a fresh, crunchy meal prep bowl
- Noodles: Combine with rice noodles or soba noodles for an Asian-inspired lunch bowl
- Healthy Fats: Add avocado slices or a sprinkle of sesame seeds to boost satiety and flavor
- Sauce Variety: Use the leftover bang bang sauce as a drizzle on veggies, noodles, or salads to add a flavor punch without extra effort
- Snack Sides: Pair with edamame, roasted chickpeas, or sliced bell peppers for a complete, protein-packed lunch box.


Frequently Asked Questions
Can I use chicken breast instead of thighs?
Yes! Chicken breast works fine, but it may cook slightly faster and can dry out if overcooked. Keep an eye on the internal temperature of 165°F.
Can I make this recipe spicier or milder?
Yes! Adjust the sriracha to your heat preference. For milder bites, use less sriracha or substitute with a mild chili sauce
Can I cook these in the oven instead of an air fryer?
Yes! Preheat oven to 425°F, place chicken on a parchment-lined baking sheet, and bake for 15–20 minutes, flipping halfway. The bites won’t be as crispy as the air fryer but will still be delicious.


Air Fryer Bang Bang Chicken Bites
Equipment
Ingredients
Chicken and Seasonings
Bang Bang Sauce
Instructions
Video
Notes
Nutrition