Hey there, flavor seekers and meal prep newbies! If you’ve been craving something healthy, light, and totally bursting with flavor but don’t want to spend hours in the kitchen, this Air Fryer Fish en Papillote is your new go-to recipe. “En papillote” (pronounced ahn pah-pee-YOHT) might sound fancy, but it simply means cooking your food in parchment paper. The parchment traps steam, infusing the fish with all the aromatic goodness of your ingredients so you get a perfectly tender, flaky fillet every time without any mess or stress.
This post may contain affiliate links. Read the disclosure policy.
Reasons Why This Recipe Is Perfect for Your Meal Prep:
- No Cleanup Drama: Everything cooks neatly in parchment paper. That’s right, no greasy pans, no sticky air fryer basket. Just flavor and done!
- Bold, Balanced Flavors: The combo of soy sauce, ginger, and sesame oil gives major umami vibes with a hint of freshness from the peppers and onions.
- Quick & Easy: From start to finish, you’re eating in 20 minutes. That’s faster than waiting for takeout!
- Perfect for Meal Prep: Cook multiple packets at once and store them in the fridge. Just reheat in the air fryer or oven for an instant, gourmet-level lunch or dinner.
- Foolproof for Beginners: Cod is super forgiving. If you can fold parchment paper, you can master this dish.
- Light but Satisfying: It’s packed with protein and heart-healthy fats, making it ideal for anyone trying to eat clean without feeling deprived.
- Customizable: Swap the veggies, add a squeeze of lime, or throw in a sprinkle of chili flakes for extra heat. You can make it your own every time!

Here’s What You Need
- Cod Fillets: Cod is a mild, flaky white fish that acts as a perfect blank canvas for bold, aromatic flavors. Its delicate texture cooks beautifully in parchment paper, staying moist and tender while absorbing all the surrounding seasonings. Because it’s lean and light, it pairs well with savory, umami-based sauces without feeling heavy.
- Ginger Paste: Ginger brings a warm, slightly spicy note that instantly livens up the dish. Using paste instead of fresh ginger makes it beginner-friendly and ensures an even coating across the fish. It also helps to balance the richness of the sesame oil and enhances the savory depth of the soy sauce.
- Mini Bell Peppers: These colorful peppers add a natural sweetness and crisp texture that contrast beautifully with the tender fish. They also provide visual appeal and a nutritional boost, being rich in vitamin C and antioxidants. Their mild flavor doesn’t overpower the dish, making them perfect for layering freshness and crunch.
- Green Onions: Green onions offer a subtle onion flavor without the sharpness of raw onions. They add brightness and a fresh finish, which balances the umami sauce. The green tops also lend a nice pop of color once the fish is cooked.
- Soy Sauce: Soy sauce is the umami backbone of this recipe. It brings saltiness, depth, and a hint of caramelized richness that complements the mild cod. It also ties together the ginger, sesame oil, and mirin for a well-rounded Asian-inspired flavor profile.
- Mirin Rice Vinegar: Mirin adds a delicate sweetness and acidity that brightens the entire dish. It helps cut through the saltiness of the soy sauce and balances the sesame oil’s richness. Together, they create a sauce that’s both savory and light, enhancing the natural flavor of the fish.
- Sesame Oil: Sesame oil contributes a nutty aroma and silky texture that elevates the dish from simple to restaurant-worthy. A small amount goes a long way, coating the fish and vegetables with a rich, toasty finish. It ties all the ingredients together, rounding out the flavors with warmth and depth.
How to Meal Prep Fish en Papillote
- Preheat the air fryer to 400°F. While it heats up, get your parchment paper ready. This recipe uses the “en papillote” method, which means you’ll be folding the fish inside parchment packets to steam it in its own juices and flavor
- Lay out the parchment paper sheets. Place each piece on a flat surface. Set one cod fillet on the upper half of each sheet. This will make folding easier later
- Season the fish with ginger paste. Spread about 1 tablespoon of ginger paste evenly over each fillet using the back of a spoon or a brush. This adds flavor and a subtle heat to the fish
- Add the vegetables. Sprinkle the finely diced mini bell peppers and sliced green onions evenly over the top of each fillet. The vegetables will soften as they cook and add color and crunch
- Make the sauce. In a small bowl, combine the soy sauce, mirin rice vinegar, and sesame oil. Stir until well mixed. Pour the sauce evenly over the two fillets, letting it soak into the vegetables and fish
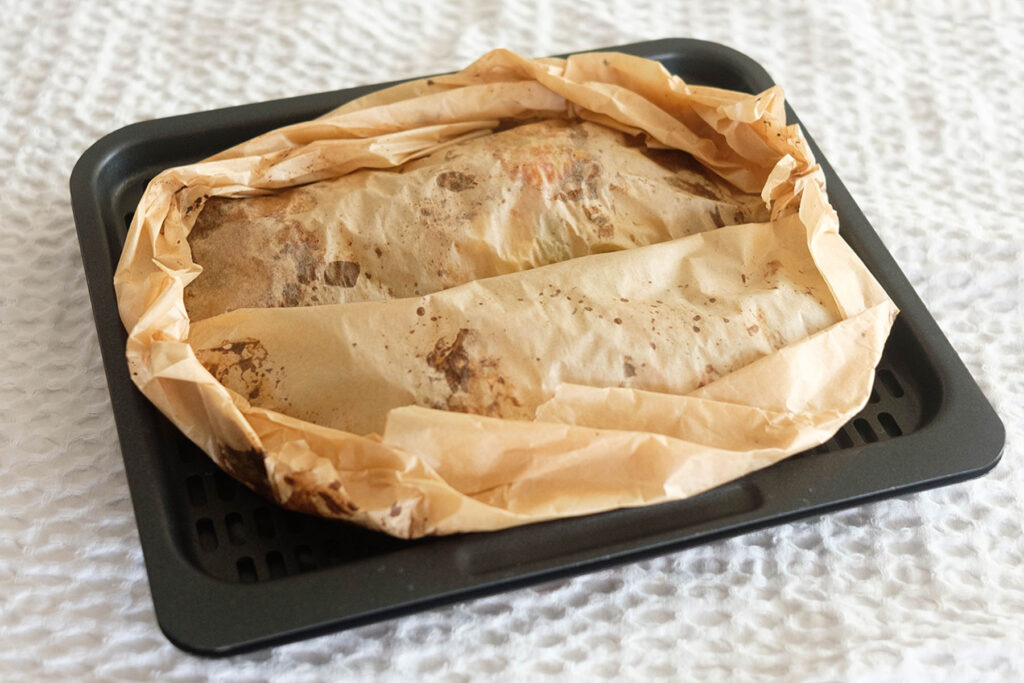
- Fold the parchment packets. Fold the lower half of the parchment paper up over the fish so the edges meet. Starting at one corner, make small overlapping folds all the way around the edges to seal the packet. The goal is to trap steam inside while the fish cooks—this keeps it tender and flavorful
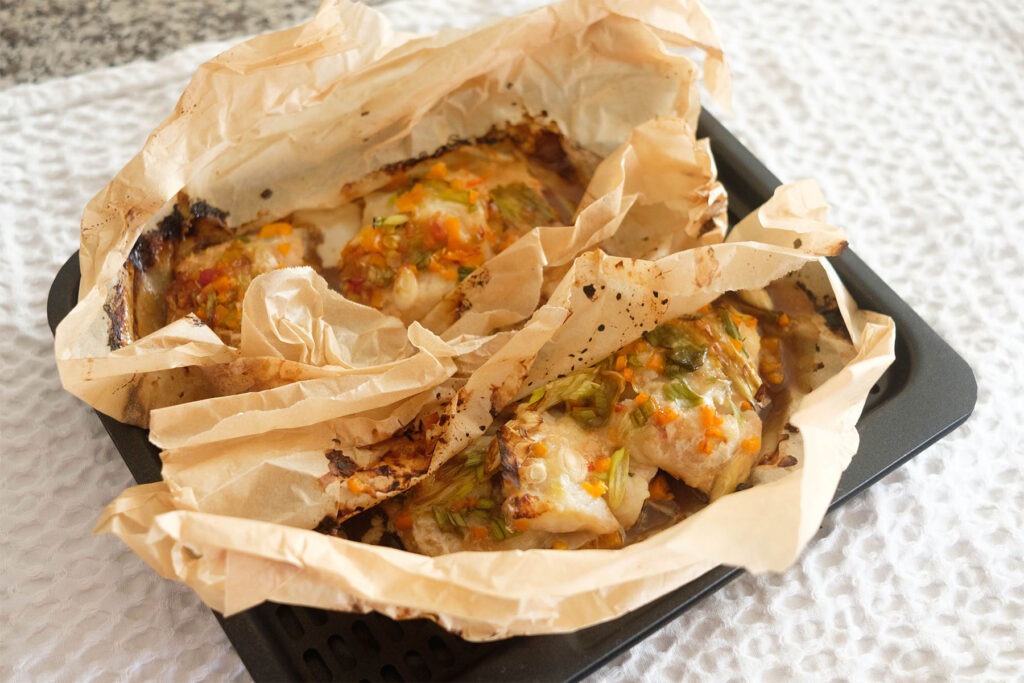
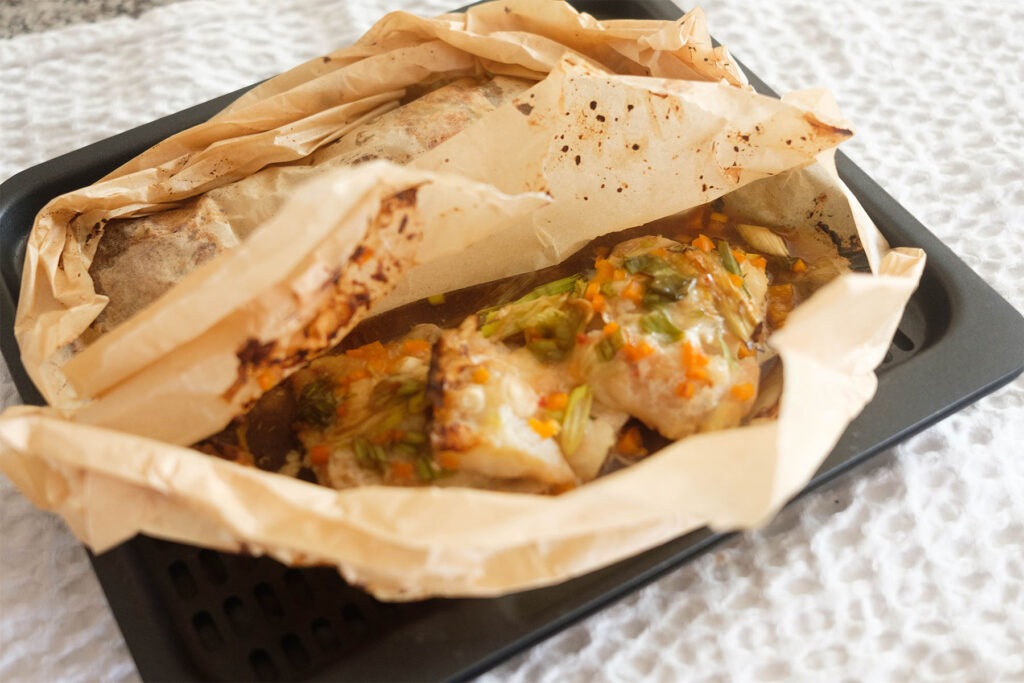
- Cook in the air fryer. Place both packets in the air fryer basket, leaving some space between them for air circulation. Cook for about 10 minutes. The fish is done when it flakes easily with a fork and appears opaque in the center
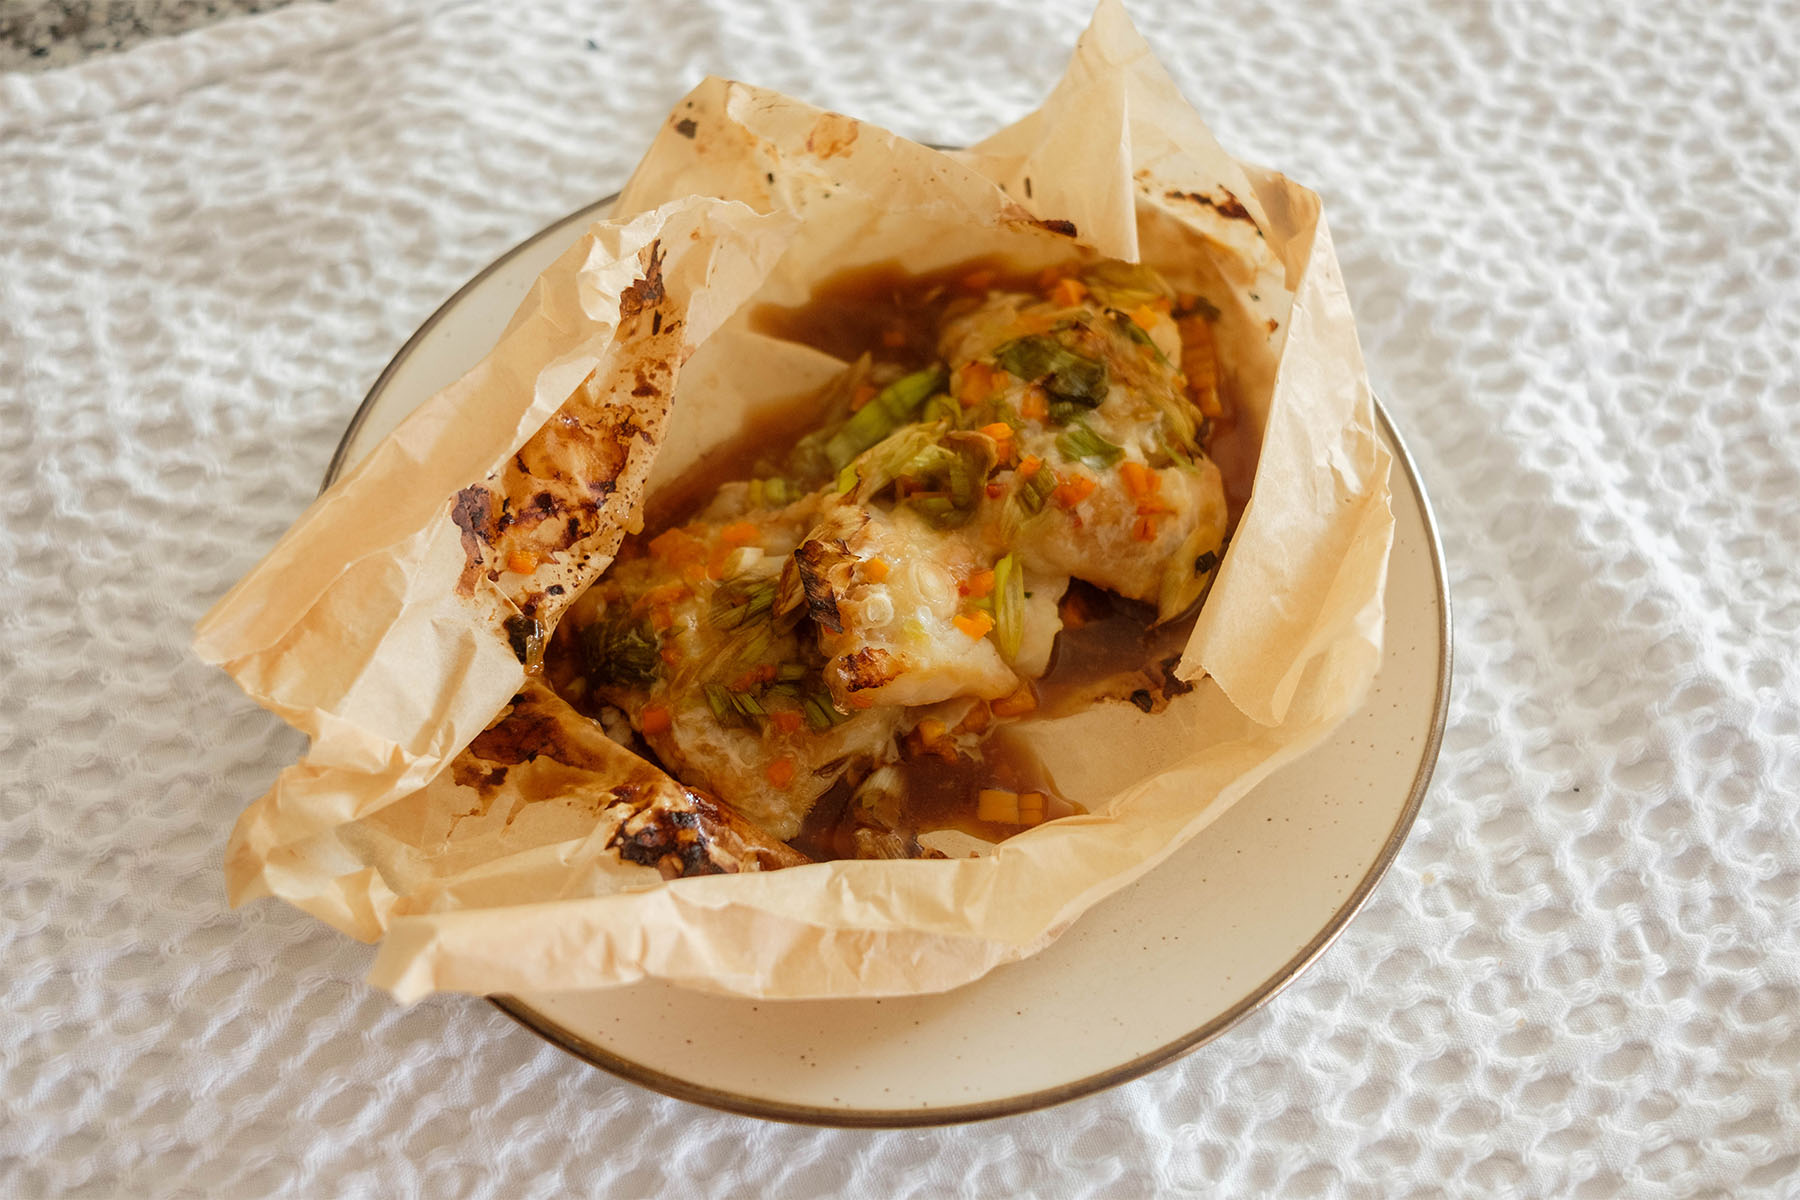
- Serve carefully. Use tongs to remove the packets from the air fryer. Let them rest for about a minute before opening. Steam will escape quickly, so open them slowly and away from your face
- Plate and enjoy. Serve the fish straight from the parchment for easy cleanup, or transfer to a plate and drizzle any juices from the packet on top for extra flavor.
Pairing Tips for Fish en Papillote
- Proper Portioning & Storage: Divide meals into airtight containers, refrigerate up to 3 days, and reheat
- Whole Grain Base: Pair the fish with brown rice, quinoa, jasmine rice, or farro to create a hearty, fiber-rich base that soaks up the sauce
- Roasted or Steamed Vegetables: Add broccoli, bok choy, roasted carrots, sweet potatoes, or zucchini for color, nutrients, and texture
- Fresh Element: Include cucumber salad, pickled vegetables, edamame, or cabbage slaw to brighten meals and provide crunch
- Healthy Fats or Garnishes: Finish with toasted sesame seeds, cilantro, lime, sriracha, or avocado slices for flavor and healthy fats.


You Might Also Like


Frequently Asked Questions
Can I use other types of fish instead of cod?
Yes! Mild, flaky fish like tilapia, haddock, or halibut work well. Avoid very oily fish like salmon, which may release too much oil and change the cooking time.
Can I prepare the packets in advance?
Absolutely! Assemble the packets and store them in the fridge for up to a day. Cook them in the air fryer when ready to eat.
How do I know when the fish is done?
The fish is fully cooked when it flakes easily with a fork and appears opaque throughout. Cooking in parchment traps steam, so it will stay tender.


Air Fryer Asian Style Fish en Papillote
Equipment
Ingredients
Instructions
Video
Notes
Nutrition