
If you’re trying to incorporate more protein into your plant-based diet, here’s an easy vegetarian taco lunch recipe that you can enjoy!
This post may contain affiliate links. Please see our privacy policy for details.
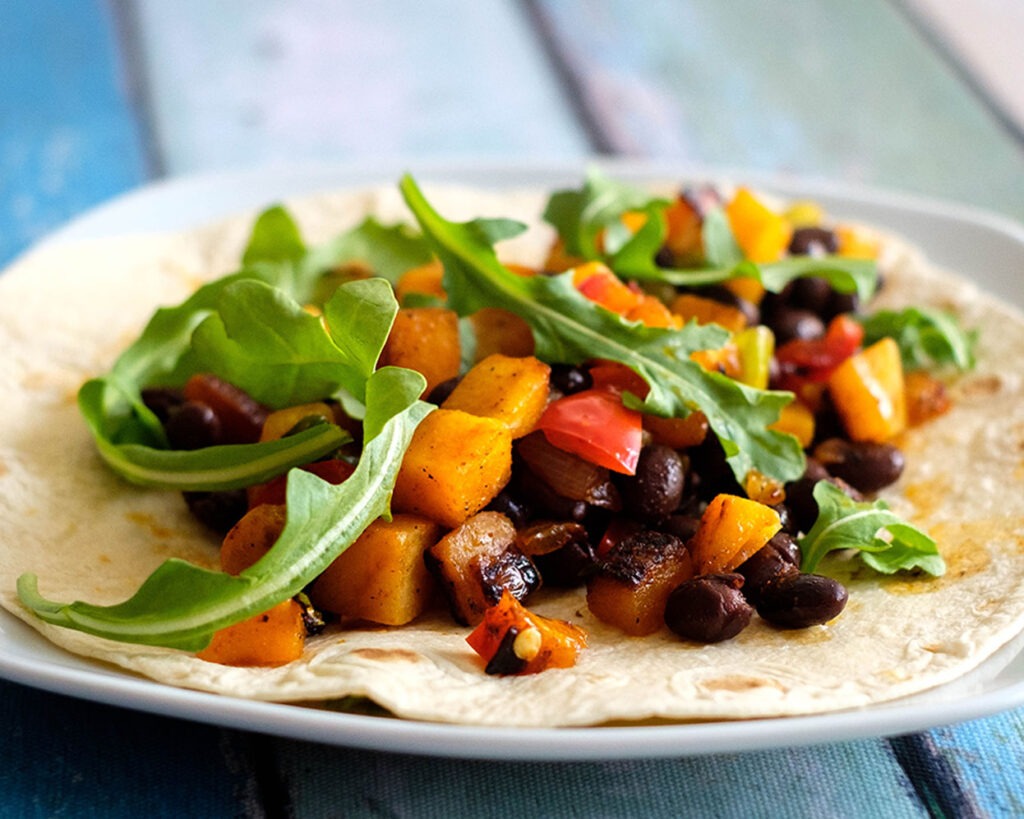
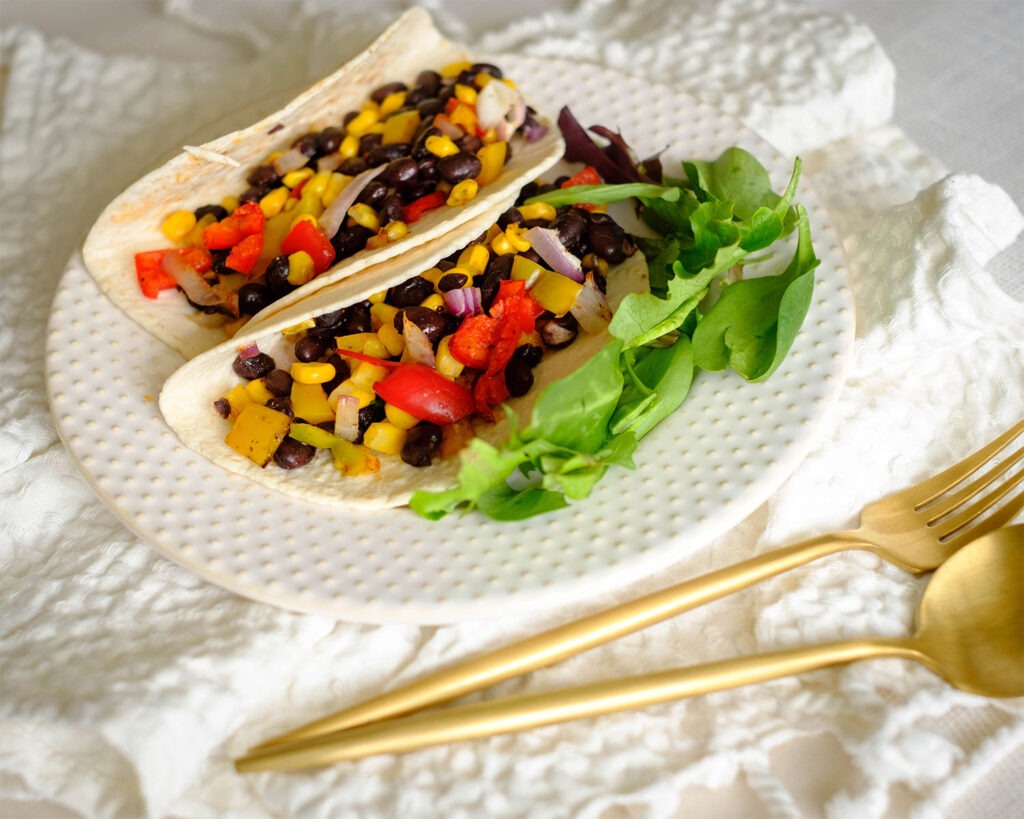
Sometimes it’s a challenge trying to get protein into your diet when you’re incorporating more plant-based meals. However, this vegetarian taco, butternut squash and black bean recipe is delish and tastes just as savory as a meat taco, and provides good protein as well.

Ingredients You’ll Need
- Tortillas: You can use flour or corn tortillas for these tacos. If you want to keep it low-carb, use jicama tortillas
- Butternut squash: This ingredient adds a nutty, earthy, and slightly sweet flavor to the dish and is full of ingredients.
- Black beans: We used black beans, but you can also use any kind of beans such as pinto beans
- Bell pepper: You can use any color, we prefer red bell peppers for this recipe because of the sweetness of the red peppers
- Arugula: Adding fresh greens keeps this recipe light and also adds another layer of nutrition. You can also use spring mix, baby spinach, or even baby kale
- White onions: you can also use red onions or yellow onions
- Seasonings: chili powder, paprika, garlic powder, salt
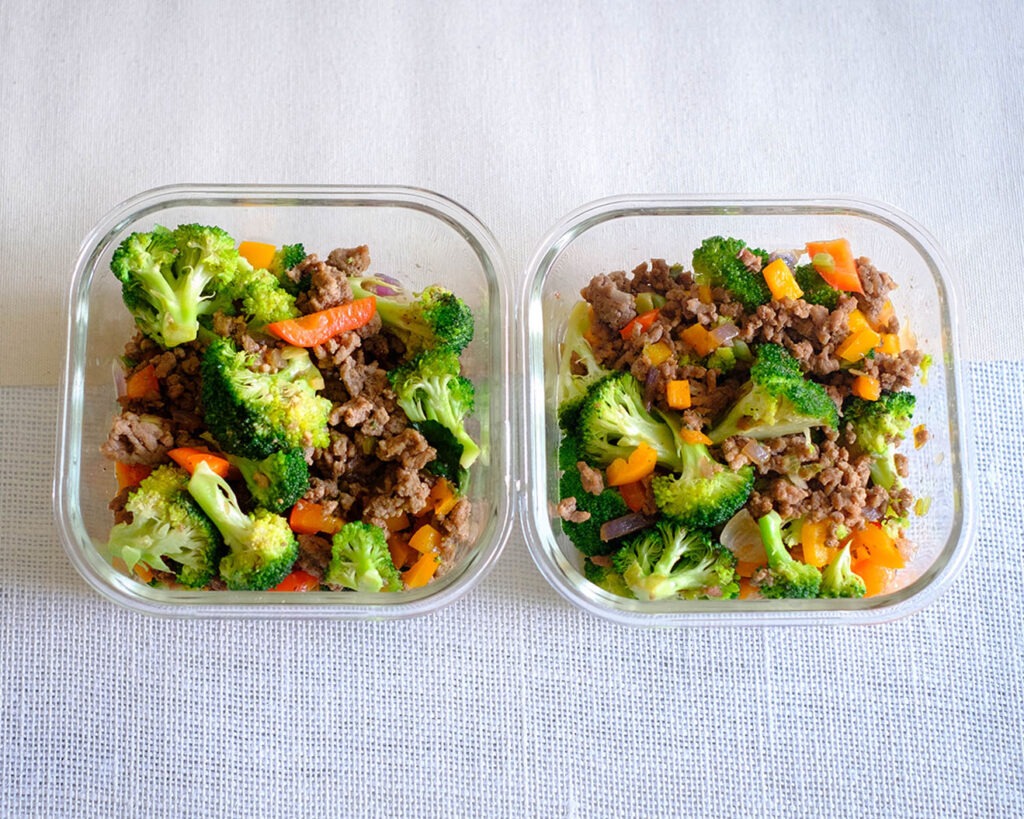
How to Prepare Butternut Squash and Black Bean Soft tacos
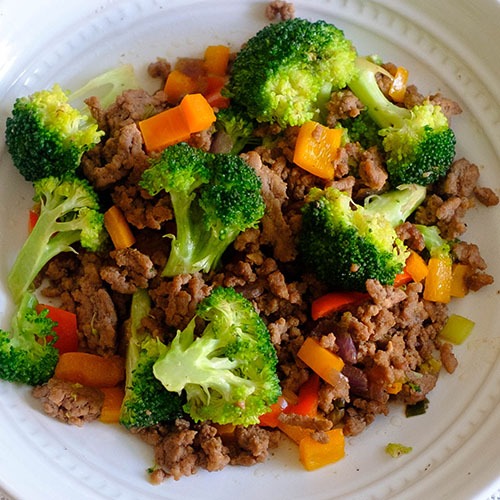
- Dice up all of your veggies.
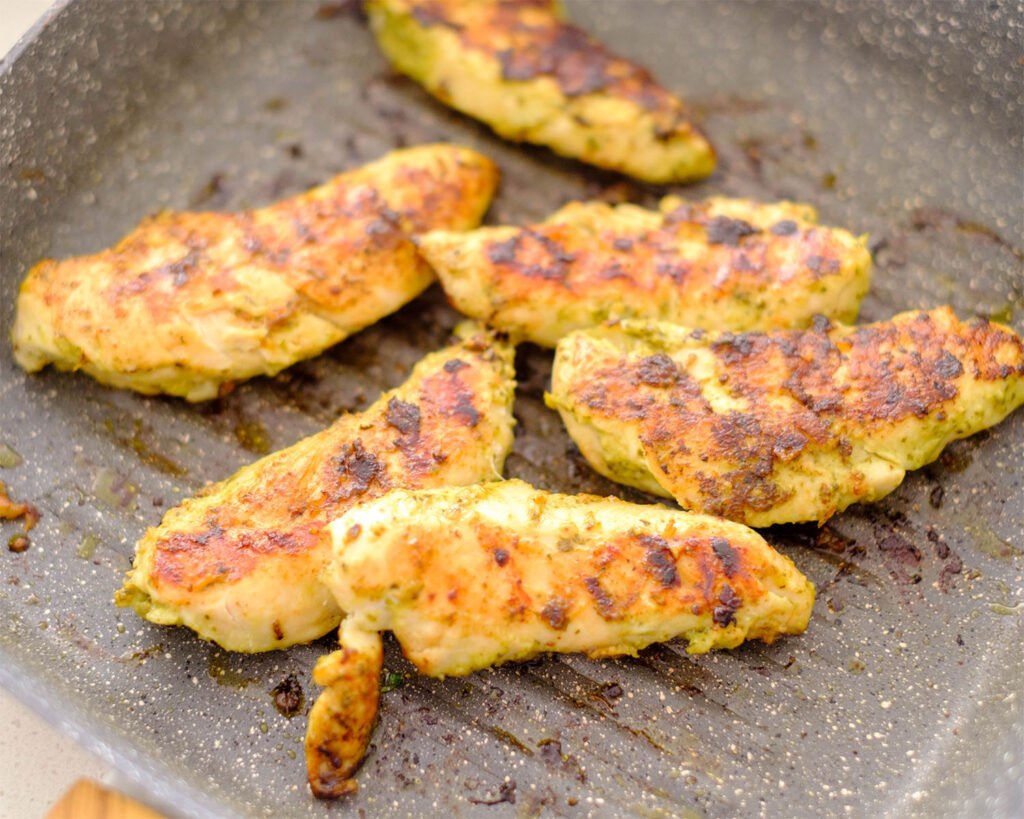
- Add oil to a heated skillet and start first with the onions and bell peppers.
- Next add the seasonings, black beans, and squash, and mix everything together.
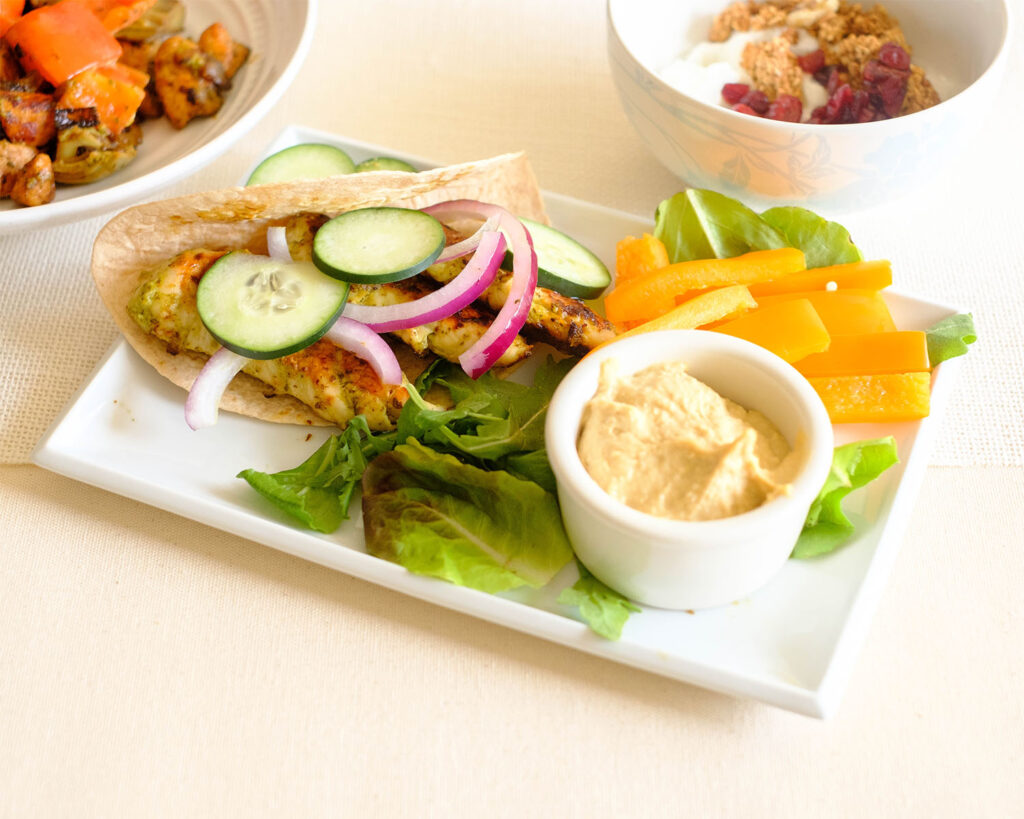
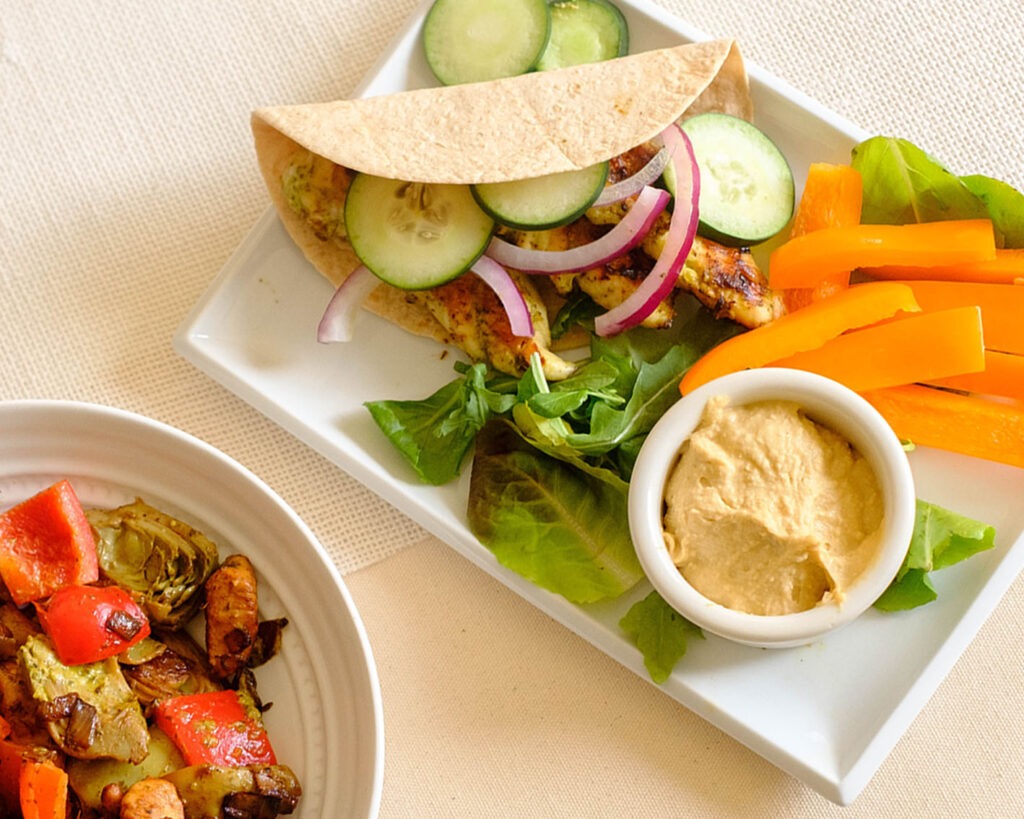
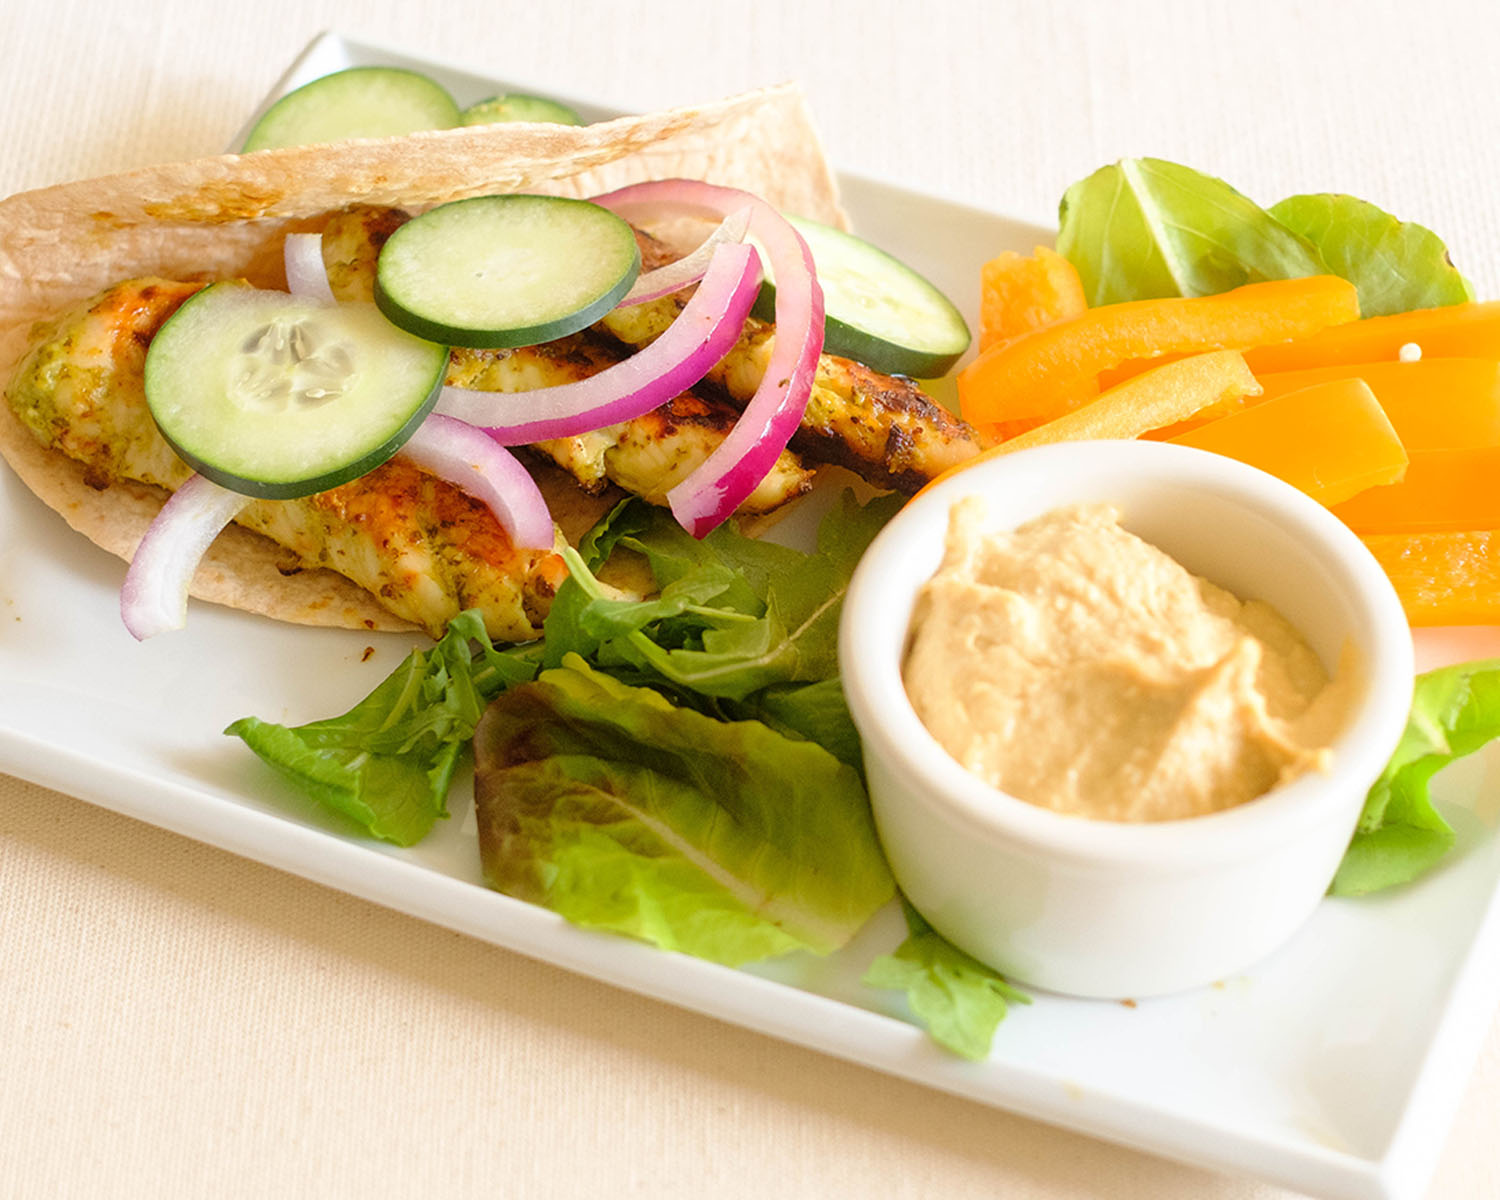
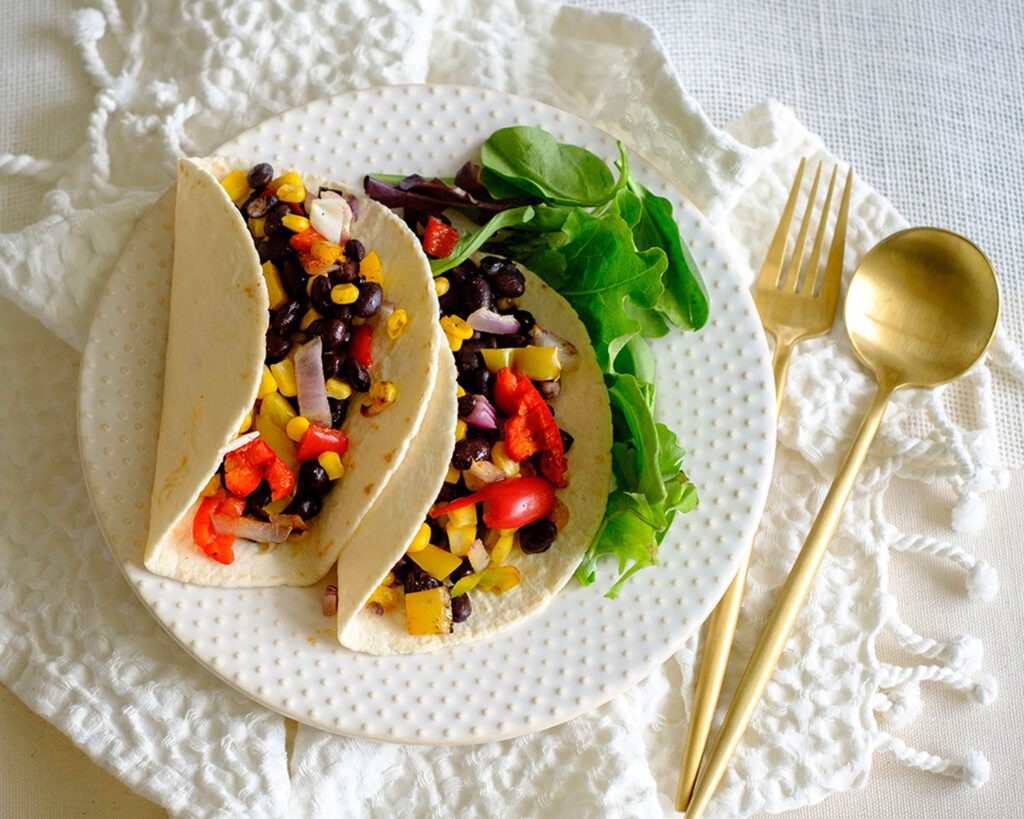
- Serve the black bean filling inside flour tortillas.
- Top it off with fresh arugula.
Reference the recipe card below for detailed instructions.

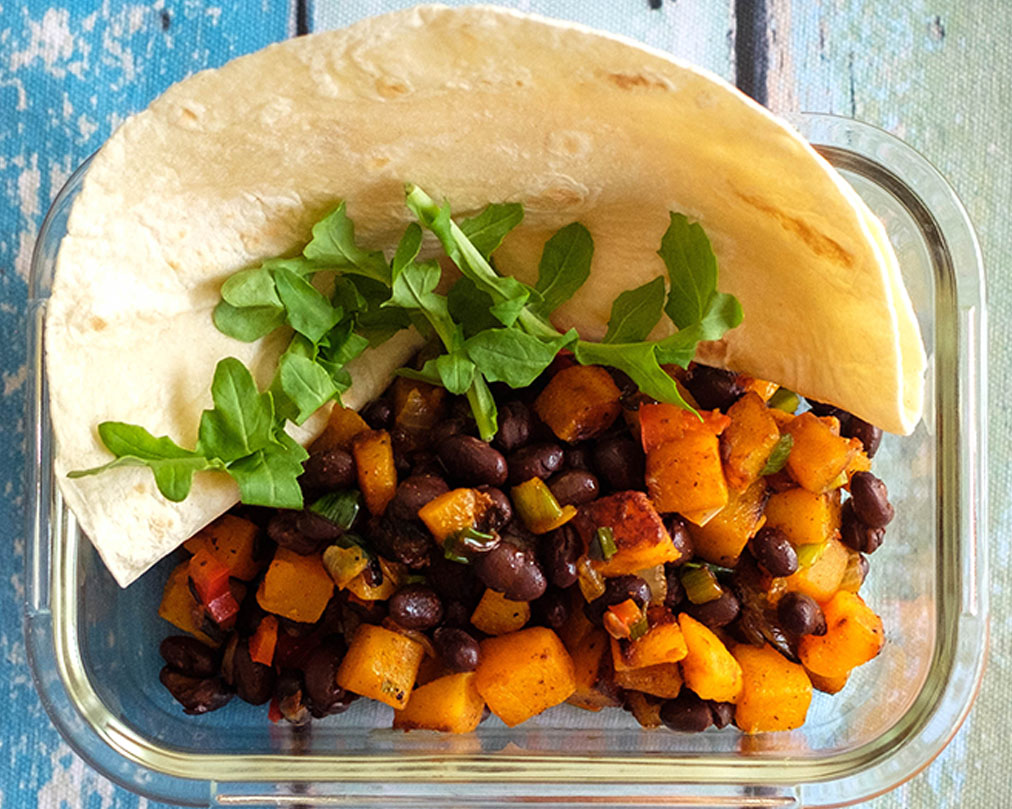
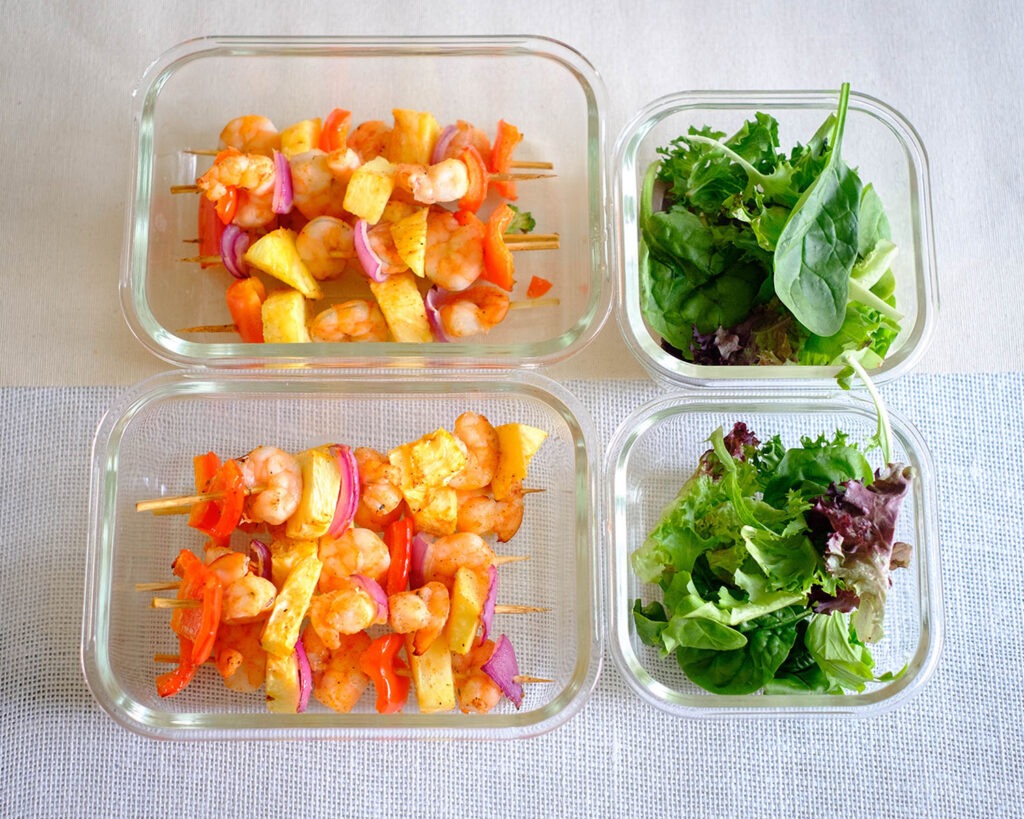
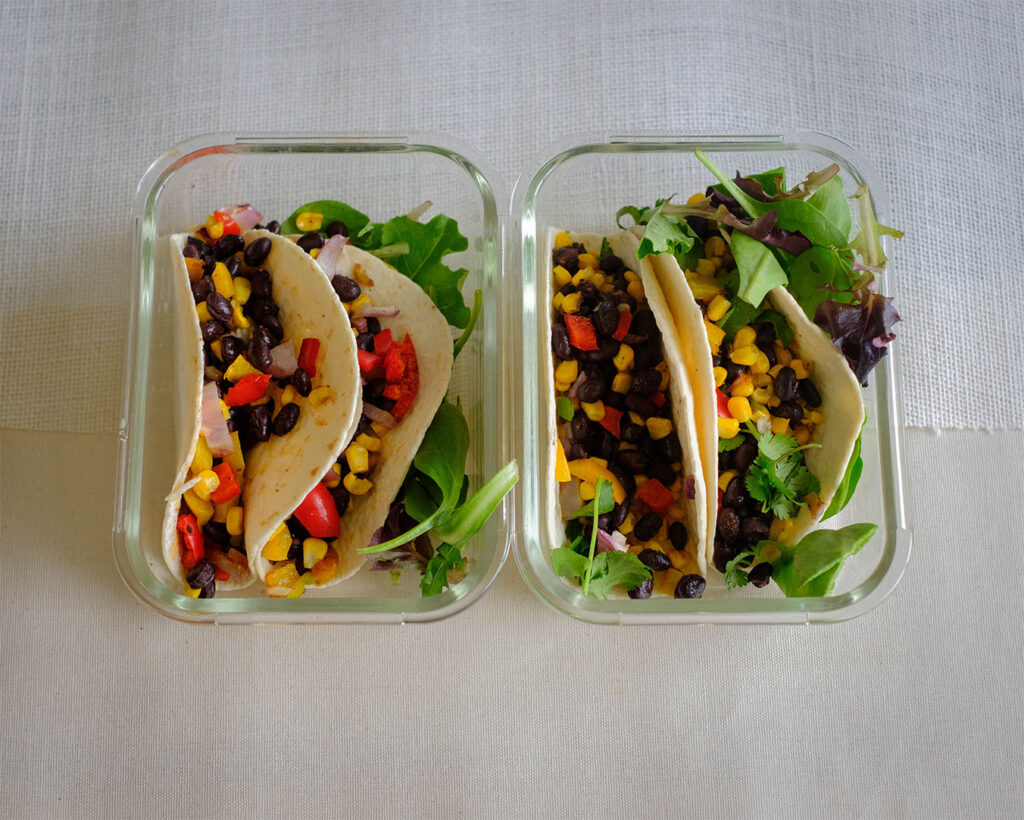
Meal Prep Tips for Vegetarian Tacos
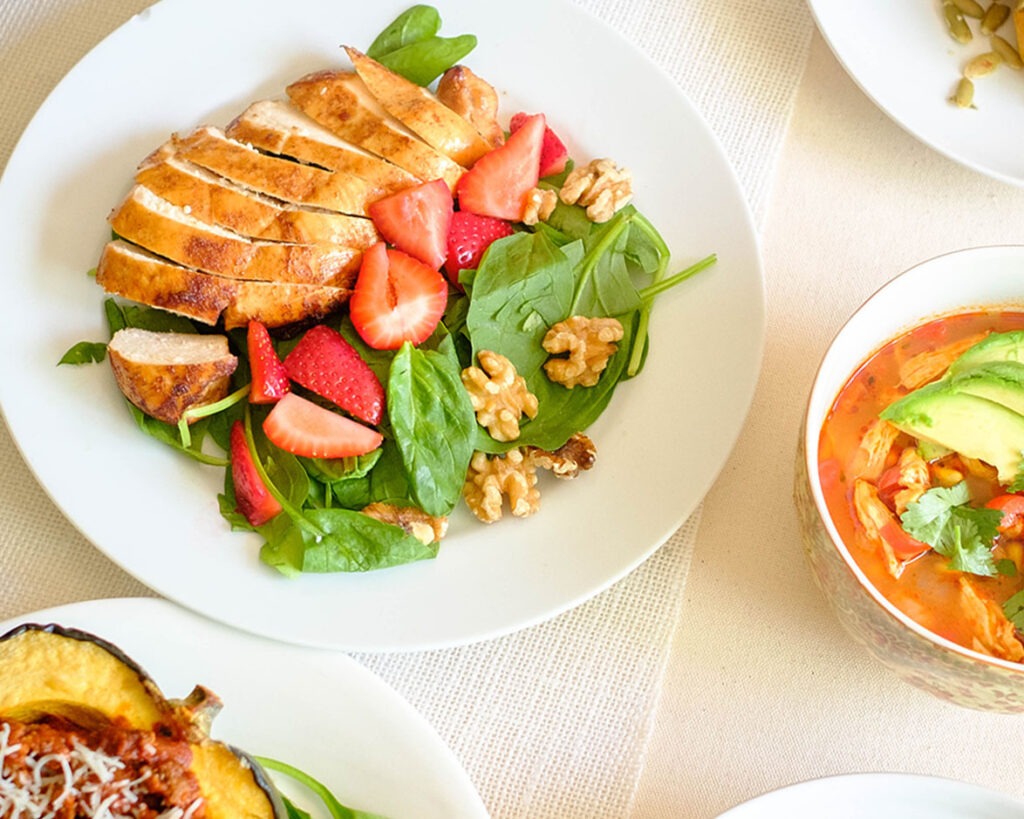
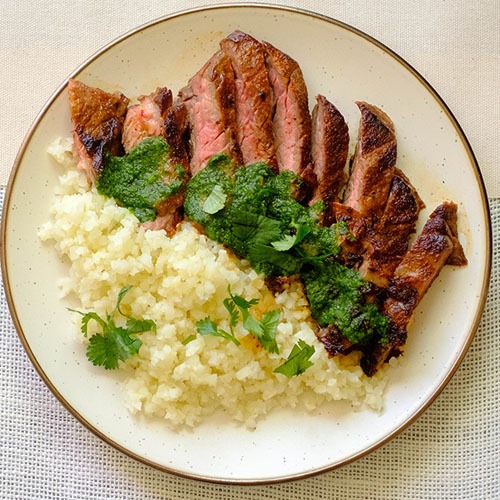
- To Serve: Feel free to add sliced avocado on top
- Flavor Tip: Top them off with chopped cilantro and the juice of a lime to freshen up the meal
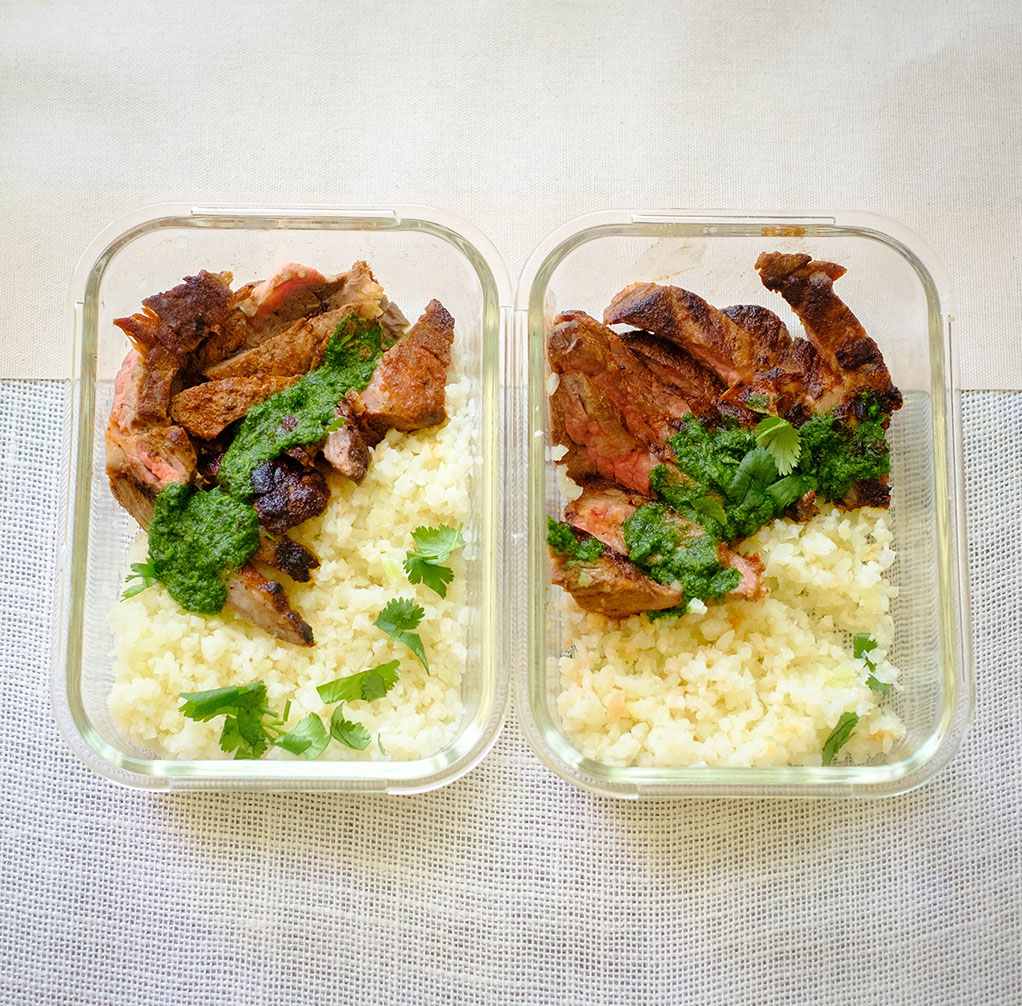
- To Store: Store in an airtight container in the refrigerator for up to 3 to 4 days. Keep the black bean filling separate from the tortillas so that they don’t get soggy


Frequently Asked Questions
Is butternut squash good for weight loss?
It is low in calories and a great source of fiber which helps you keep full, therefore it helps promote weight loss with a balanced diet.
Is butternut squash a healthy carb?
Butternut squash only has 22 g of carbs per cup of cooked squash. It is a complex carb that is rich in vitamins A, C, and B vitamins, potassium, and magnesium.
Is butternut squash anti-inflammatory?
It does have a high antioxidant content which can help promote anti-inflammatory benefits along with a balanced diet.


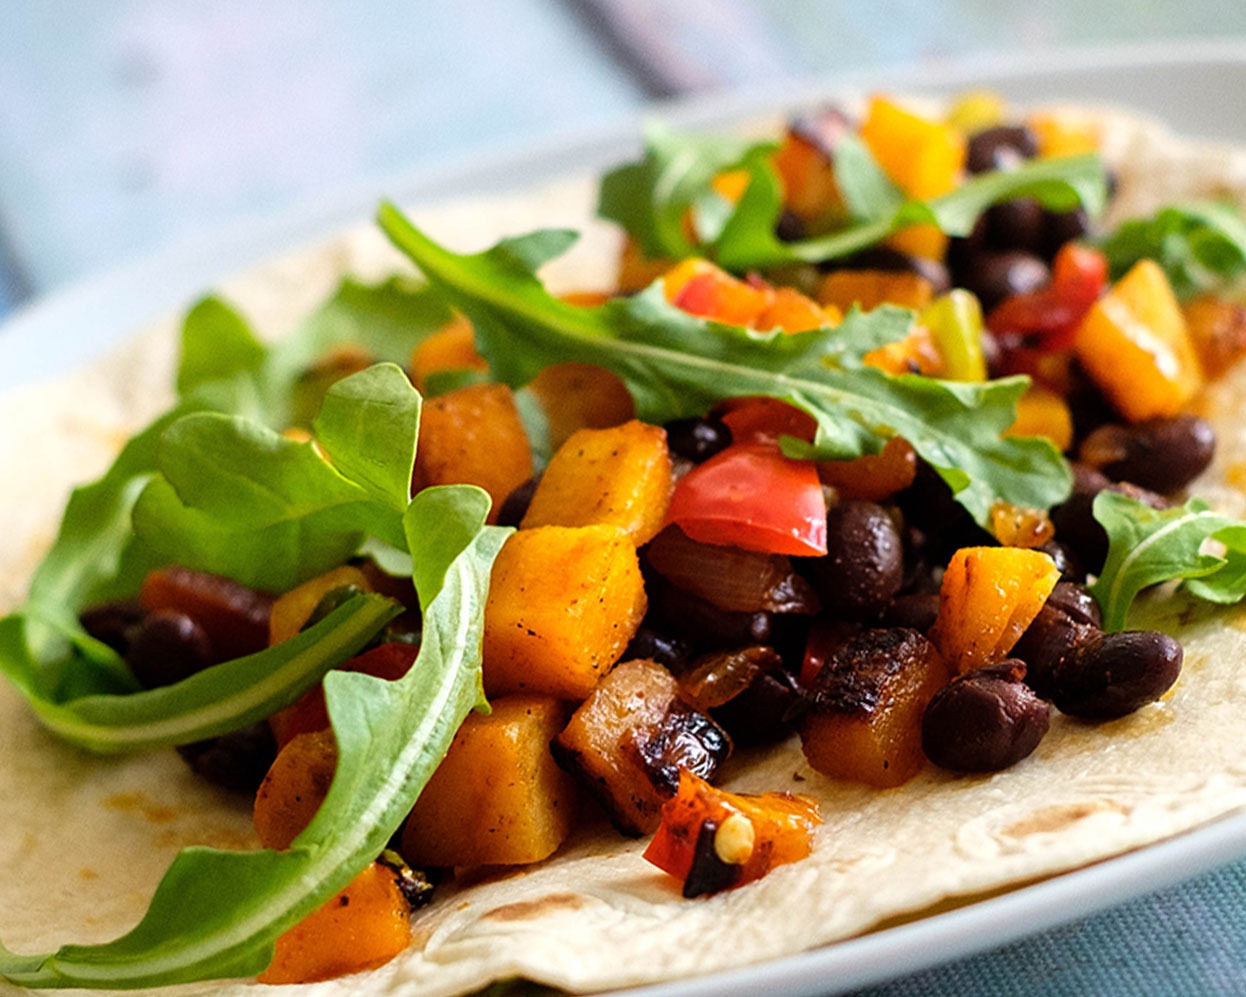

Butternut Squash and Black Bean Soft Taco
Equipment
Ingredients
Instructions