Posted on Leave a comment

Air Fryer Lemongrass Pork Loin

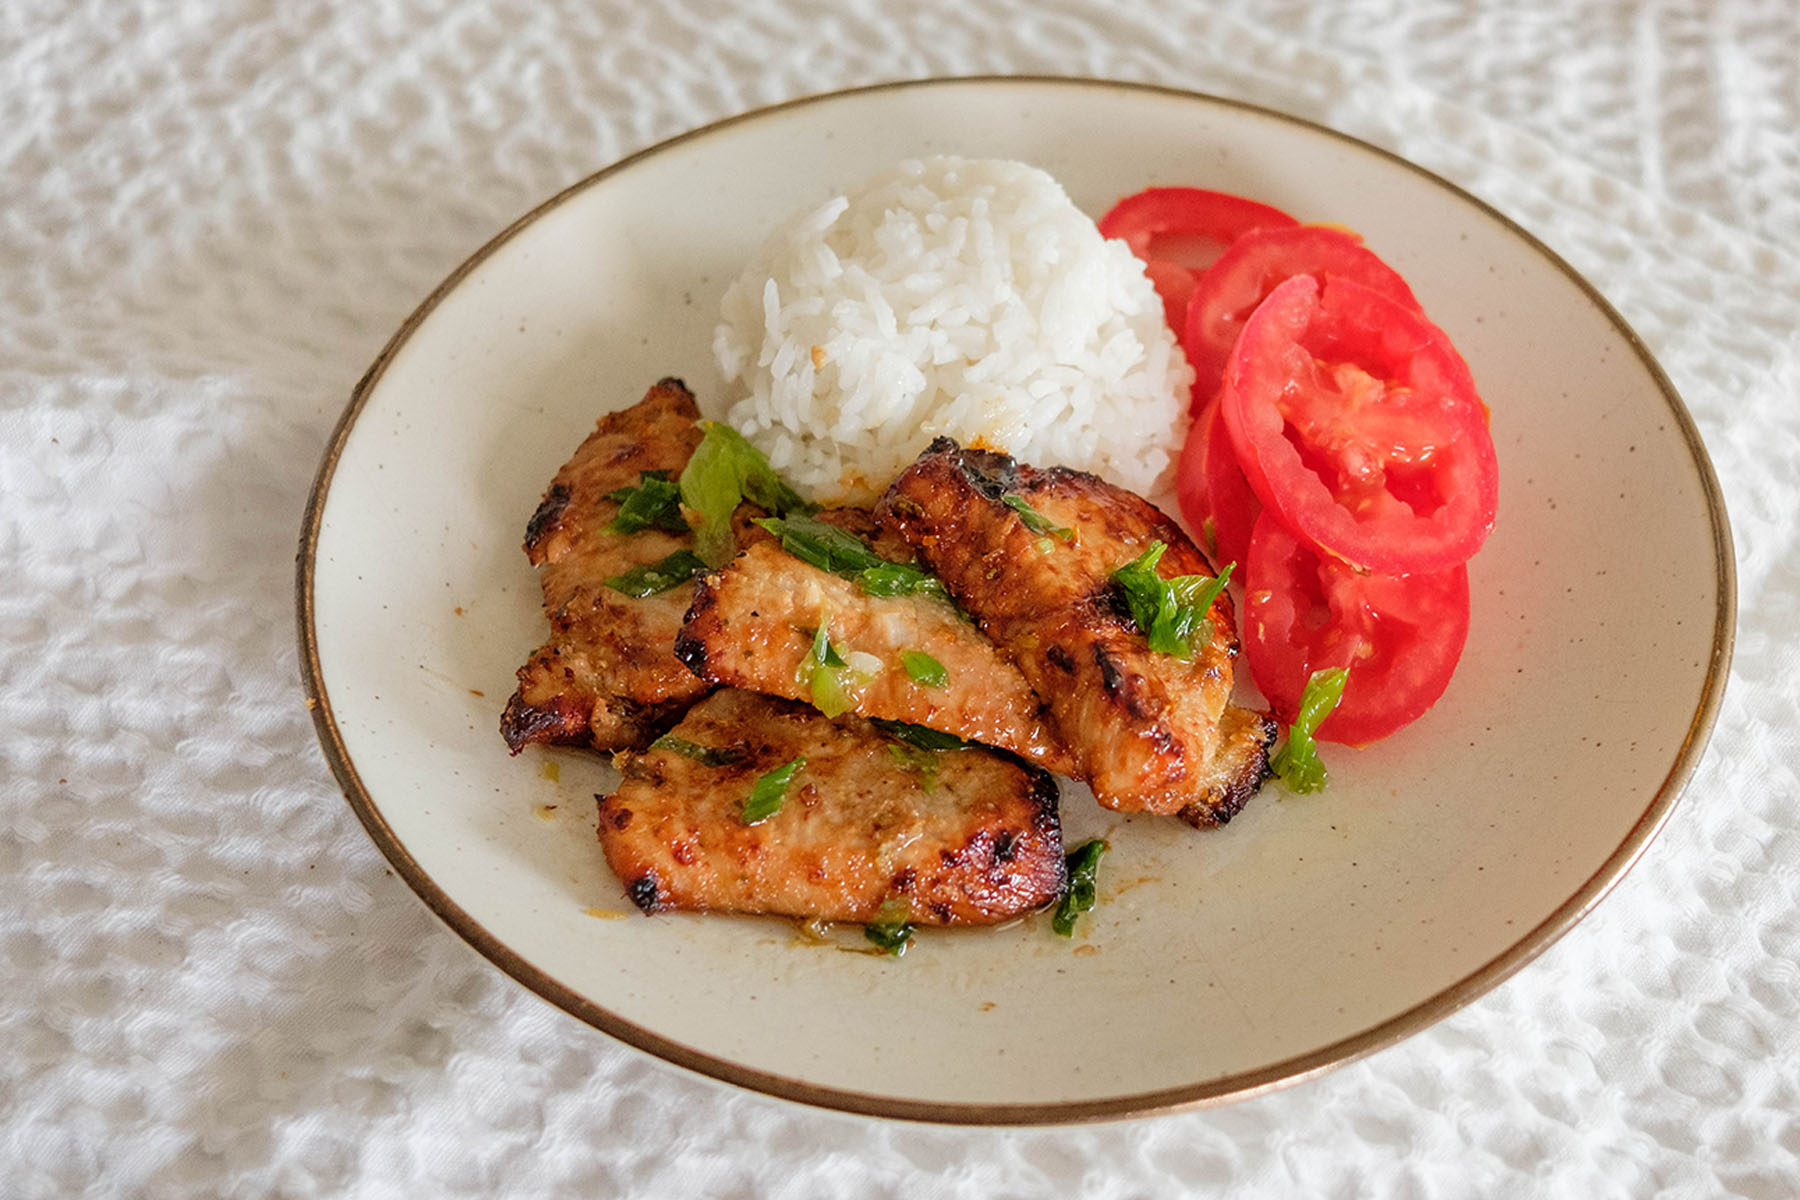
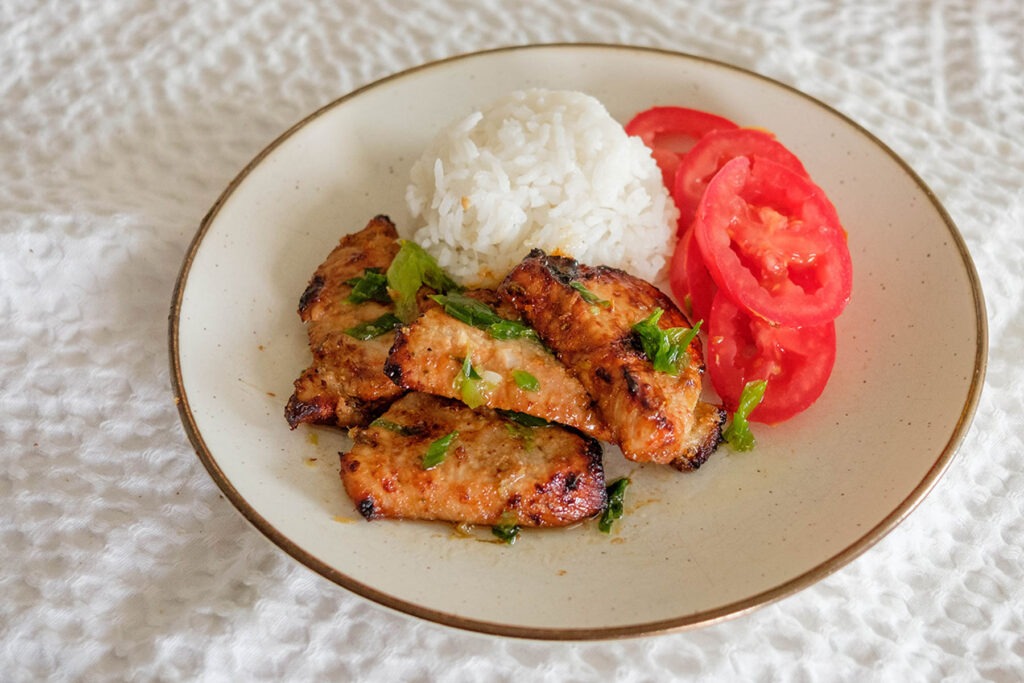
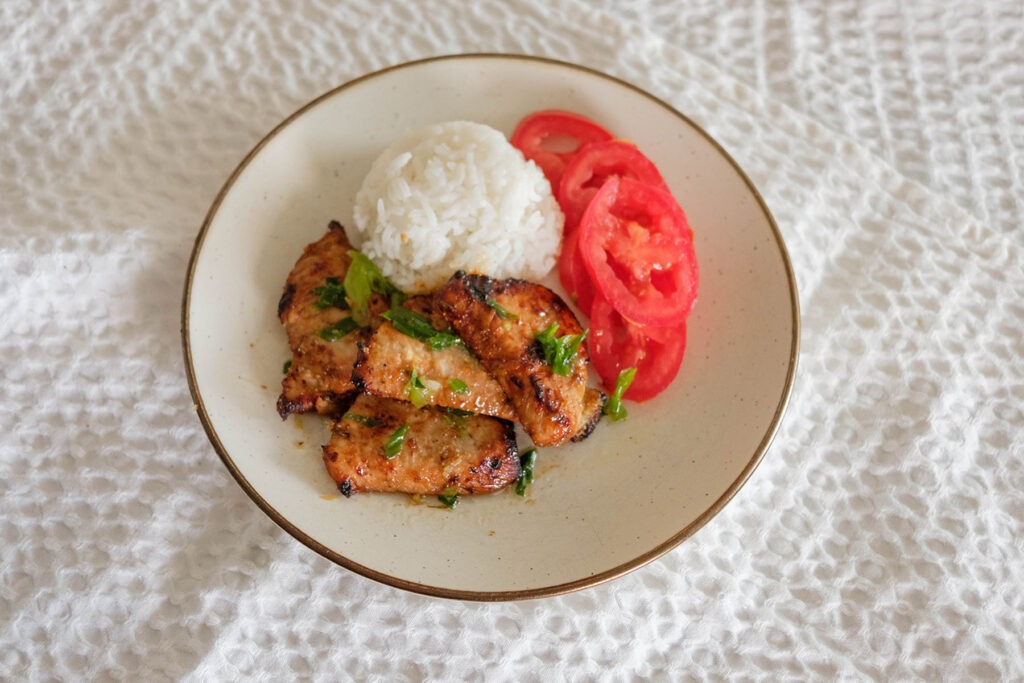
pork loin slices with white rice and sliced tomatoes

Busy schedule? Craving bold flavors? This Air Fryer Lemongrass Pork Loin is about to become your new go-to meal prep protein. Juicy, fragrant, and full of Southeast Asian-inspired flavors, it’s the perfect dish for anyone who wants healthy meals without giving up excitement on the plate. With just a quick marinade and your air fryer, you’ll have savory, slightly sweet, and aromatic pork slices that taste restaurant-level good.

This post may contain affiliate links. Please see our privacy policy for details.

Calories: 467kcal | Carbohydrates: 12g | Protein: 34g | Fat: 29g | Saturated Fat: 5g | Polyunsaturated Fat: 4g | Monounsaturated Fat: 18g | Cholesterol: 89mg | Sodium: 1917mg | Potassium: 729mg | Fiber: 1g | Sugar: 5g | Vitamin A: 301IU | Vitamin C: 8mg | Calcium: 54mg | Iron: 2mg

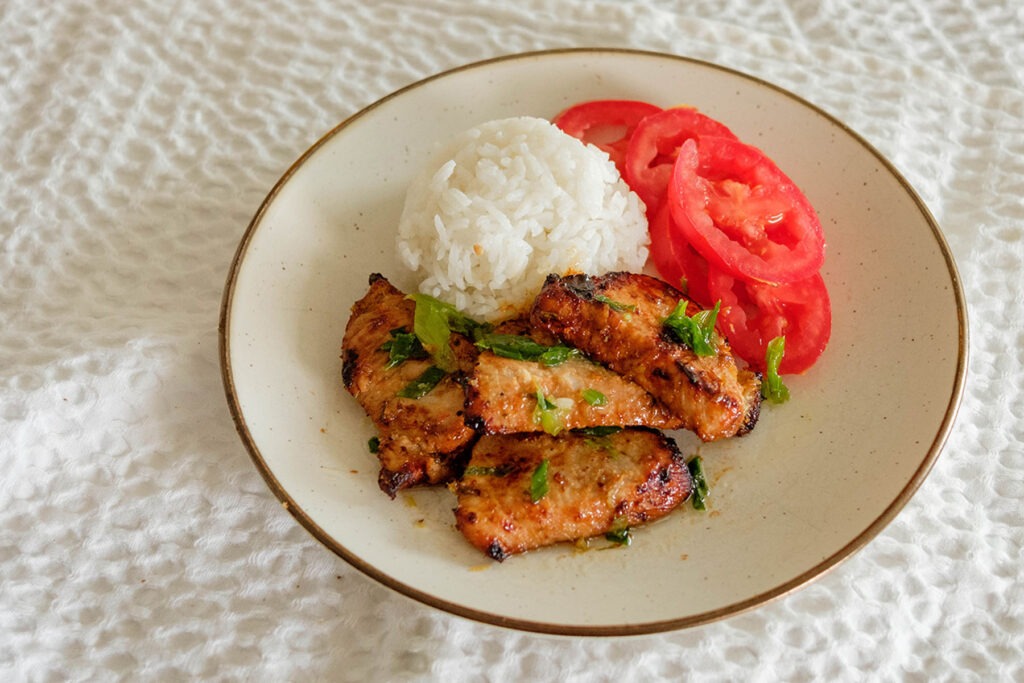
pork loin slices with white rice and sliced tomatoes

Air Fryer Lemongrass Pork Loin

Quick, juicy air fryer lemongrass pork loin with bold, aromatic flavors—perfect for healthy, make-ahead meal prep.
No ratings yet
Prep Time 5 minutes
Cook Time 20 minutes
Course dinner, Main Course
Cuisine Asian
Servings 2
Calories 467 kcal

Equipment

  • knife
  • cutting board
  • mixing bowl
  • Air Fryer

Ingredients
  

  • 10 oz pork loin

Lemongrass Marinade:

  • 2 tablespoons lemongrass paste
  • 2 tablespoons ginger paste
  • 1 tablespoon garlic paste
  • 1 tablespoon soy sauce
  • 1 tablespoon fish sauce
  • 1 tablespoon oyster sauce
  • 1 tablespoon sweet chili sauce
  • 1 teaspoon sesame oil

Optional: Ginger Scallion Oil

  • 2 tablespoons ginger paste
  • 5 scallions (thinly sliced)
  • 3 tablespoons olive oil
  • 1/4 teaspoon salt

Instructions
 

Pork Loin

  • Mix the Marinade: In a small bowl, whisk together lemongrass paste, ginger paste, soy sauce, fish sauce, oyster sauce, sweet chili sauce, and sesame oil.
  • Prep the Pork: Slice the pork loin into thin ¼-inch rounds. Place in a mixing bowl and pour over the marinade. Toss until fully coated. Cover and refrigerate overnight (or at least 1 hour).
  • Cook in the Air Fryer: Preheat your air fryer to 400°F. Arrange pork slices on the tray in a single layer (avoid overcrowding). Cook for 12–16 minutes, flipping halfway. The pork should reach an internal temperature of 145°F for safe doneness.
  • Serve & Enjoy: Pair with steamed rice and crisp veggies (like cucumbers, carrots, or bok choy) for a balanced, meal-prep-ready plate. Feel free to also enjoy it with the Ginger Scallion Sauce referenced below.
  • Optional: Ginger Scallion Sauce
  • Prep the Scallions and Ginger: Thinly chop the scallions and measure out the ginger paste
  • Heat the Oil: In a small saucepan, heat the olive oil over medium heat.
  • Cook the Aromatics: Add teh ginger paste and chopped scallions to the hot oil and stir for 1-2 minutes. Make sure you don't let it brown or burn, you just want the flavors to infuse. Season with sal.
  • Cool and Store: Let the oil cool and transfer to a condiment container.

Video

Notes

Nutrition information provided is an estimate. It will vary based on cooking method and specific ingredients used. Please consult with your healthcare provider for specific dietary needs. To gain a better understanding, explore our nutrition disclaimer here

Nutrition

Calories: 467kcalCarbohydrates: 12gProtein: 34gFat: 29gSaturated Fat: 5gPolyunsaturated Fat: 4gMonounsaturated Fat: 18gCholesterol: 89mgSodium: 1917mgPotassium: 729mgFiber: 1gSugar: 5gVitamin A: 301IUVitamin C: 8mgCalcium: 54mgIron: 2mg

Reasons Pork Loin is Perfect for Healthy Meal Prep:

  • Lean & Protein-Packed: Pork loin is naturally lean, offering lots of protein without excess fat.
  • Budget-Friendly: Compared to chicken or beef, pork loin is often more affordable for weekly meal preps.
  • Quick Cooking: Thin slices cook fast in the air fryer, which is a lifesaver on busy weeknights.
  • Flavor Sponge: Pork loin absorbs marinades like a champ, so bold flavors (like lemongrass and ginger) shine through.
  • Versatile Pairing: It pairs well with rice, noodles, or even salads—so you can switch up your weekly prep easily.
  • Low Maintenance: Minimal prep, no fancy equipment, and short cook time = meal prep made simple.
  • Meal Prep Hero: Stays juicy when reheated, so your lunch tastes just as good on Thursday as it did on Monday.

The PrepYoSelf Newsletter

Flavor Breakdown: Why These Ingredients Shine

  • Lemongrass Paste: Fresh, citrusy, and slightly floral—lemongrass adds a bright punch that balances out richer flavors. It instantly gives the pork a Southeast Asian vibe that feels refreshing, not heavy.
  • Ginger Paste: Warm, zesty, and slightly spicy. Ginger cuts through the richness of pork and pairs beautifully with lemongrass. It also brings digestive benefits, making your meal prep feel light yet satisfying.
  • Soy Sauce: Savory and salty, soy sauce is the foundation of umami here. It ties all the flavors together and helps tenderize the pork as it marinates.
  • Fish Sauce: A little goes a long way! Fish sauce adds deep, funky umami that makes the dish taste restaurant-level. When combined with lemongrass and ginger, it layers the flavor without overpowering.
  • Oyster Sauce: Thick, glossy, and slightly sweet, oyster sauce helps the marinade cling to the pork slices. It also adds richness and a subtle caramel-like undertone that balances the salty notes.
  • Sweet Chili Sauce: Sweet with a gentle heat, this ingredient adds brightness and a touch of stickiness. It keeps the marinade from tasting too savory while giving your pork that crave-worthy sweet-spicy kick.
  • Sesame Oil: Nutty and aromatic, sesame oil is the finishing touch that rounds out the marinade. A teaspoon is all you need to add depth and a subtle roasted flavor.
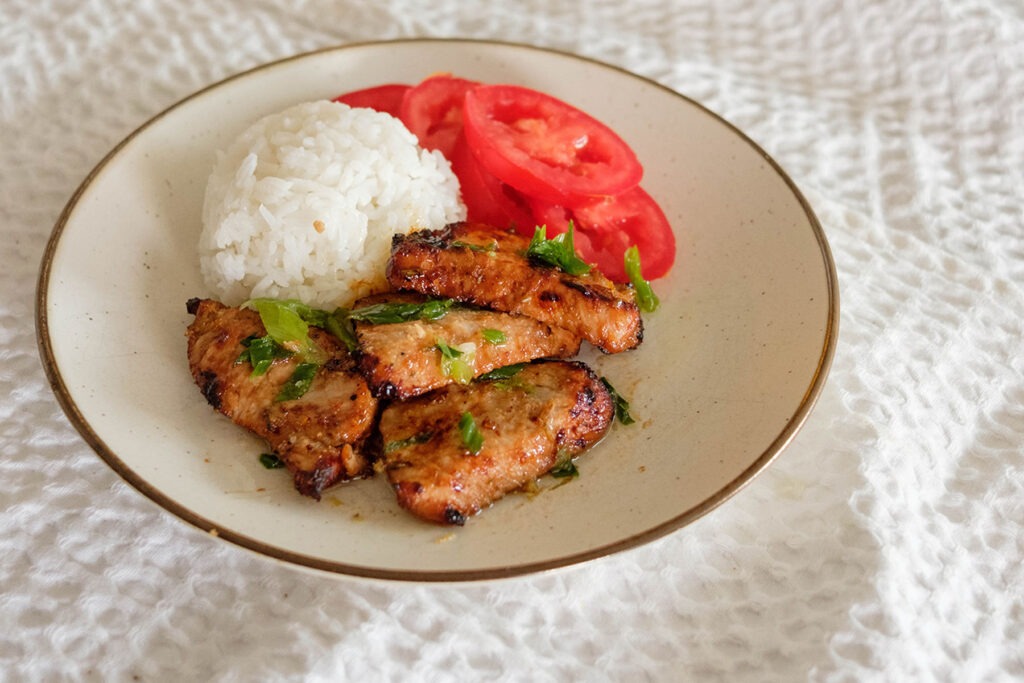
pork loin slices with white rice and sliced tomatoes

How to Meal Prep Lemongrass Pork Loin

  1. Make the Marinade: In a small bowl, stir together the lemongrass paste, ginger paste, soy sauce, fish sauce, oyster sauce, sweet chili sauce, and sesame oil. Mix until smooth—this will be your flavor base.
  2. Slice the Pork: Take your pork loin and cut it into thin rounds about ¼-inch thick. Thinner slices help the meat cook quickly and evenly in the air fryer.
  3. Marinate the Pork: Place the sliced pork in a medium mixing bowl. Pour the marinade over the top and use tongs or clean hands to coat each piece well. Cover the bowl with plastic wrap or a lid and refrigerate for at least 1 hour. (Overnight is even better—it lets the flavors really soak in.
  4. Preheat the Air Fryer: Set your air fryer to 400°F and let it preheat for about 3–5 minutes. Preheating helps give the pork a nice sear and keeps it juicy.
  5. Cook the Pork: Arrange the pork slices in a single layer on the air fryer tray or basket. Don’t overlap them—overcrowding can lead to uneven cooking. Cook for 12–16 minutes, flipping halfway through. Use a meat thermometer to check that the pork has reached 145°F in the thickest part for safe doneness.
  6. Optional Ginger Scallion Oil: While the pork is cooking, heat the olive oil in a small skillet over medium heat. Stir in the ginger paste, chopped scallions, and salt. Cook for 1–2 minutes until fragrant but not browned. Drizzle over the pork once it’s done for an extra layer of flavor.
  7. Serve & Store: Enjoy immediately with steamed rice and fresh veggies. For meal prep, let the pork cool slightly, then portion it into containers with rice and veggies. Store in the fridge for up to 4 days.

Reference the recipe card below for detailed instructions.

pork loin slices with white rice and sliced tomatoes

Meal Prep Pairing Tips:

  • Steamed Jasmine Rice: classic, fluffy, and perfect for soaking up the marinade flavors.
  • Brown Rice or Quinoa: adds extra fiber and longer-lasting fullness.
  • Fresh Veggies (cucumbers, carrots, bell peppers, snap peas): crisp, refreshing, and balance the rich pork.
  • Lightly Pickled Veggies: quick pickle in rice vinegar for tangy crunch
  • Leafy Greens (spinach, mixed greens, shredded cabbage): refreshing and meal-prep friendly
  • Roasted or Steamed Veggies (broccoli, green beans, bok choy): mild and complementary to bold lemongrass flavors
  • Optional Ginger Scallion Oil: drizzle over pork to keep it juicy and flavorful when reheated
  • Dipping Sauces (chili crisp, sriracha mayo): add variety and a customizable heat level
  • Carb Swaps (cauliflower rice, zucchini noodles): lighter low-carb options
  • Energy Boost (rice noodles, soba noodles): for a heartier, high-energy meal
  • Fresh Fruit (pineapple, mango): bright sweetness that pairs beautifully with lemongrass and ginger
pork loin slices with white rice and sliced tomatoes

Similar Recipes

chicken soup

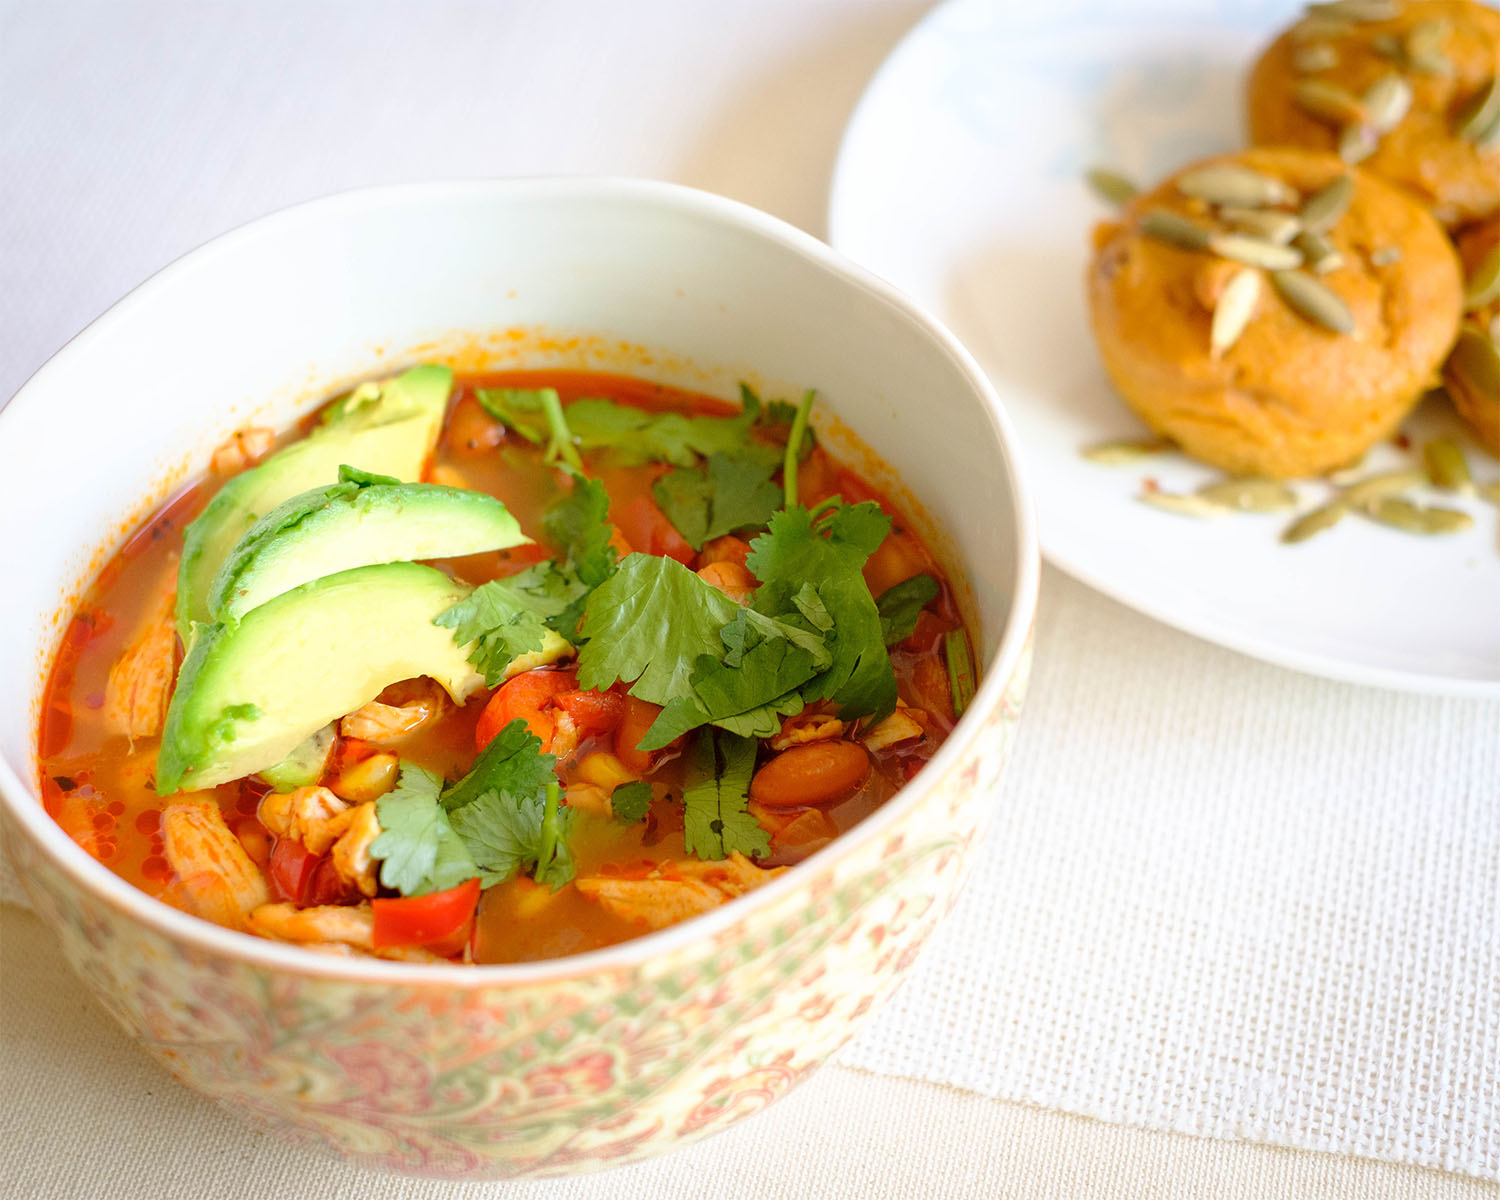
One Pot Mexican Chicken Soup

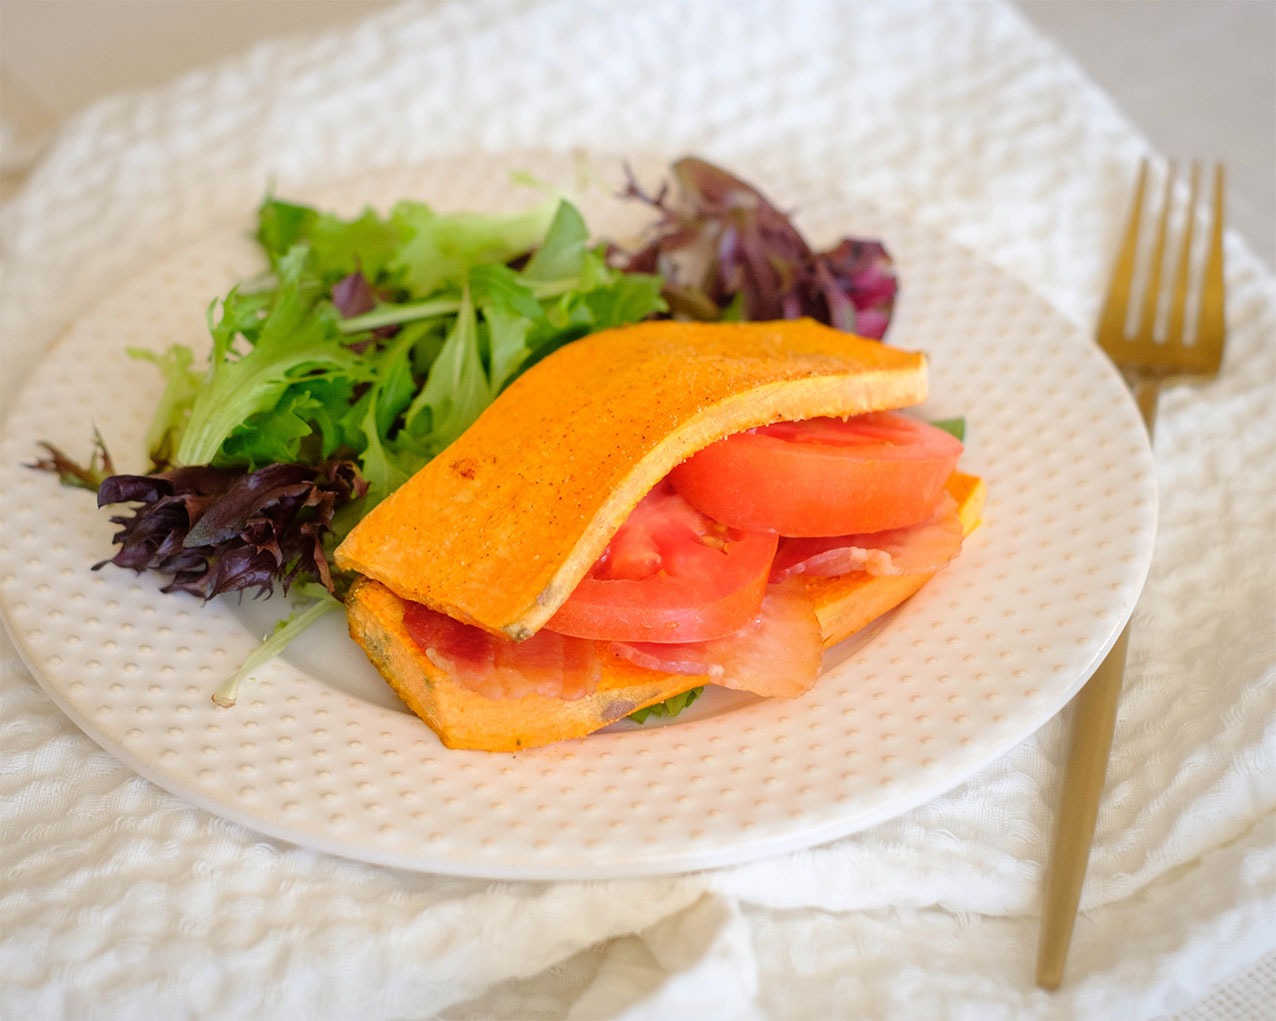
sweet potato blt

Sweet Potato BLT Sandwich

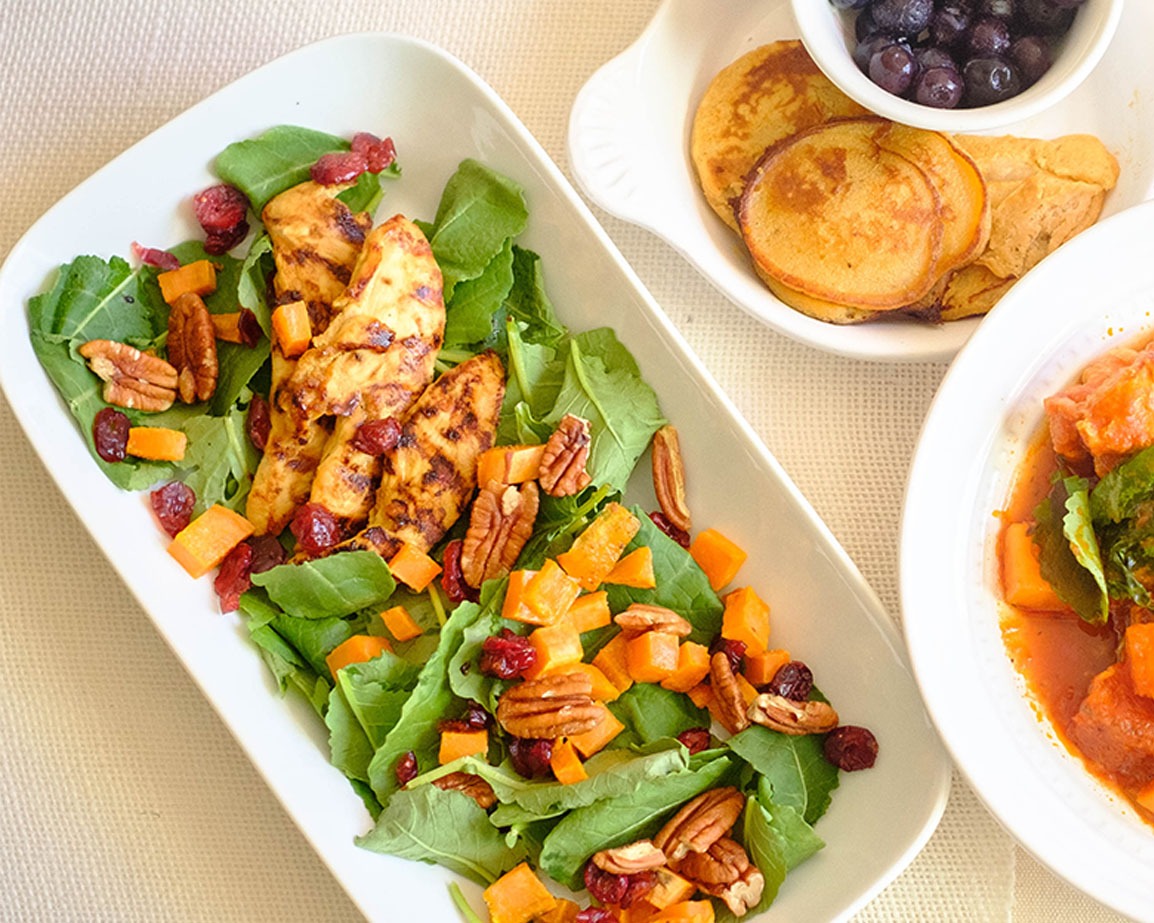
Grilled Honey Dijon Chicken Kale Salad

You Might Also Like

Frequently Asked Questions

Can I use fresh lemongrass instead of paste?

Yes! Chop fresh lemongrass very finely or bruise the stalks and blend them into the marinade. The paste just saves time and is more meal-prep friendly.


What if I don’t have an air fryer?

No problem. You can bake the pork slices in the oven at 400°F for 18–20 minutes or pan-sear them on medium-high heat for 3–4 minutes per side.


Can I make this spicy?

For sure! Add a teaspoon of chili flakes to the marinade or drizzle chili crisp on top when serving.

Posted on Leave a comment

Thai Basil Chicken Stir Fry

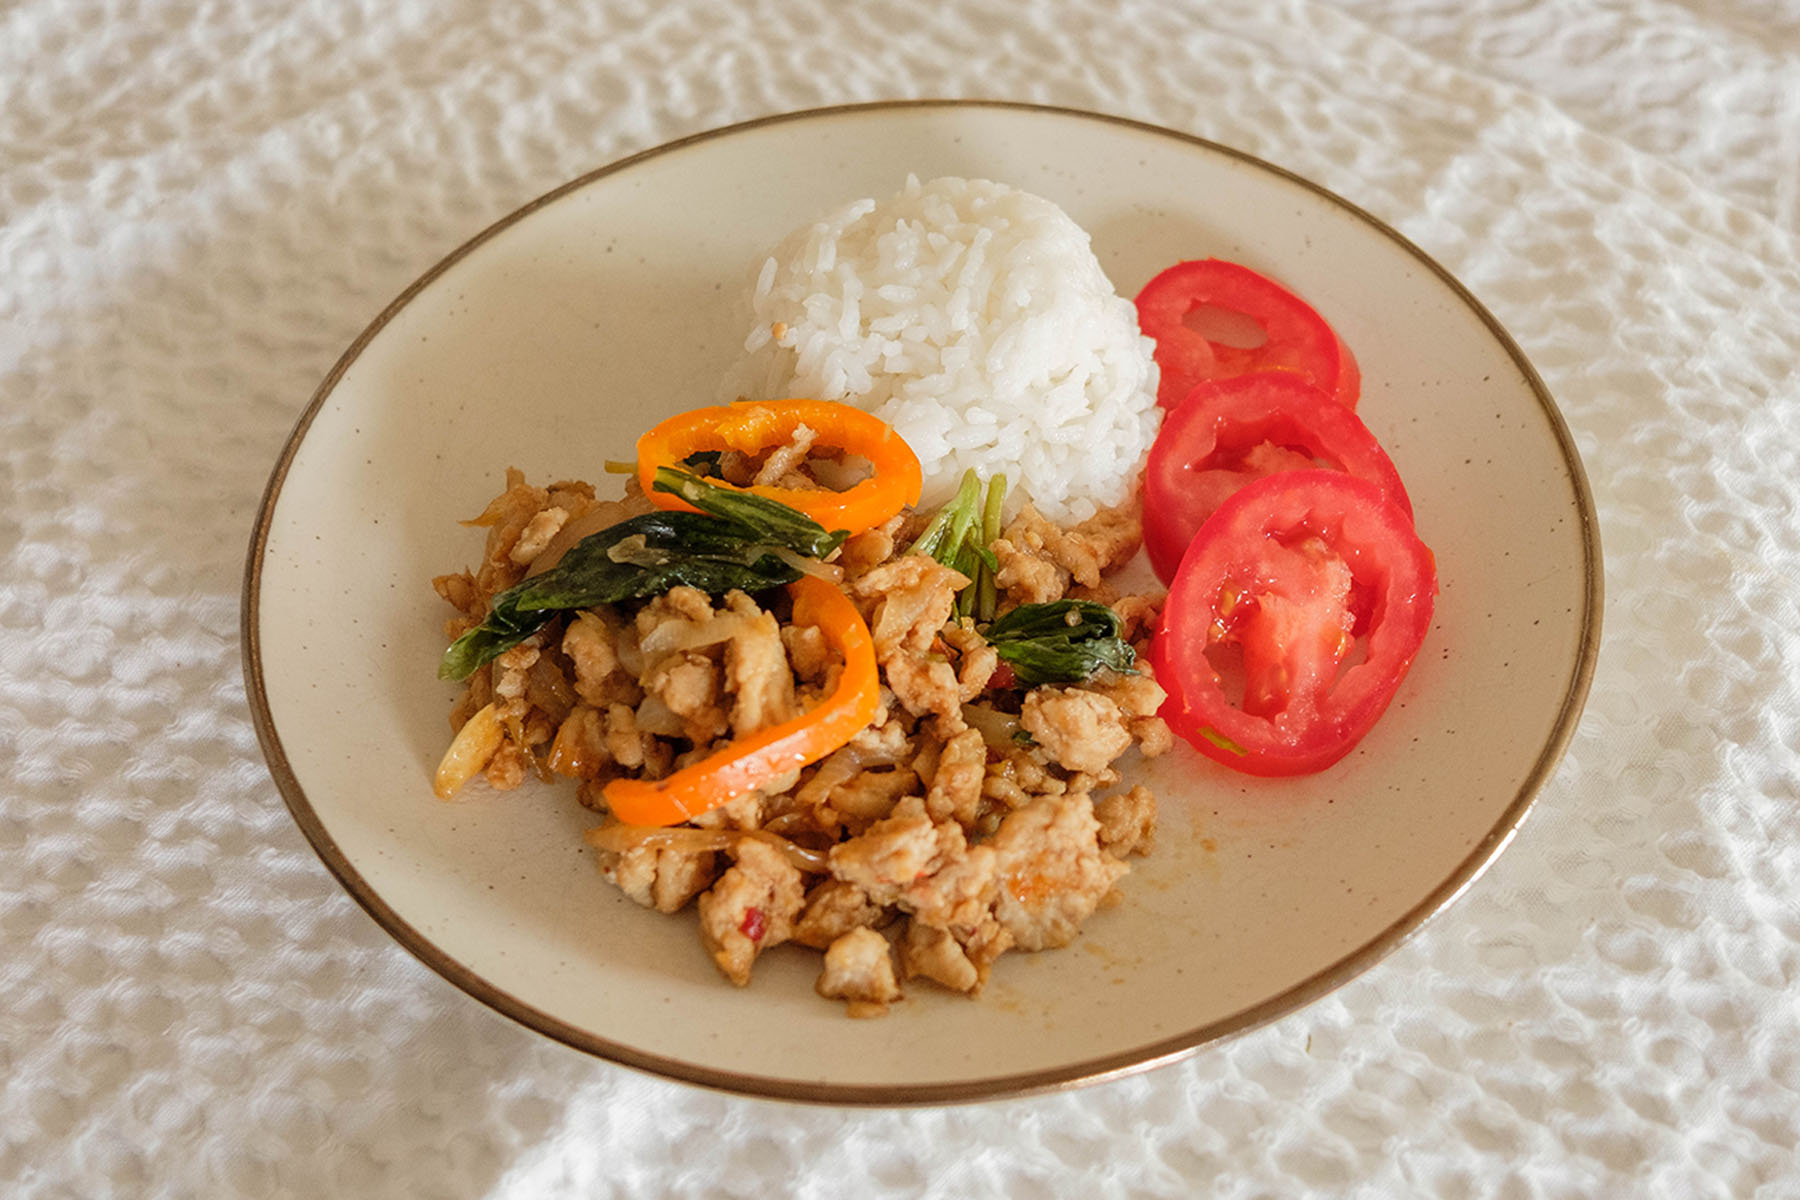
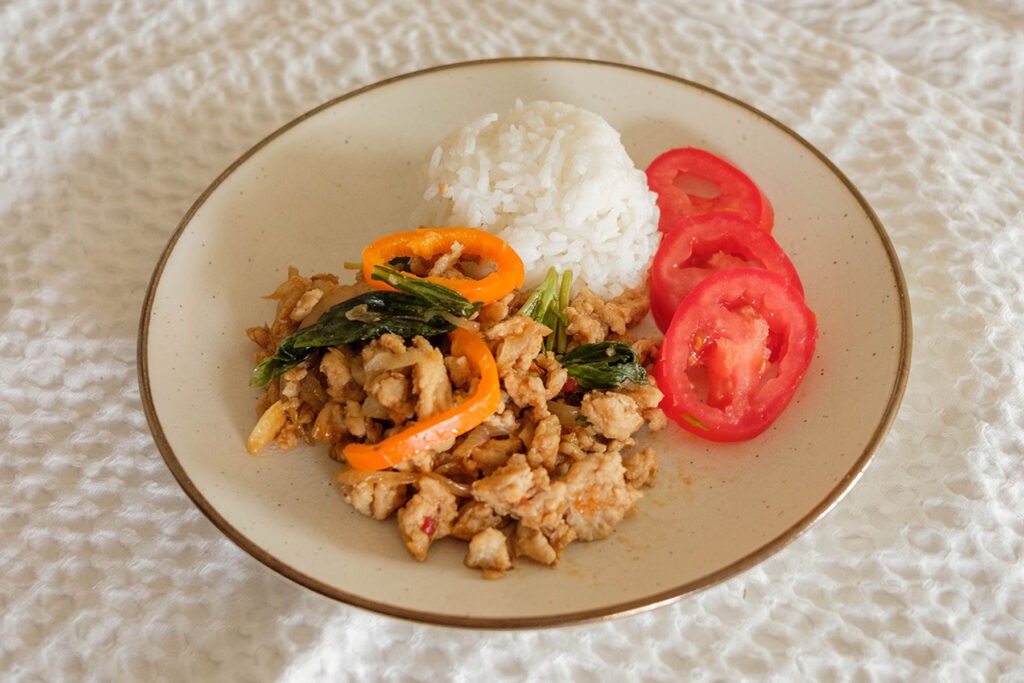
ground chicken stirfry with rice and tomatoes

If you’re a busy bee trying to eat well during the work week but crave the bold, vibrant flavors of takeout, this Thai Basil Chicken Stir-Fry is your new best friend. It’s quick, versatile, and perfect for meal prepping so you can have healthy, satisfying meals ready to go with no last-minute takeout temptations required!

This post may contain affiliate links. Please see our privacy policy for details.

Calories: 359kcal | Carbohydrates: 10g | Protein: 32g | Fat: 21g | Saturated Fat: 5g | Polyunsaturated Fat: 3g | Monounsaturated Fat: 11g | Trans Fat: 0.1g | Cholesterol: 146mg | Sodium: 1178mg | Potassium: 1049mg | Fiber: 1g | Sugar: 7g | Vitamin A: 1094IU | Vitamin C: 42mg | Calcium: 33mg | Iron: 2mg

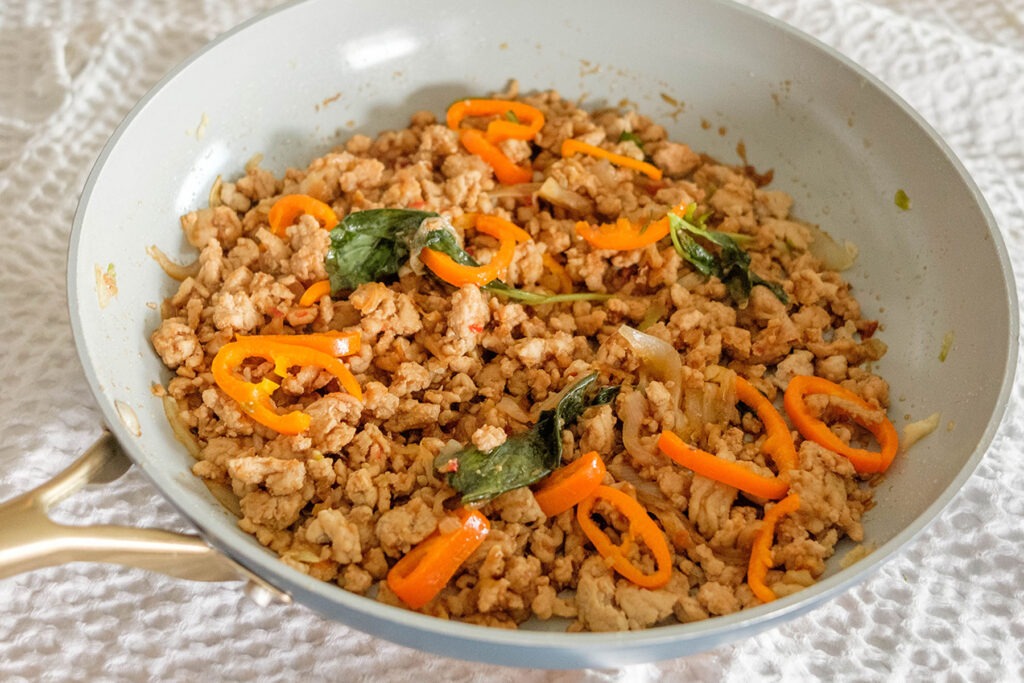
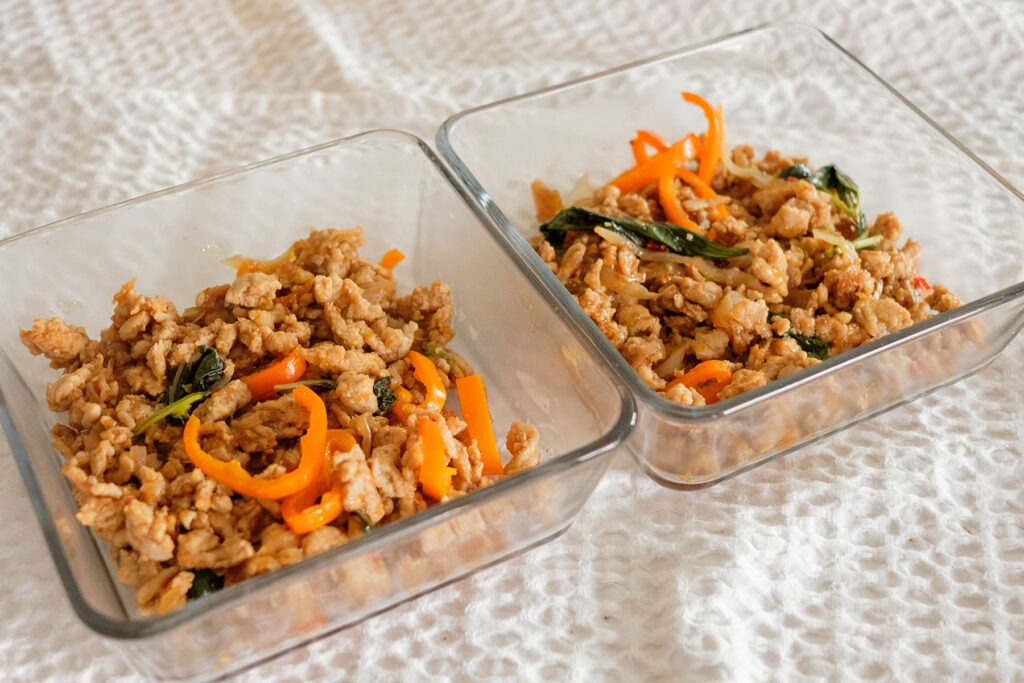
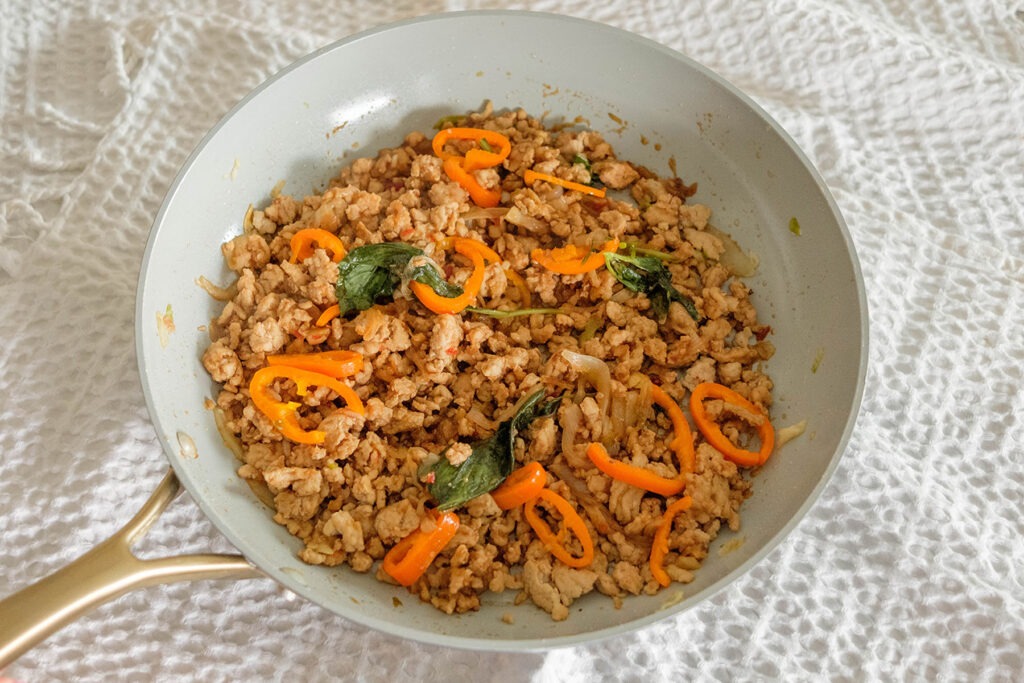
ground chicken stirfry

The PrepYoSelf Newsletter

ground chicken stirfry with rice and tomatoes

Thai Basil Chicken Stir Fry

This Thai Basil Chicken Stir-Fry is a quick, bold, and flavorful meal prep recipe that pairs effortlessly with rice, noodles, or lettuce wraps.
No ratings yet
Prep Time 5 minutes
Cook Time 15 minutes
Course dinner, lunch, Main Course
Cuisine Asian
Servings 2
Calories 359 kcal

Equipment

  • knife
  • cutting board
  • wok

Ingredients
  

  • 12 oz ground chicken
  • 1/4 cup green onions (diced)
  • 1/4 cup white onions (sliced)
  • 1/4 cup mini bell peppers (sliced)
  • 4 fresh basil leaves (sliced)
  • 1 tablespoon olive oil

Sauce

  • 1 tablespoon oyster sauce
  • 1 tablespoon soy sauce
  • 1 teaspoon fish sauce
  • 1 tablespoon sweet chili sauce
  • 1 tablespoon ginger paste

Instructions
 

  • Prep your ingredients: Slice the onions, green onions, bell peppers, and basil leaves. In a small bowl, mix together the oyster sauce, soy sauce, fish sauce, sweet chili sauce, and ginger paste.
  • Sauté your aromatics: Heat olive oil in a pan over medium-high heat. Add the onions and green onions, cooking for 2–3 minutes until soft and fragrant.
  • Cook the chicken: Add ground chicken to the pan, stirring often until browned and fully cooked, about 5–6 minutes.
  • Add the sauce: Pour the sauce over the chicken and stir well, ensuring every bite is coated in flavor.
  • Finish with veggies and basil: Toss in the mini bell peppers and basil leaves, mixing until everything is vibrant and aromatic.
  • Serve & enjoy: This stir-fry is delicious over steamed rice, quinoa, or even wrapped in lettuce for a lighter option.

Video

Notes

Nutrition information provided is an estimate. It will vary based on cooking method and specific ingredients used. Please consult with your healthcare provider for specific dietary needs. To gain a better understanding, explore our nutrition disclaimer here.

Nutrition

Calories: 359kcalCarbohydrates: 10gProtein: 32gFat: 21gSaturated Fat: 5gPolyunsaturated Fat: 3gMonounsaturated Fat: 11gTrans Fat: 0.1gCholesterol: 146mgSodium: 1178mgPotassium: 1049mgFiber: 1gSugar: 7gVitamin A: 1094IUVitamin C: 42mgCalcium: 33mgIron: 2mg

Why You’ll Love This Recipe for Meal Prep:

  • Quick & Efficient: You can prep this entire dish in under 20 minutes—perfect for busy weeknights.
  • Protein-Packed: Ground chicken keeps you full and fueled for long days without feeling weighed down.
  • Flavor Explosion: Ginger, sweet chili, and basil deliver bold takeout-worthy flavors without the guilt.
  • Customizable Veggies: Swap in your favorite seasonal vegetables or whatever’s in your fridge for variety all week.
  • Versatile with Sides: Pair with rice, noodles, quinoa, or lettuce wraps—the choice is yours!
  • Reheats Perfectly: This stir-fry maintains its texture and flavor when stored in meal prep containers for the week.
  • Healthy & Balanced: Lean protein, fresh veggies, and a flavorful sauce create a meal that’s both satisfying and nutritious.

ground chicken stirfry with rice and tomatoes

Chicken Stir Fry Ingredient Breakdown

  • Ground chicken: Lean, quick-cooking, and absorbs the bold flavors of the sauce, keeping the dish protein-rich and satisfying.
  • Olive oil: Provides a healthy fat for sautéing and helps the aromatics and chicken cook evenly while adding subtle richness.
  • Onions: Sweet and savory base that softens as it cooks, adding depth and balance to the dish.
  • Green onions: Mild onion flavor with a fresh, slightly sharp note; adds brightness and color.
  • Mini bell peppers: Crunchy, slightly sweet, and colorful; contrast perfectly with the tender chicken while adding a fresh veggie component.
  • Basil leaves: Classic Thai flavor—herbaceous, aromatic, and slightly peppery; elevates the dish with authentic, vibrant notes.
  • Oyster sauce: Rich, savory, and slightly sweet; provides umami that makes the dish taste indulgent without being heavy.
  • Soy sauce: Salty and savory, balances the sweetness and enhances the umami flavors.
  • Fish sauce: Adds authentic depth and complexity; just a touch provides a signature Thai flavor.
  • Sweet chili sauce: Mild heat with a sweet edge; complements the savoriness of the chicken and sauce.
  • Ginger paste: Warm, slightly spicy, and aromatic; brightens the flavors and pairs naturally with garlic and onion notes in the stir-fry.

ground chicken stirfry

How to Meal Prep Chicken Stir Fry with Basil

  1. Prepare your ingredients: Wash and dry your vegetables. Slice the onions and mini bell peppers into thin strips, dice the green onions, and slice the basil leaves. In a small bowl, whisk together the oyster sauce, soy sauce, fish sauce, sweet chili sauce, and ginger paste until smooth. Set aside.
  2. Cook the aromatics: Heat the olive oil in a large skillet or wok over medium-high heat. Once the oil is hot and shimmering, add the onions and green onions. Stir them around with a spatula for about 2–3 minutes, until they soften and release a fragrant aroma.
  3. Brown the chicken: Add the ground chicken to the pan. Use your spatula or spoon to break it apart into small crumbles as it cooks. Stir frequently until the chicken is no longer pink and starts to turn golden brown, about 5–6 minutes.
  4. Add the sauce: Pour the sauce mixture into the pan. Stir well so that every piece of chicken is coated. Let it simmer for 1–2 minutes so the flavors can blend and the sauce slightly thickens/
  5. Finish with vegetables and basil: Toss in the sliced mini bell peppers and basil leaves. Stir everything together for another 1–2 minutes, just until the peppers are slightly tender but still crisp and the basil has wilted
  6. Serve and enjoy: Remove from heat. Serve hot over a bowl of rice, quinoa, or noodles for a filling meal. For a lighter option, spoon the chicken mixture into lettuce leaves to make flavorful wraps.

ground chicken stirfry

Meal Prep Tips to Avoid Mistakes

  • Prep your veggies and sauce before you start cooking so the process feels smooth instead of rushed.
  • Give your chicken space in the pan to brown properly rather than steaming in an overcrowded skillet.
  • Break up the chicken into small crumbles so it cooks evenly and absorbs the sauce instead of staying in bland clumps.
  • Add bell peppers at the end to keep them crisp and colorful instead of overcooking them into mush.
  • Stir in basil right before serving to keep it vibrant and fragrant instead of dull and wilted.
  • Taste and adjust seasonings as you go for balanced flavor instead of ending up with food that’s too salty or flat.
  • Let the stir-fry cool for 10–15 minutes before storing so your meal prep stays fresh instead of soggy.

Similar Recipes

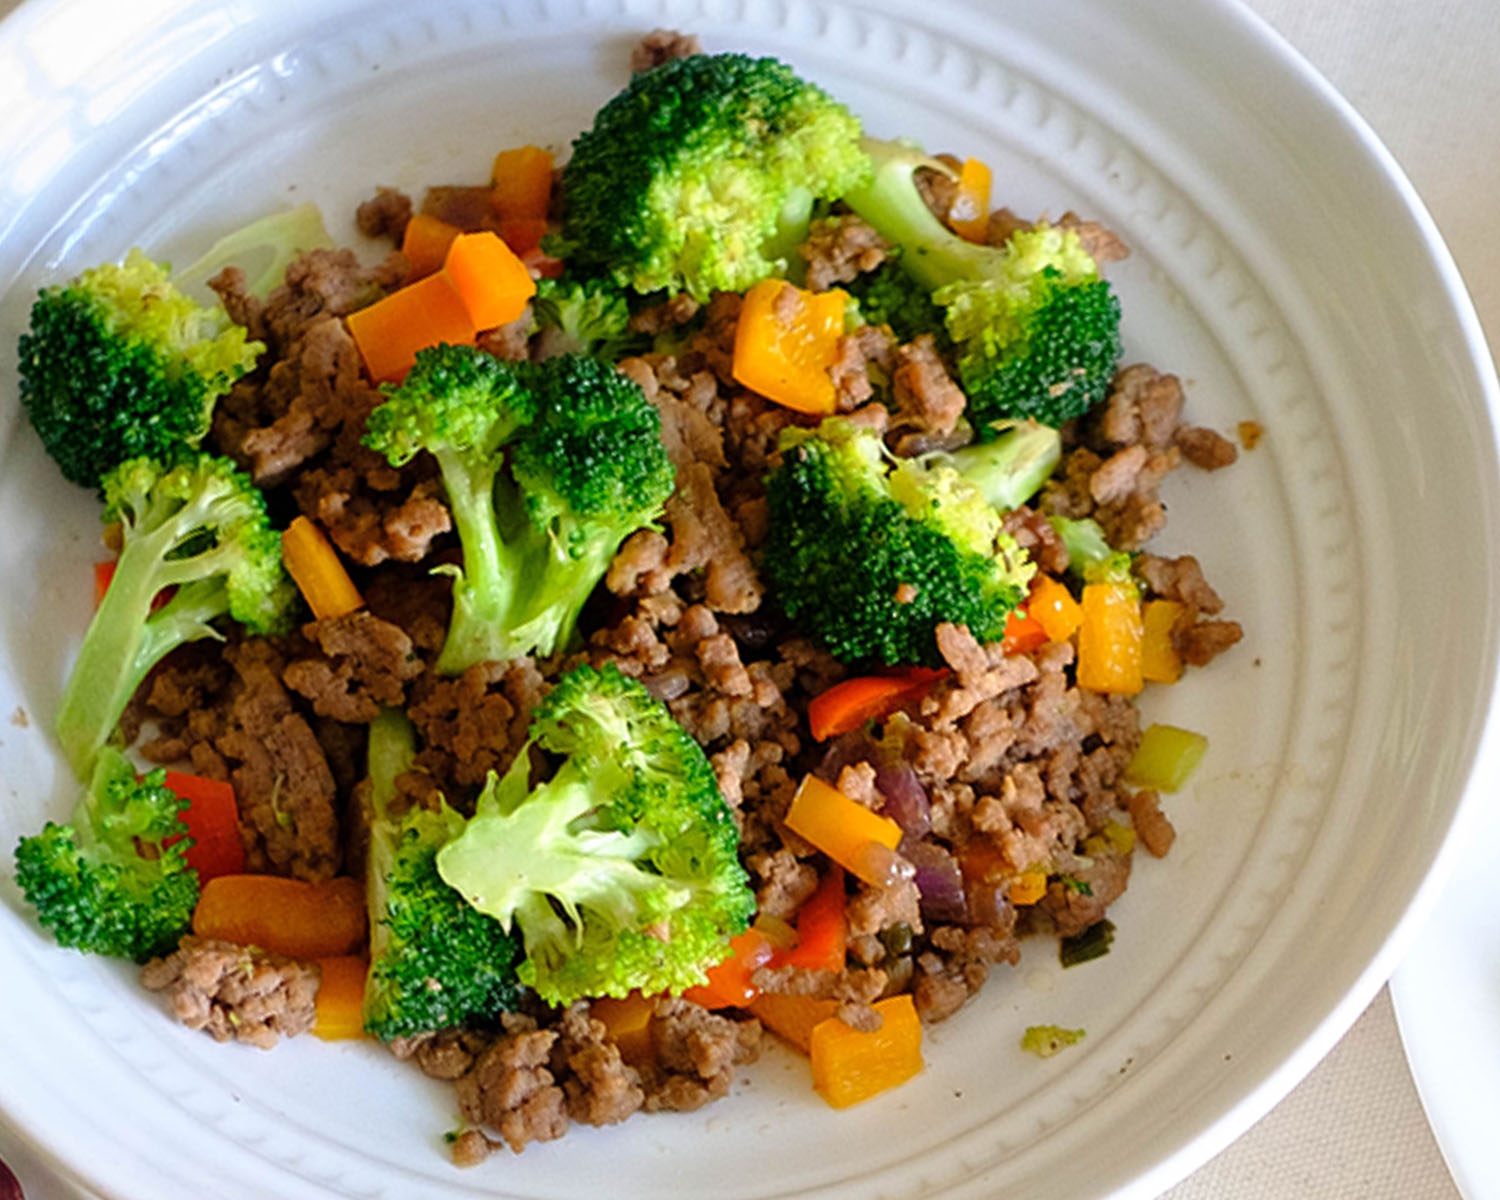
broccoli beef

Ground Beef and Broccoli Stir Fry

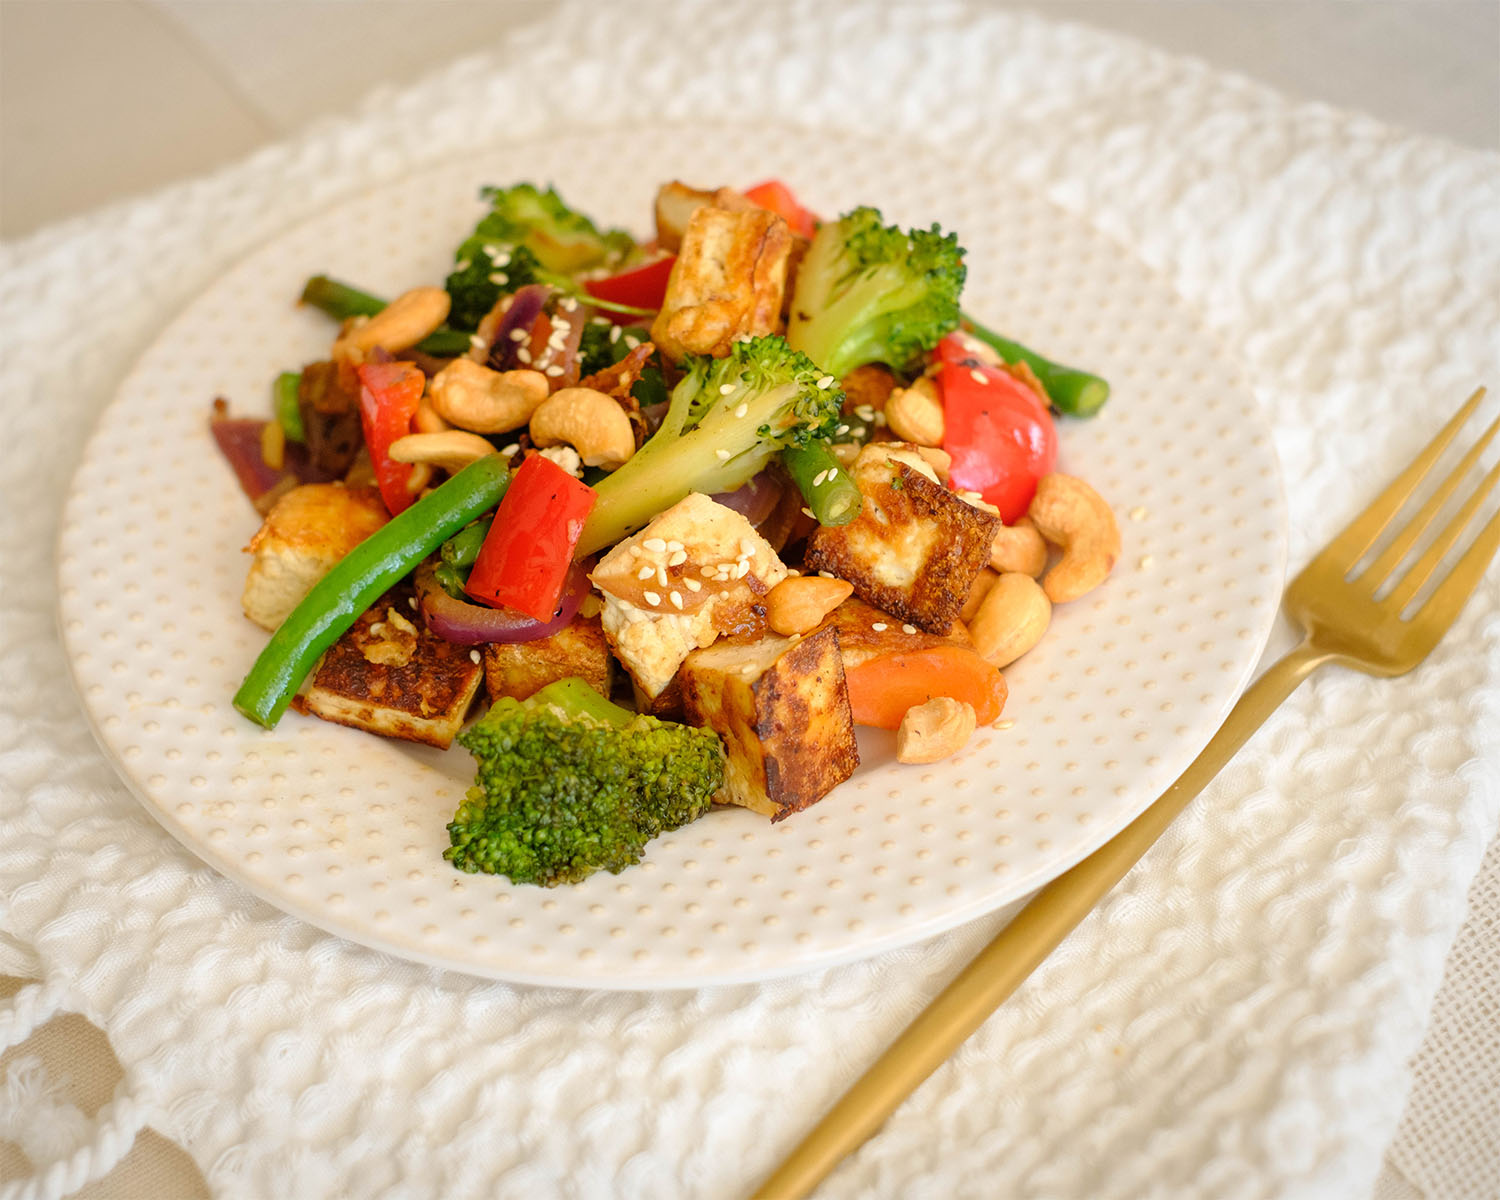
tofu stir fry

Tofu and Veggie Stir Fry

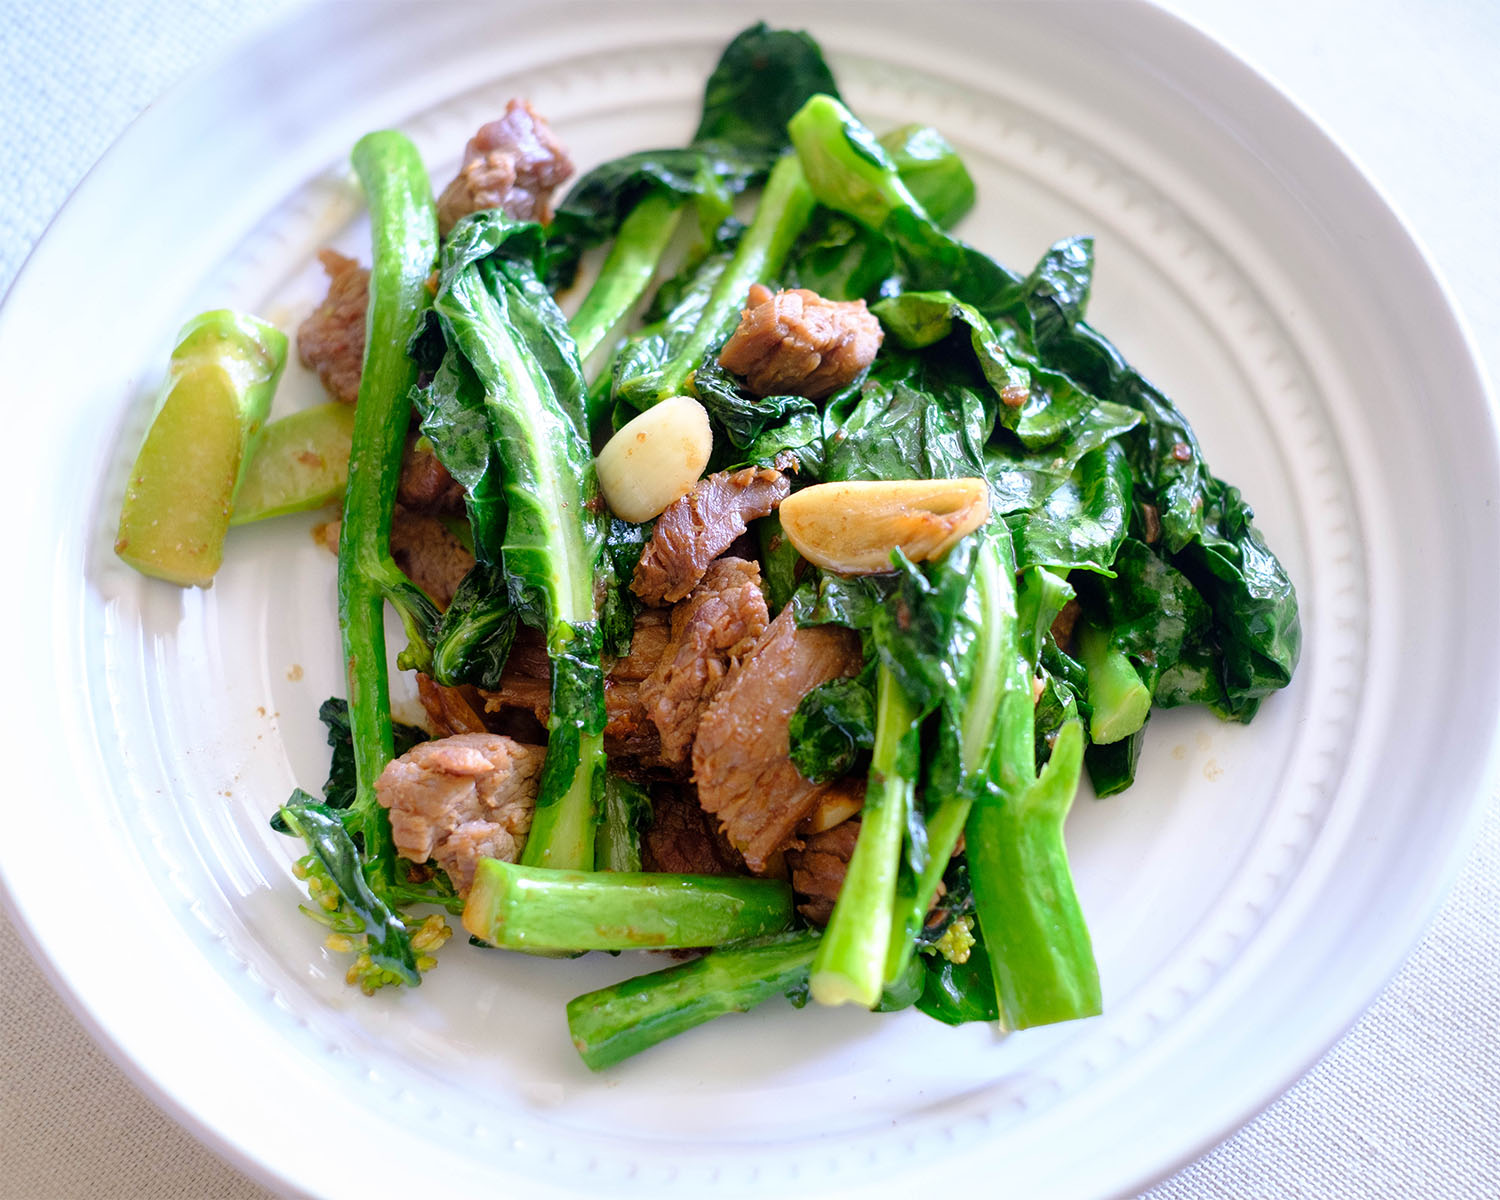
beef and chinese broccoli

Garlicky Beef Stir Fry

You Might Also Like

Frequently Asked Questions

Can I freeze this dish?

Yes, the chicken and sauce freeze well for up to 2 months. For best results, freeze without the bell peppers and basil, then add those fresh when reheating.


What sides work best with this stir-fry?

It pairs beautifully with jasmine rice, brown rice, quinoa, noodles, or lettuce wraps for a lighter option.


Can I substitute the protein?

Definitely! Try ground turkey, ground pork, or even firm tofu for a vegetarian twist.

Posted on Leave a comment

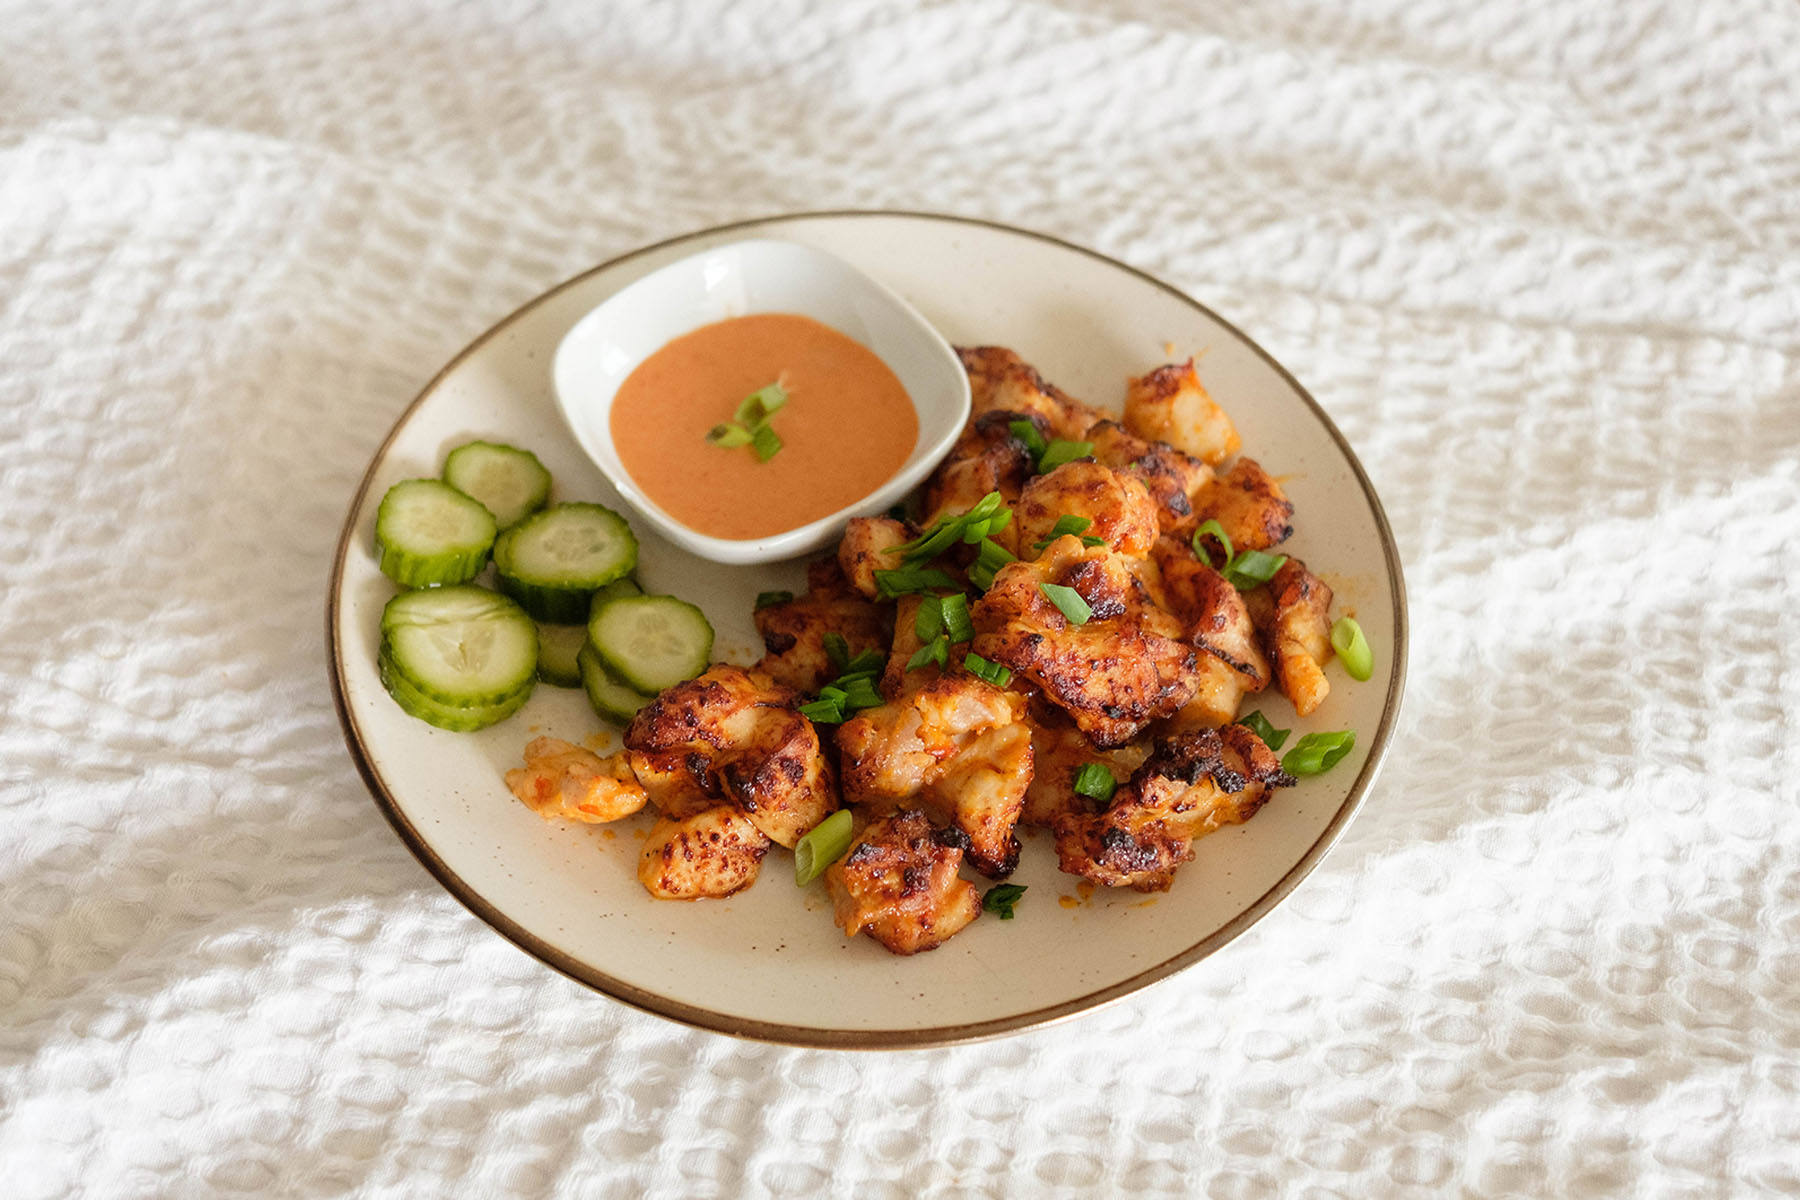
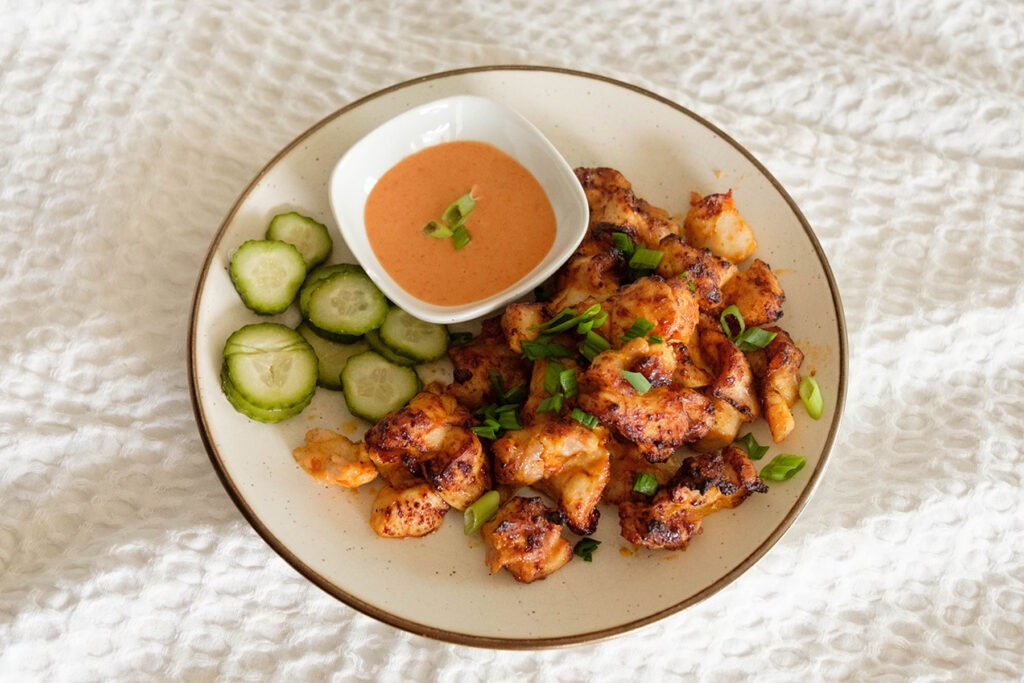
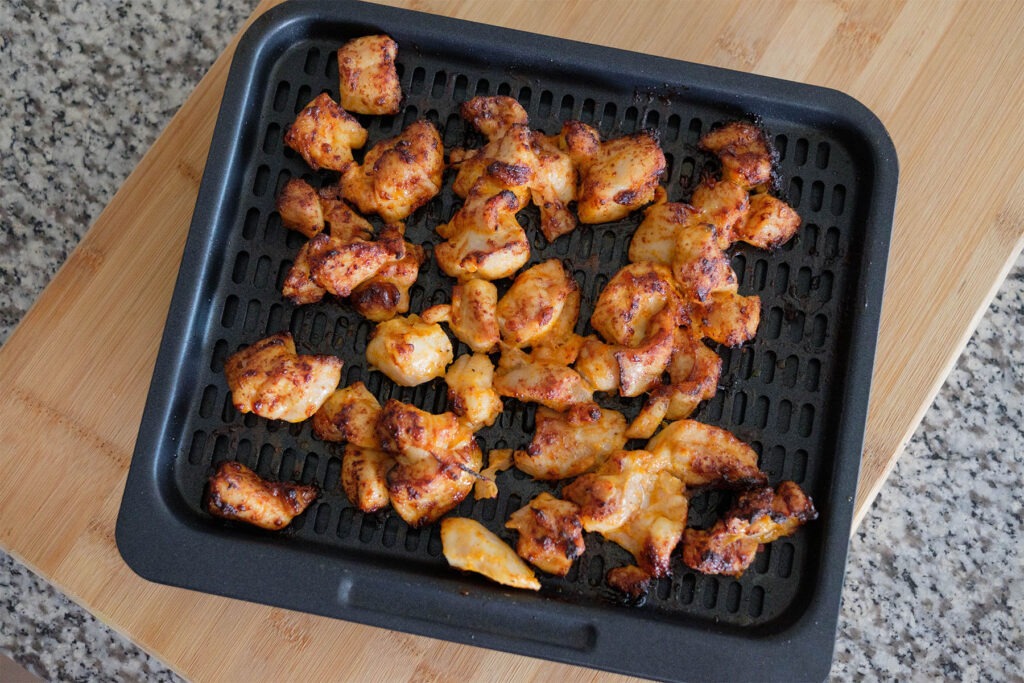
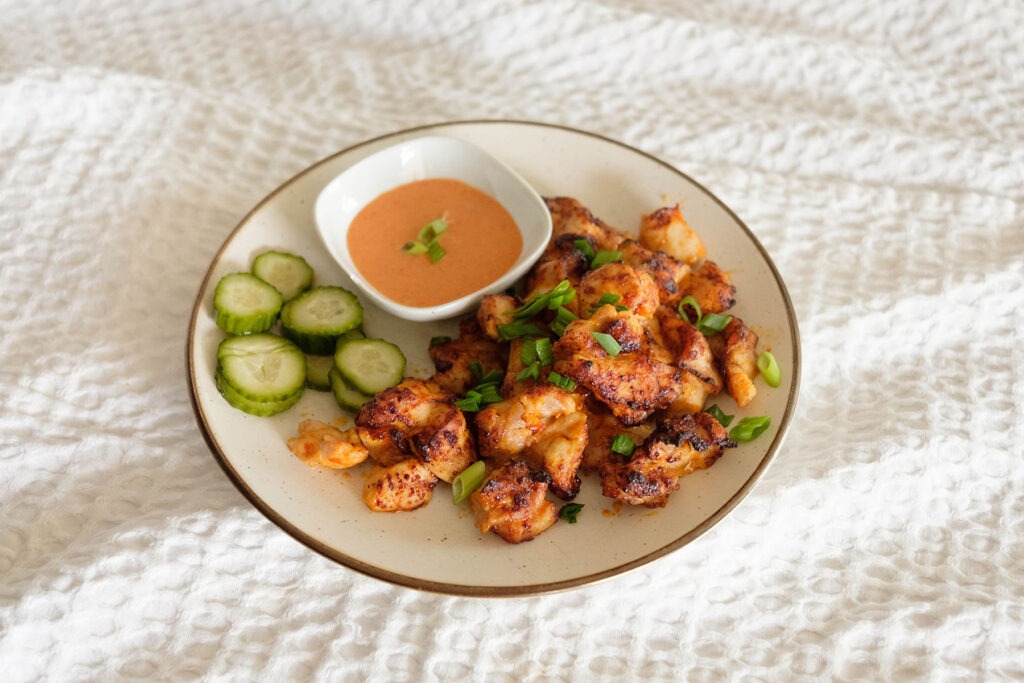
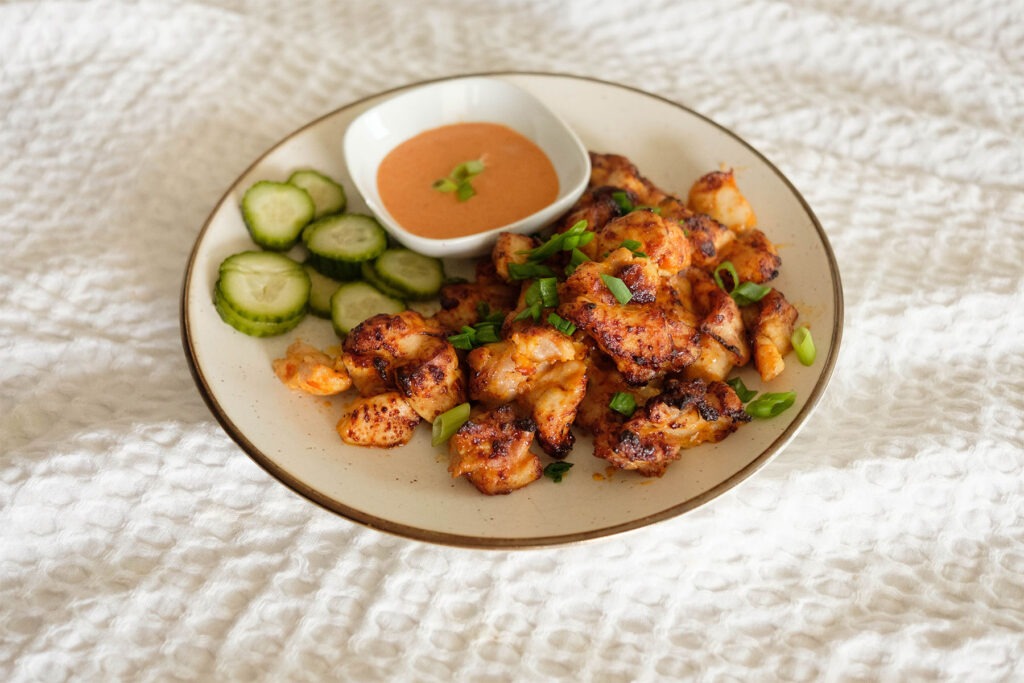
Air Fryer Bang Bang Chicken Bites

Bang Bang chicken Bites

If you’re anything like me, sometimes nothing hits the spot quite like takeout. But what if I told you that you could get those same bold, addictive flavors right at home, portioned just the way you like, and without the hidden extras that sneak into restaurant meals? Whether you’re a beginner in the kitchen or a busy professional trying to eat healthier, this recipe is designed to make homemade cooking easy, fun, and delicious. Here’s how to get started.

This post may contain affiliate links. Please see our privacy policy for details.

Calories: 545kcal | Carbohydrates: 10g | Protein: 25g | Fat: 45g | Saturated Fat: 10g | Polyunsaturated Fat: 17g | Monounsaturated Fat: 14g | Trans Fat: 0.2g | Cholesterol: 151mg | Sodium: 1423mg | Potassium: 346mg | Fiber: 0.5g | Sugar: 9g | Vitamin A: 294IU | Vitamin C: 5mg | Calcium: 20mg | Iron: 1mg

Bang Bang chicken Bites

Bang Bang chicken Bites

Air Fryer Bang Bang Chicken Bites

 These Air Fryer Bang Bang Chicken Bites bring bold, sweet-spicy flavor straight to your meal prep containers—crispy, juicy, and perfectly portioned for your busy week.
No ratings yet
Prep Time 5 minutes
Cook Time 10 minutes
Course dinner, lunch
Cuisine Asian
Servings 2
Calories 545 kcal

Equipment

  • mixing bowl
  • Air Fryer

Ingredients
  

Chicken and Seasonings

  • 10 oz boneless chicken thighs (cut into one-inch cube)
  • 1/4 teaspoon garlic powder
  • 1/4 teaspoon paprika
  • 1/4 teaspoon salt
  • 1/4 teaspoon pepper
  • 1 tablespoon green onions (chopped, optional)

Bang Bang Sauce

  • 4 tablespoons mayo
  • 2 tablespoons sweet chili sauce
  • 1 tablespoon sriracha
  • 1 tablespoon soy sauce

Instructions
 

  • Preheat your Air Fryer: Set it to 400°F so it’s ready for those crispy chicken bites.
  • Make the Bang Bang Sauce: In a small bowl, mix together the mayo, sweet chili sauce, sriracha, and soy sauce. Set aside half of the sauce to use as a dipping sauce later.
  • Season the Chicken: In a mixing bowl, toss the chicken cubes with garlic powder, paprika, salt, and pepper. Then pour in the remaining bang bang sauce and mix until every piece is fully coated.
  • Air Fry the Chicken: Layer the chicken on the air fryer rack, leaving space between each piece for even cooking. Air fry for 8 minutes, flipping halfway through, until the chicken reaches 165°F.
  • Serve: Drizzle the leftover sauce over the chicken or use it as a dipping sauce. Sprinkle with green onions if desired and serve with your favorite sides.

Video

Notes

Nutrition information provided is an estimate. It will vary based on cooking method and specific ingredients used. Please consult with your healthcare provider for specific dietary needs. To gain a better understanding, explore our nutrition disclaimer here.

Nutrition

Calories: 545kcalCarbohydrates: 10gProtein: 25gFat: 45gSaturated Fat: 10gPolyunsaturated Fat: 17gMonounsaturated Fat: 14gTrans Fat: 0.2gCholesterol: 151mgSodium: 1423mgPotassium: 346mgFiber: 0.5gSugar: 9gVitamin A: 294IUVitamin C: 5mgCalcium: 20mgIron: 1mg

Reasons This Recipe is Great for Meal Prep:

  • Quick & Easy: From prep to plate, you’re looking at about 15–20 minutes total. Perfect for busy weeknights.
  • Meal Prep Friendly: Portion it into containers for a week’s worth of lunches or dinners—no last-minute scrambling.
  • Flavor Bomb: You get all the bold, sweet-spicy flavors of takeout without the MSG or hidden sugars.
  • Control Your Ingredients: Homemade cooking means you know exactly what’s going into your meals—less salt, less fat, more goodness.
  • Protein-Packed: Chicken thighs give you that satisfying protein hit to fuel your day and keep you full.
  • Air Fryer Magic: Crispy outside, juicy inside—no deep frying, no mess, just amazing texture.
  • Customizable: Adjust the spice, swap chicken for tofu, or pair with your favorite veggies and grains. Meal prep has never been this fun!

The PrepYoSelf Newsletter

Why The Ingredients Work So Well Together

When combined, these ingredients create a perfect balance of sweet, spicy, creamy, and savory flavors. The air fryer ensures a lightly crispy exterior while the sauce clings to each juicy cube. You get bold, restaurant-style flavor without the takeout price or mystery ingredients. Each spice and sauce complements the others, creating layers of flavor in every bite—perfect for meal prep, portion control, and keeping you satisfied throughout your busy day.

Bang Bang chicken Bites

How to Make Air Fryer Bang Bang Chicken Bites:

  1. Preheat the Air Fryer: Set your air fryer to 400°F and let it heat up while you prep the chicken. Preheating helps the chicken cook evenly and get a nice crispy exterior
  2. Make the Bang Bang Sauce: In a small bowl, combine mayonnaise, sweet chili sauce, sriracha, and soy sauce. Stir well until smooth. Set aside half of the sauce for dipping or drizzling later
  3. Season the Chicken: Place your chicken cubes in a medium mixing bowl. Sprinkle with garlic powder, paprika, salt, and pepper. Toss well so each piece is evenly coated
  4. Coat with Sauce: Pour the remaining half of the bang bang sauce over the seasoned chicken. Use a spoon or your hands to gently mix until all pieces are fully coated. This ensures every bite is flavorful
  5. Arrange in the Air Fryer: Spread the chicken in a single layer on the air fryer rack or basket, leaving a little space between each piece so they cook evenly and crisp up. Avoid overcrowding
  6. Cook the Chicken: Air fry for 8 minutes, flipping halfway through with tongs or a spatula. Chicken is done when it reaches 165°F internally and is lightly browned on the edges
  7. Serve and Garnish: Transfer the chicken to a plate. Drizzle with the leftover sauce or serve it on the side for dipping. Sprinkle with green onions if desired. Pair with rice, vegetables, or your favorite meal prep sides.

Bang Bang chicken Bites

Pairing Tips for a Complete Meal

  • ​​Grains: Serve over brown rice, quinoa, or cauliflower rice for a balanced, fiber-rich base
  • Vegetables: Pair with roasted broccoli, bell peppers, snap peas, or steamed bok choy for color, crunch, and nutrients
  • Salads: Toss with mixed greens, shredded carrots, cucumbers, and a light vinaigrette for a fresh, crunchy meal prep bowl
  • Noodles: Combine with rice noodles or soba noodles for an Asian-inspired lunch bowl
  • Healthy Fats: Add avocado slices or a sprinkle of sesame seeds to boost satiety and flavor
  • Sauce Variety: Use the leftover bang bang sauce as a drizzle on veggies, noodles, or salads to add a flavor punch without extra effort
  • Snack Sides: Pair with edamame, roasted chickpeas, or sliced bell peppers for a complete, protein-packed lunch box.

Bang Bang chicken Bites

Similar Recipes

chicken soup

One Pot Mexican Chicken Soup

sweet potato blt

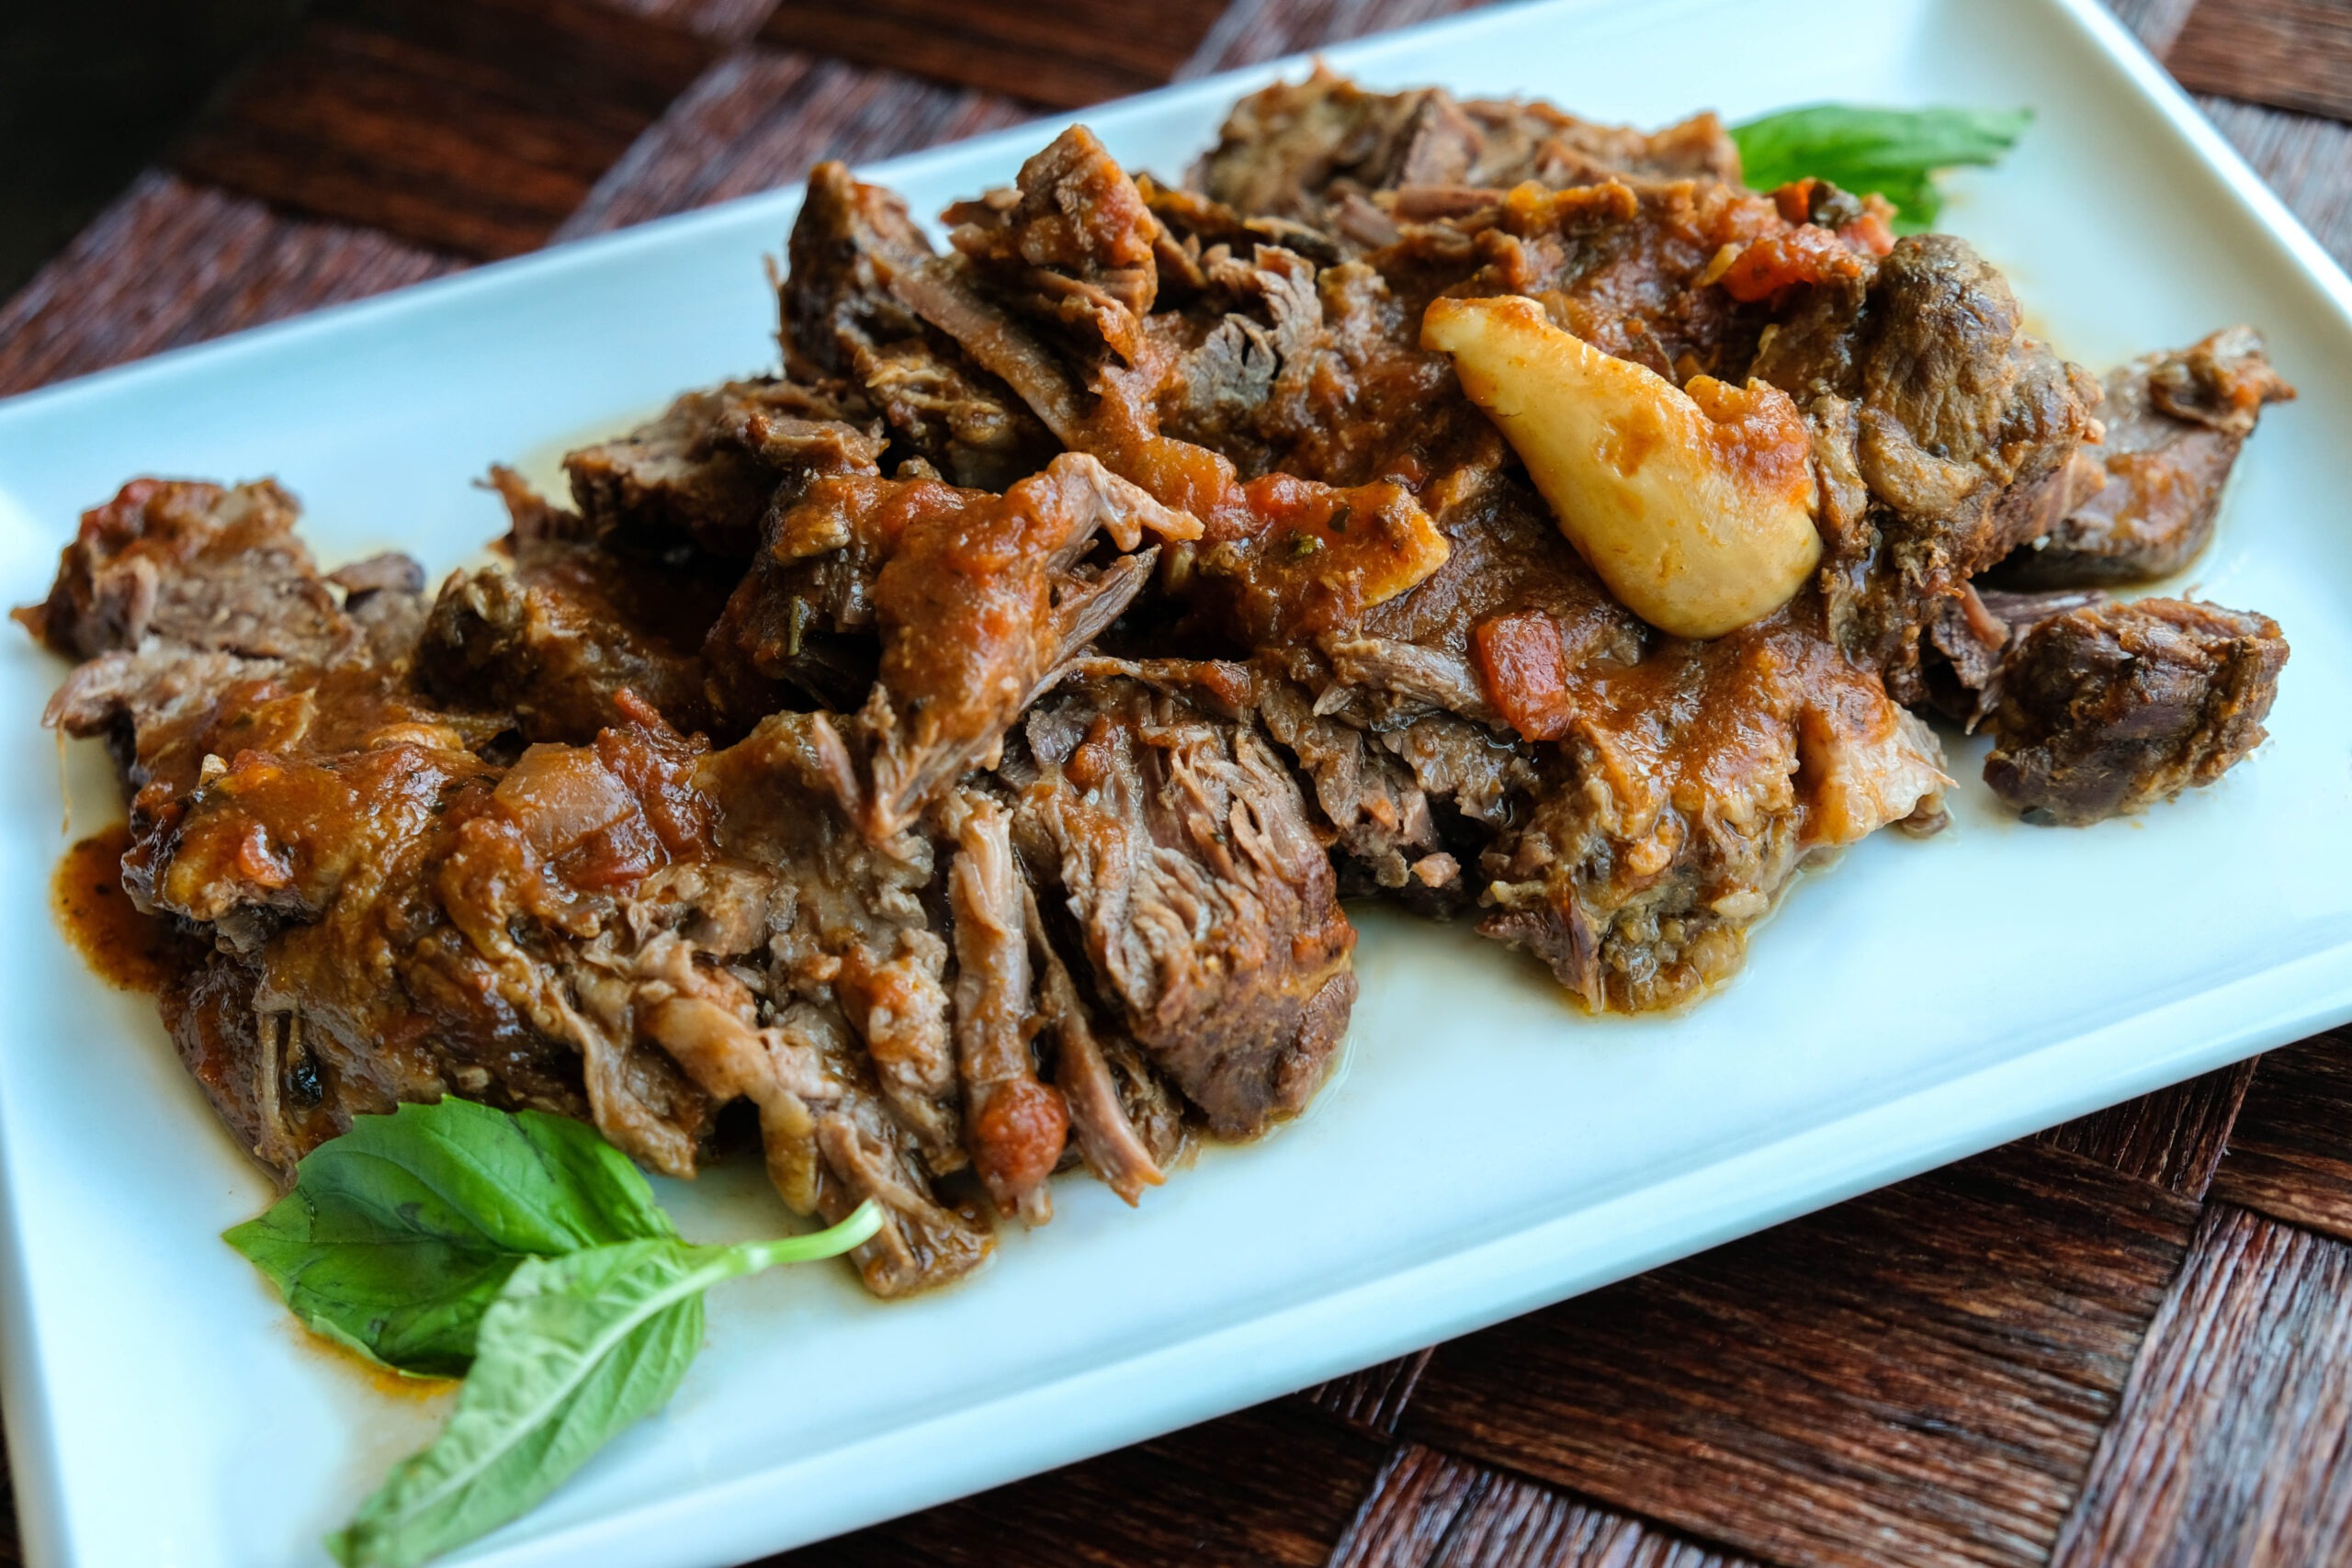
Instant Pot Beef Ragu

pork carnitas

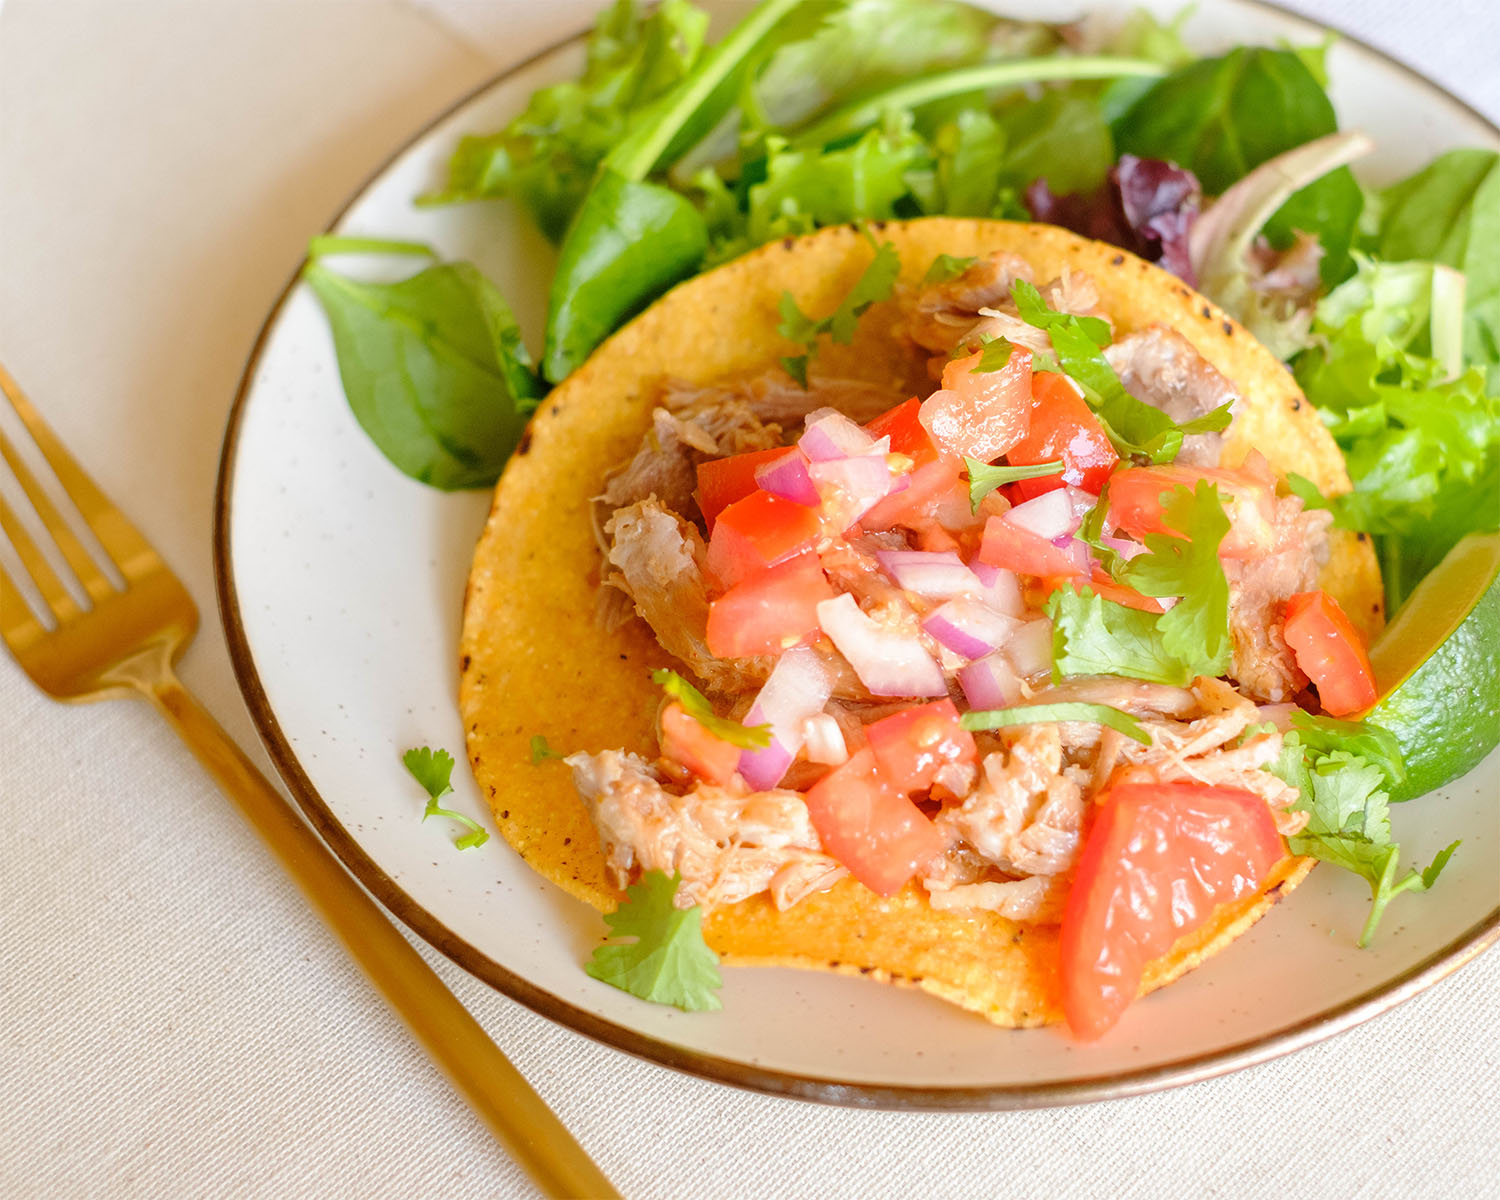
Instant Pot Pork Carnitas

You Might Also Like

Frequently Asked Questions

Can I use chicken breast instead of thighs?

Yes! Chicken breast works fine, but it may cook slightly faster and can dry out if overcooked. Keep an eye on the internal temperature of 165°F.


Can I make this recipe spicier or milder?

Yes! Adjust the sriracha to your heat preference. For milder bites, use less sriracha or substitute with a mild chili sauce


Can I cook these in the oven instead of an air fryer?

Yes! Preheat oven to 425°F, place chicken on a parchment-lined baking sheet, and bake for 15–20 minutes, flipping halfway. The bites won’t be as crispy as the air fryer but will still be delicious.

Posted on Leave a comment

Air Fryer Sweet Chili Glazed Salmon

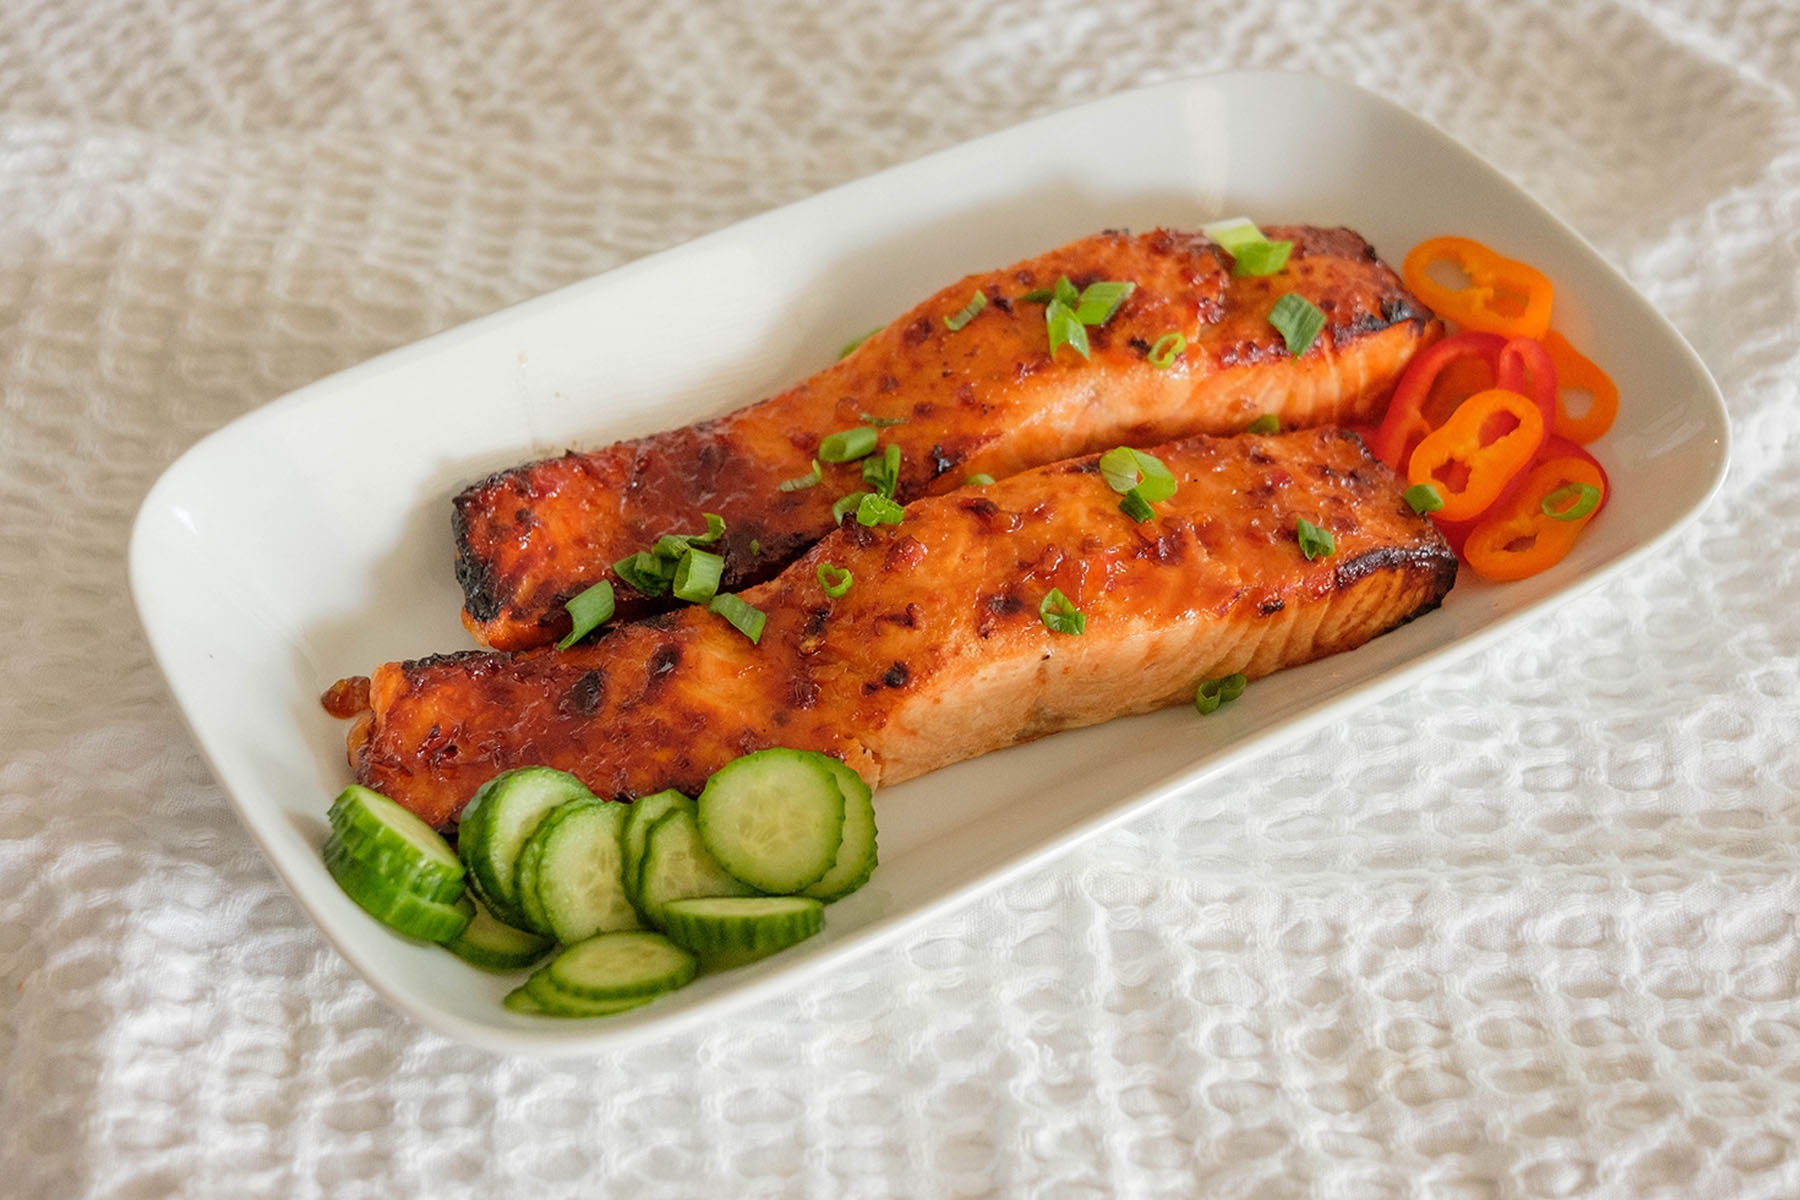
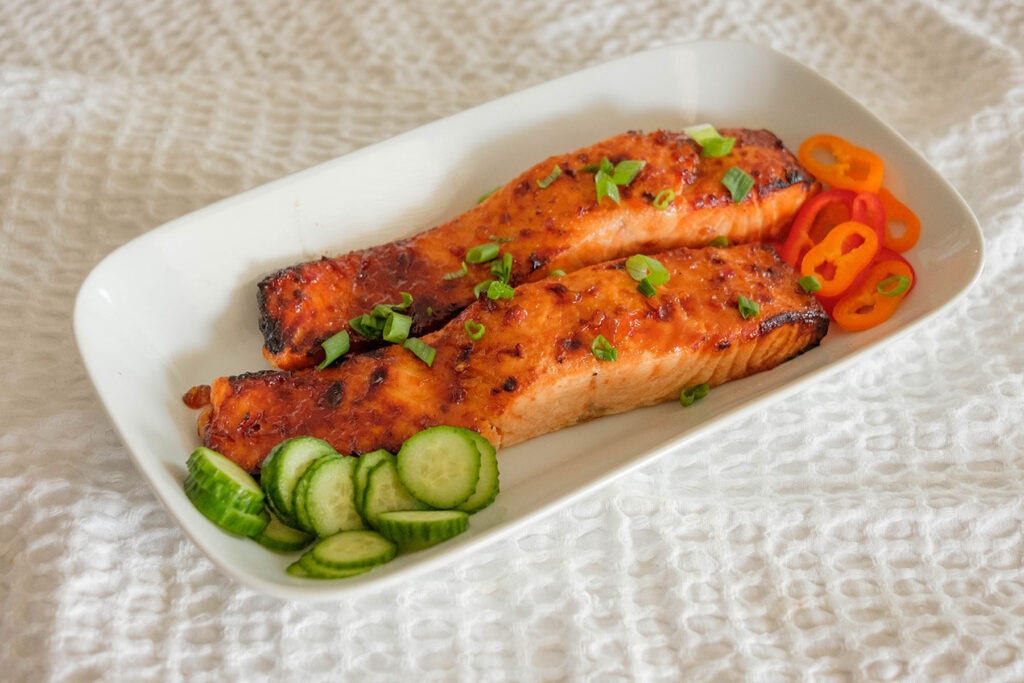
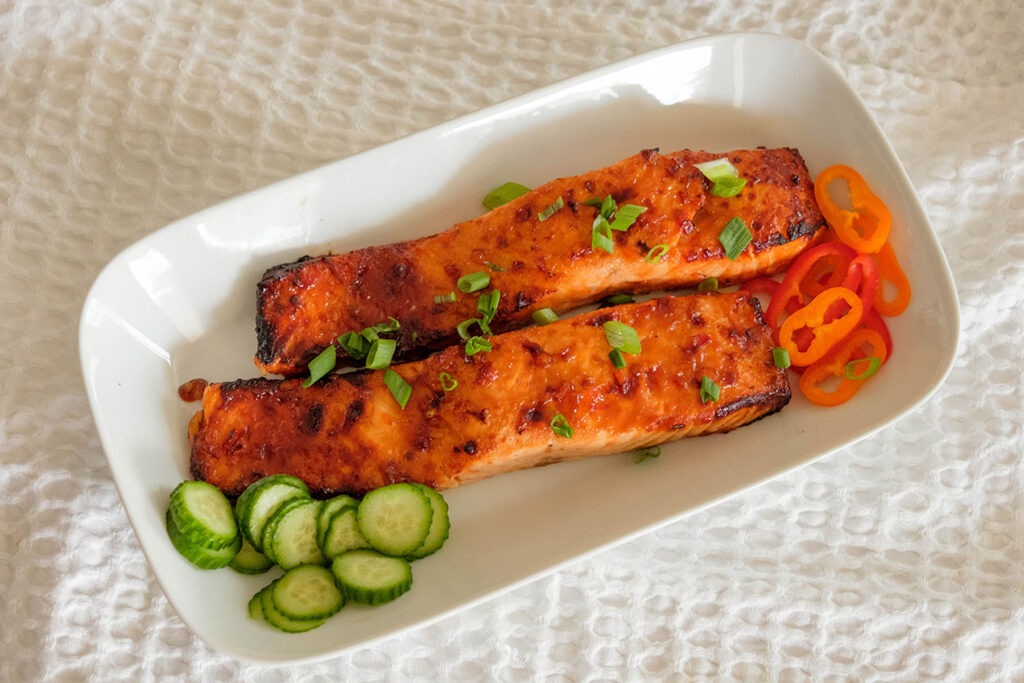
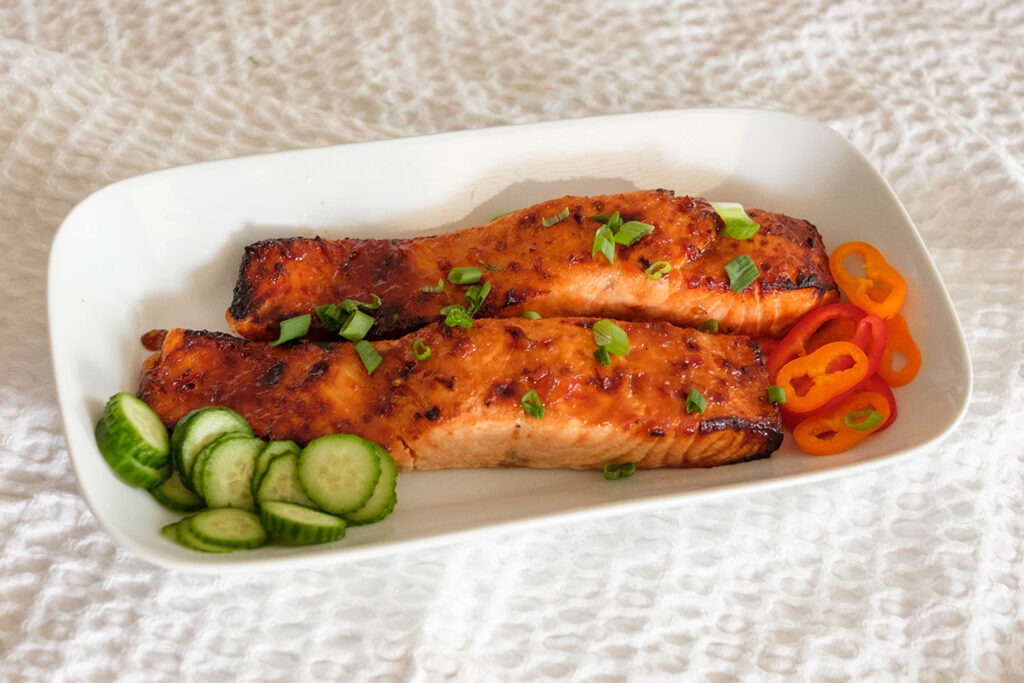
sweet chili glazed salmon

Busy workweeks don’t mean you have to sacrifice flavor or nutrition. This Air Fryer Sweet Chili Glazed Salmon is the ultimate proof! With just a handful of pantry staples, a quick whisk of sauce, and less than 15 minutes of cook time, you’ve got a meal prep superstar that looks (and tastes) like it came from a restaurant.

This post may contain affiliate links. Please see our privacy policy for details.

Calories: 225kcal | Carbohydrates: 10g | Protein: 24g | Fat: 9g | Saturated Fat: 1g | Polyunsaturated Fat: 4g | Monounsaturated Fat: 3g | Cholesterol: 62mg | Sodium: 724mg | Potassium: 593mg | Fiber: 0.3g | Sugar: 8g | Vitamin A: 75IU | Vitamin C: 1mg | Calcium: 22mg | Iron: 1mg

sweet chili glazed salmon

sweet chili glazed salmon

Air Fryer Sweet Chili Glazed Salmon

Air Fryer Sweet Chili Glazed Salmon is a quick, healthy, and flavorful dish that’s perfect for easy weeknight dinners or meal prep.
No ratings yet
Prep Time 5 minutes
Cook Time 10 minutes
Course Main Course
Cuisine Asian
Servings 2
Calories 225 kcal

Equipment

  • Air Fryer

Ingredients
  

  • 8 oz salmon (2, 4 oz fillets)
  • 2 tablespoons sweet chili sauce
  • 1 tablespoon soy sauce
  • 1 teaspoon ginger paste
  • 1 teaspoon garlic paste
  • 1 teaspoon sesame oil
  • 1 tablespoon green onions (chopped)

Instructions
 

  • Preheat your air fryer to 400°F.
  • In a small bowl, whisk together the sweet chili sauce, soy sauce, ginger paste, garlic paste, and sesame oil.
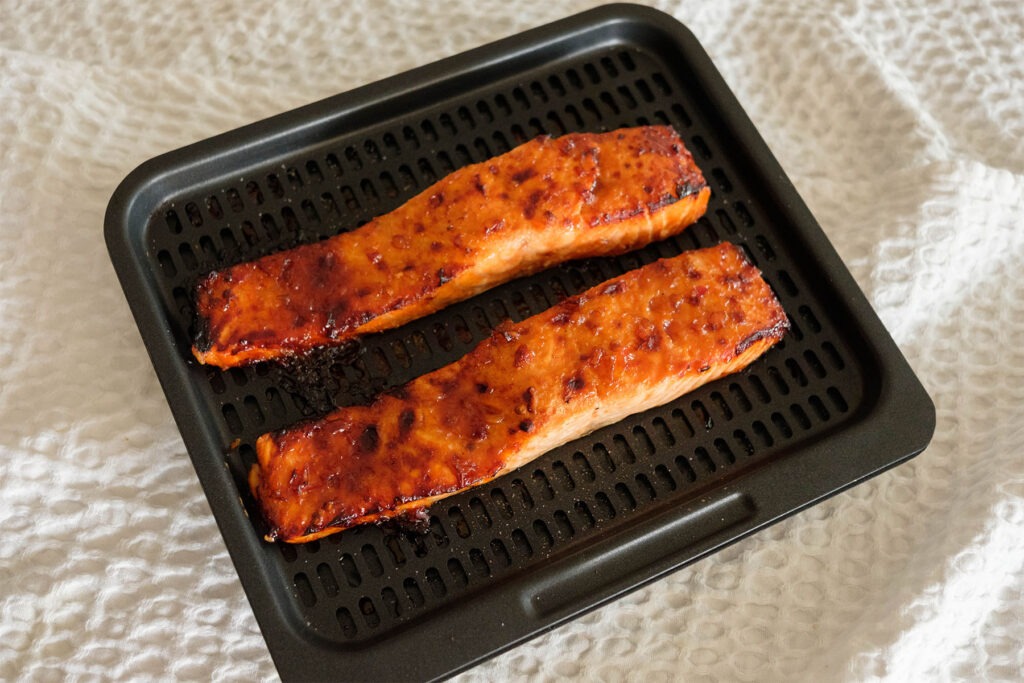
  • Pat the salmon fillets dry with a paper towel and place them on the air fryer rack.
  • Brush or spoon the glaze generously over each fillet.
  • Air fry for 8–10 minutes until the salmon flakes easily with a fork.

Video

Notes

Nutrition information provided is an estimate. It will vary based on cooking method and specific ingredients used. Please consult with your healthcare provider for specific dietary needs. To gain a better understanding, explore our nutrition disclaimer here

Nutrition

Calories: 225kcalCarbohydrates: 10gProtein: 24gFat: 9gSaturated Fat: 1gPolyunsaturated Fat: 4gMonounsaturated Fat: 3gCholesterol: 62mgSodium: 724mgPotassium: 593mgFiber: 0.3gSugar: 8gVitamin A: 75IUVitamin C: 1mgCalcium: 22mgIron: 1mg

Why This Recipe Is Perfect for Busy Individuals

  • Fast & Fuss-Free: Ready in under 15 minutes, perfect for hectic weekdays.
  • Minimal Cleanup: Just one bowl for the glaze and the air fryer basket—done!
  • Pantry-Friendly: Uses simple sauces and pastes you likely already have stocked.
  • Meal Prep Friendly: Reheats beautifully without losing flavor or texture.
  • Nutritious & Balanced:  Salmon is packed with protein and omega-3s, fueling your brain and body.
  • Customizable Sides: Pair with rice, roasted veggies, or even a fresh salad—whatever you’ve got on hand.
  • Restaurant Vibes at Home: The sweet, tangy glaze makes it feel gourmet with zero extra effort.

The PrepYoSelf Newsletter

The Ingredients You’ll Need

  • Salmon: Naturally rich in protein and omega-3 fatty acids, salmon is the star of the dish. It’s hearty, flavorful, and absorbs marinades beautifully, making it a perfect canvas for bold glazes
  • Sweet Chili Sauce: Brings a balance of sweet, tangy, and mild heat. It caramelizes slightly in the air fryer, creating a glossy glaze that locks in moisture
  • Soy Sauce: Adds savory depth and umami that balances the sweetness of the chili sauce, rounding out the flavor profile
  • Ginger Paste: Offers a zesty brightness and warmth that cuts through the richness of salmon, keeping the dish light and refreshing
  • Garlic Paste: Provides a robust, aromatic base that pairs seamlessly with both sweet and savory elements in the glaze
  • Sesame Oil: Infuses a nutty, toasty flavor that enhances the Asian-inspired profile of the dish while adding a silky finish
  • Green Onions: Add a crisp, fresh bite that complements the glaze and provides a pop of color for presentation.

sweet chili glazed salmon

Easy Recipe Steps for Air Fryer Sweet Chili Glazed Salmon

  1. Preheat your air fryer to 400°F so it’s hot and ready when you place the salmon inside
  2. In a small mixing bowl, combine the sweet chili sauce, soy sauce, ginger paste, garlic paste, and sesame oil, stirring until the glaze is smooth and well blended
  3. Use a paper towel to pat the salmon fillets dry, which helps the glaze stick better and ensures the salmon cooks evenly. Place the fillets skin-side down on the air fryer rack or basket
  4. Spoon or brush the glaze generously over the salmon fillets, making sure each piece is evenly coated
  5. Insert the rack into the air fryer and cook for 8 to 10 minutes, depending on the thickness of your fillets, until the salmon flakes easily with a fork and reaches an internal temperature of 145°F
  6. Carefully remove the salmon from the air fryer, garnish with freshly sliced green onions, and serve with your choice of sides.

sweet chili glazed salmon

Meal Prep Pairing Tips

  • Grain Base Options: Pair the salmon with brown rice, jasmine rice, quinoa, or farro for a satisfying and filling base
  • Vegetable Sides: Add steamed broccoli, roasted asparagus, air-fried Brussels sprouts, or sautéed zucchini for fiber and nutrients
  • Fresh Salads: Include a cucumber salad, cabbage slaw, or mixed greens with a light vinaigrette to balance the rich glaze
  • Legume Additions: Consider lentils, chickpeas, or edamame for an extra boost of plant-based protein and texture variety.

sweet chili glazed salmon

Similar Recipes

salmon beet salad

Citrus Ginger Salmon with Roasted Beets

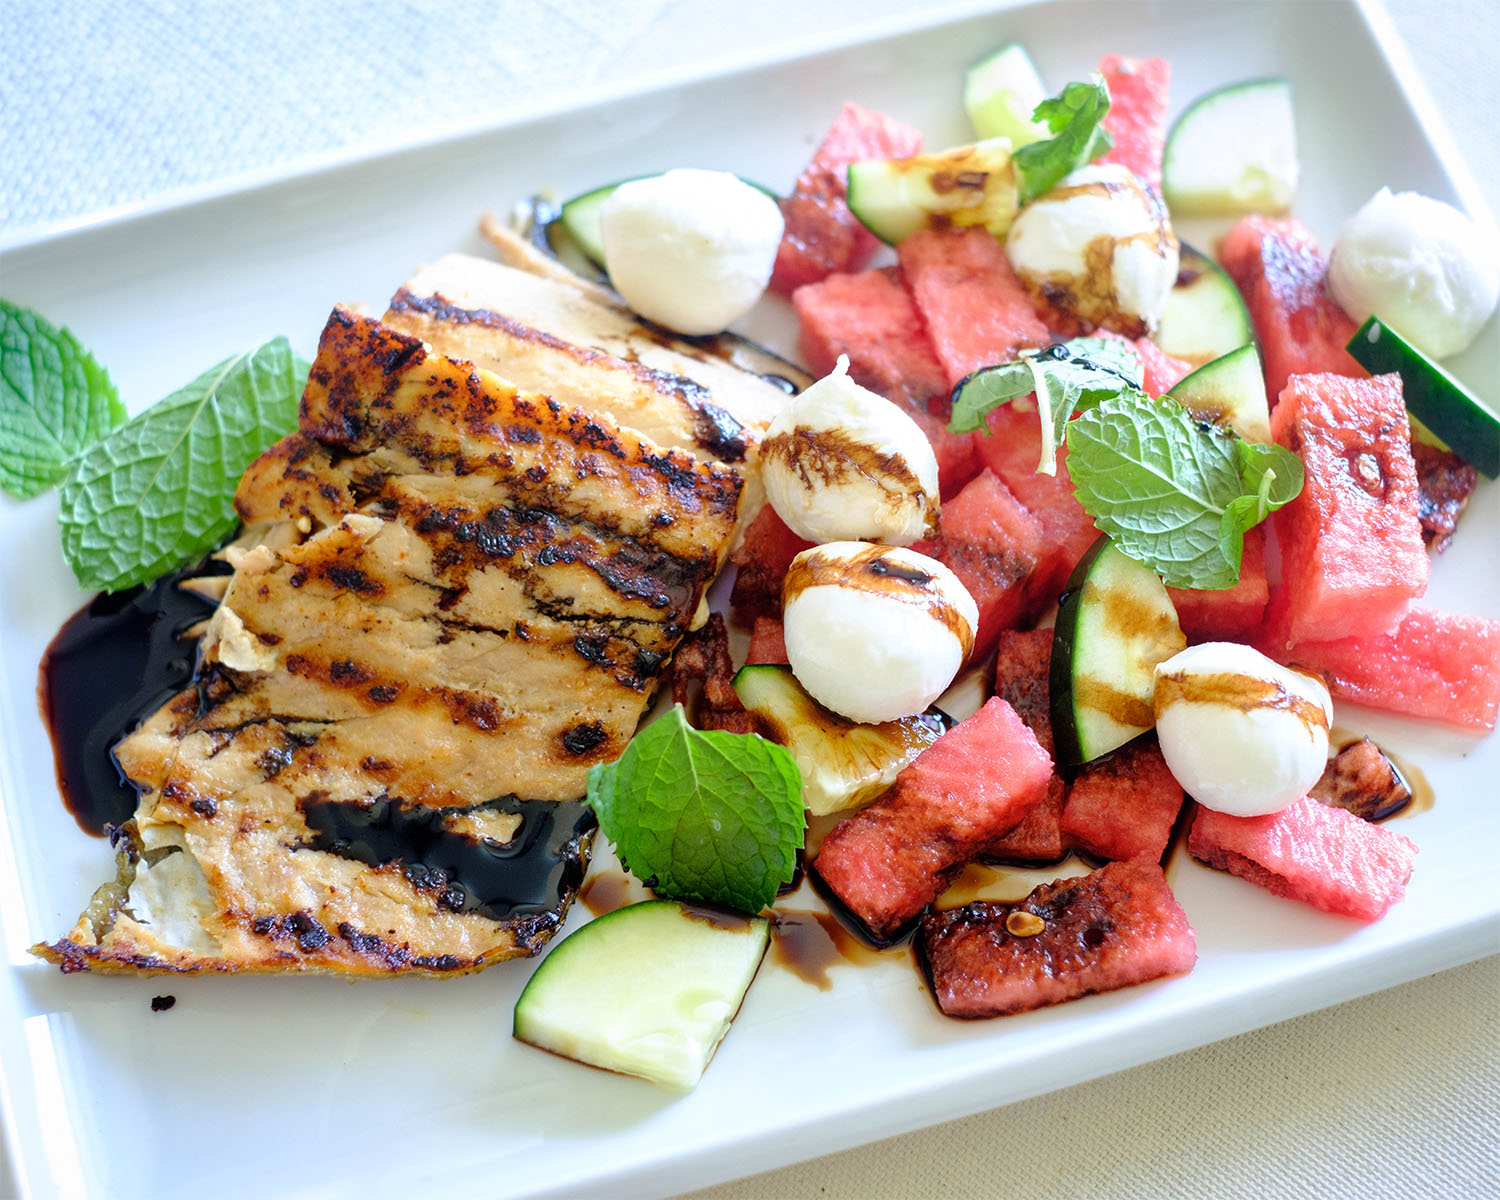
salmon and watermelon salad

Grilled Salmon with Watermelon Salad

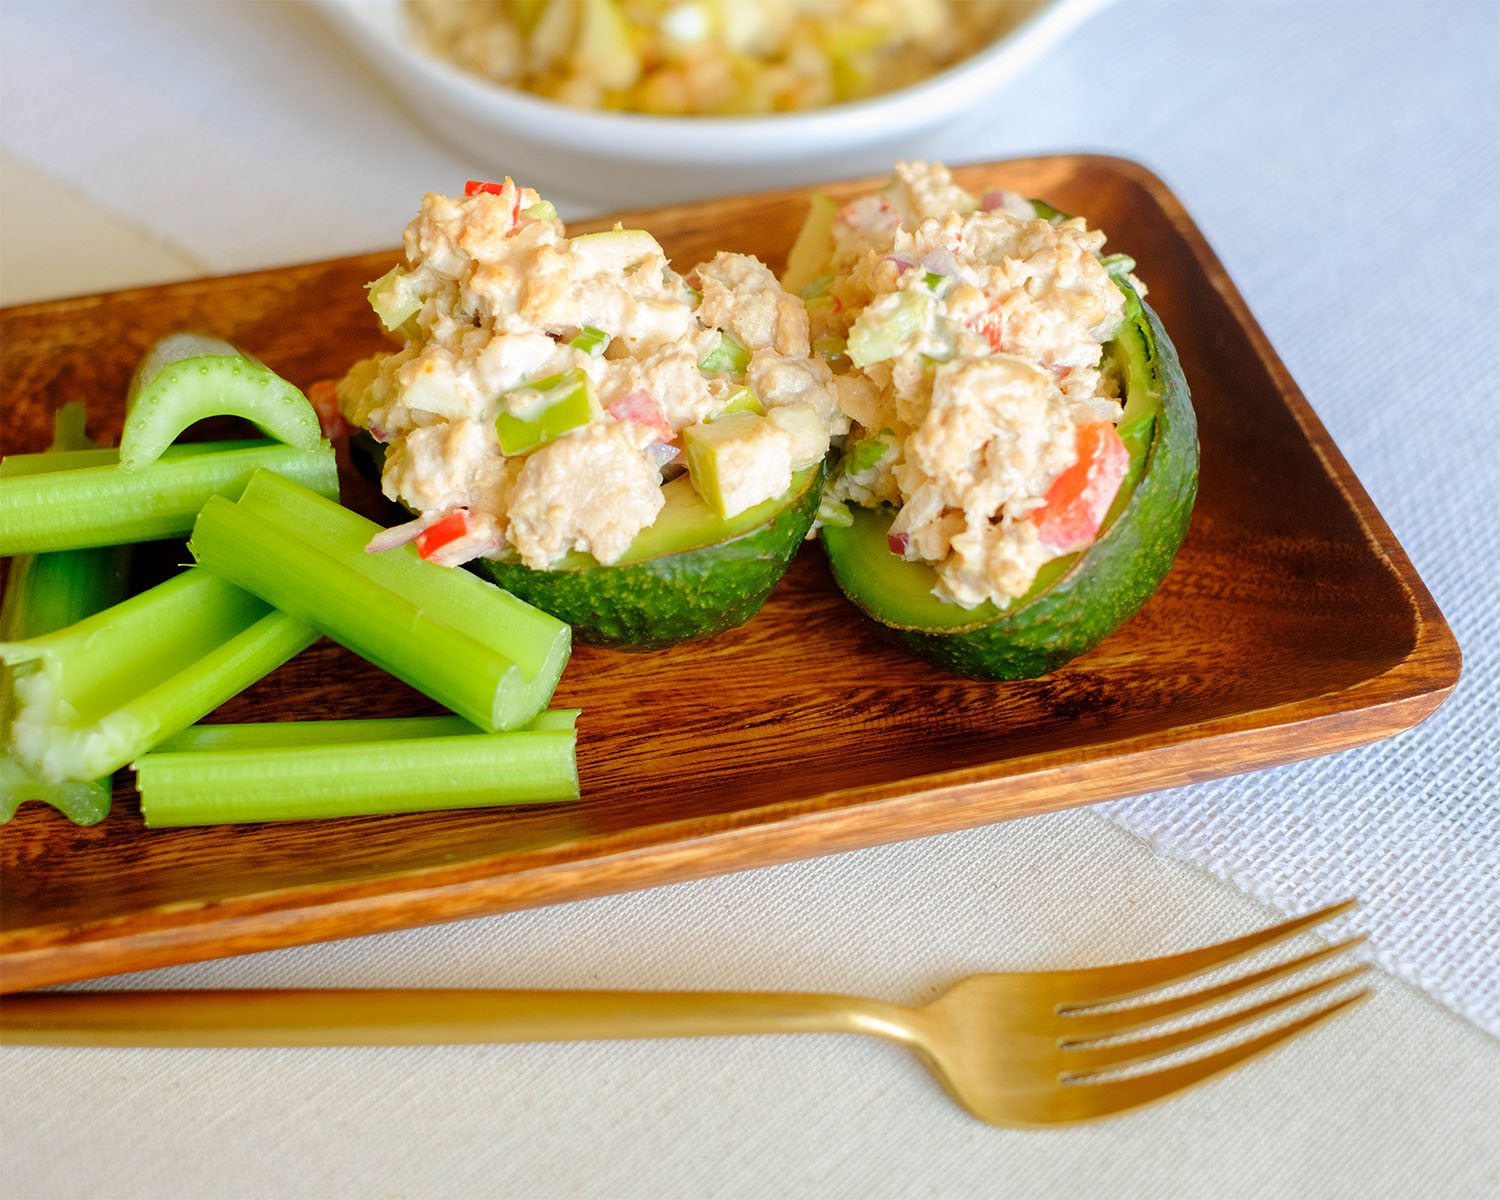
salmon salad

Salmon Stuffed Avocado Salad

You Might Also Like

Frequently Asked Questions

Can I make the glaze ahead of time?

Yes. Mix the glaze up to 3 days in advance and keep it in a sealed container in the refrigerator until ready to use


Can I substitute fresh garlic and ginger for the paste?

Absolutely. Use about 1 teaspoon each of freshly grated ginger and minced garlic in place of the pastes.


What if I don’t have sesame oil?

You can skip it or replace it with olive oil. The flavor will be slightly different, but the glaze will still be delicious

Posted on Leave a comment

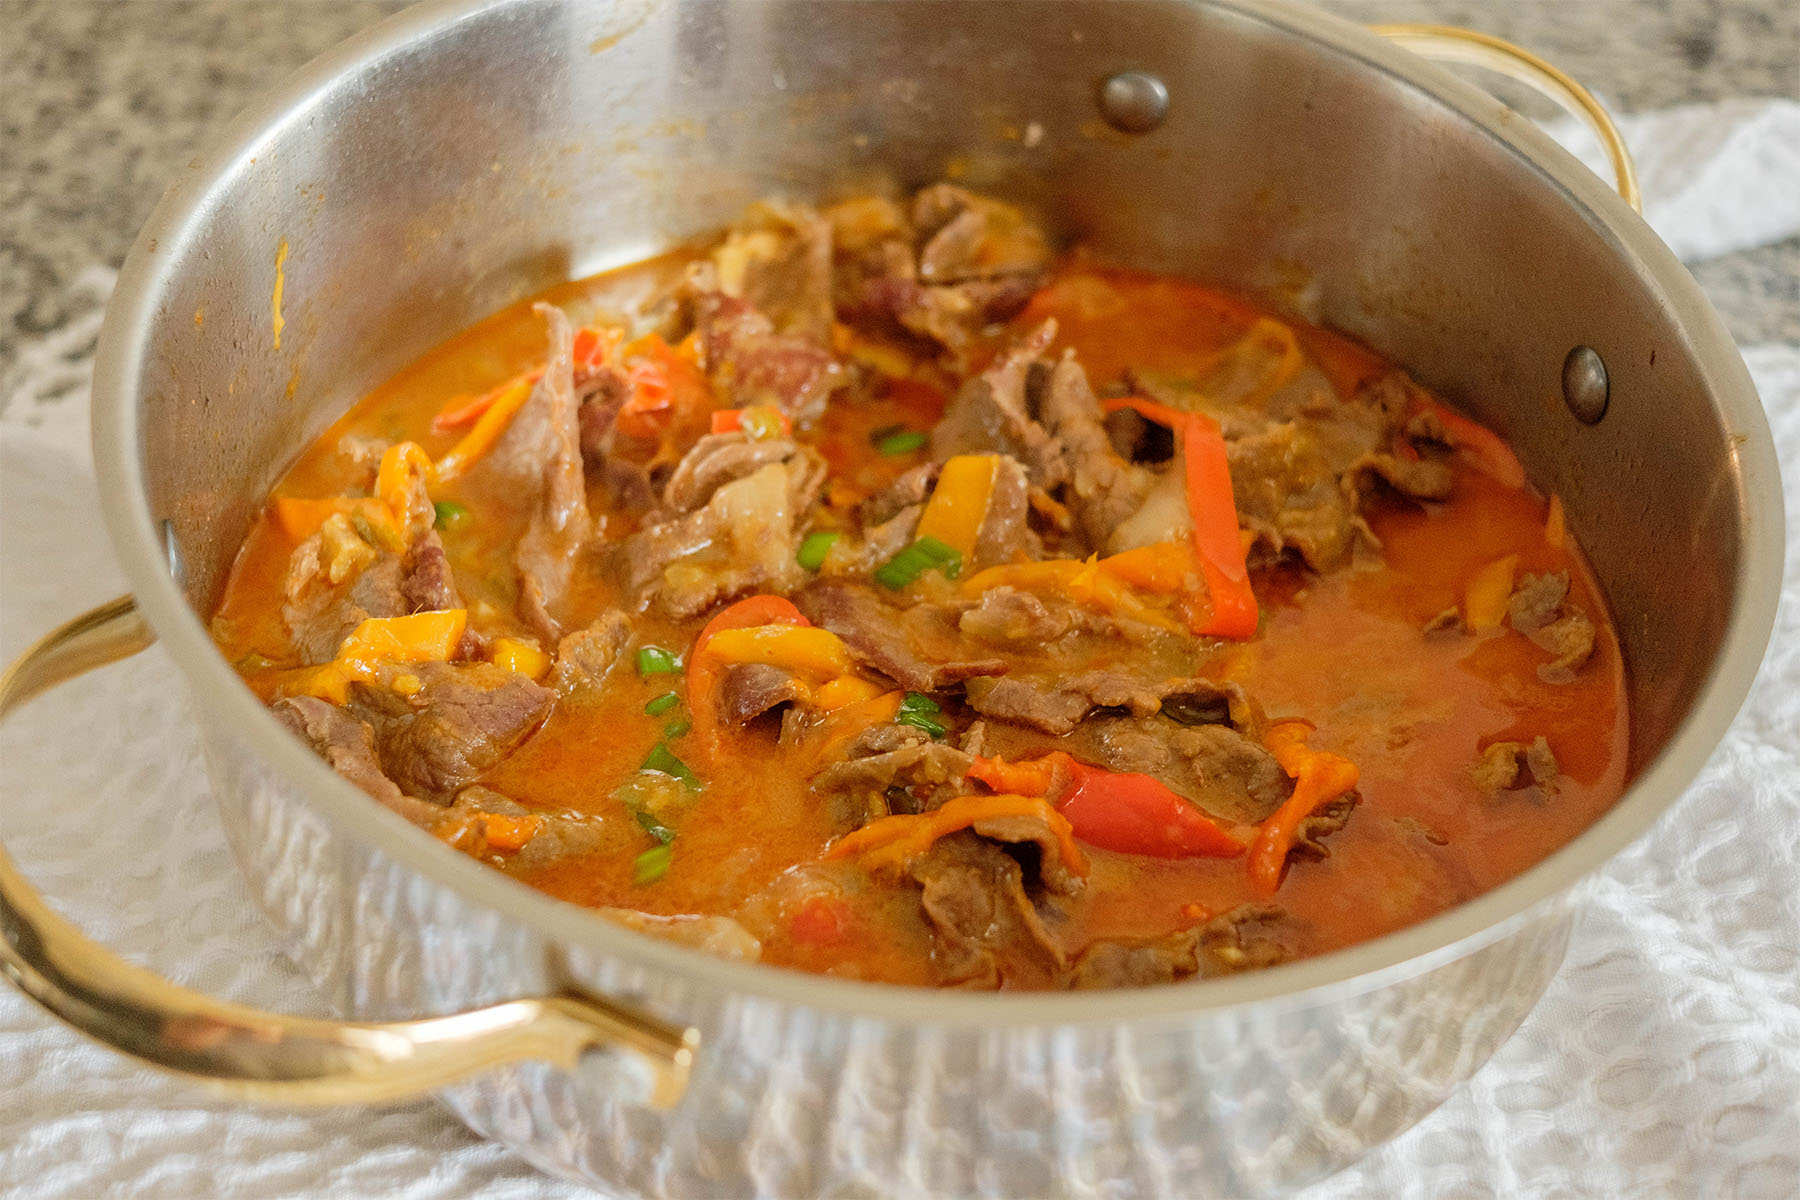
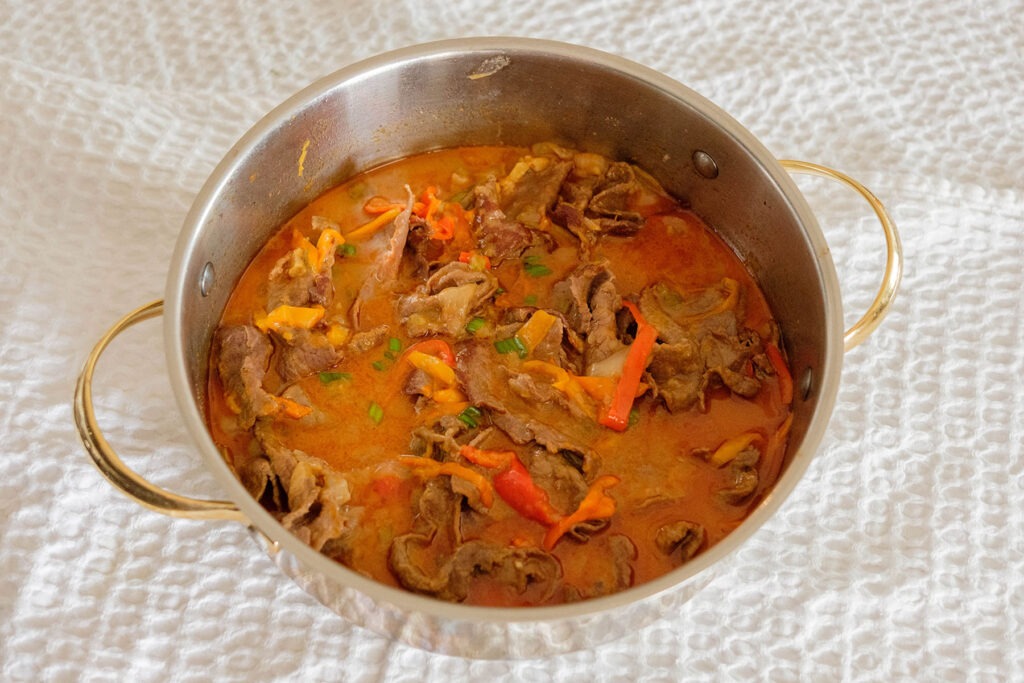
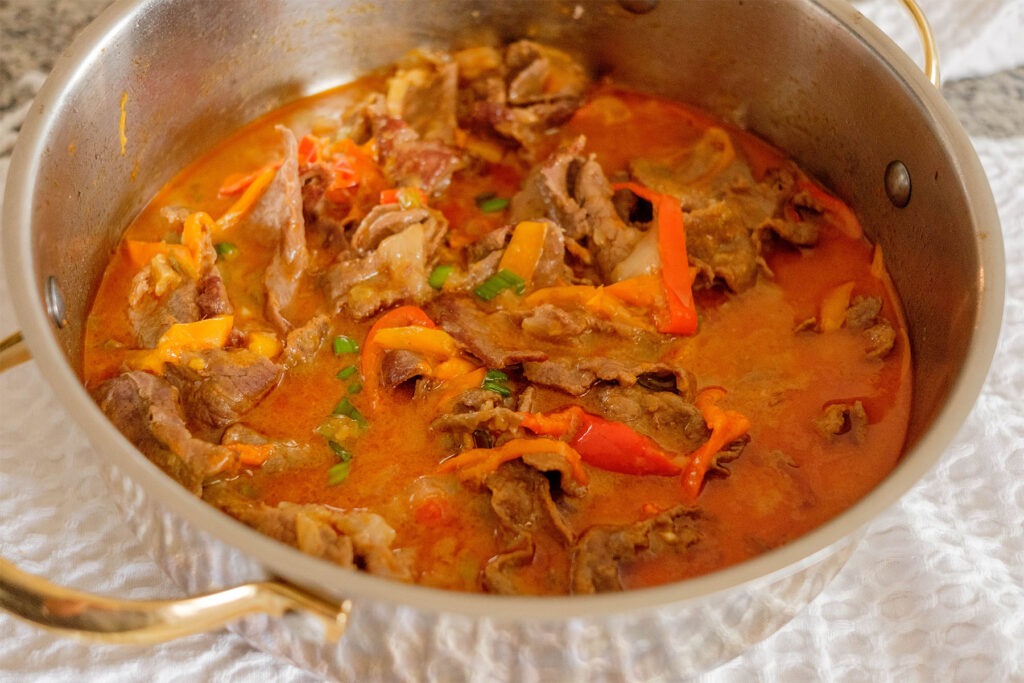
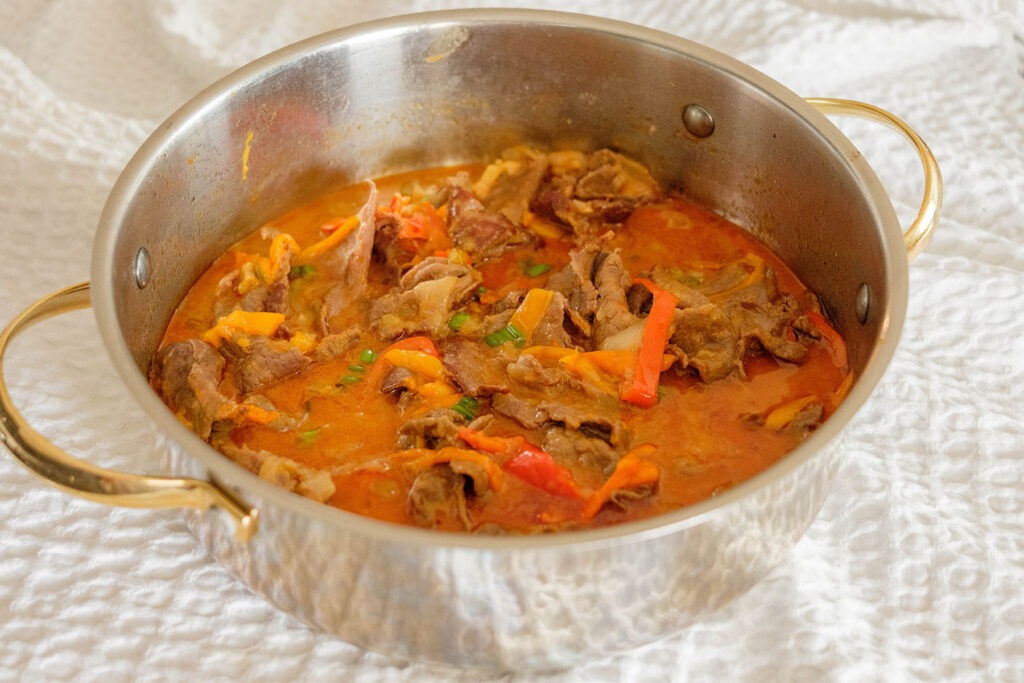
Thai Inspired Red Beef Curry

thai red beef curry

If you’re craving something bold, fragrant, and a little bit fiery, this Thai-Inspired Beef Red Curry is about to be your new go-to meal prep recipe. Imagine tender beef in a creamy, spicy coconut curry sauce, paired with veggies that stay vibrant all week long. And the best part? This dish comes together fast thanks to one simple trick by using thinly sliced beef chuck roast for quick cooking.

This post may contain affiliate links. Please see our privacy policy for details.

Calories: 471kcal | Carbohydrates: 19g | Protein: 26g | Fat: 33g | Saturated Fat: 18g | Polyunsaturated Fat: 2g | Monounsaturated Fat: 13g | Trans Fat: 1g | Cholesterol: 78mg | Sodium: 1526mg | Potassium: 802mg | Fiber: 3g | Sugar: 11g | Vitamin A: 4408IU | Vitamin C: 85mg | Calcium: 100mg | Iron: 6mg

thai red beef curry

thai red beef curry

Thai Inspired Red Beef Curry

A quick and flavorful Thai-inspired beef red curry with tender beef, creamy coconut milk, and vibrant veggies—perfect for meal prep.
No ratings yet
Prep Time 5 minutes
Cook Time 20 minutes
Course dinner, Main Course
Cuisine Asian, Indian
Servings 2
Calories 471 kcal

Equipment

  • knife
  • cutting board
  • pot

Ingredients
  

  • 8 oz chuck roast (thinly sliced)
  • 1/4 cup onions (sliced)
  • 1 red bell pepper (sliced)
  • 1/4 cup green onions (chopped)
  • 2 tablespoons garlic (minced)
  • 2 tablespoons red curry paste
  • 1 tablespoon lemongrass paste
  • 1 tablespoon ginger paste
  • 1/2 cup coconut milk
  • 1/2 cup water (or broth for more flavor)
  • 2 tablespoons fish sauce
  • 1 tablespoon brown sugar
  • 3 leaves fresh basil
  • 1 tablespoon olive oil

Instructions
 

  • Heat a pan over medium-high heat and add the olive oil. Toss in the thinly sliced beef and sauté until browned (about 3–4 minutes).
  • Add in the onions, bell pepper, green onions, and garlic. Stir-fry until fragrant.
  • Stir in the red curry paste, lemongrass paste, and ginger paste. Pour in coconut milk and water.
  • Mix well, then add the fish sauce and brown sugar. Let it all simmer together.
  • Lower the heat to low and cook for 5 minutes to allow flavors to meld.
  • Stir in the fresh basil leaves and garnish with green onions. Enjoy with fluffy rice or a warm naan.

Video

Notes

Nutrition information provided is an estimate. It will vary based on cooking method and specific ingredients used. Please consult with your healthcare provider for specific dietary needs. To gain a better understanding, explore our nutrition disclaimer here

Nutrition

Calories: 471kcalCarbohydrates: 19gProtein: 26gFat: 33gSaturated Fat: 18gPolyunsaturated Fat: 2gMonounsaturated Fat: 13gTrans Fat: 1gCholesterol: 78mgSodium: 1526mgPotassium: 802mgFiber: 3gSugar: 11gVitamin A: 4408IUVitamin C: 85mgCalcium: 100mgIron: 6mg

Why You’ll Love This Recipe (Especially If You’re a Beginner!)

  • Quick-Cooking Beef – Thinly sliced chuck roast cooks in minutes, so you’re not stuck at the stove after a long day.
  • Big Flavors, Minimal Effort – Red curry paste + coconut milk = instant magic without a laundry list of spices.
  • Veggie Boost – Bell peppers and onions hold up well in the fridge, keeping your curry colorful and nutrient-packed.
  • Protein-Packed – Lean beef gives you the protein punch you need to power through busy weekdays.
  • Versatile Pairing – It’s amazing with rice, cauliflower rice, or even tucked into a wrap for lunch on the go.
  • Make-Ahead Friendly – Curry flavors actually deepen after a day in the fridge, making your meal prep taste better with time.
  • One-Pan Wonder – Less dishes = less stress. Clean-up is a breeze so you can meal prep more, scrub less.

The PrepYoSelf Newsletter

Simple Ingredients for Thai Inspired Red Beef curry

  • Chuck roast: Chuck roast has just the right amount of marbling, so when it’s thinly sliced, it cooks quickly while staying juicy and tender. Thin slices also absorb the curry flavors faster, making it ideal for quick cooking and meal prep
  • Onions: Onions add natural sweetness and depth, balancing out the spiciness of the curry paste. They also soften beautifully while still giving a little texture in each bite
  • Red bell pepper : The bell pepper brings color, crunch, and a mild sweetness that plays perfectly against the creamy coconut milk and savory beef. It also reheats well in meal prep without turning mushy
  • Green onions: Green onions provide freshness and a mild bite that keeps the curry from feeling too heavy. They also double as a garnish to brighten up your meal-prep containers
  • Garlic: Garlic is the backbone of bold flavor here—it infuses the curry with a warm, savory aroma that ties the meat and curry paste together
  • Red curry paste:The star of the show! Red curry paste is a blend of chili peppers, lemongrass, garlic, shallots, and spices. It delivers the signature Thai curry kick without needing to measure out tons of seasonings
  • Coconut milk: Coconut milk cools down the heat from the curry paste while adding creaminess. It gives the sauce that silky texture and subtle sweetness that makes every spoonful comforting
  • Water (or broth): This thins the curry just enough to make it saucy and easy to pour over rice without being too heavy. If you use broth, you sneak in even more flavor
  • Lemongrass paste: Lemongrass adds citrusy brightness that cuts through the richness of the coconut milk. It gives the curry a fresh lift that makes it taste authentic
  • Ginger paste: Ginger brings warmth and a slight zing, complementing the garlic and curry paste. It also helps balance the richness of the beef
  • Fish sauce: Fish sauce might smell strong on its own, but in the curry it adds umami—that deep savory flavor that makes dishes taste “complete.” It’s the secret behind the authentic Thai taste
  • Brown sugar: Just a touch of sweetness balances the salty and spicy elements of the curry, creating harmony in every bite
  • Basil leaves: Basil (especially Thai basil if you can find it) adds a fragrant, slightly peppery finish that wakes up the whole dish. It’s like the exclamation point at the end of the recipe.

thai red beef curry

How to prepare Red Beef Curry

  1. Cook the beef: Heat a large pan or skillet over medium-high heat and add the olive oil. Once the oil is hot and shimmering, add the thinly sliced beef. Spread it out so the pieces aren’t crowded and let them sear for about 3–4 minutes, stirring occasionally, until the beef is mostly browned on the outside. (It doesn’t need to be fully cooked through yet—just nicely seared.
  2. Add the vegetables: Stir in the sliced onions, red bell pepper, chopped green onions, and minced garlic. Cook for another 2–3 minutes, stirring often, until the vegetables start to soften and the garlic becomes fragrant
  3. Build the flavor base: Add the red curry paste, lemongrass paste, and ginger paste directly into the pan. Stir well to coat the beef and veggies evenly—this step helps “toast” the pastes, which deepens their flavor
  4. Make it saucy: Pour in the coconut milk and water (or broth). Stir everything together until the curry paste is fully dissolved into the liquid, forming a smooth sauce
  5. Season and simmer: Add the fish sauce and brown sugar. Stir to combine, then lower the heat to low. Let the curry simmer gently for about 5 minutes, stirring once or twice, so the flavors blend and the sauce slightly thickens
  6. Finish with herbs: Stir in the sliced basil leaves right before turning off the heat. They’ll wilt quickly and add a fresh, fragrant finish
  7. Serve and enjoy: Garnish with extra green onions if you like. Serve hot with rice or naan on the side, and portion leftovers into containers for easy meal prep.

thai red beef curry

Meal Prep Tips for Beef Curry

  • Classic Jasmine Rice – Fluffy, lightly fragrant, and the perfect base to soak up the curry sauce. Portion into separate containers to avoid sogginess.
  • Steamed Veggies – Broccoli, snap peas, or green beans make great sides that reheat well and add extra fiber and crunch.
  • Roasted Sweet Potatoes – Adds a slightly sweet contrast to the savory curry and keeps you full longer.
  • Naan or Flatbread – Perfect for scooping up every drop of that creamy curry sauce. Store separately and warm up before serving.
  • Cauliflower Rice – A lighter, low-carb option that still absorbs the curry flavors beautifully.
  • Cucumber Salad – Refreshing and crisp, with a squeeze of lime, to balance the richness of the curry.
  • Rice Noodles – Quick-cook noodles you can portion and toss with curry for a comforting, saucy bowl.

thai red beef curry

Similar Recipes

ginger salmon

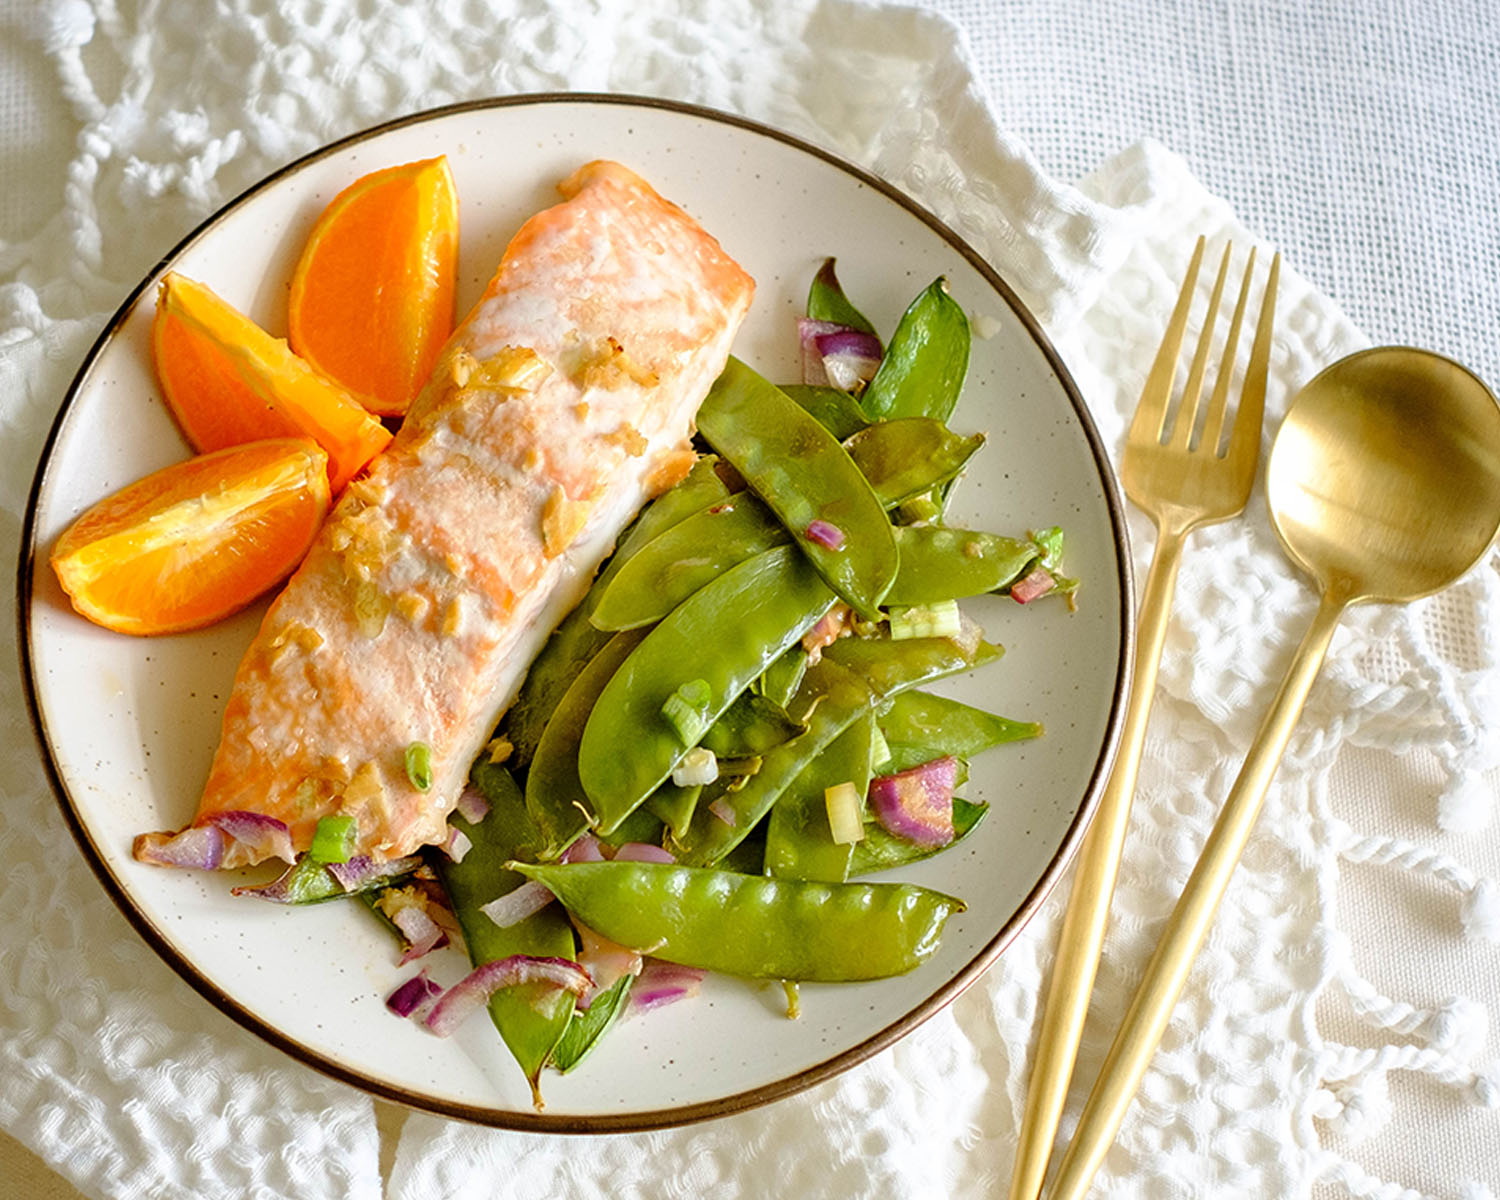
Oven Baked Orange Ginger Salmon and Snow Peas

orange chicken

Air Fryer Orange Soy Glazed Chicken with Broccoli

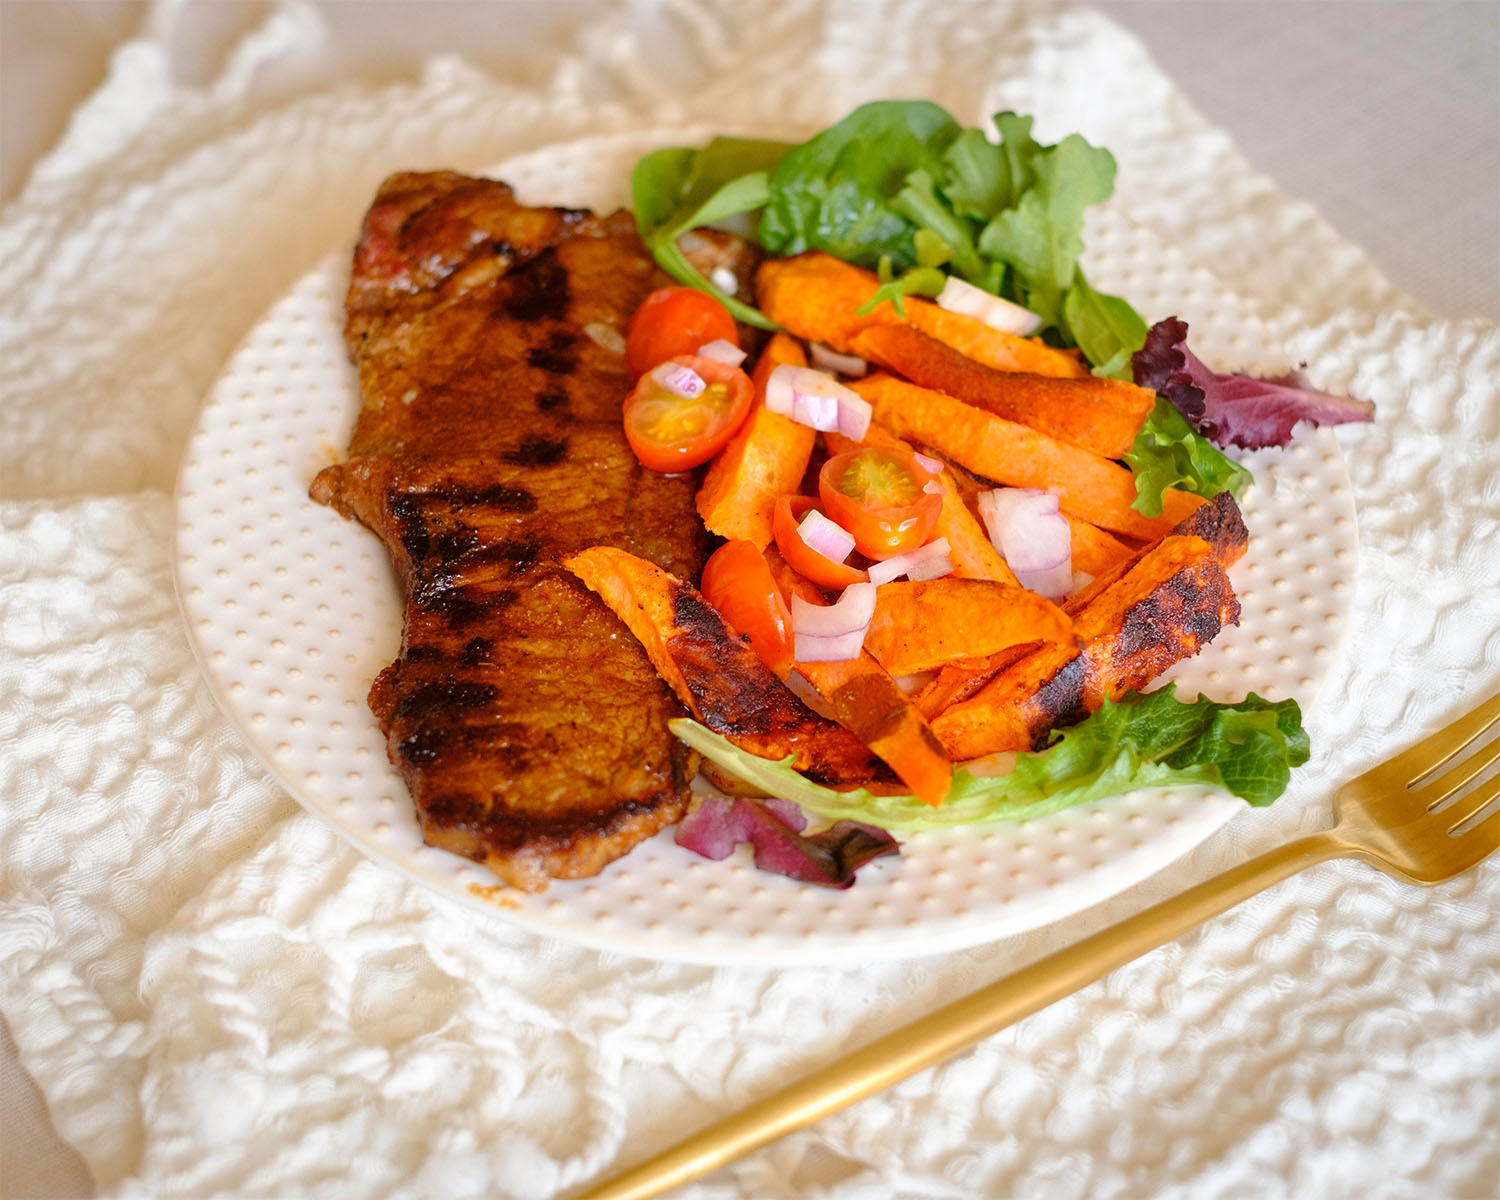
balsamic steak

Grilled Steak with Sweet Potato Wedges

You Might Also Like

Frequently Asked Questions

Can I use a different cut of beef?

Absolutely! Flank steak or sirloin works great because they’re lean and slice easily. Just keep the slices thin so they cook quickly.


What if I can’t find lemongrass or ginger paste?

No worries, you can swap with ground ginger (for warmth). The curry will still taste amazing.


Is this recipe spicy?

It has a gentle heat from the red curry paste, but it’s not overwhelming. If you like it spicier, add more curry paste or a chopped chili. If you prefer mild, start with half the paste.

Posted on Leave a comment

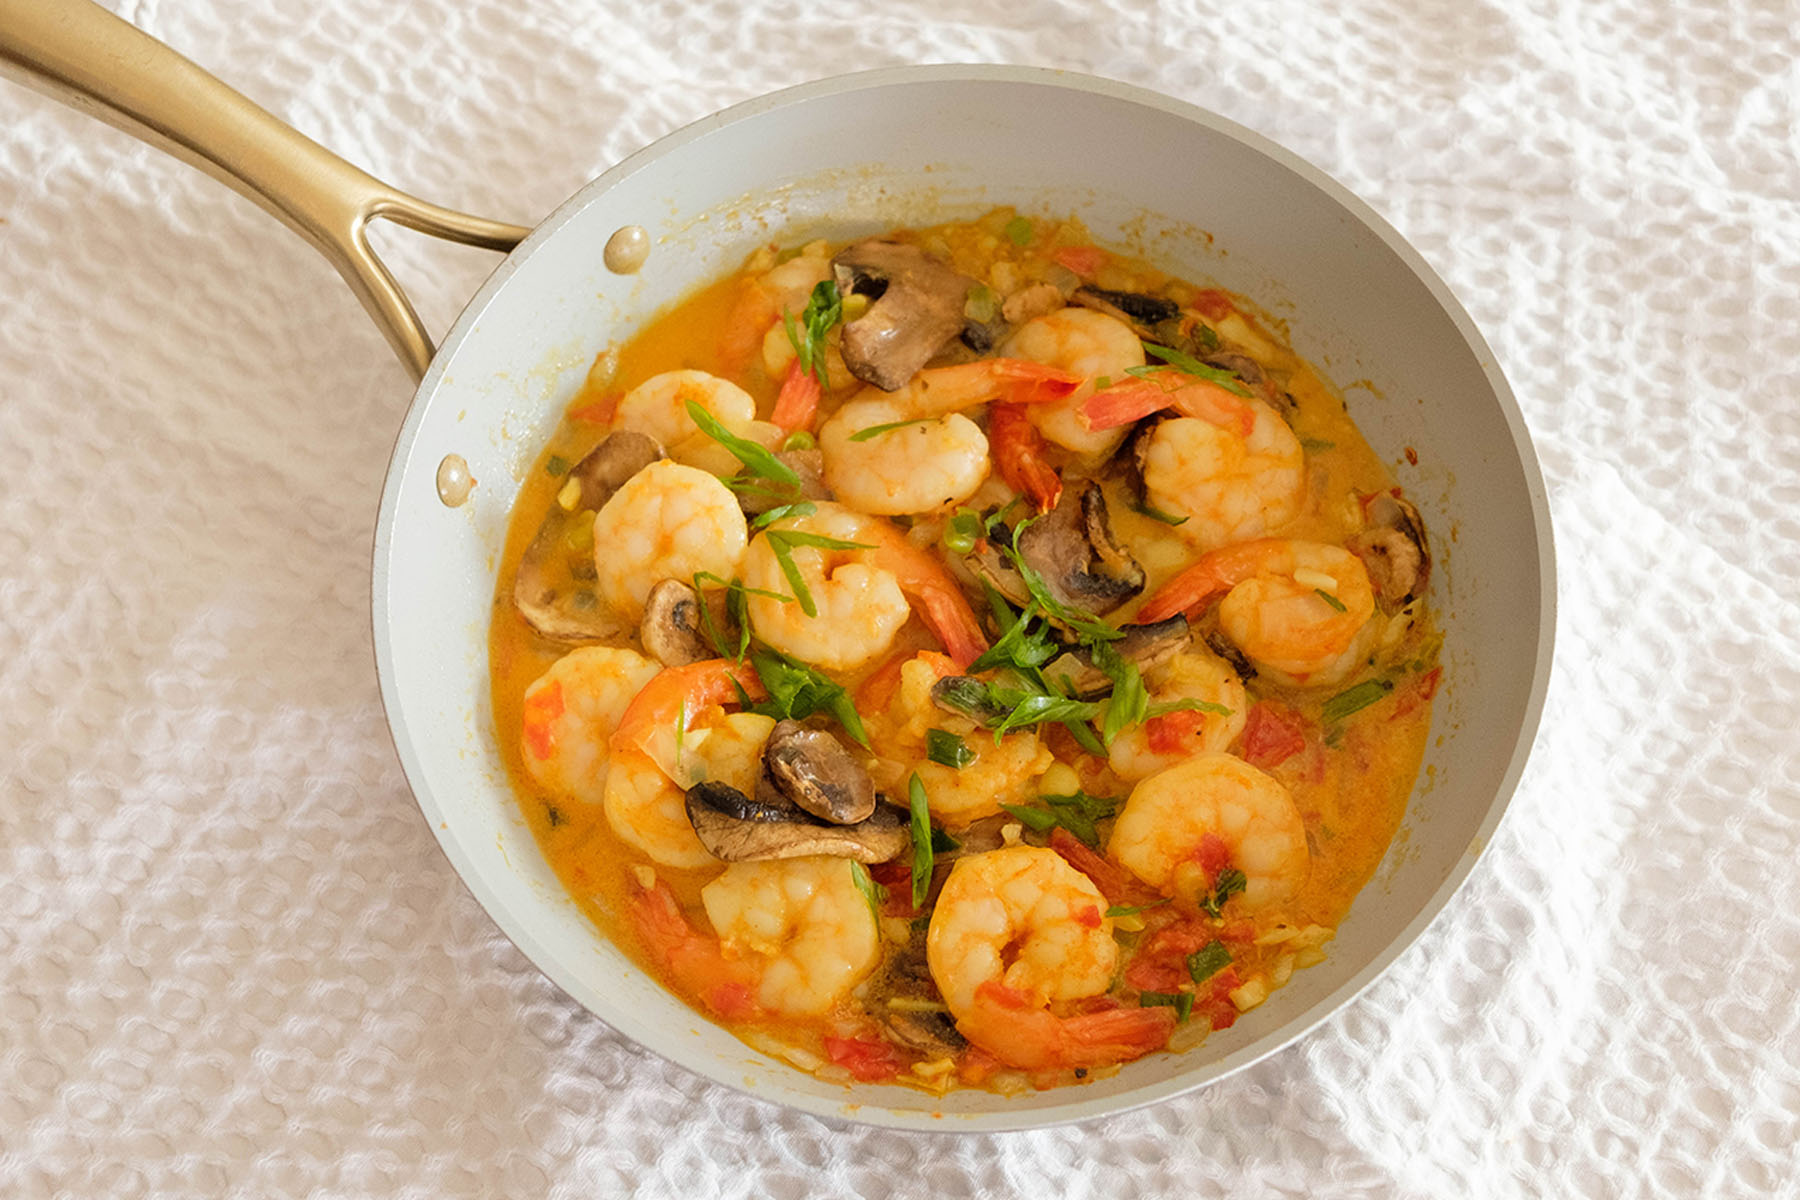
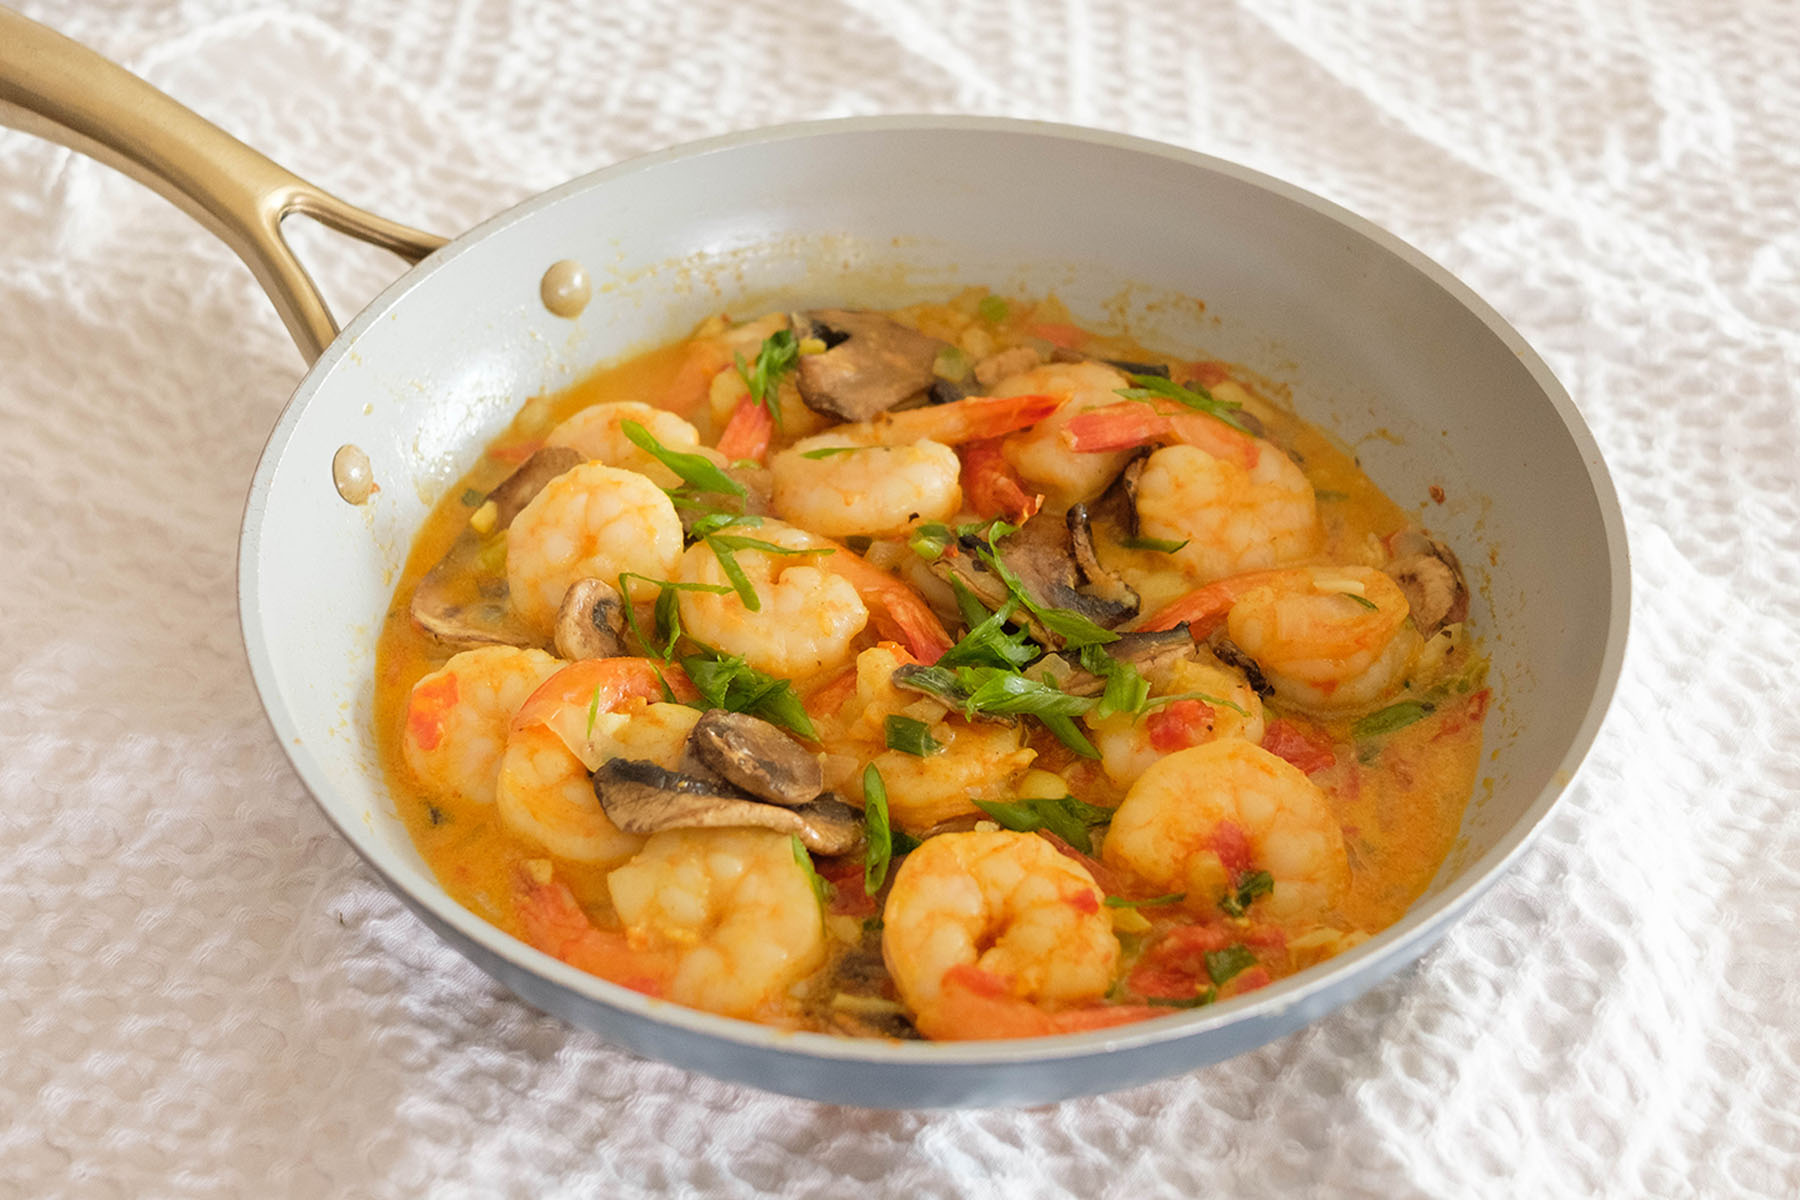
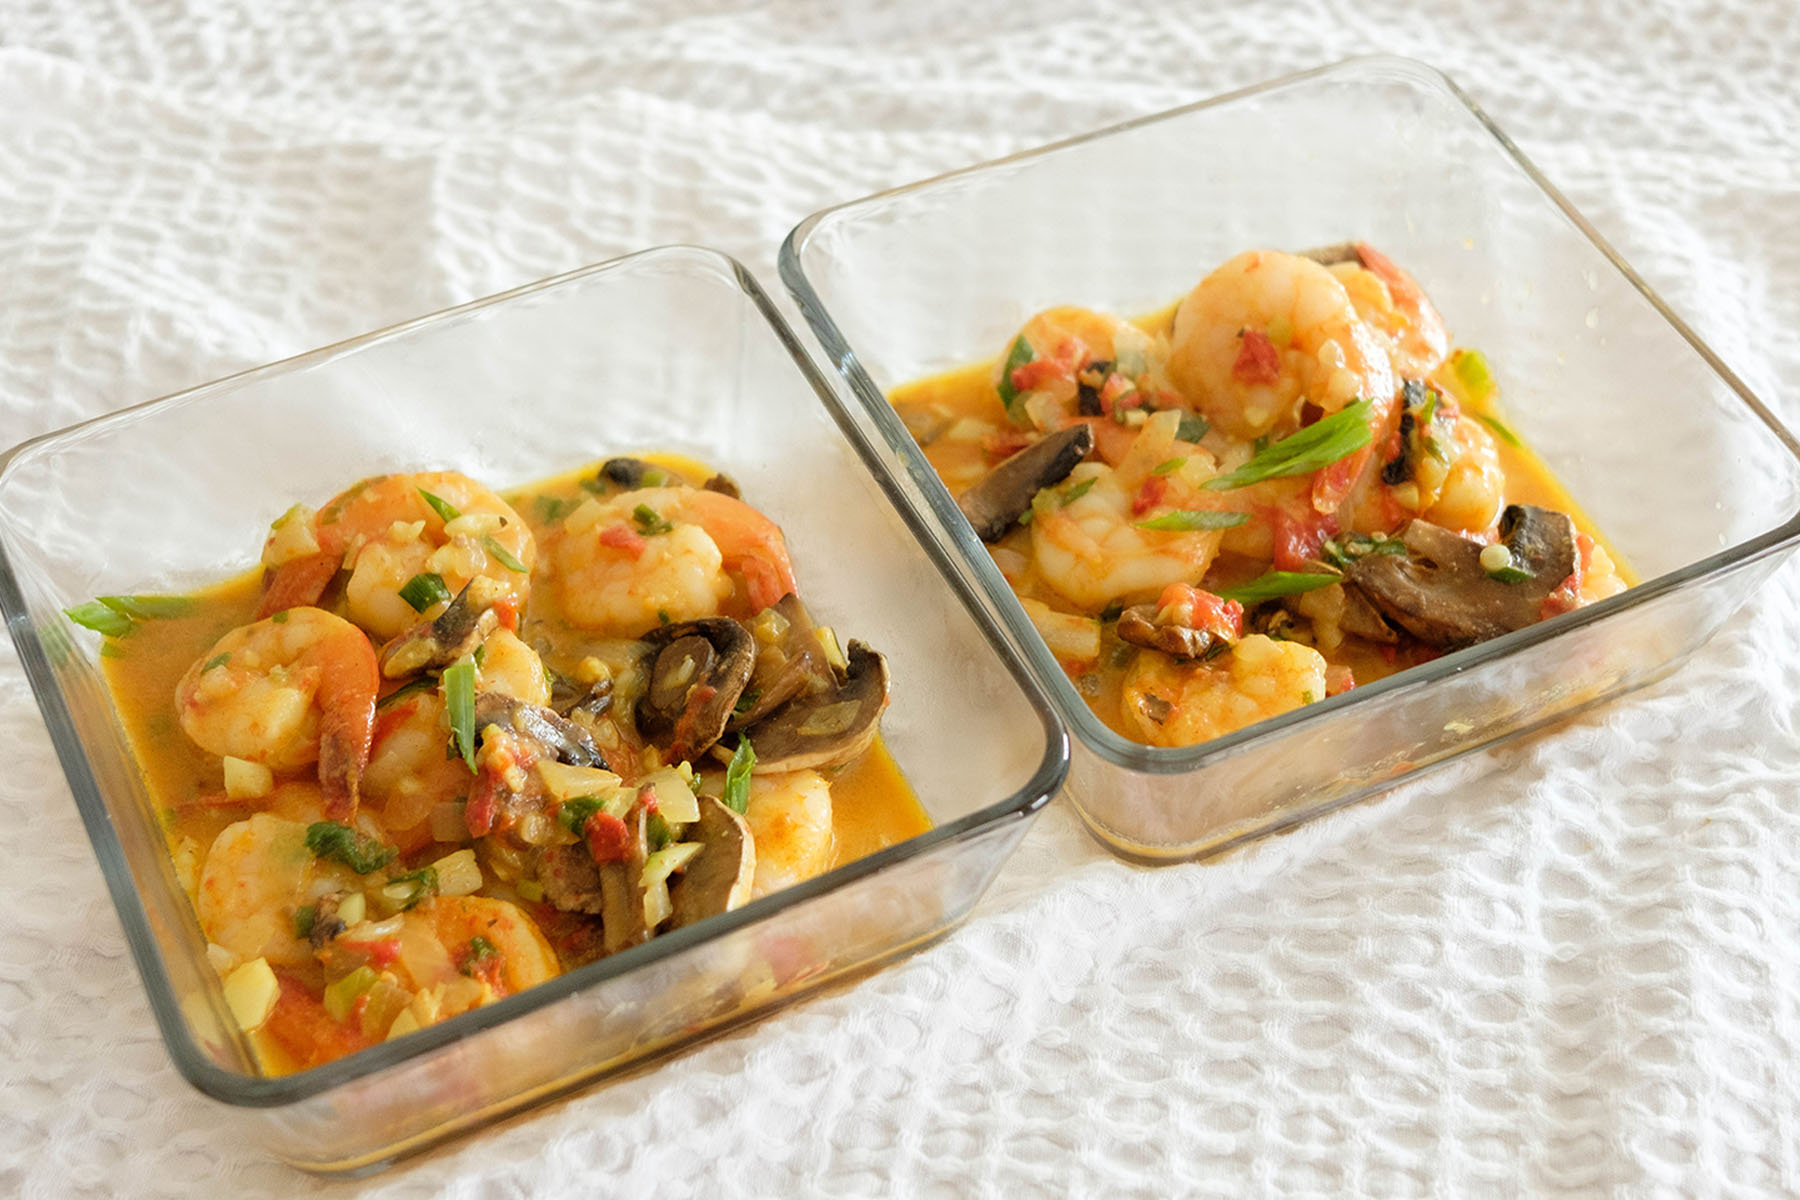
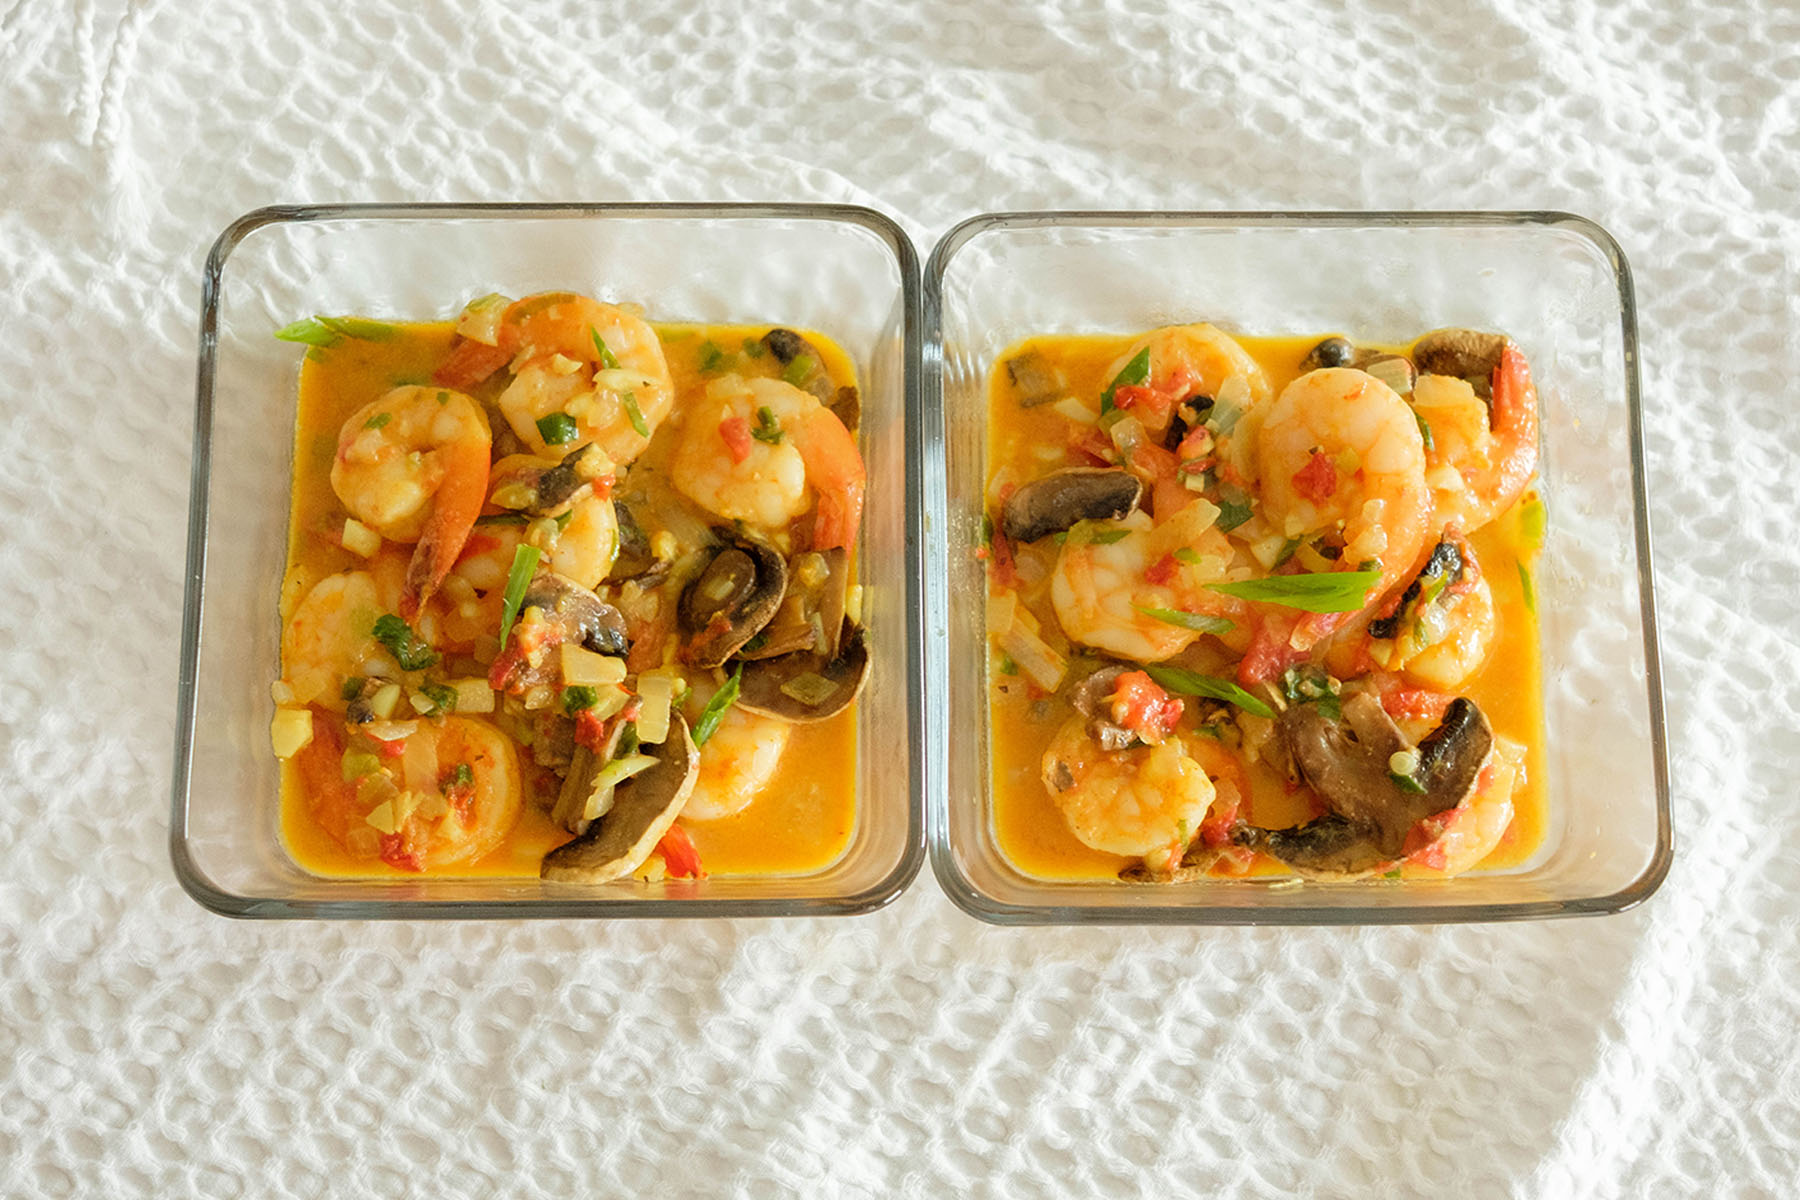
Creamy Coconut Shrimp

Shrimp in creamy coconut sauce

When it comes to meal prepping, nothing beats a dish that’s creamy, bold, and comes together in less than 20 minutes. Say hello to Creamy Coconut Shrimp. This recipe brings the richness of coconut milk, the sweetness of shrimp, and the savoriness of garlic and mushrooms, all in one quick and dreamy skillet

This post may contain affiliate links. Please see our privacy policy for details.

Calories: 304kcal | Carbohydrates: 9g | Protein: 38g | Fat: 14g | Saturated Fat: 7g | Polyunsaturated Fat: 1g | Monounsaturated Fat: 6g | Trans Fat: 0.01g | Cholesterol: 274mg | Sodium: 505mg | Potassium: 842mg | Fiber: 2g | Sugar: 3g | Vitamin A: 508IU | Vitamin C: 12mg | Calcium: 148mg | Iron: 3mg

Shrimp in creamy coconut sauce

Shrimp in creamy coconut sauce

Creamy Coconut Milk

Creamy Coconut Shrimp is a quick, protein-packed seafood dish with coconut milk, garlic, and veggies that’s perfect for meal prep.
No ratings yet
Prep Time 5 minutes
Cook Time 10 minutes
Course Main Course
Cuisine Asian
Servings 2
Calories 304 kcal

Equipment

  • knife
  • cutting board
  • saute pan

Ingredients
  

  • 12 oz shrimp (peeled, with or without tail on)
  • 1/4 cup white onions (diced)
  • 1/4 cup green onions (diced)
  • 1 roma tomato (diced)
  • 2 tablespoons garlic (minced)
  • 1/4 cup coconut milk
  • 1 cup mushrooms (sliced and pre-cooked)
  • 1/4 teaspoon paprika
  • 1/4 teaspoon black pepper
  • 1/4 teaspoon salt
  • 1 tablespoon olive oil

Instructions
 

  • Heat a pan over medium-high heat and add olive oil.
  • Toss in the white onions, green onions, tomato, and garlic. Sauté for 2–3 minutes until fragrant and softened.
  • Add the shrimp and cook for 2 minutes, stirring often.
  • Pour in the coconut milk, then sprinkle in paprika, black pepper, and salt. Stir well and cook another minute until the shrimp is fully opaque.
  • Fold in the pre-cooked mushrooms and mix everything together.
  • Garnish with extra green onions and serve over fluffy rice—or swap in cauliflower rice for a lighter, low-carb option.
Video

Notes

Nutrition information provided is an estimate. It will vary based on cooking method and specific ingredients used. Please consult with your healthcare provider for specific dietary needs. To gain a better understanding, explore our nutrition disclaimer here.

Nutrition

Calories: 304kcalCarbohydrates: 9gProtein: 38gFat: 14gSaturated Fat: 7gPolyunsaturated Fat: 1gMonounsaturated Fat: 6gTrans Fat: 0.01gCholesterol: 274mgSodium: 505mgPotassium: 842mgFiber: 2gSugar: 3gVitamin A: 508IUVitamin C: 12mgCalcium: 148mgIron: 3mg

Why You’ll Love This Meal Prep Recipe:

  • Quick & Easy – Done in under 20 minutes, so you can meal prep even on your busiest day.
  • Budget-Friendly – Simple pantry staples like onions, garlic, and coconut milk keep costs low while delivering major flavor.
  • Protein-Packed – Shrimp is lean, filling, and gives you a solid protein boost to power through your day.
  • Global Flavors – Creamy coconut meets savory garlic and paprika—this combo is bold, unique, and anything but boring.
  • Versatile Serving Options – Pair it with rice for a comforting meal or cauliflower rice for a lighter twist.
  • Meal Prep Friendly – Stays delicious for up to 2-3 days in the fridge, reheats like a dream, and keeps your lunch exciting.
  • Restaurant-Quality at Home – Skip the takeout! This dish feels like something you’d order at a tropical café, but it’s homemade and healthier.

The PrepYoSelf Newsletter

Ingredient Breakdown

  • Shrimp: Shrimp is the star of this dish—juicy, lean, and cooks in just minutes. It’s the ultimate protein for busy meal preppers because it delivers that satisfying bite while soaking up bold flavors from the sauce.
  • White Onions : These bring a mild sweetness and depth of flavor to the base. When sautéed, they soften and mellow out, creating a flavorful foundation that ties the dish together.
  • Green Onions: Green onions add freshness and a pop of color. Their mild sharpness balances the richness of the coconut milk, and they double up as a garnish to keep the dish looking vibrant.
  • Roma Tomato: Tomatoes add a juicy, tangy sweetness that cuts through the creaminess of the sauce. They also bring a bit of acidity, which balances the richness of shrimp and coconut milk perfectly.
  • Garlic: Garlic is the flavor powerhouse here. It infuses the oil and vegetables with a savory, aromatic punch that makes the whole kitchen smell amazing.
  • Coconut Milk: This is where the creaminess comes in. Coconut milk creates a silky, rich sauce that feels indulgent but is still light compared to heavy cream. It also gives the dish its subtle tropical vibe.
  • Mushrooms: Mushrooms add umami—that savory, “meaty” flavor that makes plant-based foods feel hearty. They soak up the coconut milk sauce and pair beautifully with shrimp’s natural sweetness.
  • Paprika: Paprika gives a warm, smoky depth that elevates the mild flavors of shrimp and coconut milk without overpowering them. Plus, it adds a little color to the dish.
  • Black Pepper: Pepper adds just enough spice and earthiness to balance the creaminess of the sauce and bring out the flavors of the shrimp

Shrimp in creamy coconut sauce

How to Make Creamy Coconut Shrimp

  1. Heat your pan: Place a large skillet on the stove over medium-high heat and add the olive oil. Let it warm up for about 30 seconds so it coats the pan evenly
  2. Sauté the aromatics: Add the diced white onions, green onions, tomato, and minced garlic to the hot pan. Stir frequently and cook for 2–3 minutes, or until the onions look soft and slightly translucent, and the garlic smells fragrant.
  3. Cook the shrimp: Add the shrimp to the skillet. Spread them out in a single layer so they cook evenly. Stir them around for 2 minutes until they start turning pink but are not fully cooked yet.
  4. Make it creamy: Pour in the coconut milk and sprinkle in the paprika, black pepper, and salt. Stir everything together so the shrimp are coated in the sauce. Continue cooking for another 1–2 minutes, until the shrimp are opaque (completely pink and no longer gray).
  5. Add the mushrooms: Toss in the pre-cooked sliced mushrooms. Stir them into the sauce and let everything simmer together for about 1 more minute so the flavors combine.
  6. Finish & serve: Remove from the heat, sprinkle with extra green onions, and enjoy over rice or cauliflower rice for a lower-carb option.

Shrimp in creamy coconut sauce

Meal Prep Pairing Tips and Substitutions:

  • Base: Serve with jasmine rice, cauliflower rice, quinoa, or brown rice.
  • Veggies: Add bell peppers, spinach, or broccoli—or swap mushrooms for zucchini or snap peas.
  • Protein: Swap shrimp for chicken, tofu, or chickpeas.
  • Flavor: Brighten with lime, spice it up with curry paste/chili, or change it up with smoked paprika.
  • Storage: Store 3–4 days in airtight containers, reheat gently with a splash of liquid, and keep bases separate

Shrimp in creamy coconut sauce

Similar Recipes

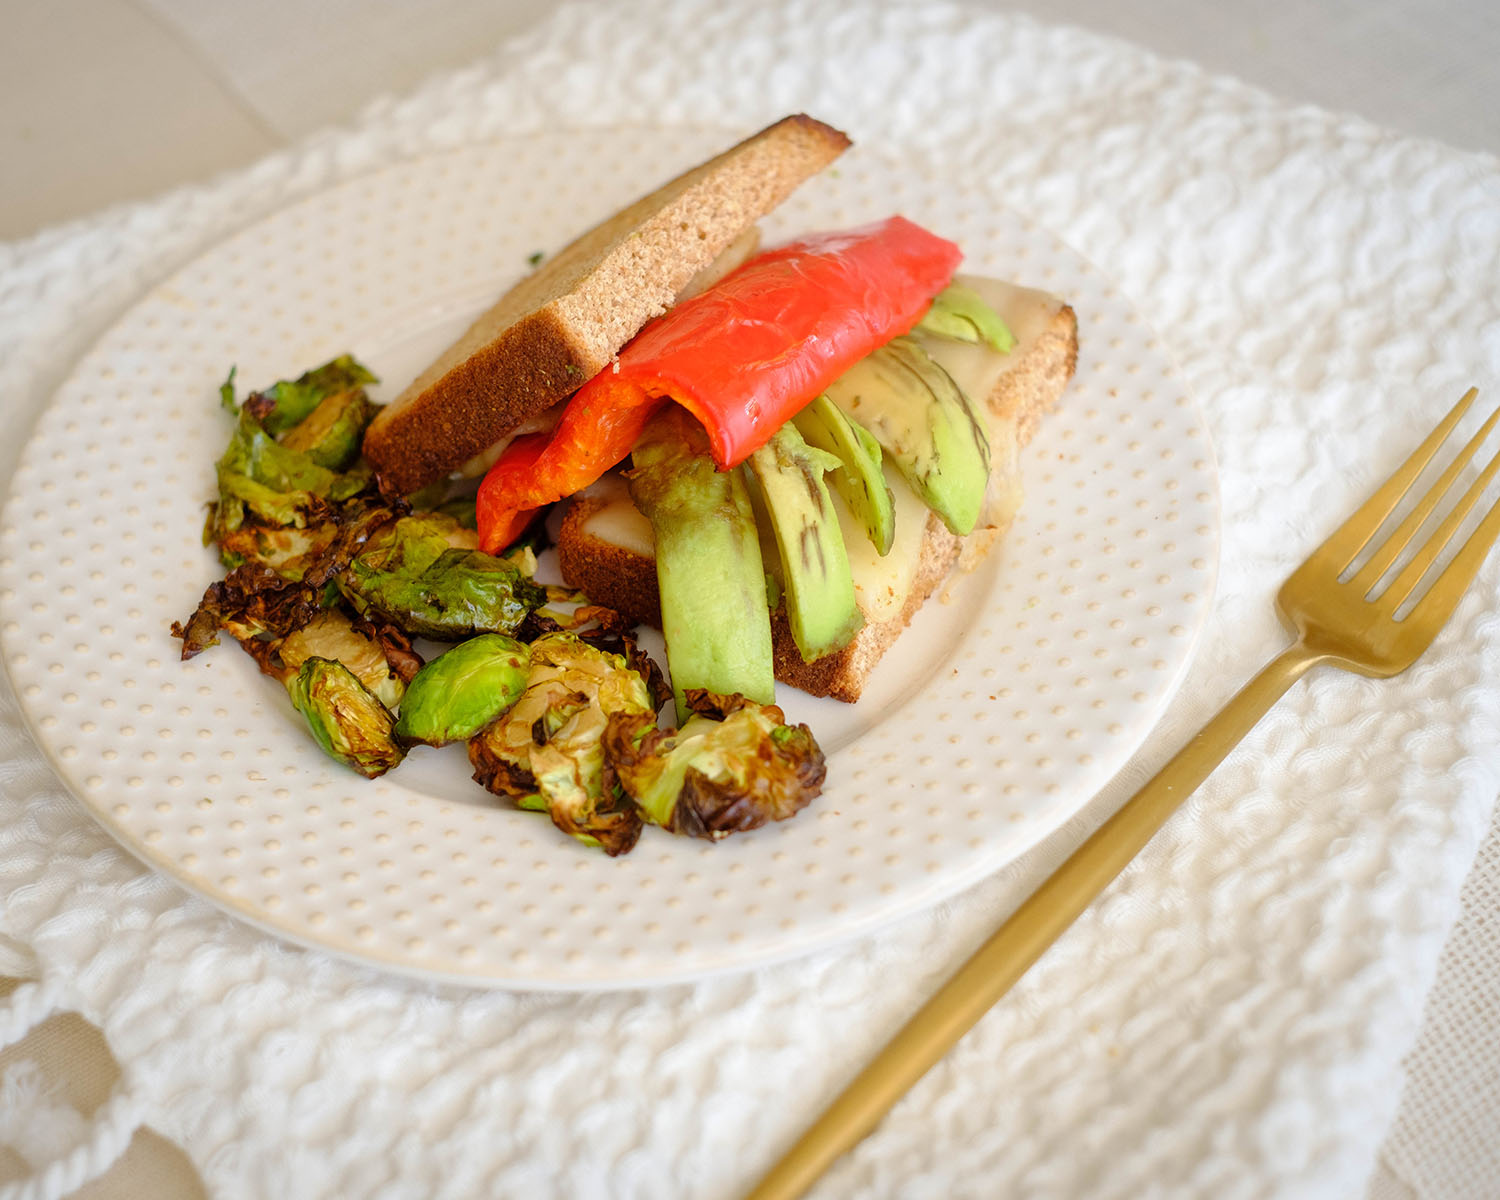
pepper sandwich

Roasted Red Pepper and Cheese Sandwich

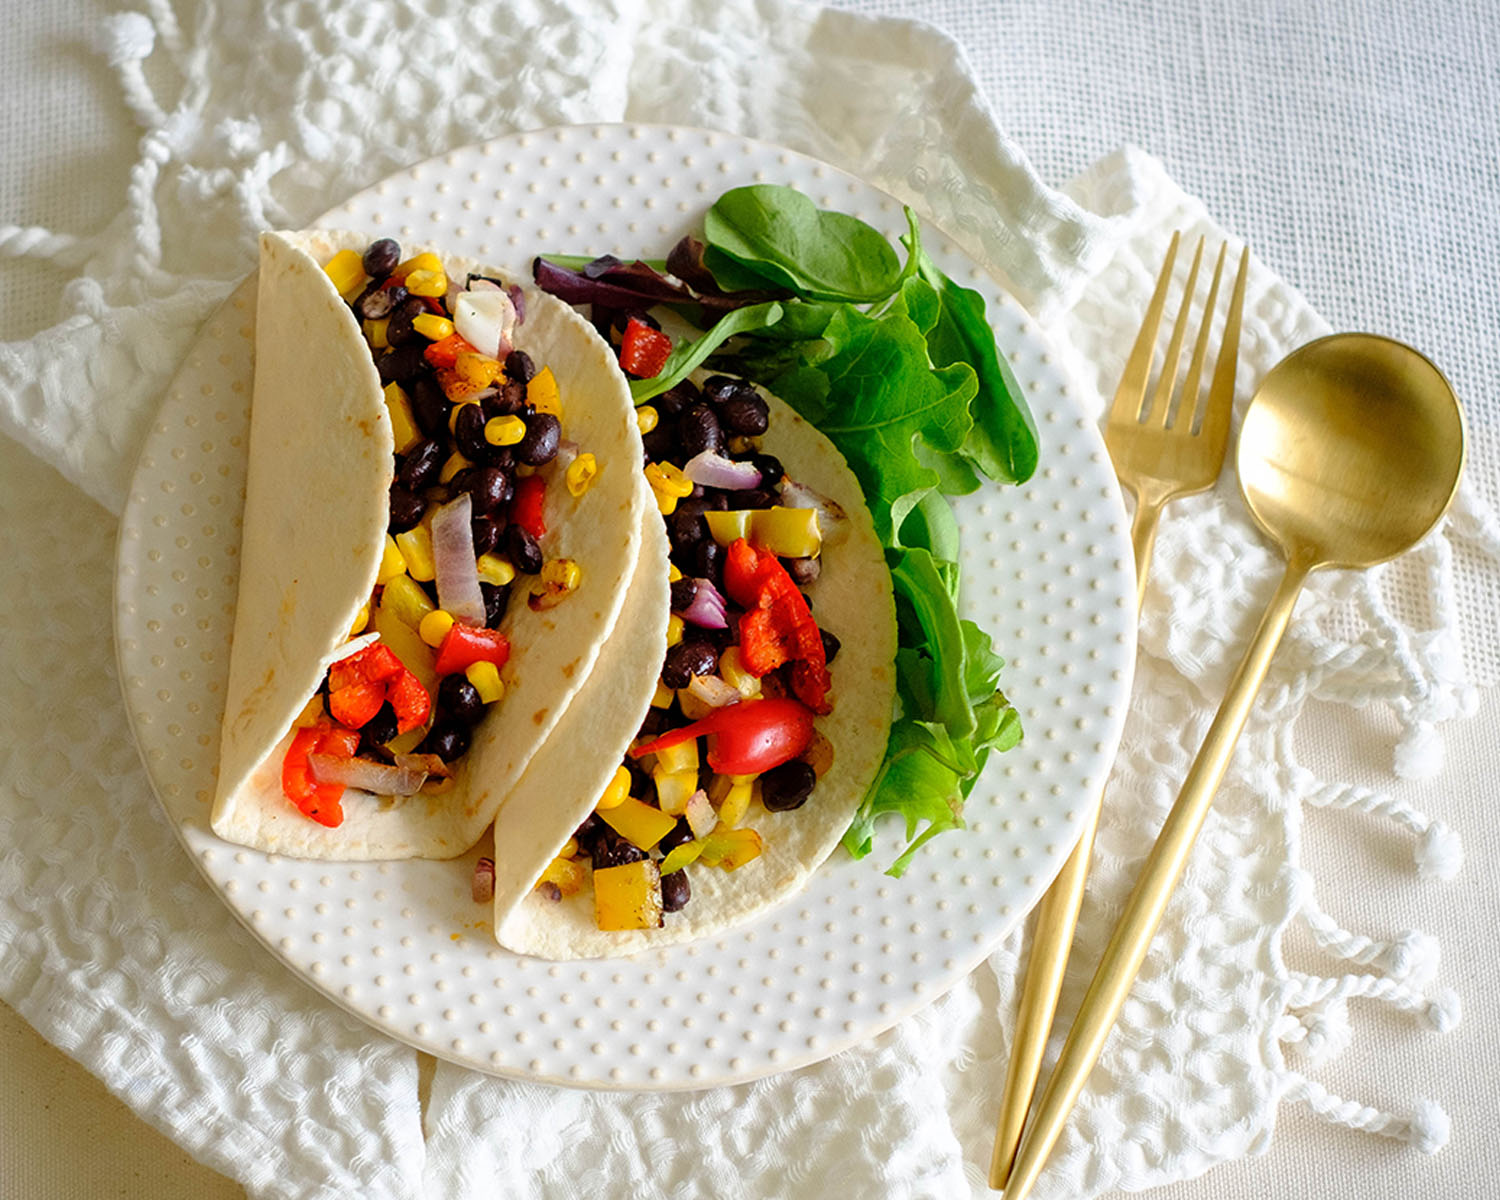
bean and corn taco

Vegetarian Black Bean and Corn Soft Tacos

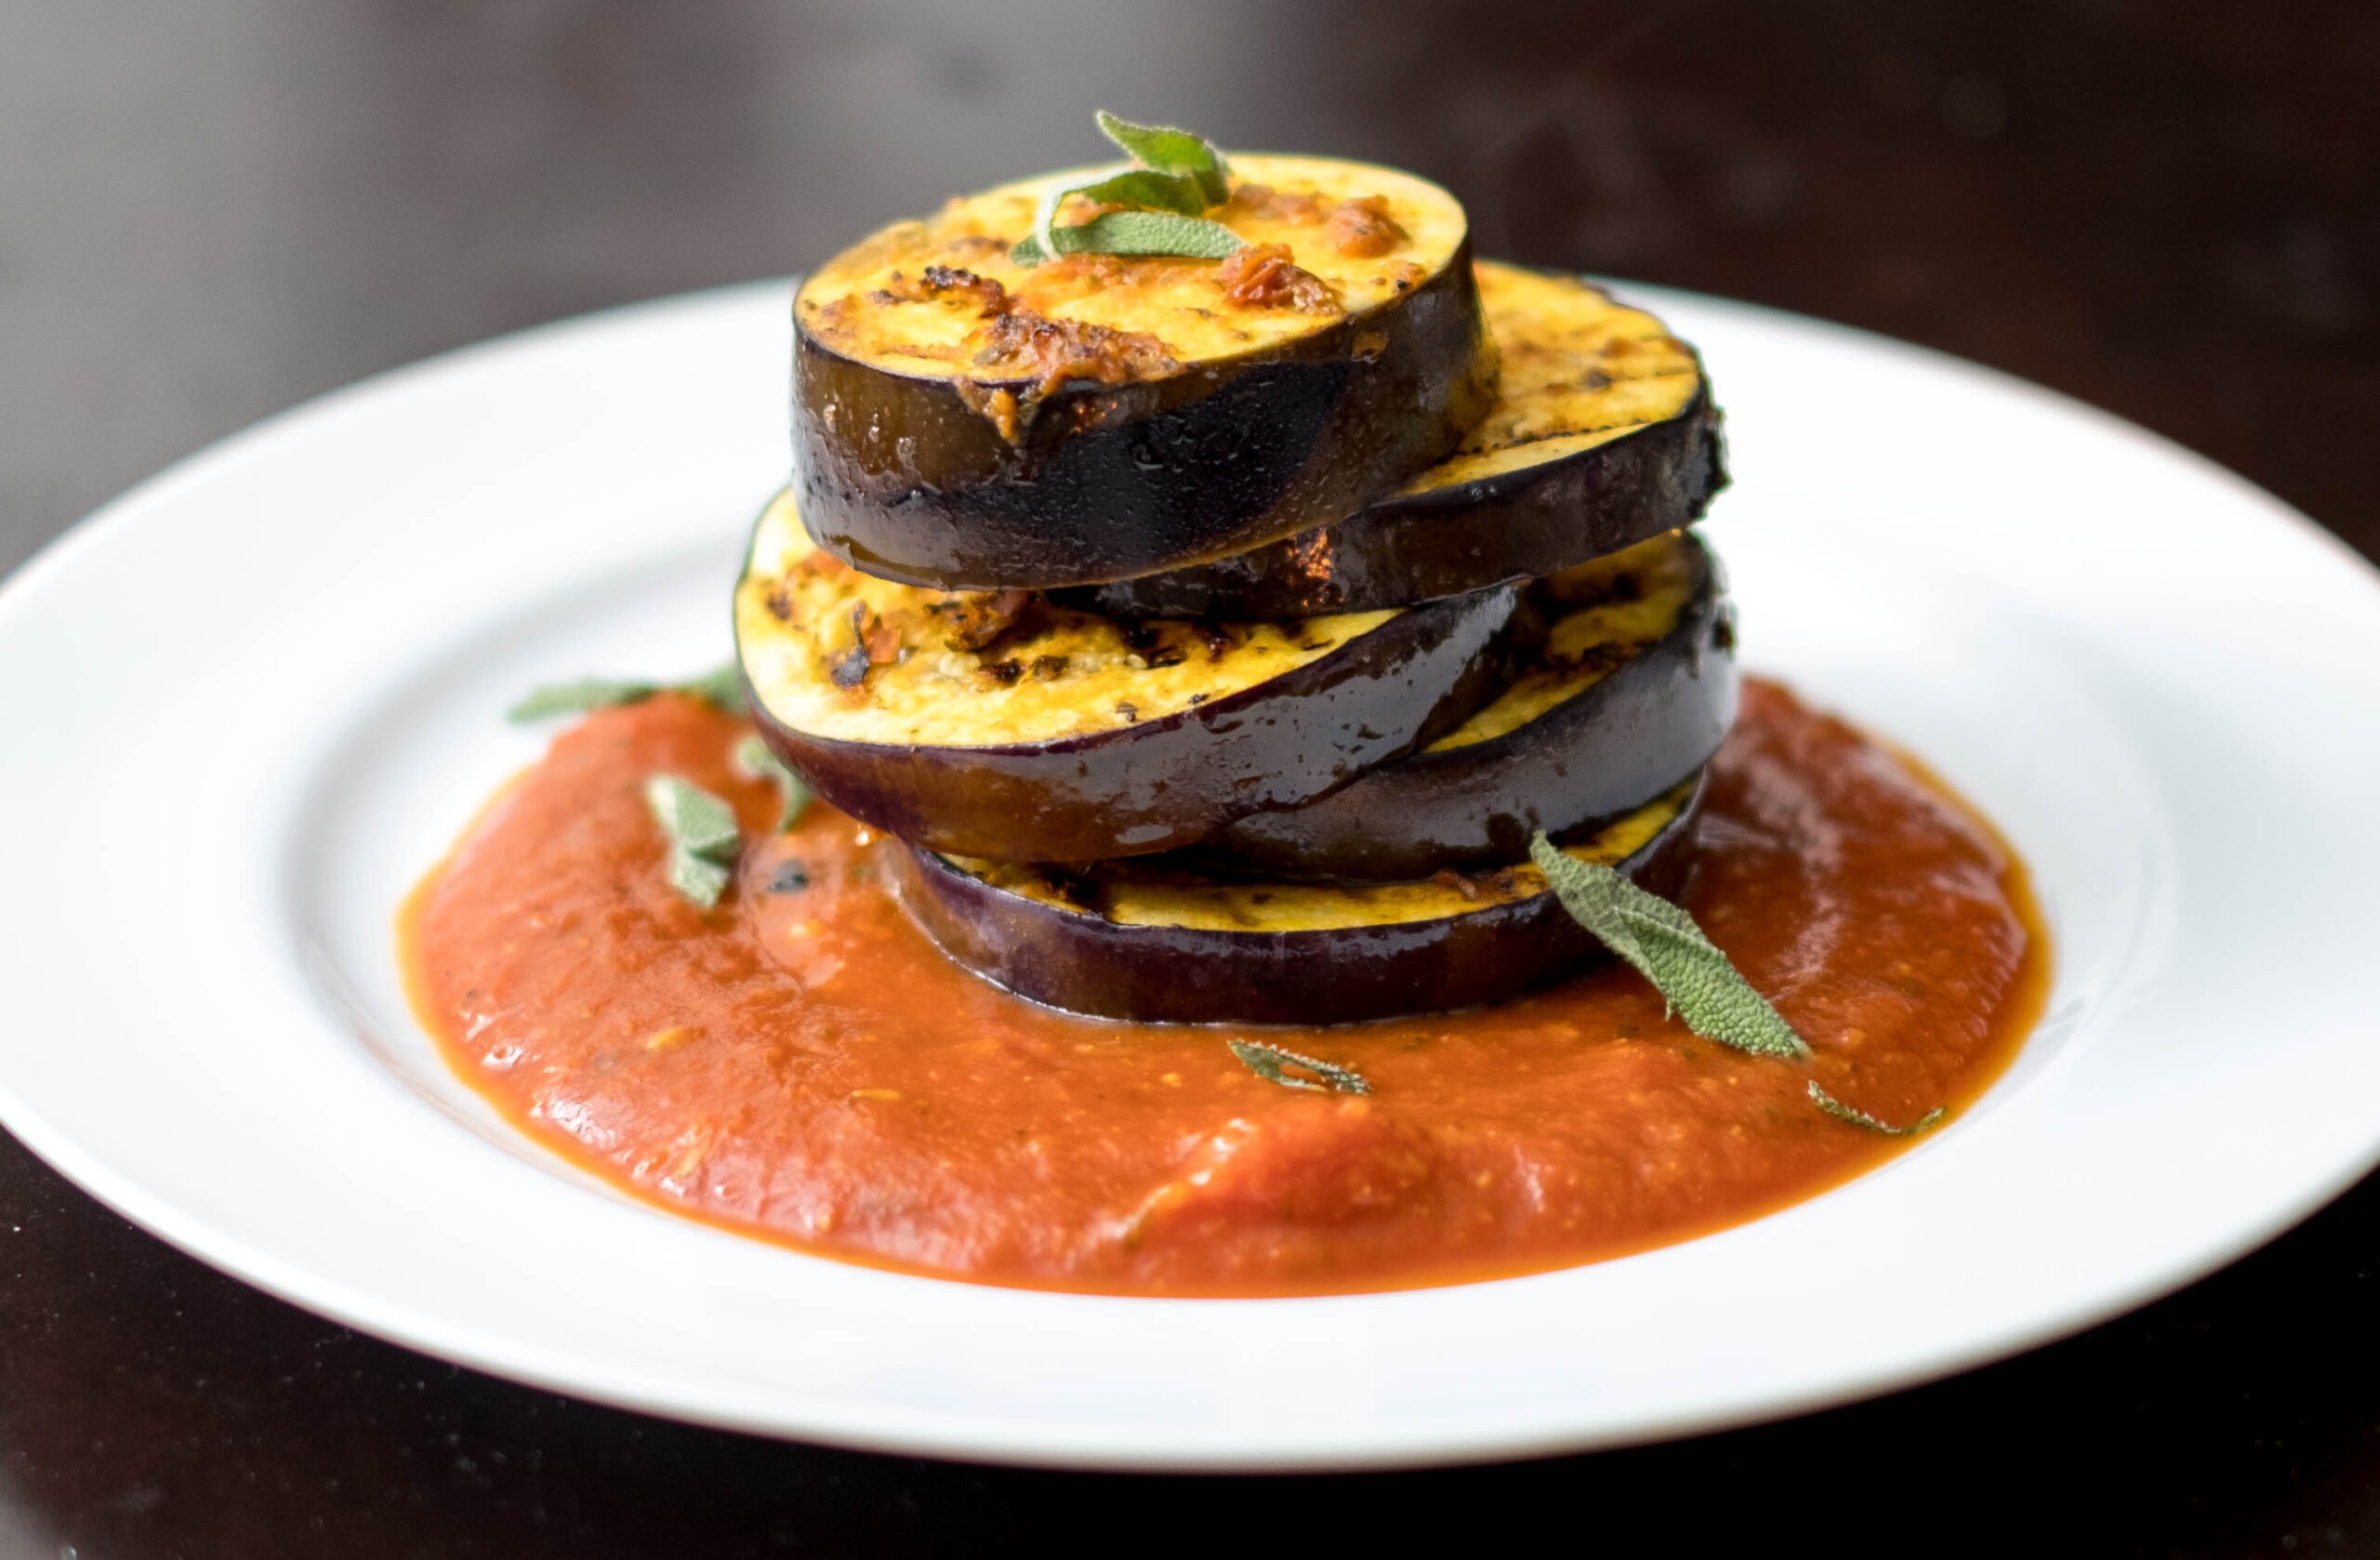
eggplant

Grilled Eggplant Steaks with Marinara Sauce

You Might Also Like

Frequently Asked Questions

Can I use frozen shrimp?

Yes! Just thaw them first (overnight in the fridge or under cold water for 10–15 minutes) and pat them dry before cooking so they don’t water down the sauce.


What can I serve it with besides rice?

Try cauliflower rice, quinoa, zoodles, or even steamed veggies like broccoli for a lighter option.


Can I make it spicier?

Absolutely! Add chili flakes, sriracha, or red curry paste to kick up the heat.

Posted on Leave a comment

Creamy Chipotle Chicken Sausage and Orzo Pasta

Chicken Sausage Orzo Pasta with Tomatoes and Cheese

If you’re a busy individual juggling work, family, and everything in between, meal prepping is a game changer. But it can feel overwhelming if you’re new to cooking or trying to find healthy yet flavorful options. That’s why this creamy chipotle chicken sausage and orzo pasta recipe is perfect for you. It’s quick to make, uses simple ingredients, and delivers bold flavors without compromising on nutrition or freshness.

This post may contain affiliate links. Please see our privacy policy for details.

Calories: 389kcal | Carbohydrates: 27g | Protein: 18g | Fat: 24g | Saturated Fat: 6g | Polyunsaturated Fat: 1g | Monounsaturated Fat: 5g | Cholesterol: 75mg | Sodium: 986mg | Potassium: 223mg | Fiber: 1g | Sugar: 4g | Vitamin A: 686IU | Vitamin C: 18mg | Calcium: 36mg | Iron: 2mg

Chicken Sausage Orzo Pasta with Tomatoes and Cheese

Chicken Sausage Orzo Pasta with Tomatoes and Cheese

Creamy Chipotle Chicken Sausage and Orzo Pasta

This creamy chipotle chicken sausage and orzo pasta recipe is a quick, flavorful meal prep option that combines smoky sausage, fresh tomatoes, and cheesy goodness.
No ratings yet
Prep Time 5 minutes
Cook Time 15 minutes
Course Main Course
Cuisine American
Servings 2
Calories 389 kcal

Equipment

  • knife
  • cutting board
  • boiling pot
  • saute pan

Ingredients
  

  • 1/3 cup orzo pasta (dry)
  • 6 oz chicken sausage (Marketside Brand: Chicken Sausage Chipotle & Monterey Jack Cheese)
  • 1 cup cherry tomatoes (sliced in half)
  • 2 tablespoons herbed cheese (Boursin or Aloutte Brand)
  • 1 tablespoon grated parmesan cheese
  • 1 tablespoon olive oil

Instructions
 

  • Boil the orzo pasta according to the package instructions. Once cooked, drain and set it aside.
  • Slice the chicken sausage into rounds and halve the cherry tomatoes.
  • Heat olive oil in a pan over medium-high heat. Sauté the chicken sausage and cherry tomatoes for about 3 to 5 minutes, until the sausage is heated through and the tomatoes soften.
  • Add the cooked orzo pasta and herbed cheese to the pan. Mix everything well so the pasta is fully coated in the creamy cheese.
  • Finish by sprinkling grated parmesan cheese over the top before serving or storing.

Video

Notes

Nutrition information provided is an estimate. It will vary based on cooking method and specific ingredients used. Please consult with your healthcare provider for specific dietary needs. To gain a better understanding, explore our nutrition disclaimer here.

Nutrition

Calories: 389kcalCarbohydrates: 27gProtein: 18gFat: 24gSaturated Fat: 6gPolyunsaturated Fat: 1gMonounsaturated Fat: 5gCholesterol: 75mgSodium: 986mgPotassium: 223mgFiber: 1gSugar: 4gVitamin A: 686IUVitamin C: 18mgCalcium: 36mgIron: 2mg

Why This Recipe Is Perfect for Meal Prep:

  • Quick to Prepare: Using pre-cooked chicken sausage cuts down on cooking time and keeps the process simple.
  • Flavorful and Creamy: The herbed cheese adds creaminess without heavy sauces, giving you rich taste with less effort.
  • Balanced Nutrition: With protein from chicken sausage and carbs from orzo, this meal fuels your day efficiently.
  • Freshness Boost: Cherry tomatoes bring a fresh, juicy bite that brightens the whole dish.
  • Portion-Friendly: This recipe makes a perfect single serving or can be easily doubled for multiple meals.
  • Beginner-Friendly: Simple steps and minimal ingredients make this accessible even if you’re new to cooking.
  • Versatile and Adaptable: You can swap the sausage for other pre-cooked proteins or switch up the herbs to keep things exciting.

The PrepYoSelf Newsletter

Ingredients You’ll Need

One of the best ways to save time in the kitchen is by using pre-cooked proteins and flavorful cheeses like herbed cheese. The pre-cooked chipotle chicken sausage brings smoky, spicy notes while the creamy herbed cheese adds richness and depth. Together, they create a satisfying base for the dish. Adding fresh cherry tomatoes cuts through the creaminess with their natural acidity and juiciness, balancing the flavors and keeping the meal bright and vibrant.

Next time you plan your weekly meals, give this creamy chipotle chicken sausage and orzo pasta a try. It’s a simple, delicious, and nutritious option that will keep you energized and save you valuable time throughout your busy week.

Chicken Sausage Orzo Pasta with Tomatoes and Cheese

Quick and Easy Recipe Steps:

  1. Cook the orzo pasta: Bring a medium pot of water to a boil. Add a pinch of salt if you like. Then, add ⅓ cup of orzo pasta and cook it according to the package instructions—usually about 7 to 9 minutes—until it’s tender but still slightly firm to the bite (al dente). Once cooked, carefully drain the pasta using a colander and set it aside.
  2. Prepare the sausage and tomatoes: While the pasta cooks, slice the chipotle chicken sausage into about ¼-inch thick rounds. Then, wash the cherry tomatoes and slice them in half.
  3. Sauté the sausage and tomatoes: Heat 1 tablespoon of olive oil in a large pan over medium-high heat. Once the oil is hot (it should shimmer but not smoke), add the sliced sausage and cherry tomatoes. Stir occasionally and cook for about 3 to 5 minutes, or until the sausage is warmed through and the tomatoes start to soften and release their juices.
  4. Combine pasta and cheese: Lower the heat to medium. Add the cooked orzo pasta to the pan with the sausage and tomatoes. Then, add 2 tablespoons of herbed cheese. Stir everything together gently until the pasta is evenly coated and the cheese melts slightly, creating a creamy texture.
  5. Finish with parmesan: Sprinkle 1 tablespoon of grated parmesan cheese over the top. You can either stir it in for extra creaminess or leave it on top as a flavorful garnish before serving or storing your meal prep containers.

Chicken Sausage Orzo Pasta with Tomatoes and Cheese

Additions and Substitutions:

  • Vegetables: Add sautéed spinach, zucchini, or bell peppers for extra nutrients and color.
  • Protein swaps: Substitute the chipotle chicken sausage with pre-cooked turkey sausage, grilled chicken breast, or even plant-based sausage for a vegetarian option.
  • Cheese options: If you don’t have herbed cheese, cream cheese or ricotta can work well to create creaminess. For a stronger flavor, try adding a bit of crumbled feta or goat cheese.
  • Spice it up: If you want more heat, sprinkle in some crushed red pepper flakes or a dash of smoked paprika.
  • Herbs: Fresh basil, parsley, or cilantro can add a bright herbal note just before serving.

Chicken Sausage Orzo Pasta with Tomatoes and Cheese

Similar Recipes

orange chicken

Air Fryer Orange Soy Glazed Chicken and Broccoli

roasted chicken and rutabaga

Roasted Lemon Italian Chicken with Rutabaga

rosemary chicken

Rosemary Baked Chicken and Potatoes

You Might Also Like

Frequently Asked Questions

Can I use a different type of pasta instead of orzo?

Yes! Small pasta shapes like couscous, small shells, or even quinoa work well as substitutes. Just adjust the cooking time according to the package instructions


How can I keep the orzo from sticking together during storage?

Toss the cooked orzo with a small drizzle of olive oil before mixing it with the other ingredients. This helps prevent clumping and keeps it easier to reheat.


What if I don’t have herbed cheese?

You can substitute herbed cheese with cream cheese, ricotta, or a combination of cream cheese and fresh herbs like basil or parsley.

Posted on Leave a comment

Roasted Asparagus with Cherry Tomatoes and Herbed Cheese

Roasted Asparagus with Cherry Tomatoes and Cheese

If you’ve been looking for a veggie side dish that’s as easy as it is irresistible, this Roasted Asparagus with Cherry Tomatoes and Herbed Cheese is about to become your new kitchen BFF. It’s the kind of recipe that makes you feel like you’re eating at a cozy café, but it’s simple enough to whip up on a weeknight or batch cook for your meal prep. In under 20 minutes, you’ll have tender-crisp asparagus, sweet bursty cherry tomatoes, and creamy, herby cheese that melts into every bite. Bonus: it’s colorful, nutrient-packed, and goes with literally anything you’re cooking this week

This post may contain affiliate links. Please see our privacy policy for details.

Calories: 83kcal | Carbohydrates: 5g | Protein: 2g | Fat: 7g | Saturated Fat: 2g | Polyunsaturated Fat: 0.4g | Monounsaturated Fat: 3g | Cholesterol: 9mg | Sodium: 198mg | Potassium: 228mg | Fiber: 2g | Sugar: 2g | Vitamin A: 719IU | Vitamin C: 12mg | Calcium: 22mg | Iron: 2mg

Roasted Asparagus with Cherry Tomatoes and Cheese

Roasted Asparagus with Cherry Tomatoes and Cheese

Roasted Asparagus with Cherry Tomatoes and Herbed Cheese

This roasted asparagus with cherry tomatoes and herbed cheese is a quick, flavorful veggie side that’s perfect for easy, healthy meal prep.
No ratings yet
Prep Time 5 minutes
Cook Time 20 minutes
Course Side Dish
Cuisine American
Servings 4
Calories 83 kcal

Equipment

  • knife
  • cutting board
  • baking dish
  • oven

Ingredients
  

  • 10 oz asparagus (washed, dried, and trimmed)
  • 1 cup cherry tomatoes
  • 1 tablespoon olive oil
  • 1/4 teaspoon garlic powder
  • 1/4 teaspoon salt
  • 1/4 teaspoon pepper
  • 3 tablespoons herbed cheese (Boursin or Aloutte are good Brand options)

Instructions
 

  • Preheat oven to 400°F.
  • Prep your veggies: Rinse asparagus and tomatoes, then pat dry with paper towels.
  • Trim the woody ends off the asparagus (about 1–2 inches).
  • Assemble: Place asparagus & tomatoes in a baking dish. Drizzle with olive oil, sprinkle garlic powder, salt & pepper.
  • Toss with your hands or kitchen tongs until everything’s lightly coated.
  • Cheese it up: Spoon dollops of herbed cheese over the asparagus.
  • Bake 15–20 minutes, until fork-tender and melty deliciousness happens.

Video

Notes

Nutrition information provided is an estimate. It will vary based on cooking method and specific ingredients used. Please consult with your healthcare provider for specific dietary needs. To gain a better understanding, explore our nutrition disclaimer here.

Nutrition

Calories: 83kcalCarbohydrates: 5gProtein: 2gFat: 7gSaturated Fat: 2gPolyunsaturated Fat: 0.4gMonounsaturated Fat: 3gCholesterol: 9mgSodium: 198mgPotassium: 228mgFiber: 2gSugar: 2gVitamin A: 719IUVitamin C: 12mgCalcium: 22mgIron: 2mg

Why This Is a Weekly Meal Prep Superstar

  • Fast & fuss-free: 5 minutes of prep, then your oven does the heavy lifting.
  • Perfectly portionable: easy to divide into meal prep containers for the week.
  • Veggie variety win: adds vibrant color and nutrients to your plate.
  • Flavor-packed: herbed cheese makes it taste like a fancy bistro side, no culinary degree required.
  • Customizable: swap the cheese, try different herbs, or toss in extra veggies.
  • Pairs with everything: chicken, fish, tofu, or just add a grain for a full meal.
  • Stays tasty: reheats well without losing texture or flavor.

The PrepYoSelf Newsletter

Ingredients You’ll Need

  • Asparagus: The star of the show! Naturally tender-crisp with a mild, earthy flavor that pairs beautifully with creamy or tangy toppings. Roasting brings out its subtle sweetness.
  • Cherry Tomatoes: Little bursts of juicy sweetness that balance asparagus’ earthy notes. They caramelize in the oven, adding brightness and extra flavor depth.
  • Olive Oil: The magic moisture-locker. It helps the veggies roast evenly, keeps them from drying out, and adds that silky, rich mouthfeel.
  • Garlic Powder: Instant flavor upgrade without the fuss of mincing fresh garlic. It melts into the oil and coats every bite with savory goodness.
  • Salt & Pepper: The dynamic duo of seasoning. Salt enhances the natural sweetness of the veggies, and pepper adds just a hint of warm spice.
  • Herbed Spreadable Cheese (Boursin/Alouette): The creamy, flavorful finisher. It melts slightly in the oven, wrapping every bite in herby, garlicky deliciousness that makes the dish taste restaurant-worthy with zero effort.

Roasted Asparagus with Cherry Tomatoes and Cheese

How to Make Roasted Asparagus with Cherry Tomatoes and Herbed Cheese

  1. Preheat the oven to 400°F so it’s hot and ready by the time your veggies are prepped.
  2. Rinse your asparagus and cherry tomatoes under cool running water to remove any dirt. Pat them completely dry with a paper towel. This helps them roast instead of steam.
  3. Trim the asparagus by cutting or snapping off the woody ends (about 1–2 inches). These parts are tough and not pleasant to eat.
  4. Arrange the veggies in a baking dish or on a rimmed sheet pan so they’re spread out in a single layer. This gives them space to roast instead of overcrowding.
  5. Season and coat drizzle the olive oil evenly over the veggies, then sprinkle on the garlic powder, salt, and pepper. Use clean hands or kitchen tongs to toss until every piece is lightly coated.
  6. Add the cheese. Use a spoon to drop small dollops of herbed spreadable cheese over the asparagus. You don’t need to spread it; it will melt beautifully in the oven.
  7. Bake for 15–20 minutes, checking at the 15-minute mark. The asparagus should be tender when pierced with a fork, and the tomatoes should be slightly blistered.
  8. Serve hot as a side dish, or portion into meal prep containers for the week.

Roasted Asparagus with Cherry Tomatoes and Cheese

Meal Prep Pairing Tips

  • Protein boost: Serve with baked chicken breast, salmon, or turkey meatballs for a balanced lunch.
  • Plant-based option: Pair with roasted chickpeas, crispy tofu, or lentil patties for a fiber- and protein-rich combo.
  • Grain bowls: Add cooked quinoa, brown rice, or farro, then drizzle with a balsamic glaze for a complete, filling meal.
  • Egg-friendly: These veggies taste amazing alongside a frittata or scrambled eggs for an easy breakfast-for-dinner meal prep.
  • Mediterranean twist: Add a side of hummus, olives, and warm pita bread to turn it into a quick mezze-style lunch box.

Roasted Asparagus with Cherry Tomatoes and Cheese

Similar Recipes

cilantro chicken

Cilantro Lime Chicken Salad with Strawberry Salsa

sweet and sour chicken wings

Air Fryer Sweet and Sour Chicken Wings

stuffed primavera chicken

Primavera Stuffed Chicken Breasts

You Might Also Like

Frequently Asked Questions

Can I use frozen asparagus or tomatoes?

 Fresh works best for roasting because frozen veggies release extra moisture, which can make them soggy. If using frozen, thaw completely, pat dry, and roast a few extra minutes.


What other veggies can I use?

Try zucchini, bell peppers, green beans, or mushrooms—they all roast well and taste amazing with herbed cheese.


Can I make this in an Air Fryer?

Yes! Toss veggies with oil and seasonings, then cook at 375°F for 7–10 minutes, shaking halfway. Add cheese during the last 2 minutes so it softens but doesn’t burn.

Posted on Leave a comment

Air Fryer Mango Glazed Salmon

salmon with spinach

Looking for an easy, delicious meal prep recipe that you can throw together in under 20 minutes? This Air Fryer Mango-Glazed Salmon is the perfect solution for busy weeknights or make-ahead lunches. It’s a healthy, protein-packed air fryer recipe that’s ideal for beginner cooks who want big flavor without complicated steps. The real star of this dish is the homemade mango glaze—a naturally sweetened sauce made with fresh fruit. By using mango to sweeten the glaze, this recipe cuts down on added sugars while delivering restaurant-quality flavor.

This post may contain affiliate links. Please see our privacy policy for details.

salmon with spinach

salmon with spinach

Air Fryer Mango Glazed Salmon

This Air Fryer Mango Glazed Salmon is everything you want in a meal prep recipe: fast, flavorful, and made with real, wholesome ingredients. It's a little sweet, a little tangy, and totally satisfying.
No ratings yet
Prep Time 5 minutes
Cook Time 10 minutes
Course dinner, lunch, Main Course
Cuisine Asian
Servings 2

Equipment

  • blender
  • Air Fryer

Ingredients
  

  • 8 oz salmon (2 fillets)
  • 1/4 cup mango
  • 1 tablespoon honey
  • 1 tablespoon soy sauce
  • 1 tablespoon garlic
  • tablespoon lime juice
  • 1/4 teaspoon salt

Instructions
 

  • Preheat the air fryer to 400°F.
  • Toss the mango, honey, soy sauce, garlic, lime juice, and salt into a blender and blend until silky smooth.
  • Place your salmon fillets on the air fryer rack (skin-side down if they have skin), then generously spoon or brush the mango glaze on top.
  • Pop the rack into your air fryer and cook for 8 to 10 minutes until the salmon is fully cooked and flakes easily with a fork. You're aiming for an internal temp of 145°F.
  • Serve it hot with your fave sides.

Video

Notes

Nutrition information provided is an estimate. It will vary based on cooking method and specific ingredients used. Please consult with your healthcare provider for specific dietary needs. To gain a better understanding, explore our nutrition disclaimer here

Why This Recipe Is Perfect for Busy Individuals

  • Cooks quickly in under 15 minutes, making it ideal for busy schedules.
  • Uses simple, whole ingredients that are easy to find and budget-friendly.
  • The homemade mango glaze keeps the salmon moist and flavorful even after reheating.
  • Can be made in batches to cover multiple meals throughout the week.
  • Pairs well with a variety of sides like rice, roasted vegetables, or salads for versatile meals.
  • Stores well in the fridge for up to 3–4 days without losing texture or taste.
  • Designed for beginner cooks—no advanced skills or fancy equipment needed.

The PrepYoSelf Newsletter

The Ingredients You’ll Need

  • Salmon is a great protein choice for meal prep because it’s rich in omega-3 fatty acids, high in protein, and cooks quickly in the air fryer. It absorbs marinades and glazes well, making it the perfect base for bold flavors like this mango glaze. Its natural richness is balanced beautifully by the brightness of the glaze ingredients.
  • Mango acts as the natural sweetener and base for the glaze. It’s naturally juicy and slightly tangy, which pairs perfectly with savory ingredients like soy sauce and garlic. It blends into a smooth, sticky consistency that helps coat the salmon evenly without the need for added refined sugar or thickeners.
  • Honey enhances the natural sweetness of the mango while also helping the glaze caramelize slightly during cooking. It adds a subtle depth and richness to the sauce, making it taste more balanced and satisfying without being overly sweet.
  • Soy sauce provides a salty, umami contrast to the sweetness of the mango and honey. It grounds the flavor profile and adds complexity to the glaze, making each bite more savory and satisfying. A little goes a long way to balance the dish.
  • Garlic brings bold, aromatic flavor and keeps the glaze from tasting too sweet or one-dimensional. When cooked, the garlic mellows and blends beautifully with the fruit and soy sauce for a well-rounded glaze that complements the salmon.
  • Lime juice adds acidity and brightness to the glaze, which cuts through the richness of the salmon and enhances the tropical notes of the mango. It keeps the dish fresh-tasting and helps all the flavors pop.
  • Just a touch of salt enhances all the other ingredients and helps bring the flavors into balance. It’s especially important when working with naturally sweet ingredients like mango to ensure the dish stays savory and meal-worthy.

salmon

Easy Recipe Steps for Air Fryer Mango Glazed Salmon

  1. Preheat your air fryer to 400°F. This helps the salmon cook evenly and gives it a slightly crisp edge. Most air fryers take about 3–5 minutes to preheat, so turn it on before you start preparing your glaze.
  2. Make the mango glaze. In a blender or food processor, combine the mango, honey, soy sauce, minced garlic, lime juice, and salt. Blend until the mixture is completely smooth and no chunks remain. This will be your sweet and savory glaze.
  3. Prepare the salmon. Place the salmon fillets on the air fryer rack or tray, skin-side down if they have skin. Use a spoon or brush to coat the top of each fillet generously with the mango glaze. Make sure the glaze is spread evenly for the best flavor.
  4. Cook the salmon. Carefully place the rack or tray into the preheated air fryer. Cook the salmon for 8 to 10 minutes, depending on thickness. It’s done when the salmon flakes easily with a fork and reaches an internal temperature of 145°F. Use a meat thermometer to check if you’re unsure.
  5. Serve or store. Once cooked, remove the salmon from the air fryer and let it rest for a minute or two. Serve it right away with your favorite sides, or let it cool completely and store it in an airtight container in the refrigerator for up to 3–4 days for easy meal prep.

salmon with spinach

Meal Prep Pairing Tips

  • For a balanced meal, pair the mango-glazed salmon with a serving of complex carbs like jasmine rice, brown rice, or quinoa—these grains soak up the extra glaze and reheat well throughout the week. 
  • If you’re looking for a low-carb option, cauliflower rice or steamed greens make a great base. 
  • Add a colorful veggie side such as roasted broccoli, bell peppers, or sauteed spinach to round out the plate with fiber and crunch. 
  • You can also prep a simple slaw with cabbage, carrots, and lime juice for a fresh, zesty contrast to the rich salmon.

salmon

Similar Recipes

salmon beet salad

Citrus Ginger Salmon with Roasted Beets

salmon and watermelon salad

Grilled Salmon with Watermelon Salad

salmon salad

Salmon Stuffed Avocado Salad

You Might Also Like

Frequently Asked Questions

What if I don’t have a blender—can I make the glaze another way?

You can mash the mango with a fork and finely mince the garlic, then whisk all ingredients together until well combined. The texture will be chunkier but still tasty.


Can I use bottled mango puree instead of fresh mango?

Fresh or thawed frozen mango works best for natural sweetness and texture, but you can substitute mango puree if needed. Just check the label to avoid added sugars.


Can I use frozen salmon fillets for this recipe?

Yes! Just make sure to thaw the salmon completely before glazing and cooking. Cooking from frozen can result in uneven cooking.

Posted on Leave a comment

Air Fryer Chicken Dumpling Meatballs

Chicken Dumpling Meatballs

If you’re anything like me, you crave something bold and satisfying midweek, but don’t always have time to roll, fold, or pan-fry dumplings from scratch. These Air Fryer Chicken Dumpling Meatballs are my shortcut to that irresistible takeout flavor with a healthy, home-cooked twist. Think classic dumpling vibes with ginger, garlic, sesame, cabbage, and green onion, all rolled into juicy, bite-sized meatballs that cook in under 10 minutes!

This post may contain affiliate links. Please see our privacy policy for details.

Chicken Dumpling Meatballs

Chicken Dumpling Meatballs

Chicken Dumpling Meatballs

All the cozy, savory vibes of Asian dumplings—no wrappers, no fuss. Just juicy, flavor-packed meatballs prepped in minutes and cooked in your trusty air fryer!
No ratings yet
Prep Time 5 minutes
Cook Time 10 minutes
Course dinner, lunch, Main Course
Cuisine Asian
Servings 2

Equipment

  • knife
  • cutting board
  • mixing bowl
  • Air Fryer

Ingredients
  

Ground Chicken Mixture

  • 8 oz ground chicken
  • 1 egg
  • 1 tablespoon ginger paste
  • 1 tablespoon garlic paste
  • 1 teaspoon sesame oil
  • 1/4 cup green onions (chopped)
  • 1/2 cup green cabbage (finely chopped)
  • 1 tablespoon soy sauce
  • 1 tablespoon fish sauce

Instructions
 

  • Preheat your air fryer to 390°F.
  • In a mixing bowl, combine all the ingredients and mix until well incorporated.
  • Use a 2 oz scoop (or your hands) to shape the mixture into meatballs. Place the meatballs on your air fryer rack and spray them generously with cooking oil.
  • Air fry for 8–10 minutes, flipping halfway through. Make sure they reach an internal temp of 165°F. (If not, give them an extra 1–2 minutes.)
  • Serve with rice, noodles, or your favorite dipping sauce—like sweet chili or soy + vinegar combo!

Video

Notes

Nutrition information provided is an estimate. It will vary based on cooking method and specific ingredients used. Please consult with your healthcare provider for specific dietary needs. To gain a better understanding, explore our nutrition disclaimer here

Reasons This Recipe is Great for Meal Prep:

  • These meatballs cook incredibly fast in the air fryer, making them a perfect choice when you’re short on time but still want a hot, homemade meal.
  • They freeze beautifully, so you can make a double batch and have a backup ready for any busy night when cooking feels impossible.
  • There’s no need to fuss with dumpling wrappers or folding. These meatballs capture all the flavor of dumplings with way less effort.
  • The flavor is bold and satisfying thanks to the garlic, ginger, fish sauce, and sesame oil, and you don’t need a complicated ingredient list to make them taste amazing.
  • These meatballs are super versatile and you can serve them with rice, noodles, or veggies, and switch things up all week long without getting bored.
  • They’re packed with protein from the ground chicken and egg, which makes them filling and great for fueling you through a busy day.
  • They deliver that delicious takeout-style flavor you love, but with healthier ingredients and way more control over what goes into your food

The PrepYoSelf Newsletter

Easy Dipping Sauce Pairings:

No dumpling-style meatball is complete without a good dipping sauce—it’s the cherry on top of your meal prep game. Whether you love sweet, spicy, tangy, or creamy, there’s a sauce here to match your vibe and elevate every bite. These easy, mix-and-match sauces bring big flavor without much effort, so you can keep your meals interesting all week long. Let’s dip into some delicious options!

  • Classic Soy Dipping Sauce: Mix 2 tbsp soy sauce, 1 tbsp rice vinegar, and a dash of sesame oil. Add red pepper flakes for a spicy kick.
  • Sweet Chili Sauce: No mixing required—this store-bought favorite is perfect for dipping or drizzling.
  • Ginger-Soy Dressing: Whisk together 2 tbsp soy sauce, 1 tsp fresh ginger, 1 tsp garlic, 1 tsp honey, and a splash of lime juice.
  • Sriracha Mayo: Combine 2 tbsp mayo and 1 tbsp sriracha for a creamy, spicy dip.
  • Peanut Sauce: Mix 1 tbsp peanut butter, 1 tbsp soy sauce, 1 tsp rice vinegar, and splash of warm water until smooth. Add a little honey or lime juice for balance.

Chicken Dumpling Meatballs

How to Make Air Fryer Chicken Dumpling Meatballs:

  1. Start by placing all of your ingredients into a large mixing bowl. Use clean hands or a spoon to mix everything together until fully combined.
  2. Once the mixture is ready, use a 2-ounce scoop or your hands to form evenly sized meatballs. Try to make them the same size so they cook evenly.
  3. Arrange the meatballs on your air fryer rack or tray, making sure they’re not touching. Spray the tops of the meatballs with cooking oil until they are lightly but fully coated. This helps them brown and stay juicy.
  4. Preheat your air fryer to 390°F for a few minutes to ensure even cooking. Once it’s ready, carefully place the meatballs into the air fryer basket or tray in a single layer.
  5. Cook the meatballs for 8 to 10 minutes, flipping them halfway through so they brown evenly on all sides.
  6. Use a meat thermometer to check that the internal temperature has reached at least 165°F. If they haven’t reached that temperature yet, continue cooking for another 1 to 2 minutes and check again.
  7. Once they’re fully cooked, remove the meatballs from the air fryer and let them cool slightly. Serve them with your favorite sides and dipping sauces, or portion them out into containers for meal prep!

Chicken Dumpling Meatballs

Pairing Tips for a Complete Meal

  • ​​Steamed Jasmine Rice or Brown Rice: A classic base that soaks up all the juicy flavor. Add a sprinkle of sesame seeds or sliced scallions for extra flair.
  • Garlic Sesame Noodles: Toss cooked noodles with a quick sauce of soy sauce, sesame oil, and a bit of chili paste for a delicious noodle bowl.
  • Sautéed or Roasted Veggies: Broccoli, bok choy, snap peas, bell peppers, or shredded carrots add crunch and color. A splash of soy sauce or rice vinegar makes them pop.
  • Lettuce Wraps: Serve the meatballs in butter lettuce leaves with shredded carrots, cucumber, and a drizzle of sauce for a low-carb option.
  • Asian-Inspired Slaw: Try cabbage, shredded carrots, and a light dressing made from rice vinegar, lime juice, and a touch of honey.

Chicken Dumpling Meatballs

Similar Recipes

chicken soup

One Pot Mexican Chicken Soup

sweet potato blt

Instant Pot Beef Ragu

pork carnitas

Instant Pot Pork Carnitas

You Might Also Like

Frequently Asked Questions

Can I use ground turkey or beef instead of ground chicken?

Absolutely! Ground turkey is a great lean alternative, and ground beef works too. Just keep in mind it may result in a slightly richer flavor. Choose leaner cuts if you’re watching fat content.


I don’t have an air fryer. Can I bake these instead?

Yes! Preheat your oven to 400°F and place the meatballs on a lined baking sheet. Bake for 15–20 minutes or until they reach an internal temperature of 165°F, flipping halfway for even browning.


How long will these meatballs last in the fridge?

They’ll stay fresh for up to 4 days in an airtight container in the fridge. Perfect for meal prepping a few lunches or dinners in advance!