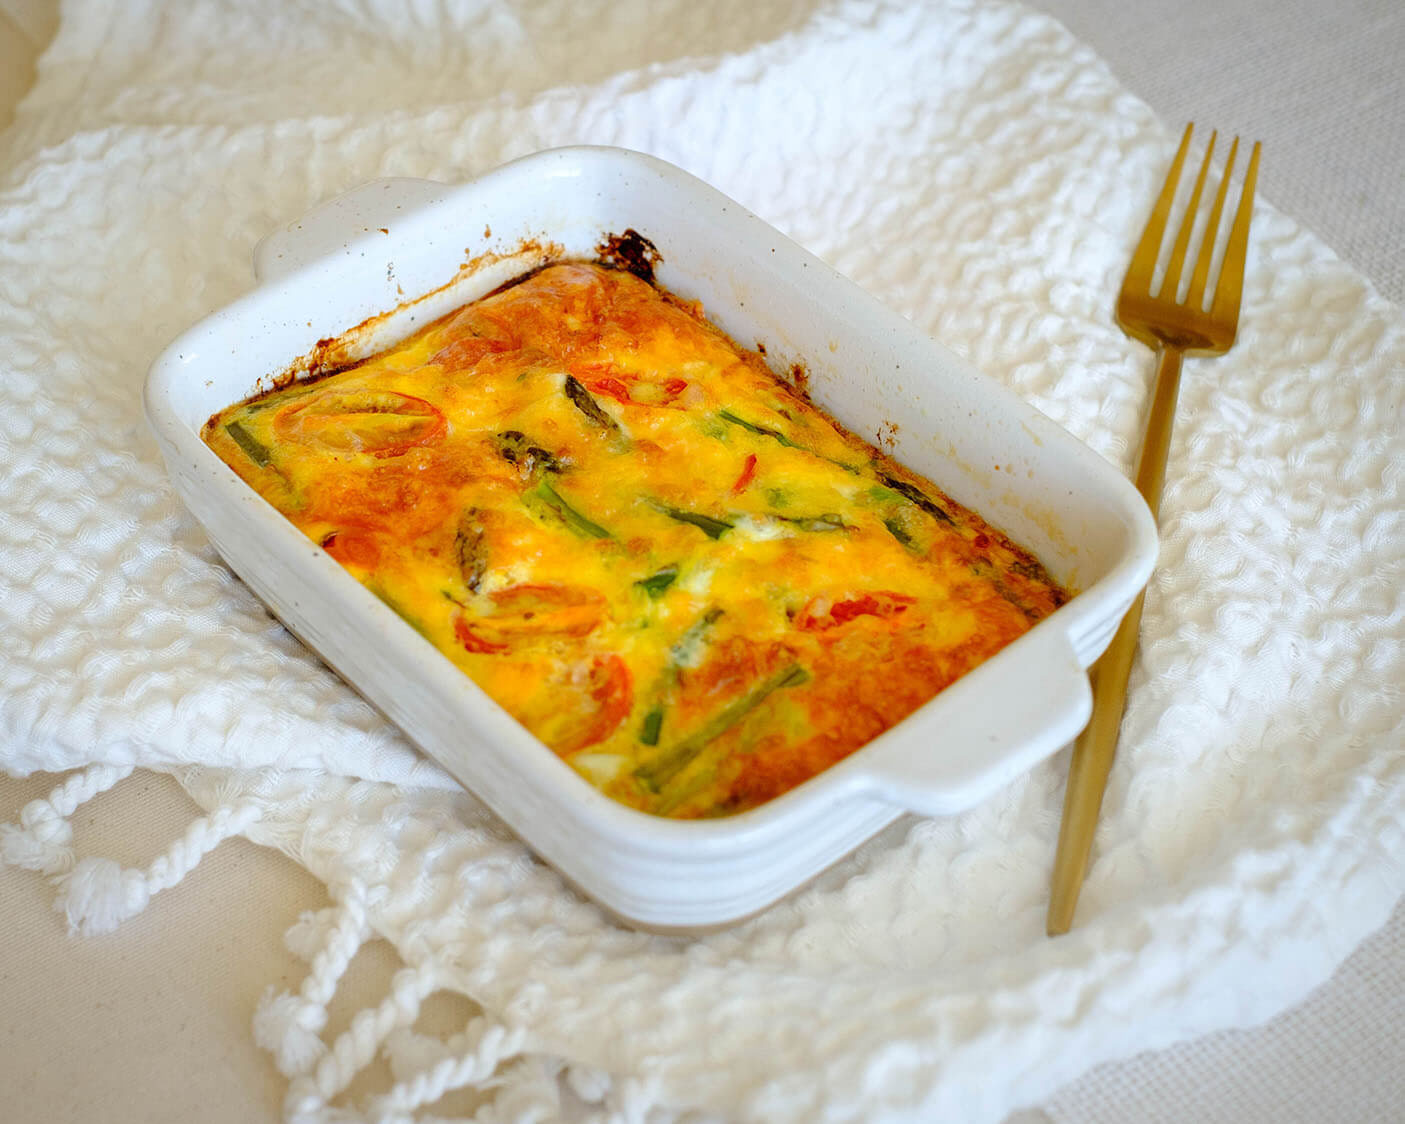
Hey there, breakfast enthusiasts! Today, I’ve got a scrumptious recipe that will not only save you time but also add some flavor-packed excitement to your morning routine. Get ready to dive into the deliciousness of oven-baked sausage and potato hash. This delightful dish is perfect for breakfast meal prep, and I’ll tell you why!
This post may contain affiliate links. Please see our privacy policy for details.
Why This is Great for Meal Prep
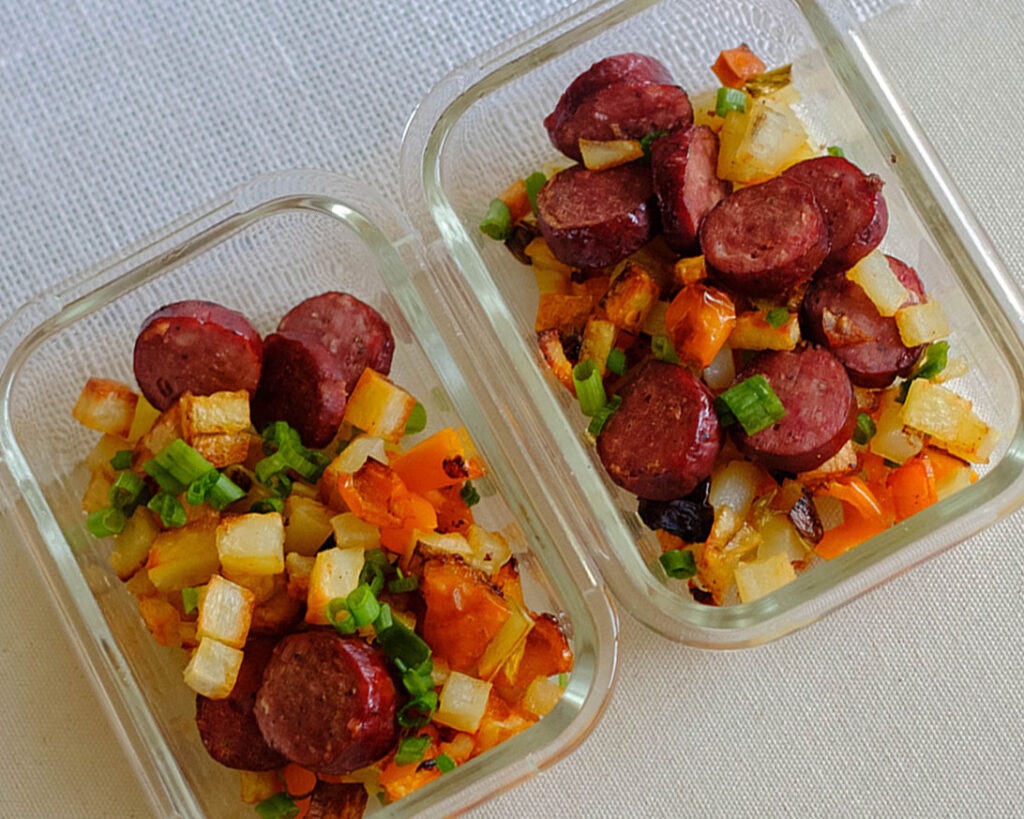
One of the best things about this recipe is its time-saving benefits. By prepping a large batch in advance, you’ll have breakfast ready to go for the entire week. Just imagine waking up to the aroma of deliciousness and knowing that a satisfying breakfast is just a reheating away. It’s a true game-changer, saving you precious morning minutes and ensuring you never have to compromise on taste.
Speaking of taste, this dish keeps things interesting throughout the week. The combination of flavors from the sausage, potatoes, bell peppers, and green onions is a symphony for your taste buds. With each bite, you’ll experience a medley of savory, earthy, and slightly sweet notes. It’s a party in your mouth that’ll make you excited for breakfast every single day.

Ingredients You’ll Need
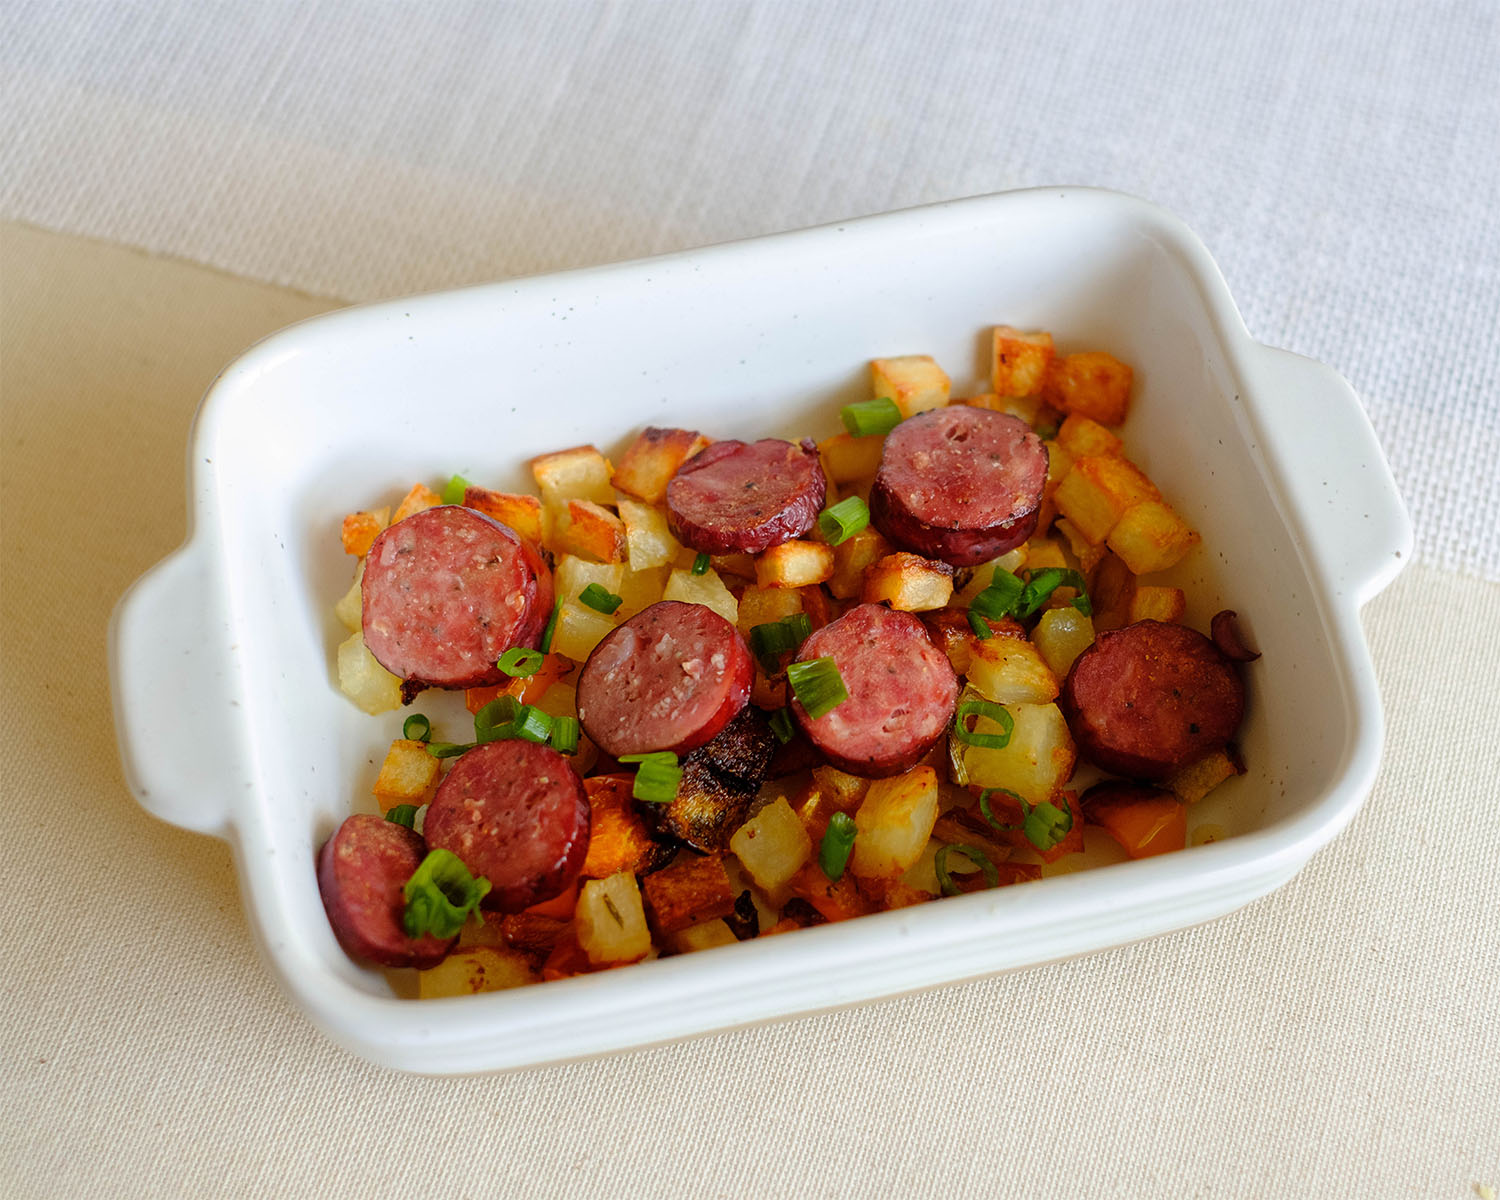
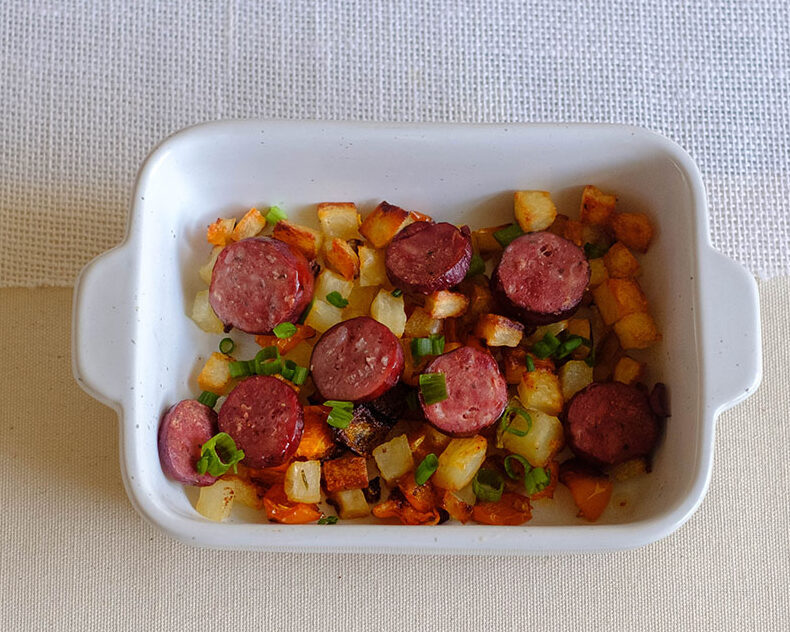
- Let’s start with the pre-cooked sausage. This little gem is a time-saving hero because it’s already cooked and bursting with savory flavors. Opt for your favorite variety, whether it’s classic pork, chicken, or even a plant-based option. The choice is yours, and the possibilities are endless!
- Next up, we have potatoes, the versatile spuds that bring a hearty texture to the table. Dice them up into bite-sized pieces, and they’ll cook to golden perfection in the oven. The potatoes add a satisfying element to this breakfast dish, making it more filling and nutritious.
- Now, let’s add a pop of color and crunch with some vibrant bell peppers. Slice them up and toss them onto the sheet pan alongside the sausage and potatoes. Bell peppers not only provide a beautiful visual appeal but also offer a dose of vitamin C to start your day on a healthy note.
- To bring a touch of freshness, we’ll chop up some green onions. These little beauties add a mild onion flavor and a hint of brightness. Scatter them over the sheet pan, and they’ll infuse the dish with a delightful aroma as they roast.

How to Make Baked Sausage and Potato Hash
- Preheat your oven to 400°F (200°C). Slice the pre-cooked sausage and chop up the veggies.
- Line a sheet pan with parchment paper for easy cleanup.
- Spread the sausage, diced potatoes, bell peppers, and green onions onto the sheet pan, ensuring an even distribution.
- Drizzle with a little olive oil, sprinkle with your favorite seasoning, and give it all a gentle toss to coat everything nicely.
- Pop the sheet pan into the preheated oven and bake for approximately 15 minutes or until the potatoes are golden and the sausage is heated through.
Reference the recipe card below for detailed instructions.

Meal Prep Tips:
- Now, let’s talk about storage and reheating. Once your oven-baked sausage and diced potatoes have cooled down, divide them into meal-sized portions and store them in airtight containers in the fridge. When you’re ready to enjoy, simply reheat them in the microwave or oven until warmed through. Easy peasy!
- If you want to make this recipe even more freezer-friendly, consider flash freezing individual portions. Spread the cooked dish onto a baking sheet and place it in the freezer until solid. Then, transfer the frozen portions to a freezer-safe bag or container. This way, you can extend the shelf life and have a stash of breakfasts ready to go whenever you need them.
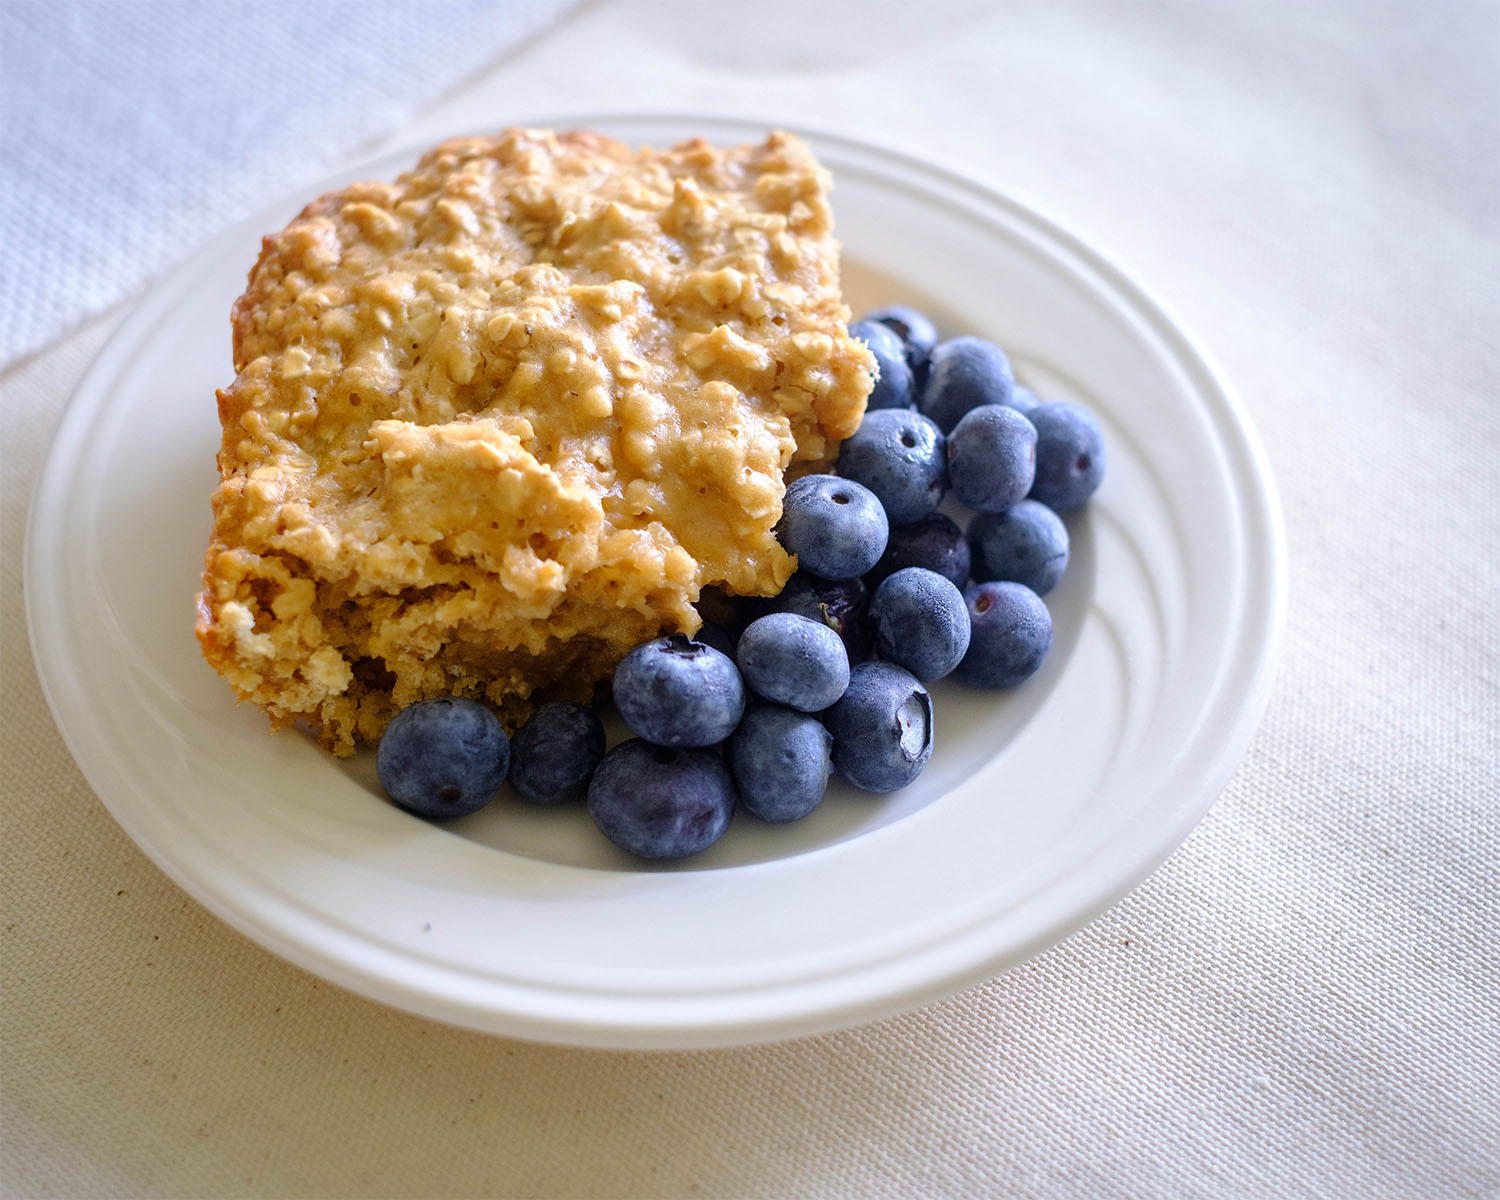
- Now that you’ve got your oven-baked sausage and potato hash, the possibilities are endless! Pair this breakfast delight with a side of scrambled eggs, a fresh green salad, or even some avocado slices. The choice is yours, and it’s a guaranteed way to start your day with a smile.


Frequently Asked Questions
Can I use raw sausage instead of pre-cooked sausage?
While the recipe is designed to use pre-cooked sausage for convenience and time-saving purposes, you can certainly use raw sausage. Just make sure to cook the raw sausage thoroughly before adding it to the sheet pan.
Can I use different types of potatoes?
Definitely! You can experiment with different varieties of potatoes, such as russet, Yukon gold, or even sweet potatoes, depending on your preference. Keep in mind that different potatoes may have slightly different cooking times, so adjust accordingly.
Can I substitute the bell peppers with other vegetables?
Absolutely! Feel free to get creative and switch out the bell peppers with other vegetables like zucchini, broccoli florets, or even cherry tomatoes. Just ensure that the vegetables you choose have a similar cooking time to the potatoes.


Oven Baked Sausage and Potato Hash
Equipment
Ingredients
Instructions