Grilled Cherry Chipotle Glazed Chicken Lettuce Wraps are a meal prep superstar that not only saves you time and money but also delivers a burst of flavors and textures that can rival your favorite takeout dishes. With their versatility, freshness, and health-conscious approach, they’re the perfect addition to your weekly meal prep routine. Say goodbye to pricey takeout and hello to homemade goodness that’s just as tasty and even more satisfying! Happy eating!
This post may contain affiliate links. Please see our privacy policy for details.

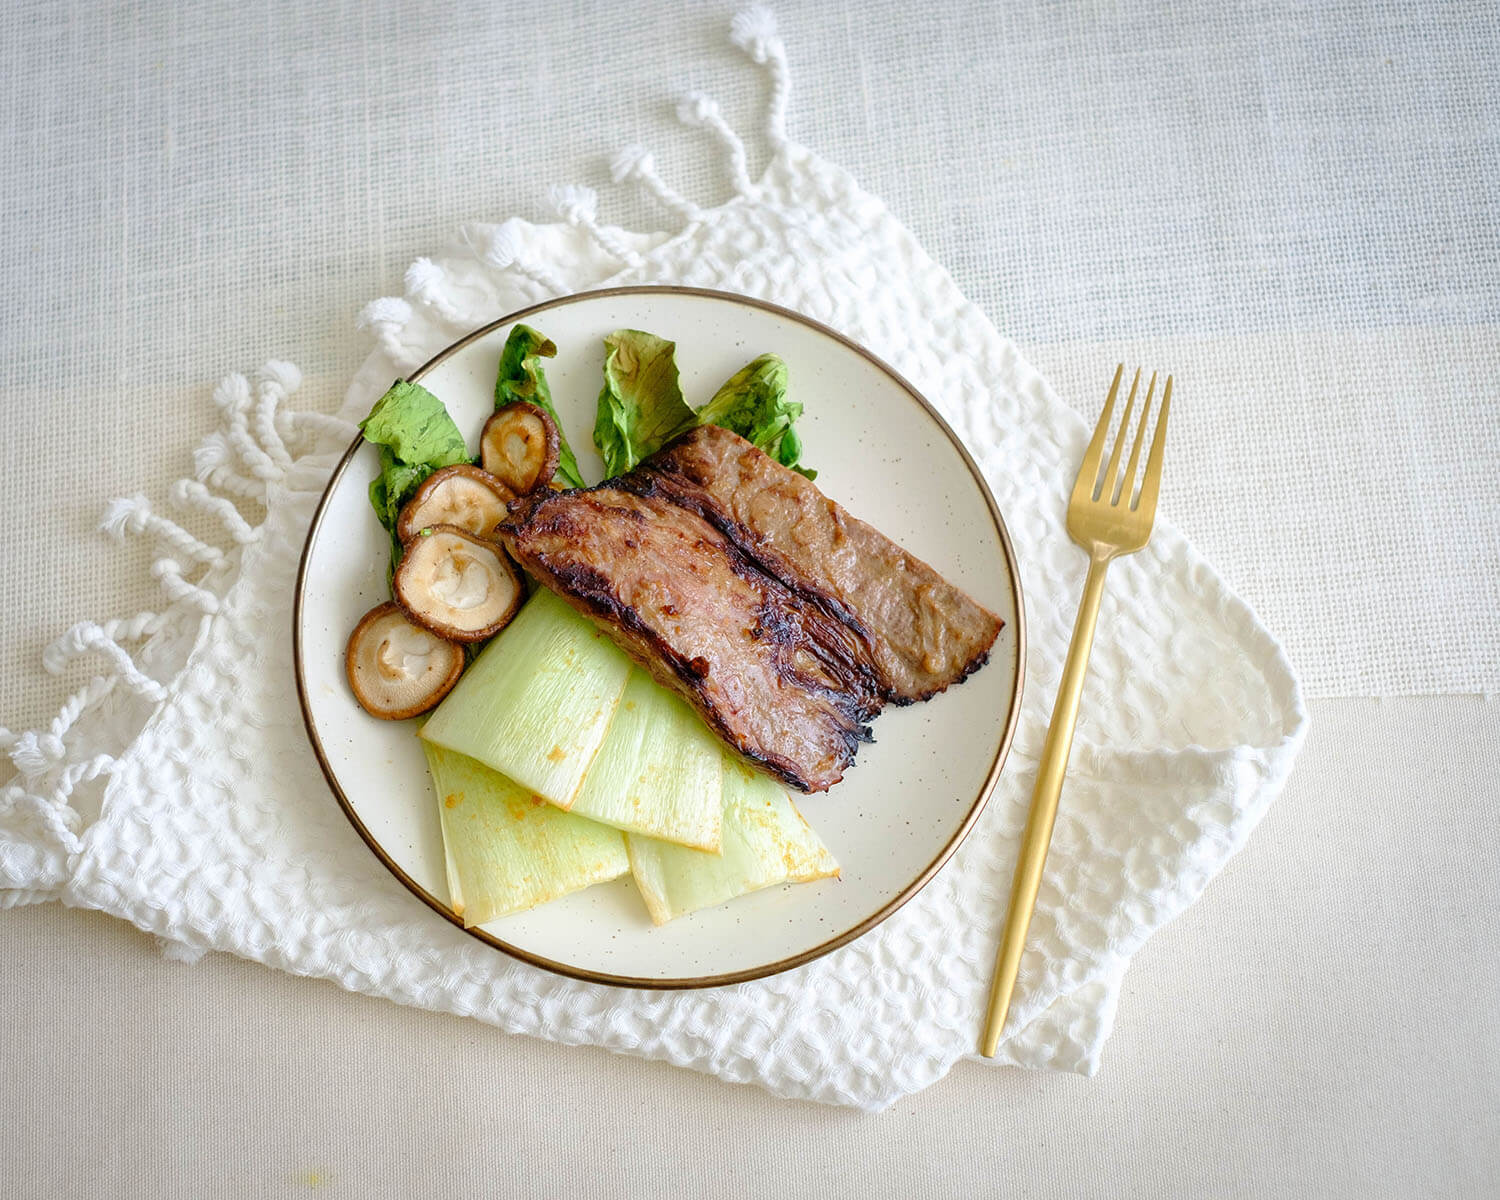
Why this chicken lettuce wrap recipe is better than takeout:
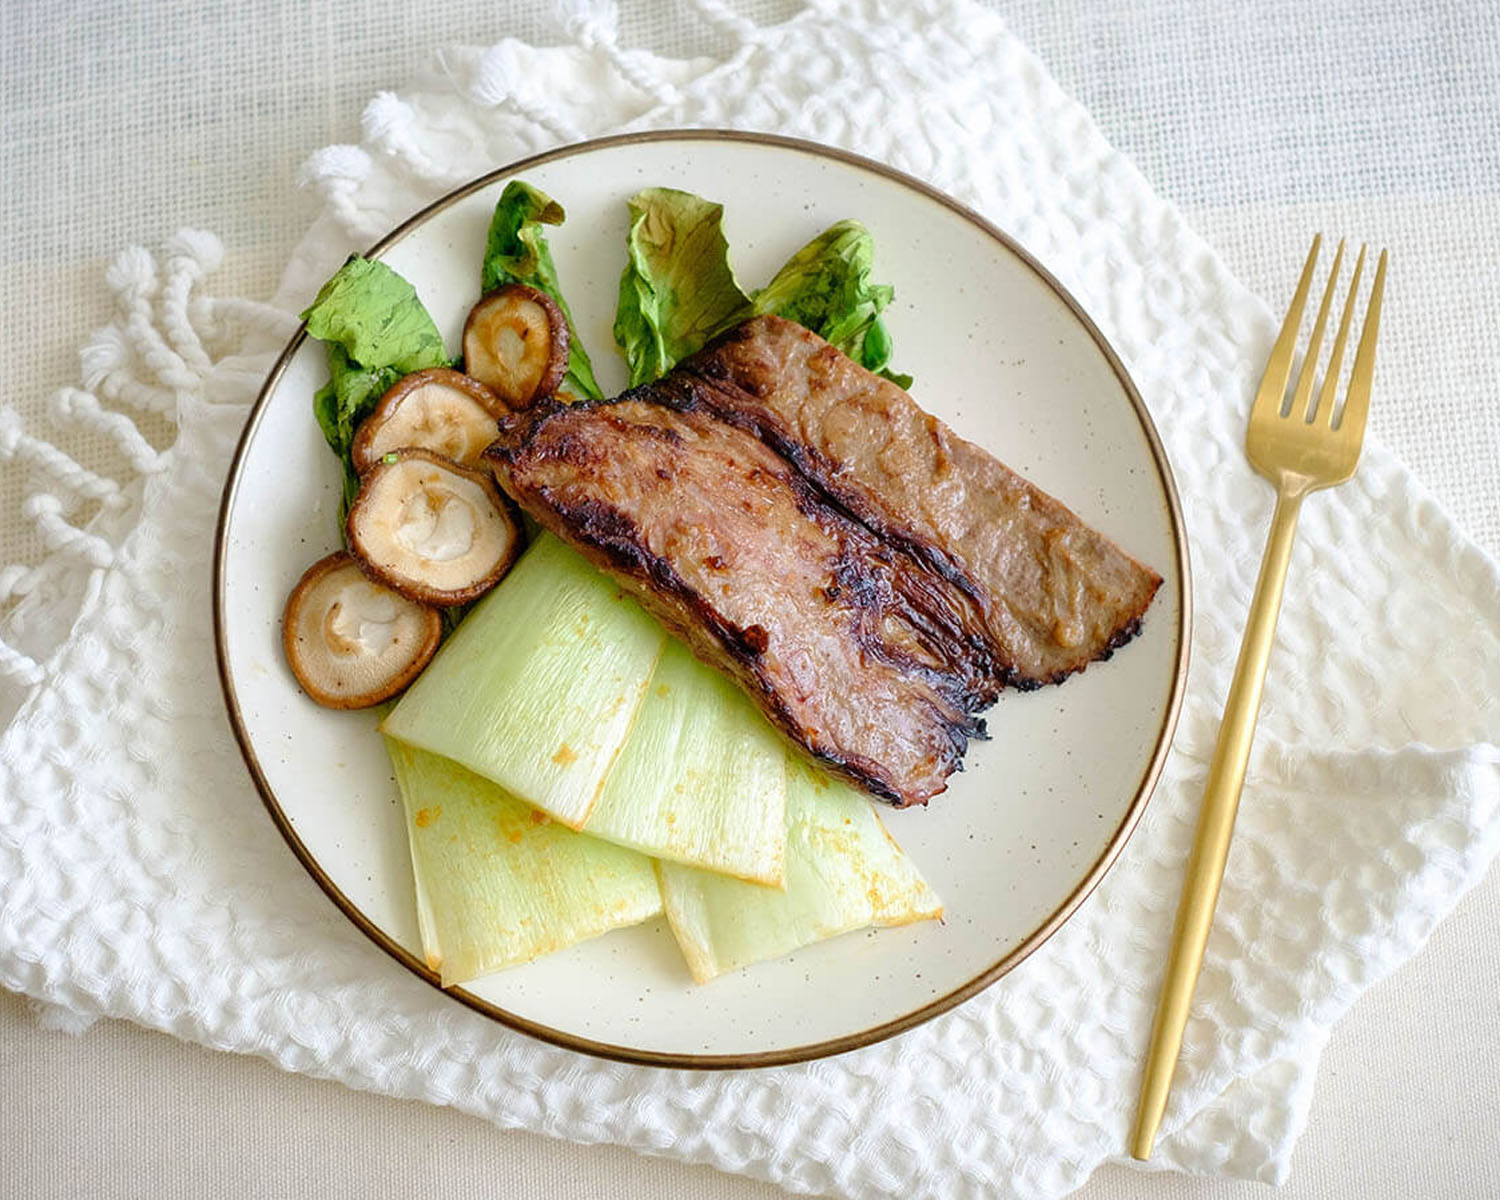
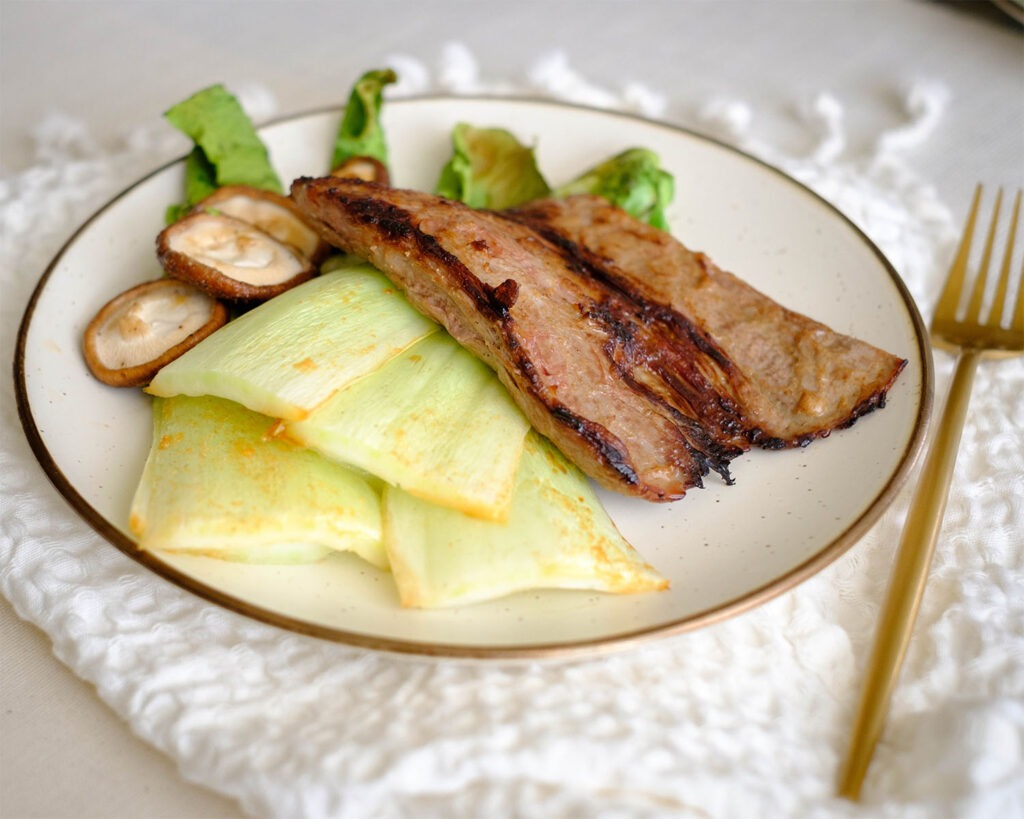
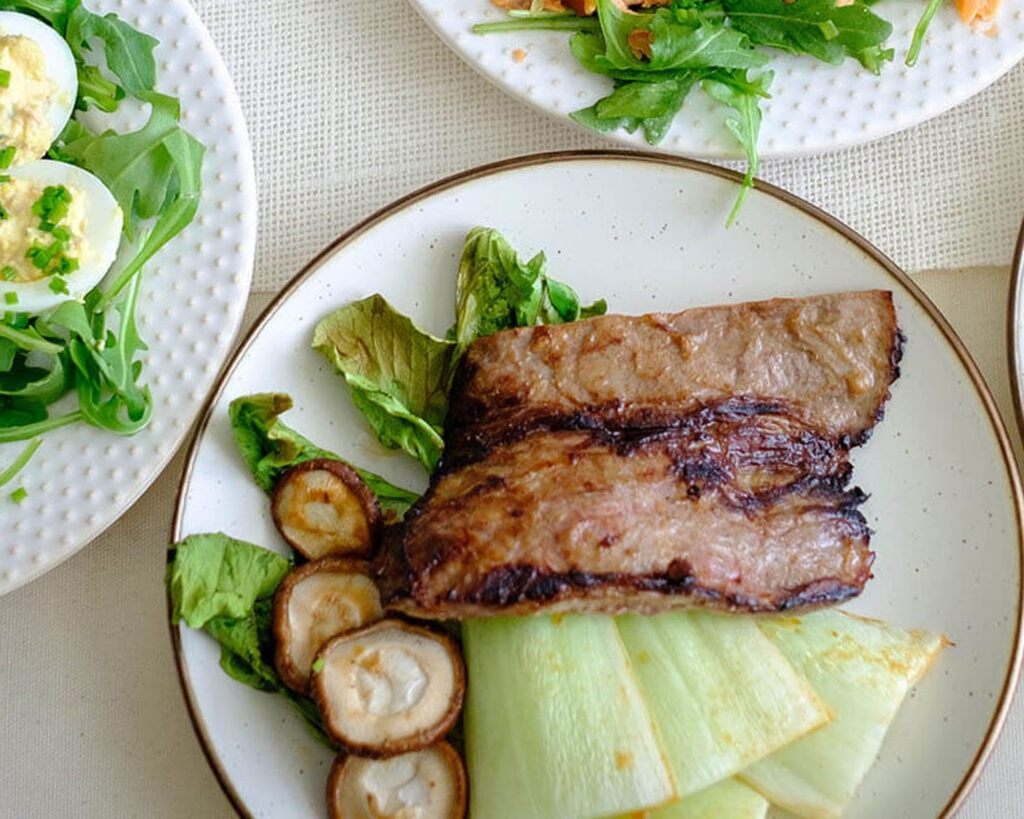
- The contrast of tender, juicy chicken, smoky grilled corn, and crunchy lettuce provides a satisfying medley of textures.
- The glaze’s sweet, smoky, and slightly spicy flavors create a harmonious balance that’s reminiscent of your favorite takeout dishes.
- The cherry chipotle glaze not only adds incredible flavor but also helps preserve the chicken’s moisture, preventing it from becoming dry during reheating.
- Homemade meals like these chicken lettuce wraps give you control over the ingredients, allowing you to make healthier choices.
- You can reduce sodium and unhealthy fats, ensuring you get a balanced, nourishing meal without sacrificing taste.

Ingredients you’ll need
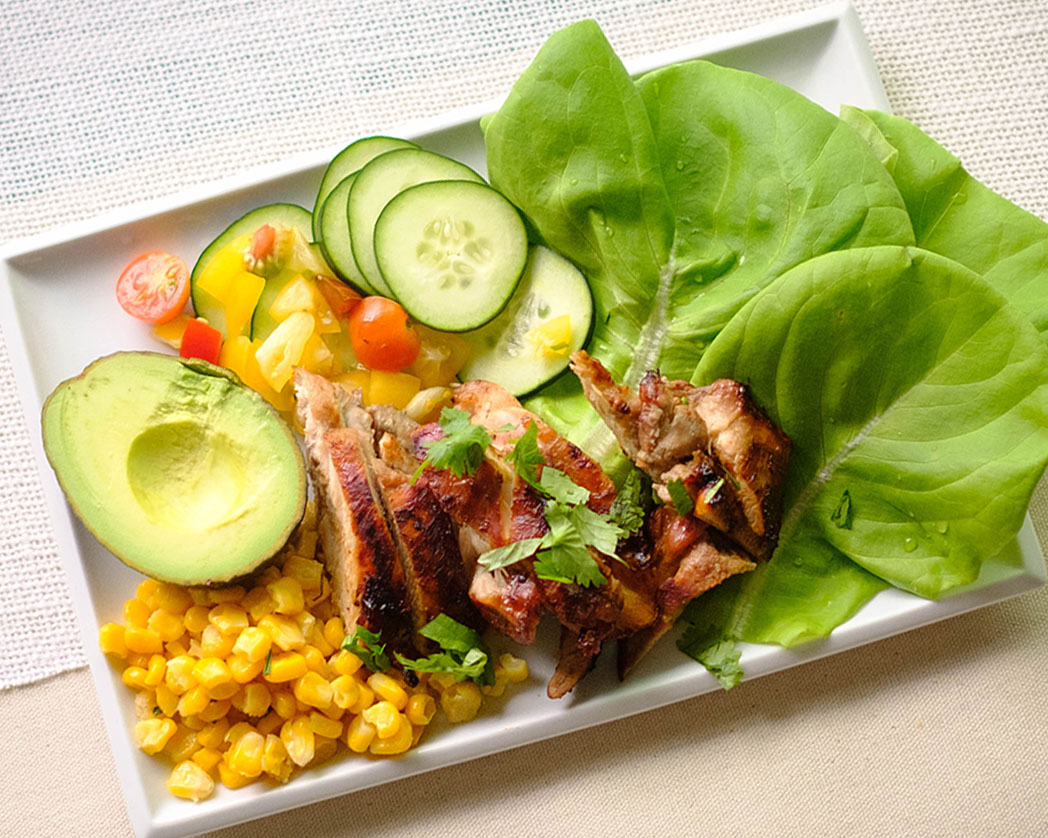
- Chicken: Chicken is high in protein, making them a healthy choice for meal prep.
- Marinade: The combination of sweet frozen cherries and smoky chipotle peppers in adobo sauce creates a dynamic flavor profile that will tantalize your taste buds. The marinade uses pantry staples like soy sauce, garlic, and honey, minimizing the need for pricey specialty ingredients.
- Lettuce: Lettuce leaves provide a low-carb, low-calorie base, and adding fresh vegetables like cucumber, tomatoes, and avocado boosts the nutritional value.
The Cooking Technique:
- Preheat your oven to 400°F.
- Season corn with garlic powder and salt, coat with olive oil, and roast for 15 minutes.
- Blend chipotle peppers in adobo sauce, frozen cherries, soy sauce, garlic, honey, and olive oil until smooth.
- Marinate the chicken, ensuring it’s fully coated.
- Sear the chicken on an indoor grill for 5-6 minutes per side or until it reaches an internal temperature of 165°F.
- Allow the chicken to rest for a few minutes before slicing it into thin strips.
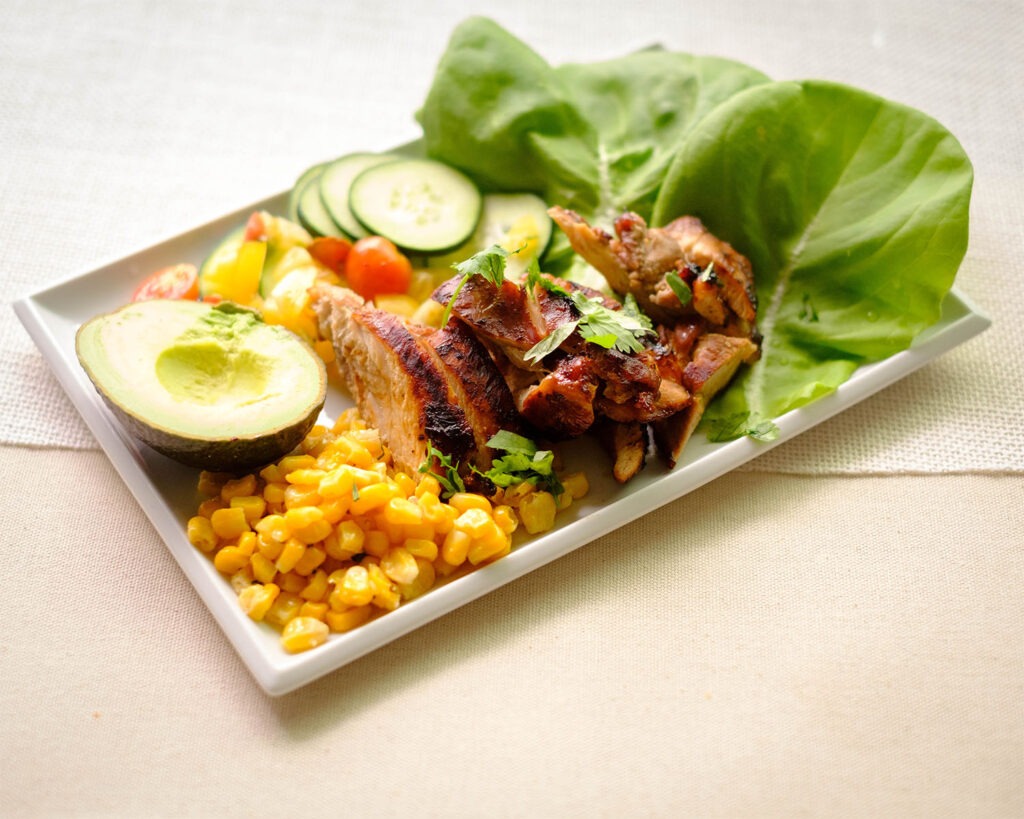
- Serve the chicken wrapped in lettuce leaves, topped with roasted corn, cucumbers, tomatoes, sliced avocado, and fresh cilantro.
Reference the recipe card below for detailed instructions.
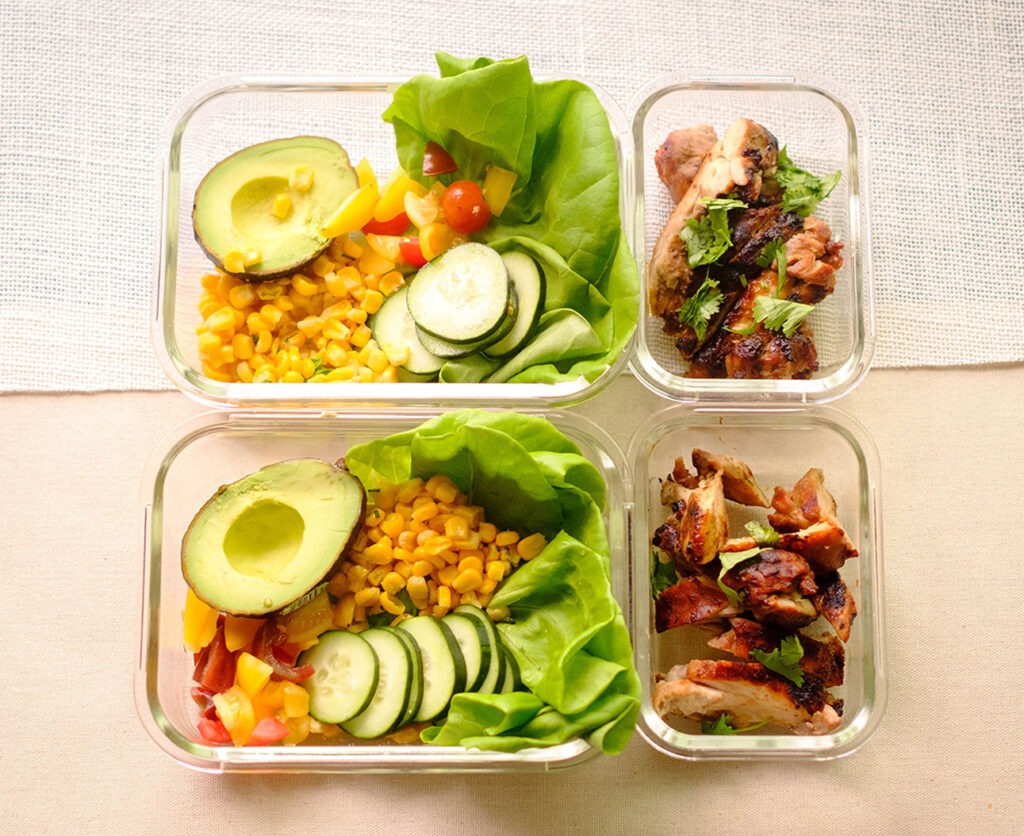
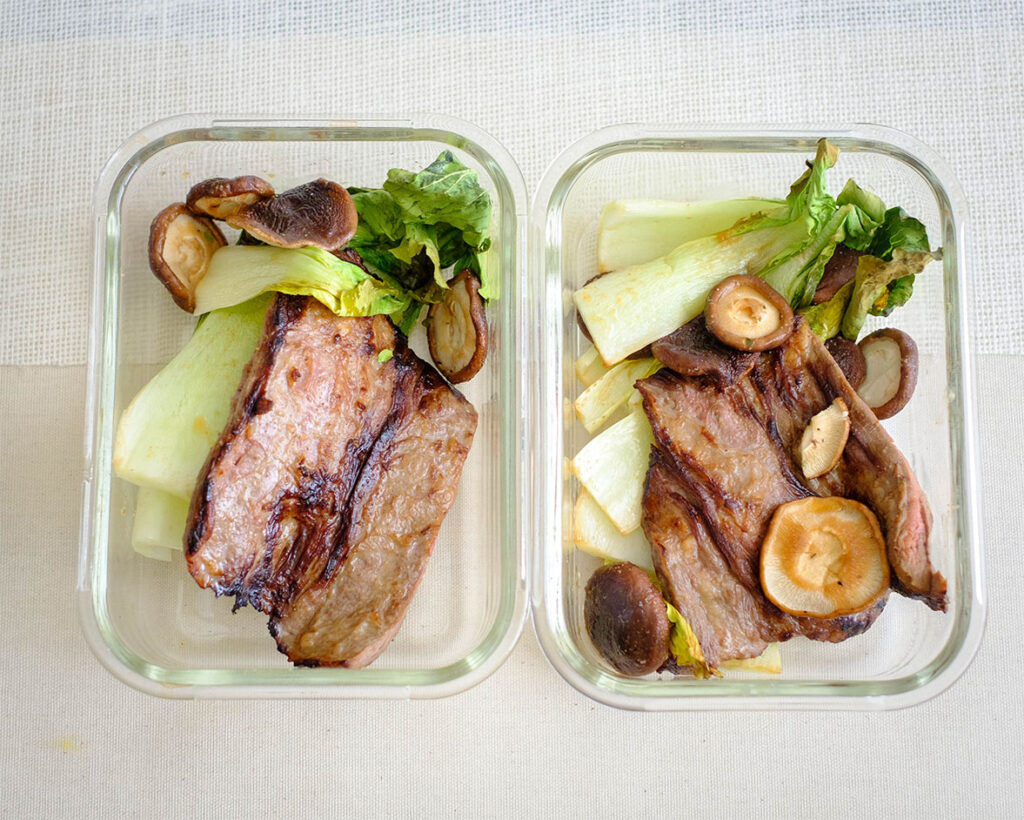
Meal Prep Tips for Cherry Chipotle Chicken
- Storage Tips: Store the lettuce leaves and toppings separately from the chicken and toppings to maintain freshness. Keep the chicken in an airtight container in the refrigerator for up to 3-4 days. You can also freeze it for longer storage, ensuring it’s well-wrapped to prevent freezer burn. If you have leftover chipotle cherry glaze or any dipping sauce, store it in a sealed container in the refrigerator. It can be used for future meals or as a dipping sauce for snacks.
- Reheating Tips: To reheat the chicken and corn, place it in the microwave for 1-2 minutes or in a skillet on medium heat until warmed through. You can add a touch of butter or olive oil for extra flavor.
- Ingredient Swaps: Experiment with different proteins like shrimp, ground turkey, or even tofu for a unique twist. Adjust cooking times and marinades accordingly. If cherries aren’t available, you can substitute them with other frozen fruits like raspberries, blackberries, or even pineapple to achieve a sweet and tangy glaze. If you prefer something heartier than lettuce for the chicken lettuce wraps, use cabbage leaves, collard greens, or even whole-grain tortillas as wrap alternatives.


Frequently Asked Questions
Can I use fresh cherries instead of frozen ones?
Yes, you can use fresh cherries when they’re in season. Simply pit and freeze them before making the glaze for a similar flavor profile.
What can I do if I don’t have an indoor grill?
If you don’t have an indoor grill, you can use a stovetop grill pan or even an outdoor grill. Alternatively, you can pan-sear the chicken in a regular skillet.
How do I adjust the spice level of the chipotle glaze?
To control the spiciness, simply add more or fewer chipotle peppers to adobo sauce. Removing the seeds from the peppers will also reduce the heat.


Grilled Cherry Chipotle Chicken Lettuce Wraps
Equipment
Ingredients
Chicken and Marinade
Corn
Lettuce Wraps
Instructions