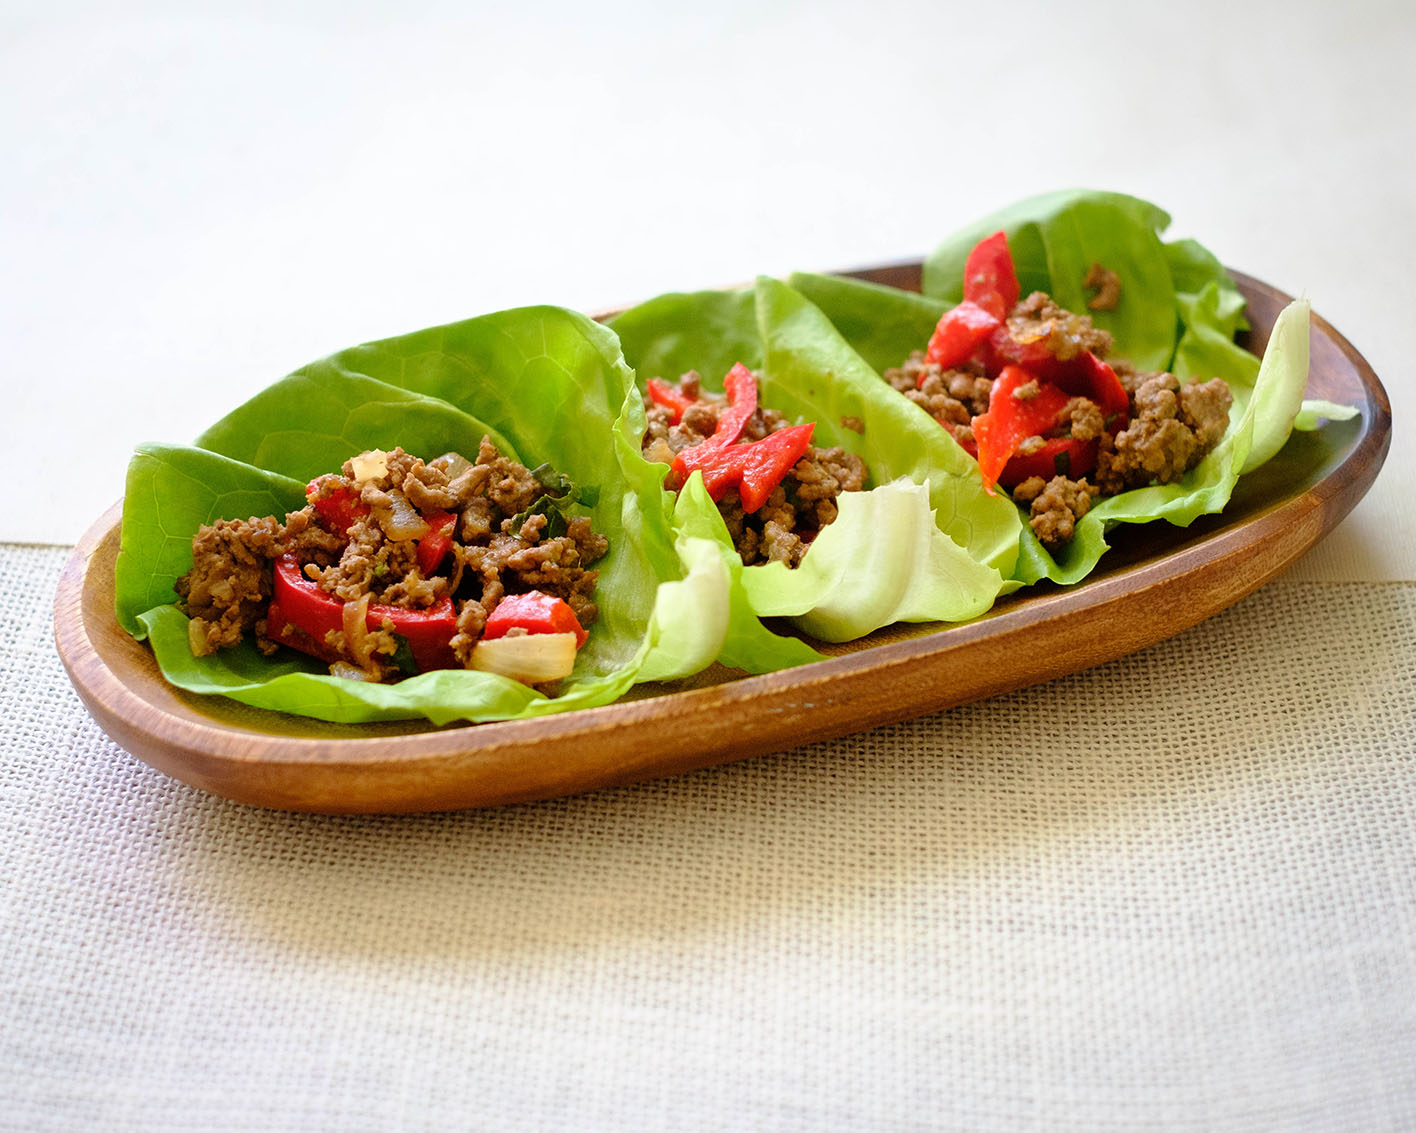
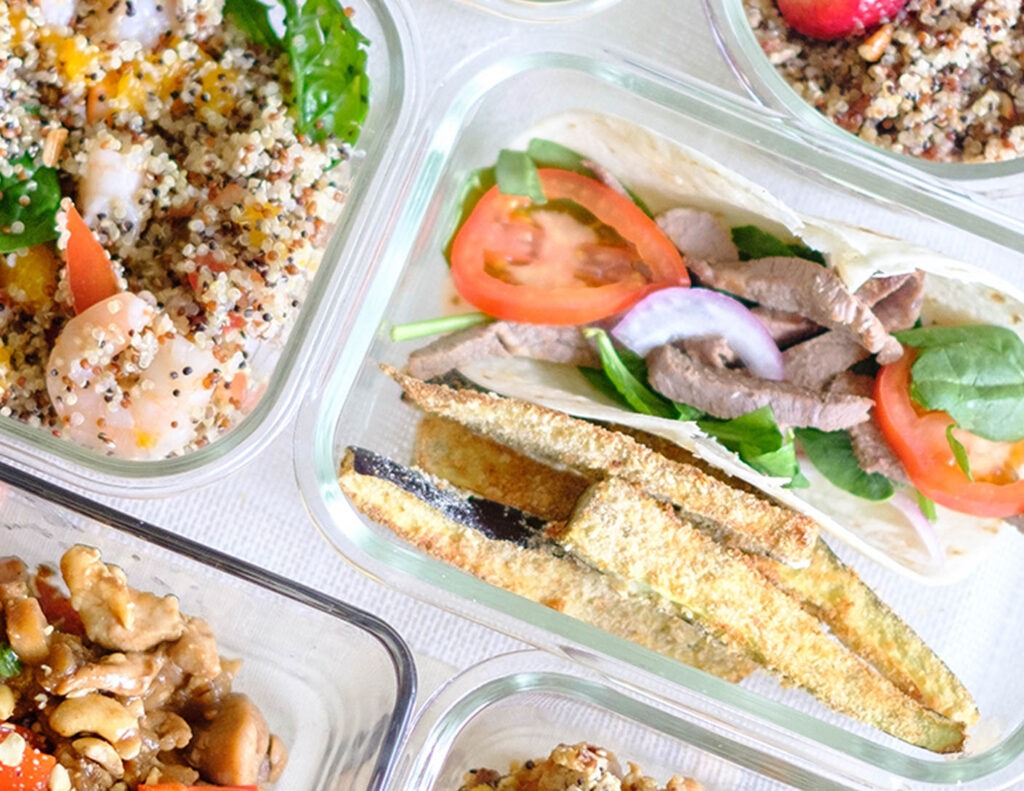
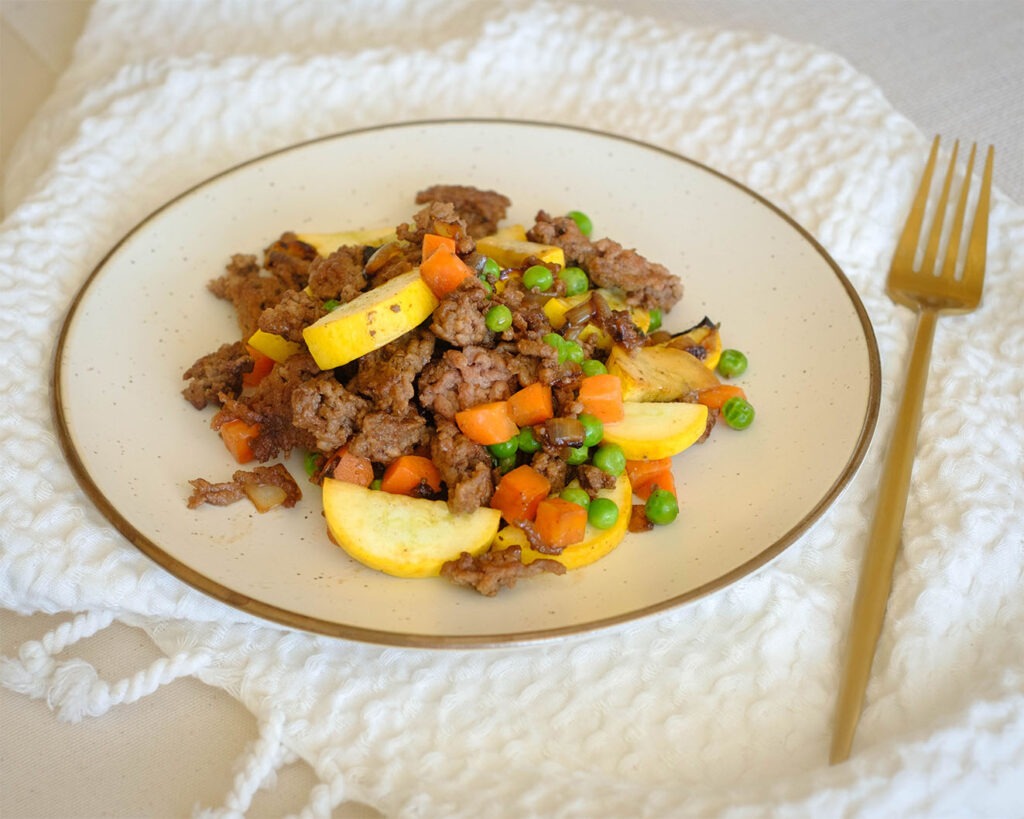
Hey there fellow meal-prepping enthusiasts, I am so excited to share with you one of my go-to recipes for Asian Ground Beef Lettuce Wraps! This dish is not only delicious, but it’s also healthy, low-carb, and perfect for weekly meal prep.
One of the meal prep hacks to making this dish truly tasty is by adding fresh herbs. Not only do they add a pop of color and freshness to your dish, but they also add an incredible depth of flavor. For this recipe, I highly recommend adding fresh basil to your ground beef filling. The combination of this fresh herb with the juicy ground beef and flavorful sauce is simply irresistible.
This post may contain affiliate links. If you use these links to buy something we may earn a commission at no extra cost to you. Please read the disclosure policy.
With a little bit of planning and preparation, you can enjoy restaurant-quality flavors at home all week long.


Now, let’s talk about the nutritional benefits of this dish. By using lettuce wraps you’re cutting out lots of calories. Plus, ground beef is a great source of protein and the addition of vegetables like bell peppers and onions adds fiber and important vitamins and minerals. And let’s not forget about the incredible flavors and textures that make this dish so satisfying.
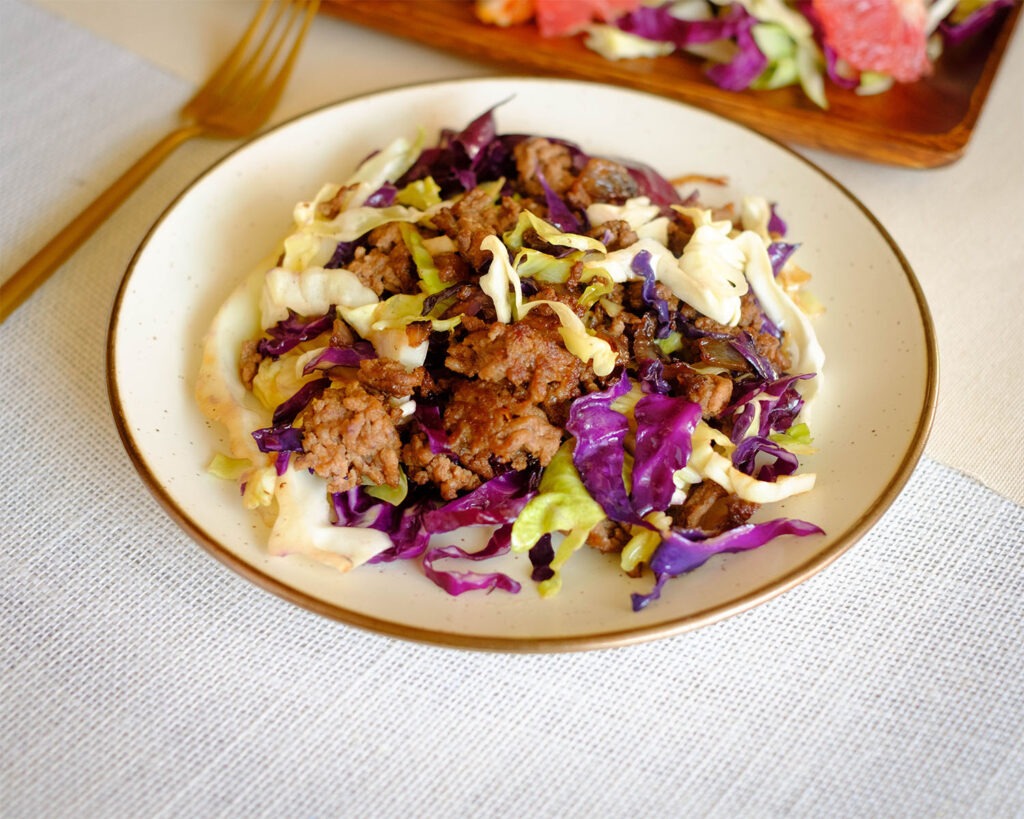
I’m going to show you how to make Asian Flavored Ground Beef Lettuce Wraps that taste just as good as your favorite takeout but with the added convenience of being able to prepare it in advance for the week ahead.
Simple Keto-Friendly, Low-Carb Ingredients
Firstly, let’s talk about how to make this dish taste absolutely amazing. The key is to season your ground beef well with Asian spices like garlic, ginger, and soy sauce. You can also add a little sweetness with honey or brown sugar, and some heat with red pepper flakes or chili paste. The combination of these flavors will make your taste buds dance with delight!
- Ground Beef: We used ground beef, but you can easily swap in ground pork, ground turkey, or ground chicken for your protein
- Red Onions: We used diced red onions, but chopped green onions are also a great choice.
- Lettuce Wraps: We used butter lettuce leaves, but you can also use romaine lettuce leaves
- Bell Peppers: This will add freshness to the dish and also bright colors
- Herbs: We used basil leaves, but you can easily swap them with cilantro
- Soy Sauce: Soy sauce adds great savory flavors to stir fry, but you can also use other sauces such as hoisin sauce, gyoza sauce, or oyster sauce.
- Oils: We stir fry with olive oil, but then drizzle in a little bit of sesame oil for extra flavor in the end.
How to Make Ground Beef Lettuce Wraps
- Add 1 tbsp olive oil to a saute pan on medium-high heat. Saute the onions until they soften (about 2 to 3 minutes)
- Next, add the ground beef and saute for about 5 to 6 minutes until the beef is fully cooked and golden brown
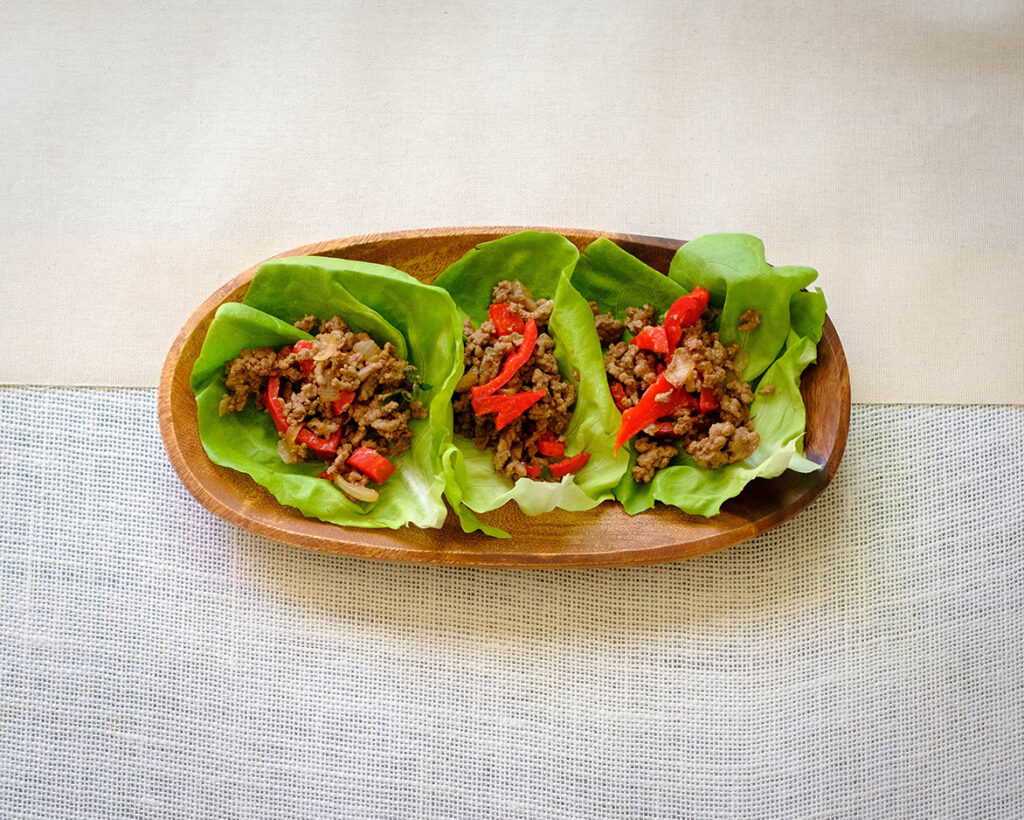
- Then, add seasonings, bell peppers, and chopped fresh basil leaves and mix it all together
- Serve the beef on top of the lettuce wraps
Reference the recipe card below for detailed instructions.
Meal Prep Tips for Basil Beef Lettuce Wraps
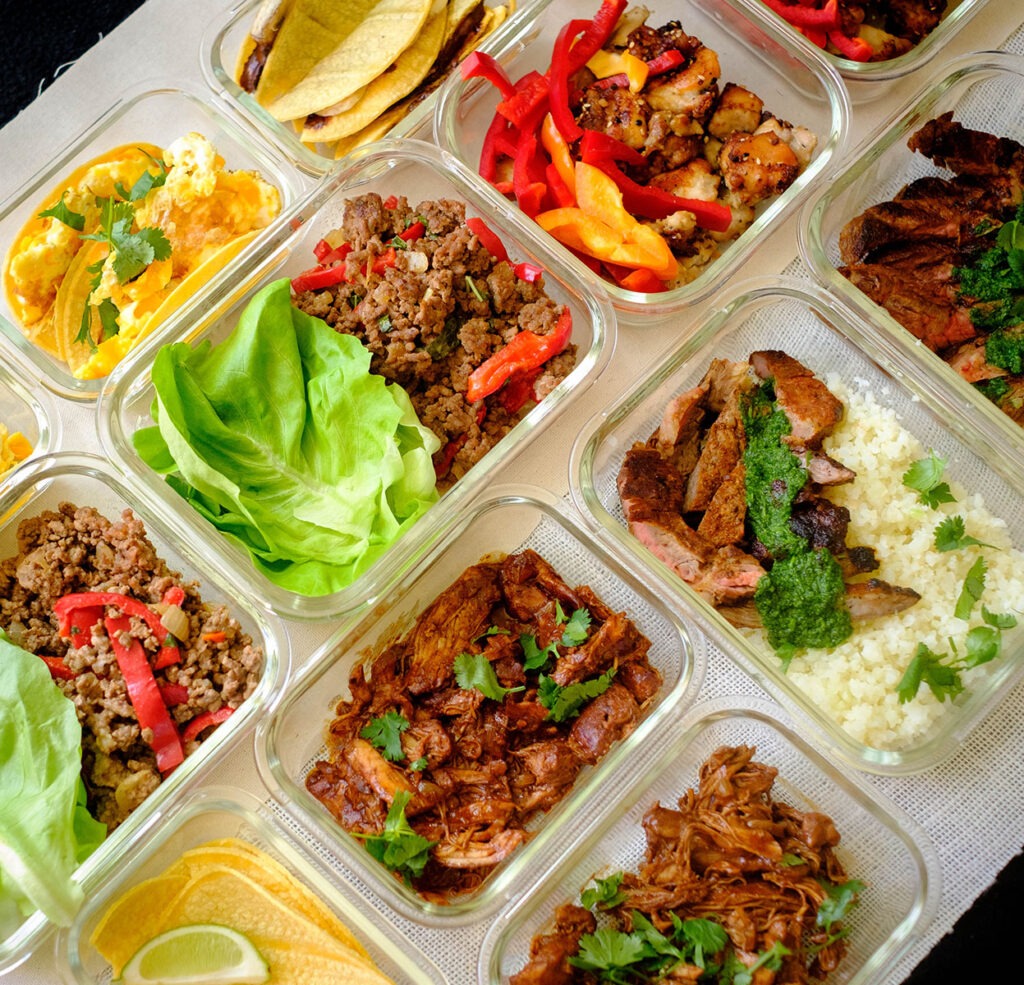
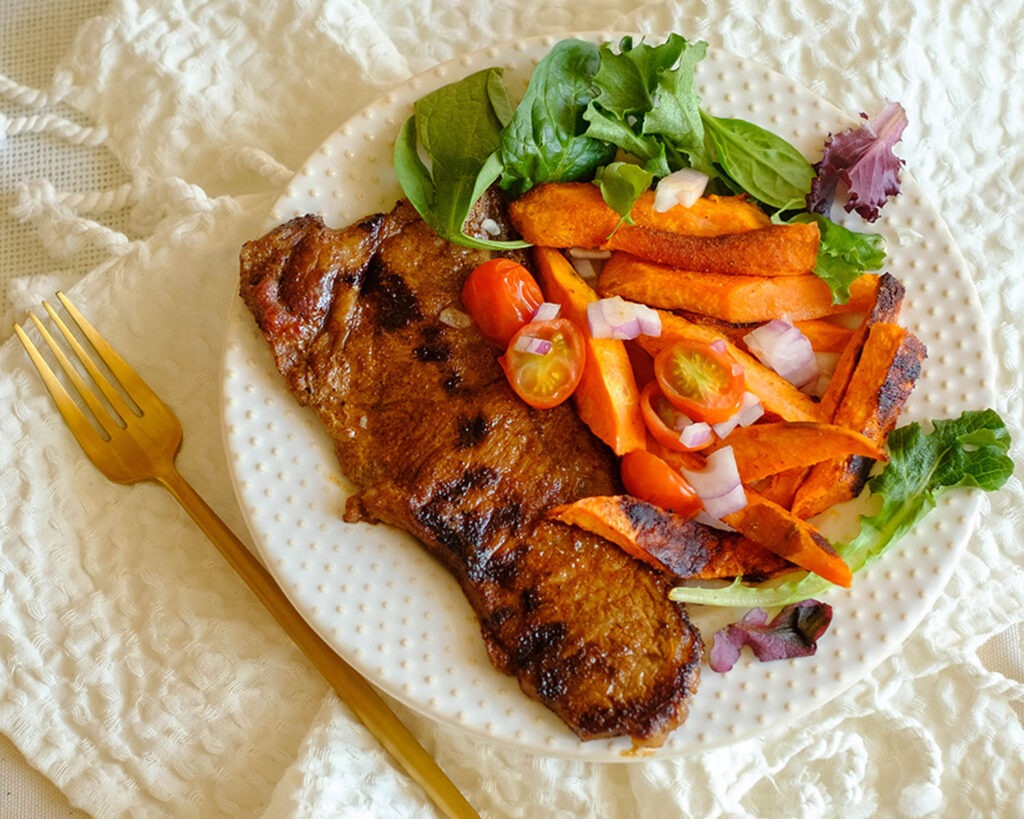
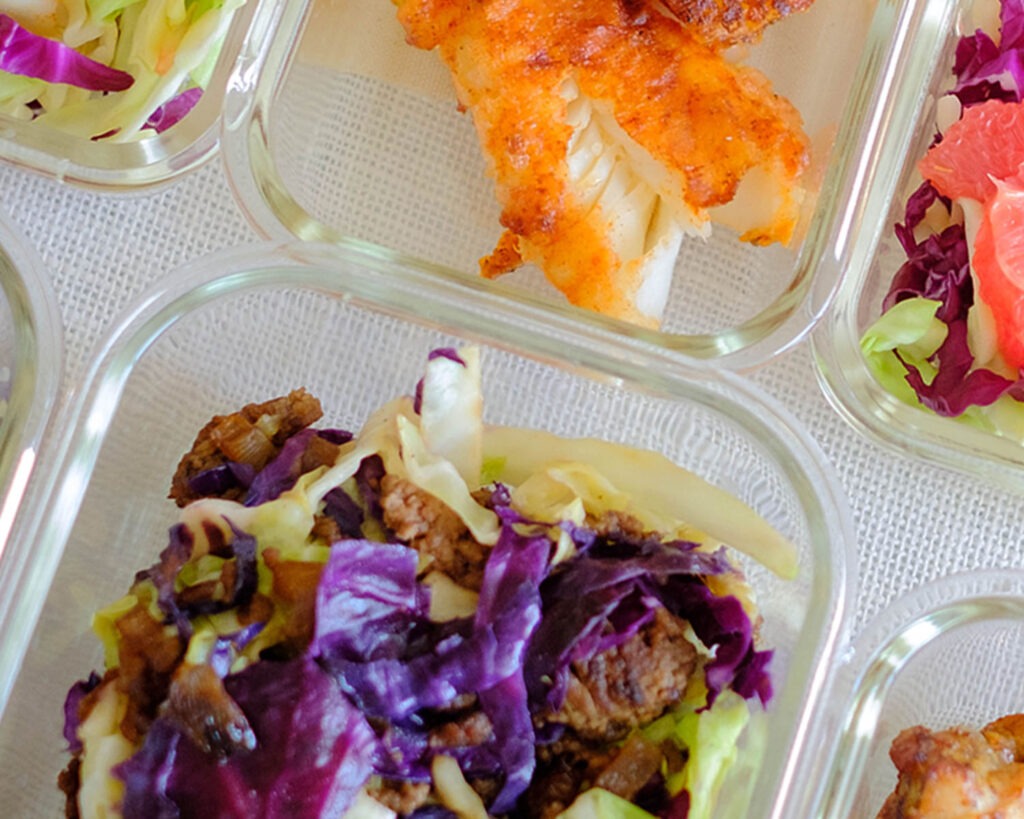
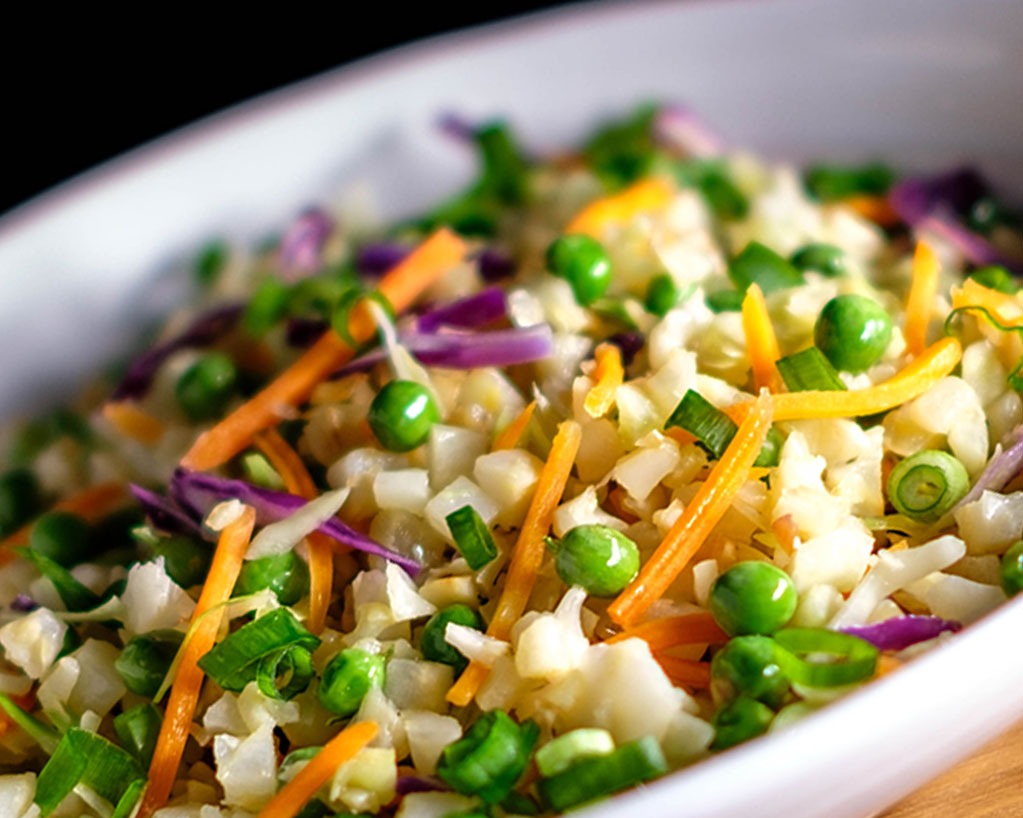
- Now, let’s talk about what side dishes would pair well with this recipe. I recommend serving these lettuce wraps with some pickled ginger or onions, which will help balance out the flavors. You could also enjoy it with a side of fruit like sliced oranges for added nutrition and citrus flavors.
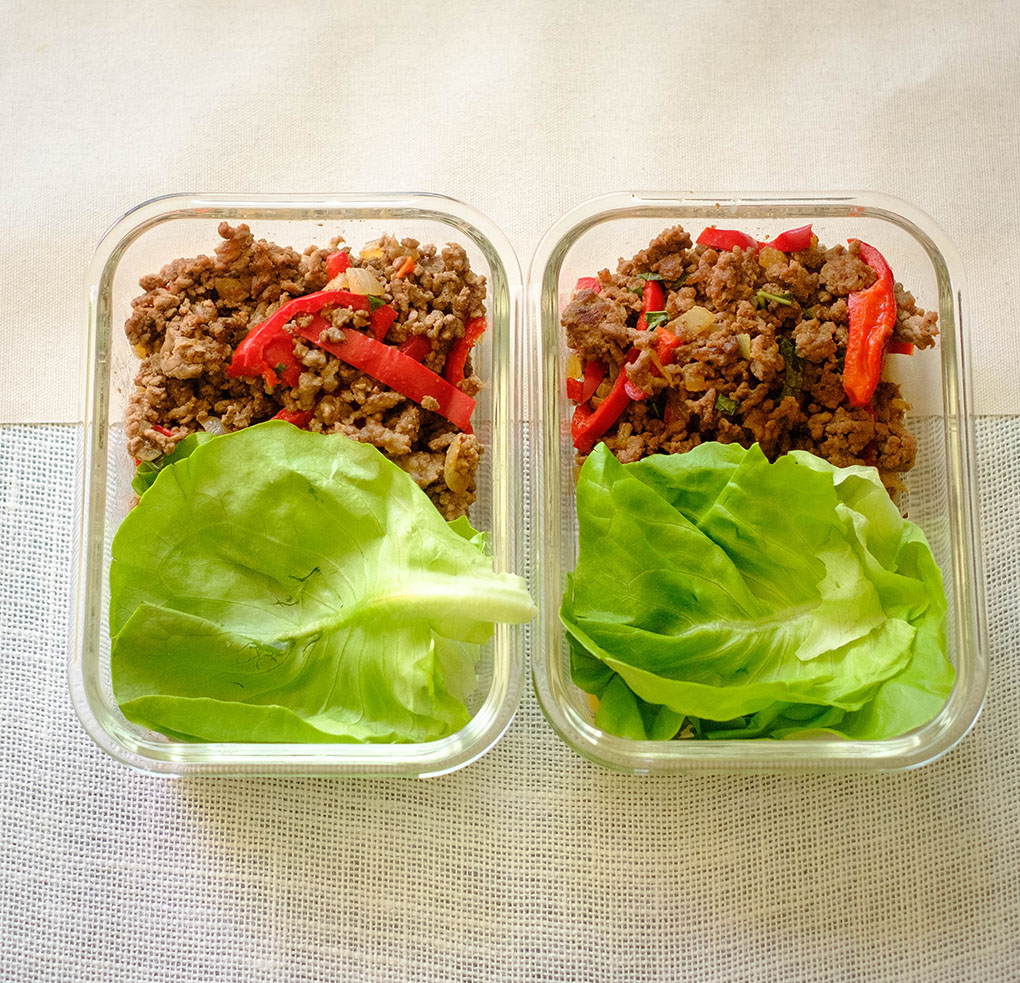
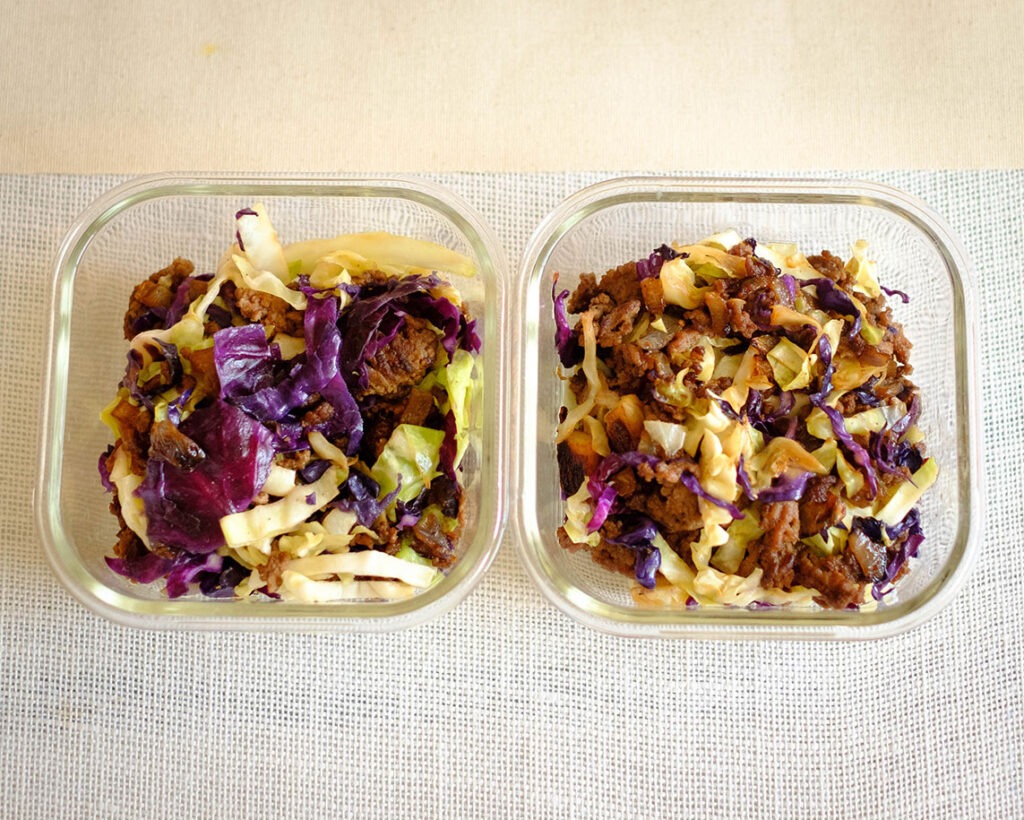
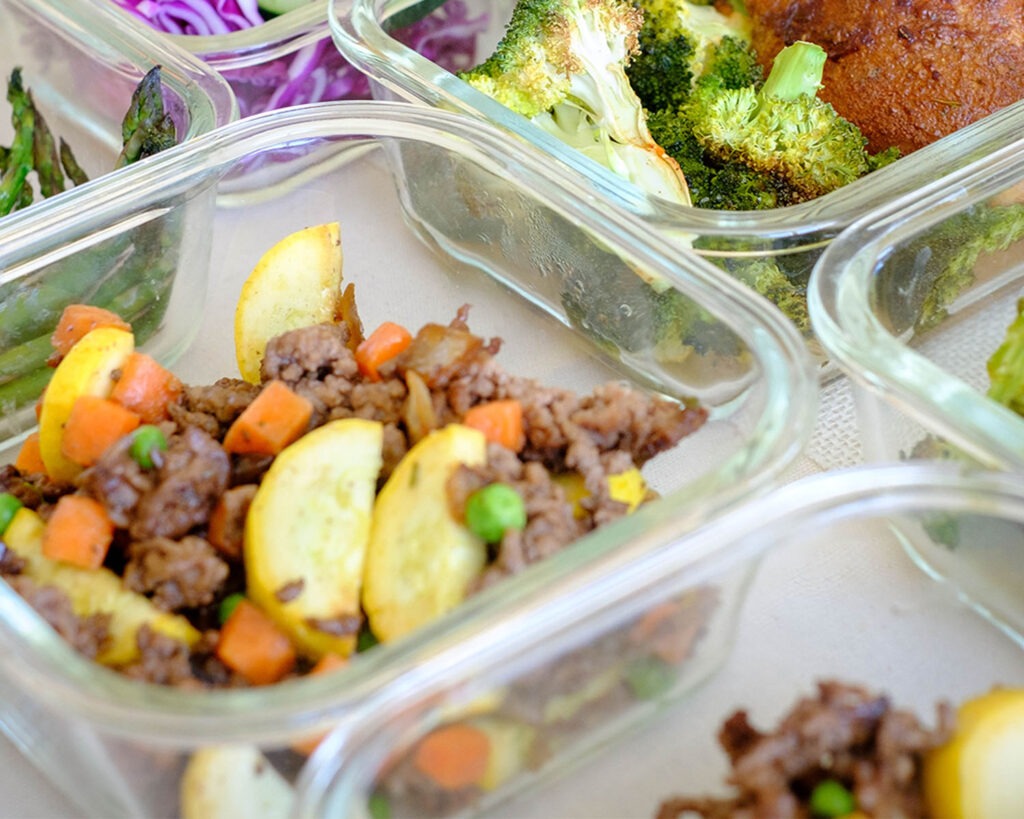
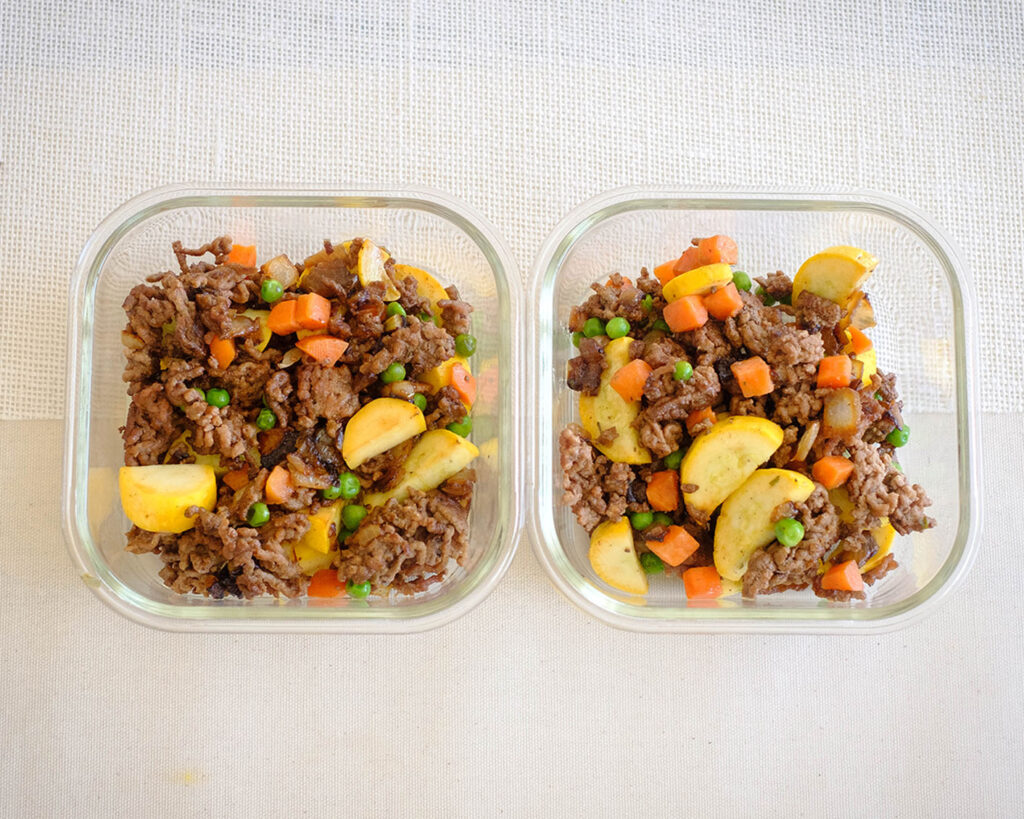
- When it comes to storing and reheating this dish for the week, it’s important to separate the lettuce wraps from the ground beef filling and store them separately. This will help keep the lettuce wraps crips and fresh and prevent them from getting soggy.
- To reheat, you could also heat up the filling in a skillet with a little oil to crisp it up or just simply microwave the filling until heated through and then assemble the lettuce wraps.


Frequently Asked Questions
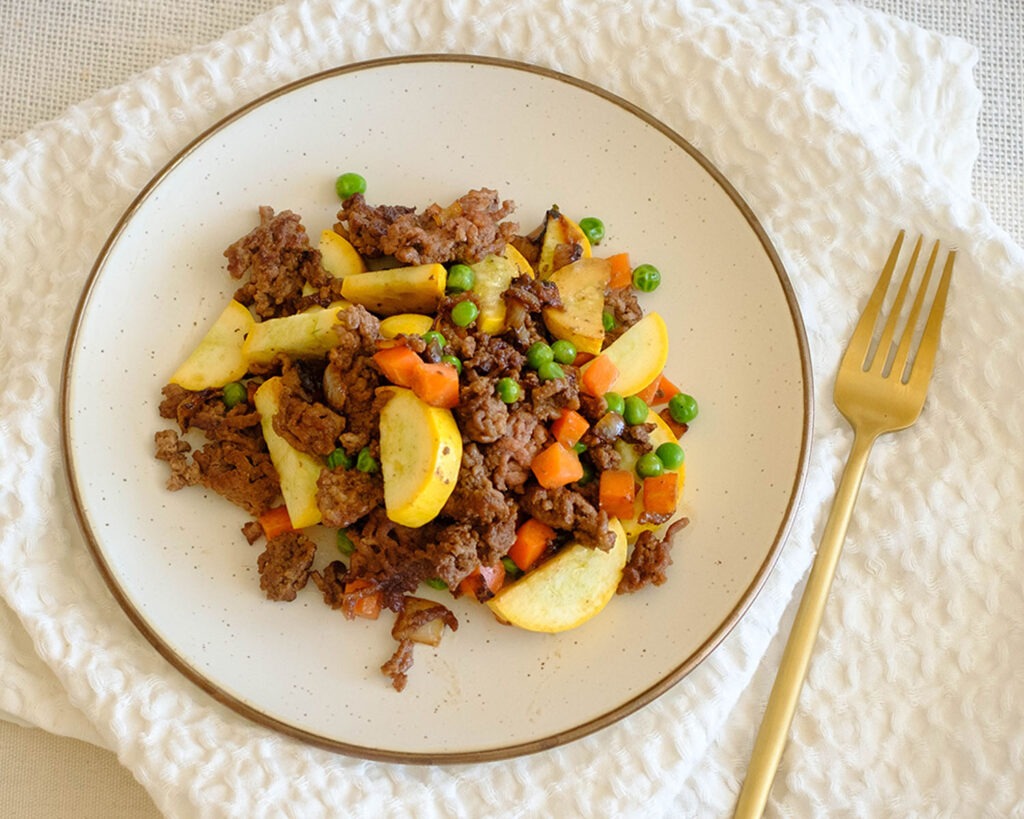
Can I add vegetables to the filling?
Absolutely! Adding vegetables like broccoli, carrots, and mushrooms will not only add more nutrition to the dish but also add texture and flavor.
How can I make sure the lettuce stays fresh for meal prepping?
To keep the lettuce fresh for meal prepping, I recommend storing the lettuce leaves separately from the filling. Place a damp paper towel at the bottom of the container and then layer the lettuce leaves on top. This will help keep the lettuce fresh and crisp.
Can I freeze ground beef lettuce wraps?
I do not recommend freezing the lettuce wraps as the lettuce will become wilted and soggy when thawed. However, you can freeze the cooked ground beef filling for up to three months.


Basil Ground Beef Lettuce Wraps with Bell Peppers
Equipment
Ingredients
Instructions