
If you’re a fan of savory, crispy, and oh-so-flavorful bites, you’re in for a treat. These mouthwatering egg rolls are not just about incredible taste; they’re a celebration of health and budget-friendliness. With lean ground beef, vibrant red cabbage, and a homemade sauce that’s both sweet and savory, we’re about to create a lunch meal prep masterpiece that’ll leave you excited for lunchtime all week long. So, roll up your sleeves, and let’s discover how to make these irresistible Air Fryer Beef Egg Rolls right at home!
This post may contain affiliate links. If you use these links to buy something we may earn a commission at no extra cost to you. Please read the disclosure policy.


Reasons You’ll Love This Lunch Meal Prep Recipe
- When you prepare your own Air Fryer Beef Egg Rolls at home, you have complete control over the ingredients. Opting for lean ground beef, fresh veggies like red cabbage, and a homemade sauce means you can create a meal that’s lower in unhealthy fats, sodium, and additives often found in restaurant or takeout versions.
- Meal prepping allows you to portion your meals according to your dietary needs and goals. By making these egg rolls at home, you can ensure that each roll contains the right balance of protein, fiber, and nutrients, helping you maintain portion control and stay on track with your health goals.
- Dining out or ordering takeout can quickly add up, especially if you do it regularly. Preparing Air Fryer Beef Egg Rolls at home is significantly more budget-friendly. You can buy ingredients in bulk, take advantage of sales and discounts, and stretch your budget while still enjoying delicious, homemade lunch meal prep.
- When you meal prep, you have the freedom to customize the flavors to your liking. Adjust the level of sweetness or spiciness in the sauce, add extra veggies, or experiment with different dipping sauces. This personalization ensures that your meals are not only healthy but also tailored to your taste preferences.
- By cooking at home, you can track the nutritional content of your meals more accurately. You’ll know exactly what goes into your Air Fryer Beef Egg Rolls, making it easier to meet your dietary goals, whether you’re counting calories, watching your macros, or focusing on specific nutrients.

Simple Air Fryer Egg Roll Ingredients
- Lean Ground Beef: Opt for lean ground beef to keep your meal on the healthier side. It’s packed with protein and essential nutrients while being lower in fat.
- Egg Roll Wrappers: These thin, light wrappers are the perfect vessel for our flavorful filling. They become wonderfully crispy in the Air Fryer.
- Red Cabbage: Red cabbage not only adds a beautiful burst of color but also provides a wealth of vitamins, minerals, and antioxidants. It’s a crunchy and nutritious addition to our egg rolls.
- White Onions: Onions add a delightful sweetness and depth of flavor to our filling when sautéed. They’re also rich in vitamins and fiber.
- Sauce (Soy Sauce, Honey, Garlic Powder): The sauce is where the magic happens! Soy sauce adds savory depth, honey brings sweetness, and garlic powder provides that irresistible aroma. Plus, it’s a healthier alternative to store-bought sauces, which may contain added sugars and preservatives.
How to Meal Prep Air Fryer Egg Rolls
- Sauté Onions: Start by heating a bit of oil in a pan over medium-high heat. Add finely chopped white onions and sauté until they soften and become translucent.
- Cook the Lean Ground Beef: Next, add the lean ground beef to the pan with the sautéed onions. Cook it for about 5 to 6 minutes until it’s fully cooked and nicely browned.
- Add Red Cabbage and Sauce: Now, toss in the red cabbage and pour in the delightful sauce mixture of soy sauce, honey, and garlic powder. Stir it all around until the cabbage softens and absorbs those fantastic flavors. Once done, remove the beef and cabbage mixture from the pan and let it cool to room temperature.
- Assemble the Egg Rolls: Lay each egg roll wrapper on a flat surface, resembling a diamond shape. Load approximately 2 to 3 tablespoons of your beef and cabbage filling into the center of each wrapper. Roll the corner closest to you over the filling and gently tuck it under the filling. Fold over the left and right sides towards the middle. Brush a bit of water on the top corner to help seal the roll, then roll it up towards the top corner.
- Air Fry until Golden Brown and Delicious: Place your beautifully assembled egg rolls in the Air Fryer basket. Give them a light spray with cooking spray to help them achieve that golden crispiness. Cook for 8 minutes at 400°F, or until they turn delightfully crispy and golden brown.
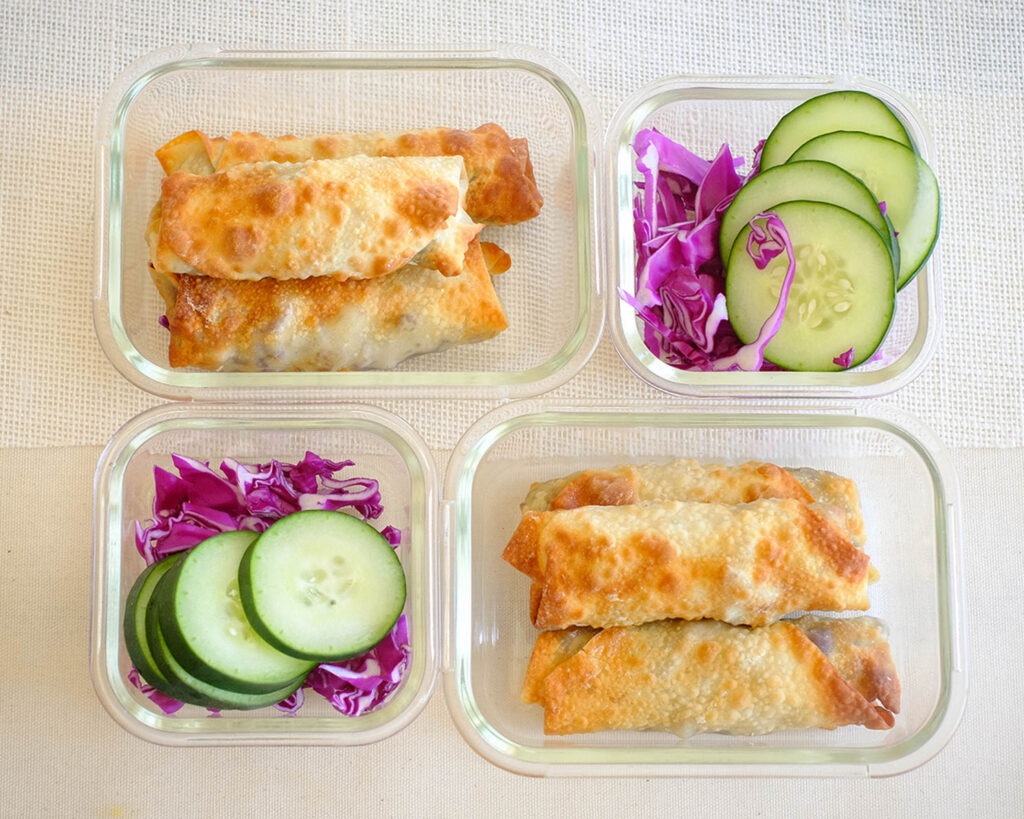
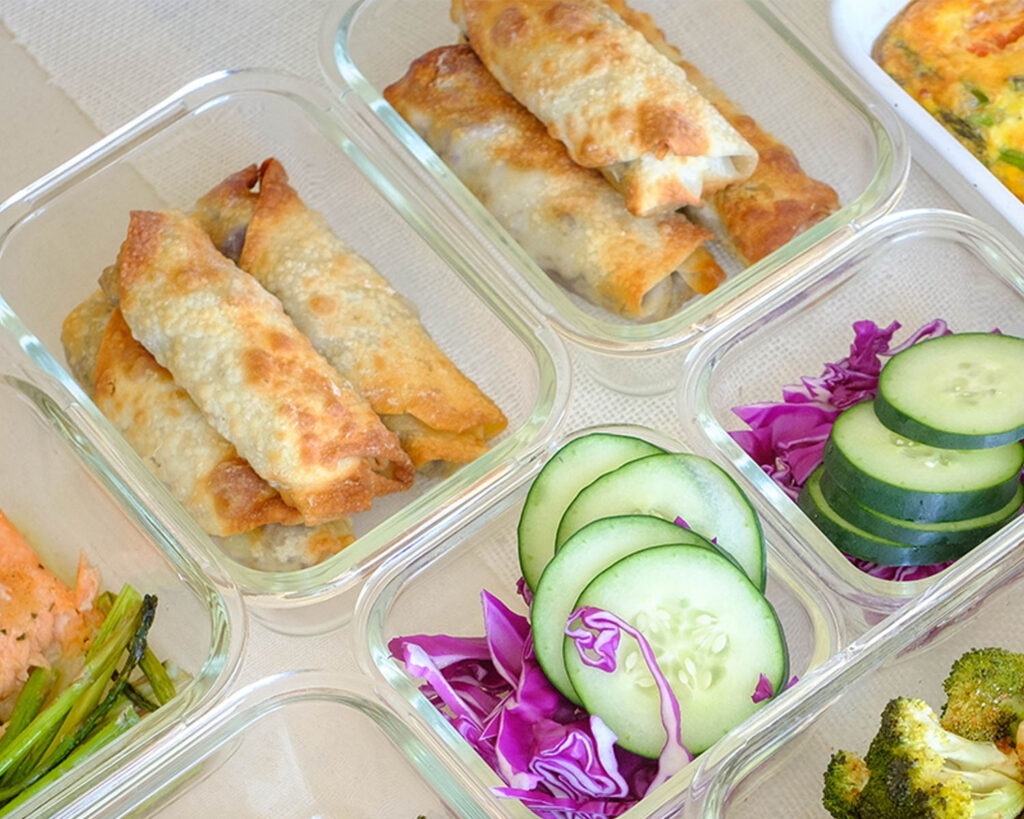
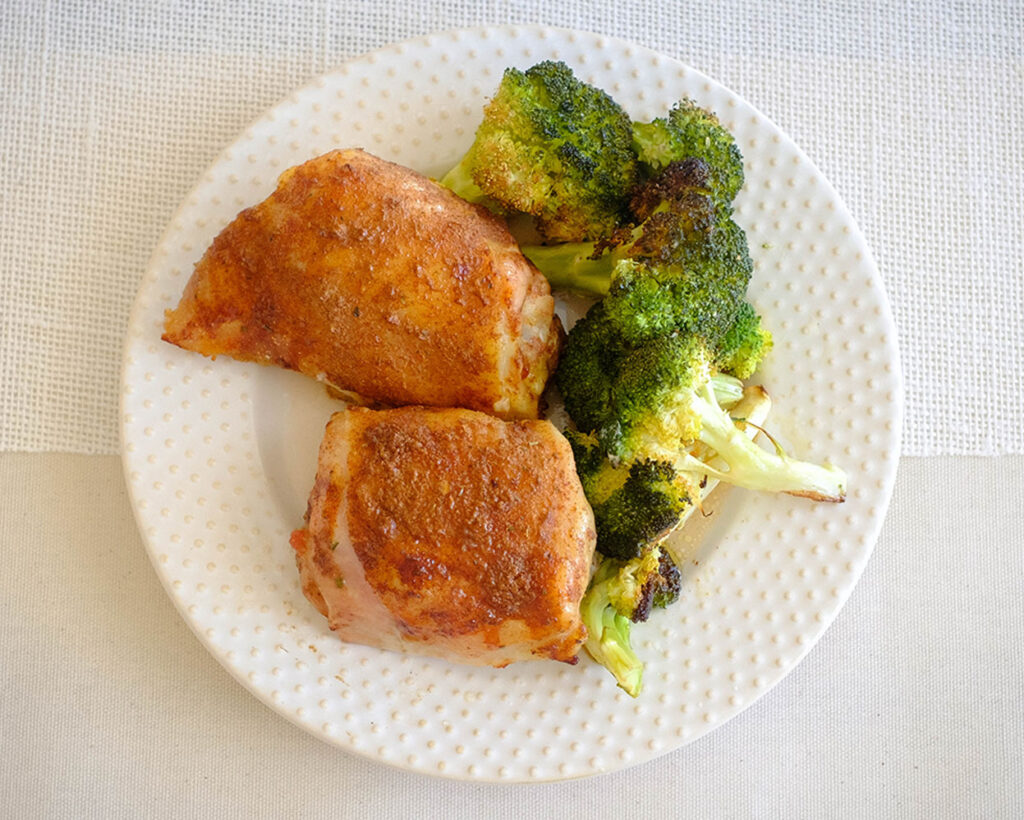
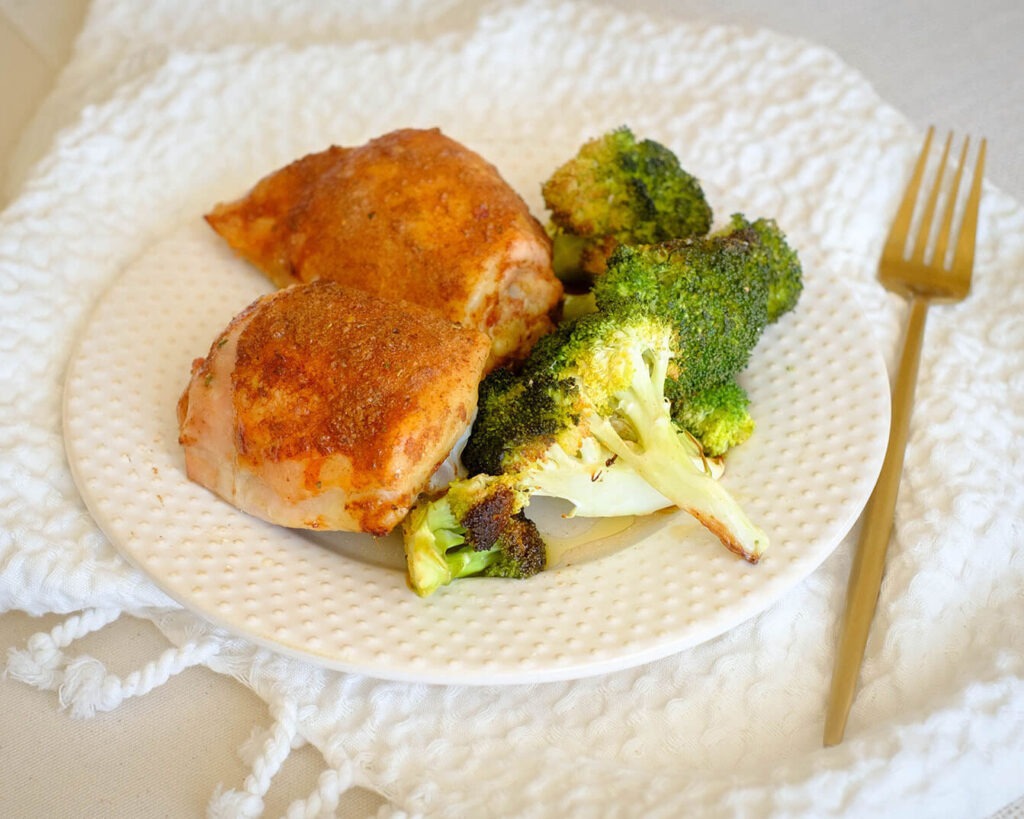
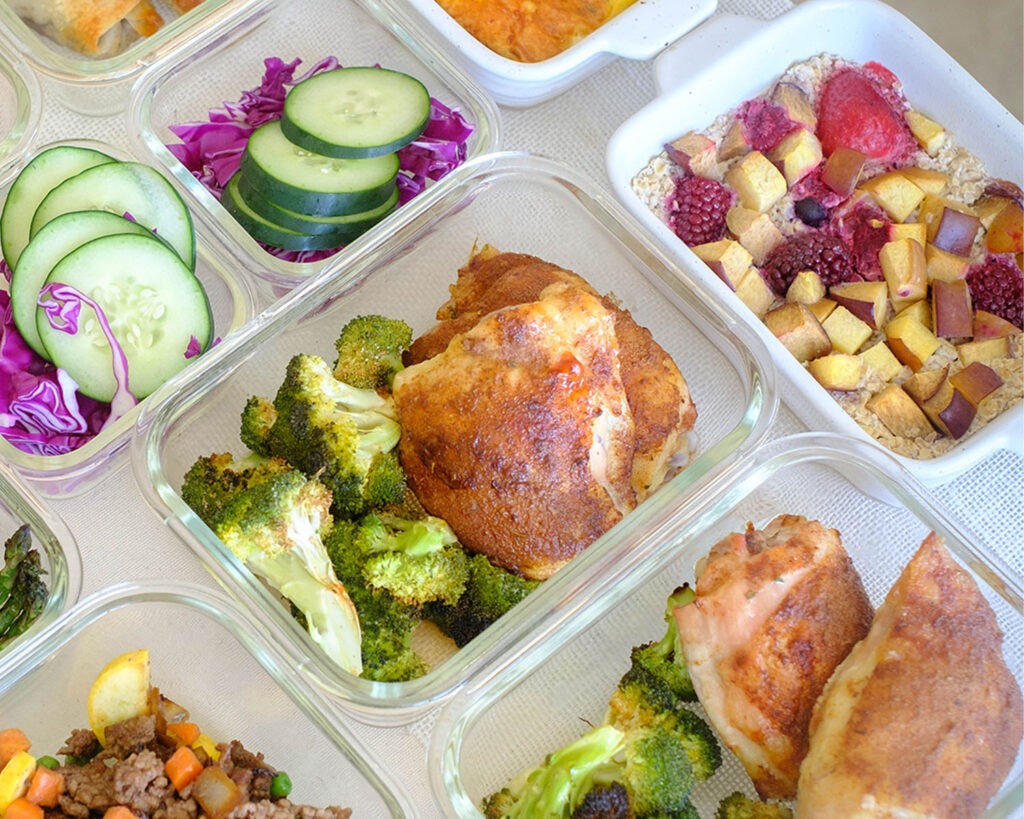
- Serve them up!: Pair your Air Fryer Beef Egg Rolls with fresh veggies and some extra cabbage for a healthy crunch. Don’t forget your choice of dressing for dipping!
Reference the recipe card below for detailed instructions.
Meal Prep Tips for Air Fryer Egg Rolls
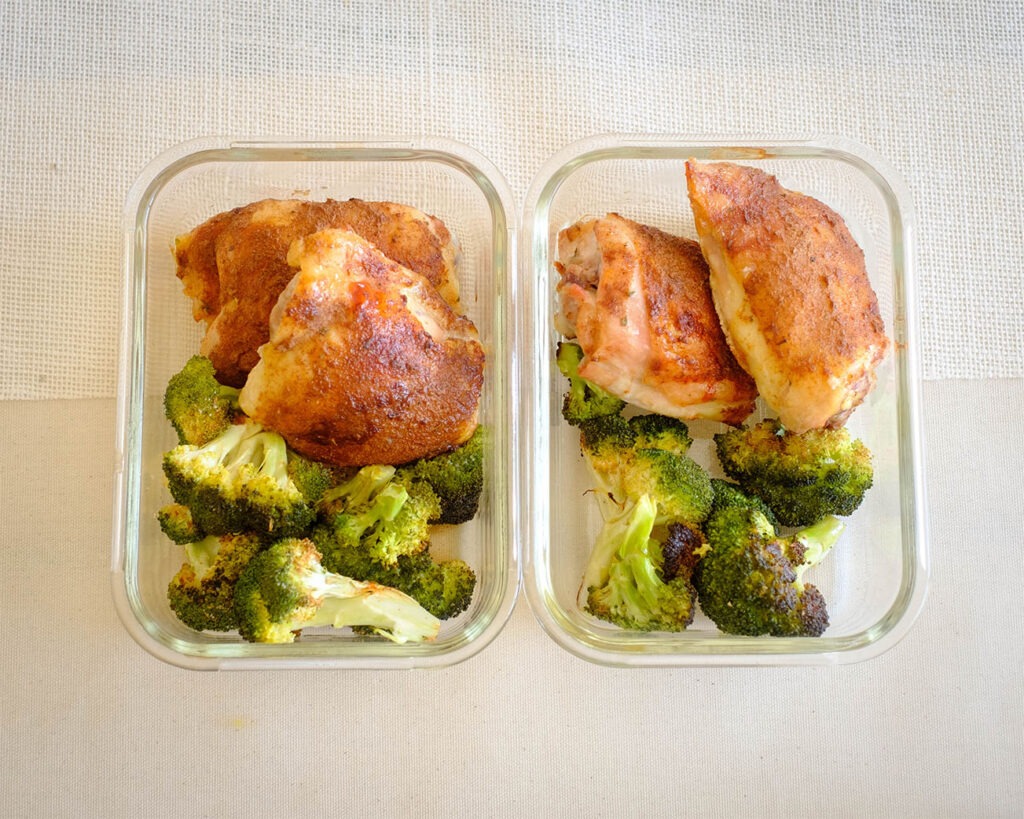
- To Serve: If you want to store the egg rolls for an extended period, you can freeze them for future lunch meal prep. To do this, arrange the cooked and cooled egg rolls in a single layer on a baking sheet, ensuring they’re not touching each other. Once frozen individually, transfer them to a freezer-safe bag or container. This prevents them from sticking together during freezing.
- To Reheat: When reheating refrigerated or frozen egg rolls, use the Air Fryer or oven for best results. Avoid microwaving them, as it can make them soggy. Reheat them until they are hot and crispy, which may take a few minutes in the Air Fryer or a moderate oven.
- Ingredient Swaps: To make these egg rolls vegan or vegetarian, use plant-based protein sources like tofu or tempeh instead of meat and replace honey with maple syrup or agave nectar in the sauce. Add a kick of spice by incorporating chopped chili peppers, chili flakes, or hot sauce into the filling or dipping sauce. Elevate the flavor by adding fresh herbs like cilantro, basil, or mint to the filling for a burst of freshness.


Frequently Asked Questions
What other protein options can I use instead of beef?
You can use ground chicken, pork, shrimp, or even tofu for a protein variation.
What other vegetables can I add to the filling for extra nutrition?
Feel free to add vegetables like shredded carrots, bell peppers, or mushrooms for added nutrition and flavor.
What type of egg roll wrappers should I use, and where can I find them?
Look for egg roll wrappers in the refrigerated section of your local grocery store or at Asian supermarkets. They are usually labeled as “spring roll” or “egg roll” wrappers.


Air Fryer Beef Egg Rolls
Equipment
Ingredients
Beef Egg Roll
Sauce
Sides
Instructions
Notes
Nutrition