
This Dragon Fruit Salsa with Shrimp is the perfect way to level up your salsa game. It’s not only vibrant and flavorful but also a nutrient-rich addition to your healthy lifestyle. Get ready to enjoy a dish that’s as beneficial for your body as it is delightful for your taste buds
This post may contain affiliate links. Please see our privacy policy for details.

Why This Salsa is a Game-Changer:
- Refreshing & Nourishing: Dragon fruit is not only beautiful with its speckled flesh, but it’s also packed with antioxidants and vitamin C, boosting your immunity and keeping your skin glowing. Paired with shrimp, a lean source of protein, this dish is as nourishing as it is refreshing.
- Budget-Friendly: With just a few simple ingredients, this recipe is easy on your wallet. The dragon fruit adds a touch of exotic flair without breaking the bank, and pre-cooked shrimp saves you time and effort.
- Simple & Quick: This salsa comes together in minutes! It’s perfect for a quick lunch, a light dinner, or even as an appetizer at your next gathering.
- Powerhouse ingredients: You’re not just making salsa—you’re creating a dish that nourishes your body from the inside out. Each ingredient plays a vital role in boosting your health, from providing essential vitamins and minerals to delivering antioxidants and anti-inflammatory benefits.

Level Up Your Salsa Game: The Nutrient Powerhouse in Every Bite!
- Dragon Fruit: Dragon fruit is the star of this salsa, and for good reason! This exotic fruit isn’t just pretty; it’s packed with fiber, antioxidants, and vitamin C. Fiber helps keep your digestive system running smoothly, while the antioxidants fight off free radicals, keeping your cells healthy. Vitamin C boosts your immune system and promotes glowing skin. By adding dragon fruit to your salsa, you’re infusing your meal with a refreshing sweetness and a vibrant dose of nutrition.
- Shrimp: Shrimp is a lean, low-calorie source of high-quality protein, making it a fantastic addition to this dish. Protein is essential for muscle repair, hormone production, and overall body maintenance. Plus, shrimp is rich in selenium, an important mineral that acts as a powerful antioxidant, supporting your immune system and thyroid function. With shrimp in your salsa, you’re not only adding a savory element but also giving your body the building blocks it needs to stay strong and energized.
- Fresh Basil: Basil brings a burst of fresh, herbaceous flavor to this salsa, but it’s also loaded with health benefits. This aromatic herb is rich in vitamin K, which plays a key role in blood clotting and bone health. Basil also contains compounds that have anti-inflammatory and antimicrobial properties, helping to support your overall well-being. Adding basil to your salsa not only elevates the flavor but also adds a layer of health-boosting goodness.
- Red Onions: Red onions add a sharp, tangy bite to your salsa, and they’re packed with nutrients like vitamin C, fiber, and antioxidants. The quercetin in red onions is known for its anti-inflammatory properties, which can help reduce inflammation in the body. Additionally, the sulfur compounds in onions support heart health by improving cholesterol levels and lowering blood pressure. Red onions are a simple way to level up the nutritional profile of your salsa while adding depth to the flavor.
- Lime Juice: Lime juice not only adds a zesty, citrusy kick to your salsa but also brings a ton of vitamin C to the table. This essential vitamin boosts your immune system, aids in iron absorption, and supports healthy skin. Lime juice also has natural detoxifying properties, helping to cleanse your body and support digestive health. A squeeze of lime is all it takes to brighten up the flavors of your salsa while giving your body a nutrient boost.
- Salt: A pinch of salt ties all the flavors together and enhances the natural sweetness of the dragon fruit while balancing the acidity of the lime. Just a small amount can elevate the entire dish, making each bite more satisfying.

How to Make Dragon Fruit Salsa with Shrimp
- Prep the Shrimp: If your shrimp is frozen, defrost it according to the package instructions. Pat dry.
- Mix the Salsa: In a mixing bowl, combine the diced dragon fruit, fresh basil, chopped red onions, lime juice, and salt. Toss everything together gently to marry the flavors.
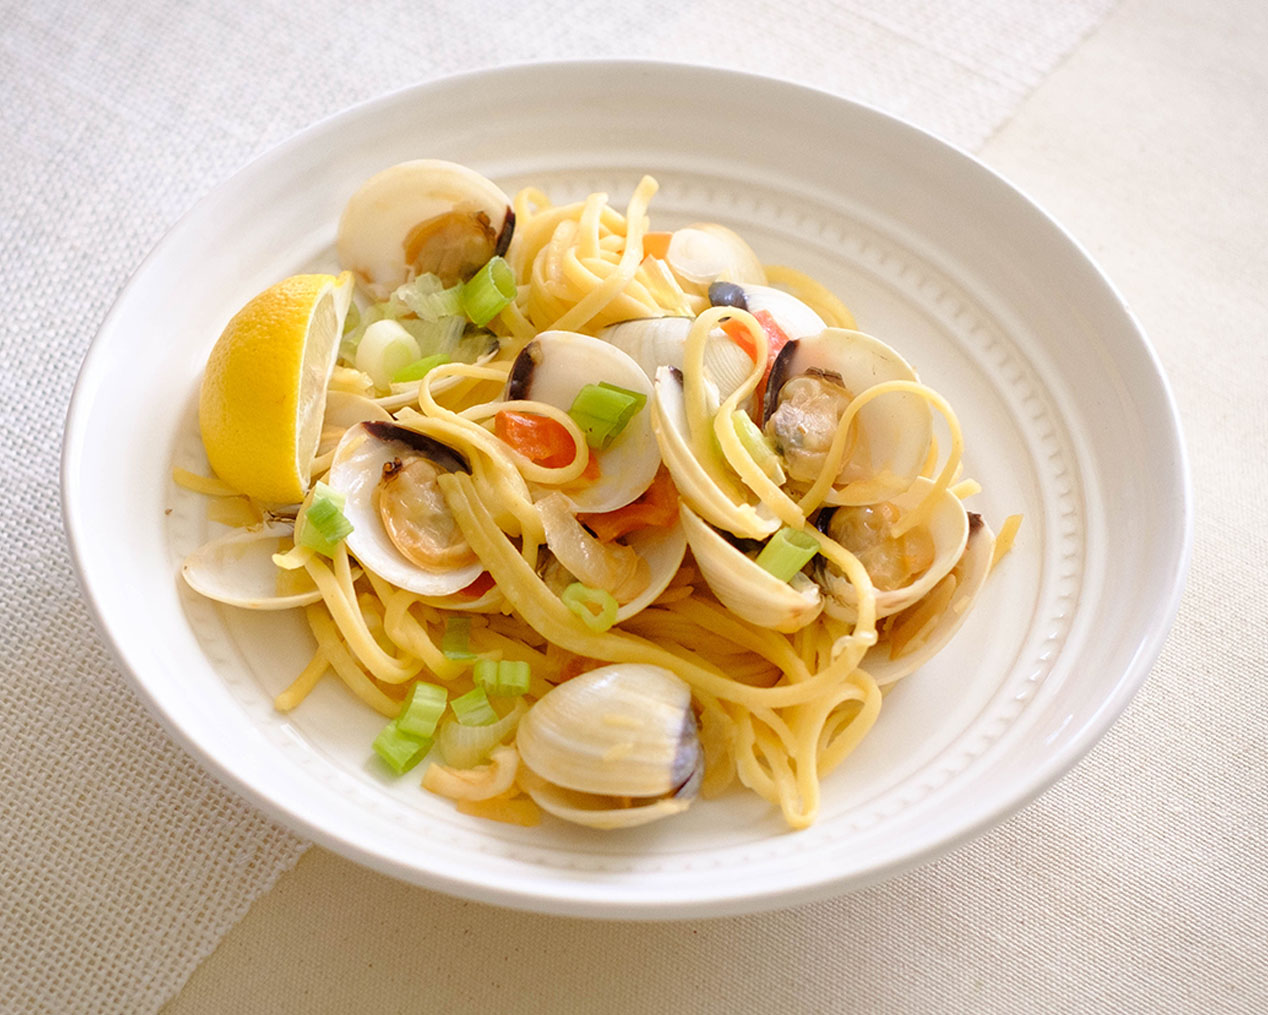
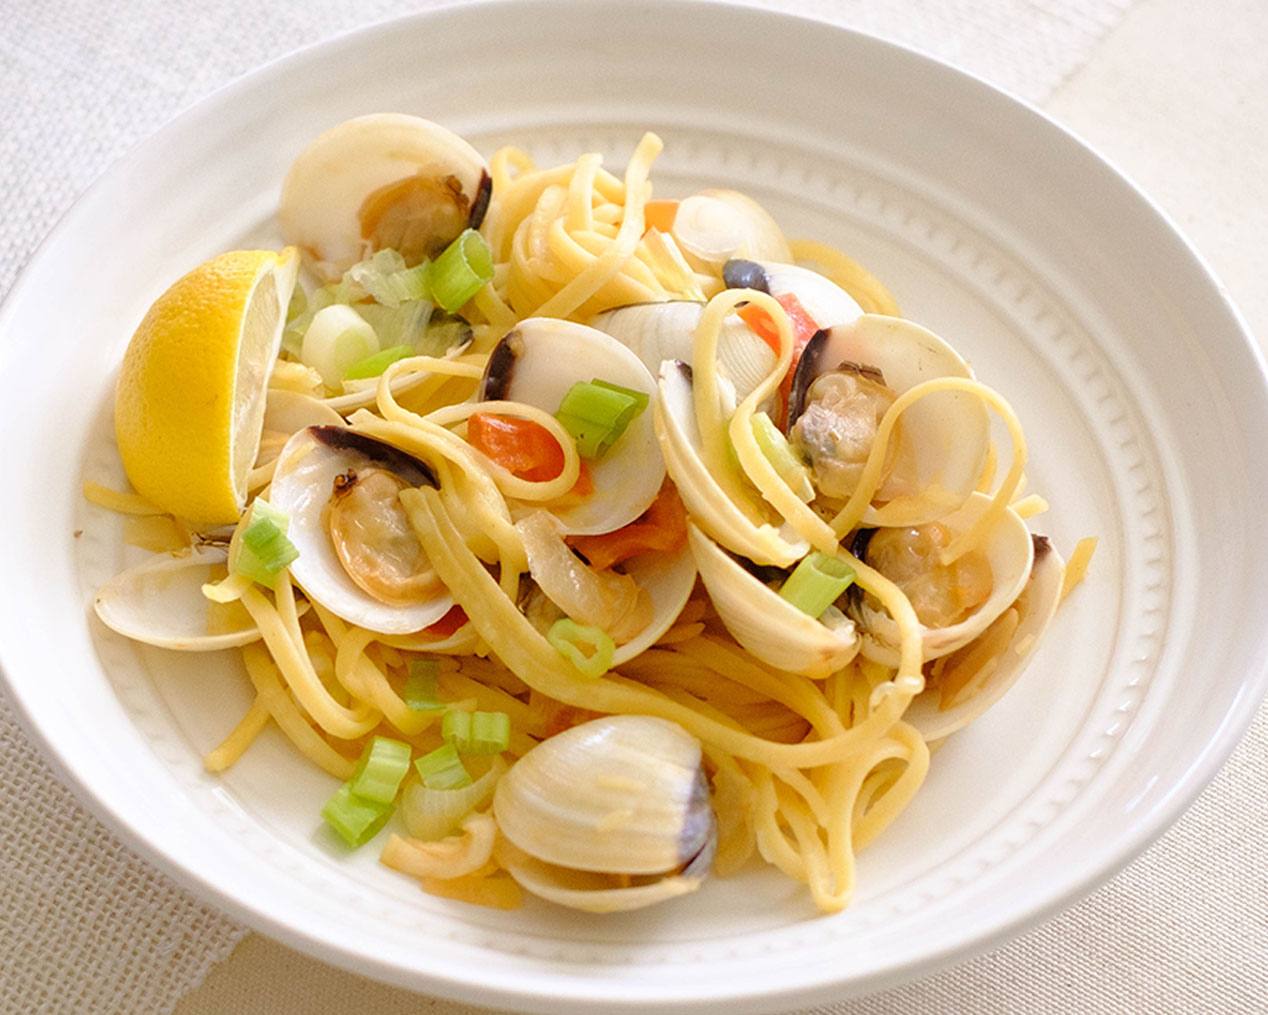
- Serve: Lay the shrimp on a plate and top with the vibrant dragon fruit salsa. Serve immediately and enjoy the burst of fresh flavors!
Reference the recipe card below for detailed instructions.

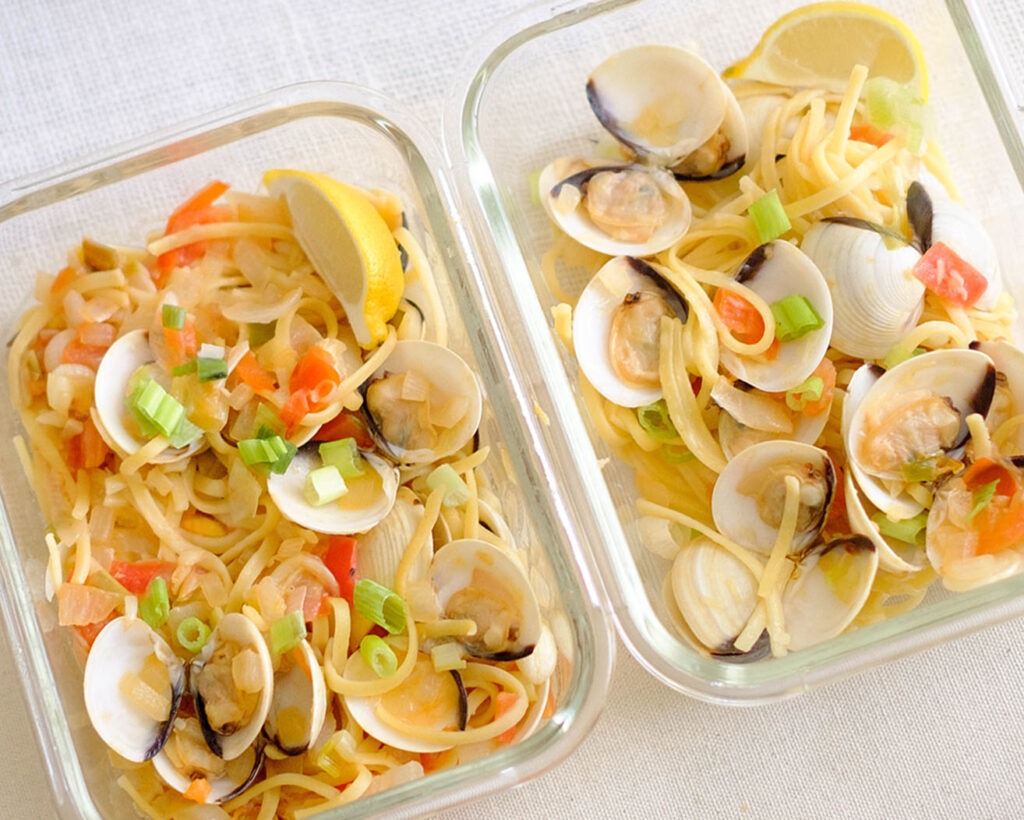
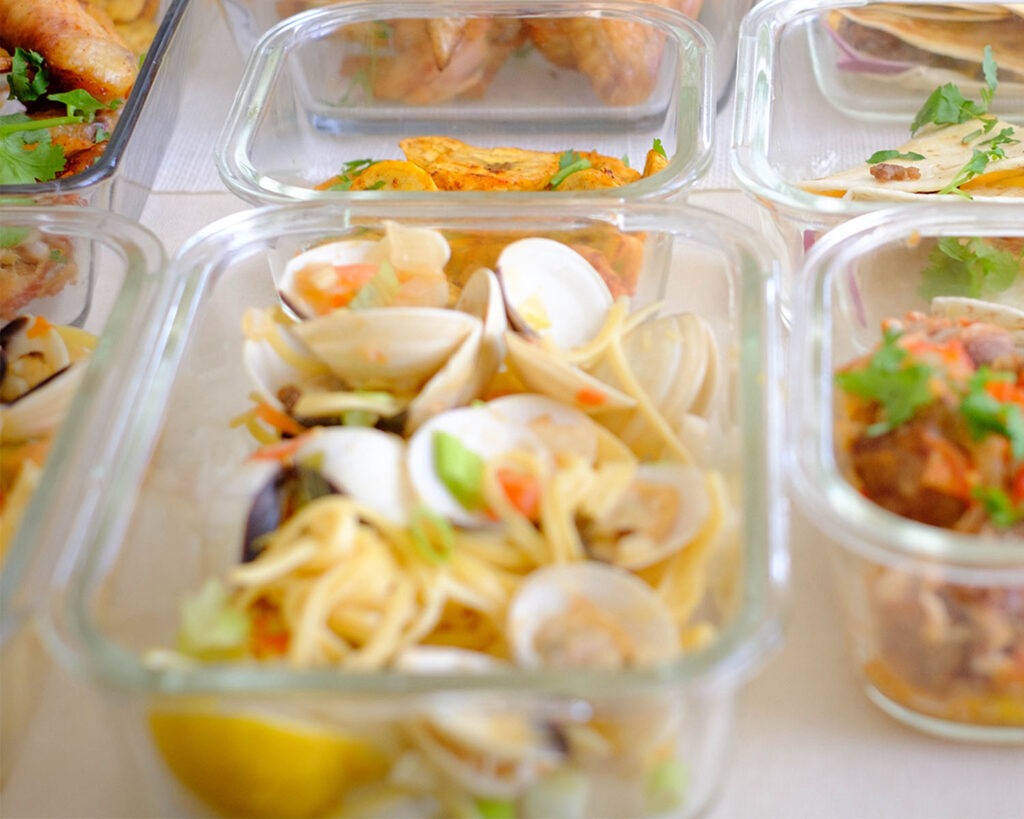
Meal Prep Tips:
- Avocado: Add diced avocado for a creamy texture and an extra dose of healthy fats.
- Jalapeño: For a bit of heat, finely chop a jalapeño or another chili pepper and mix it into the salsa.
- Cucumber: Add diced cucumber for extra crunch and hydration, making the salsa even more refreshing.
- Mint: Swap half of the basil for fresh mint to give the salsa a bright, cooling flavor.
- Protein Swap: Instead of shrimp, try grilled chicken, tofu, or even black beans for a different source of protein.
- Fruit Swap: Swap dragon fruit with diced mango, pineapple, or even kiwi for a different but equally delicious flavor profile.
- Red Onion Swap: If you prefer a milder flavor, swap red onions for thinly sliced green onions or shallots.


Frequently Asked Questions
Can I use raw shrimp instead of pre-cooked shrimp?
Absolutely! If you prefer to use raw shrimp, just cook them first by sautéing or grilling until they’re pink and opaque. Let them cool before adding to the salsa
What can I serve with this salsa?
This salsa is versatile! Serve it as an appetizer with tortilla chips, as a topping for tacos, or over a bed of greens for a light salad. It also pairs well with grilled fish or chicken.
Can I use other fruits along with dragon fruit?
Yes, you can mix in other fruits like diced mango, pineapple, or even strawberries to create a more complex and fruity salsa. It’s a great way to experiment with flavors!


Dragon Fruit Salsa with Shrimp
Equipment
Ingredients
Instructions
Notes
Nutrition