
Don’t hesitate to give this easy grilled lemon pesto chicken a try! It’s a quick and nutritious option that’s sure to become a favorite in your household. Not only is it simple to prepare, but it’s also packed with flavor and nutrients, making it a win-win for your taste buds and your health. Happy grilling!
This post may contain affiliate links. Please see our privacy policy for details.

Why This Recipe is a Must-Try:
- Nutrient-Rich: Chicken breasts are a great source of lean protein, essential for muscle repair and growth. The basil pesto adds a dose of healthy fats and antioxidants from the basil, nuts, and olive oil.
- Flavorful and Aromatic: The combination of lemon and pesto creates a vibrant, fresh taste that elevates the chicken, making it anything but ordinary.
- Time-Saving: Using a premade basil pesto is a fantastic meal prep hack. It saves time without compromising on flavor. You can find high-quality pesto at most grocery stores, and it’s a great pantry staple to have on hand for a quick flavor boost in various dishes.
- Versatile: This recipe is incredibly flexible. Whether you’re meal prepping for the week, hosting a barbecue, or simply looking for a quick and healthy dinner option, this grilled chicken fits the bill perfectly.

Ingredients You’ll Need
- Chicken Breasts: Chicken breasts are a lean source of protein, essential for muscle growth and repair. They are versatile and absorb flavors well when marinated. You can substitute chicken thighs for a juicier alternative, though they contain more fat. For a vegetarian option, use tofu or portobello mushrooms.
- Lemon: Lemon juice adds a fresh, zesty flavor and helps to tenderize the chicken by breaking down the proteins in the meat. Lime juice can be used for a different citrus flavor. If citrus is not preferred, a splash of apple cider vinegar can provide the needed acidity.
- Basil Pesto Sauce: Pesto adds a rich, aromatic flavor from the basil, garlic, nuts, and cheese. It also provides healthy fats from the olive oil, enhancing the overall taste of the chicken. If you don’t have basil pesto, you can use sun-dried tomato pesto, arugula pesto, or a store-bought marinade of your choice. For a dairy-free version, use a vegan pesto.

How to Grill Lemon Pesto Chicken
- In a small bowl, mix together the basil pesto with the juice of a lemon. Place your chicken breasts in a Ziploc bag or mixing bowl and marinate the chicken with the pesto sauce for at least one hour or overnight. This allows the flavors to deeply penetrate the meat, ensuring every bite is bursting with taste.
- Heat up a grill over medium-high heat. Grill the chicken on each side for about 5 to 7 minutes. Depending on the thickness of your chicken, continue to fully cook until it reaches an internal temperature of 165°F.
- Once cooked, remove the chicken from the grill and let it rest for a few minutes before slicing into strips. This step is crucial as it allows the juices to redistribute, making the chicken more tender and juicy.
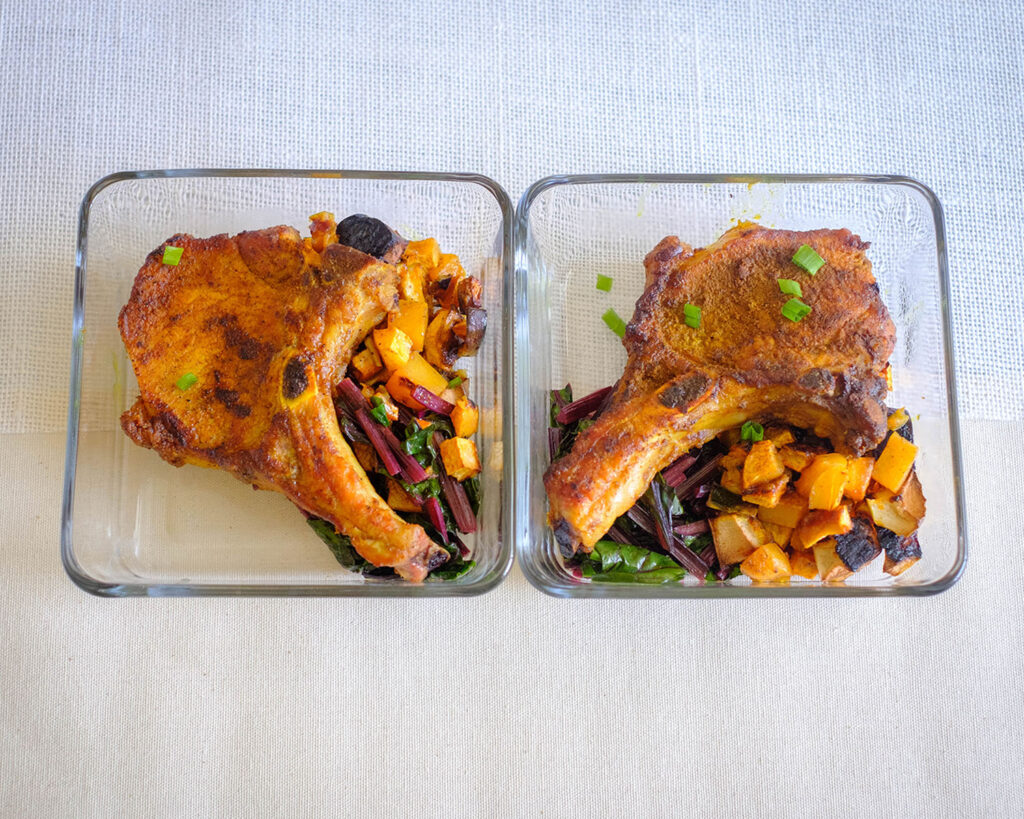
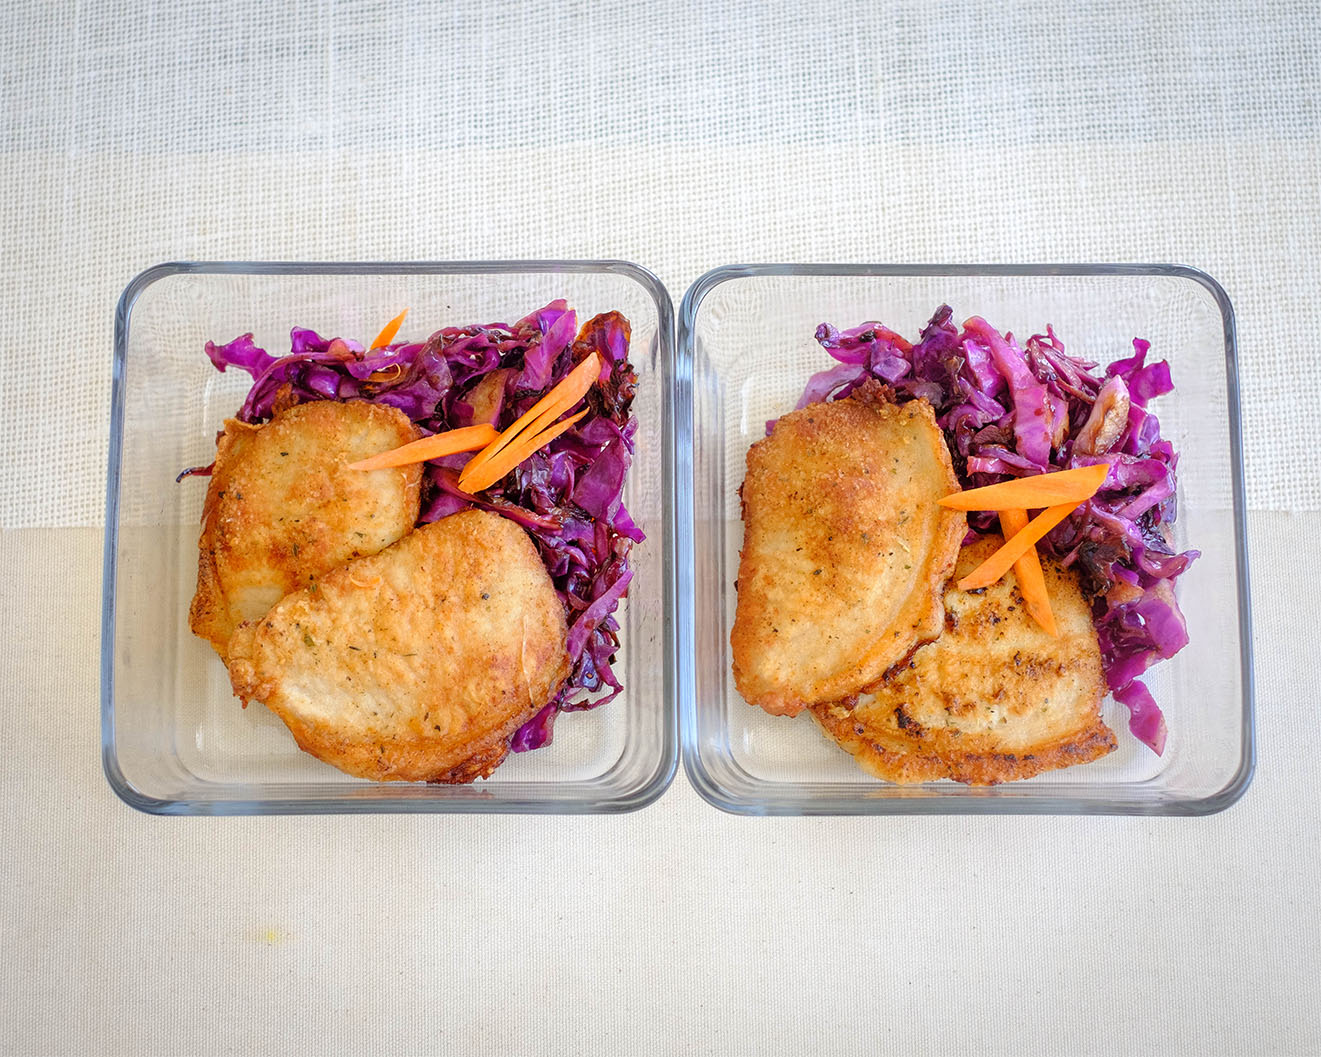
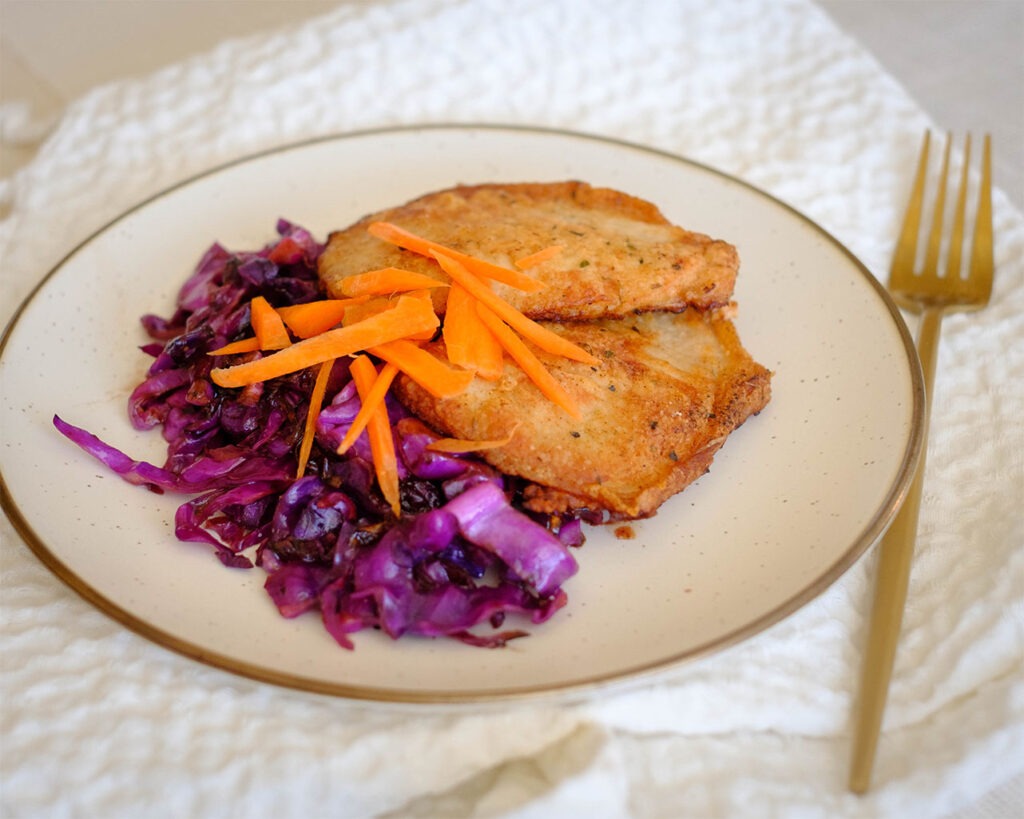
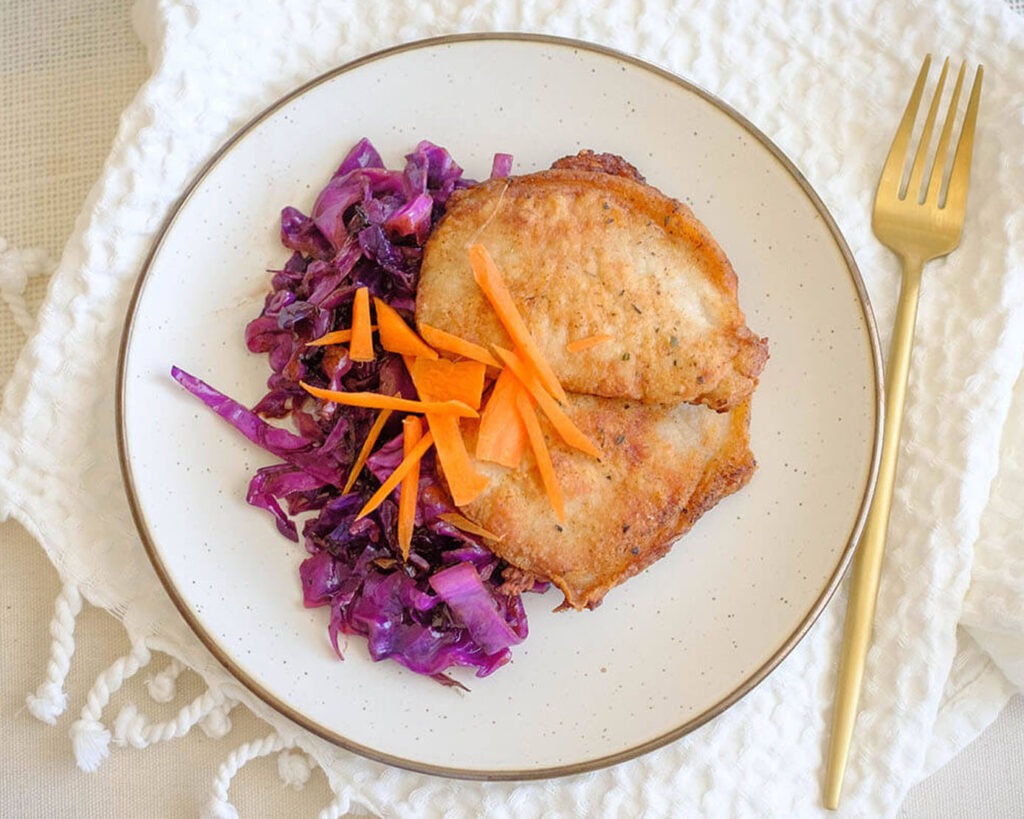
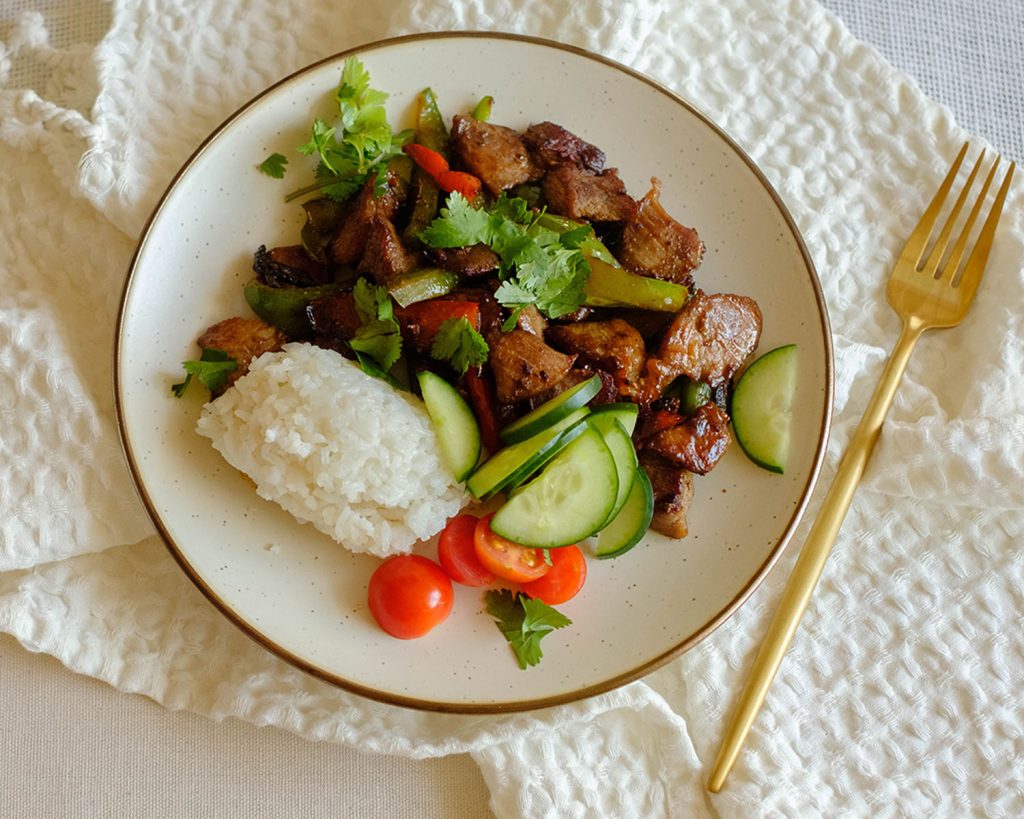
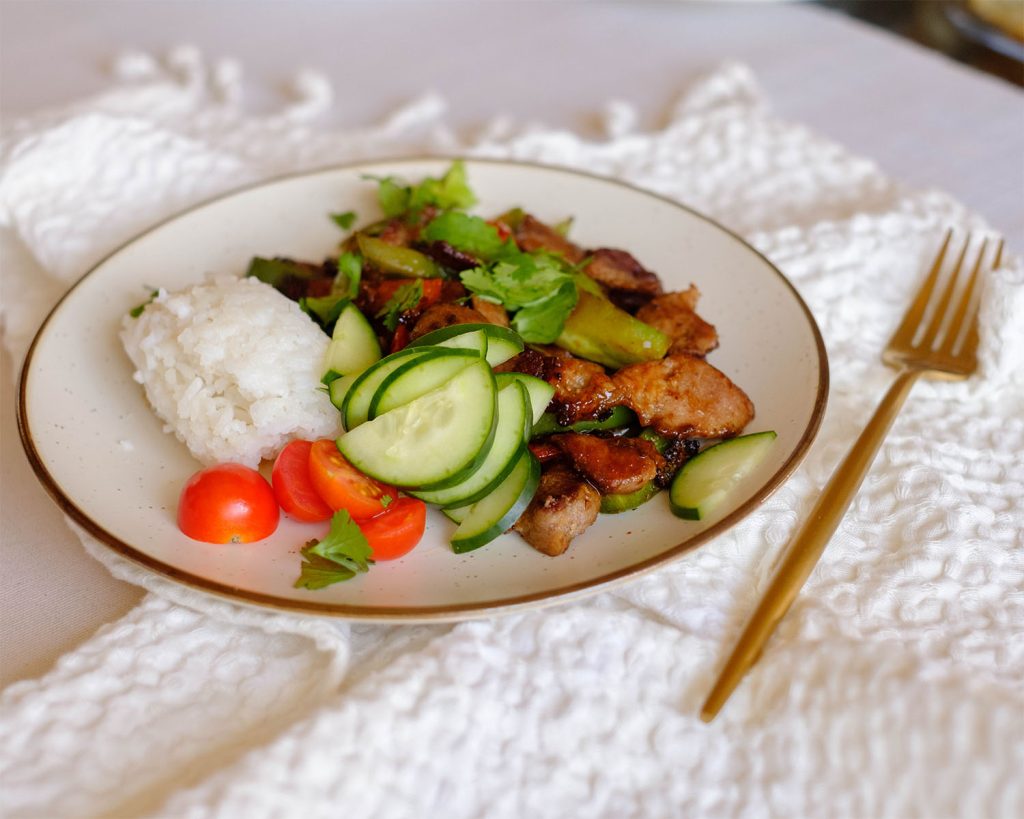
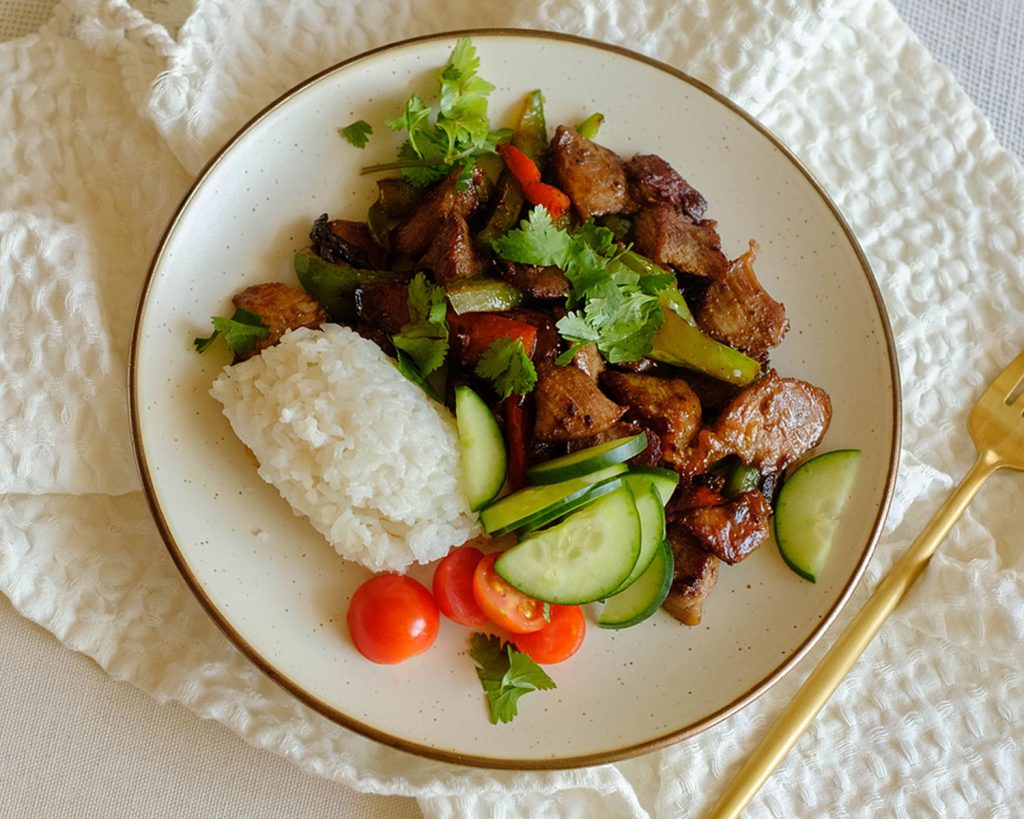
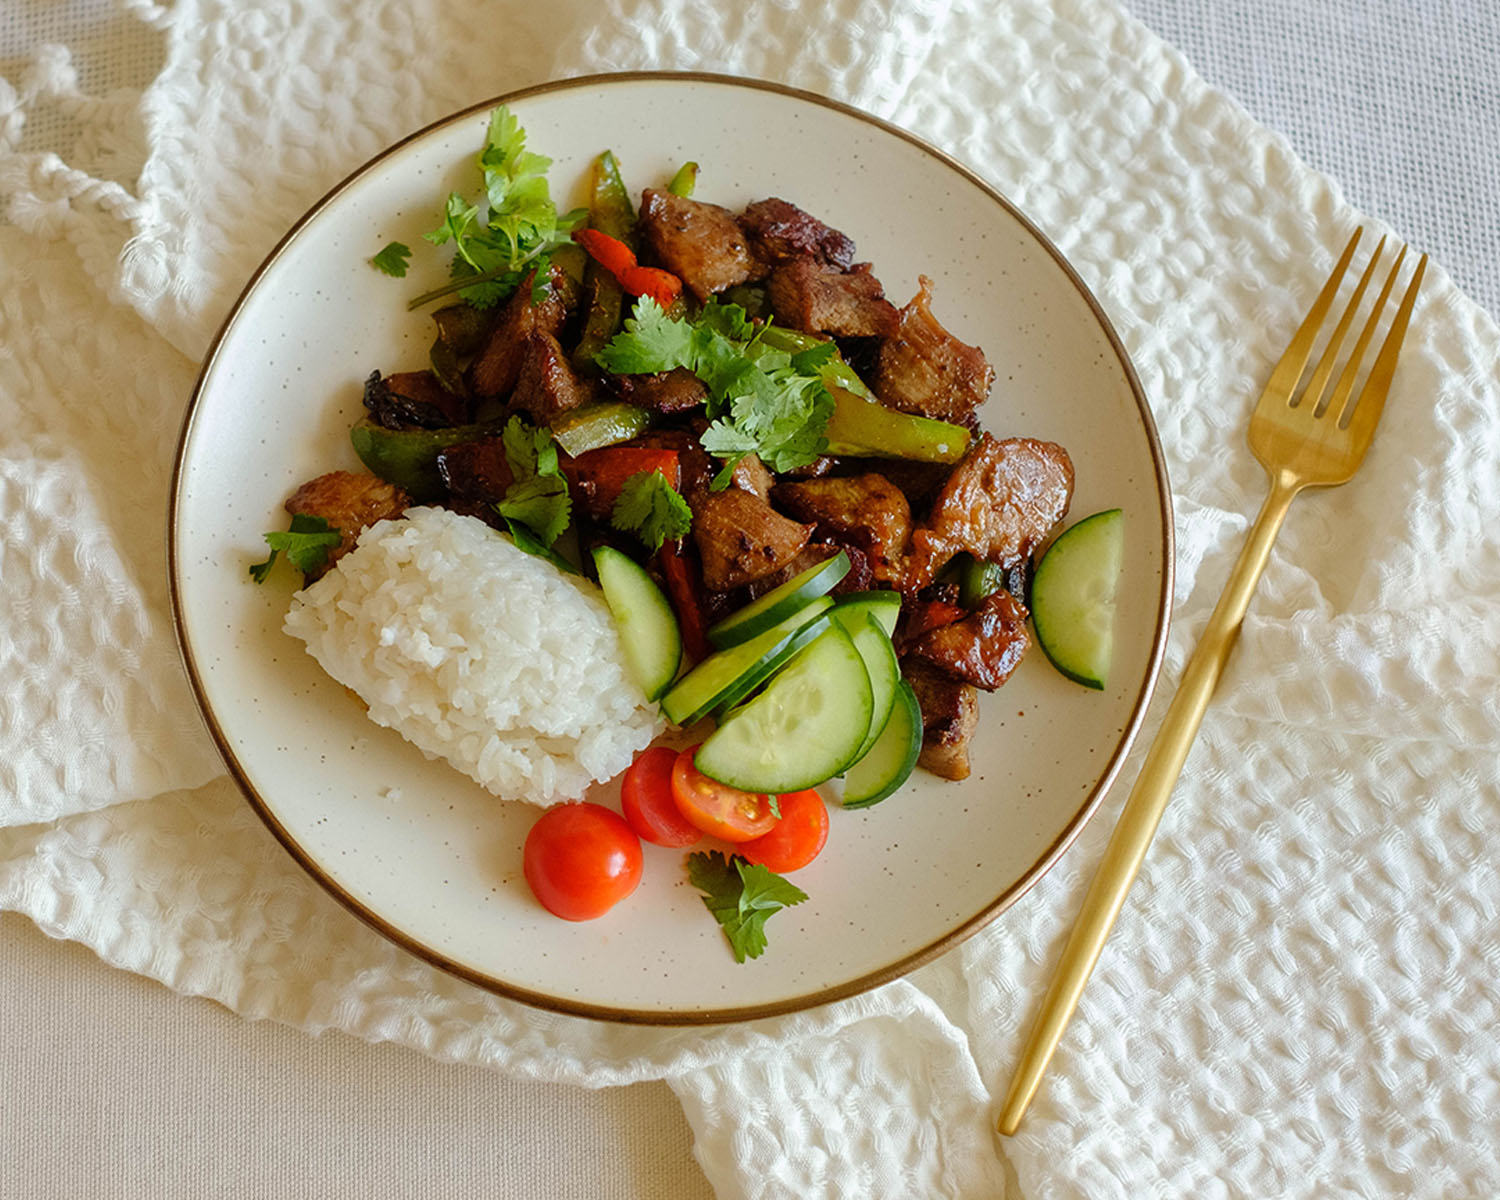
- Serve your grilled lemon pesto chicken with your choice of sides such as grilled veggies, potato salad, or a side salad. This versatile dish pairs well with a variety of accompaniments, making it a fantastic centerpiece for any meal.
Reference the recipe card below for detailed instructions.

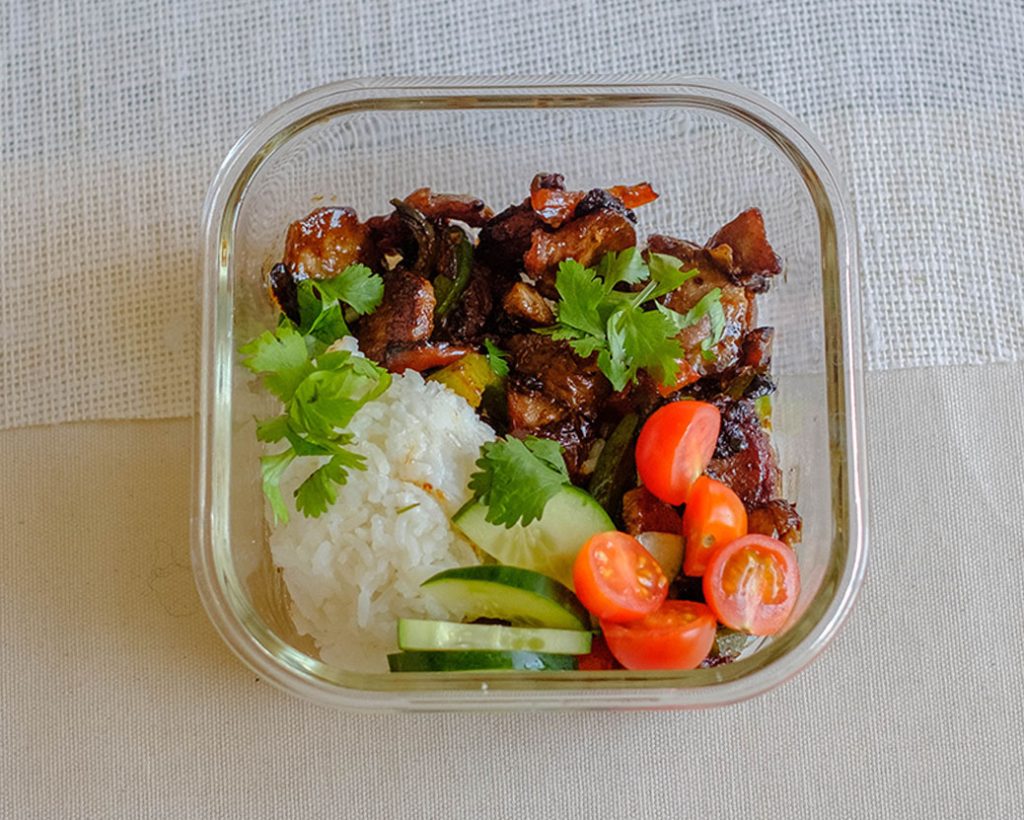
Meal Prep Tips for Grilled Chicken
- Yogurt Marinade: To tenderize and add a creamy texture, mix Greek yogurt with the lemon juice and pesto for a creamy marinade that further tenderizes the chicken and adds a tangy flavor.
- Alternative Cooking Methods: If grilling is not an option, you can bake the marinated chicken in the oven at 375°F for 25-30 minutes, or cook it in a skillet on the stovetop until fully cooked.
- Platter Presentation: Arrange the sliced grilled chicken on a large serving platter. Garnish with fresh basil leaves, lemon slices, and a drizzle of extra pesto sauce. Sprinkle some grated Parmesan cheese on top for an elegant touch.
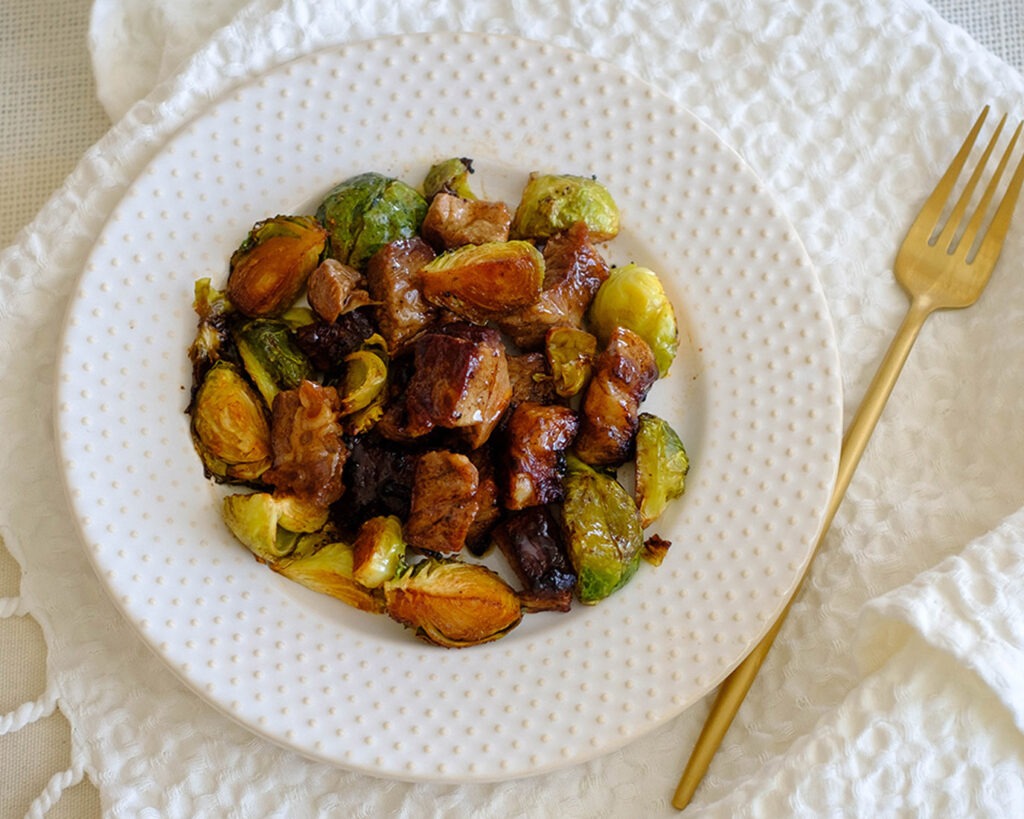
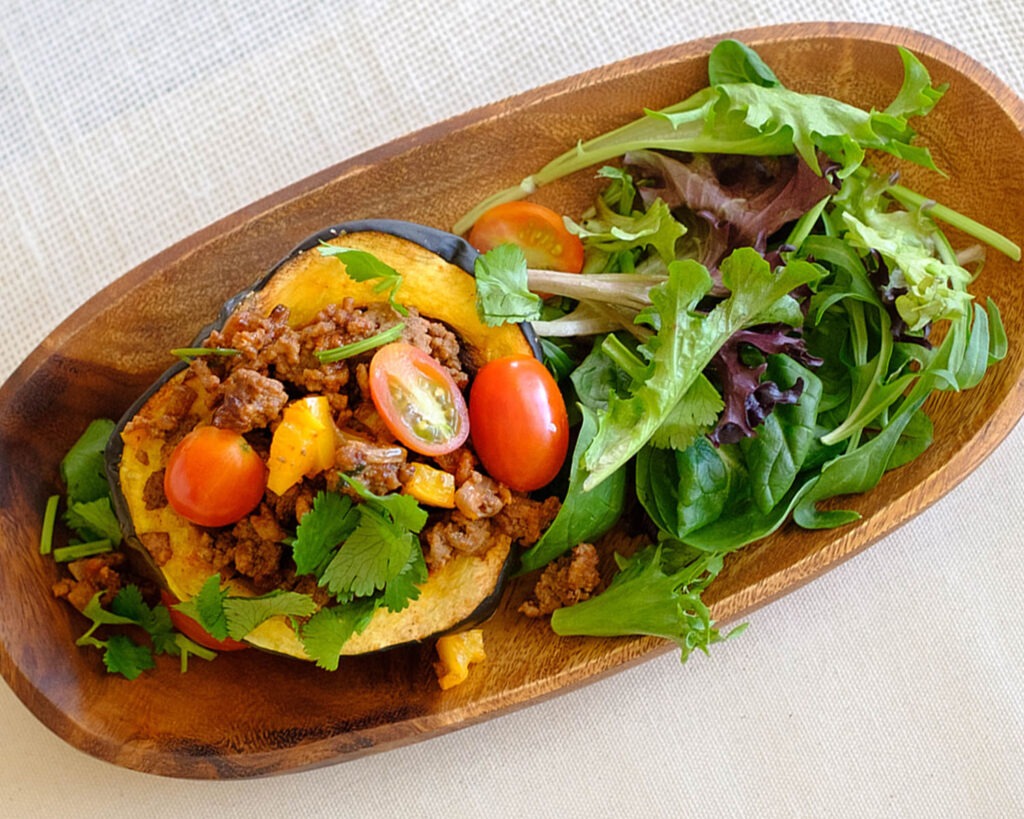
- Recommended Side Dishes: Enjoy with grilled veggies such as zucchini, bell peppers, and cherry tomatoes. You can also enjoy it with a classic cold potato salad with a creamy dressing. Other options include a delicious mediterranean couscous salad topped with red onions, cucumber, olives, and feta cheese.


Frequently Asked Questions
How do I prevent the chicken from sticking to the grill?
Preheat the grill, oil the grates, and avoid moving the chicken too soon. Let it cook on one side for a few minutes before flipping.
How should I store leftovers?
Store leftovers in an airtight container in the refrigerator for up to 3 days. Reheat gently in a microwave or on the stovetop.
How can I adjust the flavor?
Add extra herbs, spices, or swap the lemon juice for lime or orange juice. You can also mix in a bit of honey or maple syrup for sweetness.


Grilled Lemon Pesto Chicken
Equipment
Ingredients
Instructions
Notes
Nutrition