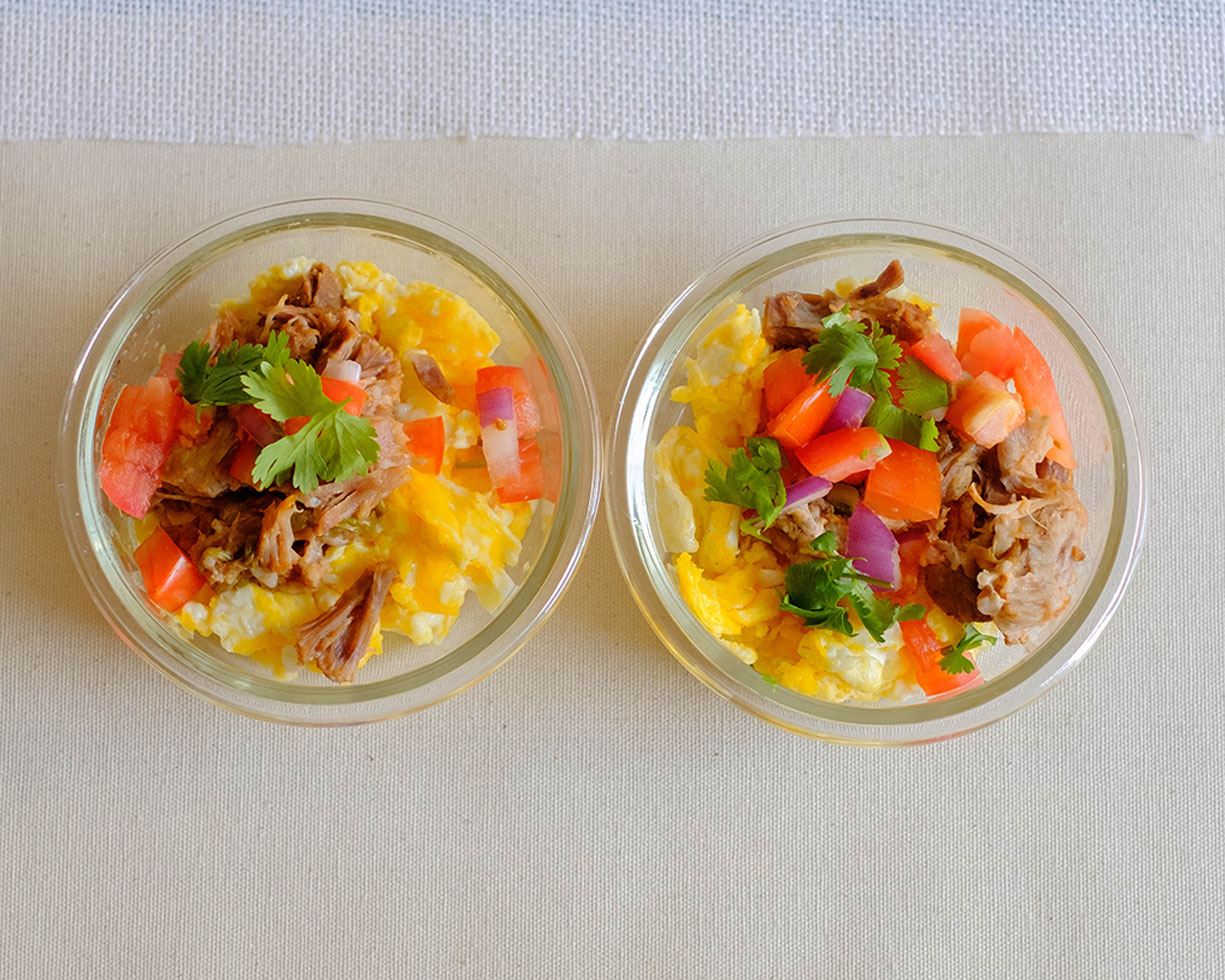
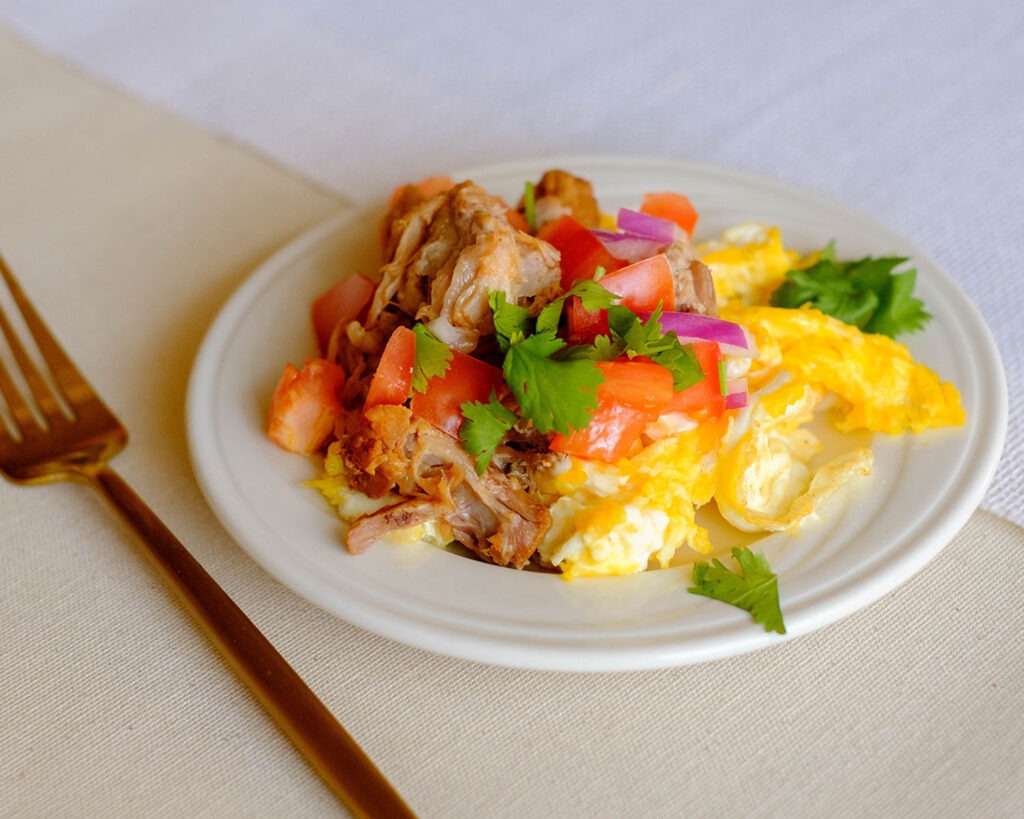
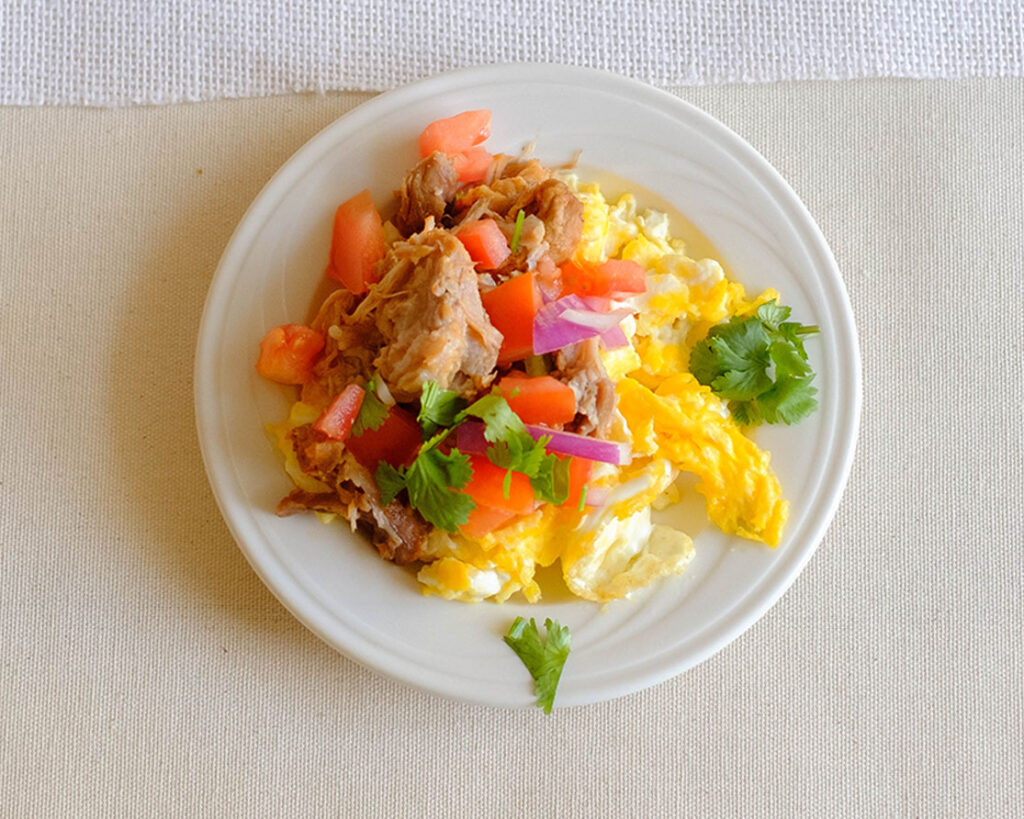
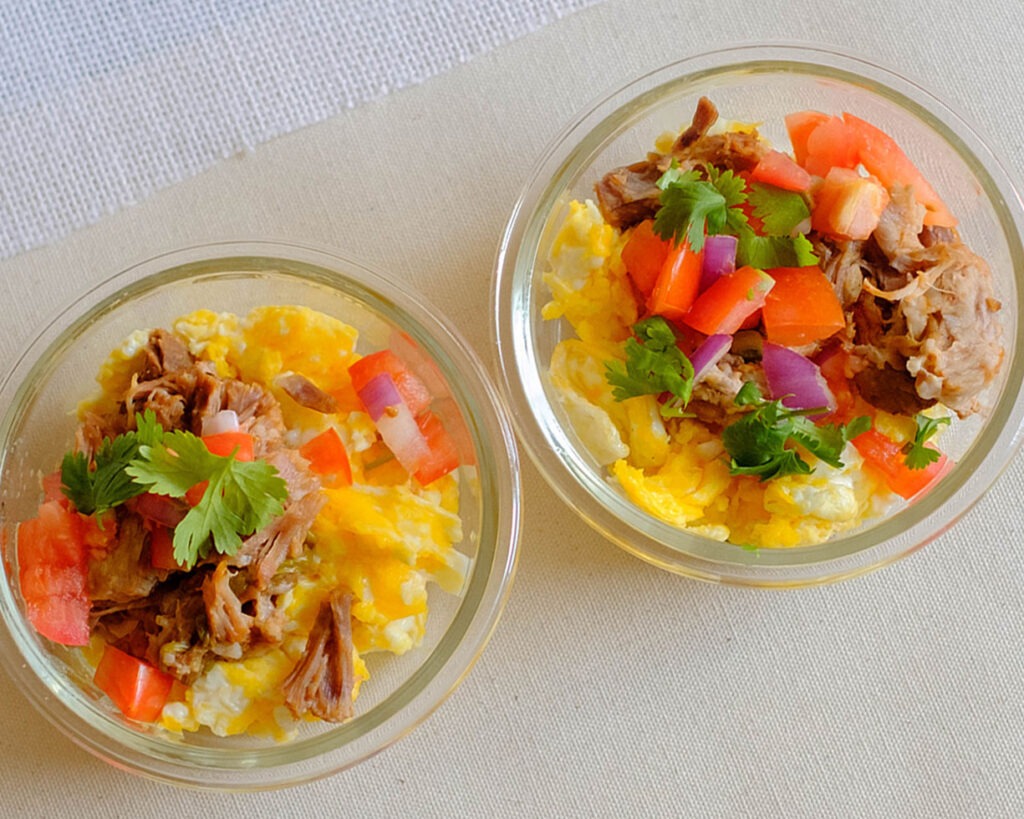
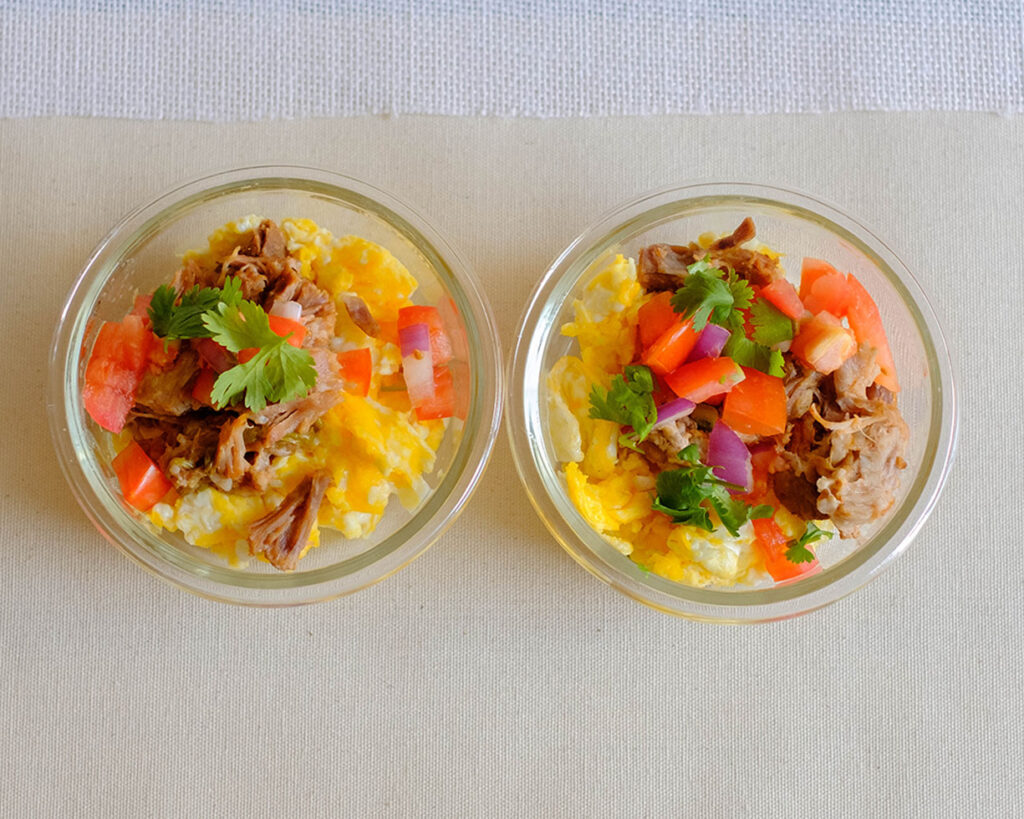
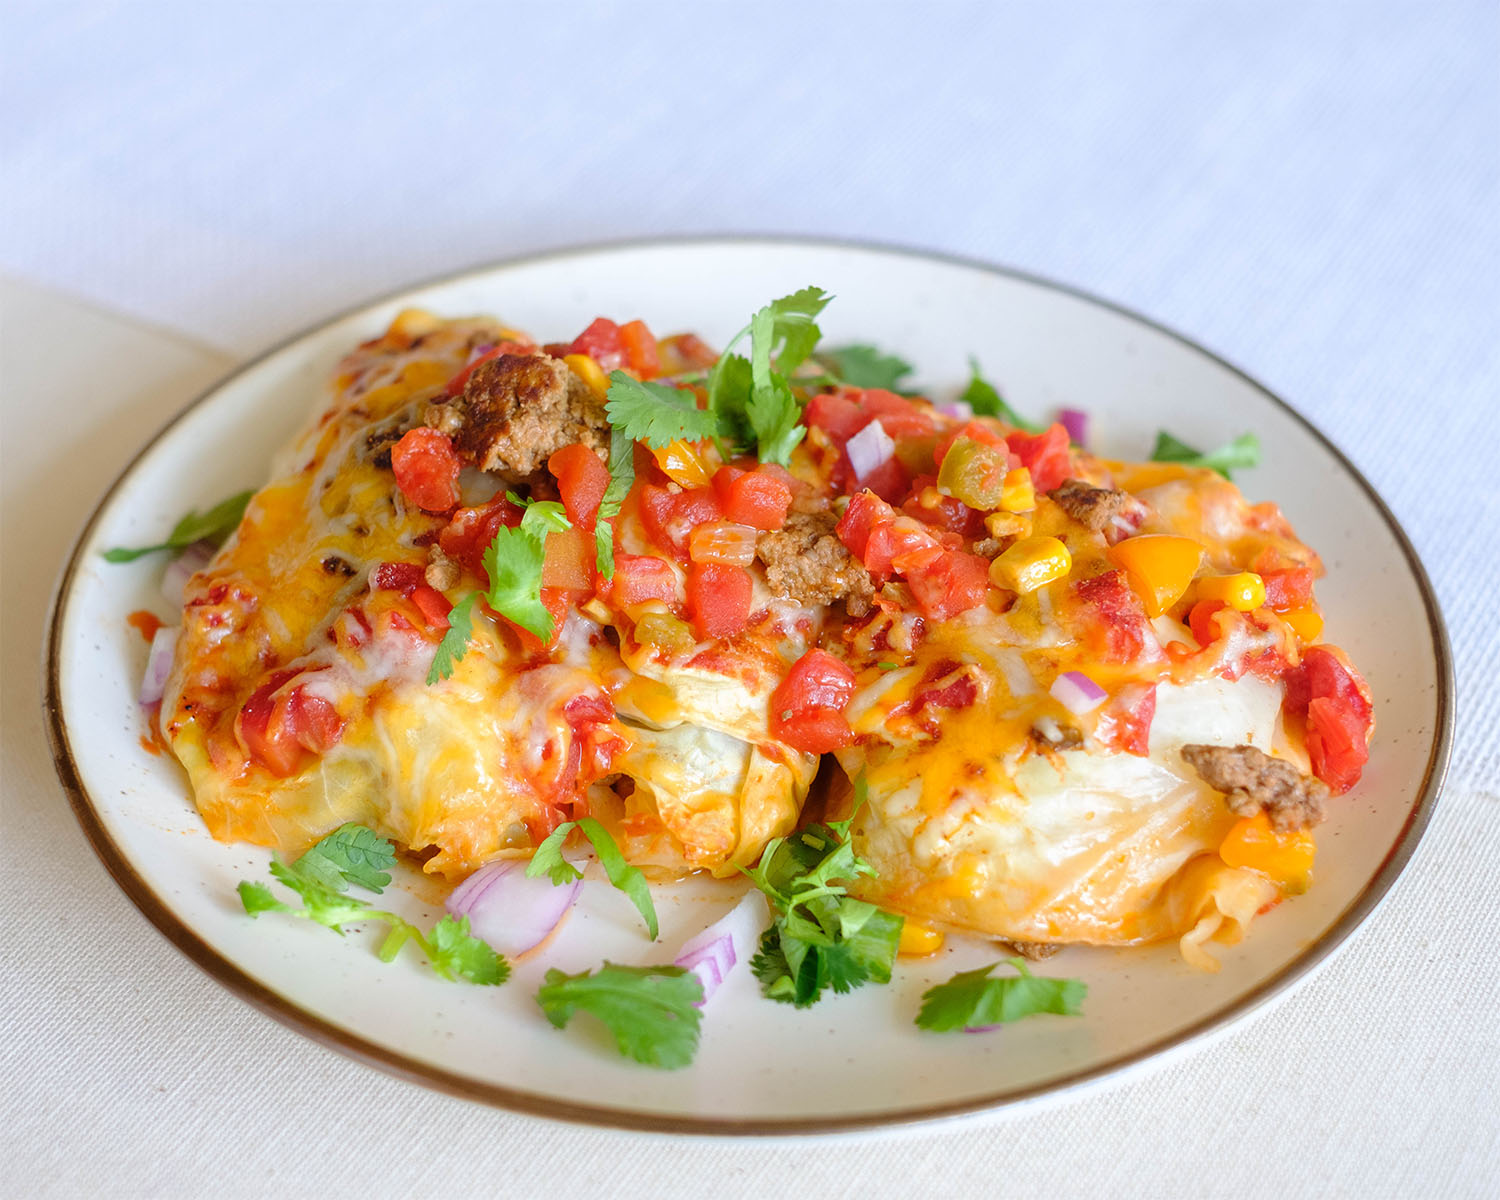
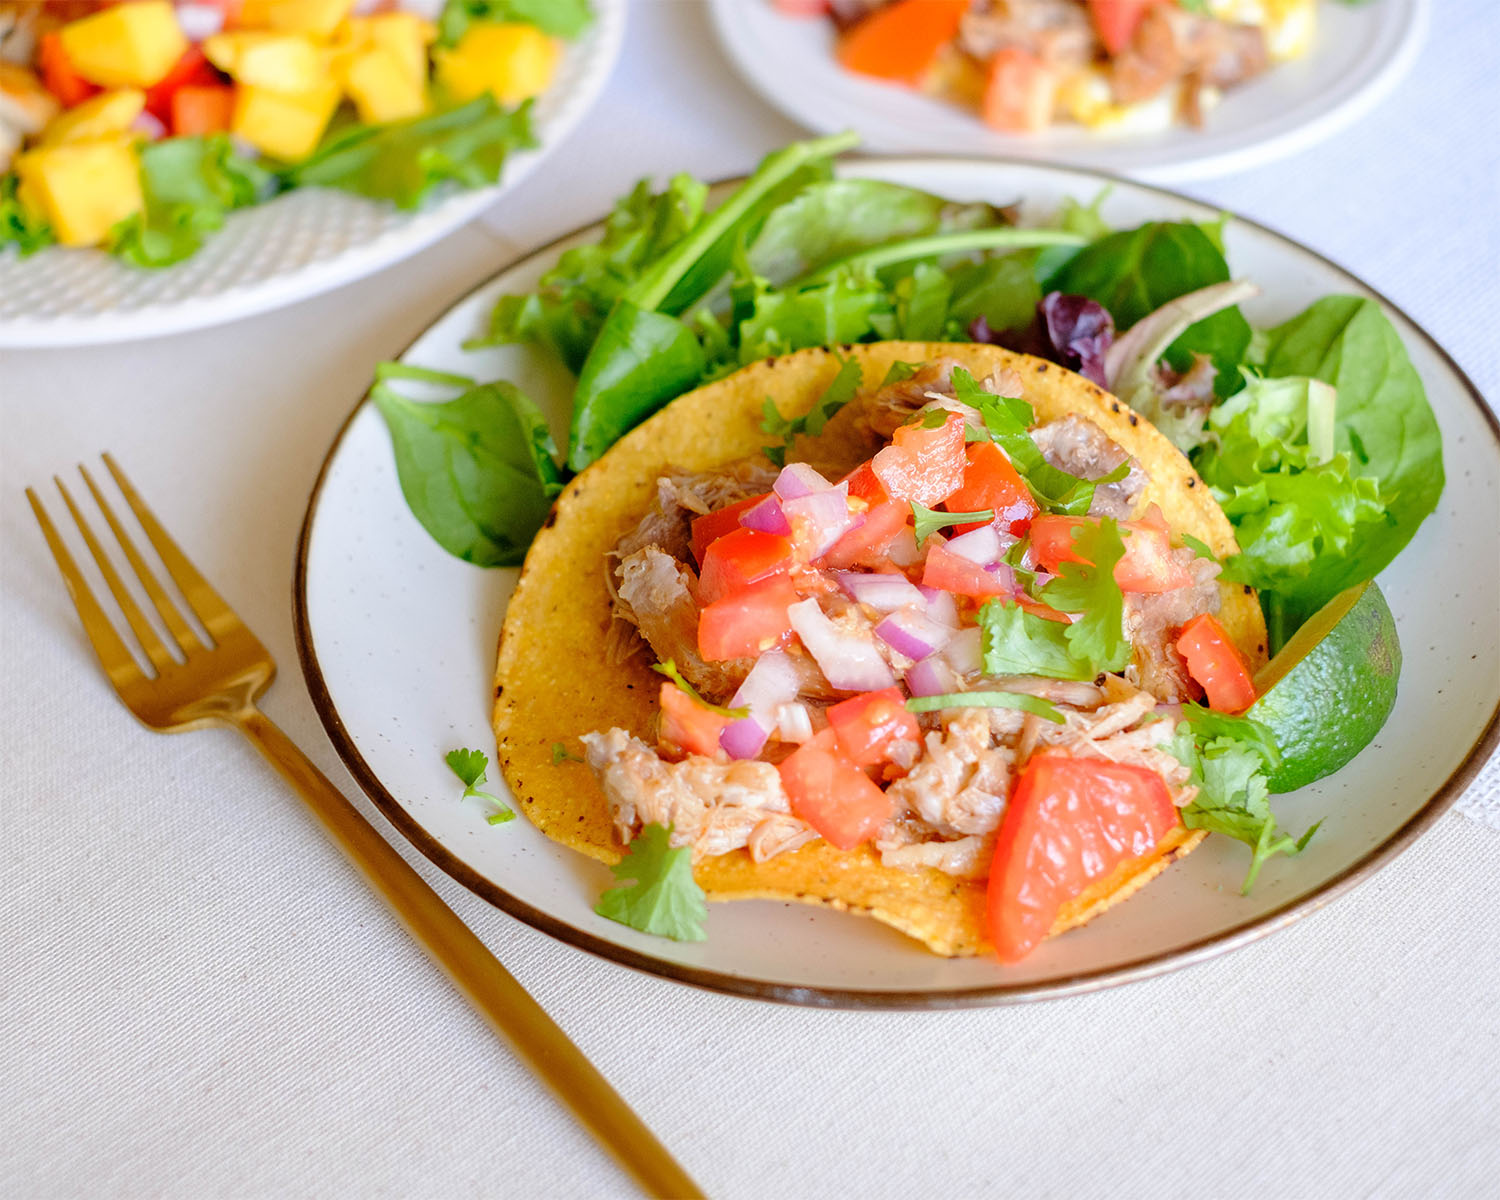
Picture this: golden swirls of perfectly scrambled eggs embracing tender shreds of yesterday’s savory pork carnitas, all crowned with a vibrant pico de gallo flourish. This recipe isn’t just about fueling your day; it’s about savoring every bite. With its easy preparation, ingenious use of leftovers, restaurant-quality flavors, and a protein-packed punch to keep you energized until lunch, get ready to elevate your breakfast game to new heights. Breakfast just got a whole lot more exciting!
This post may contain affiliate links. Please see our privacy policy for details.

Here’s why you need to make this:
- Effortless Elegance: This breakfast meal prep idea is a fantastic choice for those hectic mornings when time is of the essence. The straightforward instructions and minimal ingredients make it a breeze to whip up a breakfast that feels like it was crafted by a seasoned chef. In just a few easy steps, you can have a gourmet-style meal that’s as pleasing to the eyes as it is to the palate.
- Leftovers Turned Gold: Transforming yesterday’s dinner into today’s breakfast not only reduces food waste but also adds a layer of rich, savory depth to your morning meal. The incorporation of leftover pork carnitas not only adds flavor but also ensures that every bite is a delicious reminder of a previous culinary triumph.
- Restaurant-Quality Delight: Forget about breakfast monotony! With this meal prep, you’re bringing restaurant-quality flavors to your own kitchen. The combination of fluffy scrambled eggs, succulent carnitas, and vibrant pico de gallo creates a symphony of tastes that rivals your favorite breakfast spot. Who needs to dine out when you can create a gourmet experience right at home?
- Protein Powerhouse: Kickstart your day with a protein-packed punch! The eggs and leftover pork carnitas team up to deliver a high-protein breakfast that will keep you fueled and satisfied until lunchtime. Protein is not only essential for muscle repair but also aids in maintaining a healthy metabolism, making this breakfast an ideal choice for those looking to power through their busy mornings.
- Saves Time, Satisfies Cravings: By incorporating leftovers and keeping the prep simple, you’re not just saving time – you’re satisfying your breakfast cravings with a meal that checks all the boxes. The harmonious blend of textures and flavors ensures that your taste buds are treated to a delightful morning experience without the need for an extensive cooking session. It’s a win-win for both your schedule and your palate!
Ingredients & Pairing Tips
The ingredients are simple. All you need are eggs, leftover carnitas, and your choice of toppings. Check out our carnitas recipe here. Meal prepping is all about customization, so feel free to experiment with different pairings to suit your taste preferences and nutritional goals. Here’s some pairing tips for this meal prep:
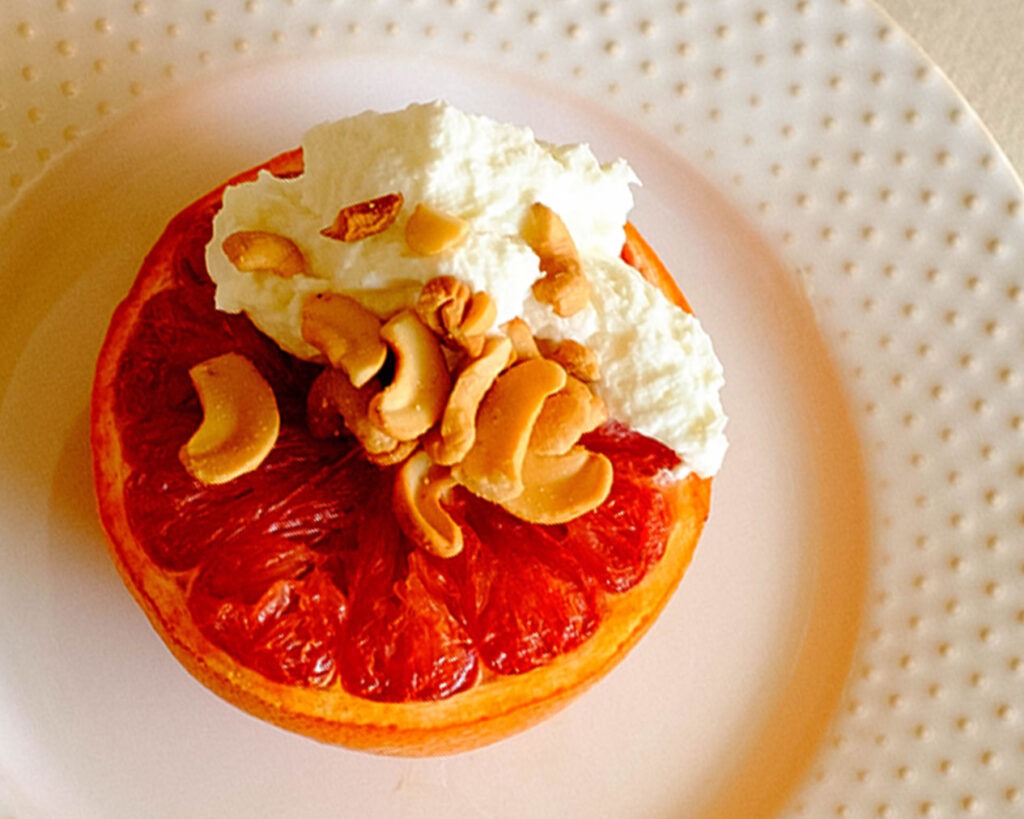
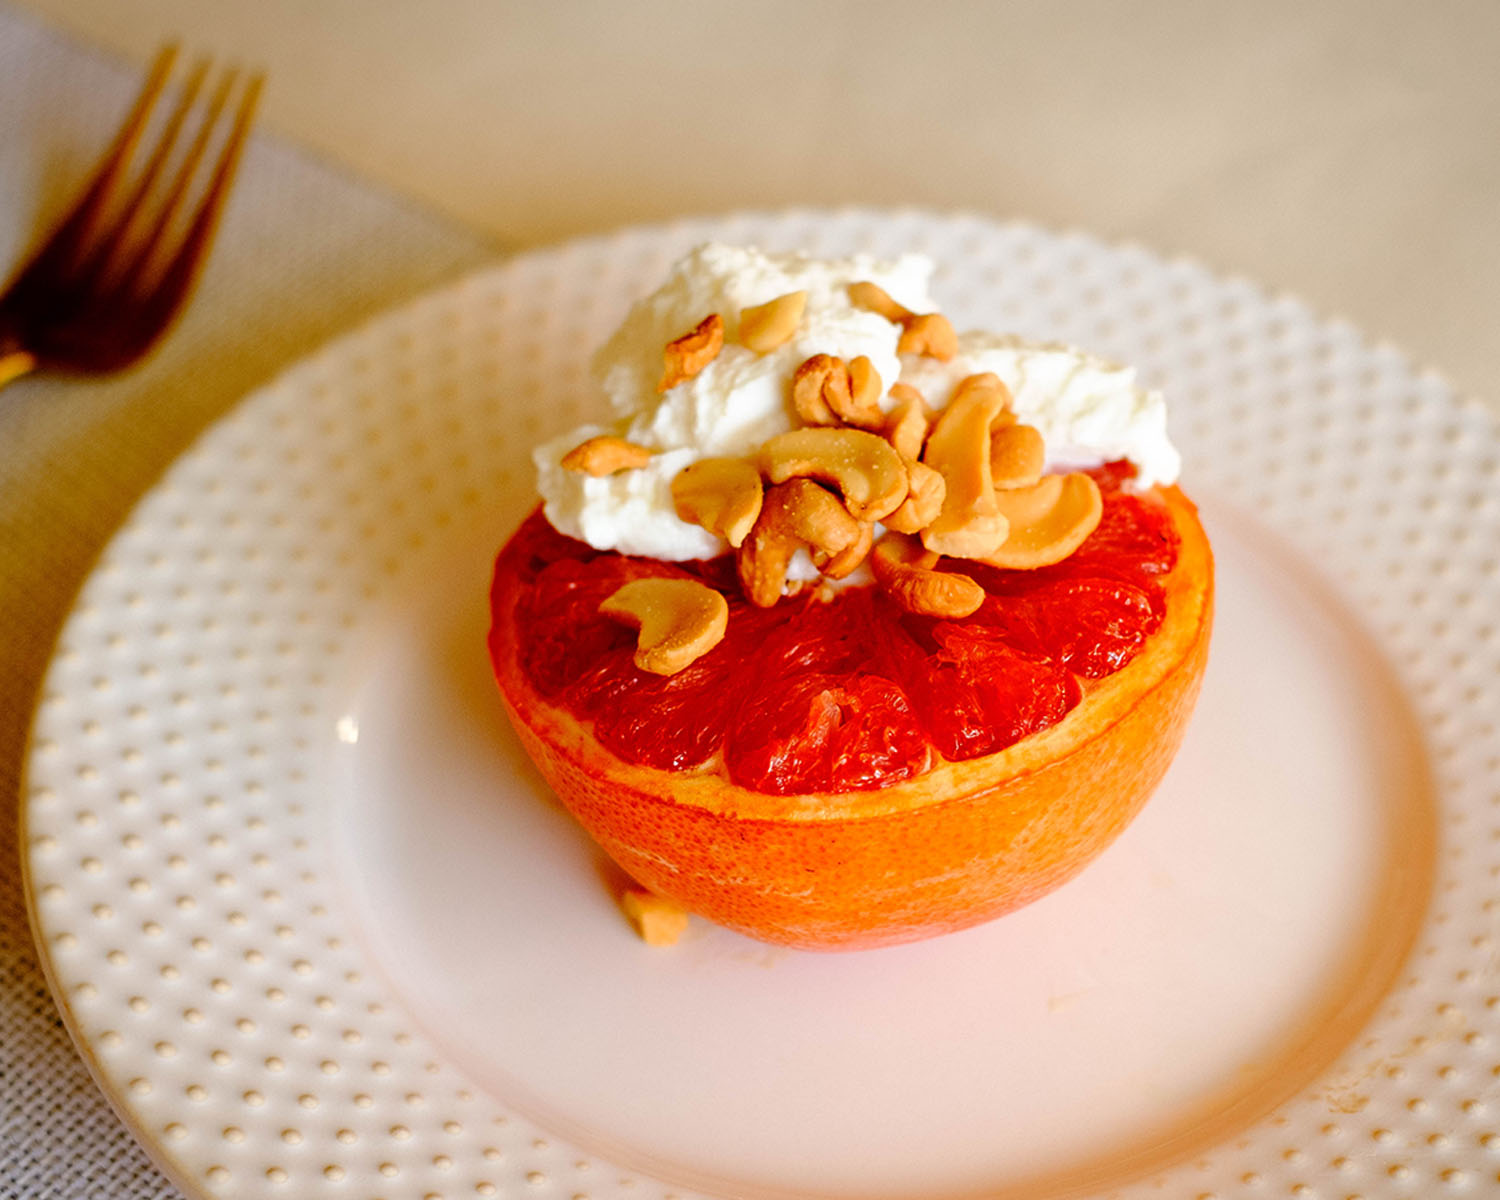
- Fresh Fruit Medley: Balance the savory goodness of your scrambled eggs and pork carnitas with a side of fresh fruit. Berries, melon cubes, or citrus segments can add a refreshing touch to your breakfast.
- Whole Grain Toast or Tortillas: Accompany your fiesta with whole grain toast or warm tortillas. Not only does this add a satisfying crunch, but it also introduces complex carbohydrates for a well-rounded meal.
- Yogurt Parfait: Elevate your breakfast with a yogurt parfait. Layer Greek yogurt with granola and a drizzle of honey for a delightful contrast to the savory main course.
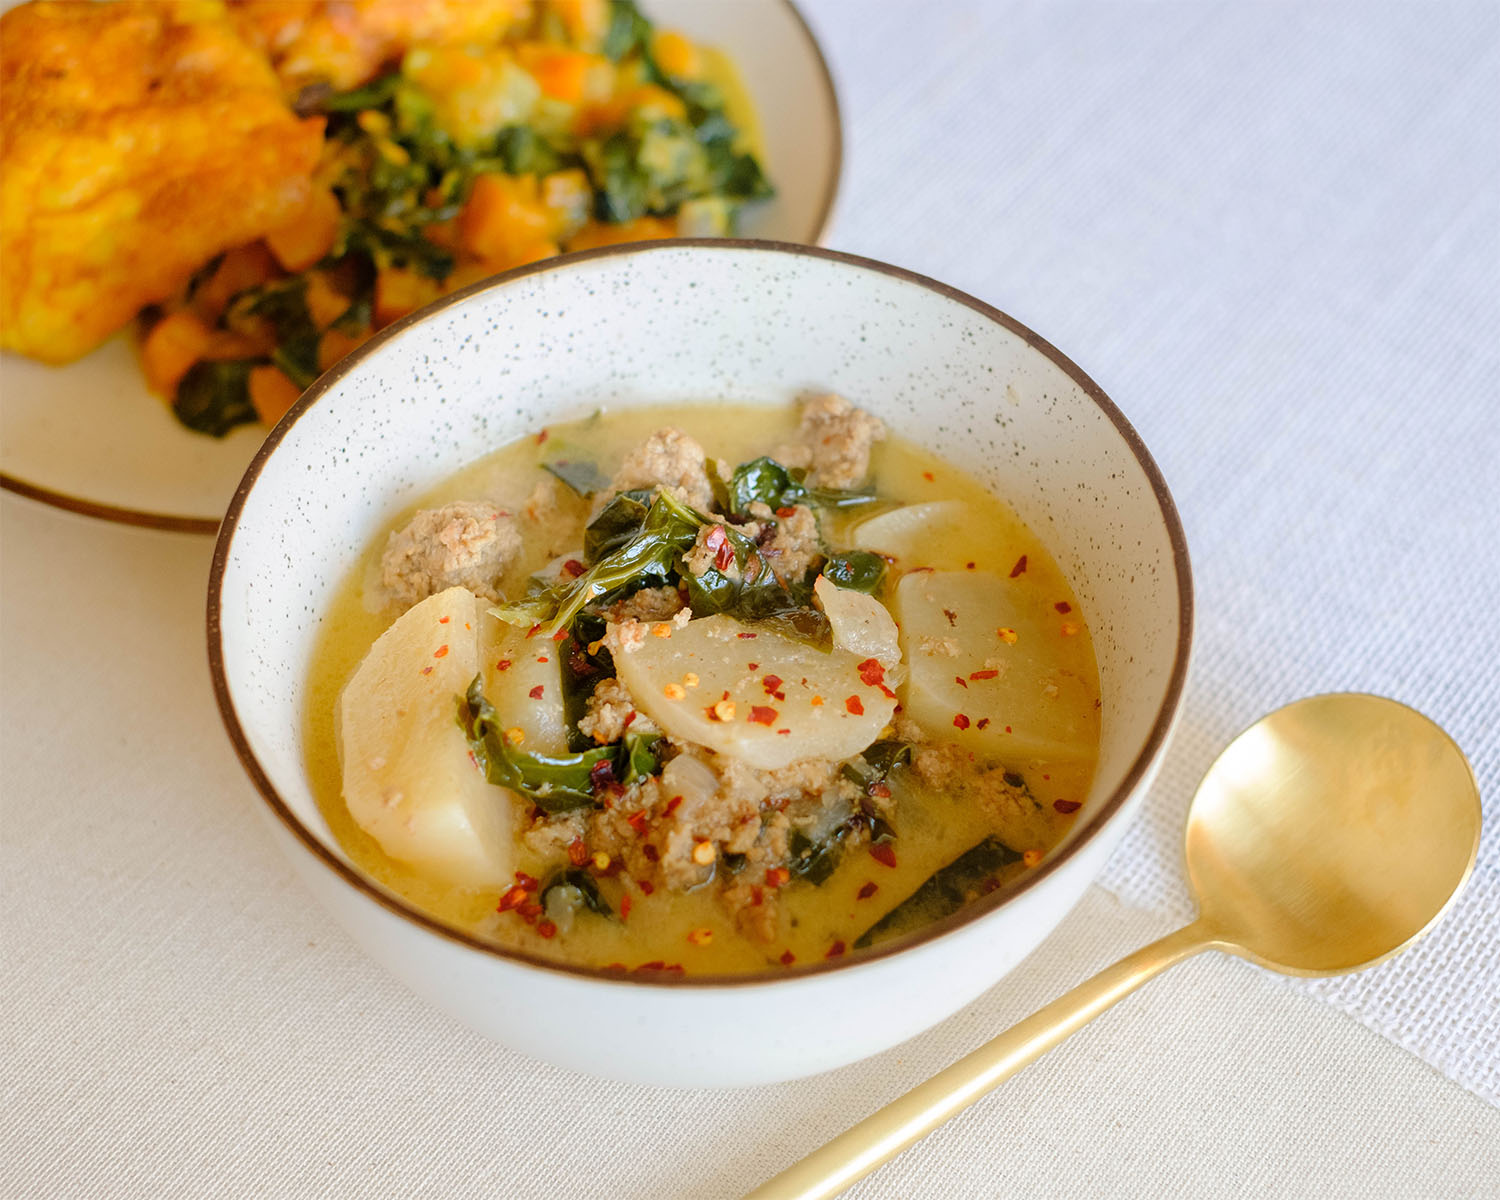
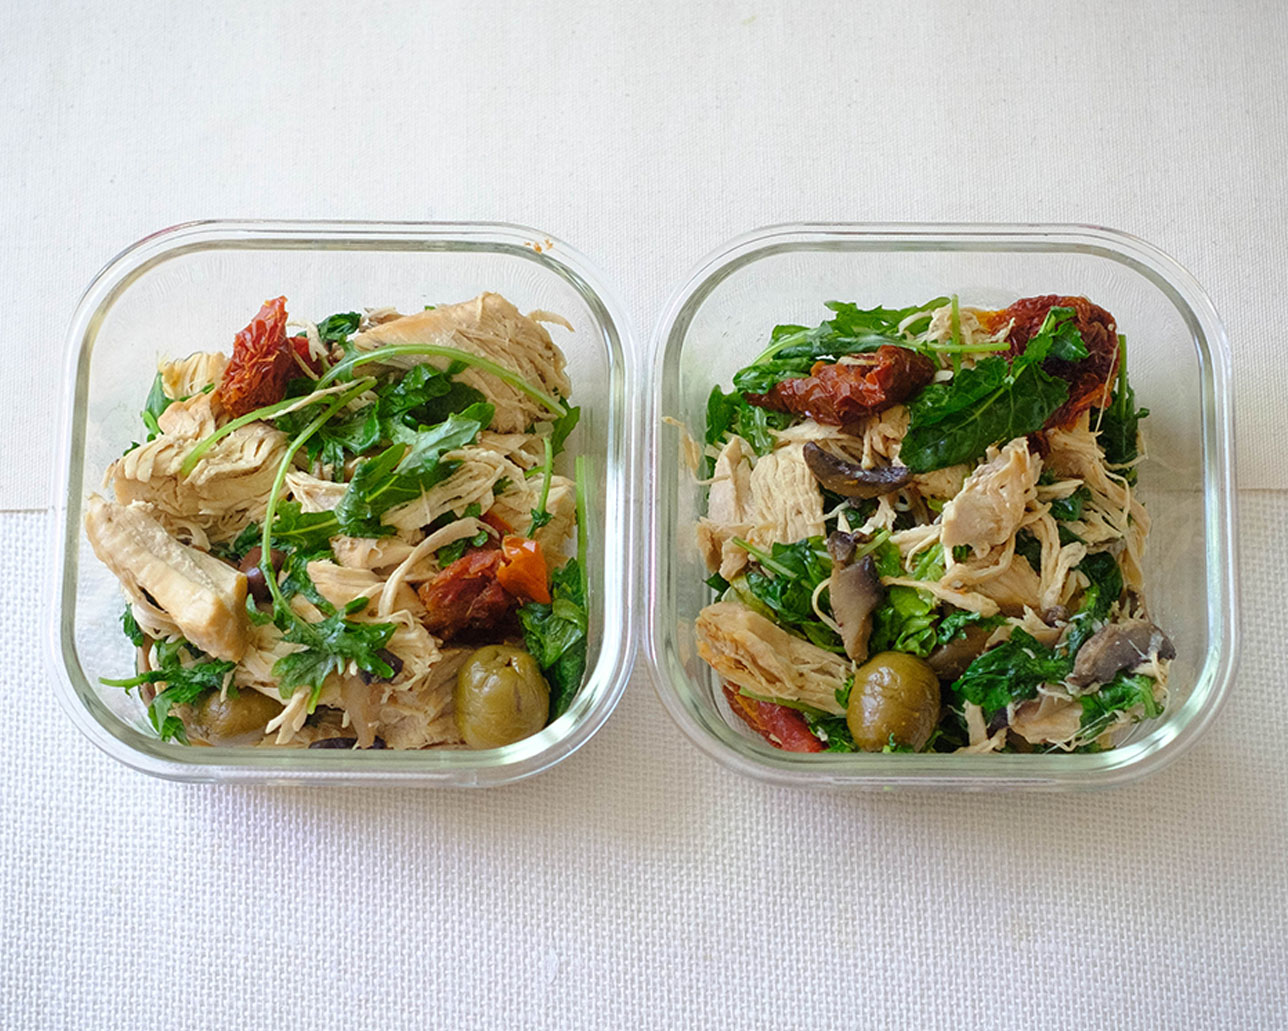
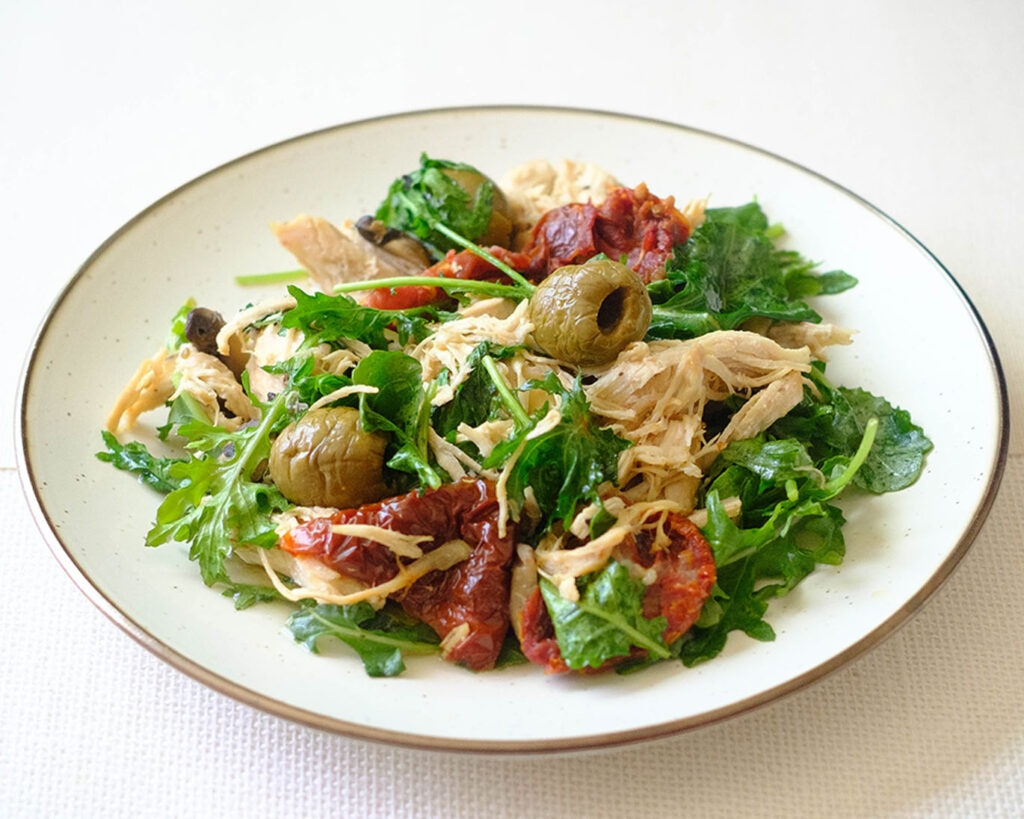
- Green Goodness: Boost the nutritional content of your meal by serving a side of sautéed spinach or kale. The earthy greens complement the richness of the eggs and carnitas beautifully.
How to Meal Prep Carnitas and Eggs
- First things first, let’s get our pan ready for the culinary magic. Add a splash of your favorite cooking oil to a pan, and let it heat up over medium heat. We’re setting the stage for the star of the show – our scrumptious scrambled eggs and pork carnitas fiesta!
- Now, it’s time for the eggs to take center stage. Crack those eggs into the pan and hear them sizzle. That’s the sound of egg-citement! Grab your trusty spatula and start stirring those eggs around. We’re looking for a perfect blend of fluffiness and flavor.
- Here comes the twist – the leftover pork carnitas! Throw those savory shreds of goodness into the pan and let them join the party. Watch as the aromas blend together, creating flavors that will have you salivating in no time. Give it a gentle stir, ensuring that they heat through.
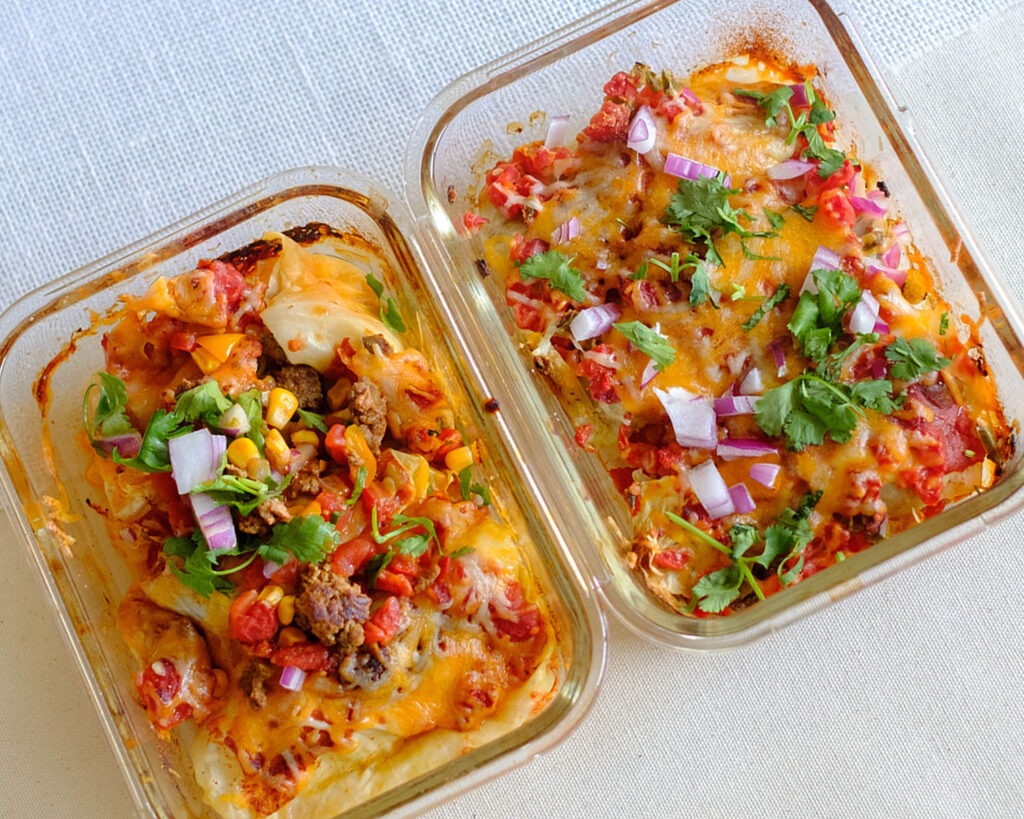
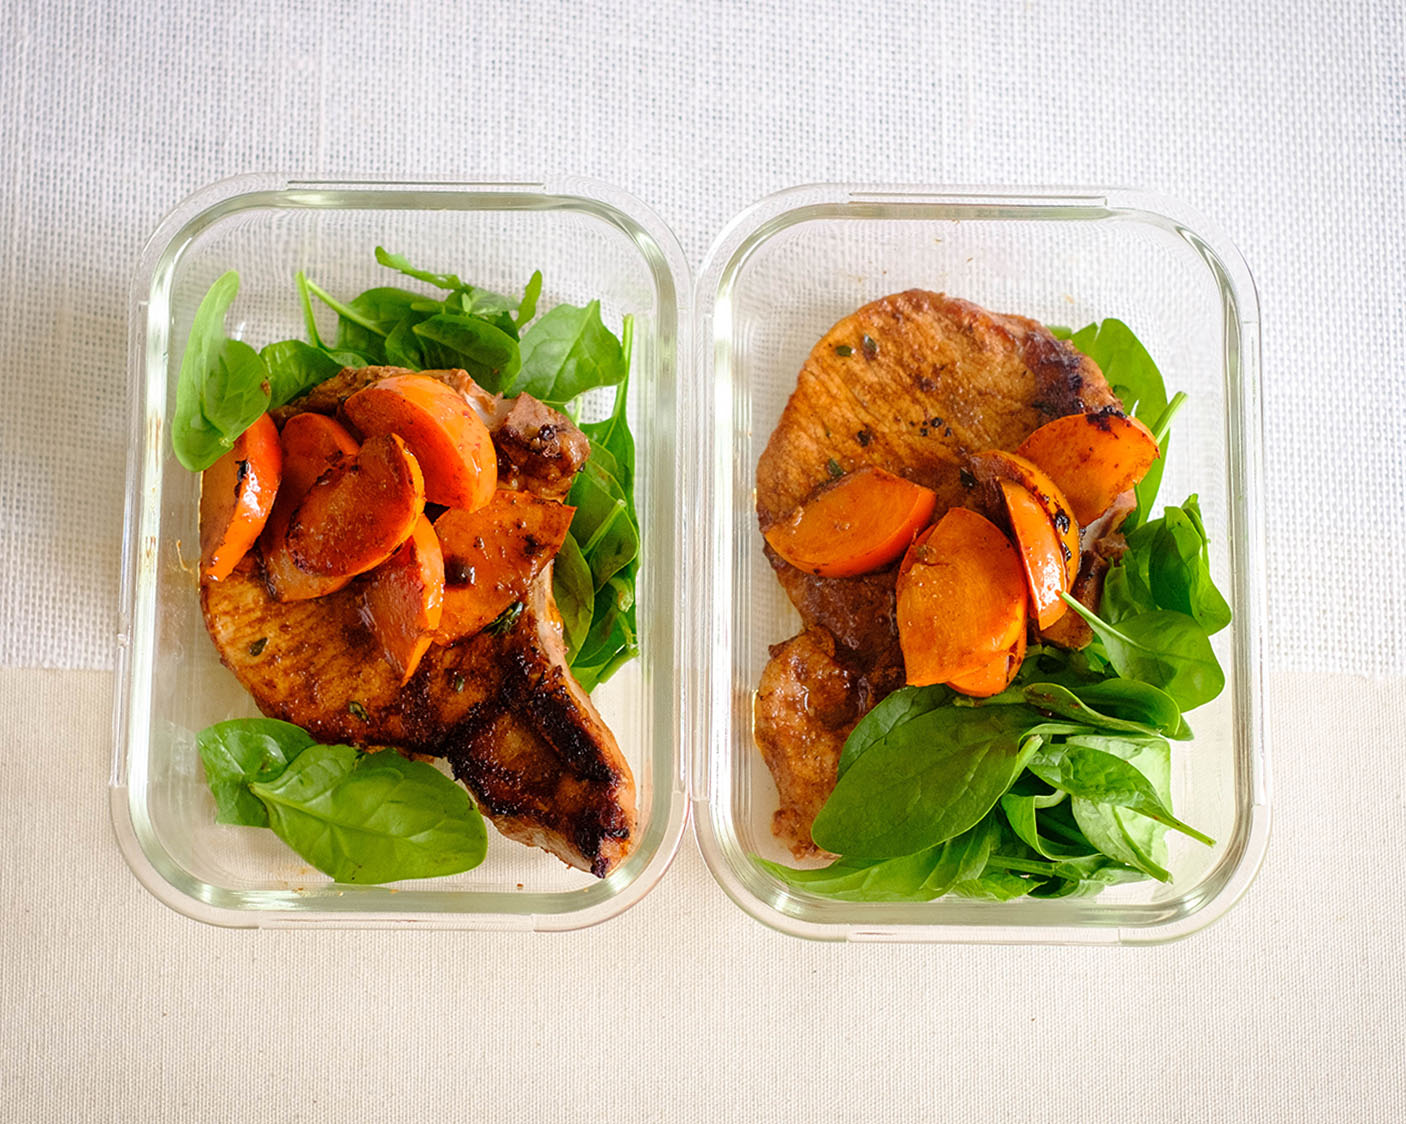
- Get ready to top your creation with freshness – it’s pico de gallo time! Top off your scrambled eggs and pork carnitas masterpiece with generous scoops of this zesty salsa. The burst of colors and flavors will take your dish to a whole new level. Tomatoes, onions, cilantro, and a hint of lime – the perfect finishing touch!
Reference the recipe card below for detailed instructions.
Meal Prep Tips:
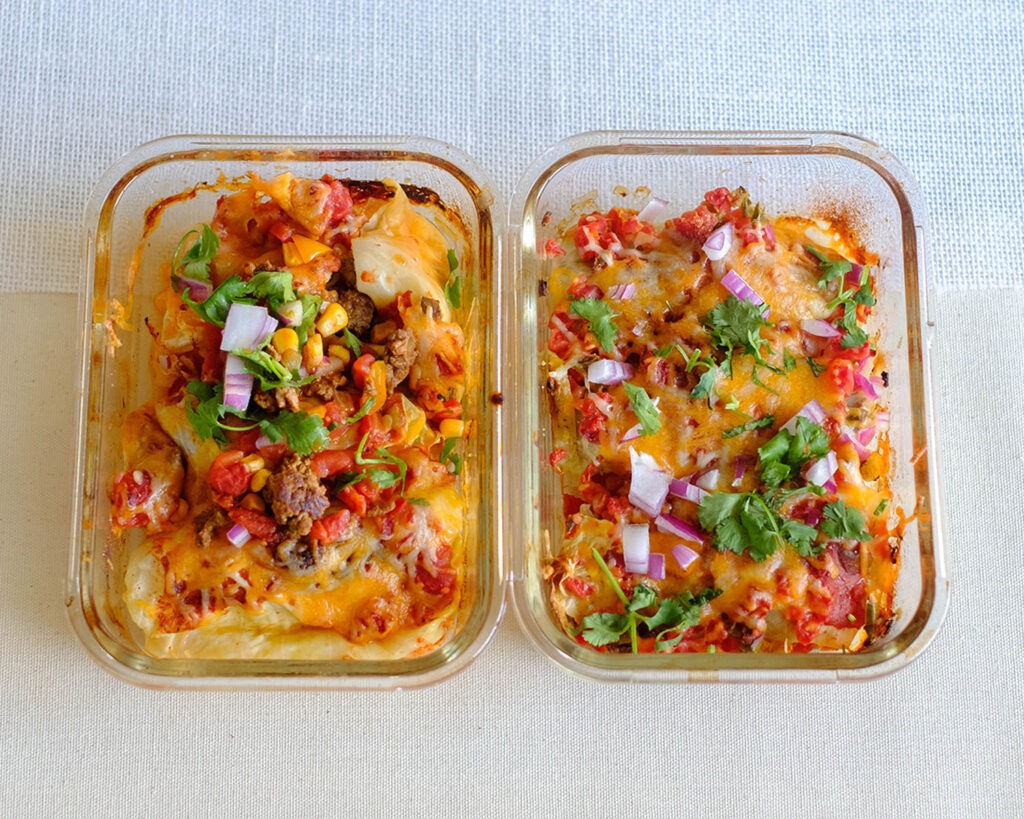
- Separate Storage for Pico de Gallo: Keep the pico de gallo separate until serving to maintain its freshness and prevent the other components from becoming soggy. Store it in a small container and add it to your dish just before reheating or serving.
- Freeze for Future Delights: If you want to extend the longevity of your meal prep, consider freezing individual portions. Thaw in the refrigerator overnight, and voila – you’ve got a scrumptious breakfast that’s as good as fresh!
- Customizable Toppings: Encourage creativity by providing various toppings on the side. Avocado slices, shredded cheese, or a dollop of sour cream can add extra layers of flavor and texture. Let each family member or meal prepper customize their breakfast to suit their taste.


Frequently Asked Questions
Can I use any type of leftover meat for this recipe?
While pork carnitas add a unique flavor, you can absolutely experiment with other leftover meats like chicken, beef, or even tofu for a delicious variation.
Can I use fresh pork instead of leftover carnitas?
Absolutely! Cook fresh pork with your favorite spices or use other cooked proteins for a personalized twist.
Can I use a different type of salsa instead of pico de gallo?
Absolutely! Experiment with your favorite salsa varieties, whether it’s salsa verde, roja, or a fruity mango salsa, to tailor the flavor to your liking.


Scrambled Eggs and Pork Carnitas
Equipment
Ingredients
Instructions
Nutrition