
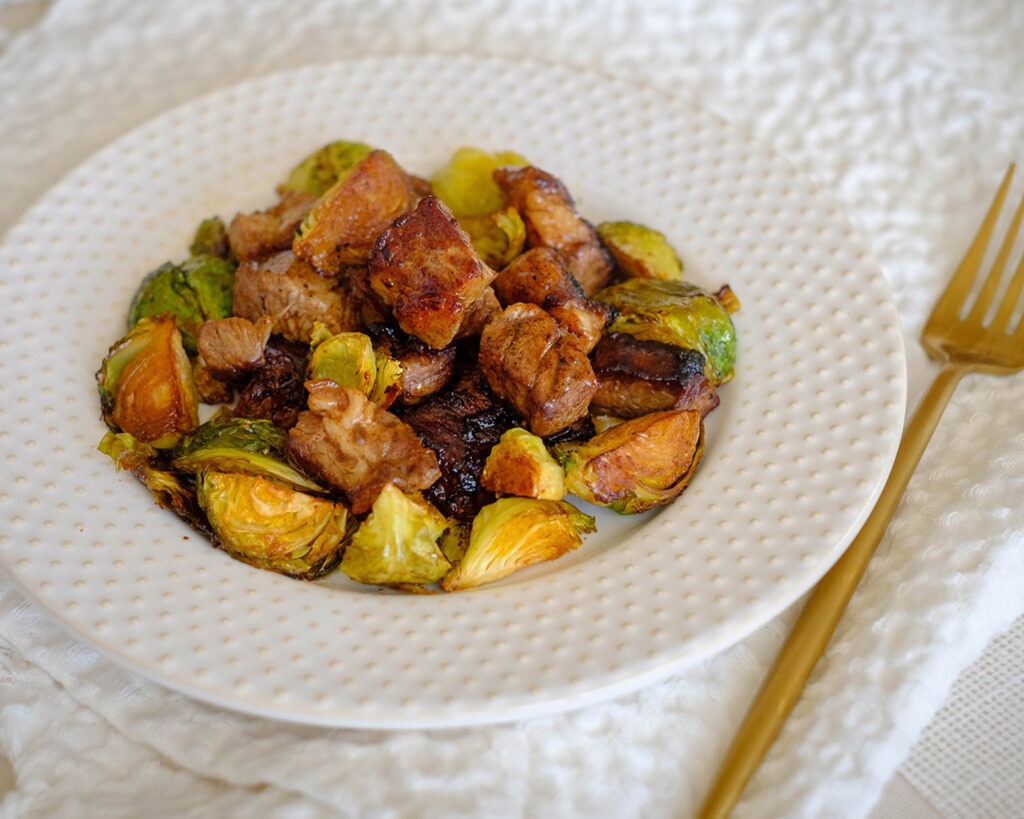
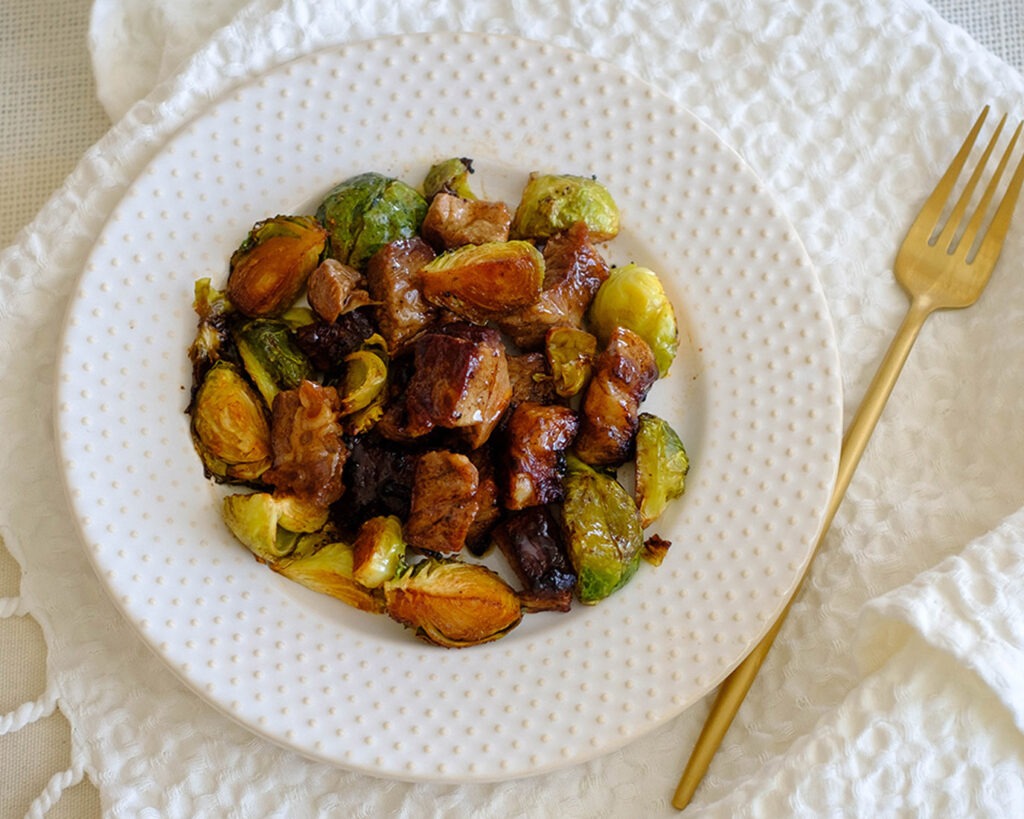
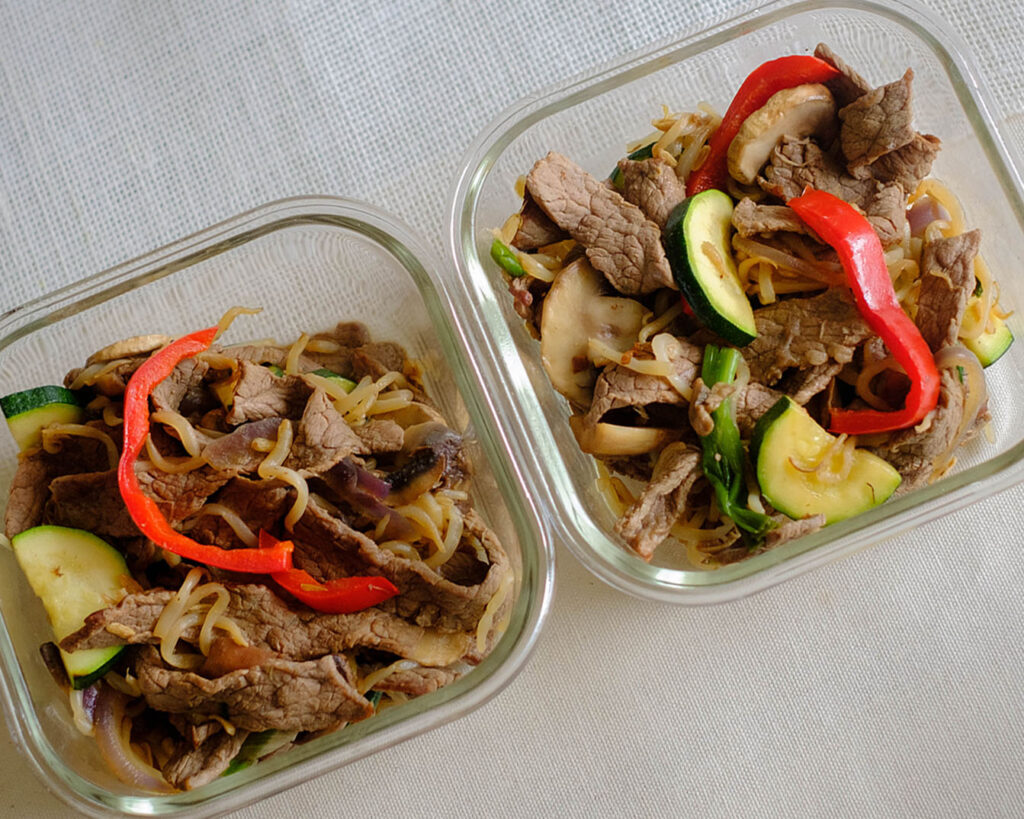
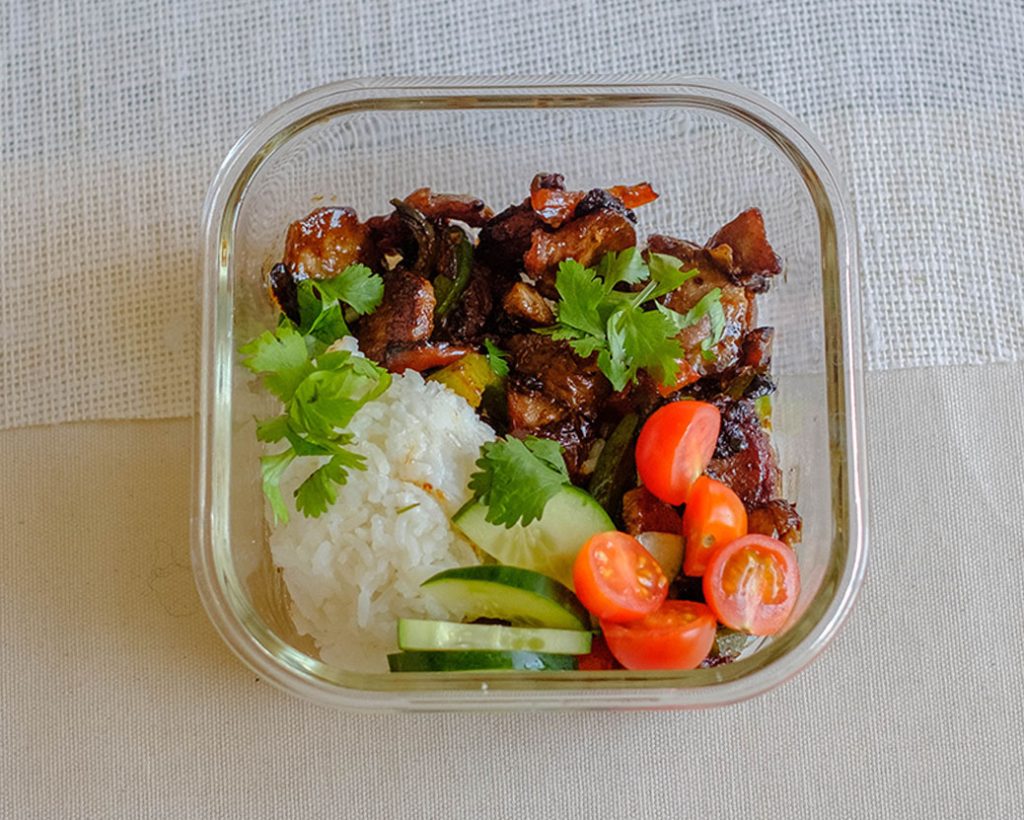
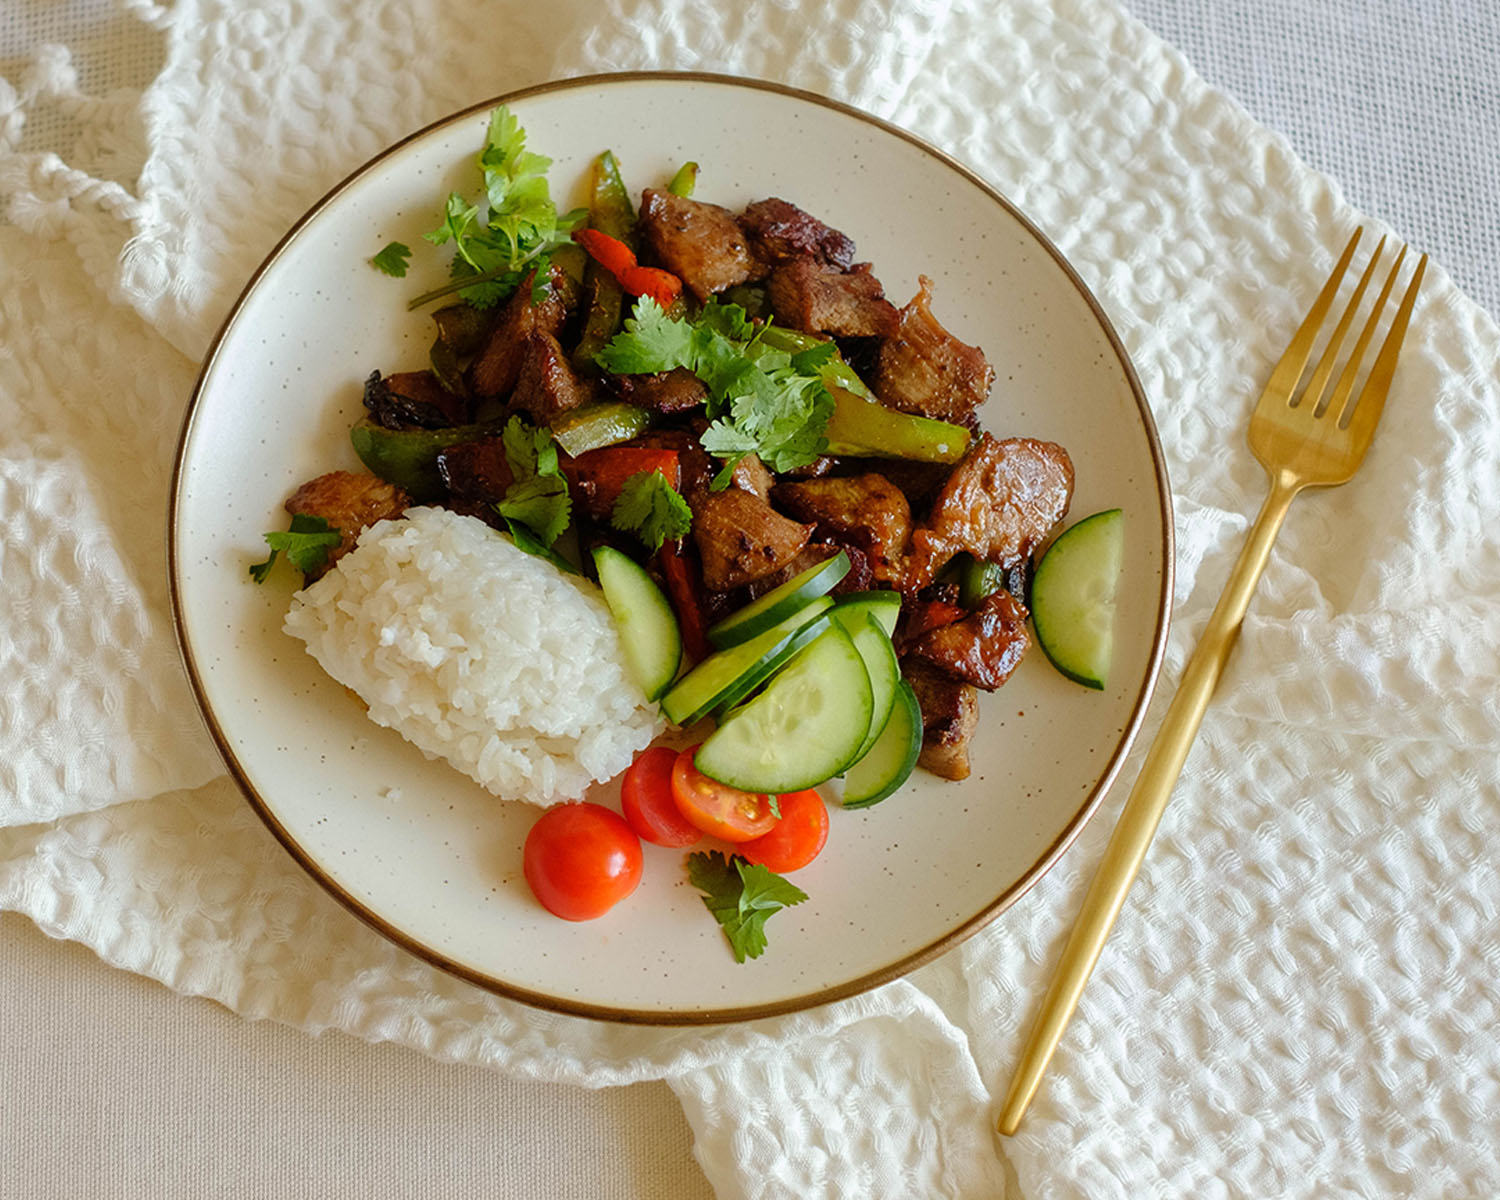
These Balsamic Steak Bites are a testament to the fact that nutritious meal prep doesn’t have to be complicated or time-consuming. Picture succulent New York Strip Steak, perfectly seared to golden perfection, dancing in a marinade of balsamic vinegar, honey, and savory spices. Paired with crispy, roasted Brussels sprouts, this recipe proves you can prioritize your health without sacrificing taste or precious time in the kitchen.
This post may contain affiliate links. Please see our privacy policy for details.
Reasons Why This Recipe is Tasty and Healthy:
- Protein Powerhouse: The New York Strip Steak in this recipe is not only mouthwateringly delicious but also a fantastic source of high-quality protein. Perfect for keeping you full and satisfied throughout your hectic day.
- Green Goodness: Brussels sprouts are the unsung heroes of the veggie world. Packed with vitamins, minerals, and fiber, these little green gems contribute to a healthy digestive system and provide a nutrient boost to keep you going strong.
- Balanced Marinade Magic: Our balsamic vinegar and honey marinade adds a burst of flavor without loading up on unnecessary calories. It’s the perfect balance of sweet and tangy, elevating your meal without the guilt.
- Easy Peasy Oven Magic: Throw those brussels sprouts in the oven, and let them work their crispy magic while you tackle other tasks. Minimal effort, maximum taste – just what the busy bee ordered!
- Budget-Friendly Brilliance: We get it, keeping it affordable is key. This recipe is not only easy on the wallet but also a savvy way to ensure you’re getting the most bang for your nutritional buck.

Ingredient Breakdown:
- New York Strip Steak: Not only is it a lean cut, keeping things light on the calorie front, but it’s also a fantastic source of high-quality protein. This ensures you stay fuller for longer, aiding in muscle repair and overall satiety. Plus, it’s a budget-friendly choice that packs a punch of flavor without breaking the bank.
- Brussels Sprouts: Brussels sprouts are a nutritional powerhouse, and we’ve enlisted them for their fiber content, vitamins (C, K, and B), and minerals. They bring a delightful crunch and earthy flavor, balancing the richness of the steak. Not to mention, these little green wonders are budget-friendly, making them a wallet-friendly choice for a nutrient-packed side.
- Balsamic Vinegar: Balsamic vinegar adds a layer of depth and tanginess to our marinade without piling on excess calories. It’s a wise flavor investment that elevates the dish while providing antioxidants and potential digestive benefits. The sweet and sour notes make for a delightful contrast, making your taste buds dance without compromising your health goals.
- Honey: Honey brings natural sweetness to the marinade, harmonizing with the balsamic vinegar for a balanced flavor profile. It’s a healthier alternative to refined sugar, offering a touch of sweetness without the guilt. This golden nectar enhances the overall taste experience while contributing trace amounts of essential nutrients.
- Garlic Powder: Garlic powder adds a savory kick and depth of flavor to both the steak marinade and the brussels sprouts. It’s a budget-friendly way to infuse a savory note without the fuss of chopping and sautéing fresh garlic.
- Olive Oil: Olive oil not only helps in searing the steak to perfection but also contributes heart-healthy monounsaturated fats. It brings richness to the dish and aids in the absorption of fat-soluble vitamins from the brussels sprouts. In moderation, it’s a smart and flavorful addition to keep your meal both tasty and nutrient-dense.
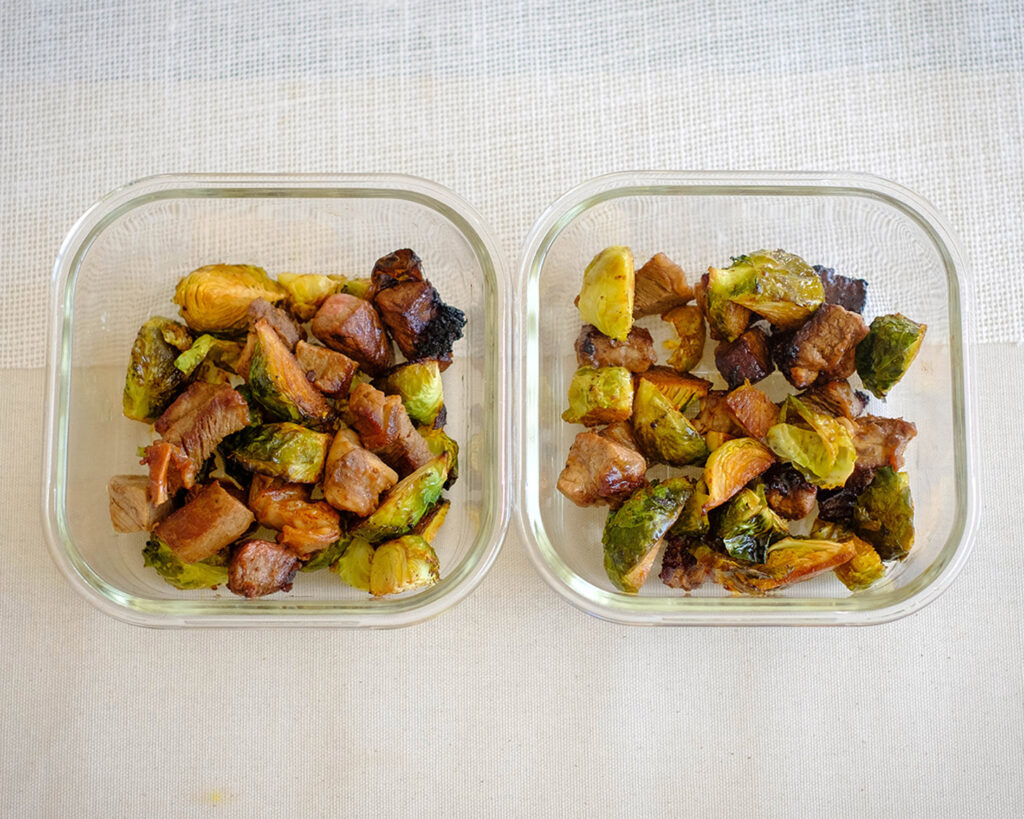
How to Meal Prep Balsamic Steak Bites
- Preheat that oven to 400F, and while it’s warming up, mix together the balsamic marinade. Set it aside – it’s about to work its magic!
- While your sprouts are roasting, cube up that New York Strip Steak. Sear it to golden perfection in a hot skillet, approximately 2-3 minutes per side.
- Turn off the heat, drizzle the remaining marinade over your steak bites, and give it a good mix. Watch that sauce reduce and thicken – pure perfection in the making.
- Once your steak bites and brussels sprouts are ready, it’s time to savor the fruits of your labor. Delicious, nutritious, and oh-so-satisfying!
Reference the recipe card below for detailed instructions.

Meal Prep Pairing Tips
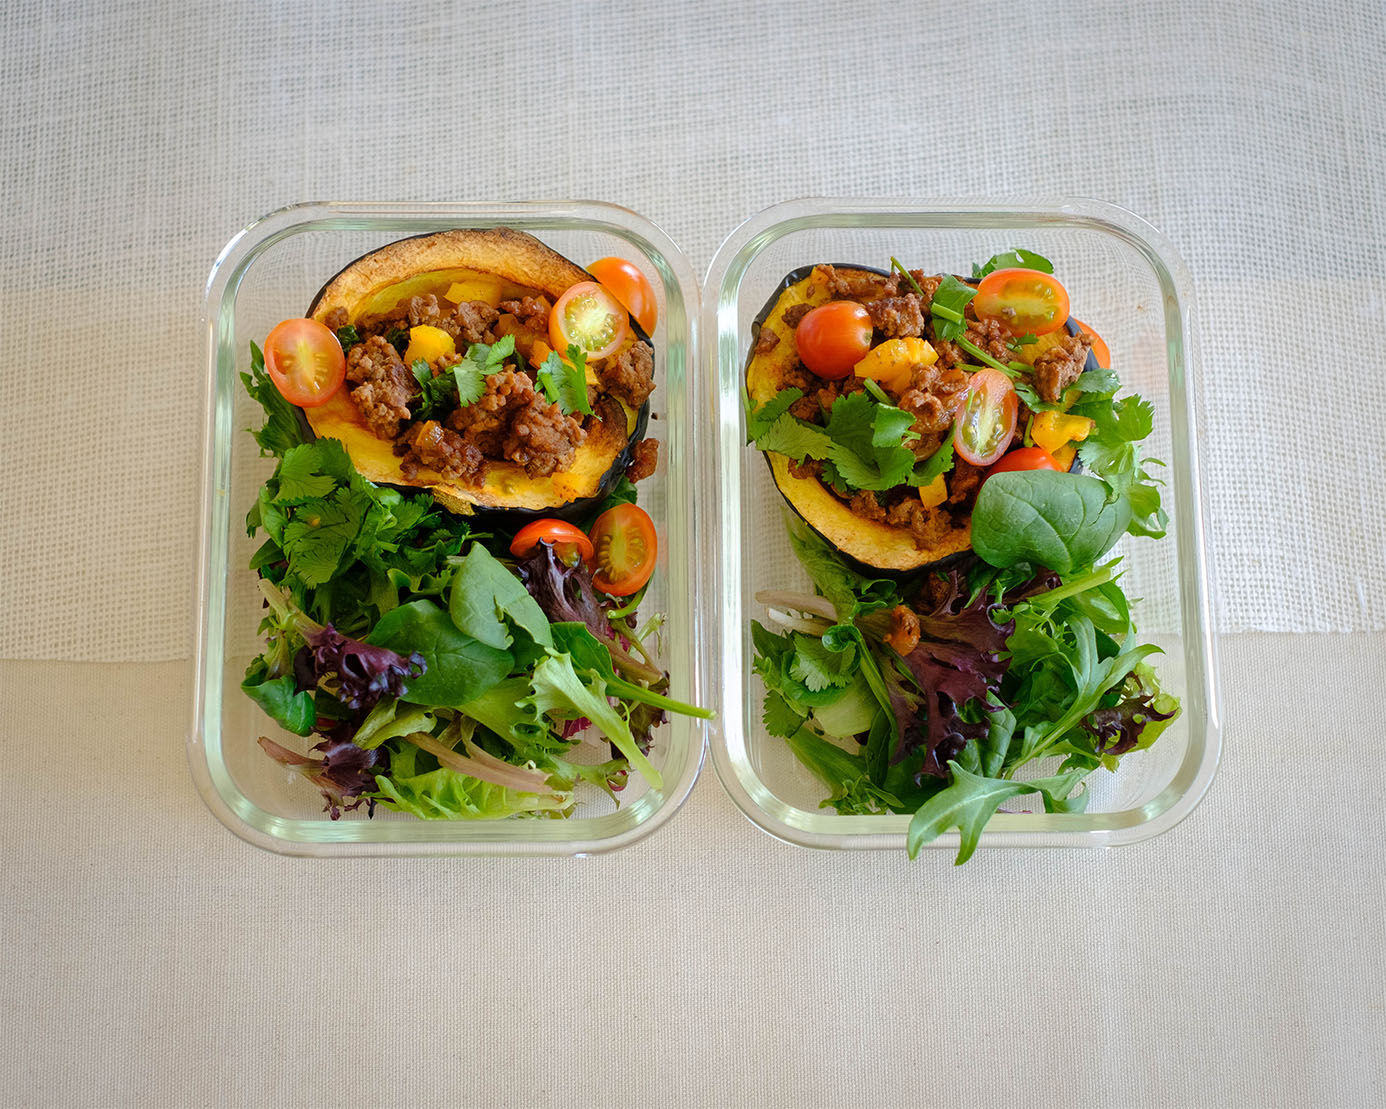
- Grain Power: Pair this dish with a side of quinoa, brown rice, or cauliflower rice for an extra boost of complex carbs. It adds a satisfying element to your meal and complements the flavors of the steak and brussels sprouts.
- Fresh Greens: Serve alongside a simple green salad tossed with a lemon vinaigrette. The crispiness of the salad provides a refreshing contrast to the hearty steak bites and roasted brussels sprouts.
- Citrus Zing: Squeeze a bit of fresh lemon over the steak bites just before serving. The citrusy brightness enhances the overall flavor profile and adds a delightful zing to every bite.
- Creamy Contrast: A dollop of horseradish sauce or a light sour cream-based sauce can provide a creamy contrast to the dish. It adds a cooling element and complements the savory flavors of the steak and balsamic marinade.
- Herbaceous Twist: Garnish with fresh herbs such as parsley or thyme to add a burst of freshness. The herbs not only contribute to the visual appeal but also bring a layer of complexity to the dish.


Frequently Asked Questions
Can I use a different cut of steak for this recipe?
Of course! While New York Strip Steak is recommended for its lean profile and tenderness, you can experiment with other cuts like sirloin or flank steak. Adjust cooking times accordingly.
Are there any substitutes for honey in the marinade?
Absolutely! Maple syrup or agave nectar can be excellent alternatives. They provide a similar sweetness without compromising the overall flavor.
Is this recipe suitable for a low-carb diet?
Yes! With the focus on lean protein and vegetables, this recipe is friendly for those following a low-carb or keto lifestyle. Pair it with cauliflower rice for an even lower carb option. Feel free to adjust the honey and balsamic vinegar ratios to suit your taste preferences.


Balsamic Steak Bites with Brussels Sprouts
Equipment
Ingredients
Marinade
Instructions
Notes
Nutrition