Posted on Leave a comment

Easy Cheese Omelette

cheese omelette

Learn how to make a perfectly cooked egg omelette with these easy tips and tricks in this recipe for one.

This post may contain affiliate links. Please see our privacy policy for details.

White round plate with an omelette garnished with fresh tomatoes and green onions, recipe for one.

Why you’ll enjoy this omelette recipe for one:

Omelettes are one of our go-to breakfast choices at our favorite local diners, but they are also just easy to make at home. There are so many ways to fill and flavor your omelette. The great thing is that you can easily add whatever veggies and protein you have in your fridge.

The PrepYoSelf Newsletter

Here are the Ingredients You’ll Need:

For this recipe for one, we will use simple ingredients to teach you the basics of how to make an omelette.

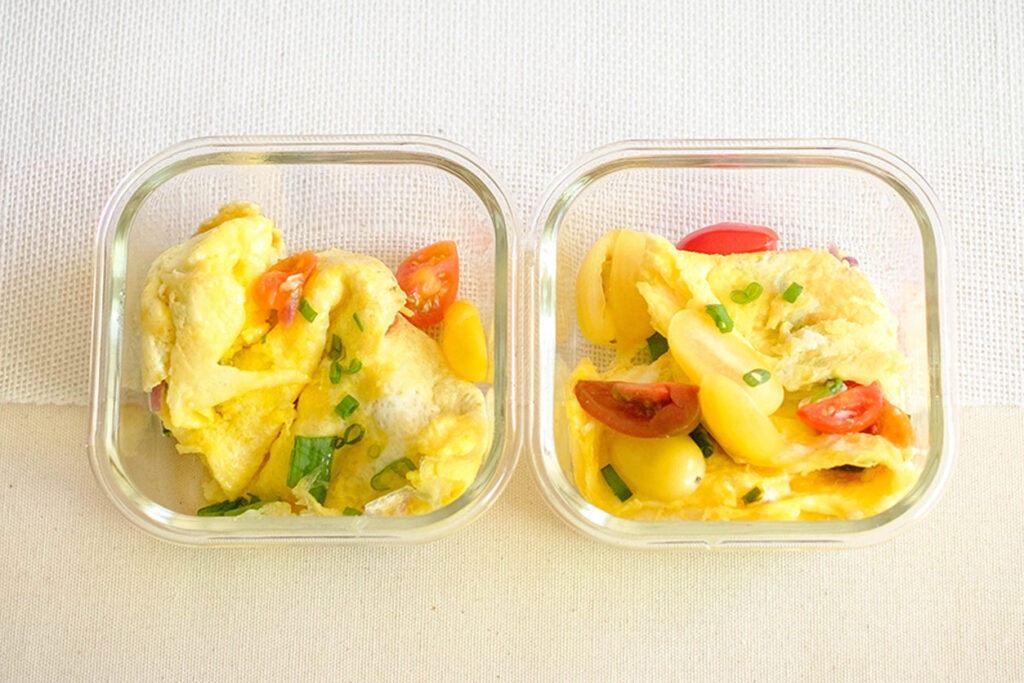
  • Eggs: While most diners and restaurants build large-size omelettes using 3 to 5 eggs per serving, we are sticking to 2 large eggs per serving. That’s enough to fill the omelette and is a good portion size for your weekly meal prep.
  • Filling: We are using cheese, however, you can easily add other meat proteins such as breakfast sausage or turkey crumbles
  • Olive Oil: If you’re not using a non-stick pan, you’ll want to grease your pan with oil or cooking spray so that the eggs don’t stick
White round plate with an omelette garnished with fresh tomatoes and green onions, recipe for one.

How to Make an Omelette for One:

  1. Whisk the egg: Crack the eggs in a mixing bowl and whisk the eggs until you break up the egg yolks so that there is a more smooth mixture with the egg whites. 
  2. Add Seasonings: Since the cheese filling already contains a sufficient amount of sodium, we are seasoning the omelette with just a pinch of salt. However, you can easily add other seasonings such as garlic powder, paprika, or pepper.
  3. Heat the Skillet: Heat oil over medium heat in the non-stick skillet. You’ll want to pour just enough to cover the bottom of the skillet. (Make an additional batch as needed)
  4. Cook the eggs: Allow the eggs to set up for a minute, then take a spatula and gently push the firm portions toward the center of the skillet. Gently lift the skillet and tilt it in a circular motion to allow the runny portion of the eggs to flow into the empty edges of the pan.
  5. Add fillings: When most of the eggs are firmly set, add your fillings and use the spatula to fold the omelette in half.

Reference the recipe card below for detailed instructions.

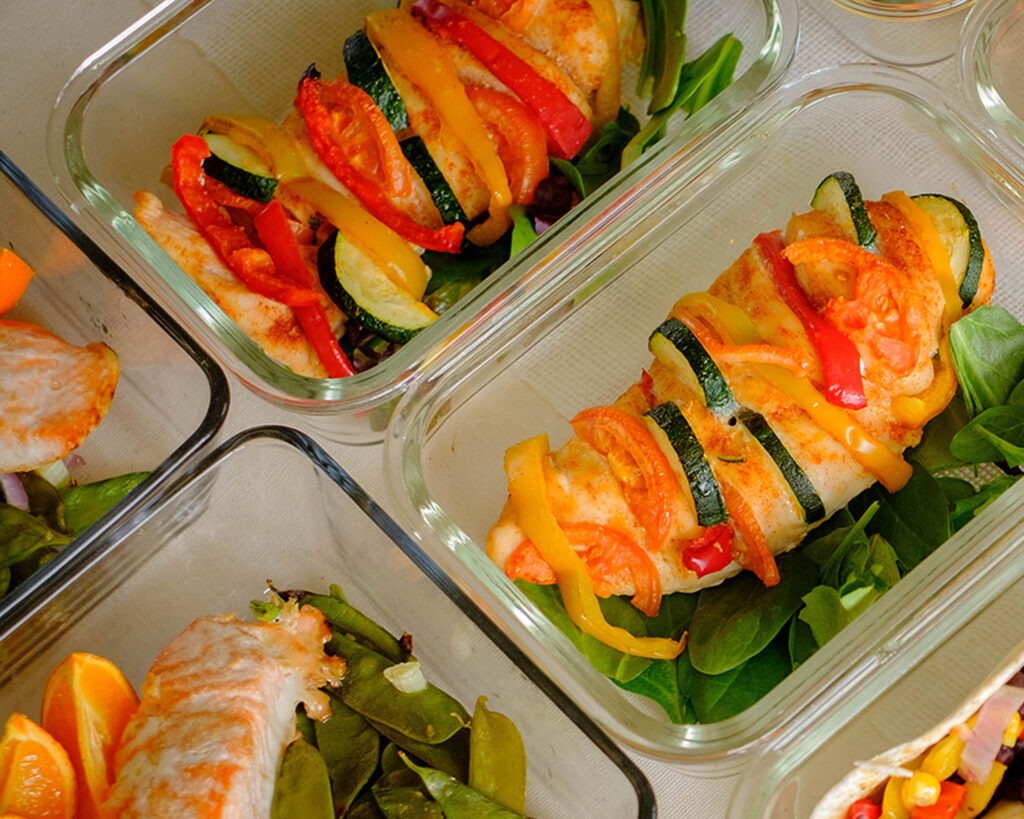
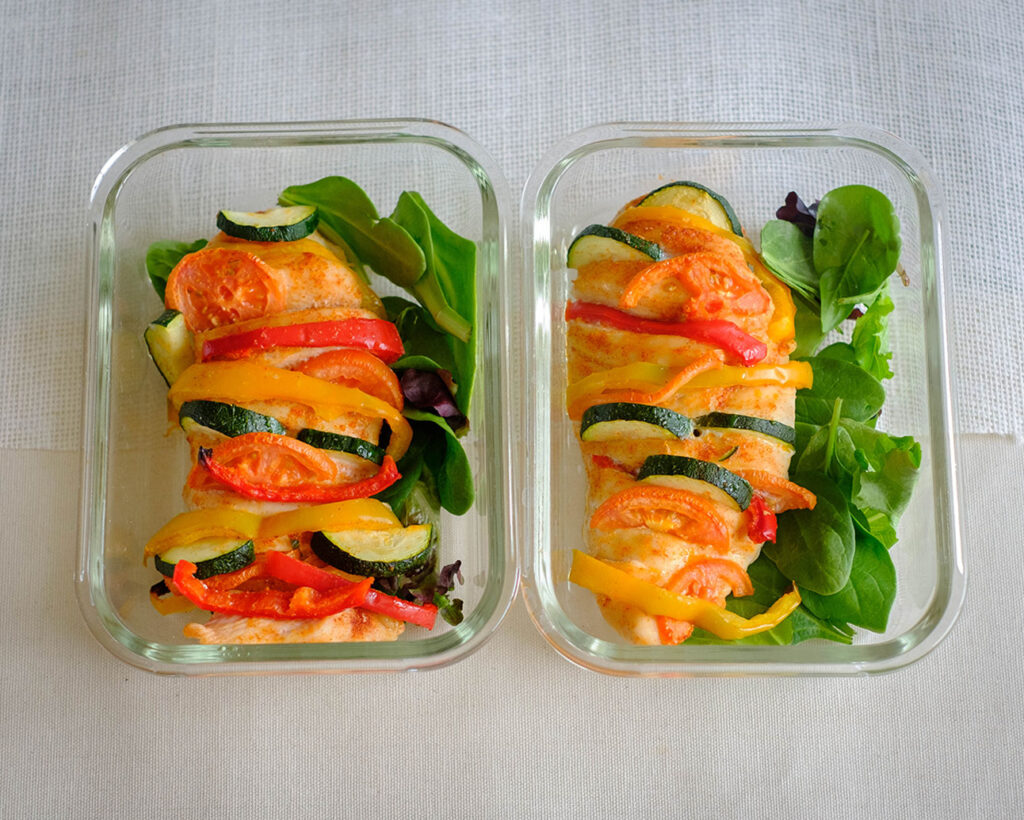
Meal Prep Tips for Cheese Omelettes:

  • Adding Liquid: When you whisk your eggs, you can also add 1 to 2 teaspoons of milk, half and half, or heavy cream per egg. Adding the milk gives it a slightly richer taste.
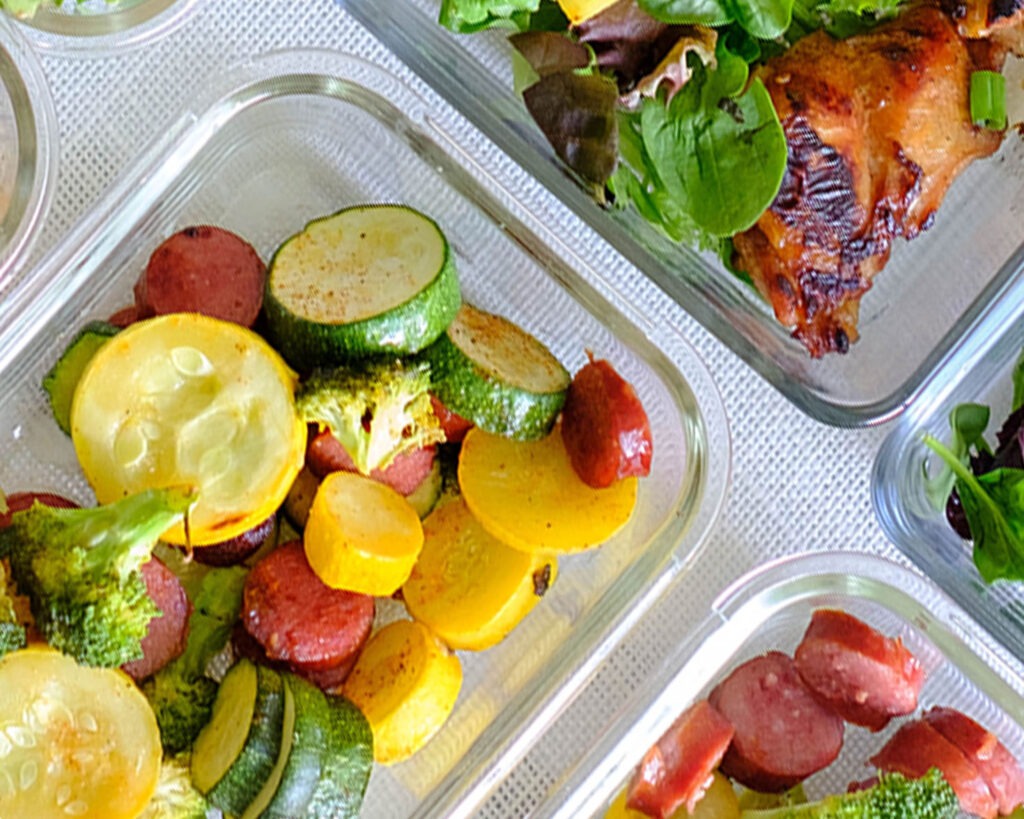
  • Adding Vegetables: When adding vegetables, make sure they are chopped into small pieces. Be sure to saute them first, otherwise, they will become watery and make the center of the omelette soggy as it cooks through.
  • Adding oil: You can use olive oil or cooking spray, but if you want to enhance the flavor, frying the omelette with a small teaspoon of butter will give it a nuttier taste and a more golden brown surface that is classic for most diner-style omelettes.
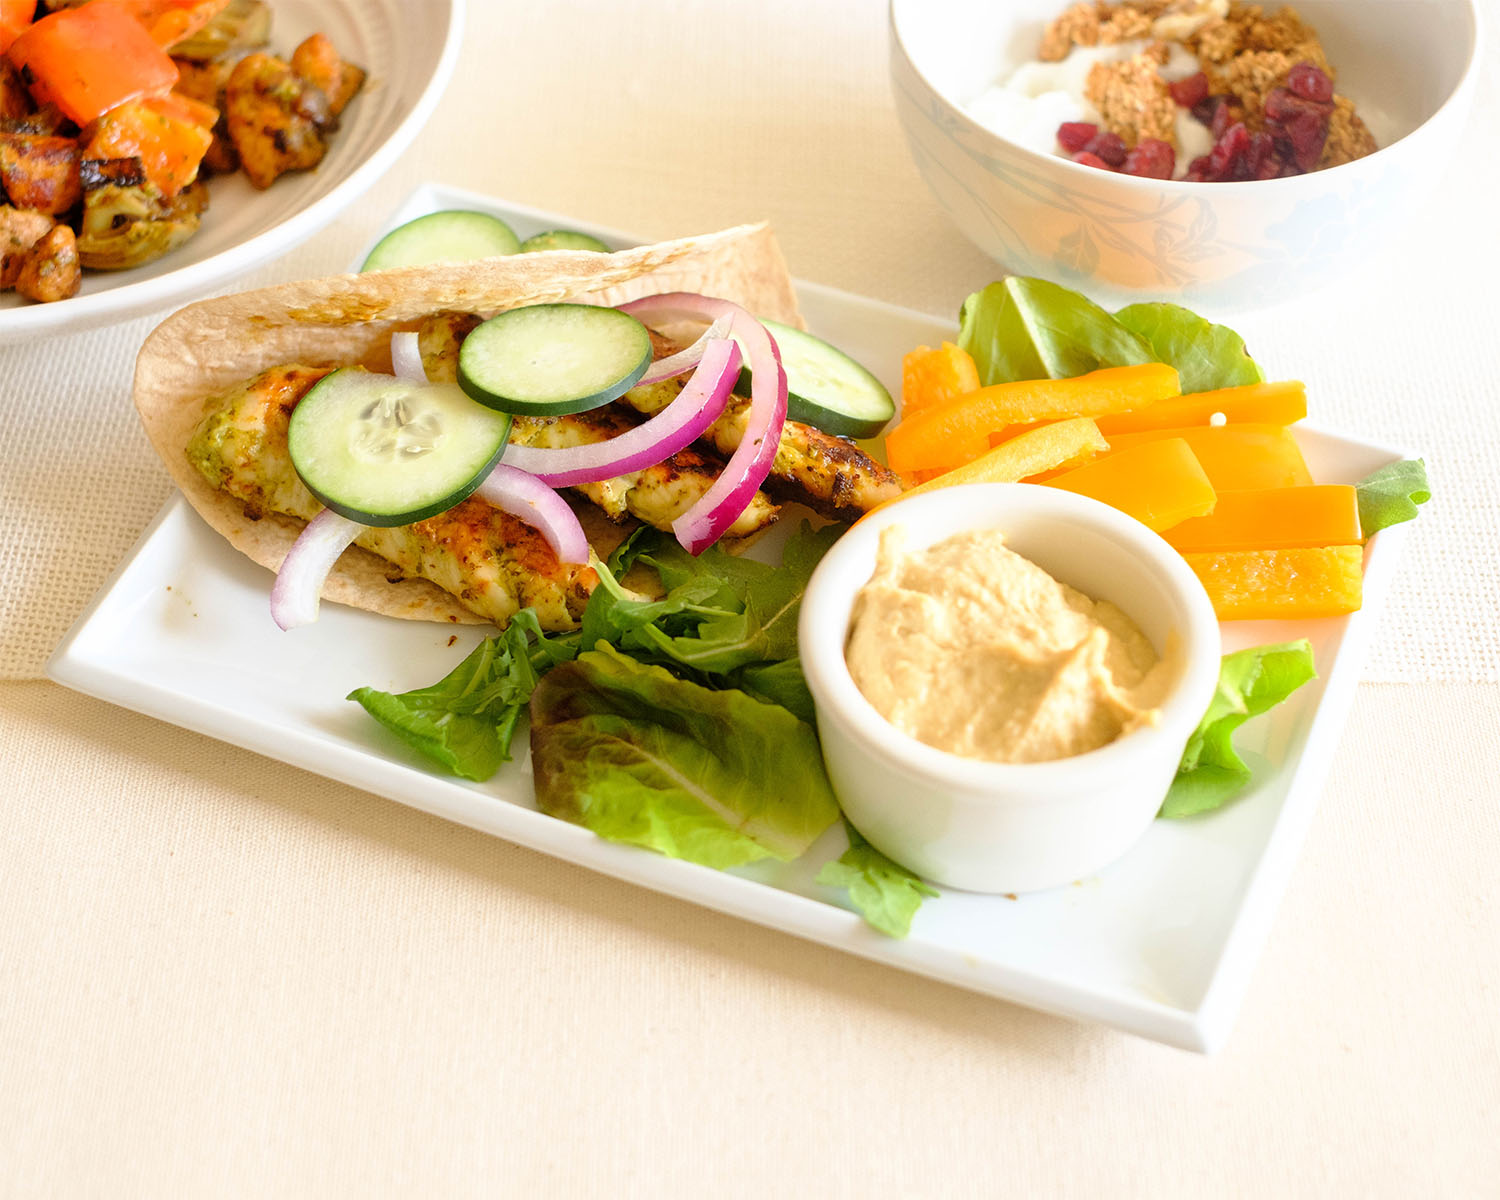
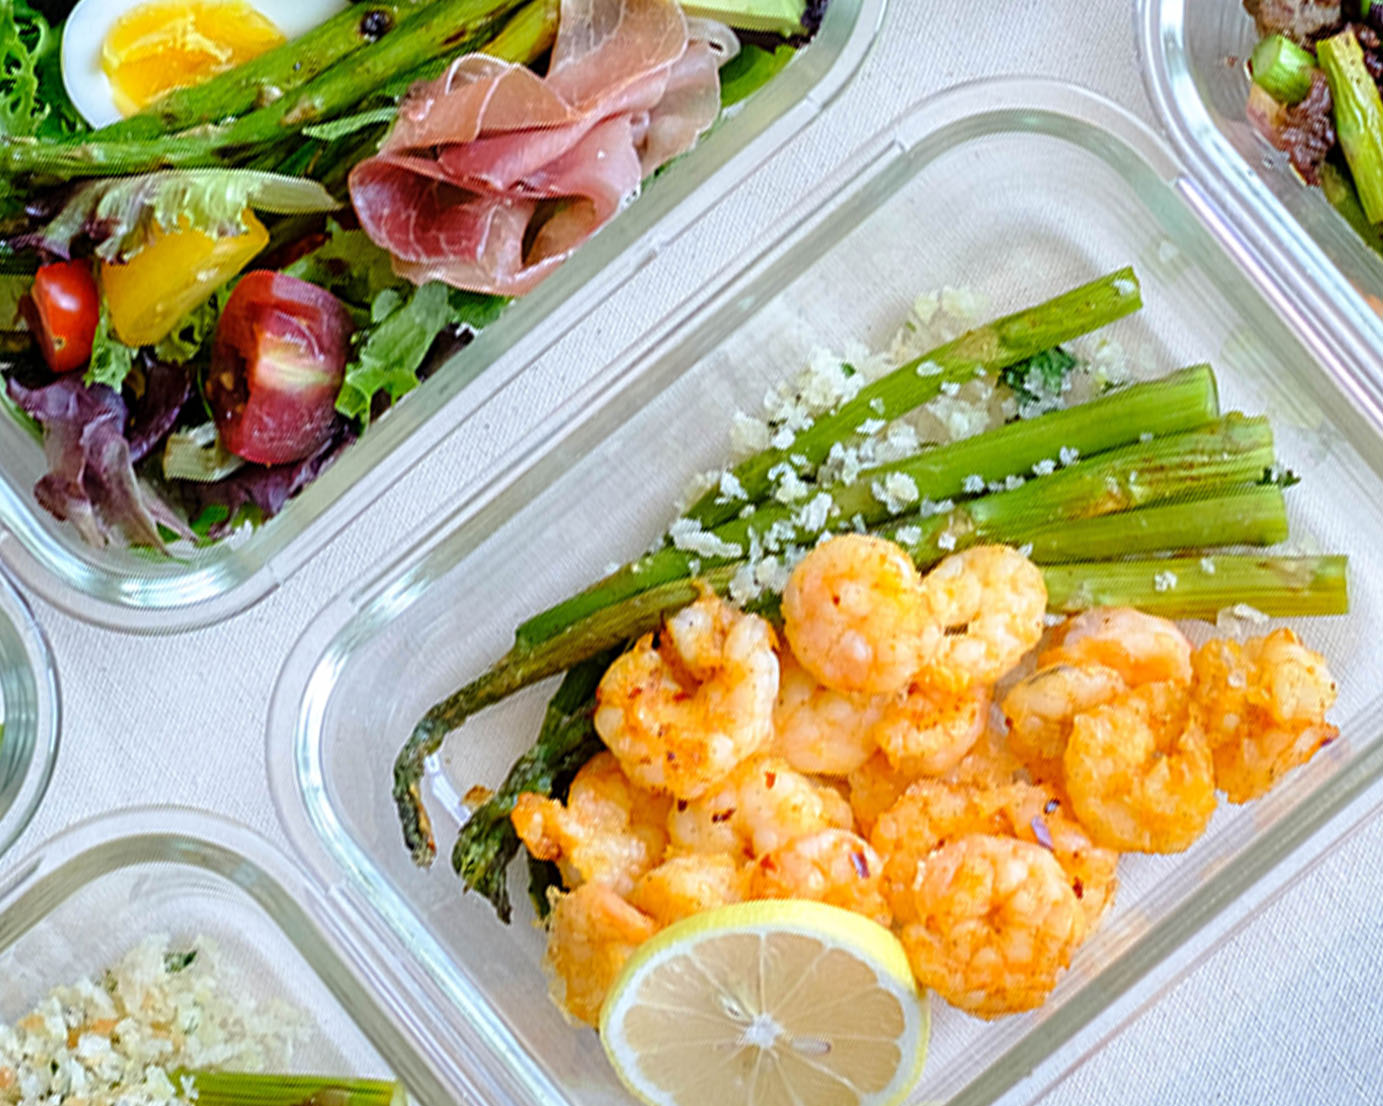
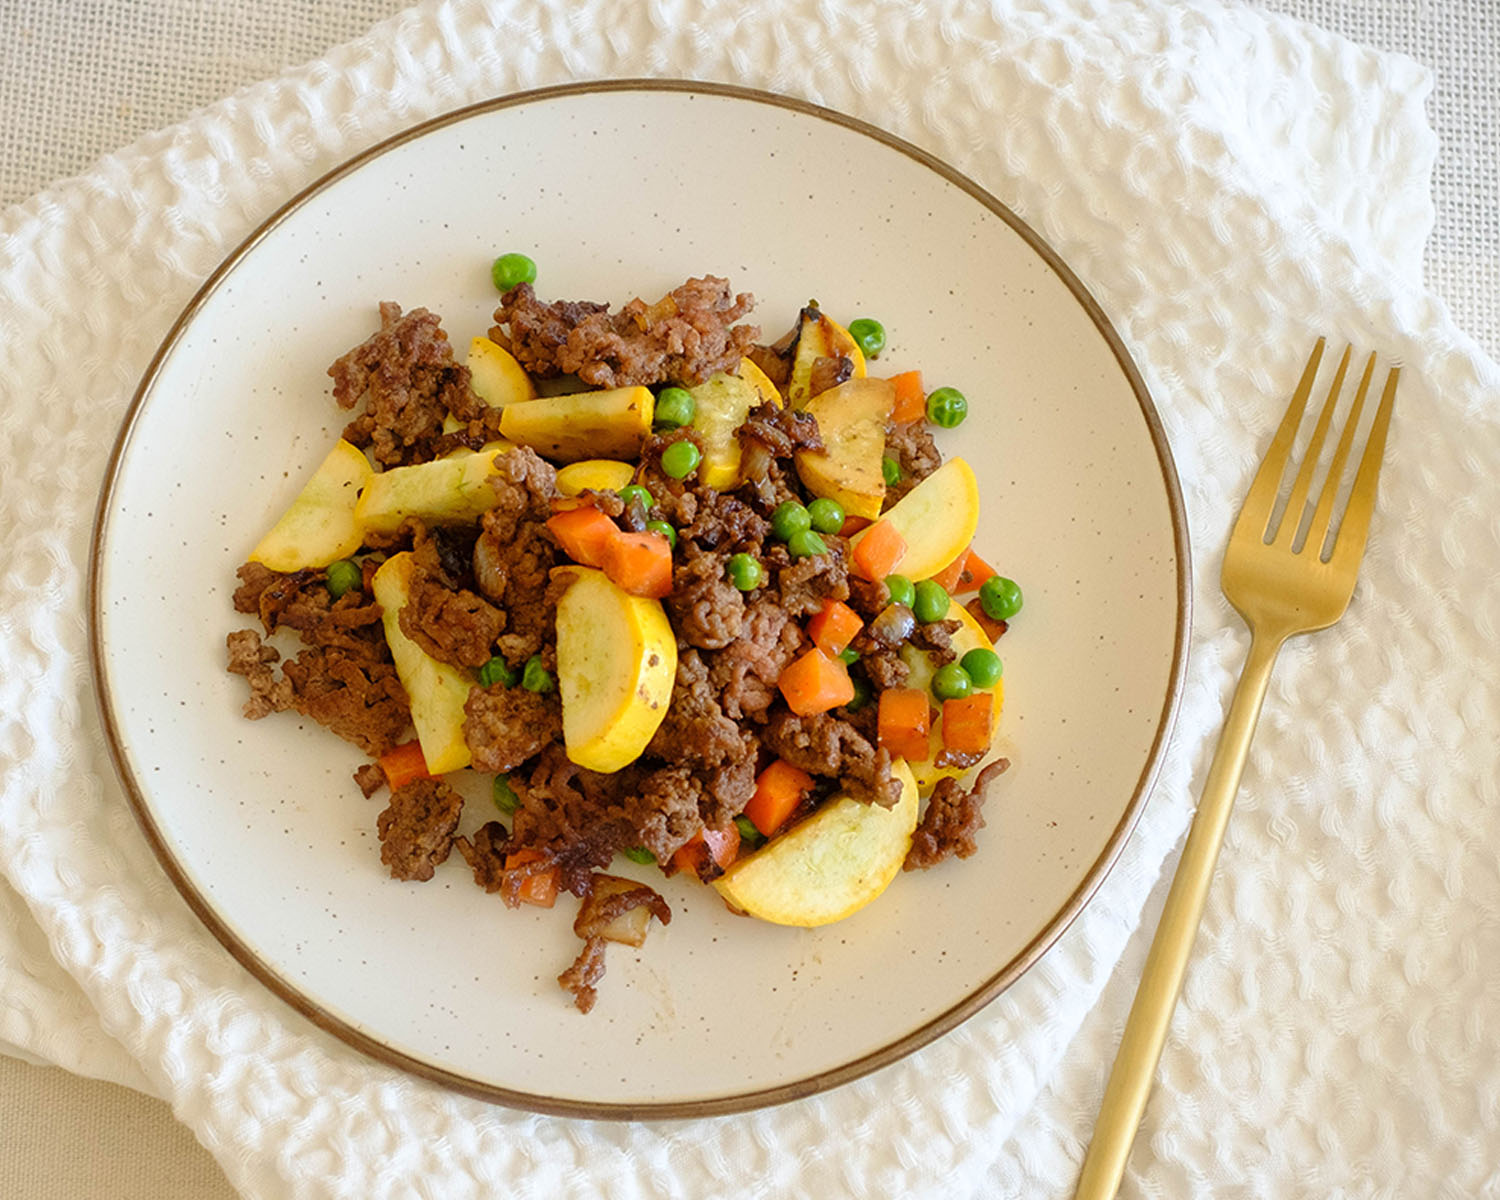
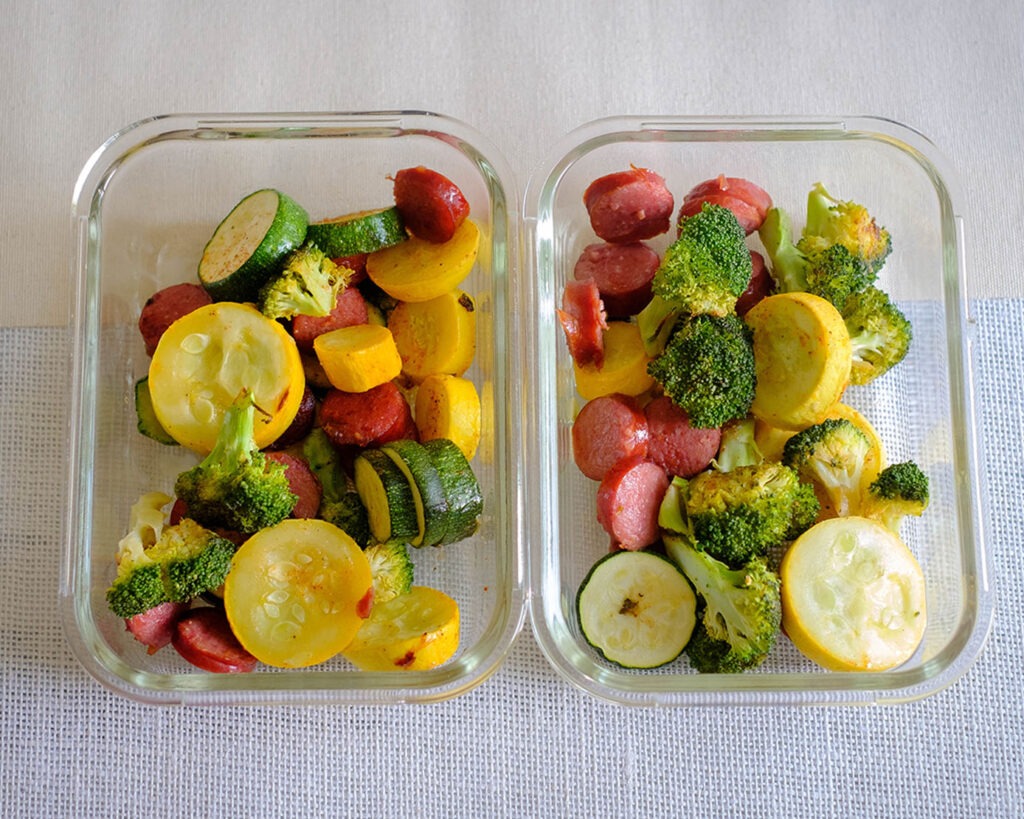
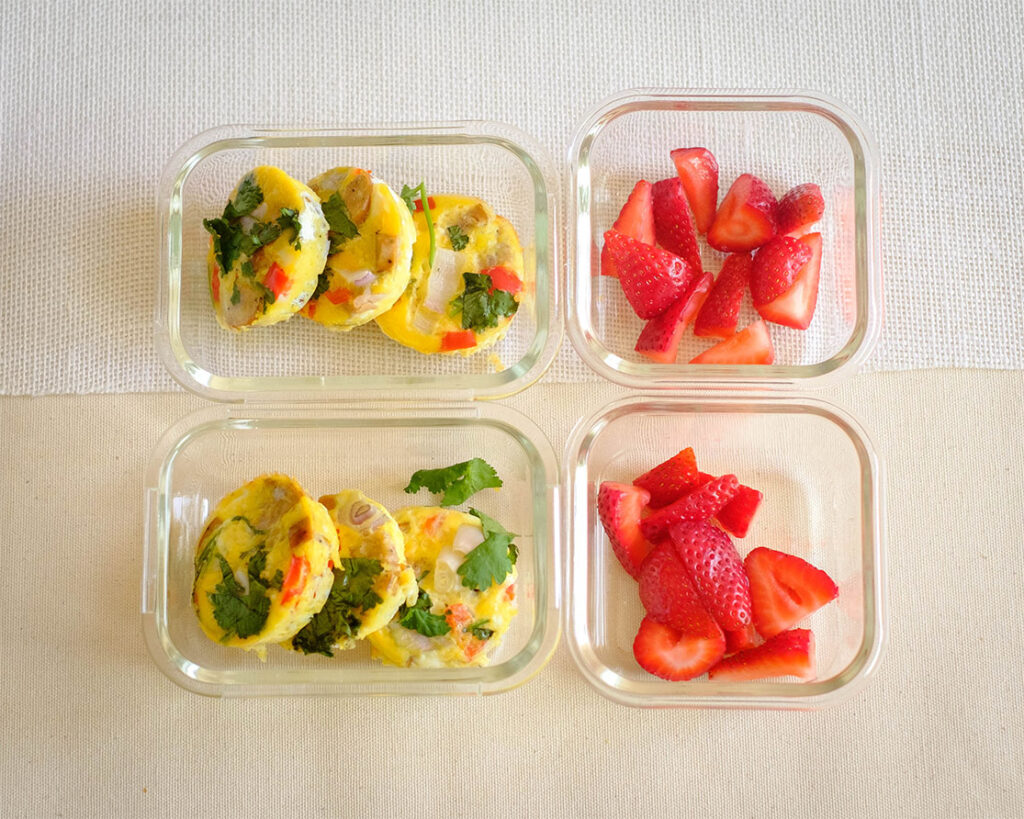
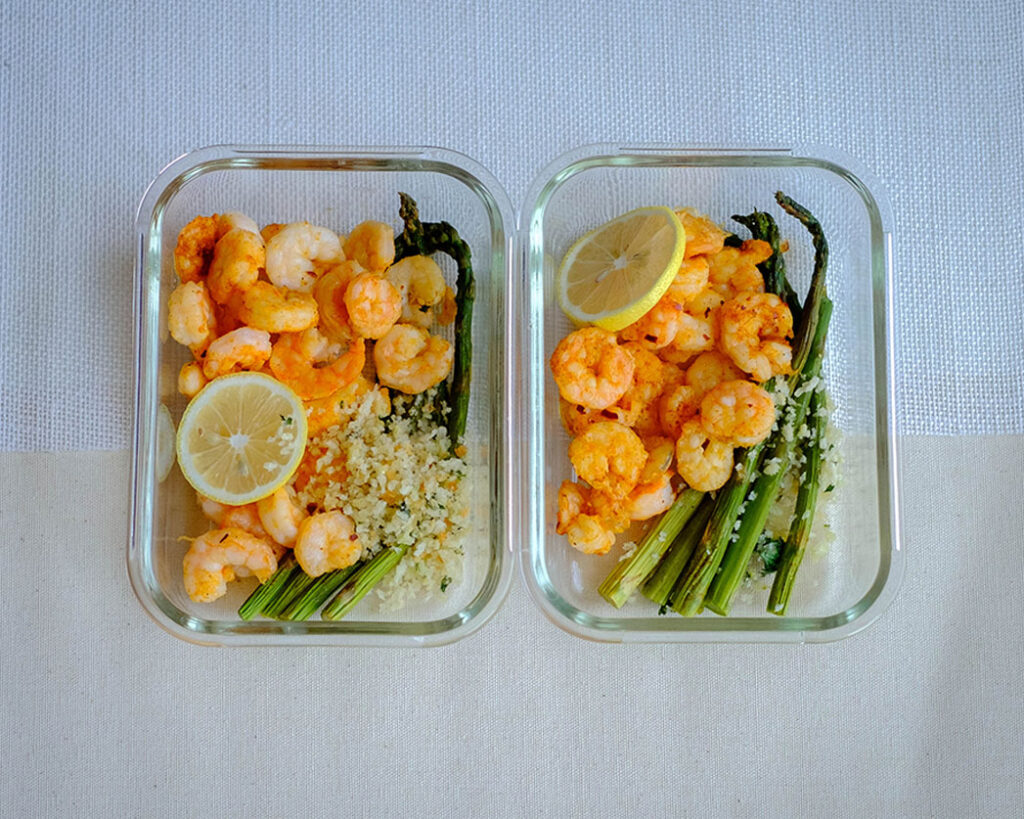
  • To Serve: Enjoy these with fresh fruit. You can also add sliced avocado for healthy fat.
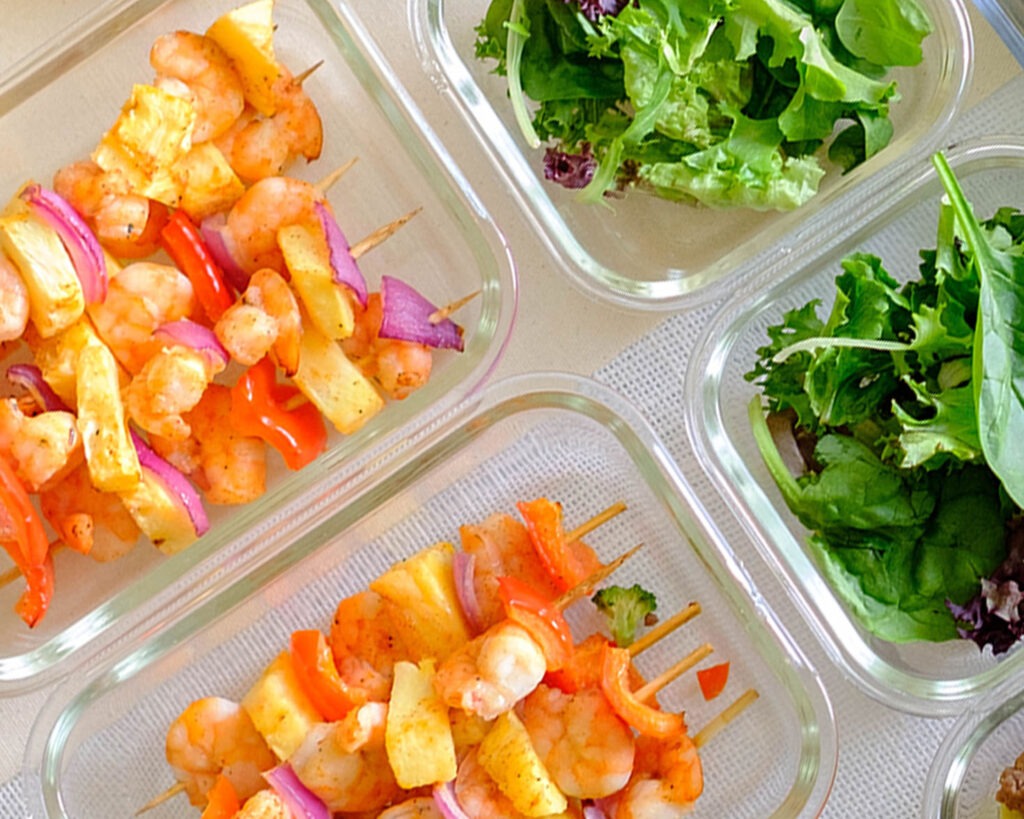
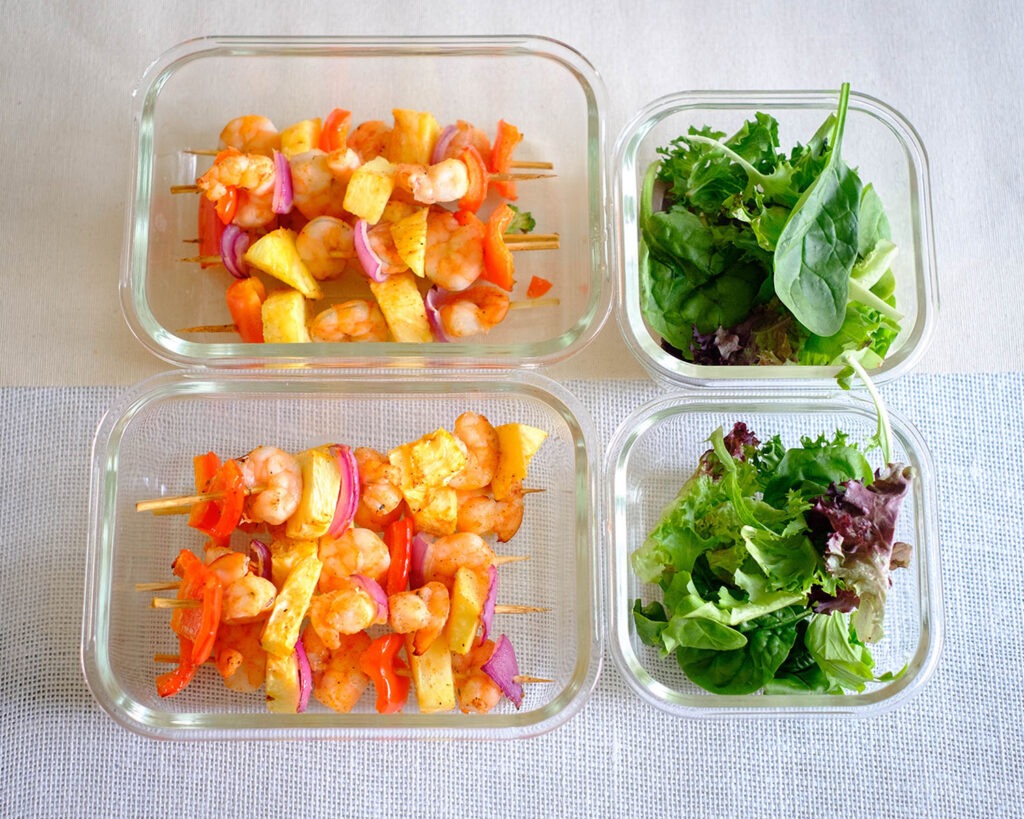
  • Storage: The eggs can be stored in an airtight container in the refrigerator for up to 3 to 4 days.
  • To Reheat: Heat them in the microwave until they warm through.
Glass meal prep containers storing a folded omelette with fresh tomatoes and green onions, recipe for one.
Omelette

Cheese Omelette

Cooking an omelette for yourself at home can be easy with these few quick steps.
No ratings yet
Prep Time 5 minutes
Cook Time 10 minutes
Course Breakfast
Cuisine American
Servings 2

Equipment

  • knife
  • cutting board
  • mixing bowl
  • whisk
  • 6 inch omelette pan
  • spatula

Ingredients
  

  • 4 large eggs
  • 1/2 cup shredded cheddar cheese
  • 1/2 cup cherry tomatoes (sliced)
  • 1 tablespoon green onions (chopped)
  • 1 tablespoon olive oil
  • 1/8 teaspoon salt (or to preferred taste)

Instructions
 

  • Add olive oil to a pan on medium heat making sure it coats the bottom of the pan.
  • Whisk the eggs in a bowl. Pour the egg mixture into the heated pan. Tilt the pan around to spread it to the edge of the pan. Let the eggs heat through and firm up. Use the spatula to gently push the sides toward the middle, letting the liquid egg flow to the edge of the pan.
  • Let the eggs cook for another 2 to 3 minutes and sprinkle the top of the eggs with the shredded cheese. Gently fold the omelette in half in a moon shape and cook for another 30 seconds to let the cheese melt
  • Garnish with fresh green onions and top it off with freshly sliced cherry tomatoes.

Similar Recipes

fried egg and sausage hash

Fried Egg with Apple and Sausage Hash

egg stuffed bell peppers

Oven Baked Breakfast Egg Stuffed Peppers

easy sausage egg muffins

Sausage Egg Muffins with Strawberries

You Might Also Like

Evolution Fresh Organic Pure 100% Cold-Pressed Orange Juice

Setton Farms Dry Roasted and Salted Pistachios

Filippo Berio Pesto, Classic Basil

Frequently Asked Questions

What is the best cheese for an omelette?

We like to use shredded cheddar or mozzarella cheese. If you want to make a specialty omelette, use gruyere or feta cheese.


What to serve with an omelette?

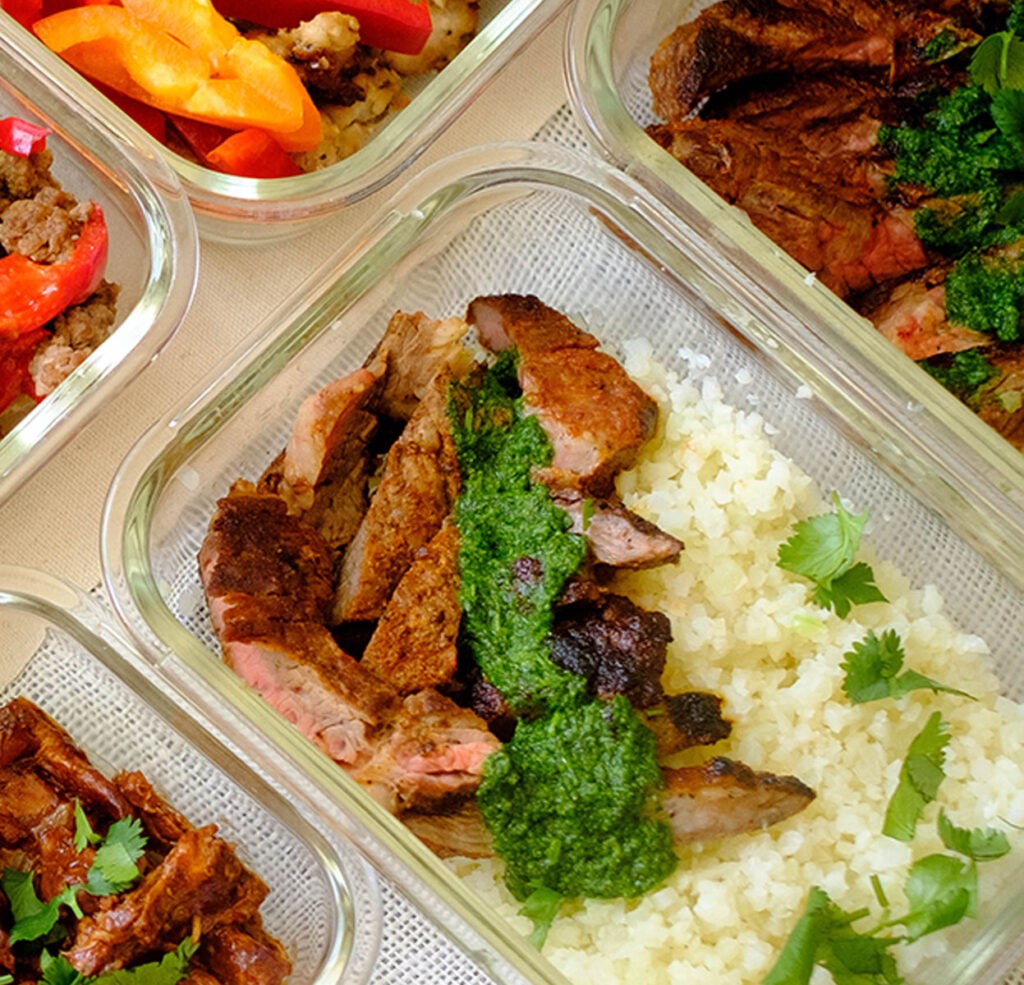
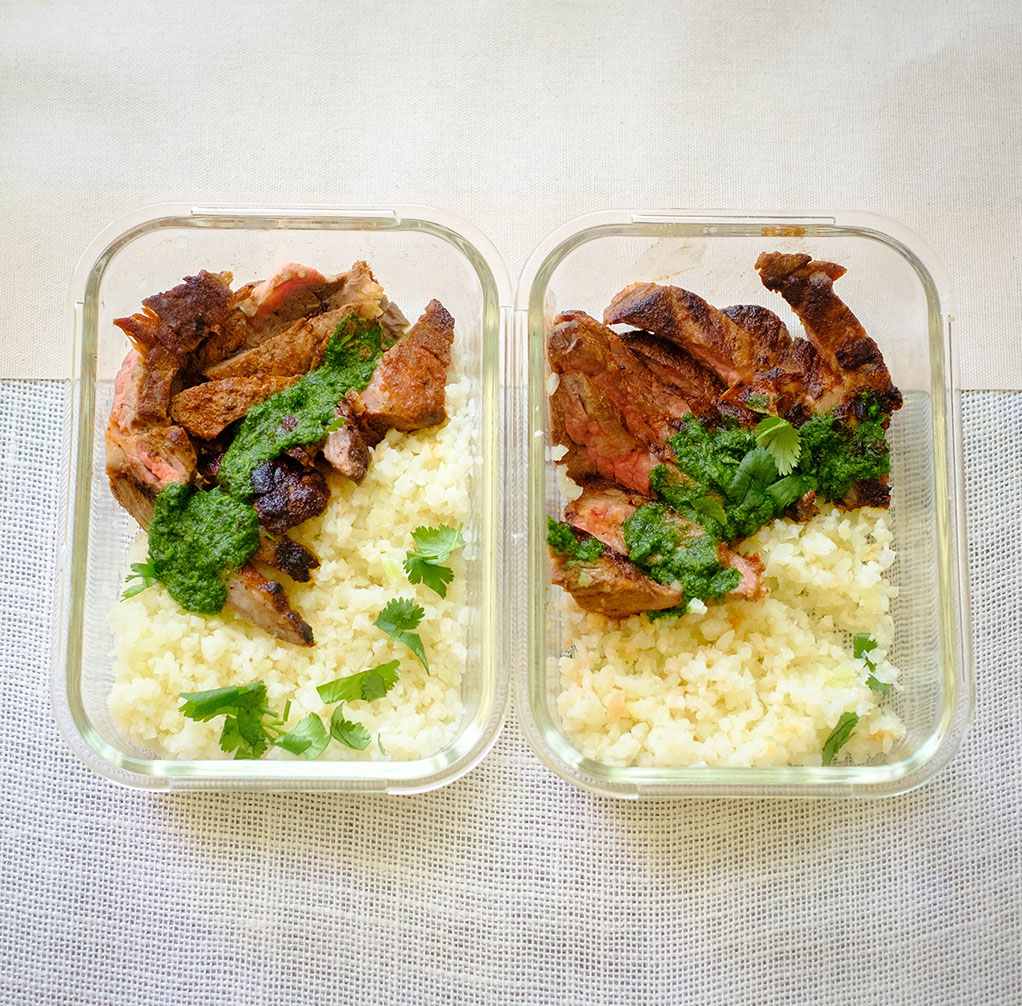
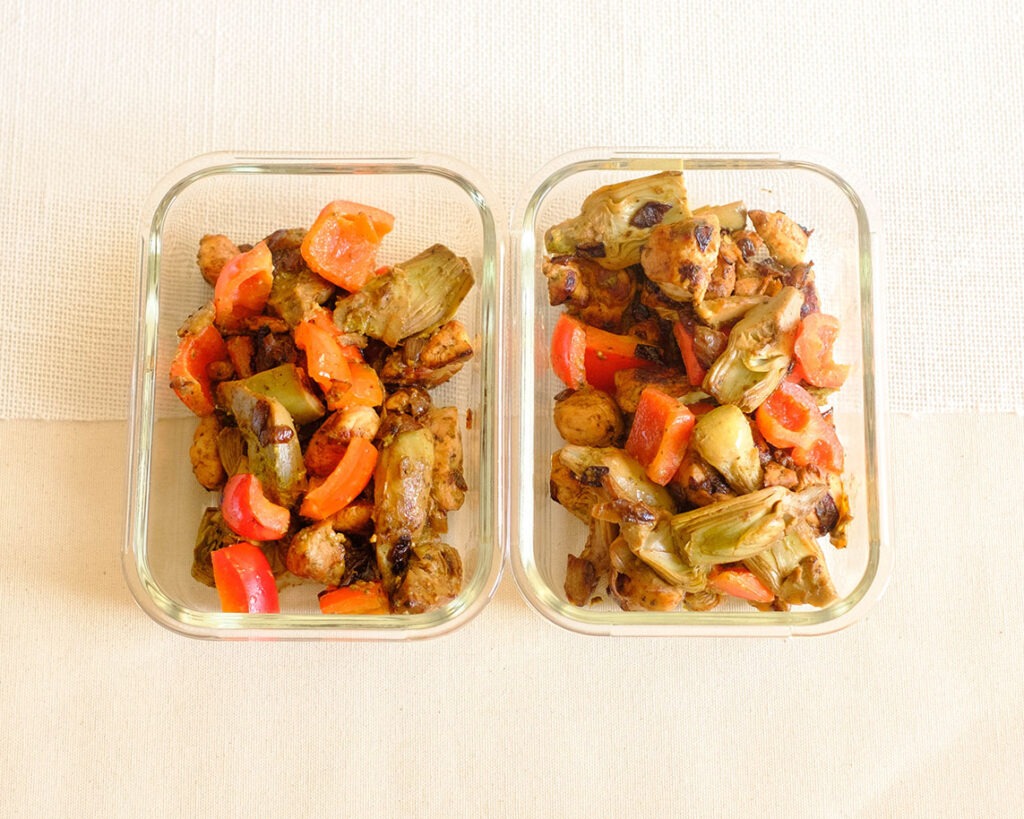
You can have it with roasted diced potatoes or bell peppers. Serve it up with a side of salsa or pico de gallo.


What can you use for omelette fillings?

We love sauteed mushrooms or spinach. Instead of bacon, we often use chopped turkey deli meat for less fat or prosciutto slices.

Posted on Leave a comment

Grilled Cilantro Skirt Steak and Cauliflower Rice

cilantro steak

For all the low carb, keto foodies, or just steak lovers, here’s an easy Steak Dinner with Cilantro Pesto and Cauliflower Rice recipe that you can incorporate into your weekly meal prep.

This post may contain affiliate links. Please see our privacy policy for details.

Round plate with grilled steak with cilantro pesto and cauliflower rice.

We’re using tasty and wholesome ingredients to help you meet your low-carb lifestyle, or if you just want a delicious steak dinner. We’ve got you covered either way.

Why You’ll Enjoy this Cilantro Pesto Sauce

  • This Cilantro Pesto sauce is made with simple and whole ingredients that come together really well bringing tons of flavor.
  • The pesto sauce can be used as a sauce, salad dressing, dipping sauce, and even a marinade.
  • It’s also a great way to use up leftover cilantro herbs, and you can freeze it too!

The PrepYoSelf Newsletter

Ingredients Needed to Make this Low Carb Steak Dinner

  • Cilantro Pesto: We use fresh cilantro herbs lime juice, pine nuts, garlic cloves, olive oil, and salt
  • Steak: We grilled skirt steak, but you can also use flank steak or any kind of steak of your choice
  • Seasonings: We used chili powder, cumin, paprika, garlic powder, and salt
  • Cauliflower Rice: We used frozen cauliflower rice because you can easily just throw it in the microwave to cook and steam. You can serve this dish with any other low-carb vegetable such as roasted zucchini, green beans, or broccoli

Round plate with grilled steak with cilantro pesto and cauliflower rice.

How to Make Grilled Skirt Steak

  1. Season the steak with the dry rub, then coat it with olive oil.
  2. Heat an indoor grill on medium-high heat and sear the steak on each side until it cooks to your desired doneness.
  3. While the steak is grilling, blend together your cilantro pesto.
  4. After the steak cooks, let it rest before slicing it into strips.
  5. Microwave the cauliflower rice according to the packaged instructions.
  6. Drizzle the Cilantro Pesto on top of the steak.

Reference the recipe card below for detailed instructions.

Round plate with grilled steak with cilantro pesto and cauliflower rice.

Meal Prep Tips for Cilantro Pesto Sauce

  • If you don’t have a blender, you can still make a cilantro dressing by chopping the cilantro and pine nuts into fine pieces. Then, whisk it together with the lime juice, and olive oil, and season with salt.
  • If the pesto flavor is too strong as a sauce, you can just use it as a marinade for the steak before grilling it.
  • To add flavor to the plain cauliflower rice, saute it with the pesto sauce to incorporate the flavors.

Glass meal prep containers with grilled steak with cilantro pesto and cauliflower rice.

steak

Grilled Skirt Steak with Cilantro Pesto and Cauliflower Rice

Easy, low-carb grilled skirt steak dinner with a flavorful cilantro pesto and steamed cauliflower rice.

No ratings yet

Prep Time 5 minutes
Cook Time 20 minutes

Course lunch, Main Course
Cuisine American, Mexican

Servings 2

Equipment

  • knife
  • cutting board
  • blender
  • indoor grill pan
  • tongs
  • spatula
  • saute pan

Ingredients


Steak and Seasoning

  • 12 oz skirt steak
  • 1/4 teaspoon chili powder
  • 1/4 teaspoon cumin
  • 1/4 teaspoon paprika
  • 1/4 teaspoon garlic powder
  • 1/4 teaspoon salt
  • 1 tablespoon olive oil

Cilantro Pesto

  • 1 cup cilantro (chopped)
  • 1 lime (juiced)
  • 1/4 cup olive oil
  • 2 tablespoons pine nuts
  • 2 garlic clove (peeled)
  • 1/4 teaspoon salt
  • 4 cups cauliflower rice (frozen, pre-cooked, recommend Green Giant Brand)

Instructions


  • Season the steak and coat it with olive oil. Heat an indoor grill pan on medium high heat and sear the steak on each side for about 5 to 6 minutes until it cooks to your desired doneness.
  • Meanwhile, place the cilantro, pine nuts, juice of a lime, olive oil, garlic, and salt in a blender and blend until smooth.
  • Microwave the frozen cualiflower rice according to the packaged instructions (usually about 4 to 5 minutes).
  • After the steak cooks, let it rest before slicing into strips. Serve the steak on top of the cauliflower rice and drizzle it with the yummy cilantro pesto sauce.

Similar Recipes

pineapple bbq chicken

Pineapple BBQ Chicken and Coconut Cauliflower Rice

cilantro chicken

Cilantro Lime Chicken and Strawberry Salsa

steak wrap

Steak Wrap with Air Fryer Eggplant Fries

You Might Also Like

Frequently Asked Questions

How long will fresh pesto last in the fridge?

It’s best to use it up within 5 days in the fridge for the best flavor and freshness.


Can I freeze pesto?

Yes, we recommend putting them in ice cube trays or in small freezer-safe containers. It can keep in the freezer for up to 6 months.


Is pesto healthy?

If used in moderation, it can be a healthy way to add flavor to your meals such as a sauce or a marinade. However, because the ingredients do include olive oil, nuts, and sometimes cheese, these ingredients can be high in calories and fat. Therefore, you would want to make sure you incorporate them in balanced portions to your meals. For this recipe, we used olive oil which is primarily unsaturated and can contribute to some heart health benefits.

Posted on Leave a comment

Sauteed Pesto Chicken with Artichokes and Peppers

chicken pesto

This Keto-Friendly Pesto Chicken meal prep recipe can’t get any easier. It’s flavored with basil pesto sauce and pairs perfectly with the sweetness of the red peppers and filled with “meaty” artichokes.

This post may contain affiliate links. Please see our privacy policy for details.

Round plate with sauteed chicken, red bell peppers, and artichokes tossed in a basil pesto sauce.

Why We love this Pesto Chicken

  • This meal can be ready in less than 20 minutes
  • It uses budget-friendly ingredients
  • It is packed with lots of flavors

Why is Pesto Sauce Great for Meal Prep?

  • When you need something easy to boost flavor for weekly meal prep, use pesto sauce. It’s a great way to boost flavor with simple and fresh ingredients
  • Pesto sauce is a healthy way to season your dishes because it contains herbs, garlic, lemon, nuts, cheese, and oil

The PrepYoSelf Newsletter

To Make this Easy Pesto Chicken, You’ll Need

  • Chicken Tenderloins: You can also use chicken breast chunks or cut up boneless chicken thighs into one-inch cubes
  • Bell Peppers: Use any color, but we prefer red because they are sweeter
  • Artichokes: You can use frozen or canned artichokes
  • Pesto Sauce: Make your own homemade pesto in a blender, but there are many options in the grocery store. You can always refrigerate it or freeze it for later use
Round plate with sauteed chicken, red bell peppers, and artichokes tossed in a basil pesto sauce.

Basic Steps to Make Sauteed Pesto Chicken

  1. Thaw out the frozen artichokes according to the packaging instructions or drain the artichokes if you are using canned.
  2. Cut the bell peppers and chicken into one-inch chunks
  3. Next, add oil to a saute pan on medium-high heat and saute the chicken for a few minutes until they are golden brown and fully cooked.
  4. Then, add the bell peppers and artichokes and cook until they are tender.
  5. At the end, add the basil pesto and mix it all together until it is fully coated with the sauce.

Reference the recipe card below for detailed instructions.

Round plate with sauteed chicken, red bell peppers, and artichokes tossed in a basil pesto sauce.

Meal Prep Tips for Pesto Chicken

  • Other Cook Methods: You can also grill the chicken and vegetables on an indoor grill pan or you can cook it in an Air Fryer
  • To reheat: Reheat it in the microwave until it is warm
  • Storage: Store in an airtight container in the refrigerator for up to 3 to 4 days for the best quality.
  • To freeze: If you want to freeze this meal, you can store it in freezer bags in the freezer for up to 3 months for the best quality. Just be sure to thaw it out in the refrigerator before reheating it
Glass meal prep containers with sauteed chicken, red bell peppers, and artichokes tossed in a basil pesto sauce.
chicken pesto

Sauteed Pesto Chicken with Artichokes and Bell Peppers

Keep a batch of pesto sauce on hand and use it in your next chicken meal prep for an easy and tasty meal solution.

No ratings yet

Prep Time 5 minutes
Cook Time 15 minutes

Course dinner
Cuisine American, Italian

Servings 2

Equipment

  • knife
  • cutting board
  • spatula
  • saute pan

Ingredients


  • 12 oz boneless chicken thighs
  • 1 red bell pepper
  • 2 cups artichoke hearts (frozen)
  • 3 tablespoons basil pesto sauce
  • 1 tablespoon olive oil

Instructions


  • Defrost the frozen artichoke hearts according to the packaging instructions or drain them if you purchased canned artichokes. Cut the bell peppers into cubes and dice the chicken in 1 inch chunks.
  • Add oil to a saute pan on medium high heat and saute the chicken for about 5 to 6 minutes until it is golden brown and fully cooked.
  • Next, add the bell peppers and artichoke hearts and let them heat through for about 2 to 3 minutes. Finish by adding the basil pesto and mixing everything well until the chicken is coated with the sauce.

Similar Recipes

sweet and sour chicken wings

Air Fryer Sweet and Sour Chicken Wings

chicken pesto wrap

Chicken Pesto Wrap with Hummus

peanut chicken

Peanut Chicken and Celery Stir Fry

You Might Also Like

Frequently Asked Questions

What kind of pesto do I use?

The most common pre-made pestos found in grocery stores are basil pesto or tomato pesto. Either flavor will work well for this recipe.


What can I serve with this pesto chicken recipe?

If you want to keep it low carb, you can serve it with cauliflower rice, otherwise, it goes well with pasta noodles or even pita bread.


Can I freeze pesto chicken?

Yes, store it in an airtight freezer bag and freeze for up to 3 months for the best quality.

Posted on Leave a comment

Air Fryer Shrimp and Pineapple Kebabs

shrimp kebab

Quick and easy Air Fryer Shrimp and Pineapple kebabs filled with tropical flavors that you’re going to love for your weekly meal prep.

This post may contain affiliate links. Please see our privacy policy for details.

Plate with colorful air fryer shrimp kebabs that include shrimp, pineapple, red onions, and red bell pepper.

Why We Enjoy These Air Fryer Shrimp Kebabs

Food on skewers always just makes it more fun to eat! We load ours with skewers with juicy shrimp, sweet bell peppers, tangy pineapple, and aromatic onions.

  • Cooking it in the Air Fryer makes it so easy and fast
  • All the ingredients bring their own flavors, so no need for fancy seasonings
  • If you don’t want to mess with skewers, you can still throw everything in the Air Fryer basket and let them cook all together

The PrepYoSelf Newsletter

Ingredients You’ll Need

This shrimp kebab recipe uses simple ingredients. Here are the essential that you’ll need for the skewers:

  • Shrimp: We used fresh, peeled, and deveined shrimp. You can find them also frozen, however, you’ll need to defrost them in the fridge the night before
  • Red Bell Pepper: You can use any color of bell peppers, but we like the sweetness of red bell peppers
  • Red Onions: You can use any kind of onions that you have on hand, but we like using red onions because it adds color to the dish
  • Pineapple: It’s best to use fresh pineapple for this recipe because canned pineapple will be too mushy when cooked
Plate with colorful air fryer shrimp kebabs that include shrimp, pineapple, red onions, and red bell pepper.

Here Are The Steps To Make Air Fryer Shrimp Kebabs

  1. Cut up the pineapple, red onions, and bell peppers into one-inch cubes.
  2. Assemble the ingredients on the skewers, alternating each ingredient on the skewers.
  3. Coat with olive oil or cooking spray and sprinkle on the seasonings.
  4. Place the skewers in the Air Fryer Basket and cook for 8 to 10 minutes at 360F.

Reference the recipe card below for detailed instructions.

Glass meal prep containers with colorful air fryer shrimp kebabs that include shrimp, pineapple, red onions, and red bell pepper.

Meal Prep Tips for Air Fryer Shrimp Kebabs

  • Adding more flavor: If you want to add more flavor, you can coat it with bbq sauce or a mixture of honey and soy sauce
  • To serve: Serve with a side salad or with a side of rice pilaf
  • Storage: Store in an airtight container in the refrigerator for up to 3 to 4 days for the best quality.
  • Ingredient swaps: You can also use mango instead of pineapple
Glass meal prep containers with colorful air fryer shrimp kebabs that include shrimp, pineapple, red onions, and red bell pepper. Included is a side salad.
shrimp and pineapple kebabs

Air Fryer Shrimp and Pineapple Kebabs

Tropical flavored Shrimp and Pineapple Kebabs cooked in the Air Fryer makes an easy meal prep meal full of flavor during a busy weeknight.

4.50 from 2 votes

Prep Time 10 minutes
Cook Time 15 minutes

Course Main Course
Cuisine American

Servings 2

Equipment

  • cutting board
  • knife
  • Air Fryer

Ingredients


  • 12 oz shrimp (peeled and deveined)
  • 1 red bell pepper (cubed)
  • 1/2 small red onion (cubed)
  • 2 cups pineapple (chunks)
  • 1/4 teaspoon garlic powder
  • 1/4 teaspoon paprika
  • 1/4 teaspoon salt
  • 4 cups spring mix
  • 4 tablespoons your choice of vinaigrette dressing

Instructions


  • If using wooden skewers, soak them for at least 10 minutes.
  • Season the shrimp, pineapple, bell peppers, and red onions with the seasonings. Assemble the ingredients on the skewers, alternating each ingredient on the skewers. Spray each kebab skewer with cooking spray.
  • Place in the air fryer and cook at 360F for 8-10 minutes (until internal temperature is 145F). If using the oven, cook for 10-15 minutes.
  • Serve with a side salad and your choice of salad dressing.

Similar Recipes

shrimp and asparagus

Oven Baked Shrimp with Panko Breaded Asparagus

shrimp and corn

Sheet Pan Shrimp with Cauliflower and Corn

shrimp quinoa salad

Citrus Shrimp Quinoa and Spinach Salad

You Might Also Like

Frequently Asked Questions

Can I grill my skewers?

Yes, absolutely. Just be sure to soak your skewers before grilling.


What kind of shrimp do I use?

We prefer using fresh shrimp that has been peeled and deveined for this recipe.


How do you know when shrimp is cooked?

When the flesh turns from translucent to opaque, the shrimp should be cooked through.

Posted on Leave a comment

Pan-Fried Tofu with Sauteed Spinach and Tomato

tofu spinach

Crispy, pan-fried tofu served with sauteed balsamic spinach and tomatoes is an easy recipe, that is a light and warm dish, that can be enjoyed with rice pilaf, pasta, or all on its own.

This post may contain affiliate links. Please see our privacy policy for details.

Round plate with pan-fried tofu topped with sauteed spinach and cherry tomatoes.

If time is not on your side, here’s a quick 15-minute vegetarian meal prep that you can make all in one pan.

Why You’ll Love This Vegan Dish

  • It’s gluten-free, dairy-free, and uses whole ingredients
  • Together with the tomatoes, the sauteed spinach is one of the most nutrient-side dishes you can have
  • This dish is extremely budget-friendly because tofu can be a cheaper protein option than meat
  • This easy recipe has minimal ingredients to buy

The PrepYoSelf Newsletter

Simple Ingredients You’ll Need to Make this Easy Recipe of Pan-Fried Tofu with Sauteed Spinach

  • Firm Tofu: The firmer the tofu, the less water it has, therefore, it is easier to crisp up during the cooking process
  • Spinach: You can also use other greens such as baby kale, arugula, bok choy, or mustard greens
  • Cherry Tomatoes: You can use regular tomatoes or swap them out with red bell peppers
  • Balsamic Glaze: You can also swap this out with soy sauce or Worchestershire sauce to flavor the ingredients
easy recipe - pan-fried tofu topped with sauteed spinach and cherry tomatoes.

Here’s An Easy Recipe: How to Make Vegan Tofu

  1. Cut the tofu block in half and place them in between several paper towels. Press down on them to remove the excess moisture.
  2. Next, cut them into smaller pieces and add them to an oiled, heated skillet.
  3. Sear them on all sides until they are golden brown and crispy.
  4. Remove the tofu and add spinach and tomatoes.
  5. Drizzle with balsamic glaze and season the vegetables. Mix it all around until the spinach softens.
  6. Serve on top of the tofu cubes.

Reference the recipe card below for detailed instructions.

Glass meal prep containers with easy recipe pan-fried tofu topped with sauteed spinach and cherry tomatoes.

Meal Prep Tips for Pan-Fried Tofu and Spinach

  • To Store: Store in an airtight container in the refrigerator for up to 3 to 4 days. If you are prepping this meal in advance, keep the sauteed spinach and tomatoes in separate containers from the tofu to prevent the tofu from getting soggy from the spinach
  • To Serve: You can enjoy this meal with other side dishes such as quinoa, barley, or a side of squash noodles
  • To Reheat: The meal can be reheated in the microwave
Glass meal prep containers with easy recipe pan-fried tofu topped with sauteed spinach and cherry tomatoes.
tofu and spinach

Pan-Fried Tofu with Sauteed Spinach and Tomato

This pan-fried tofu with sauteed spinach is a one of the easiest and tastiest ways of eating tofu.

No ratings yet

Prep Time 5 minutes
Cook Time 15 minutes

Course dinner, lunch, Main Course
Cuisine American

Servings 2

Equipment

  • knife
  • cutting board
  • saute pan
  • spatula

Ingredients


Tofu and Marinade

  • 12 oz tofu (firm)
  • 1/4 teaspoon garlic powder
  • 1/4 teaspoon Italian seasoning
  • 1/4 teaspoon salt
  • 1 tablespoon balsamic glaze
  • 1 tablespoon olive oil

Spinach and Tomatoes

  • 6 cups baby spinach
  • 1 cup cherry tomatoes
  • 1 tablespoon balsamic glaze
  • 1/4 teaspoon garlic powder
  • 1/4 teaspoon salt
  • 1 tablespoon olive oil

Instructions


  • Cut the tofu block in half and place them in between several paper towels. Press down on the tofu to remove the excess moisture. Next, cut the tofu into one-inch cubes. In a small bowl, mix together the balsamic glaze, olive oil, and seasonings. Cover the tofu cubes completely with the marinade.
  • Add oil to a saute pan on medium-high heat and sear the tofu cubes on each side until they are golden brown (about 2 to 3 minutes on each side). After they cook, remove them from the pan and set them aside.
  • Next, add the spinach and tomatoes and stir them around until the spinach softens and tomatoes get tender. Season with garlic powder and salt.
  • In the end, drizzle the spinach with the balsamic glaze and serve it on top of the tofu cubes.

Similar Recipes

shrimp spinach salad

Citrus Shrimp Quinoa and Spinach Salad

tofu stir fry

Tofu and Veggie Stir Fry

pine nut fish and spinach

Baked Pine Nut Crusted Tilapia with Spinach

You Might Also Like

Bubo, Pinot Noir

Amazon Brand – Happy Belly Roasted and Salted Peanuts

ParmCrisps – Original Cheese Parm Crisps

Frequently Asked Questions

How long will pan-fried tofu keep?

You can keep them in an airtight container in the fridge for 3 to 4 days.


Is tofu good for weight loss?

Tofu can help promote weight loss because it is a low-calorie, high-protein ingredient that can help you stay full and it tends to have fewer calories than meat. Tofu is also cholesterol-free which can help reduce heart disease when swapping it out with saturated, high-fat animal proteins.


Why press the tofu before cooking?

The packaging process of tofu leaves it with a great deal of moisture. Pressing the tofu removes the water and helps it hold its shape when you cook it.

Posted on Leave a comment

Ground Beef and Broccoli Stir Fry

broccoli beef

Enjoy this delicious, healthy beef stir fry recipe that is filled with nutrients from broccoli and bell peppers.

This post may contain affiliate links. Please see our privacy policy for details.

Round plate with stir fry ground beef with broccoli florets and diced red bell peppers.

Get your eating habits back to a place that helps you feel great. Here’s a tasty and easy beef broccoli stir fry to add to your weekly meal plan.

The PrepYoSelf Newsletter

Broccoli normally has a strong flavor, which makes it one of the most “not so favorite veggies for many”, but adding them to this beef stir fry makes it easier to acquire a taste for it. Not to mention, the green colors really brighten up the dish giving it a great meal appeal.

Round plate with stir fry ground beef with broccoli florets and diced red bell peppers.

Here’s What You Need to Make Beef Broccoli Stir Fry

  • Ground Beef: Beef and broccoli is typically a classic combo for Asian-inspired cuisine, but you can use any kind of ground meat of your choices such as pork, turkey, or chicken
  • Green and Red Onions: Aromatics always add flavor, you can also use shallots
  • Broccoli Florets: You can use fresh or frozen. When using frozen, be sure to defrost the frozen florets before adding them to the stir fry
  • Orange Bell Pepper: Bell peppers add nutrients, color, and flavor. You can also substitute them with shredded carrots or diced sweet potato for another orange vegetable option
  • Soy Sauce: Feel free to use coco aminos as an alternate
  • Oil: You can also use coconut oil or avocado oil
Glass meal prep container with stir fry ground beef with broccoli florets and diced red bell peppers.

How to Make Beef Stir Fry with Broccoli

  • Heat up the wok and add oil.
  • Saute the onions and ground beef until they are fully cooked.
  • Season with soy sauce and garlic powder.
  • Finally, toss in the broccoli and bell peppers and stir until the vegetables are tender.

Reference the recipe card below for detailed instructions.

Glass meal prep containers with stir fry ground beef with broccoli florets and diced red bell peppers.

Meal Prep Tips for Beef and Broccoli Stir Fry

  • Ingredient Tip: If you are extremely short on time, buy vegetables that are already washed and cut. You can also buy a frozen stir-fry mix. You can skip all of the choppings and easily throw these pre-cut vegetables into the stir fry
  • Extra Portions: If you buy a big bag of stir-fry mix, you can also use them in soups or roast them in a sheet pan as another side dish. Just add protein to the meal.
  • To Serve: Serve as is or eat with a side of rice noodles. And for added protein, top it off with a fried egg
  • To Store: Store in an airtight container for up to 3 to 4 days in the refrigerator.
  • To Freeze: You can freeze this in a freezer bag or container in the freezer for up to 3 months for the best quality
Beef Stir Fry

Ground Beef and Broccoli Stir Fry

Cook this Easy Beef Broccoli Stir Fry for your next meal prep and have it ready for your next weeknight meal.

4.34 from 3 votes

Prep Time 5 minutes
Cook Time 15 minutes

Course dinner
Cuisine American, Asian

Servings 2

Equipment

  • knife
  • cutting board
  • spatula
  • wok

Ingredients


  • 12 oz lean ground beef
  • 1/4 cup red onions (diced)
  • 1 orange bell pepper (diced)
  • 2 cups broccoli florets
  • 1/4 cup green onions (chopped)
  • 1/4 teaspoon garlic powder
  • 2 tablespoons soy sauce
  • 1 tablespoon olive oil

Instructions


  • Add oil to a saute pan on medium-high heat and saute the onions and green onions until they soften.
  • Next, add the ground beef to the pan. Break it into smaller pieces and season it with the garlic powder and soy sauce. Continue to stir for another 5 to 6 minutes until the beef fully cooks.
  • Finally, add the broccoli and red bell peppers and continue to stir for another 3 to 4 minutes until the veggies are tender.

Similar Recipes

cauliflower rice

Cauliflower Fried Rice

ground beef

Sauteed Ground Beef with Spring Veggies

peanut chicken

Peanut Chicken and Celery Stir Fry

You Might Also Like

Frequently Asked Questions

What can I use in a stir-fry instead of soy sauce?

You can use coconut amnios, liquid aminos, fish sauce, or Worcestershire sauce.


Do you have to boil broccoli before stir-frying?

No, just make sure that they are already cut into small florets so that they cook quickly with high heat.


What do you cook first in a stir fry?

You want to cook the meat first because they take longer to cook. You can also remove the meat from the wok before you cook the vegetables, then add the meat back at the end.

Posted on Leave a comment

Primavera Stuffed Chicken Breasts

stuffed primavera chicken

Oven Baked and Primavera Stuffed Chicken Breasts are a great way to get more vegetables into your weekly meal prep.

This post may contain affiliate links. Please see our privacy policy for details.

Round plate with baked chicken breasts stuffed with colorful vegetables and a side salad.

Pack chicken breast with lots of flavors, color, and nutrients with this recipe. It’s a simple, low-carb meal that requires minimal meal prep.

Why Is This Baked Chicken Breast Recipe Great for Meal Prep?

  • It is high in lean protein which will help you keep full and aid in weight loss
  • You can prep the chicken with the vegetables all in one pan with one cook method
  • You can make a larger batch and freeze it for later. You can later enjoy it with a side of mashed potatoes or fluffy rice pilaf

The PrepYoSelf Newsletter

Simple Ingredients You’ll Need to Make Stuffed Chicken Breasts

  • Chicken Breasts: We chose chicken breasts that were thick cut so that you can easily make slits in them
  • Vegetable Stuffing: Use vegetables that you can cut into thin slices. We used zucchini, yellow squash, bell peppers, and red onions
  • Seasonings: We used a pre-made Italian seasoning, garlic powder, paprika, and salt
  • Side Salad: Serve with a side salad such as spring mix and your choice of salad dressing
Round plate with baked chicken breasts stuffed with colorful vegetables and a side salad.

How to Make Stuffed Chicken Breasts With Vegetables

  1. Preheat the oven to 400F.
  2. Place the chicken breast on a cutting board.
  3. Use a sharp knife to cut slits in each chicken breast, about ½ inch apart (be careful not to cut through the bottom of the chicken completely).
  4. Sprinkle the chicken with seasonings and drizzle with olive oil.
  5. Slice the veggies into coins and stuff the slits with the mixture of veggies, alternating the veggies with each slit.
  6. Place the primavera stuffed chicken breasts on a sheet pan and bake in the oven for 25 minutes until it fully cooks.

Reference the recipe card below for detailed instructions.

Glass meal prep containers with baked chicken breasts stuffed with colorful vegetables and a side salad.

Meal Prep Tips for Primavera Stuffed Chicken Breasts

  • If you don’t want to heat up the whole oven, you can prep this in the Air Fryer
  • If you are entertaining guests, you can cook the chicken breasts on an outdoor grill and have a fun cookout
  • To add more flavor, you can also add shredded mozzarella cheese on top or flavored panko bread crumbs for a crunch
Glass meal prep containers with baked chicken breasts stuffed with colorful vegetables and a side salad.
Stuffed Chicken

Primavera Stuffed Chicken Breasts

Colorful and vibrant stuffed primavera chicken breasts perfect for a healthy meal prep dish.

No ratings yet

Prep Time 5 minutes
Cook Time 30 minutes

Course lunch, Main Course
Cuisine American

Servings 2

Equipment

  • knife
  • cutting board
  • sheet pan
  • oven
  • mixing bowls

Ingredients


  • 12 oz chicken breasts
  • 1/4 cup zucchini (sliced)
  • 1/4 cup yellow squash (sliced)
  • 1/4 cup yellow bell pepper (sliced)
  • 1/4 cup red bell pepper (sliced)
  • 1/4 cup red onions (sliced)
  • 1/4 teaspoon Italian seasoning
  • 1/4 teaspoon garlic powder
  • 1/4 teaspoon paprika
  • 1/4 teaspoon salt
  • 1 tablespoon olive oil

Salad Dressing and Spring Mix

  • 1 lemon (juiced)
  • 1 teaspoon dijon mustard
  • 1 tablespoon honey
  • 4 tablespoons olive oil
  • 1/4 teaspoon garlic powder
  • 1/4 teaspoon pepper
  • 1/4 teaspoon salt
  • 4 cups spring mix

Instructions


  • Preheat hte oven to 400F. Using a sharp knife, cut slits in each chicken breast, about 1/2 inch apart, being careful not to cut through completely. Stuff the slits with a mixture of sliced veggies, alternating with each slit.
  • Sprinkle the chicken with the seasonings and drizzle with olive oil. Bake in the oven for about 25 to 30 minutes until the chicken is cooked through to an internal temperature of 165F. (optional) during the last 5 minutes, you can sprinkle with shredded cheese to let it melt.
  • Meanwhile, in a mixing bowl, mix together the salad dressing ingredients until it is well blended.
  • Serve the stuffed chicken breasts with a side salad and salad dressing.

Similar Recipes

chicken fajitas

Sheet Pan Chicken Fajitas with Mango Salsa

chicken kale salad

Grilled Honey Dijon Chicken and Kale Salad

balsamic chicken salad

Oven Baked Balsamic Chicken Spinach and Strawberry Salad

You Might Also Like

Frequently Asked Questions

What else can I use stuff my chicken breast with?

The options are endless, you can use black olives, cream cheese, sliced potatoes, and even sliced mushrooms.


Can I make stuffed chicken breasts ahead of time?

Yes, you can cut the chicken and stuff it in advance. Then, store it in an airtight container in the refrigerator until you are ready to bake it.


Can I freeze stuffed chicken breasts?

Yes, you can store it in an airtight, freezer-safe bag and store it in the freezer for up to 3 months for the best quality.

Posted on Leave a comment

Sheet Pan Sausage with Roasted Veggies

sheet pan sausage

This Sheet Pan Sausage with Veggies – including Roasted Broccoli, Yellow Squash, and Zucchini is a quick dinner idea that you can make in less than 20 minutes.

This post may contain affiliate links. Please see our privacy policy for details.

Plate with roasted sausage, zucchini, yellow squash, and broccoli florets.

Why this Recipe is Great for Meal Prep

Smoked sausage is the secret ingredient in this recipe, and the best part is that it’s already pre-cooked. So all you have to do is heat it up and it adds tons of flavor with low effort, which is perfect for a busy weeknight!

We used budget-friendly ingredients such as broccoli florets, yellow squash, and zucchini. However, you can add or switch up your choice of vegetables for your recipe and use what you have on hand.

If you’re keeping this low carb, other vegetables that will work well are bell peppers, asparagus, cauliflower, and Brussel sprouts. The important thing is to use vegetables that can roast quickly in less than 20 minutes.

The PrepYoSelf Newsletter

Here are the Essential Ingredients You’ll Need

  • Pre-Cooked Sausage: Nowadays, there are so many options for pre-cooked sausage. You can use pork, beef, turkey, or chicken sausage.
  • Broccoli: You can also use cauliflower or brussels sprouts.
  • Yellow Squash: Other squash options are diced butternut squash or delicata squash
  • Zucchini: Another non-starchy vegetable you can use are snow peas or even green beans
Plate with roasted sausage, zucchini, yellow squash, and broccoli florets.

How to Make Sheet Pan Sausage and Veggies

  1. Preheat the oven to 400F.
  2. Slice the vegetables and sausage into rounds.
  3. Place them on a sheet pan and coat them with olive oil.
  4. Sprinkle with seasonings and bake in the oven for 12 to 15 minutes.

Reference the recipe card below for detailed instructions.

Glass meal prep containers with roasted sausage, zucchini, yellow squash, and broccoli florets.

Meal Prep Tips for Sheet Pan Sausage and Veggies

  • Other Cook Method: You can definitely make this in a toaster oven or in the Air Fryer. And if you don’t want to mess with the oven, you can also saute these ingredients in a saute pan. Just add olive oil and start with the sausage first, followed by the vegetables for a few minutes.
  • Leftover sausage: If you buy a pack of sausage and have some leftover, you can store it in a freezer bag in the freezer for up to 3 months. You can also use it up in other meals such as a soup recipe, breakfast tacos, or even in a pasta dish.
  • Storage: Store in an airtight container in the refrigerator for up to 3 to 4 days for the best quality.
Glass meal prep containers with roasted sausage, zucchini, yellow squash, and broccoli florets.
sausage and veggies

Sheet Pan Sausage with Roasted Veggies

Effortless Sheet Pan Sausage and Vegetable Recipe that can be ready in less than 20 minutes.

No ratings yet

Prep Time 5 minutes
Cook Time 15 minutes

Course dinner, Main Course
Cuisine American

Servings 2

Ingredients


  • 4 beef sausage links (sliced)
  • 1/4 red onions (diced)
  • 2 tablespoon garlic (minced)
  • 1 yellow squash
  • 1 zucchini
  • 2 cups broccoli florets
  • 1/4 teaspoon garlic powder
  • 1/4 teaspoon salt
  • 1/4 teaspoon chili powder
  • 1/4 teaspoon paprika
  • 1 lemon (juiced)
  • 1 tablespoon olive oil

Instructions


  • Pre-heat oven to 400F. Cut the yellow squash and zucchini into 1/4 inch half rounds. Slice the sausage into rounds.
  • Place the sausage and veggies on a sheet pan. Sprinkle the seasonings and minced garlic on top. Coat everything with olive oil. Bake in the oven for 12 to 15 minutes.

Similar Recipes

sausage squash

Spaghetti Squash with Sausage and Peppers

orange chicken

Air Fryer Orange Soy Glazed Chicken with Broccoli

ground beef

Sauteed Ground Beef with Spring Veggies

You Might Also Like

Frequently Asked Questions

What is smoked sausage?

The most common smoked sausages are andouille or kielbasa sausage. They are exposed to burning wood smoke which gives them the smokey flavor.


Can I use raw sausage?

Yes, you can use raw sausage in this recipe, just be sure to use a thermometer to check the internal temperature of the sausage and make sure it fully cooks to the appropriate internal cooking temperature. We recommend cooking them whole and then slicing them afterward.


What can I serve with this recipe?

This recipe pairs well with rice pilaf, side salad, or even buttered noodles with grated parmesan cheese.

Posted on Leave a comment

Sausage Egg Muffins with Strawberries

easy sausage egg muffins

We love making these high-protein, low-carb egg muffins for meal prep.

This post may contain affiliate links. Please see our privacy policy for details.

Round plate with breakfast sausage egg muffins served with strawberries and topped with fresh green herbs.

Why sausage egg muffins are great for weight loss

  • They are high in protein which will help you stay full longer
  • Egg muffins can be an easy way to pack in veggies and still be tasty
  • They are easy to make in small batches or you can make a large amount and save them for snacks

The PrepYoSelf Newsletter

Egg Muffin Ingredients & Modifications

  • Eggs: The egg is the star, but if you want to remove the yolk, you can just use the egg whites.
  • Sausage: We used diced chicken sausage for added protein. Feel free to use breakfast turkey crumbles, chopped bacon pieces, or diced deli meat.
  • Bell Peppers & Onions: We used bell peppers and onions because we always have them on hand, however, you can also use other veggies such as sliced mushrooms or chopped kale, spinach, or broccoli.
  • Seasonings: We simply seasoned our egg muffins with salt, but you can use any dried seasoning such as garlic powder, paprika, chili powder, or parsley to add flavor
Blue silicon muffin pan with egg mixture containing chopped vegetables and sausage.

Here are the basic steps for making egg muffins:

  1. Preheat the oven to 400F. Grease your muffin wells with oil or spray with cooking spray.
  2. Next, chop your fillings into small diced pieces.
  3. In a bowl, whisk together the eggs and seasonings.
  4. Then, add the fillings to the egg mixture.
  5. Use a 1/3 cup scoop to pour the egg mixture into the muffin wells.
  6. Bake in the oven until the eggs are firmly set.

Reference the recipe card below for detailed instructions.

Round plate with breakfast sausage egg muffins served with strawberries and topped with fresh green herbs.

Meal Prep Tips for Sausage Egg Muffins:

  • Cooking tip: Don’t make the mistake of not greasing your muffin wells, the eggs will stick, let’s just say, cleaning duty will not be fun that day!
  • Other Prep Methods: If you don’t have muffin pans, you can just pour the whole mixture into a small baking dish and bake it all together. After it bakes, use a knife to cut the individual portions.
  • To Serve: Enjoy these egg muffins with a side of fruit or even roasted potatoes.
  • Storage: Store them in an air-tight container or Ziploc bags in the refrigerator for up to 3 to 4 days. You can also freeze them and store them in the freezer for up to 3 months for the best quality.
  • To Reheat: Heat them in the microwave until they warm through.
Glass meal prep containers storing sausage egg muffins and strawberries.
egg muffins

Sausage Egg Muffins with Strawberries

These high protein egg muffins are a tasty way to start of your day and help keep you satisfied until lunch time.

No ratings yet

Prep Time 5 minutes
Cook Time 15 minutes

Course Breakfast
Cuisine American

Servings 2

Equipment

  • knife
  • cutting board
  • mixing bowl
  • whisk
  • muffin pan
  • spoon
  • oven

Ingredients


  • 4 large egg
  • 1 chicken sausage link (3 oz)
  • 1/4 cup red bell pepper (diced)
  • 1/4 cup red onion (diced)
  • 1/4 cup cilantro (chopped)
  • 1.5 cups strawberries
  • 1 tablespoon olive oil
  • 1/4 teaspoon salt

Instructions


  • Pre-heat the oven to 400F
  • Dice the chicken sausage, bell peppers, and red onions into small squares. Chop the cilantro
  • In a bowl, whisk together the eggs and season with salt. Add the sausage, bell peppers, red onions, and cilantro
  • Use a 1/3 cup scoop to evenly pour the egg mixture into the wells (should be enough for 6 muffins)
  • Bake in the oven for 10-12 minutes until the eggs firmly set
  • Serve with fresh strawberries

Similar Recipes

Easy Cheese Omelette

fried egg and sausage hash

Fried Egg with Apple and Sausage Hash

egg stuffed bell peppers

Oven Baked Breakfast Egg Stuffed Peppers

You Might Also Like

Frequently Asked Questions

Can I use frozen vegetables to fill my egg muffins?

Yes, you can use any kind of veggies such as frozen, canned, cooked, or fresh. The difference will be in the texture of the vegetables. Raw vegetables will be more crunchy.


Can I use liquid egg whites?

Yes, just add a little bit more egg whites to the recipe to replace the volume of the yolks.


What else can I add to the egg muffins?

Feel free to add shredded cheese or fresh herbs such as green onions or basil.

Posted on Leave a comment

Baked Shrimp with Panko Breaded Asparagus

shrimp and asparagus

Garlic lemon shrimp and crispy panko-crusted asparagus all baked together in one pan! This super easy baked shrimp recipe keeps the dishes to a minimum and the flavor clean and crisp.

This post may contain affiliate links. Please see our privacy policy for details.

Plate with baked shrimp recipe with asparagus topped with panko breadcrumbs and lemon slice.

Need a game plan for your midweek dinner after a long day of work? Then, you’ll want to try this quick and easy cooking method that will help you get dinner on the table in less than 30 minutes.

Sheet pan meals save time, make clean-up easier, and the oven does all the work. That’s why we love this Oven Baked Shrimp with Roasted Asparagus topped with crispy panko breadcrumbs.

The PrepYoSelf Newsletter

Easy Ingredients for this Baked Shrimp Recipe

  • Shrimp: Get shrimp that is already peeled and deveined
  • Asparagus: You can also swap this ingredient out with green beans or broccolini
  • Lemon: Lemon on seafood help to add bright flavors to the dish
  • Seasonings: We used chili red pepper flakes for a little bit of heat, paprika for smoky flavors, and garlic as an aromatic
  • Breadcrumb Mixture: This crunchy topping is the star of the show that adds a layer of crunch and flavor to the dish. This crispy and garlicky combination levels up the dish
Glass meal prep container with baked shrimp recipe with asparagus topped with panko breadcrumbs and lemon slice.

Easy Steps to Make Sheet Pan Shrimp and Asparagus

  1. Pre-heat the oven to 400F.
  2. Place the shrimp and asparagus on a sheet pan and sprinkle them with seasonings. Coat with olive oil.
  3. In a small bowl, mix together the breadcrumb mixture and top off the asparagus with the bread crumbs.
  4. Bake everything in the oven for 10-12 minutes

Reference the recipe card below for detailed instructions.

Plate with baked shrimp recipe with asparagus topped with panko breadcrumbs and lemon slice.

Meal Prep Tips for Sheet Pan Meals

  • Line the pan with foil or parchment paper to help with easy clean-up.
  • Avoid overcrowding the pan. This will help everything crisp up instead of steaming the food.
  • Pair proteins and vegetables that have similar cook times.
Glass meal prep containers with a baked shrimp recipe with asparagus topped with panko breadcrumbs and lemon slice.
shrimp and asparagus

Oven Baked Shrimp with Asparagus and Panko Breadcrumbs

Crispy, golden panko crusted asparagus paired with high-protein shrimp. An easy sheet pan meal for your busy work week.

No ratings yet

Prep Time 5 minutes
Cook Time 15 minutes

Course dinner, Main Course
Cuisine American

Servings 2

Equipment

  • knife
  • cutting board
  • sheet pan

Ingredients


  • 12 oz shrimp (peeled and deveined)
  • 12 asparagus spears
  • 1 lemon (sliced)
  • 1/4 teaspoon red chili pepper flakes
  • 1/4 teaspoon paprika
  • 1 tablespoon garlic (minced)
  • 1 tablespoon olive oil

Bread crumb mixture

  • 1/2 cup panko bread crumbs
  • 1 tablespoon garlic (minced)
  • 1 tablespoon olive oil
  • 1/4 teaspoon salt

Instructions


  • Pre-heat the oven to 400F. Be sure to trim the bottom ends of the asparagus (about 1-inch).
  • Place the shrimp and asparagus on a sheet pan and season with paprika, red chili pepper flakes, salt, and minced garlic. Drizzle with olive oil
  • In a small bowl mix together the bread crumbs, minced garlic, salt, and olive oil. Top off asparagus with the bread crumbs.
  • Bake everything in the oven for 12 minutes. After it cooks, squeeze lemon juice on top of the shrimp.

Similar Recipes

salmon beet salad

Citrus Ginger Salmon Salad with Roasted Beets

salmon and watermelon salad

Grilled Salmon with Watermelon Salad

pine nut fish and spinach

Baked Pine Nut Crusted Tilapia with Sauteed Spinach

You Might Also Like

Frequently Asked Questions

What are panko breadcrumbs?

Panko is a Japanese style of breadcrumbs that are lighter, airier, crispier, and larger than regular breadcrumbs that give a bigger crunch to deep-fried foods.


Can I use panko and breadcrumbs interchangeably?

You can use them interchangeably, the only difference is your preference in how crunchy you prefer your coating on fried foods


Which is healthier panko or breadcrumbs?

Panko is lower in calories, sodium, and fat than regular breacrumbs.