
Inspiring Healthy Habits from a Young Age
At PrepYoSelf, we’re passionate about fostering a love for healthy living in kids through engaging and educational programs. Our Kids’ Enrichment Programs are designed to make nutrition fun and accessible, ensuring that children not only learn the importance of healthy eating but also enjoy the process!
Fun and Interactive Cooking Classes
Our cooking classes for kids are all about hands-on learning and creativity. We provide a safe and enjoyable environment where children can:
- Get Creative in the Kitchen: Hands-on cooking activities that encourage kids to experiment with fresh ingredients and try new flavors.
- Learn Basic Cooking Skills: Age-appropriate lessons on essential techniques like chopping, mixing, and measuring, empowering kids to confidently prepare their own meals.
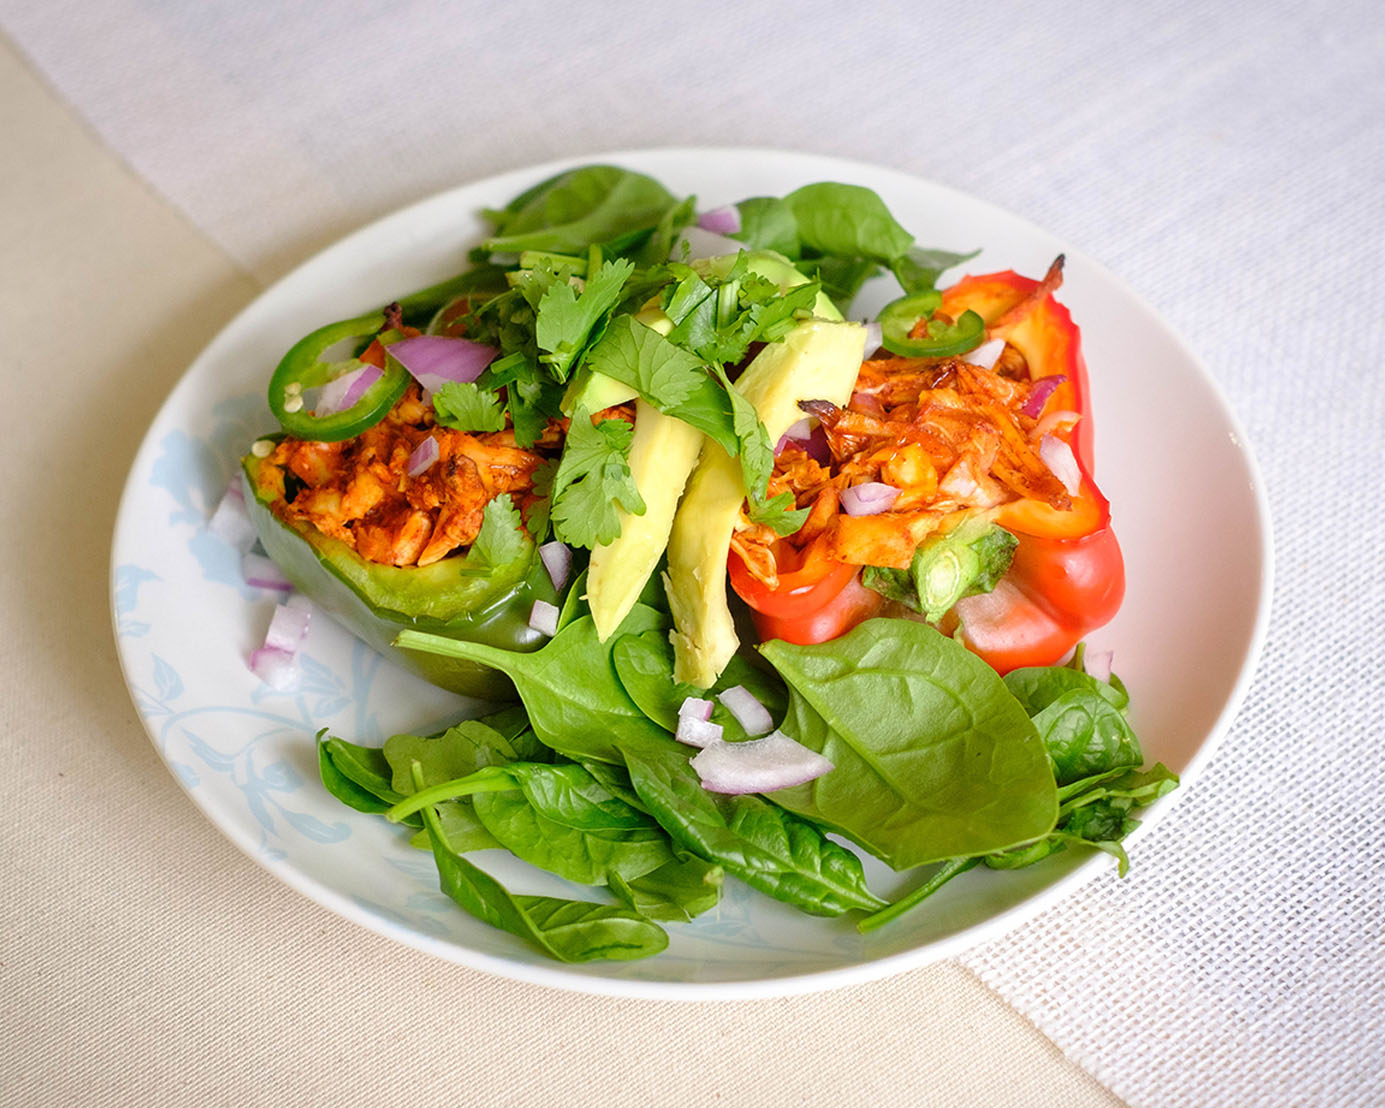
- Enjoy Healthy Recipes: Delicious and nutritious recipes that are easy to make and tailored to young taste buds, promoting a positive relationship with food.
Nutrition Education Tailored for Young Minds
We believe that learning about nutrition should be engaging and relatable. Our nutrition education programs for kids include:
- Fun Learning Activities: Interactive games and activities that teach children about the food groups, balanced meals, and the benefits of various nutrients.
- Easy-to-Understand Lessons: Simple, age-appropriate explanations of how different foods affect their bodies, helping them make informed choices in a fun way.
- Empowering Choices: Encouraging kids to make healthy food choices by understanding the impact of nutrition on their energy levels, growth, and overall well-being.
Why Choose Our Kids’ Enrichment Programs?
- Engaging and Educational: Our programs are designed to captivate young minds while providing valuable knowledge about healthy eating.
- Promotes Independence: By learning cooking skills and nutrition basics, kids gain confidence and independence in their food choices.
- Encourages Family Involvement: Parents are encouraged to join in on the fun, making it a family-friendly experience that promotes healthy habits at home.
Get Started Today
Join us at PrepYoSelf and watch your child discover the joys of healthy cooking and eating. Our Kids’ Enrichment Programs are a fantastic way to introduce children to the world of nutrition while having a blast in the kitchen. Contact us today to learn more about our classes and how we can help your child develop a lifelong love for healthy living.


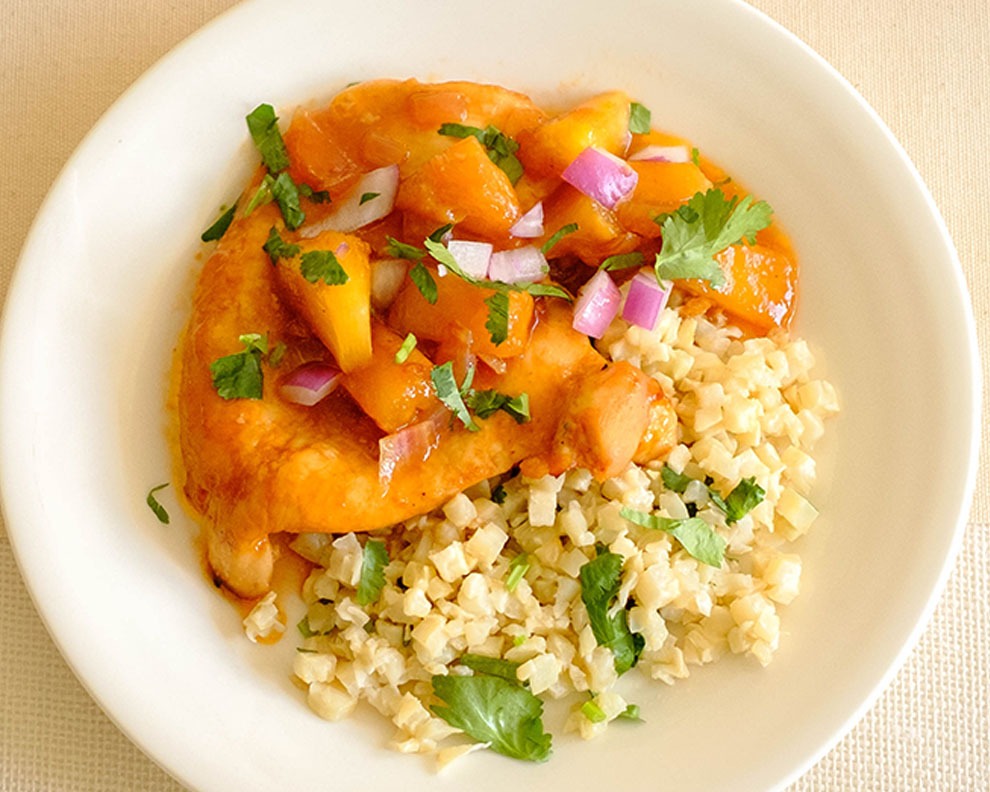


Butternut Squash Gratin
Equipment
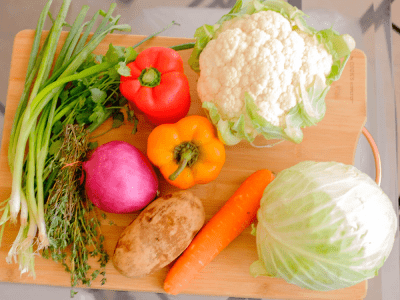
Ingredients
Instructions
Notes
Nutrition