
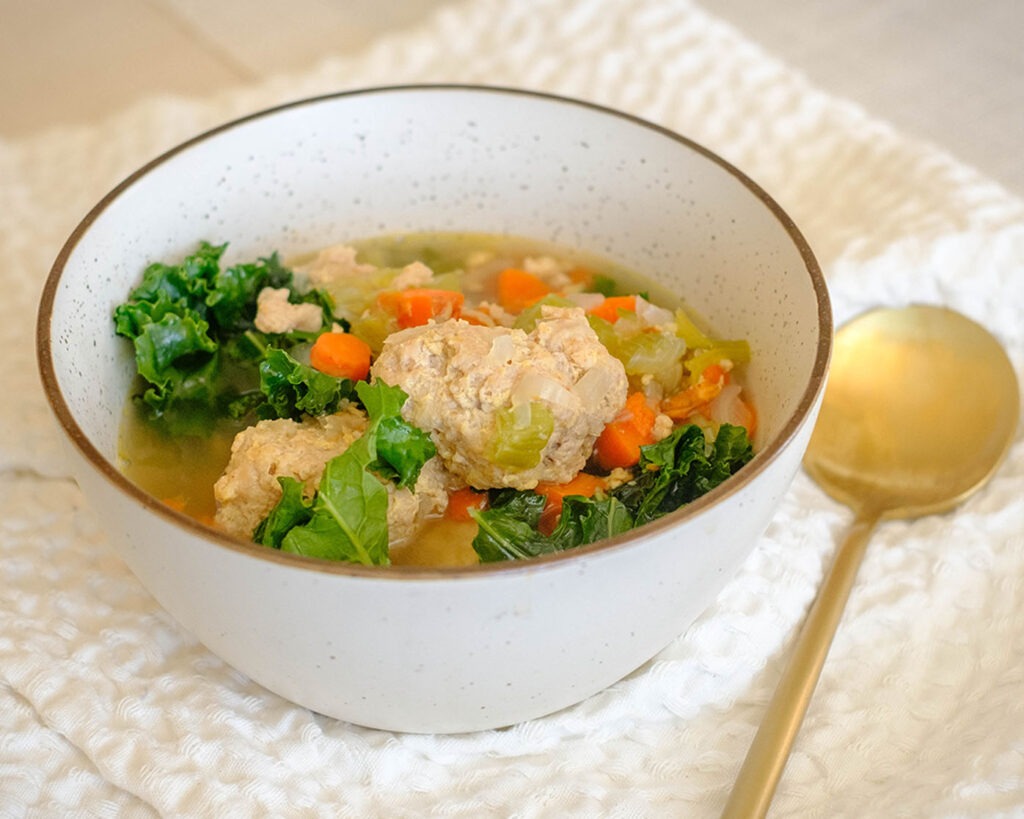
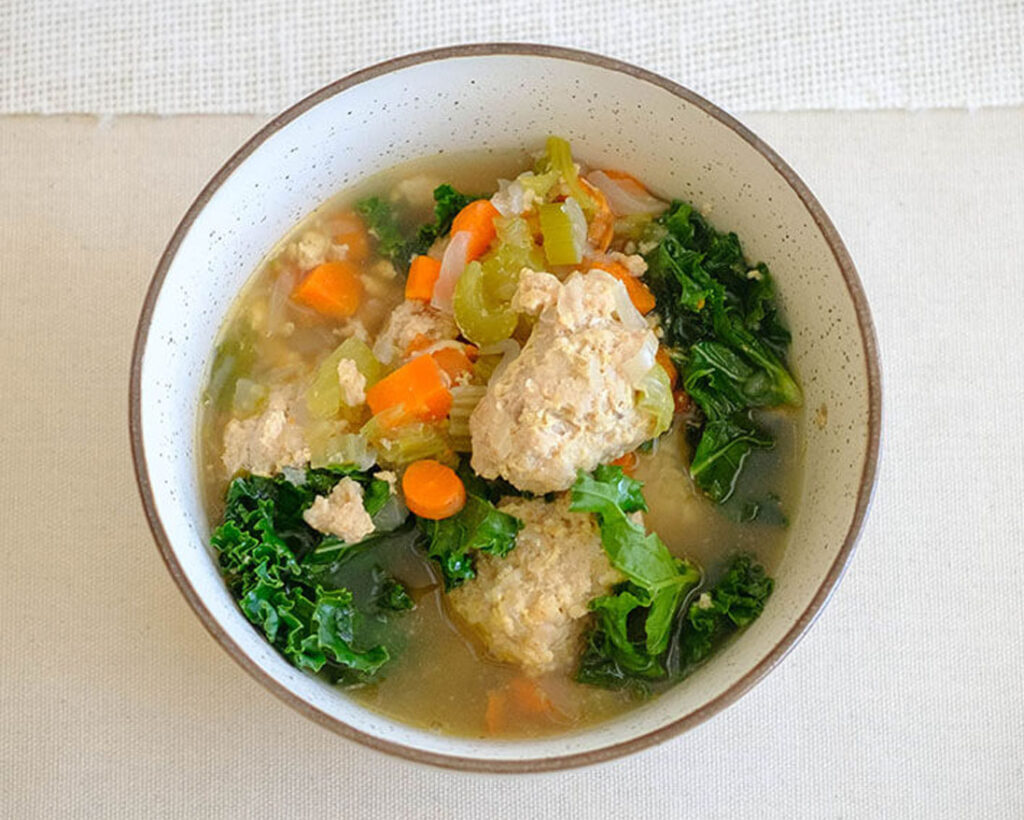
Here we have a soul-warming, one pot Chicken Meatball and Kale Soup ready to be portioned and enjoyed throughout the week. Whether you’re meal prepping for a busy week or yearning for a soothing dinner on a chilly evening, this soup is a celebration of simplicity, health, and the irresistible allure of autumn flavors. This wholesome meal prep option not only satisfies your hunger but also nourishes your body with a medley of flavors and nutrients. Say goodbye to mealtime stress and embrace the joy of savoring a homemade, hearty soup at your convenience. Happy cooking!
This post may contain affiliate links. Please see our privacy policy for details.
Why You’ll Enjoy this Version of Chicken Meatball Soup
- Comforting Warmth for Fall Evenings: As the temperatures drop during the fall months, a steaming bowl of Chicken Meatball and Kale Soup provides comforting warmth, making it the perfect meal to cozy up with after a long day.
- Nutrient-Rich and Weight-Friendly: With a balance of protein, fiber, and vegetables, this soup is not only delicious but also a smart choice for those watching their weight. The nutrient-rich ingredients contribute to a satisfying meal that won’t leave you feeling deprived.
- Freezer-Friendly for Extended Enjoyment: This soup freezes well, allowing you to portion it into individual servings for longer storage. Having a stock of frozen meals is a game-changer for busy fall days when cooking seems like a daunting task.
- Time-Saving Efficiency: Busy individuals will appreciate the simplicity of this meal prep. The meatballs and soup come together with minimal effort, and the soup simmers while you attend to other tasks, making it a time-efficient option for those with packed schedules.
- High-Protein Content: Ground chicken serves as a lean source of protein, essential for muscle repair and maintenance. Protein-rich meals also contribute to a feeling of fullness, helping to curb unhealthy snacking.

Ingredients You’ll Need
- Ground Chicken: Opt for lean ground chicken to keep the soup light and healthy. Swap ground chicken for ground turkey if you prefer a milder flavor. For a plant-based option, try using lentils or a mix of finely chopped mushrooms and black beans.
- Egg: Buying eggs in larger quantities often comes with cost savings, making it a budget-friendly option.
- Breadcrumbs: To add a whole-grain twist, consider using whole wheat breadcrumbs or panko for added texture. Making your breadcrumbs from stale bread is also economical and sustainable option.
- Garlic Cloves: Consider purchasing pre-minced garlic or garlic paste for a time-saving option.
- White Onions, Celery, Carrots: Purchase these vegetables in a pre-chopped, frozen mix to save time without compromising on freshness.
- Baby Kale: Look for pre-washed and pre-chopped baby kale for convenience. If baby kale is not available, regular kale can be substituted; just remove the tough stems and chop the leaves finely.
- Chicken Broth: Consider low-sodium or no-sodium chicken broth to have better control over the soup’s salt content. Buying broth in larger containers or in multipacks can save money.
Basic Steps to Meal Prep Chicken Meatball and Kale Soup
- In a mixing bowl, combine the ground chicken, egg, minced garlic, salt, and breadcrumbs. Mix until all ingredients are well incorporated. Shape the mixture into 2-inch round meatballs. Set them aside, ready to infuse the soup with their delicious flavor.
- Heat olive oil in a soup pot over medium-high heat. Add diced onions, celery, and carrots. Sauté for 2 to 3 minutes, allowing the vegetables to release their aromatic flavors. Pour in the chicken broth and sprinkle garlic powder, Italian seasoning, and salt into the pot. Stir well to blend the seasonings and vegetables, creating a savory base for your soup.
- Gently place the prepared chicken meatballs into the simmering broth. Allow the soup to come to a boil. Once boiling, reduce the heat to low, cover the pot with a lid, and let it simmer for approximately 20 minutes. This ensures that the meatballs cook thoroughly, reaching an internal temperature of 165°F.
- Uncover the pot and introduce the vibrant baby kale to the soup. Stir until the kale wilts and softens, infusing the broth with its fresh, earthy essence.
Reference the recipe card below for detailed instructions.
Meal Prep Tips for Chicken Meatball Soup
- Prepare Ingredients in Advance: Wash, chop, and measure all ingredients before you start cooking. This not only streamlines the cooking process but also ensures that you have everything on hand.
- Batch Prep Meatballs: Make a large batch of chicken meatballs and freeze the extras for future use. This way, you can easily grab the pre-made meatballs for a quick soup whenever you’re in the mood.
- Refrigerator Storage: Store leftover Chicken Meatball and Kale Soup in airtight containers in the refrigerator. Consume within 3-4 days for optimal freshness.
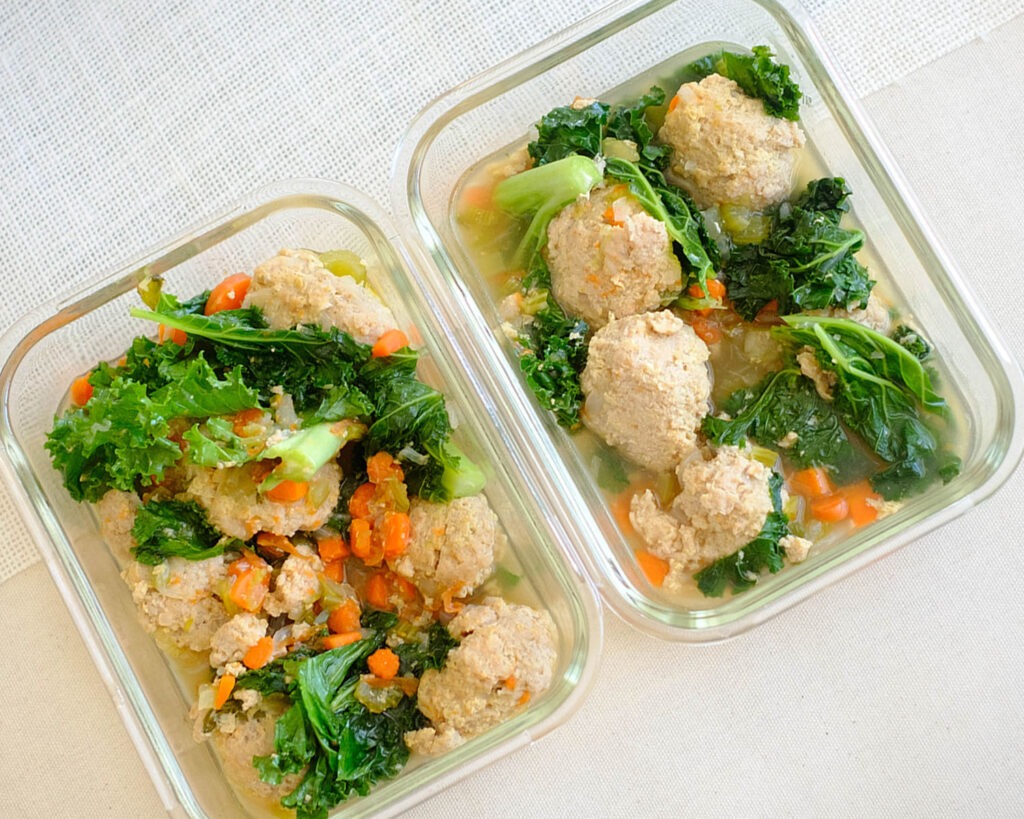
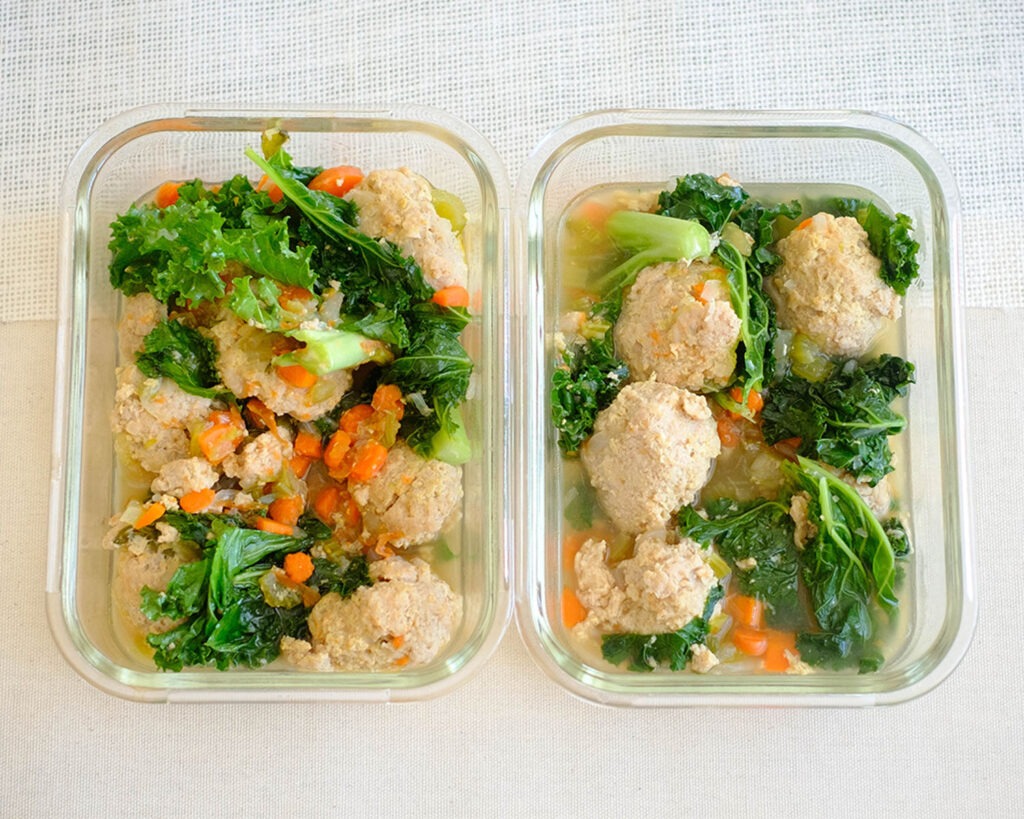
- Freezing Individual Portions: Portion the soup into individual containers, leaving some space for expansion, and freeze for longer storage. Label containers with the date for easy tracking.
- Avoid Overcrowding: When storing in the refrigerator or freezer, avoid overcrowding the containers. This helps the soup cool down faster, reducing the risk of bacterial growth.
- Reheating Tips: For a quick reheating, place the soup in a microwave-safe container and heat in 1-minute intervals, stirring between each interval. This helps distribute heat evenly.


Frequently Asked Questions
Can I freeze the soup with the kale, or should I add it fresh when reheating?
For optimal texture and color, it’s recommended to add fresh kale when reheating individual portions rather than freezing it with the soup.
What can I substitute for breadcrumbs if I want a gluten-free version?
Almond flour can be an excellent gluten-free alternative to breadcrumbs in the meatballs.
Are there alternative greens I can use instead of kale?
Certainly! Spinach, Swiss chard, or collard greens can be excellent substitutes for kale in this soup.


One Pot Chicken Meatball and Kale Soup
Equipment
Ingredients
Meatball Ingredients
Soup Ingredients
Instructions
Notes
Nutrition