
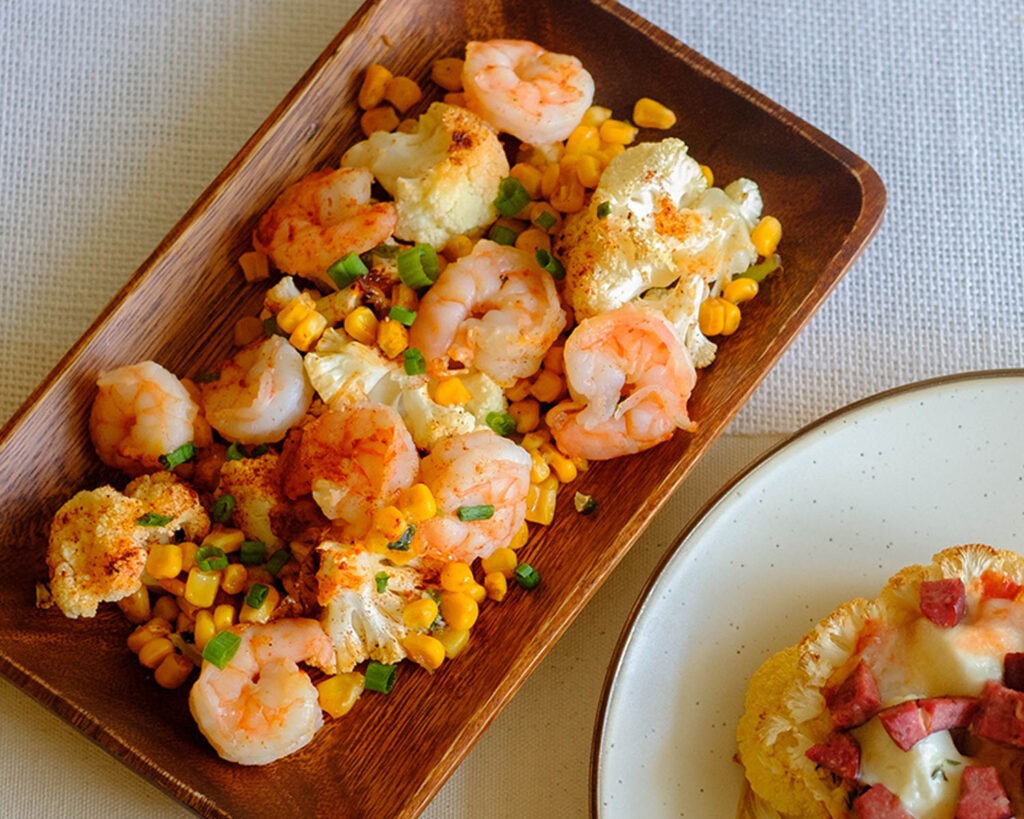
Easy Sheet Pan Shrimp with a corn and cauliflower bake that is ready in less than 20 minutes!
This post may contain affiliate links. Please see our privacy policy for details.
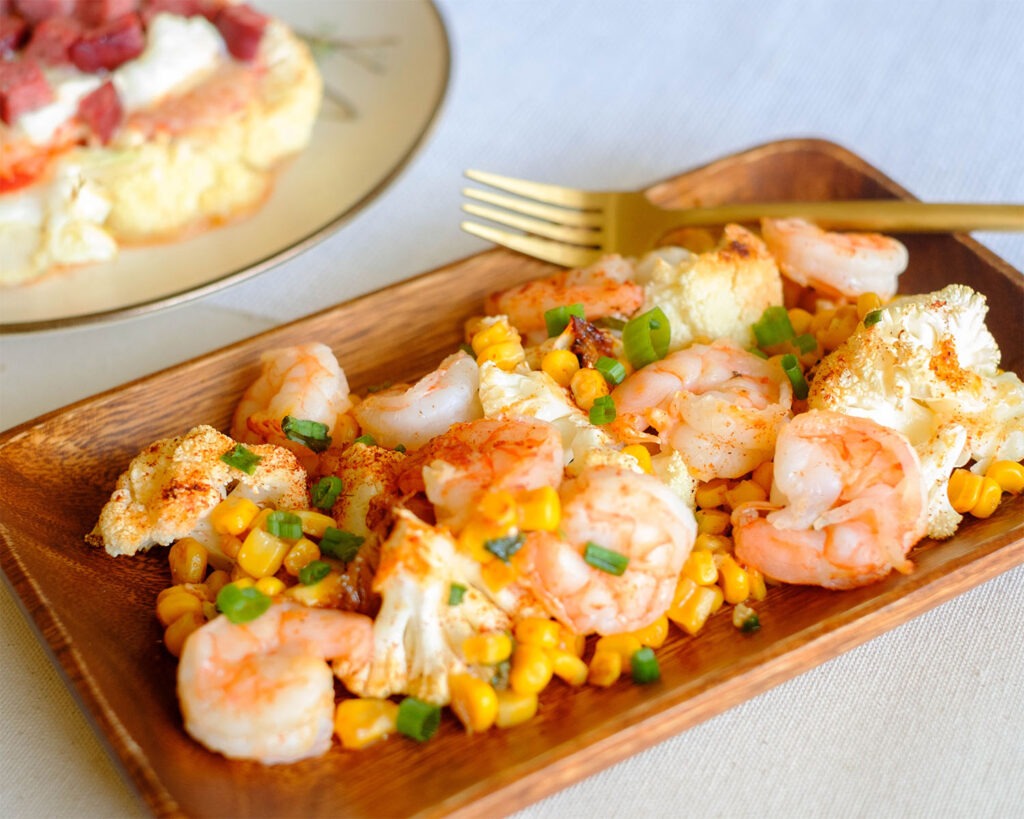
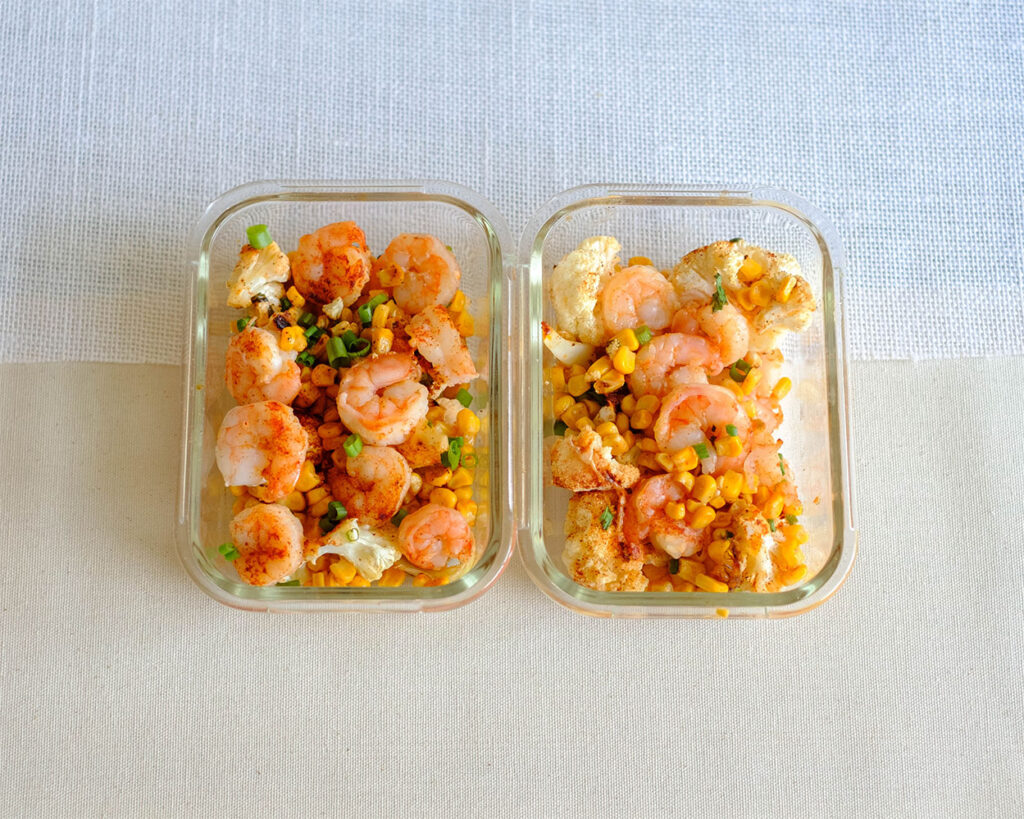
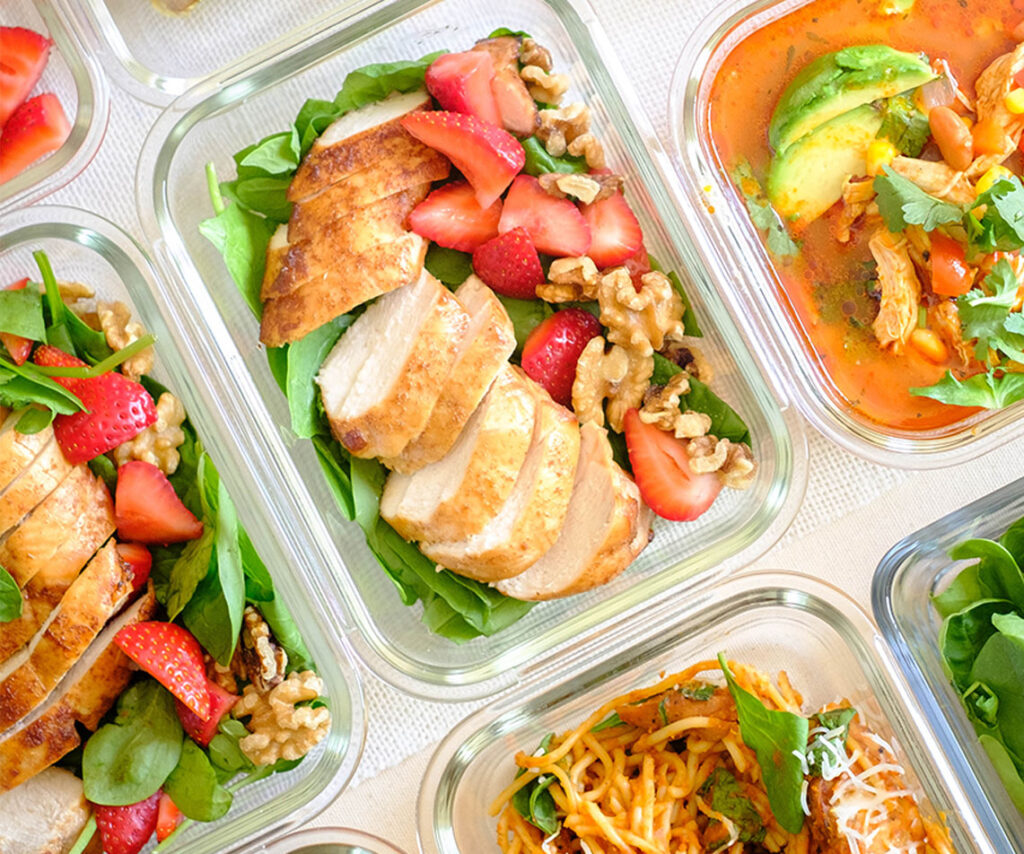
This sheet pan lunch is a lighter version of a shrimp boil that makes it an easy weekday meal prep.
Here’s What We Love About This Pan Shrimp Recipe
- We’ve got traditional ingredients such as shrimp and corn, but instead of potatoes that you often find in boil recipes, we used cauliflower for a lower carb option.
- We also used corn kernels rather than corn on the cob so that you can just scoop it up easily with a fork without having to get your hands dirty.
- Everything cooks at the same time in this pan shrimp recipe, making it a quick, easy, and flavorful prep when you are crunched for time.

Here’s What You’ll Need
- Shrimp: You can either use fresh or frozen shrimp. If you cook frozen shrimp, be sure to thaw it out in the refrigerator first before cooking, otherwise, it will get watery when it cooks in the oven
- Corn Kernels: We choose frozen corn, however, you can use fresh corn on the cob if you prefer the traditional way to cook corn in a boil.
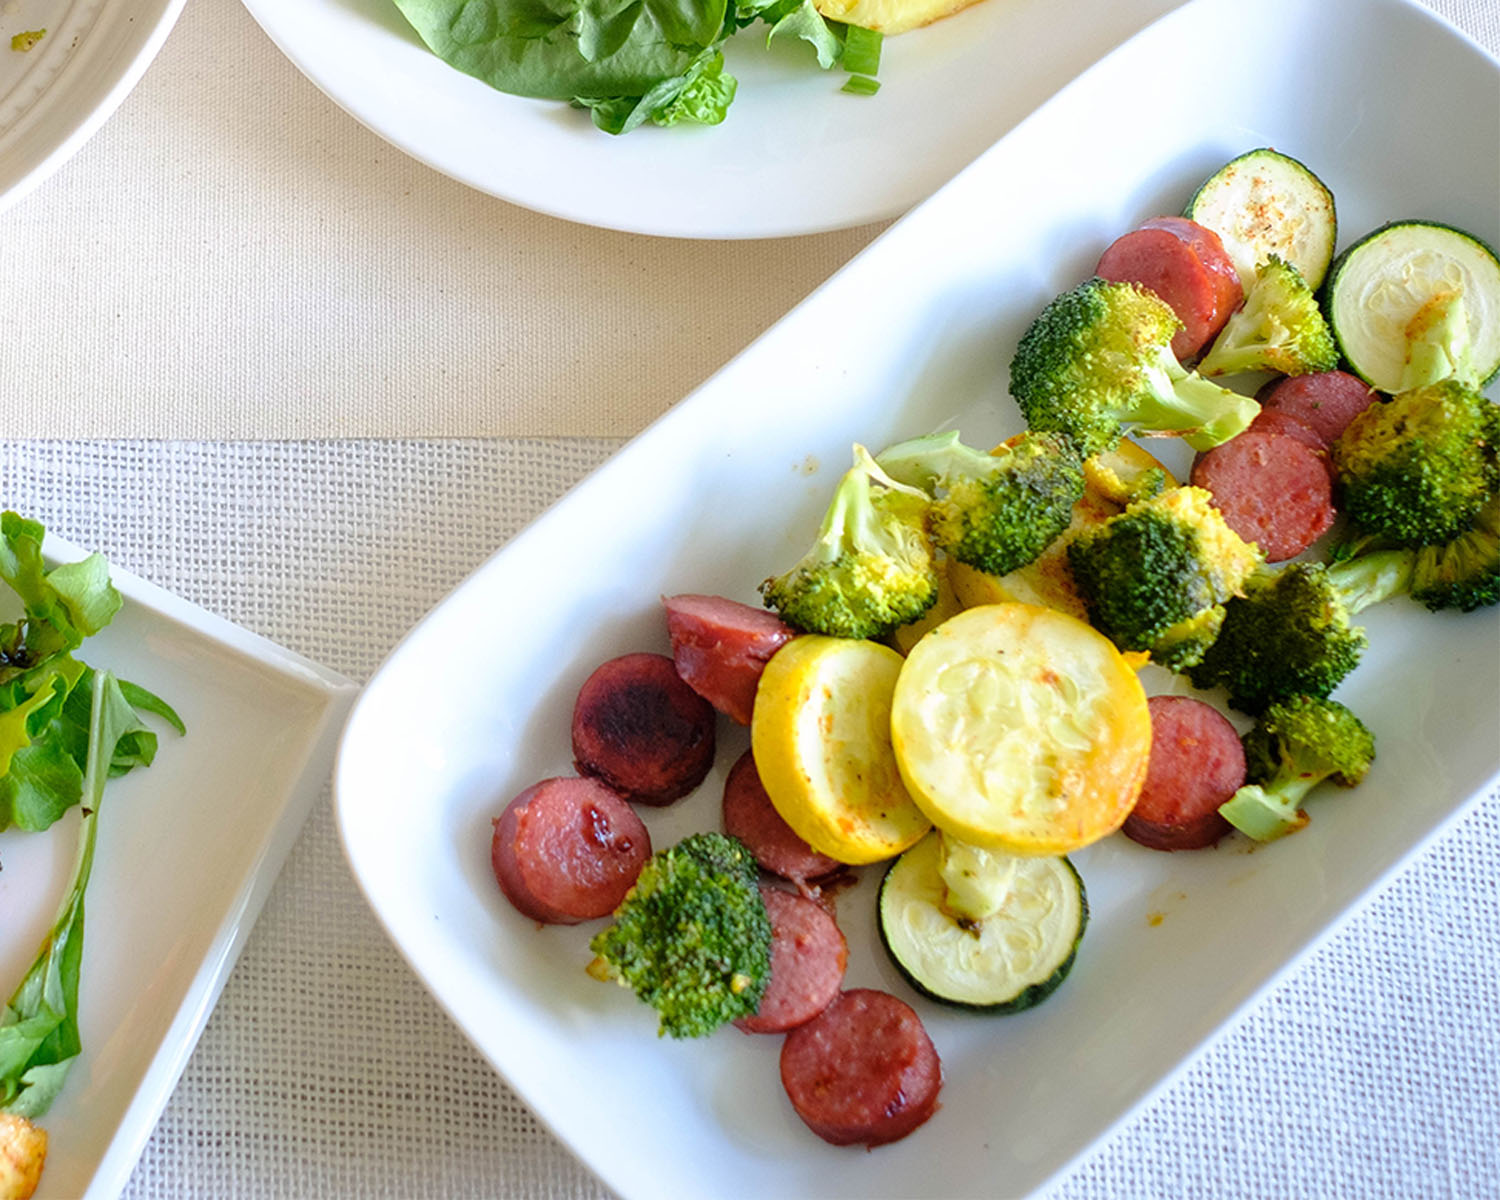
- Cauliflower: You can also swap with another low-carb vegetable such as yellow squash or zucchini
- Garlic and Green Onions: These aromatics add bold flavors to this simple dish
- Seasonings and Olive Oil: We used garlic powder, chili powder, paprika, and salt. However, you can also use old bay seasoning or any pre-mixed seafood seasoning.
How to Make This Tasty Shrimp “Boil” Bake
- Pre-heat the oven to 400F.
- Place the shrimp and veggies on a sheet pan.
- Sprinkle the ingredients with seasoning and drizzle with olive oil.
- Bake in the oven until fully cooked.
Reference the recipe card below for detailed instructions.
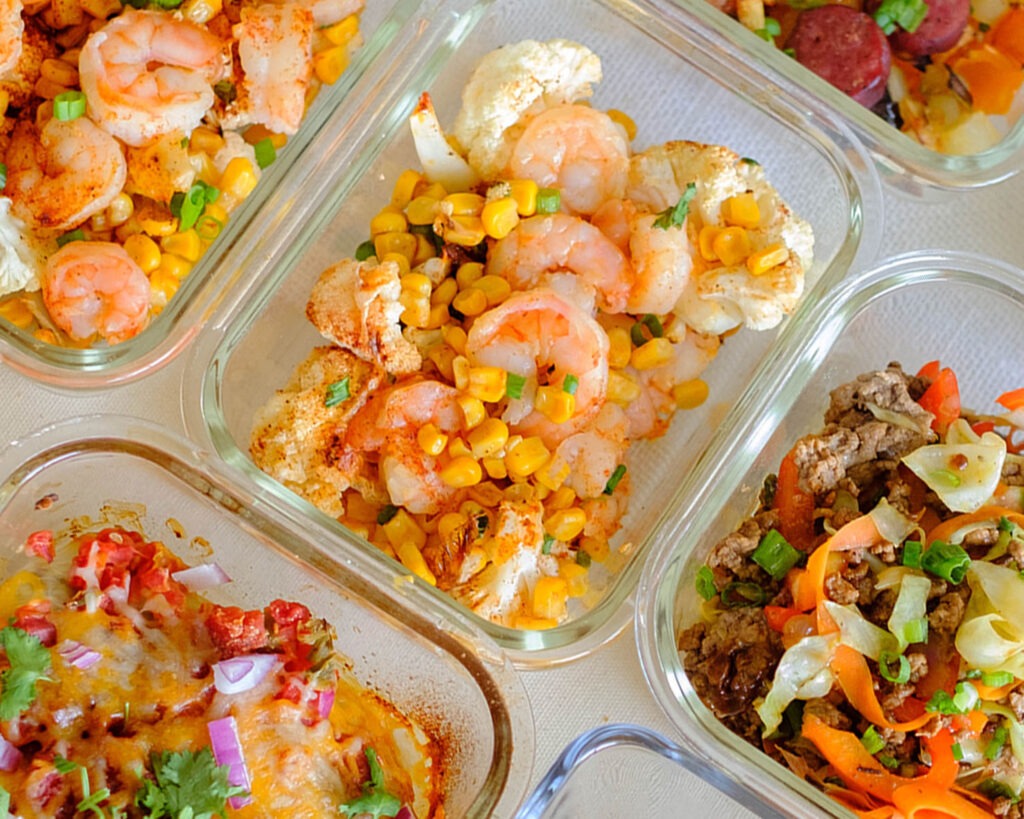
Meal Prep Tips for Shrimp “Boil” Bake
- Air Fryer Tip: You can also cook these ingredients in an Air Fryer. Cook it at 360F for 8-10 minutes
- Stove Top Tip: If you prefer the stovetop, you can saute these ingredients in a skillet. Add oil to a hot pan and start with the cauliflower florets until they get tender. Then add the shrimp, followed by the corn. Add the seasonings and sprinkle with lemon juice at the end. Garnish with green onions.
- Ingredient Tips: If you want to add more flavor, you can top it off with other fresh herbs such as basil, fresh cherry tomatoes, or sliced shallots.
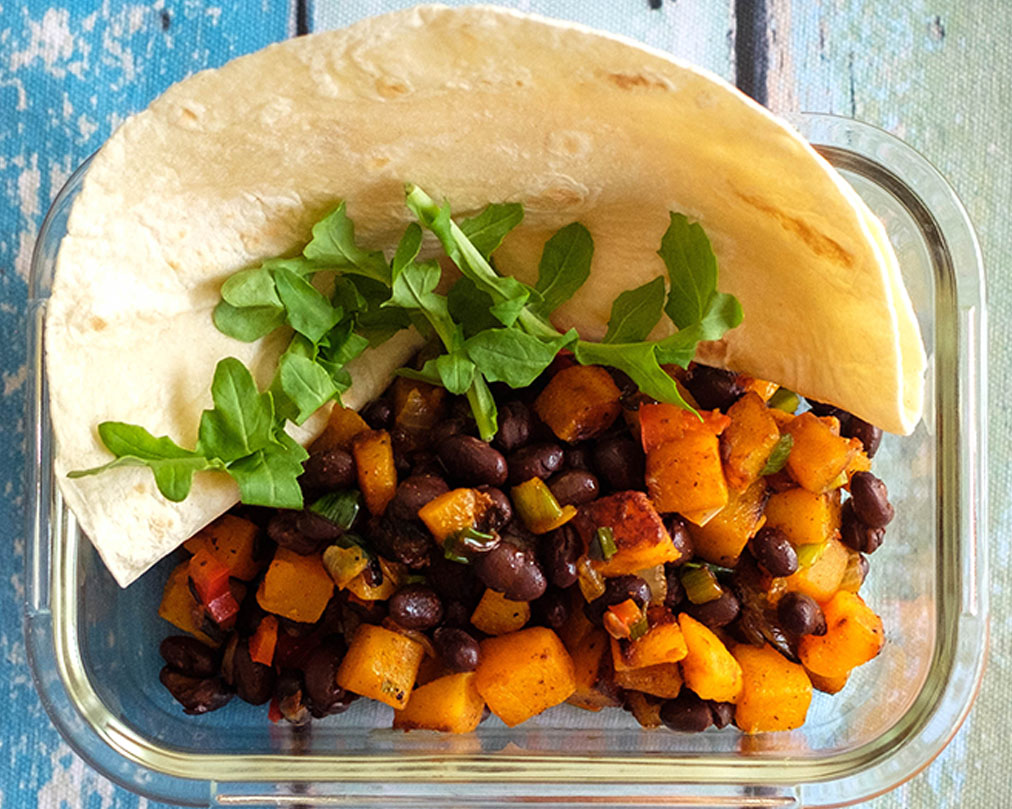
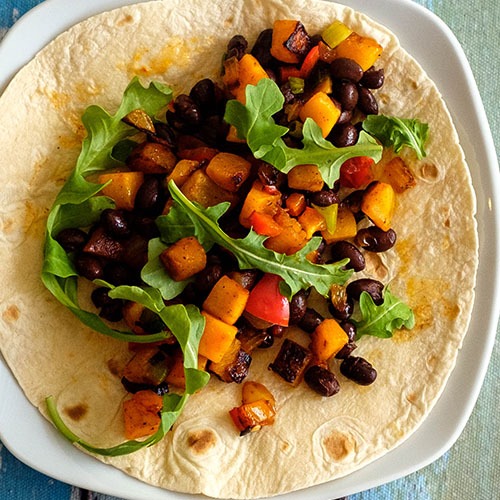
- To Serve: Pair this meal with a crispy, fresh green salad, buttery rice pilaf, or with flour tortillas


Frequently Asked Questions
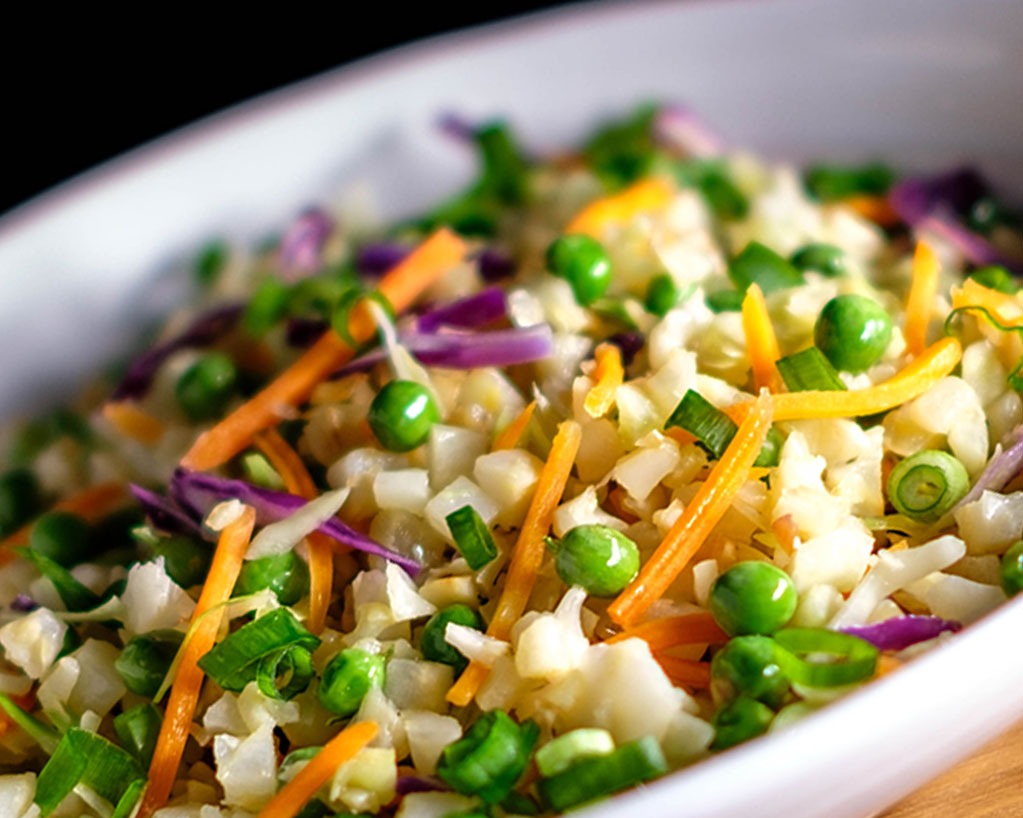
Can I use cauliflower rice?
Yes, cauliflower rice works well here.
How long can I store leftovers?
You can store it in an airtight container in the refrigerator for up to 3 to 4 days.
What can I substitute for shrimp?
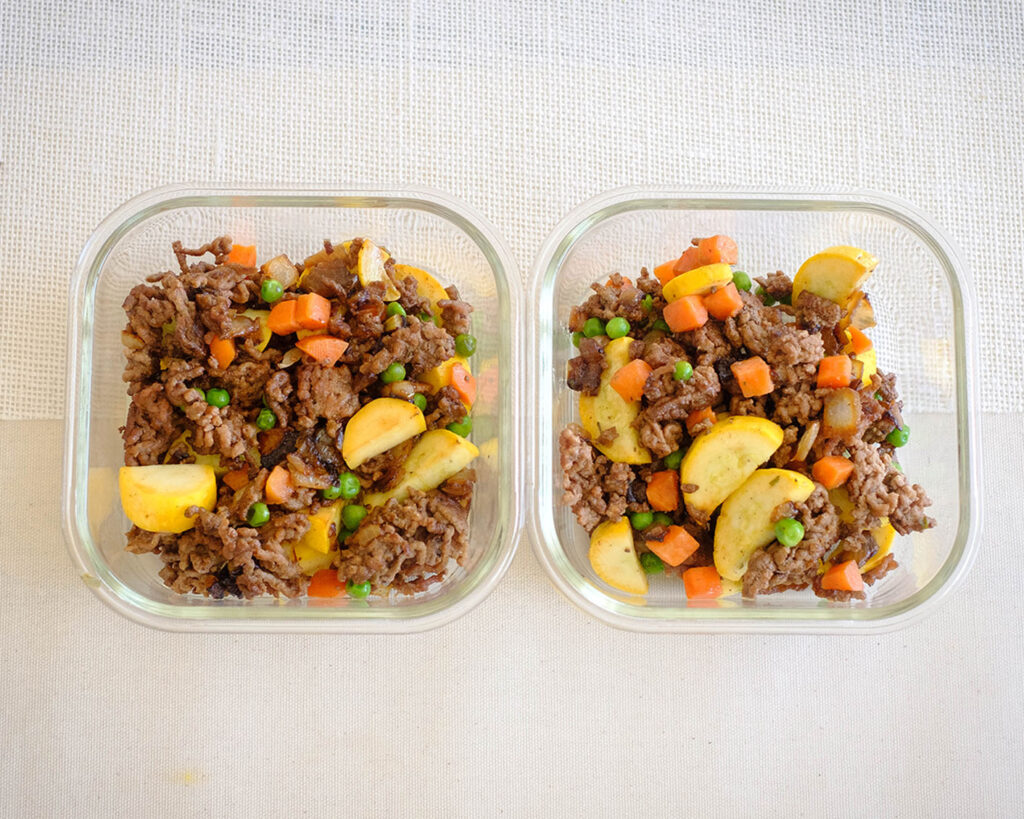
You can use any kind of protein such as sliced sausage, cubed chicken, and even cubed salmon. Just be sure that the pieces are small enough (about a 1-inch cube) so that all the ingredients cook through at the same time.


Sheet Pan Shrimp and Cauliflower with Corn
Ingredients
Instructions