
Try Chinese Broccoli in your next stir-fry dish. Discover how to prep this nutritious green vegetable for your next weekly meal prep.
This post may contain affiliate links. Please see our privacy policy for details.
What is the difference between broccoli and Chinese broccoli?
- Chinese broccoli is in the same family as broccoli, Brassica Oleracea. However, it has thick stems, small florets, and large flat leaves
- Chinese broccoli also has a more bitter flavor than regular broccoli

To Make Chinese Broccoli with Beef Stir Fry, You’ll Need
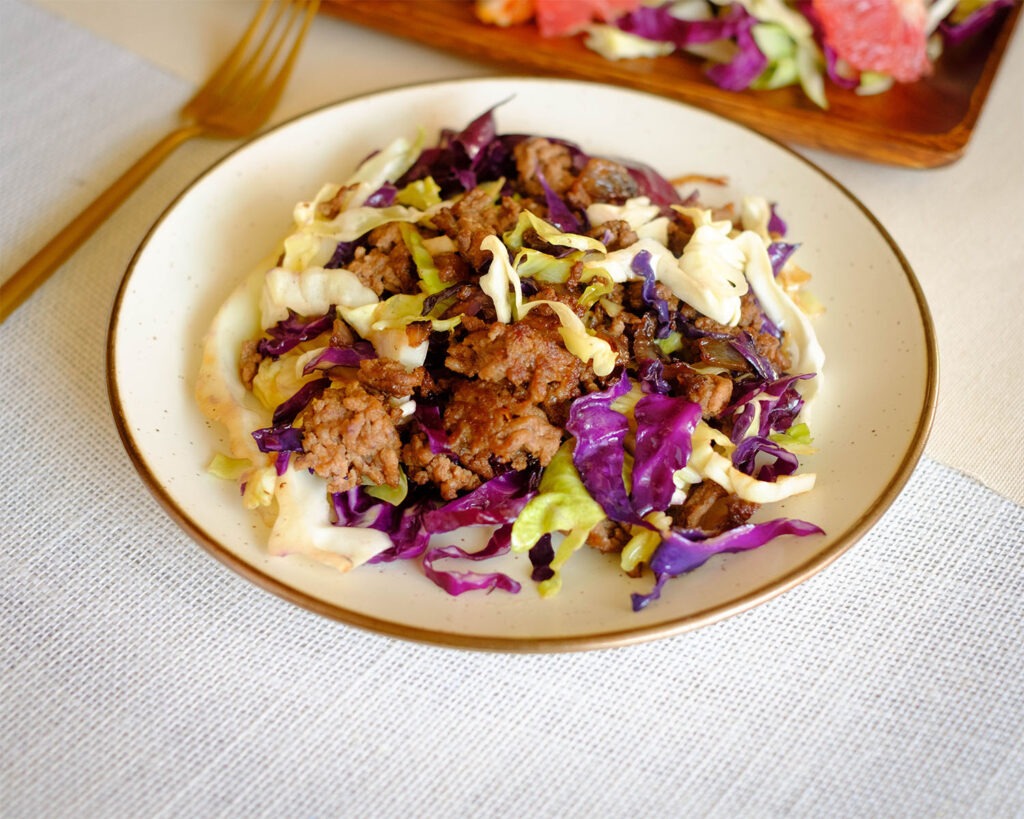
- Sirloin Steak: You will want to cut your steak into thin strips so that it cooks quickly during the stir fry
- Chinese Broccoli: If you can’t find Chinese broccoli, you can also make this recipe with broccolini or regular broccoli
- Garlic Cloves: Use fresh garlic for this recipe. Cut them into slivers. This is what gives the “garlicky” flavor to the recipe.
- Soy Sauce: You can also use Oyster sauce which is a syrup-like sauce used in Chinses Cuisine and made from oyster extract
- Oil: You can cook with olive oil and also add sesame oil for extra flavor
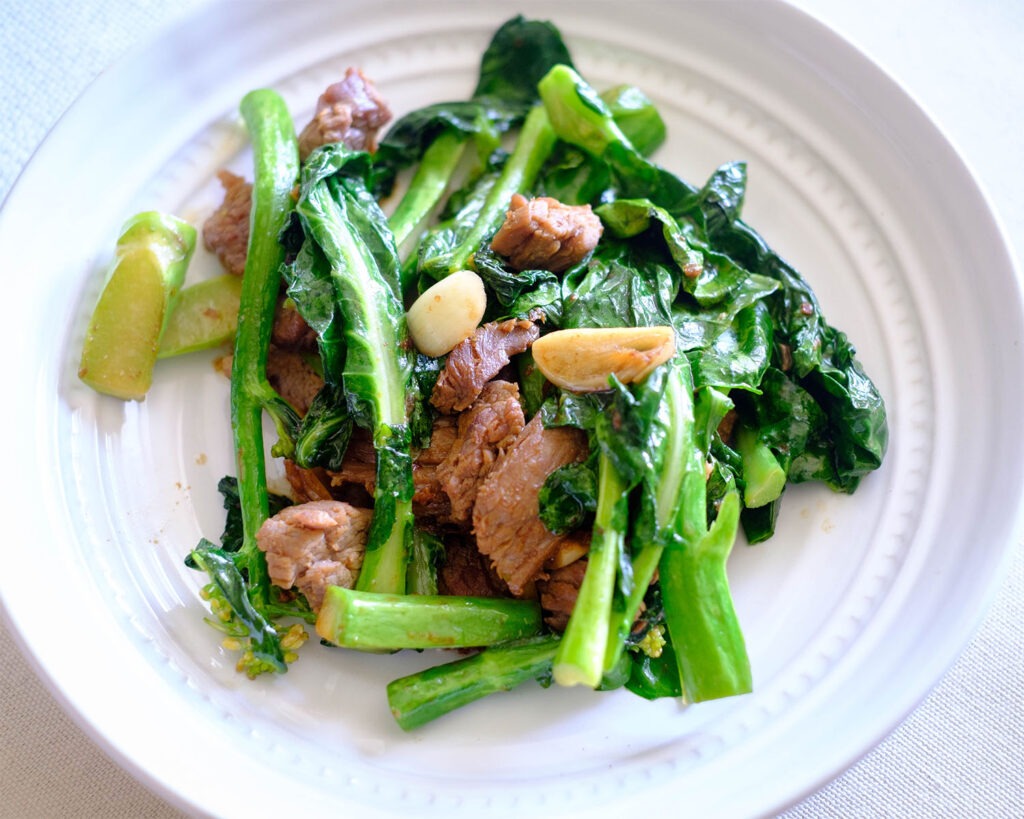
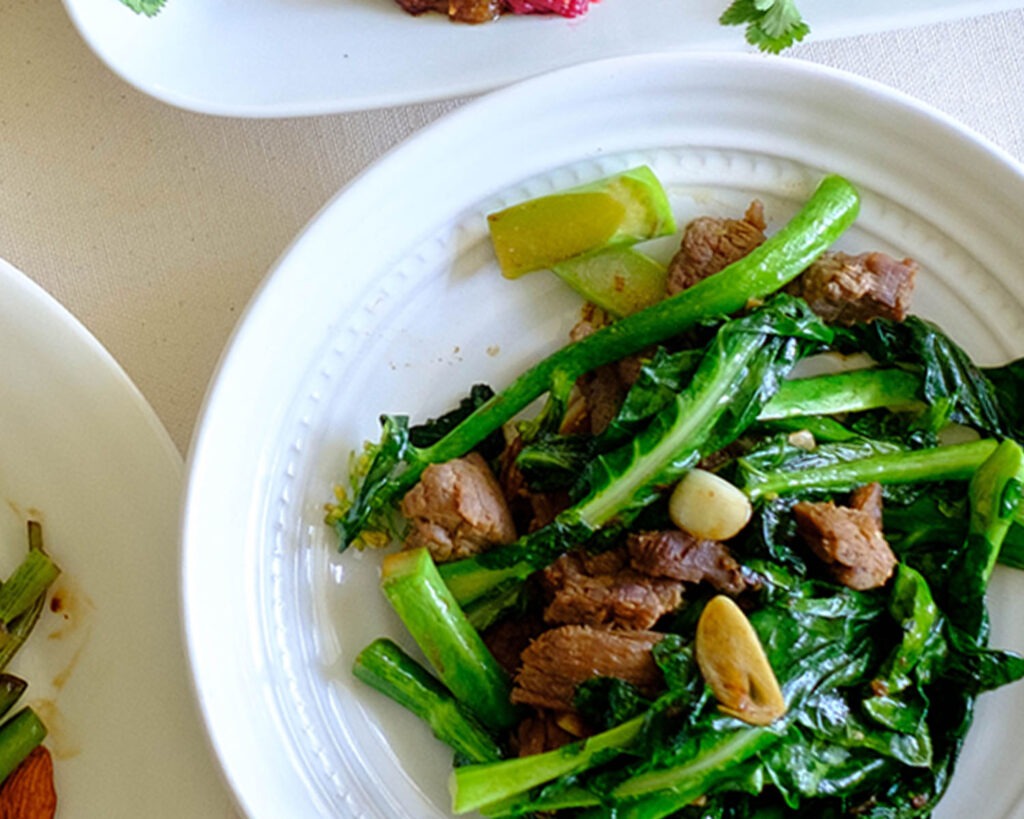
How to prepare Beef and Chinese Broccoli Stir Fry
- Prepare the Vegetables: Cut the broccoli into one-inch pieces and slice the garlic into slivers.
- Cook the Meat: Add oil to a hot wok and saute the beef strips until fully cooked. Season with the soy sauce.
- Cook the Vegetables: Remove the beef strips from the wok and add the broccoli. Cook the Chinese broccoli until they get tender, then add the garlic slivers and cook until they are toasted.
- Add back the beef: Add the beef strips back to the wok and drizzle with sesame oil.
Reference the recipe card below for detailed instructions.
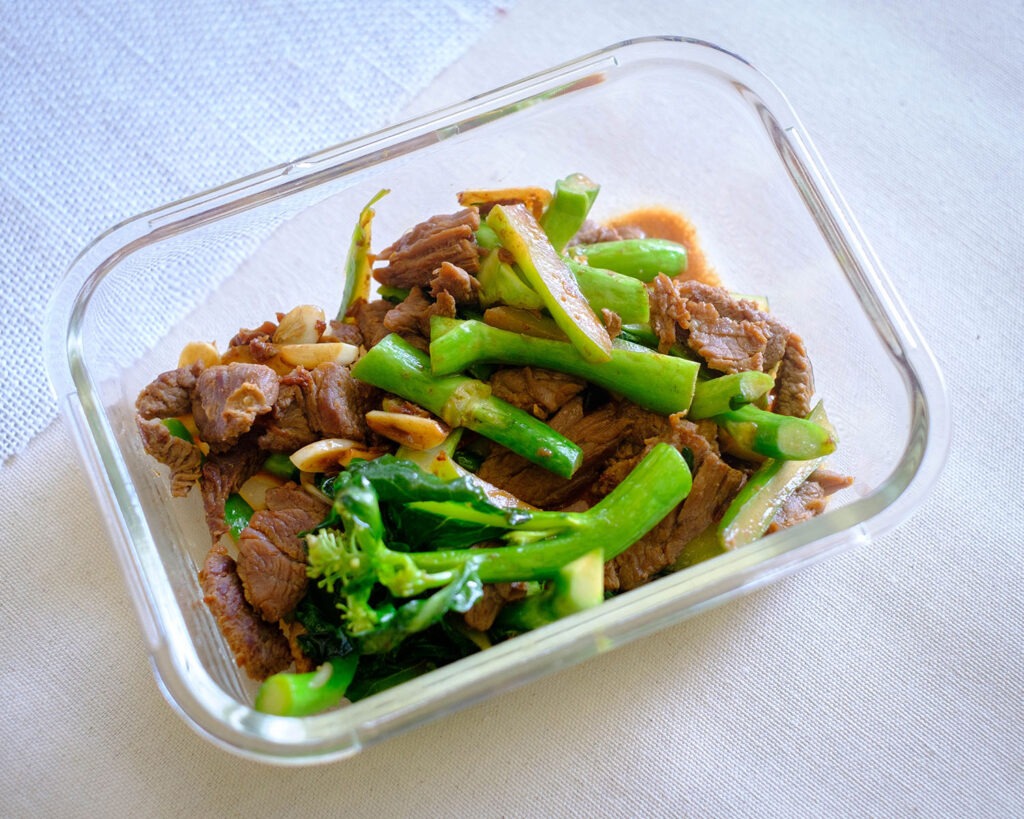
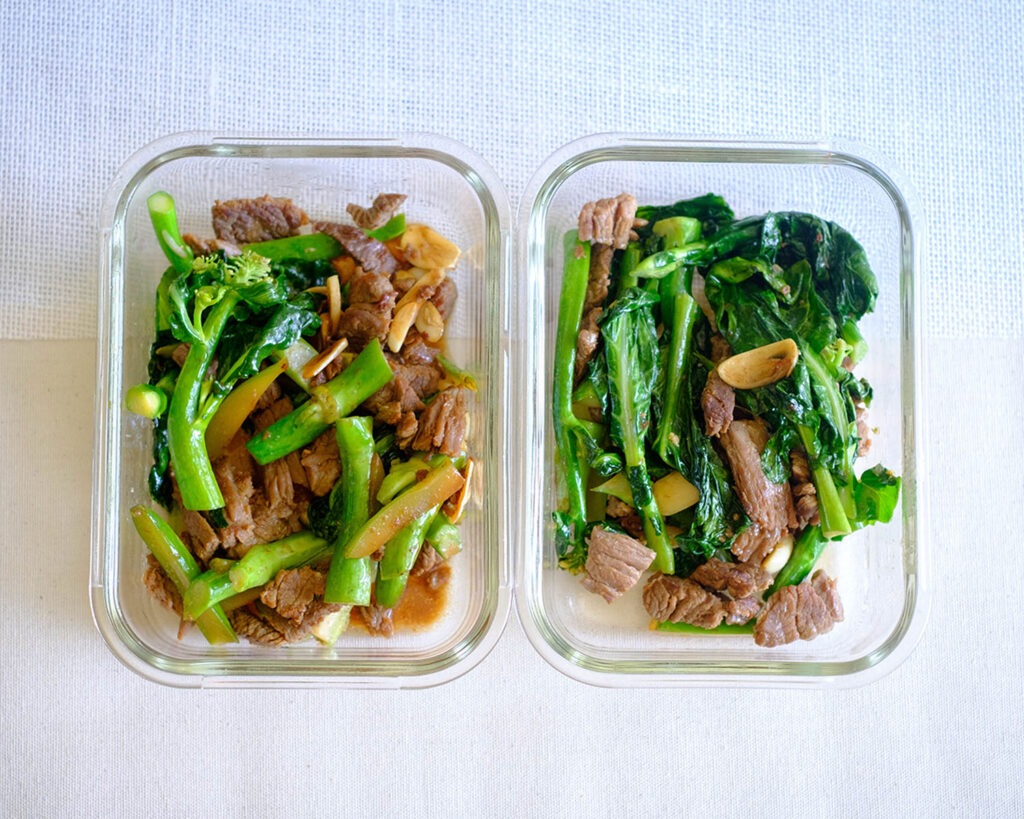
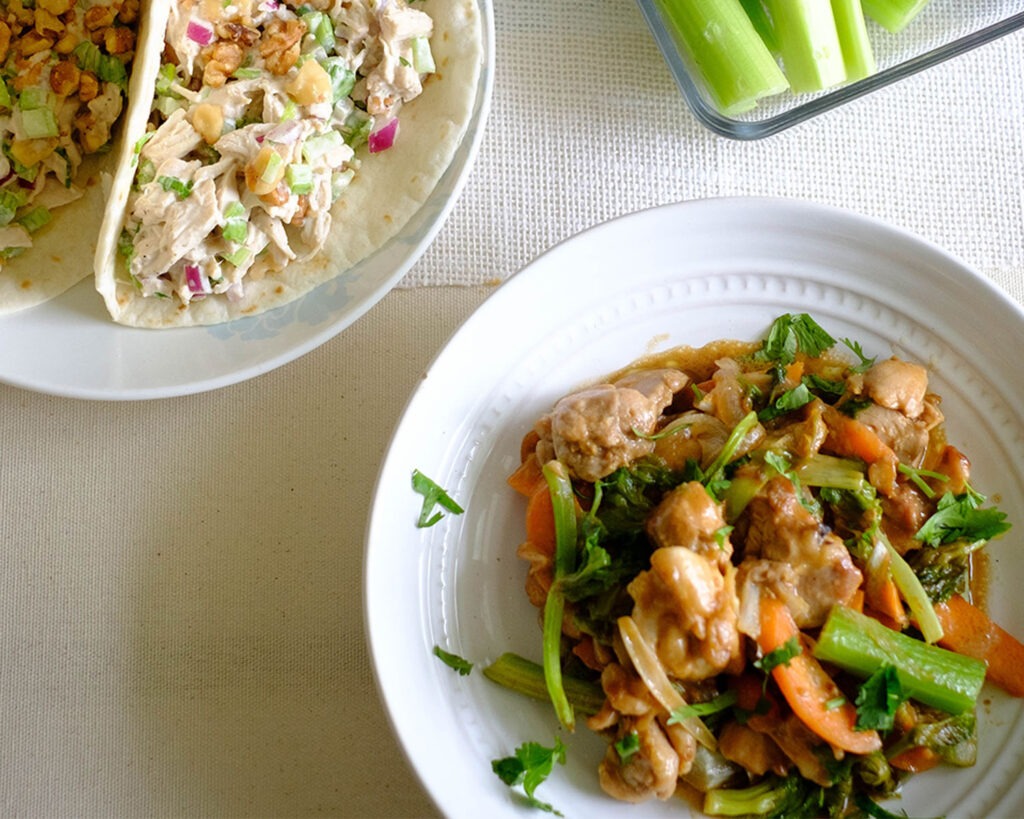
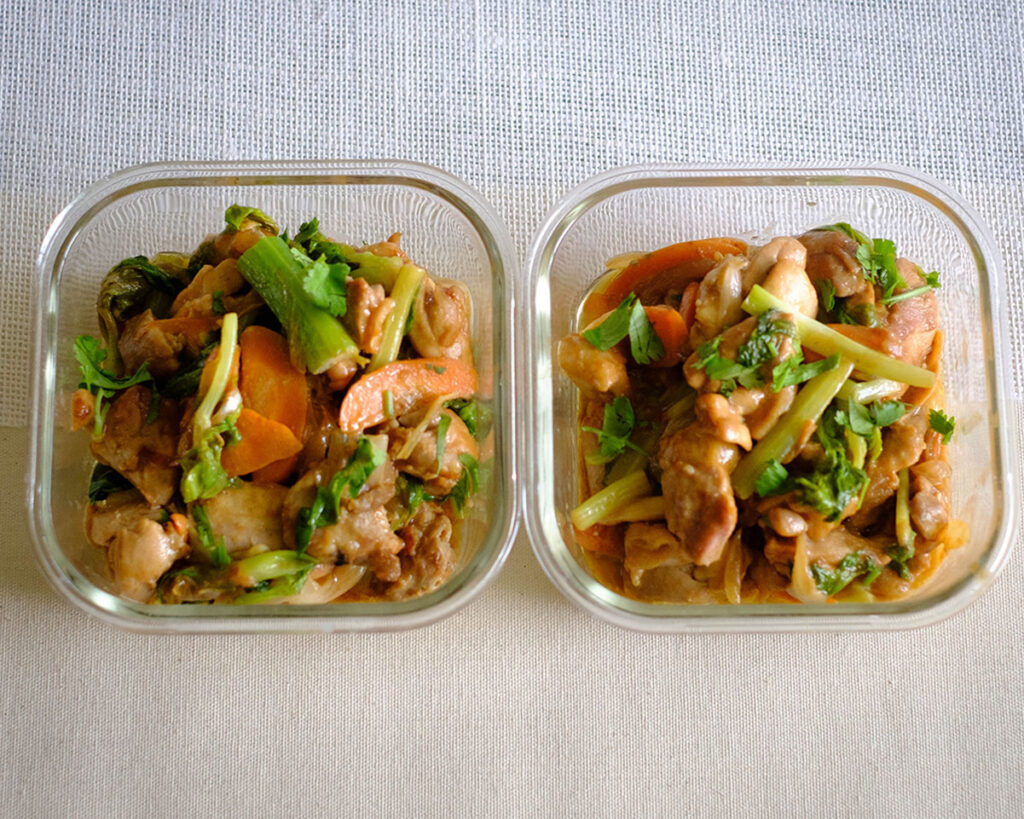
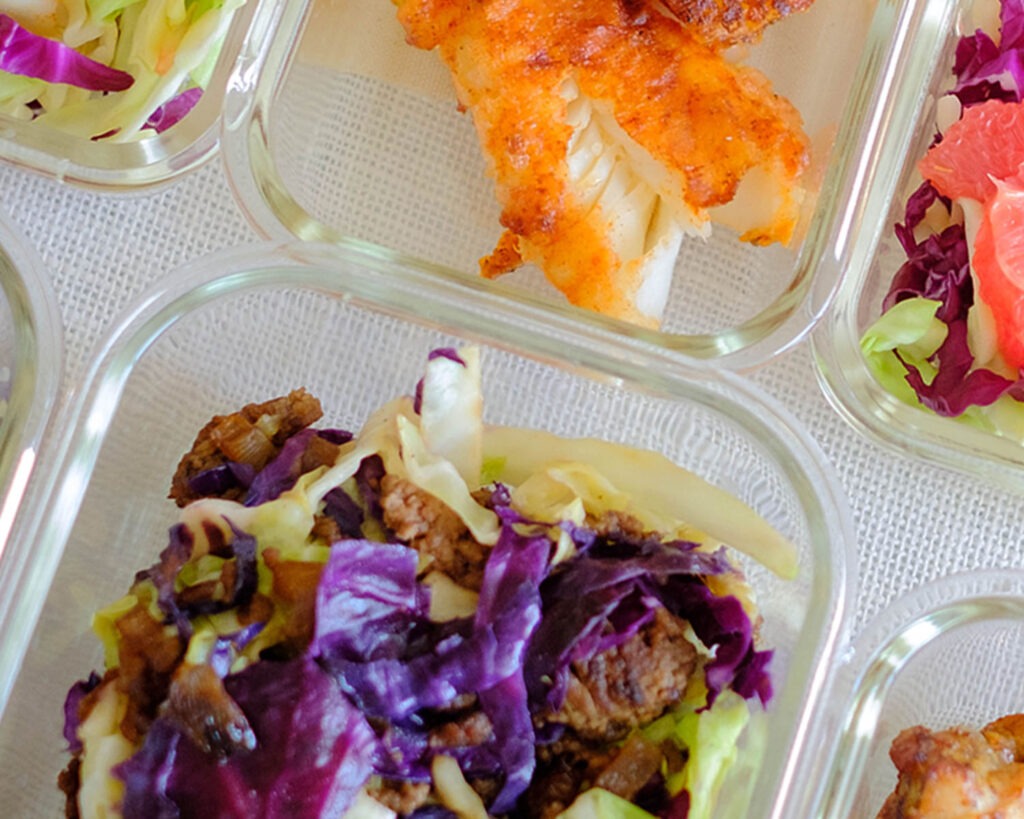
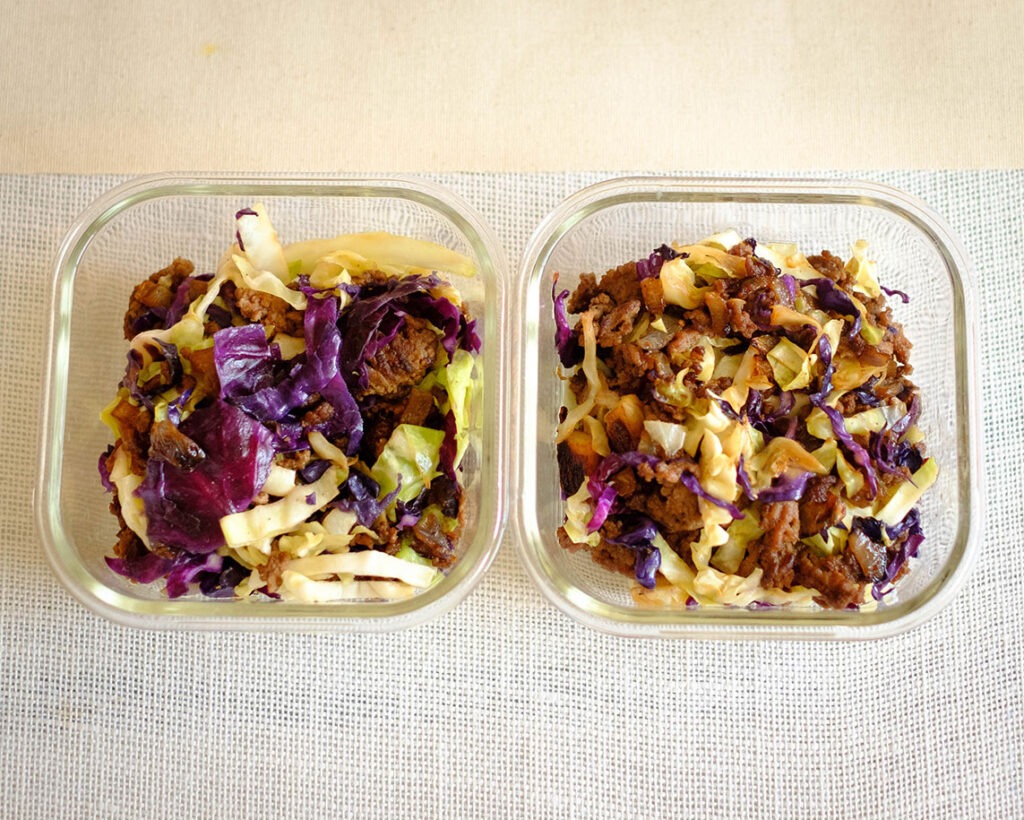
Meal Prep Tips for Beef and Chinese Broccoli Stir Fry
- Shopping: When buying Chinese broccoli, avoid selecting the ones with flower blossoms because they will be less tender
- Prepping: Wash the broccoli thoroughly because it can be sandy and have loose dirt. Trim the bottom of the stems if they look dry.
- Cook option: You can cook them directly in the stir fry, however, they are a bit tough, so you can blanch them in boiling water before cooking them in the stir fry. This will also get rid of some of the bitterness.
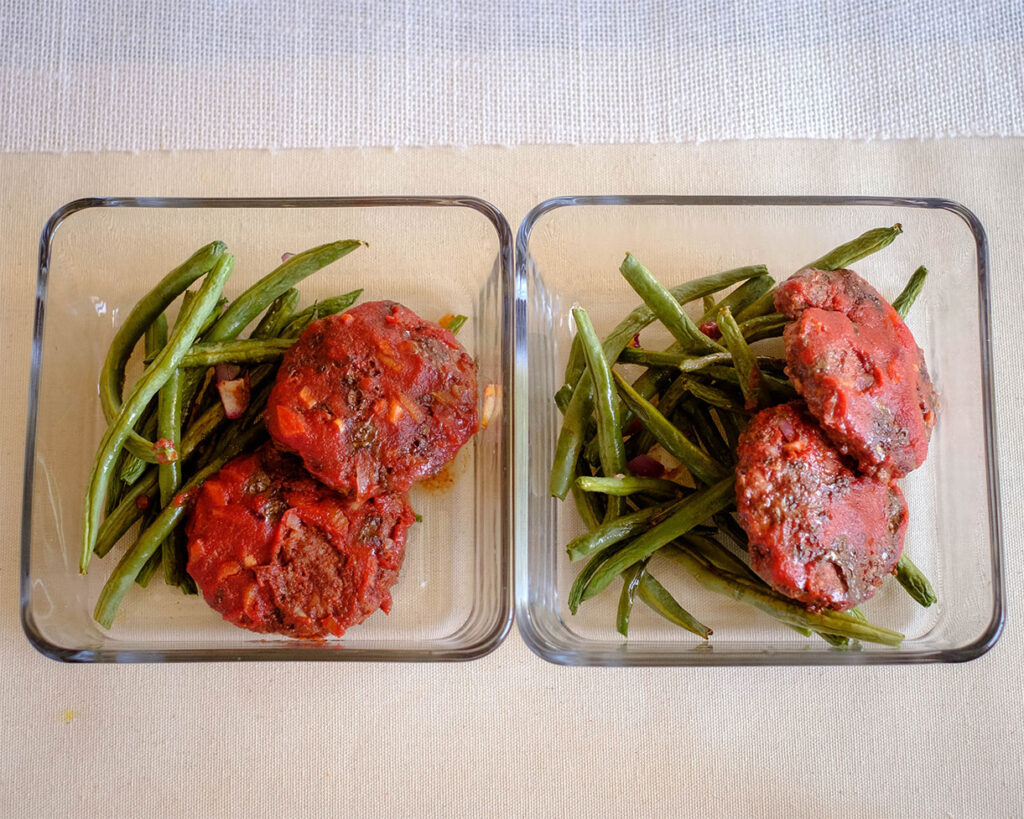
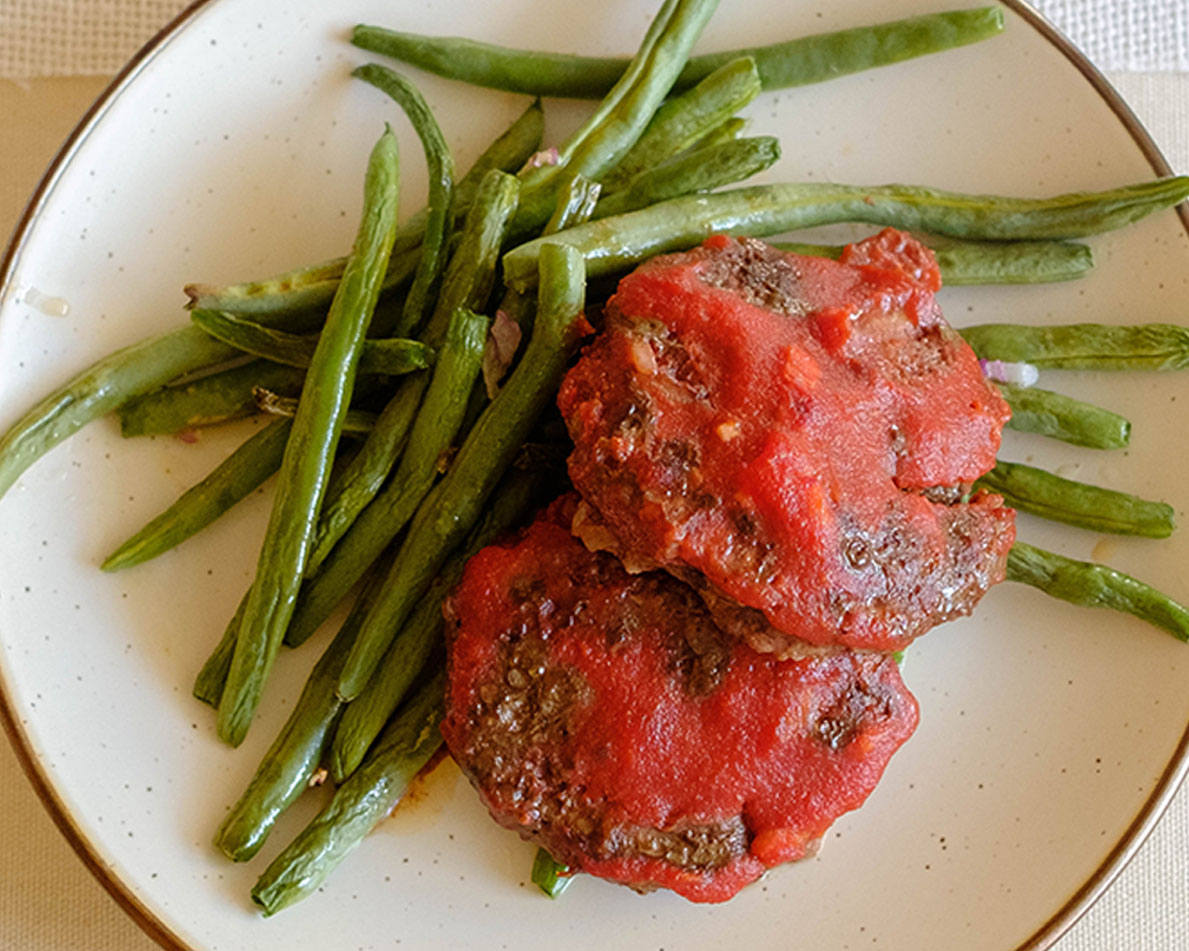
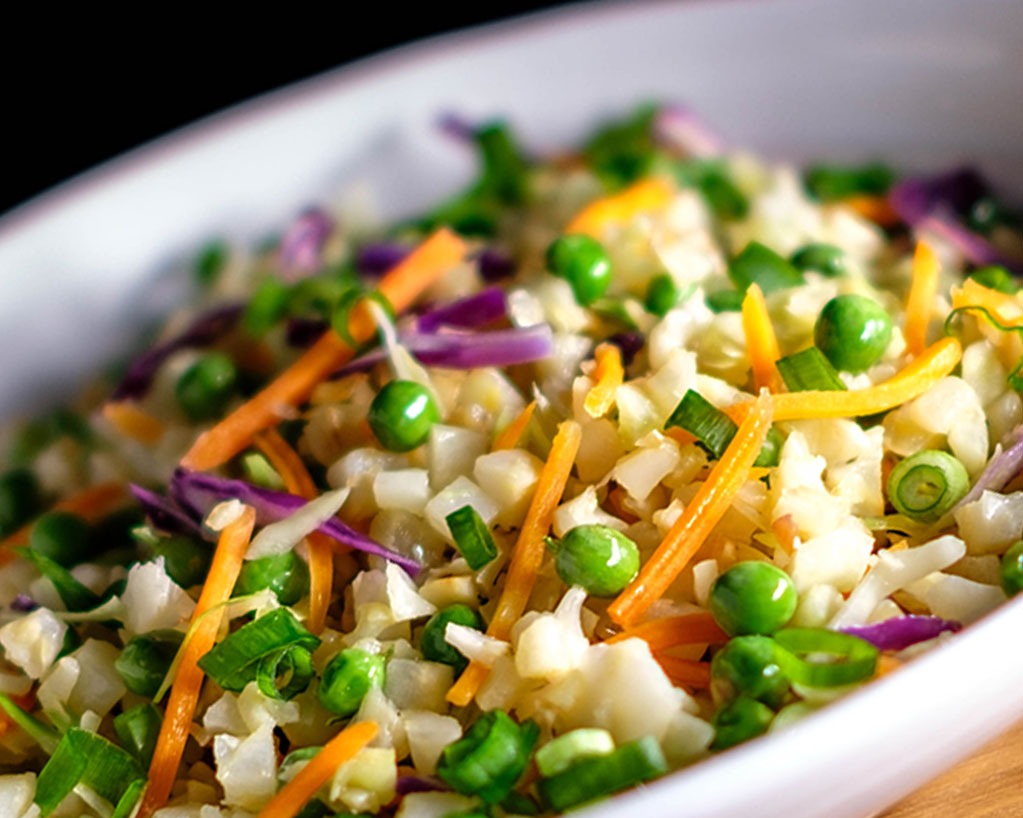
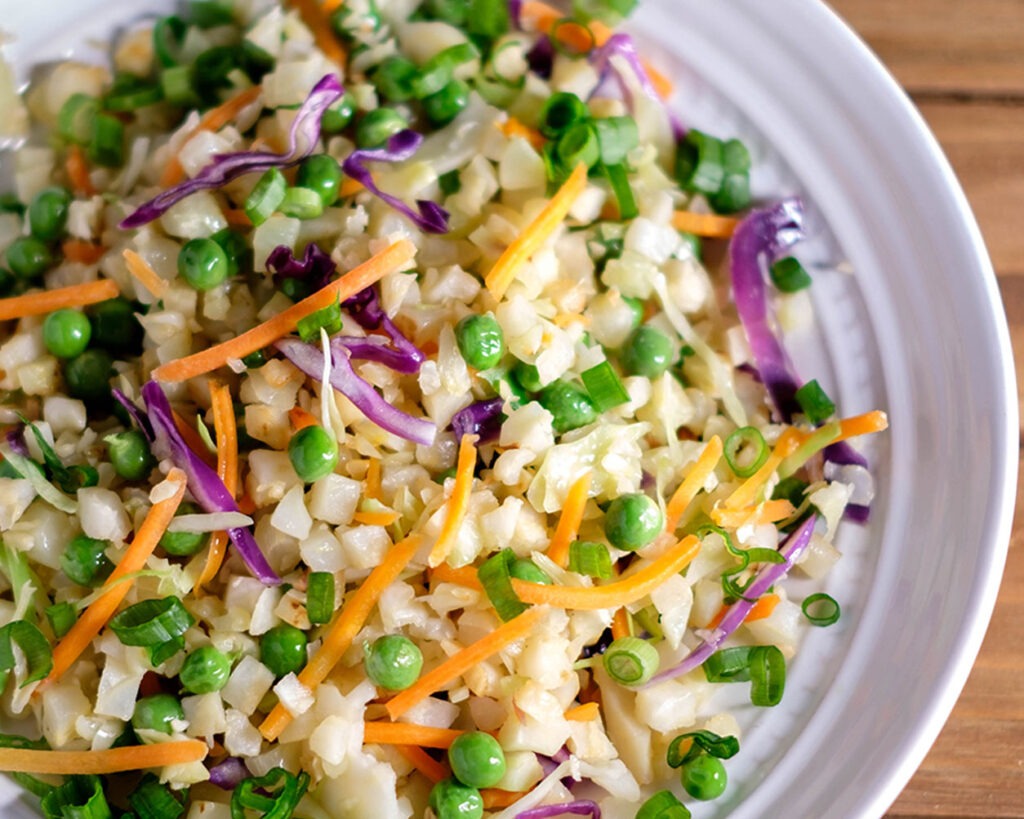
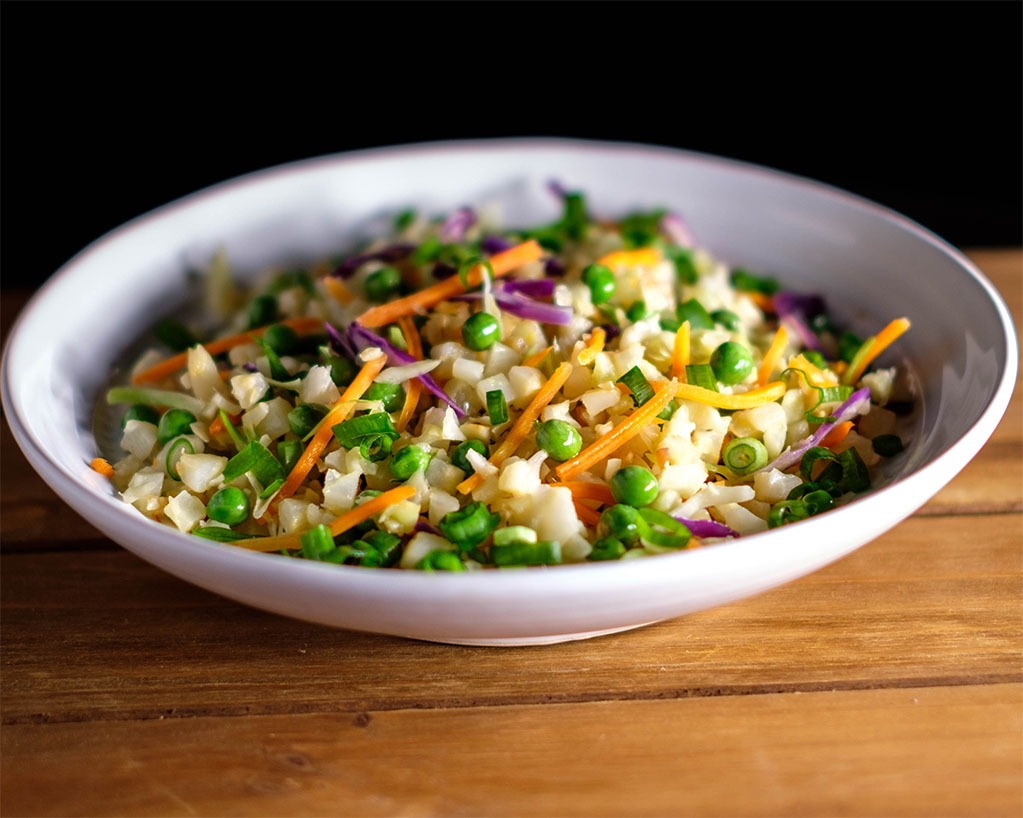
- To serve: Serve with steamed rice or cauliflower rice for a low-carb option.
- Storage: Store in an airtight container in the refrigerator for up to 3 to 4 days for the best quality. Perfect for weekly meal prep.


Frequently Asked Questions
Can Chinese broccoli be eaten uncooked?
Yes, the leaves, stalks, and florets can be prepped and eaten raw in many dishes such as salads or slaws.
How long does Chinese broccoli last?
It can be stored unwashed in an open plastic bag in the fridge for about 7 to 10 days.
Where can I buy Chinese broccoli?
You can find it in most Asian specialty stores.


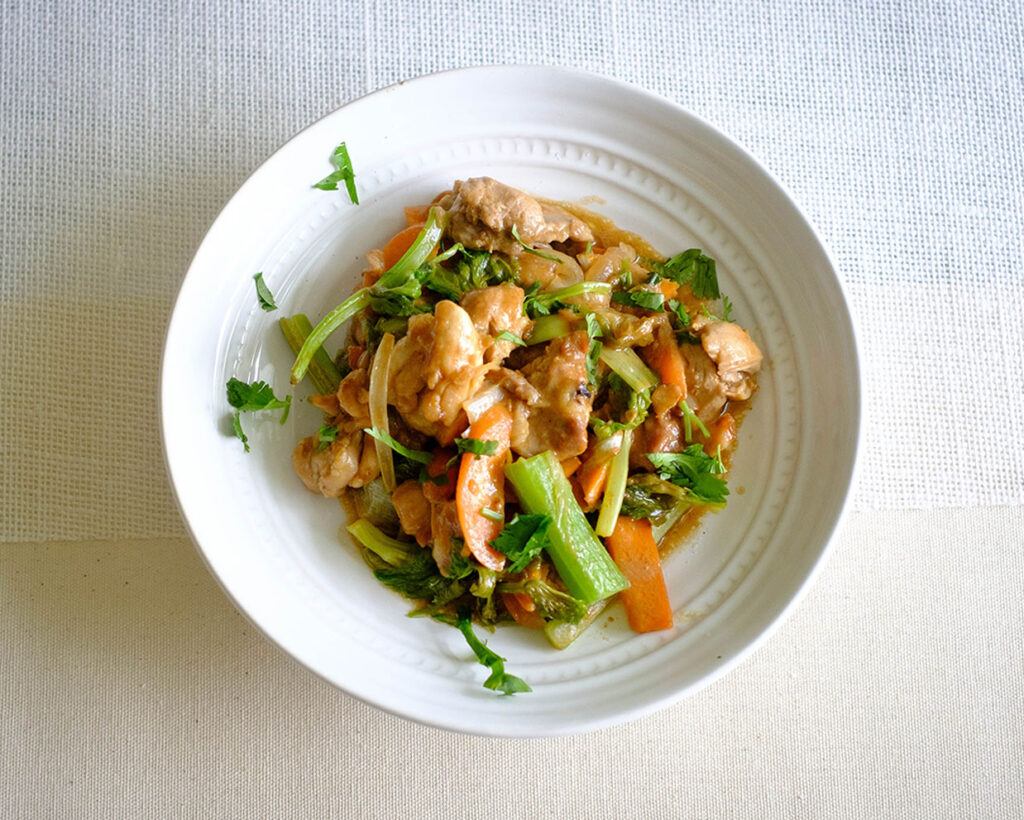

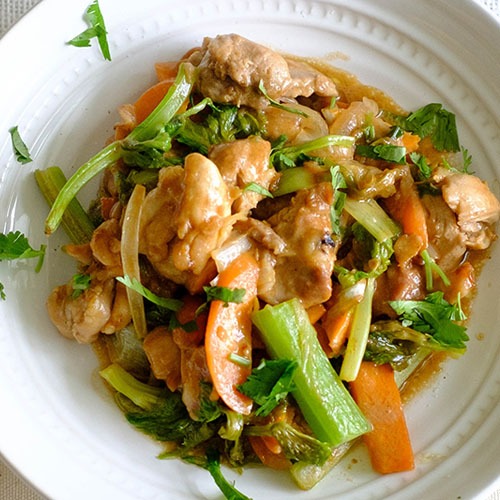


Beef Stir Fry with Garlicky Chinese Broccoli
Equipment
Ingredients
Instructions