
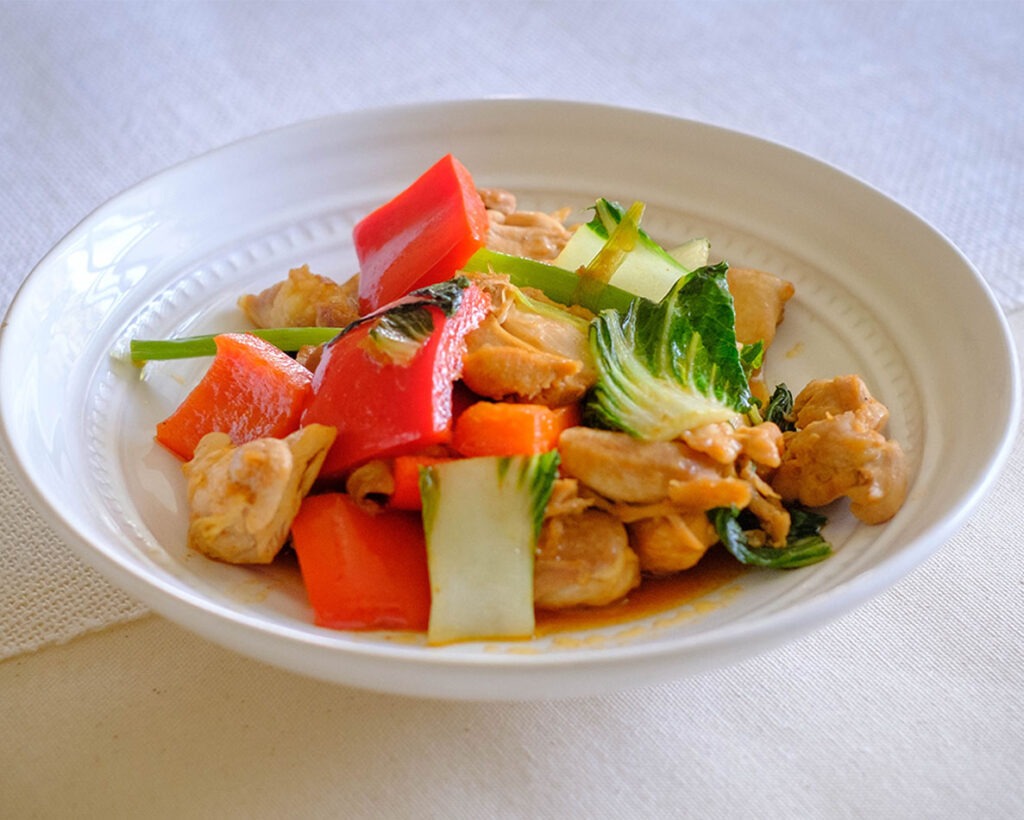
Hey, busy foodies! Are you ready to whip up something absolutely delicious, super easy, and totally budget-friendly? Let’s get your meal prep game on with a fantastic Honey Lemon Chicken Stir Fry that’ll make your tastebuds sing and keep your wallet happy. This dish is a perfect blend of tangy, sweet, and savory flavors that come together faster than you can say “yum”!
This post may contain affiliate links. Please see our privacy policy for details.

Why You’ll Love This:
- Quick & Easy: Less than 30 minutes and your meal prep for a few days is sorted.
- Flavor-packed: Each bite is a blend of honey sweetness, zesty lemon, and just the right kick from the chili flakes.
- Healthy & Satisfying: Packed with protein-rich chicken and fiber-loaded veggies, it’s balanced, filling, and keeps you charged.
- Quick Cleanup: Since this recipe requires just a wok or large skillet, you won’t have a pile of pots and pans to clean up afterward. This one-pan wonder not only simplifies cooking but also makes cleanup a breeze, so you can enjoy your meal and your evening without the looming dread of dishes.
- Perfect for All Seasons: The light and zesty flavors of lemon and honey make this dish refreshing enough for summer, while the hearty addition of chicken and warming spices like garlic and chili flakes make it comforting in the colder months. It’s a versatile recipe that adapts to any season.
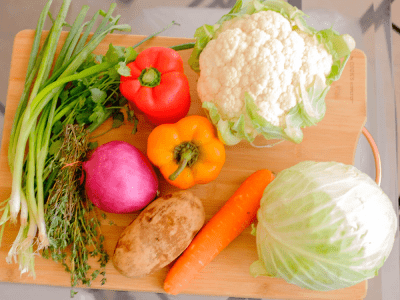
Ingredients you’ll need for this Chicken Stir Fry
- Chicken Thighs: Chicken thighs are chosen for their juiciness and flavor, which surpass that of chicken breasts. They are also more affordable and forgiving during the cooking process, remaining tender and moist. Rich in protein, they provide the necessary nutritional value to keep you satiated and energized.
- Red Bell Pepper: These add a sweet, almost fruity component to the stir fry. Not only do they bring vibrant color to the dish, but they’re also packed with vitamins A and C, which are great for immunity and skin health. Red bell peppers are relatively inexpensive, especially when bought in season or on sale, and contribute to the budget-friendly nature of the recipe.
- Bok Choy: This leafy green is a staple in Asian cuisine and brings a subtle peppery flavor to the dish. It’s an excellent source of vitamins K, C, and A, and adds fiber to the meal, enhancing digestive health. Bok choy is also typically cheaper than other leafy greens like kale and spinach, making it a cost-effective option for adding volume and nutrition.
- Green Onions: These add a mild, crunchy onion flavor that isn’t overpowering. Green onions are inexpensive and work as a flavorful garnish that enhances the visual appeal and taste complexity of the dish.
- Olive Oil & Sesame Oil: Olive oil is used for its health benefits and high smoke point, making it ideal for stir-frying. Sesame oil, on the other hand, is used sparingly for its intense flavor. Just a drizzle adds a nutty aroma and richness that elevates the dish from simple to special without adding much to the cost.
- Honey and Lemon Juice: These ingredients are key to creating the sweet and tangy profile of the sauce. Honey brings natural sweetness, balancing the zesty lemon juice that provides a refreshing burst of flavor, which can invigorate the palate. Both are affordable and packed with health benefits—lemon juice for its vitamin C and honey for its antioxidants.
- Soy Sauce: This adds the umami flavor, depth, and saltiness to the sauce, eliminating the need for additional salt. It’s a staple in Asian cooking and very budget-friendly, especially when bought in larger quantities.
- Garlic Powder and Red Pepper Chili Flakes: These spices introduce heat and complexity to the stir fry. Garlic powder offers a convenient and milder alternative to fresh garlic, and chili flakes add a manageable heat that can be adjusted to taste. Both are inexpensive and have a long shelf life, making them pantry essentials for adding flavor without fuss.
How to Meal Prep Honey Lemon Chicken Stir Fry
- Start with the sauce because, let’s face it, that’s where the magic happens! In a small bowl, dissolve the cornstarch in water. Stir in soy sauce, lemon juice, honey, garlic powder, and chili flakes. Mix until smooth and set aside to mingle those flavors.
- Heat a wok or large skillet over medium-high heat and drizzle in the olive oil. Toss in those chicken chunks and let them sizzle! Cook for about 6 to 7 minutes, turning occasionally, until they’re beautifully golden and cooked through to 165°F. Patience here — that perfect sear adds so much flavor!
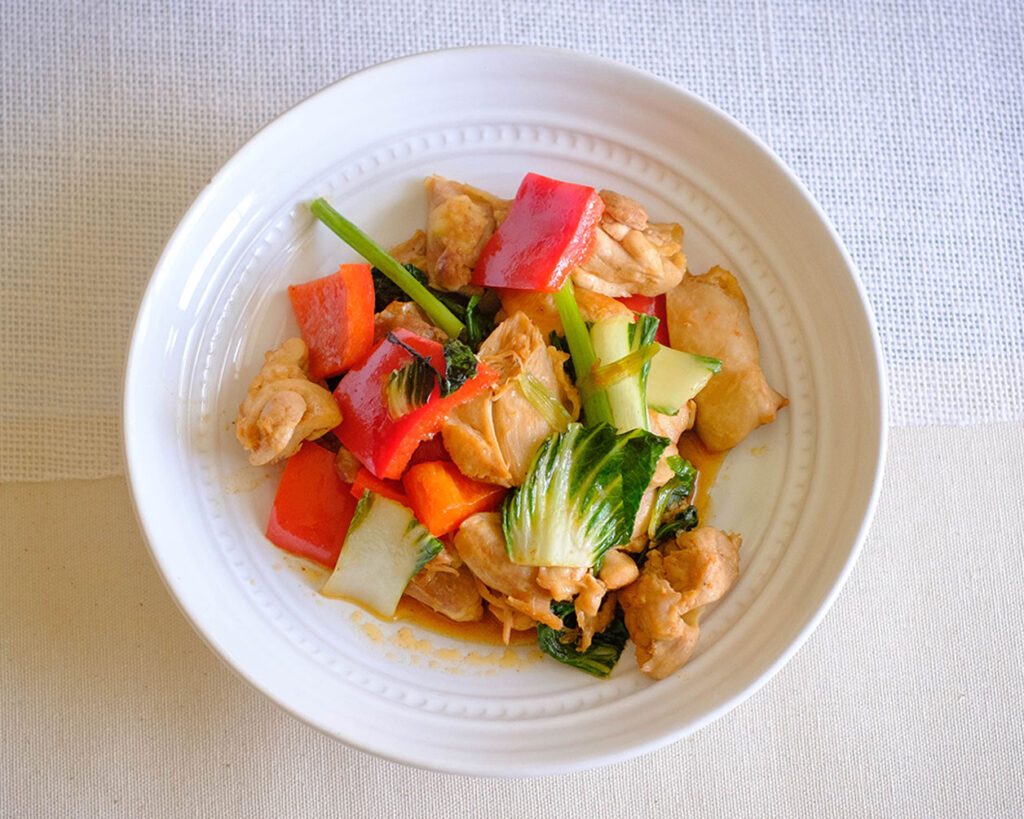
- Throw in the red bell pepper and bok choy to the party. Stir fry these crunchy delights for about 3 to 4 minutes until they just start to soften but still retain some bite. We’re all about textures!
- Pour that delightful honey lemon soy sauce over your chicken and veggies. Keep everything moving in the wok for another 2 to 3 minutes until the sauce thickens and gloriously coats everything. This is where it all comes together!
- Sprinkle with sesame oil and give it a final stir. This last drizzle is like adding a splash of magic, enhancing the flavors to their peak!
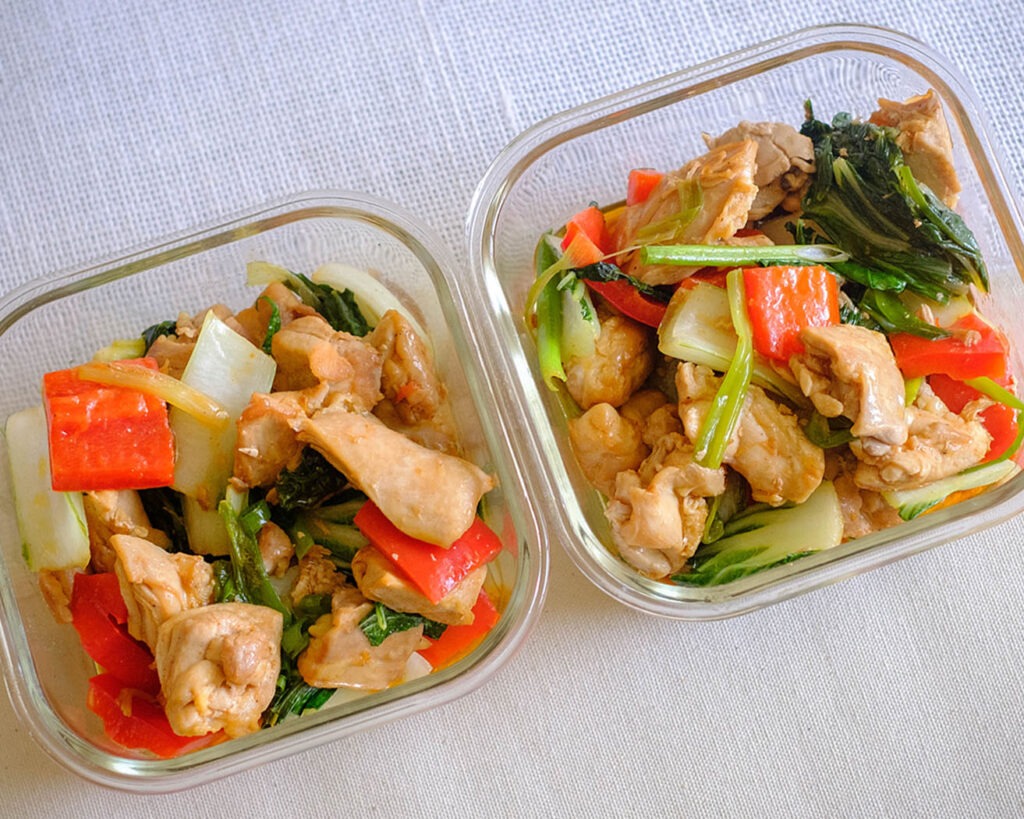
- Top off with chopped green onions for a fresh, colorful finish. There! You’ve got a mouth-watering dish that’s ready to divide into containers for the week ahead or serve up right now for a satisfying meal.
Reference the recipe card below for detailed instructions.

Meal Prep Tips and Pairing Tips for Honey Lemon Chicken Stir Fry
- Double the sauce recipe: If you’re a fan of extra saucy stir-fry, cook a larger batch. It freezes well, so you can always have some on hand for a quick meal fix! It goes well with any stir fry dish.
- Grains: Serve your Honey Lemon Chicken Stir Fry over a bed of brown rice, jasmine rice, or even quinoa for a hearty and fulfilling meal. These grains complement the Asian flavors of the dish and provide a good source of complex carbohydrates.
- Noodles: Pairing this stir fry with noodles can make for an exciting meal. Consider options like soba noodles, udon, or even whole wheat spaghetti. Toss the noodles with some of the stir fry sauce for extra flavor.
- Soup: Start your meal with a miso soup or a clear vegetable soup. These light soups can act as a great appetizer without overshadowing the main dish.
- Appetizers: If you’re turning the stir fry into a more elaborate meal, consider simple appetizers like spring rolls, edamame, or dumplings. These can be prepared ahead and quickly served alongside your main dish.


Frequently Asked Questions
What can I substitute for honey in the sauce?
If you prefer not to use honey, maple syrup or agave nectar are excellent alternatives. These will maintain the sweetness balance while offering their unique flavors.
What other types of protein can I use in this recipe?
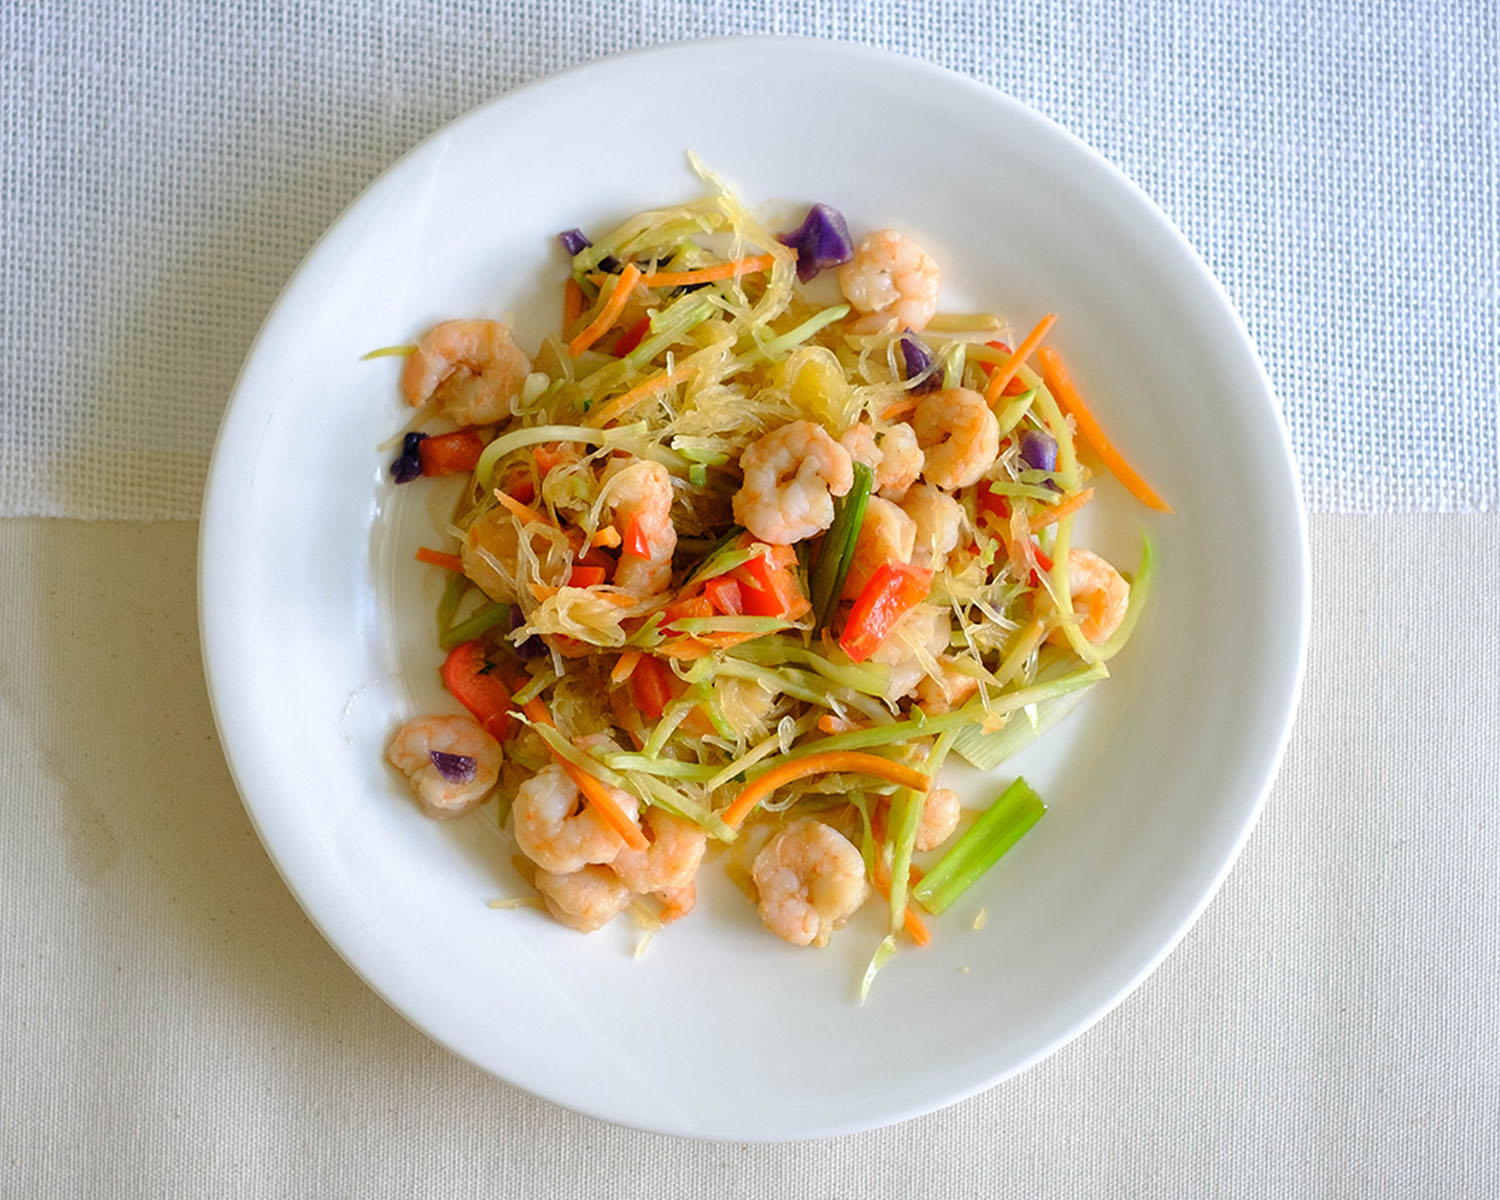
Besides chicken, you can use beef strips, pork loin slices, shrimp, or even fish like salmon or tilapia. Each protein choice brings its unique flavor and might need slight adjustments in cooking time.
What are the best ways to add a crunchy texture to this stir fry?
For an added crunch, you can toss in some roasted peanuts or cashews just before serving. Alternatively, adding water chestnuts or bamboo shoots during the cooking process can also provide a nice contrast to the tender chicken and vegetables.


Honey Lemon Chicken Stir Fry
Equipment
Ingredients
Honey Lemon Soy Sauce
Instructions
Notes
Nutrition