
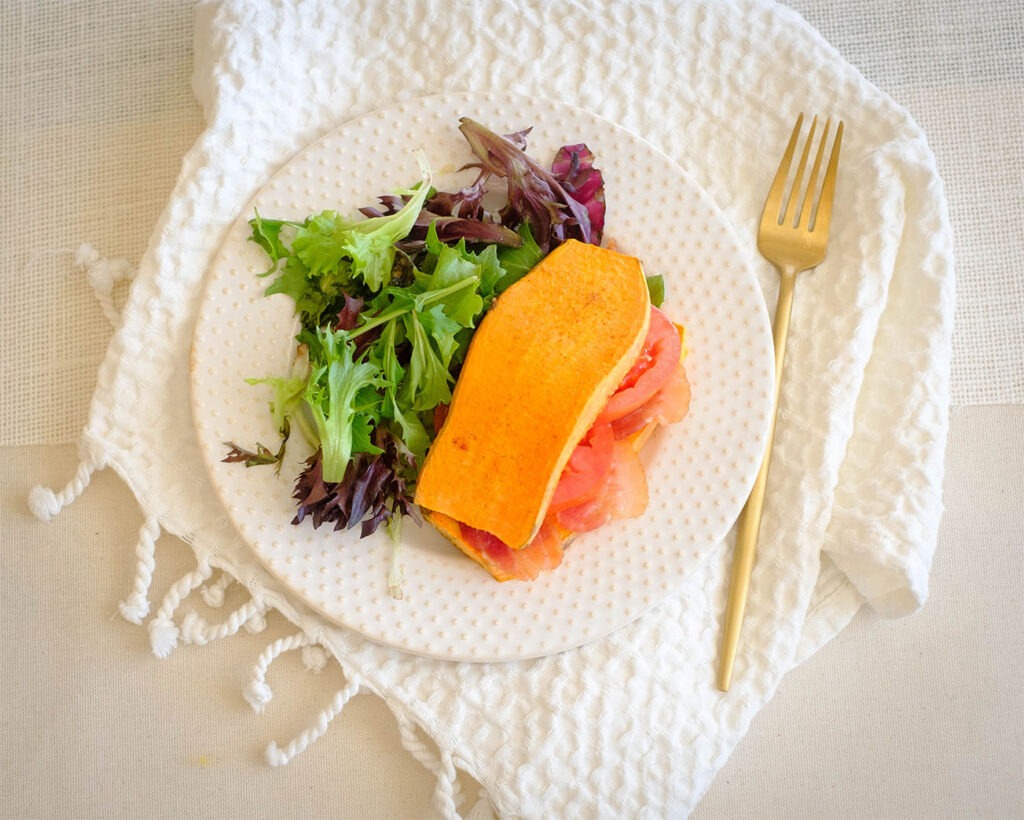
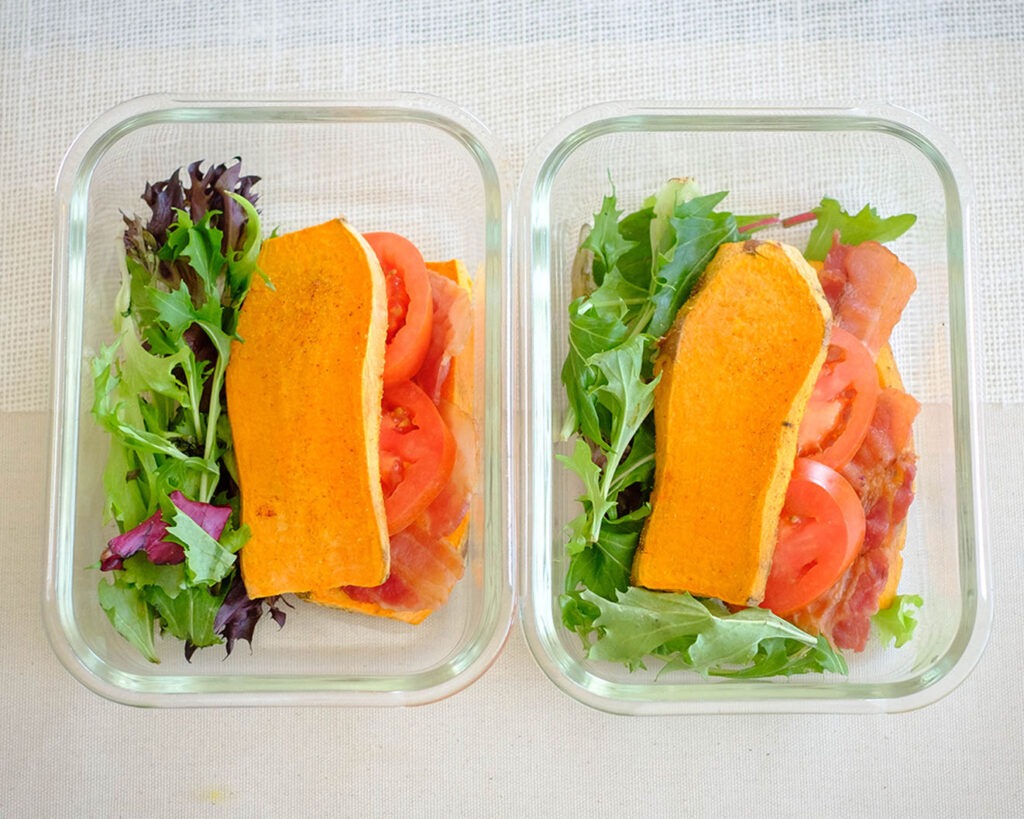
This classic twist on a BLT is a great option for your next lunch meal prep. Switch out your bread with nutritious sweet potato slices and you get a combo of sweet and savory flavors in every bite!
This post may contain affiliate links. Please see our privacy policy for details.

We love this Sweet Potato BLT for so many reasons
- It uses budget-friendly ingredients. You can add different toppings to make it more interesting and to suit your taste.
- It’s a great way to incorporate more vegetables into your diet. Sweet potato toast is a great source of fiber, vitamins, and minerals, making them a healthy addition to your lunch meal prep
- It’s an easy sheet pan recipe with minimal cleanup

Basic Ingredients You’ll Need
- Sweet Potato: Sweet potato contains nutrients that can support a healthy vision, and gut health, and is highly nutritious.
- Bacon: We used regular bacon, but you can swap it out with turkey bacon or prosciutto slices.
- Roma Tomato: Use any kind of tomato.
- Spring Mix: Serve it up with your choice of lettuce mix.
- Salad Dressing: Make your own homemade dressing or pick your favorite pre-made dressing.
How to Make Sweet Potato BLT
- Preheat the oven to 400F.
- Peel the sweet potato and slice it lengthwise into 1/4 inch slices.
- Coat the sweet potato slices with olive oil and season on both sides.
- Layer the sweet potato and bacon slices on a sheet pan.
- Bake them in the oven for about 10-15 minutes.
- Remove them from the oven and let them cool before assembling the sandwich.
- Note: You can also use an Air Fryer to cook your sweet potato toast at 360F for 12 to 15 minutes, flipping it halfway through.
Reference the recipe card below for detailed instructions.

Meal Prep Tips for This BLT Recipe
- Other Cook Methods: If you don’t want to mess with the oven, you can also microwave the sweet potato slices in 5-minute increments until they soften. However, it may not be as crispy. You can also bake your sweet potato slices and bacon in the Air Fryer.
- Ingredient Tips: You can also buy pre-cooked bacon slices that you can just heat up in the microwave for a really quick meal.
- Additions: Feel free to add sliced cheese or sliced avocado. Dress up your sandwich with your choice of condiments.
- Storage: Store in an airtight container in the refrigerator for up to 3 to 4 days for the best quality.


Frequently Asked Questions
What is the difference between a sweet potato and a yam?
Yams are usually grown in different parts of the world, while sweet potatoes are grown in the United States. Sweet potatoes have tapered ends, have smooth flesh, and taste sweet and moist. Yams are usually cylindrical and have rough, dark, hairy flesh, and usually more starchy and dry.
How to store sweet potatoes?
Keep them in a well-ventilated container in a cool, dark, and dry area such as your pantry or back corner of your kitchen countertop. They usually can keep for a month.
Is turkey bacon healthier than regular bacon?
Turkey bacon has slightly fewer calories and fat than pork and can be a good option for those that can’t eat pork. However, it is still processed with more sugar and preservatives than regular bacon. Both options can be enjoyed in moderation.


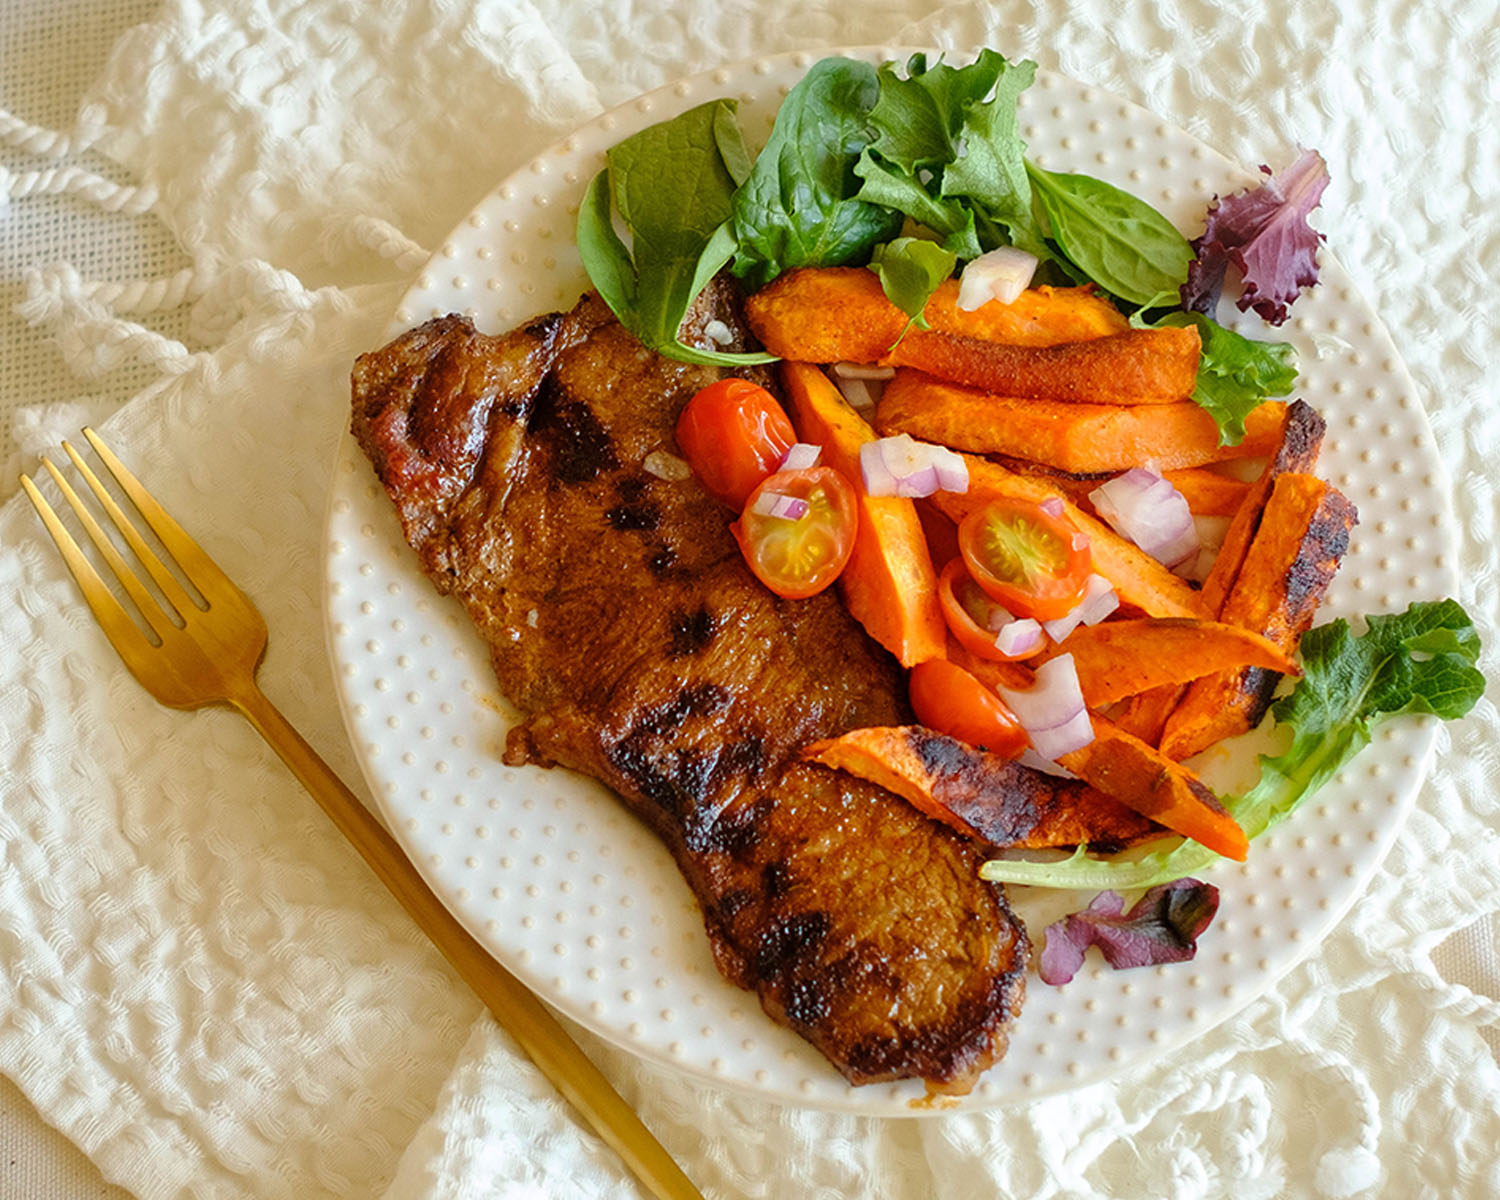


Sweet Potato BLT and Side Salad
Equipment
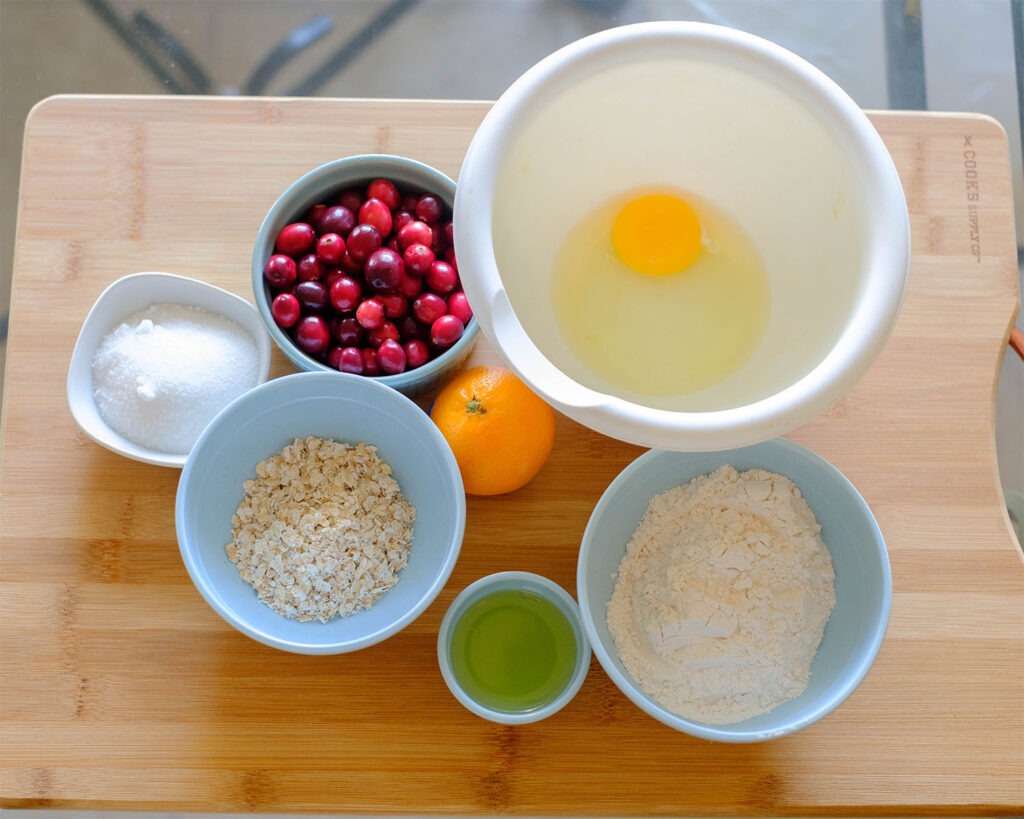
Ingredients
Instructions