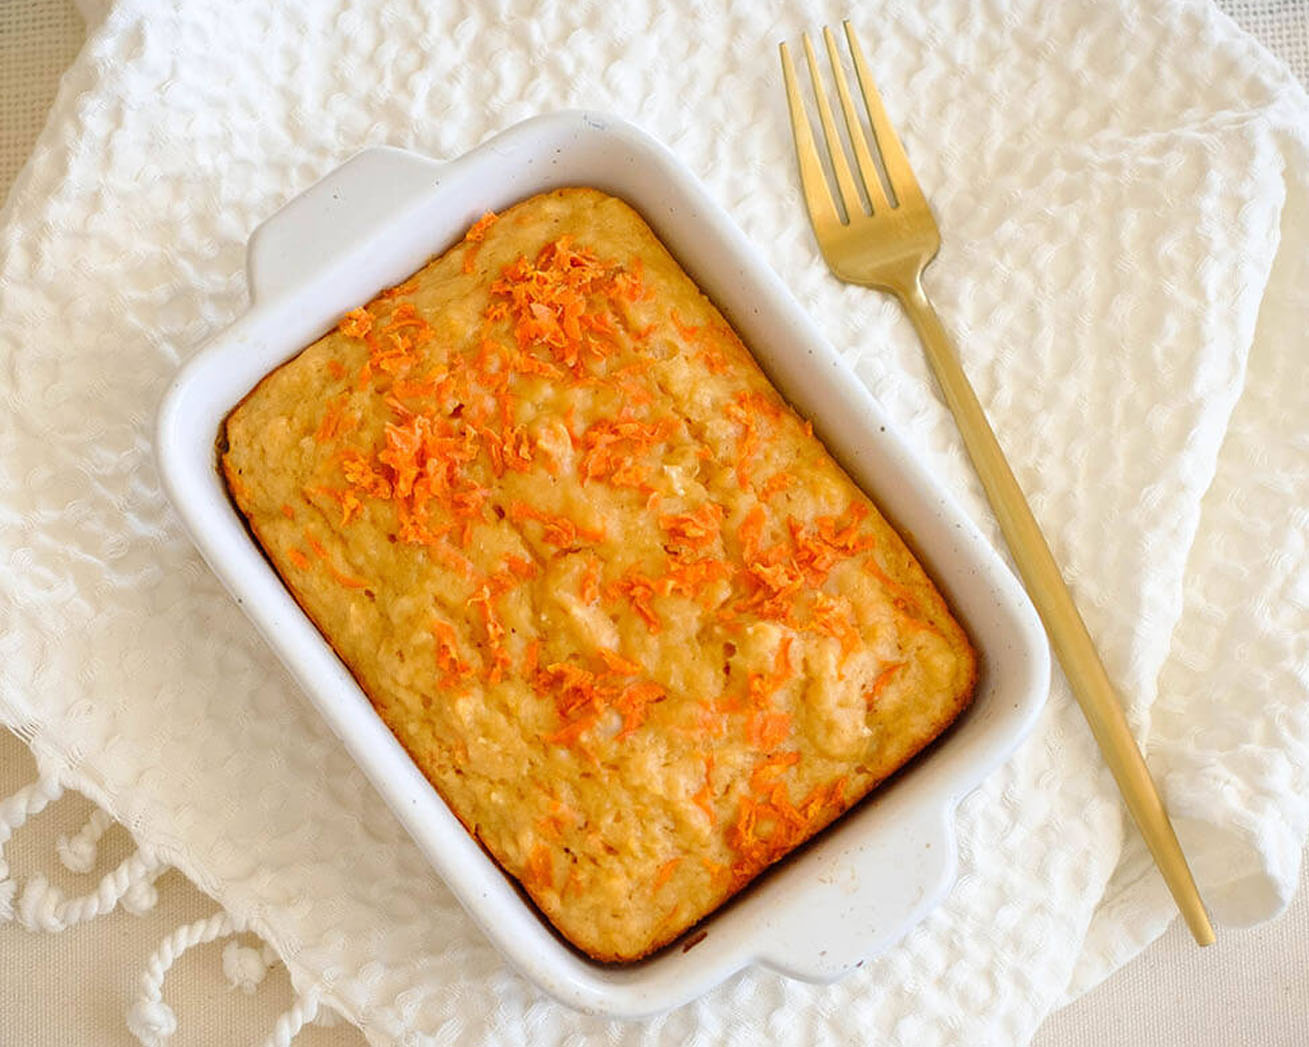
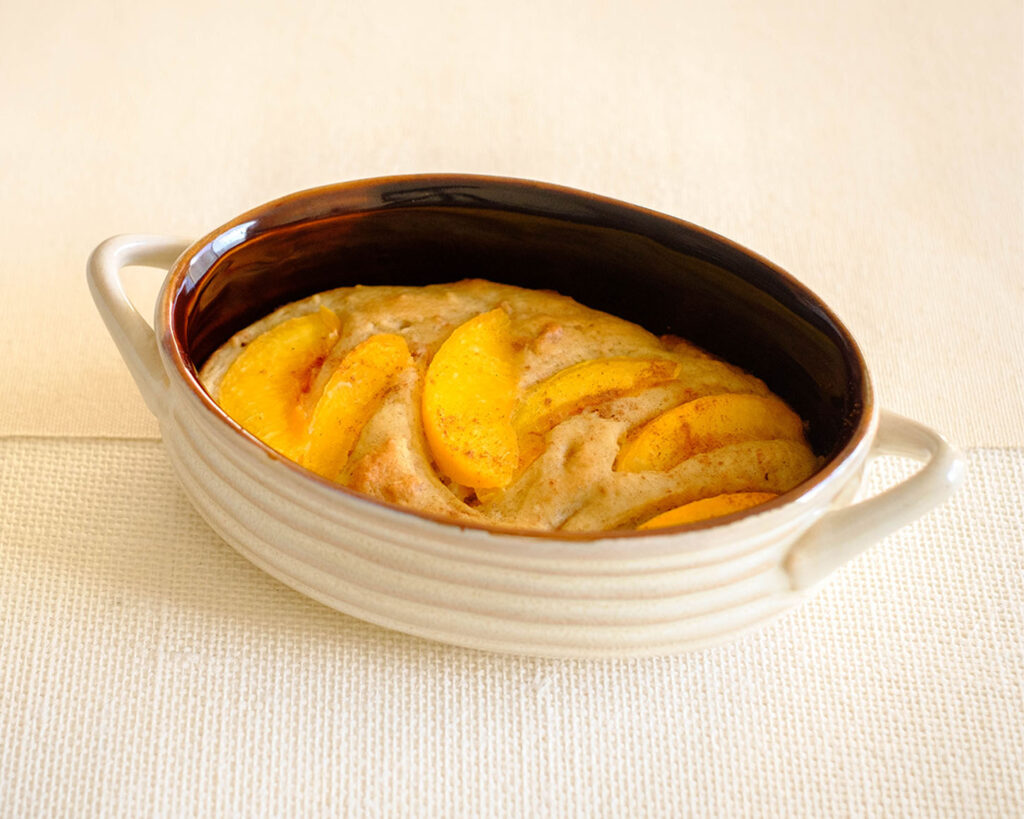
Dive into the joy of baking these Oven Baked Pineapple Carrot Muffin Bars, and let them be your tasty accomplices on your journey to conquering busy mornings with a full belly and a satisfied smile. These delightful treats are not only a breeze to make but are also a fantastic addition to your meal prep arsenal. Let’s dive into why these muffins are a must-try for breakfast enthusiasts.
This post may contain affiliate links. Please see our privacy policy for details.
These Oven Baked Pineapple Carrot Muffins are meal prep game changers. Bake up a batch during your weekend kitchen escapades, and you’ll have a quick, wholesome breakfast option ready to conquer those hectic weekdays.
Why It’s Great for Meal Prep
- Health Benefits: Loaded with the natural sweetness of crushed pineapple and the vibrant goodness of grated carrots, these muffins deliver a one-two punch of flavor and nutrition. Carrots bring in a healthy dose of beta-carotene, while pineapple adds a tropical twist rich in vitamin C and bromelain, which can aid digestion.
- Convenience and Fuel for the Day: Imagine waking up to the inviting aroma of these muffins wafting through your kitchen. They’re your secret weapon to starting your day on the right foot. Packed with a balanced combination of carbs, fiber, and a touch of protein from the eggs, these muffins provide lasting energy and help keep those hunger pangs at bay until your next meal.

Simple Ingredients for Pineapple Carrot Muffin Bars
- Egg: This protein-packed superstar helps keep you feeling full and energized.
- Brown Sugar: A touch of sweetness to enhance the flavors without going overboard.
- Crushed Pineapple: Adds a burst of tropical sweetness and a dose of vitamin C.
- Grated Carrots: These bring color, flavor, and a healthy crunch to the muffins.
- Flour: The base ingredient that gives structure to our muffins.
- Baking Powder: The magic ingredient that makes these muffins rise and become beautifully fluffy.
How to Prepare Pineapple Carrot Muffin Bars:
- Preheat the oven to 425°F.
- Whisk the eggs and brown sugar together in a mixing bowl until they become a smooth, creamy mixture.
- Add the crushed pineapple and grated carrots, stirring gently to combine all the flavors.
- Then, add the flour and baking powder. Mix well to form a luscious batter that’s teeming with pineapple-carrot goodness.
- Grease the baking dish with oil, ensuring your muffins won’t stick around longer than your appetite can bear.
- Pour in the batter with excitement and anticipation for what’s to come!
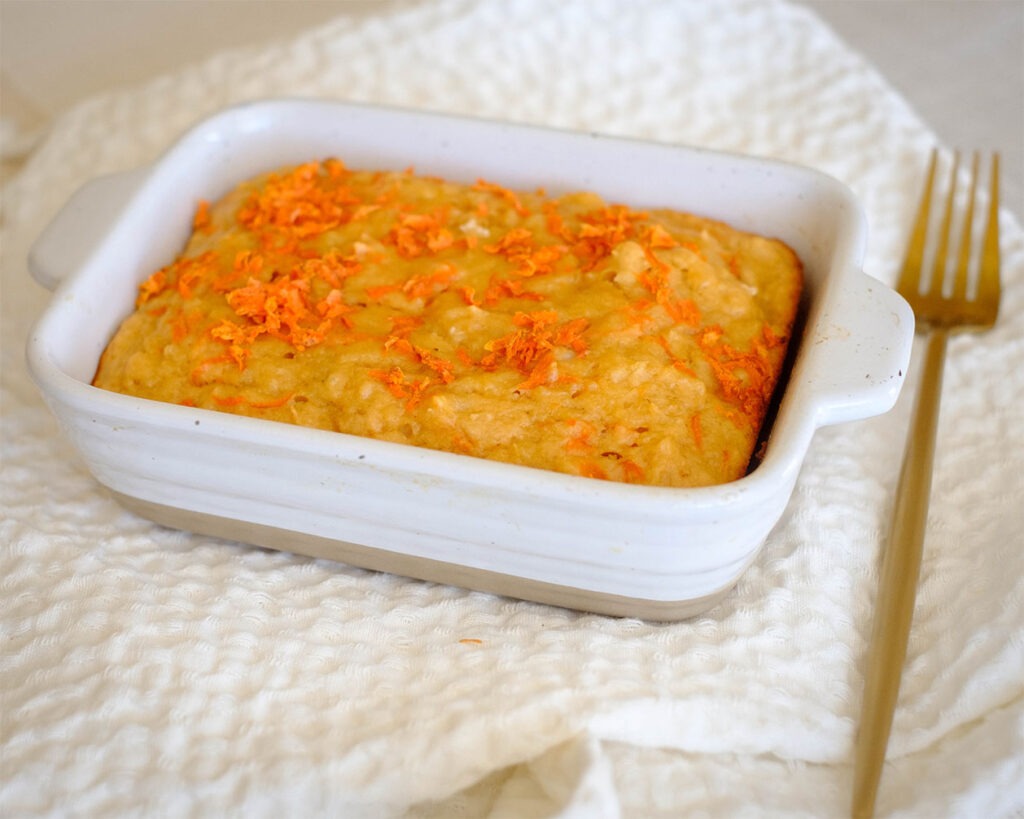
- Bake in the pre-heated oven for 15 minutes or until the center is firmly set, and the tops are golden brown.
Reference the recipe card below for detailed instructions.
Meal Prep Tips for Muffin Bars:
- Storage and Reheating: Once these muffins have cooled down, store them in an airtight container. For reheating, a quick zap in the microwave or a few minutes in a toaster oven will bring back that just-baked warmth and aroma.
- Ingredient Swaps and Pairings: Feeling adventurous? Swap out the brown sugar for honey or maple syrup for an alternative hint of sweetness. You could also throw in some chopped nuts or dried fruits for added texture and flavor.
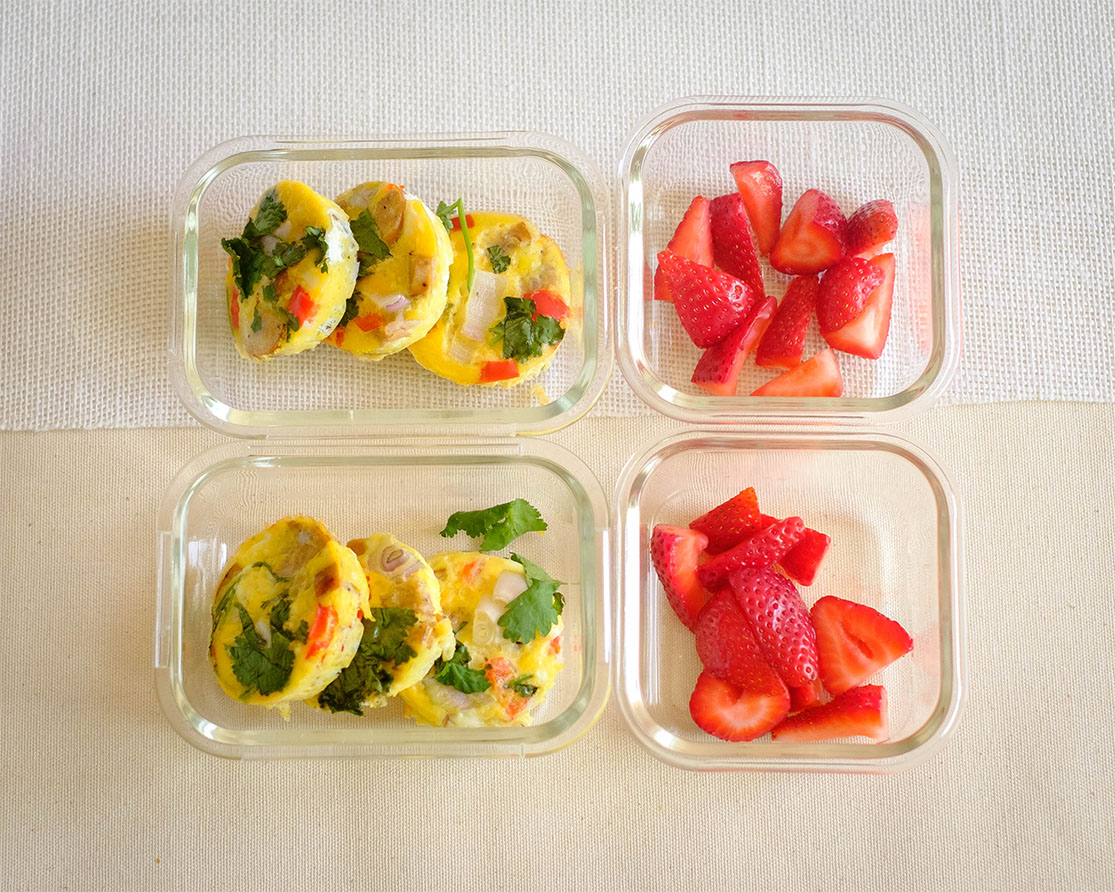
- Pairings: For a wholesome breakfast spread, consider pairing these muffins with some Greek yogurt, a side of scrambled eggs, or a refreshing fruit salad.


Frequently Asked Questions
Can I use canned pineapple for this recipe?
Absolutely! Canned crushed pineapple works well in this recipe. Just make sure to drain any excess juice before adding it to the batter.
Can I substitute white sugar for brown sugar?
Yes, you can use white sugar as a substitute for brown sugar. However, keep in mind that brown sugar adds a caramelized flavor that complements the pineapple and carrot. If you choose to use white sugar, the flavor profile may be slightly different.
Can I use whole wheat flour for a healthier option?
Absolutely! Whole wheat flour is a great option for added fiber and nutrients. Keep in mind that whole wheat flour can result in slightly denser muffins, so the texture may be different.


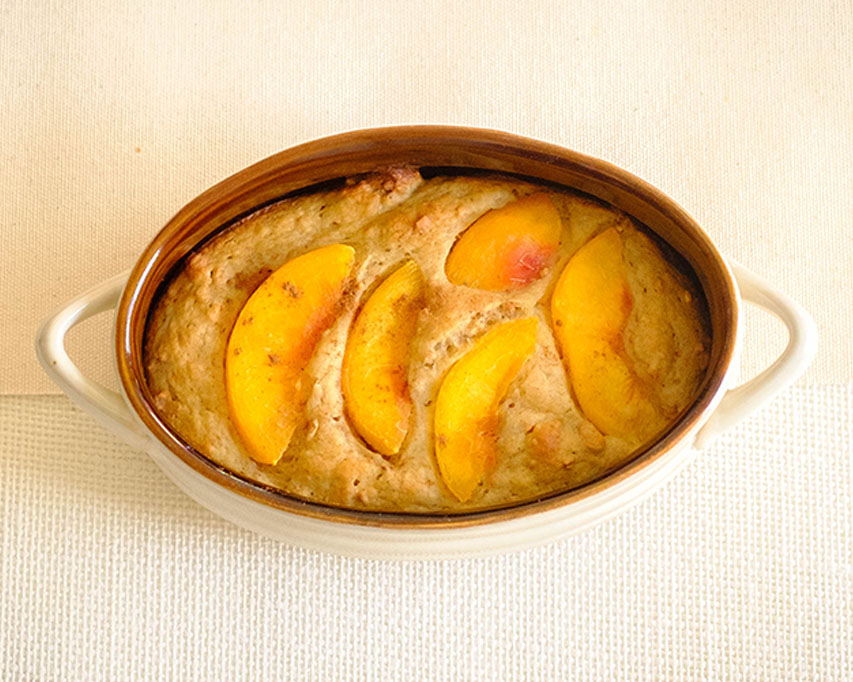


Oven Baked Pineapple Carrot Muffin Bar
Equipment
Ingredients
Instructions