
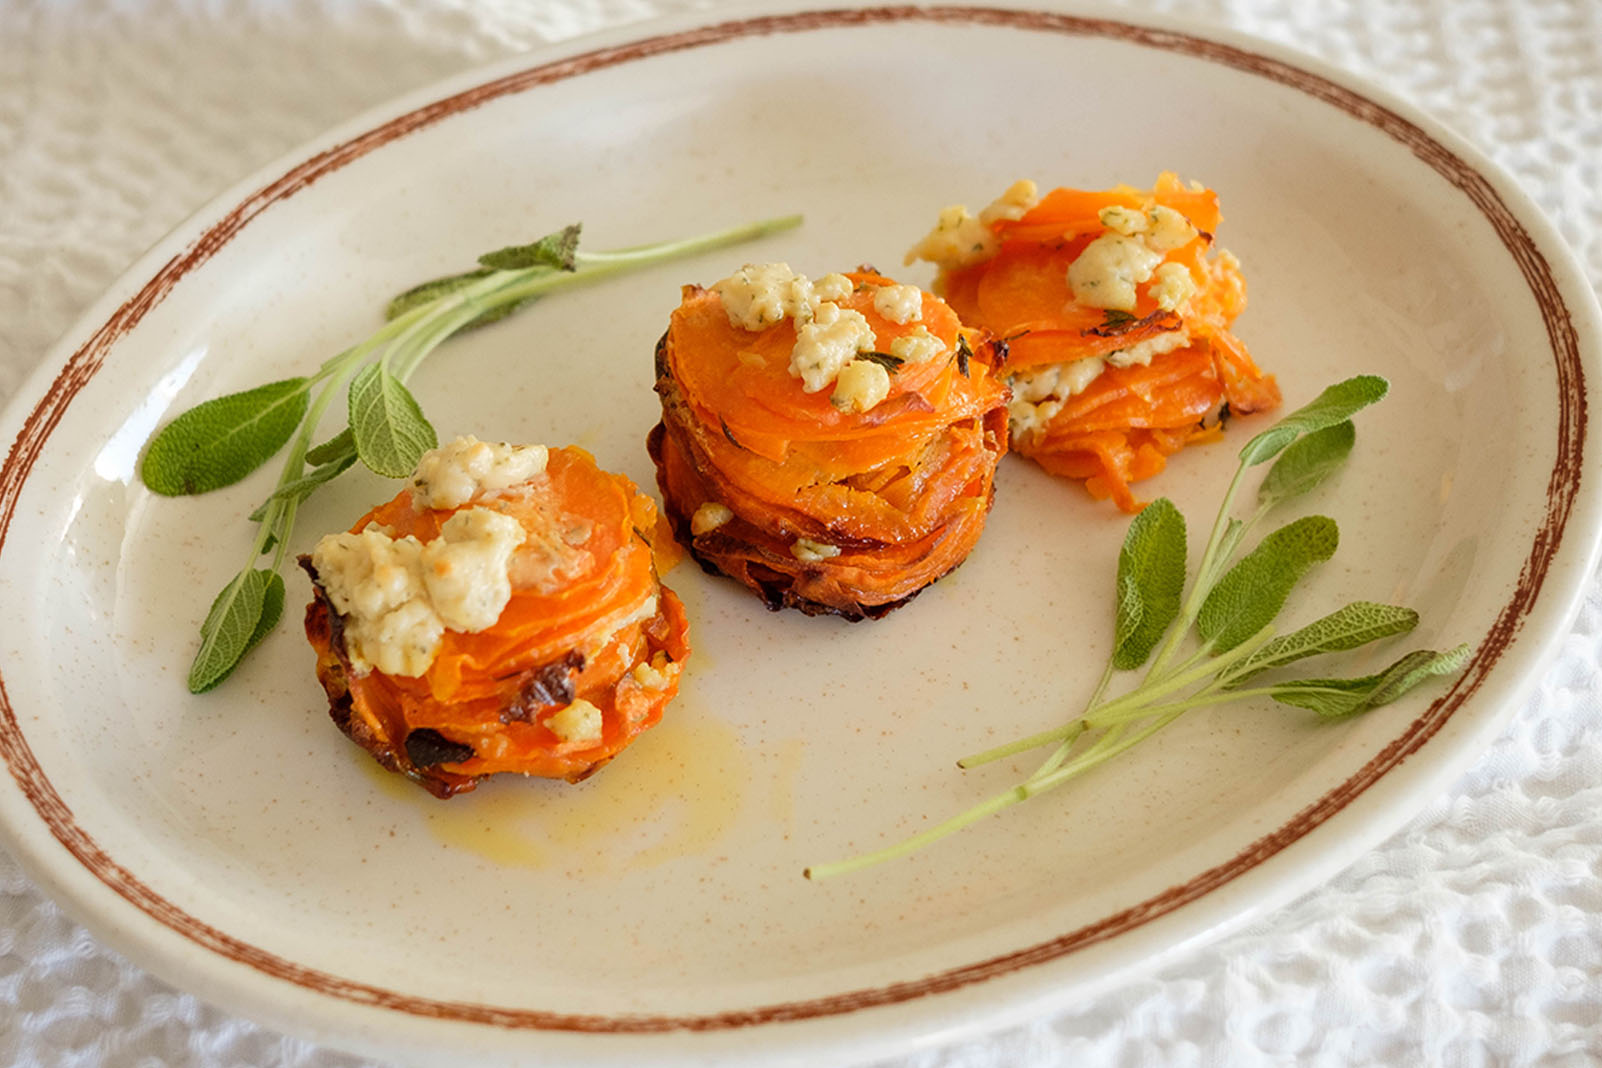
Looking for a side dish that combines comfort, flavor, and ease? This Butternut Squash Gratin is your go-to recipe! It’s creamy, cheesy, and perfectly roasted to bring out the natural sweetness of the squash. Whether you’re a beginner cook or just looking for a new meal prep idea, this dish is sure to impress!
This post may contain affiliate links. Please see our privacy policy for details.

Reasons Why This Recipe is Perfect for Beginner Cooks and Meal Prep:
- Minimal Ingredients: This recipe only requires a handful of simple ingredients that you probably already have in your kitchen. No complicated shopping list needed!
- No Special Skills Required: The steps are straightforward and beginner-friendly, making it easy for anyone to follow, even if you’re new to cooking.
- Simple Prep Work: All you need to do is peel and dice the squash—no fancy knife skills or tricky techniques involved. The rest is just mixing and baking!
- Impressive Flavor: The garlic, olive oil, and mozzarella bring out rich flavors that make this gratin a crowd-pleaser at any gathering. Your guests will think you spent hours preparing it!
- Perfect for Holiday Gatherings: The creamy, cheesy texture of this gratin makes it an ideal side dish for family dinners, Thanksgiving, or holiday meals. It’s a comforting, elegant addition to any spread.
- Great for Meal Prep: You can easily make a large batch and store it in the fridge for up to 5 days. It reheats beautifully, making it a great option for weekly meal prep.
- Customizable: While this recipe is delicious as is, you can easily add your favorite herbs, spices, or other cheeses to make it your own. Try adding a little thyme, rosemary, or Parmesan for extra depth!

Ingredients You’ll Need
- Butternut Squash (Peeled and Diced): Butternut squash is the star of the dish, offering a natural sweetness and a smooth, creamy texture once roasted. It pairs beautifully with savory ingredients like garlic and cheese because its mild flavor acts as a perfect canvas. The sweetness of the squash enhances the richness of the cream and cheese, creating a balanced contrast of flavors. Plus, butternut squash is packed with vitamins and antioxidants, making it a nutritious choice for any meal.
- Garlic (Minced): Garlic is the perfect savory counterpoint to the sweetness of the butternut squash. Its pungent, aromatic qualities add complexity to the dish and balance out the richness of the cream and cheese. When roasted, garlic softens and becomes sweeter, further enhancing the overall flavor profile. The garlic oil mixture that coats the squash infuses it with a delicious depth that’s hard to resist.
- Heavy Cream: Heavy cream is the key to the luscious, velvety texture of the gratin. It adds richness and body to the dish, transforming the roasted squash into a creamy, indulgent side. The creaminess balances the roasted flavors of the squash and garlic, making every bite smooth and comforting. Plus, the cream helps the cheese melt beautifully, creating that irresistible gooey finish.
- Shredded Mozzarella Cheese: Mozzarella cheese is known for its meltability and mild, creamy flavor. It creates a gooey, golden crust on top of the gratin, giving the dish a satisfying texture and a cheesy, savory flavor that perfectly complements the sweetness of the butternut squash. The cheese’s subtle tang pairs well with the richness of the cream and the earthiness of the squash, making each bite a delightful combination of flavors.

How to Make Butternut Squash Gratin
- Prep the Oven and Butternut Squash: Preheat your oven to 400°F (200°C). While the oven is heating up, peel the butternut squash with a vegetable peeler. Then, carefully cut it in half lengthwise and scoop out the seeds with a spoon. Dice the squash into small, even cubes (about 1-inch pieces). This will help the squash cook evenly.
- Assemble the Dish: Take a baking dish (around 9×9 inches) and arrange the diced butternut squash evenly inside. In a small bowl, combine the olive oil and minced garlic. You can mince the garlic by finely chopping it with a knife or using a garlic press. Pour the olive oil and garlic mixture over the squash, then use a spoon or your hands to toss the squash and make sure each piece is coated with the oil and garlic.
- Season and Add Cream: Sprinkle the diced squash with salt and pepper. This will bring out the natural sweetness of the squash and balance the richness of the cream. Then, pour the heavy cream evenly over the squash, making sure it covers most of the pieces. The cream will create a rich, creamy base for the gratin.
- Add the Cheese: Sprinkle the shredded mozzarella cheese generously over the squash and cream. Make sure the cheese is spread out evenly across the top. The cheese will melt and form a delicious, golden crust as it bakes.
- Roast to Perfection: Place the baking dish in the preheated oven and bake for 30 to 40 minutes. Check the squash around the 30-minute mark to see if it’s tender. You can do this by poking a piece with a fork—it should slide in easily. The cream should be bubbling, and the cheese should be golden and melted. If the cheese isn’t browned enough, leave it in the oven for a few more minutes.

Meal Prep Tips:
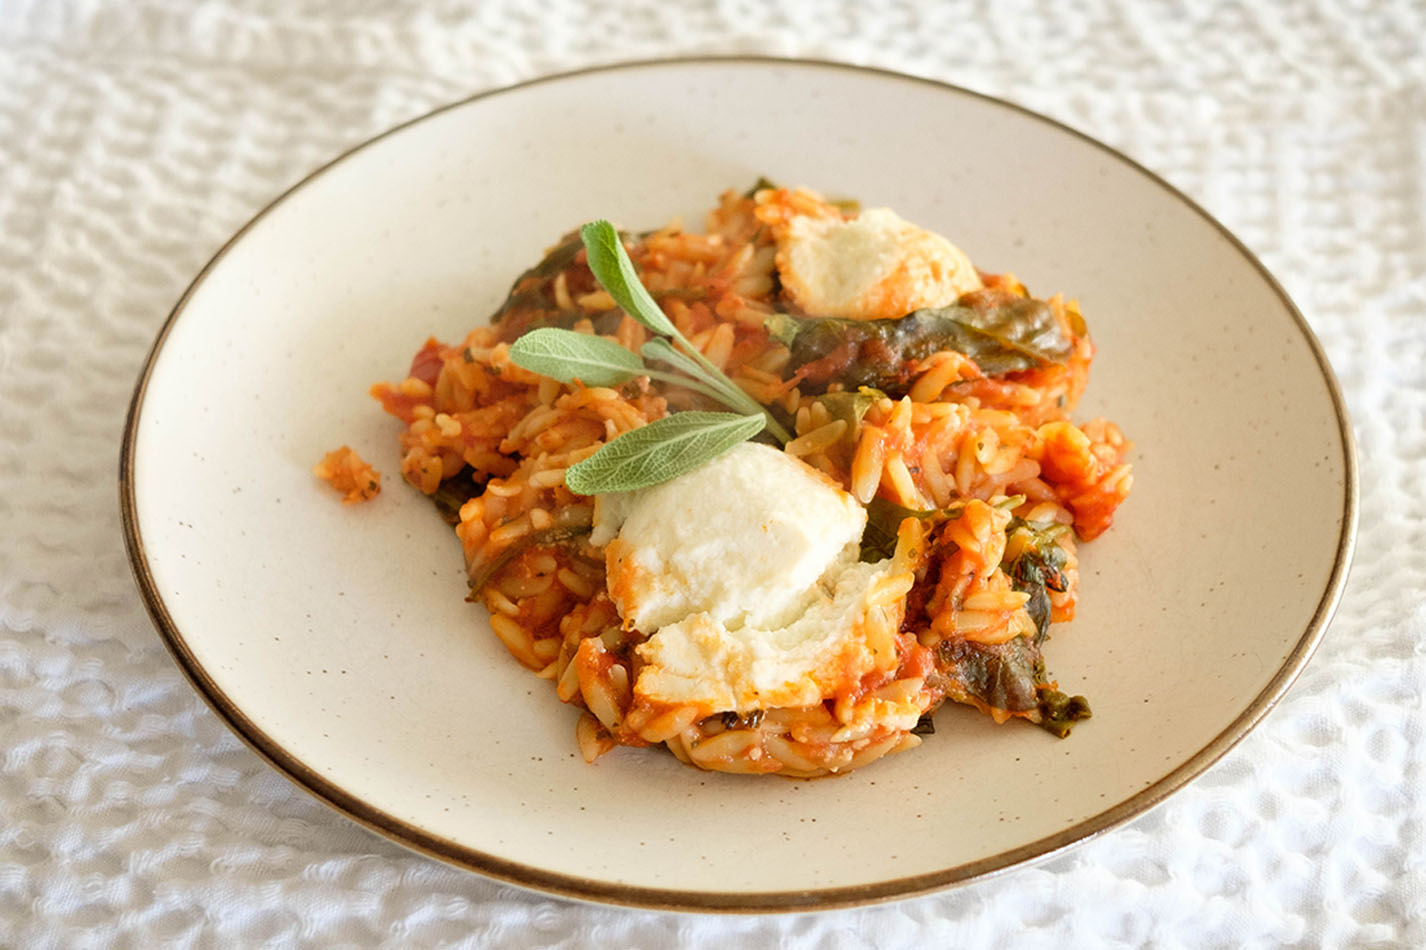
- Cheese Options: Swap mozzarella for sharp cheddar for a bolder, tangier flavor. Add a sprinkle of grated Parmesan on top for a salty, umami kick that pairs beautifully with the squash and cream. For a tangy twist, use goat cheese in place of mozzarella for a creamy texture and distinctive flavor.
- Add Protein: Chicken or Sausage: For a heartier dish, add cooked chicken, turkey sausage, or even bacon bits. This turns the gratin into a complete meal rather than just a side.
- Herbs: Add fresh thyme or rosemary for an earthy, fragrant note. These herbs complement the sweetness of the squash and add depth. Sage works beautifully with butternut squash and adds a warm, savory flavor, making it a perfect addition to this gratin.
- With Roasted Meats: Butternut squash gratin pairs wonderfully with roasted meats, such as roast chicken, turkey, or pork. The richness of the gratin complements the savory flavors of the meat, and the slight sweetness of the squash balances the more robust flavors of the roast.
- With Green Veggies: To make the meal more balanced, serve this gratin alongside steamed or sautéed green vegetables like green beans, broccoli, or spinach. These add freshness and color, providing a nice contrast to the creamy gratin.
- With Salad: For a lighter meal, pair the gratin with a crisp salad, such as a mixed greens salad with a tangy vinaigrette. The acidity of the vinaigrette will cut through the richness of the gratin, creating a nice balance.


Frequently Asked Questions
Can I use frozen butternut squash instead of fresh?
Yes, you can use frozen butternut squash. However, make sure to thaw it completely and drain any excess moisture before using it in the recipe. Frozen squash may have a slightly softer texture, so the baking time may be a little shorter.
How do I know when the squash is done cooking?
The squash is done when it’s tender and easily pierced with a fork. The cheese should also be melted and golden brown on top, and the cream should be bubbling around the edges. If you’re unsure, give it a little extra time in the oven.
Can I use a different type of squash?
Yes! While butternut squash is the best choice for this recipe, you can use other squash varieties like acorn squash or delicata squash. Just make sure to peel and dice them similarly for even cooking.


Butternut Squash Gratin
Equipment
Ingredients
Instructions
Notes
Nutrition