
Transform your holiday table with these Roasted Vegetable and Ricotta Puff Pastry Tarts—a perfect blend of simplicity and elegance. With flaky puff pastry, creamy ricotta, and vibrant veggies, this dish is as delicious as it is stunning. Whether you’re hosting Thanksgiving or want a quick midweek treat, this recipe delivers on all fronts.
This post may contain affiliate links. Please see our privacy policy for details.

Why This Recipe is a Holiday Treat
- Elegant Yet Easy: The puff pastry creates a restaurant-quality appearance without complicated techniques.
- Budget-Friendly Ingredients: With simple pantry staples like ricotta, puff pastry, and seasonal veggies, this tart is both affordable and accessible.
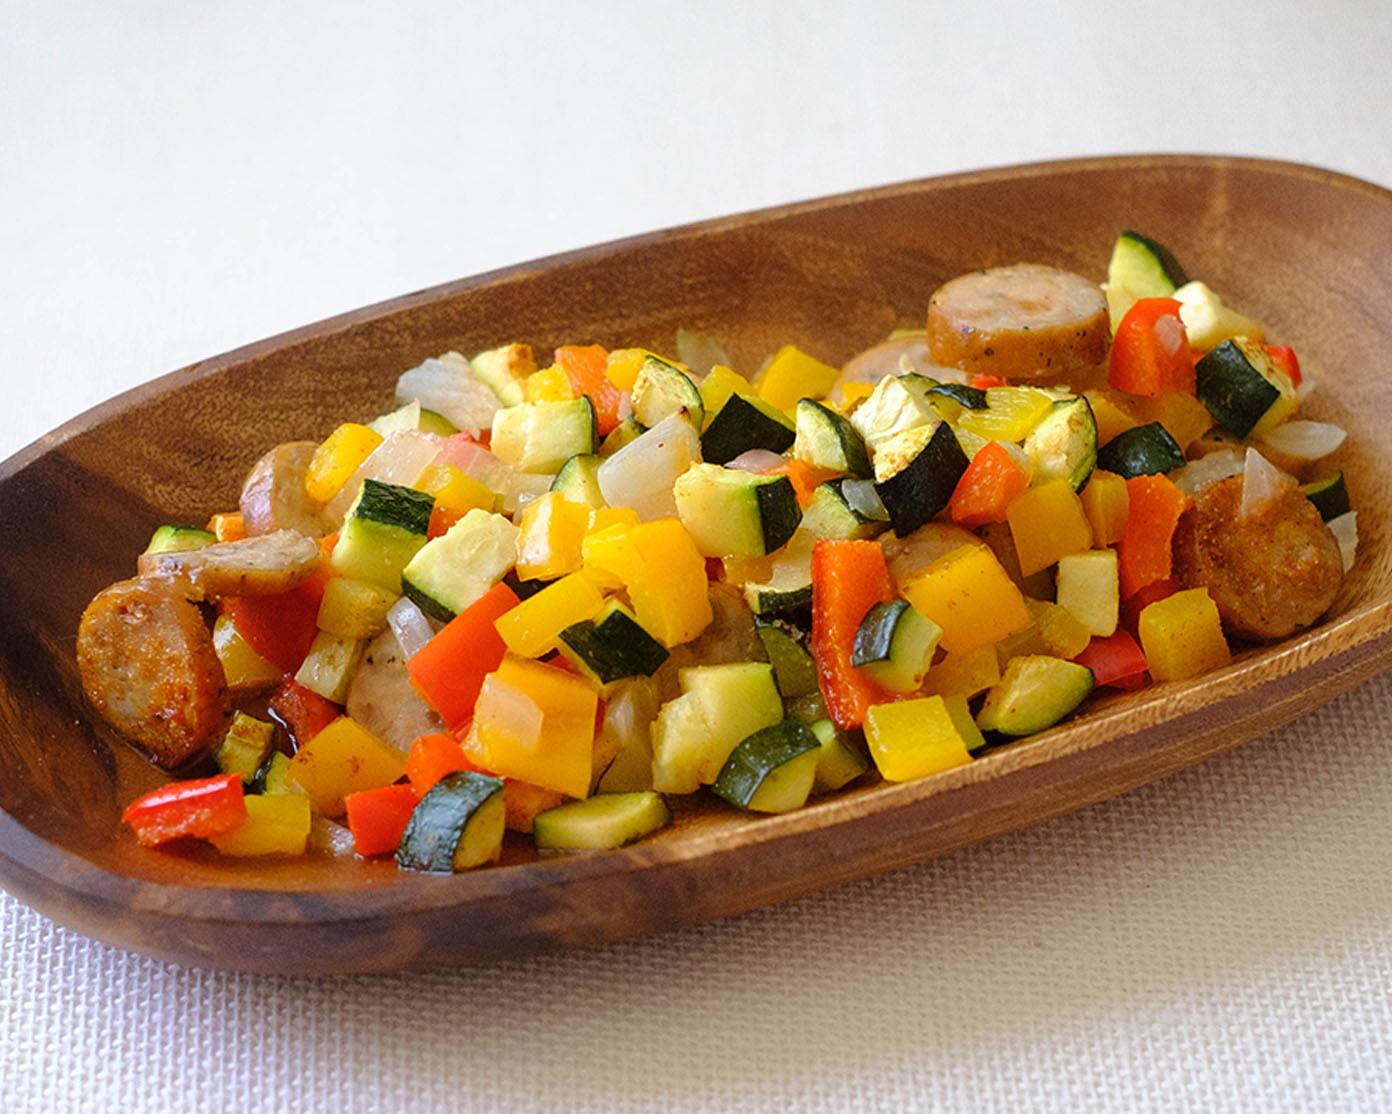
- A Burst of Color: The vibrant layers of vegetables add a pop of color that looks stunning on any holiday table.
- Customizable to Your Taste: Swap in your favorite vegetables or seasonings to make it your own.
- Perfect for Sharing: Cut it into bite-sized squares for a crowd-pleasing appetizer or serve whole as a side dish.
- Quick Prep Time: With minimal chopping (thank you, mandoline!), this dish is oven-ready in just minutes.
- Great Make-Ahead Option: Assemble ahead of time and pop it in the oven before guests arrive for a stress-free hosting experience.

Why These Ingredients Shine Together
- Puff Pastry: The puff pastry is the backbone of this tart. Its flaky, buttery layers provide a light and crispy base that complements the creamy and savory toppings. As it bakes, the pastry puffs up to create a golden, elegant frame, making it both functional and visually stunning.
- Ricotta Cheese: Ricotta adds a creamy, mild layer that serves as the perfect blank canvas for the vegetables. Its soft texture and subtle tang balance the flaky richness of the puff pastry. The ricotta also helps hold the vegetables in place, acting as a “glue” while adding a luxurious mouthfeel to every bite.
- Feta Crumbles: Topping this tart with feta crumbles adds a tangy, salty punch that perfectly complements the creamy ricotta and sweet roasted vegetables. The crumbly texture of feta provides a delightful contrast to the soft veggies and flaky puff pastry, while its bold flavor enhances the savory and herbaceous notes of the dish.
- Egg: The egg is mixed with the ricotta to enhance its creaminess and stability. It helps bind the ricotta mixture, ensuring it sets slightly during baking, so it doesn’t run or become too watery. Additionally, if used as an egg wash, it adds a shiny, golden finish to the pastry edges.
- Garlic Powder: Garlic powder introduces a savory, aromatic element that amplifies the flavor of the ricotta mixture without overwhelming the dish. Its subtle garlicky note ties the ingredients together, enhancing the overall taste profile.
- Thyme: Thyme brings a fresh, earthy flavor to the tart. Its herbaceous aroma complements the vegetables and adds depth to the ricotta mixture, giving the dish a hint of sophistication.
- Sweet Potato: Sweet potato is the sweet and hearty element in this dish. Its natural sugars caramelize slightly in the oven, adding a touch of sweetness that contrasts beautifully with the savory ricotta and thyme. The vibrant orange color also adds to the visual appeal.
- Zucchini: Zucchini provides a delicate, slightly grassy flavor and a soft texture that pairs well with the other ingredients. Its mild taste allows the other flavors to shine, and its bright green color adds another pop of vibrancy to the tart.
- Tomato: Tomatoes add juiciness and a tangy sweetness, balancing the richness of the ricotta and the buttery puff pastry. Their acidity brightens the dish, creating a refreshing contrast to the other ingredients.

How to Make Roasted Vegetable and Ricotta Puff Pastry
- Prep Your Vegetables: Start by washing your sweet potato, zucchini, and tomato thoroughly. Using a mandoline slicer, carefully slice each vegetable into very thin pieces. This helps them cook evenly in the oven. If you don’t have a mandoline, you can use a sharp knife—just take your time to ensure the slices are thin. Feel free to use other vegetables like bell peppers or mushrooms if you prefer.
- Make the Ricotta Mixture: In a small mixing bowl, combine the ricotta cheese, 1 large egg, ¼ teaspoon garlic powder, ¼ teaspoon salt, and 1 teaspoon thyme. Stir everything together with a spoon or whisk until the mixture is smooth and creamy. This will be your flavorful base layer for the tart.
- Prepare the Puff Pastry Base: Unfold your puff pastry sheet and place it on a baking sheet lined with parchment paper to prevent sticking. If the pastry feels stiff, let it sit at room temperature for a few minutes to soften. Once it’s easy to handle, use a sharp knife to trim ½ inch off each edge. Set these strips aside—you’ll use them later. Using a spatula or the back of a spoon, spread the ricotta mixture evenly across the center of the puff pastry, leaving a small border around the edges.
- Add the Veggies: Now it’s time to decorate your tart! Arrange the vegetable slices on top of the ricotta layer in a pattern of your choice. For example, you can alternate colors (sweet potato, zucchini, tomato) to create a beautiful, festive design. Make sure the vegetables are placed close together so that each bite is flavorful.
- Top with Feta Crumbles: Sprinkle feta crumbles over the arranged veggies for a tangy, salty kick that complements the creamy and savory flavors.
- Create a Puff Edge: Take the reserved pastry strips and lay them along the edges of the tart to create a raised border. This step adds a professional touch and helps frame the tart. If you’d like a glossy, golden finish on the edges, whisk an extra egg and lightly brush it over the puff pastry border with a pastry brush.
- Bake to Perfection: Preheat your oven to 350°F. Place the baking sheet with your tart in the oven and bake for 20–25 minutes. Keep an eye on it—the puff pastry should rise and turn a golden brown, while the vegetables become tender. When it’s ready, carefully remove the tart from the oven and let it cool for a few minutes before serving.
Reference the recipe card below for detailed instructions.

Meal Prep Tips:
- Thaw Puff Pastry Properly: If your puff pastry is frozen, thaw it overnight in the fridge or at room temperature for 30–40 minutes. Don’t leave it out too long, as it can become too soft and sticky to handle.
- Assemble Ahead of Time: You can assemble the tart a few hours before baking. Cover it with plastic wrap and store it in the fridge. Bake it fresh to ensure the puff pastry stays flaky and doesn’t get soggy.
- Serve with a Salad: Pair this tart with a fresh arugula or mixed greens salad dressed with a lemon vinaigrette. The acidity of the salad complements the richness of the tart.
- Cheese Platter: Offer a cheese platter with soft and hard cheeses, nuts, and fruits alongside the tart for a complete appetizer spread.
- Vegetables: Swap sweet potato for butternut squash or carrots for a similar sweetness.Replace zucchini with thinly sliced eggplant or asparagus for a different texture. Use red bell pepper, mushrooms, or red onion for a more robust flavor.
- Cheese: Instead of ricotta, try goat cheese for a tangier flavor or cream cheese for a richer texture. Feta or mascarpone can also be excellent substitutes.


Frequently Asked Questions
Can I use frozen vegetables?
It’s better to use fresh vegetables for this recipe, as frozen ones can release too much moisture, making the puff pastry soggy. However, if you must use frozen vegetables, thaw them completely and pat them dry with a paper towel before using
How do I prevent my puff pastry from getting soggy?
Make sure the vegetables are thinly sliced and not too wet. Pat them dry before placing them on the tart. Don’t overdo the ricotta mixture—spread it thinly and evenly. Bake the tart on parchment paper or a baking mat for better airflow and even cooking.
What if I don’t have puff pastry?
You can use phyllo dough as a substitute, layering several sheets with a light brush of olive oil or butter in between. Alternatively, try a pre-made pizza dough or pie crust for a different texture.


Roasted Vegetable and Ricotta Puff Pastry
Equipment
Ingredients
Instructions
Notes
Nutrition