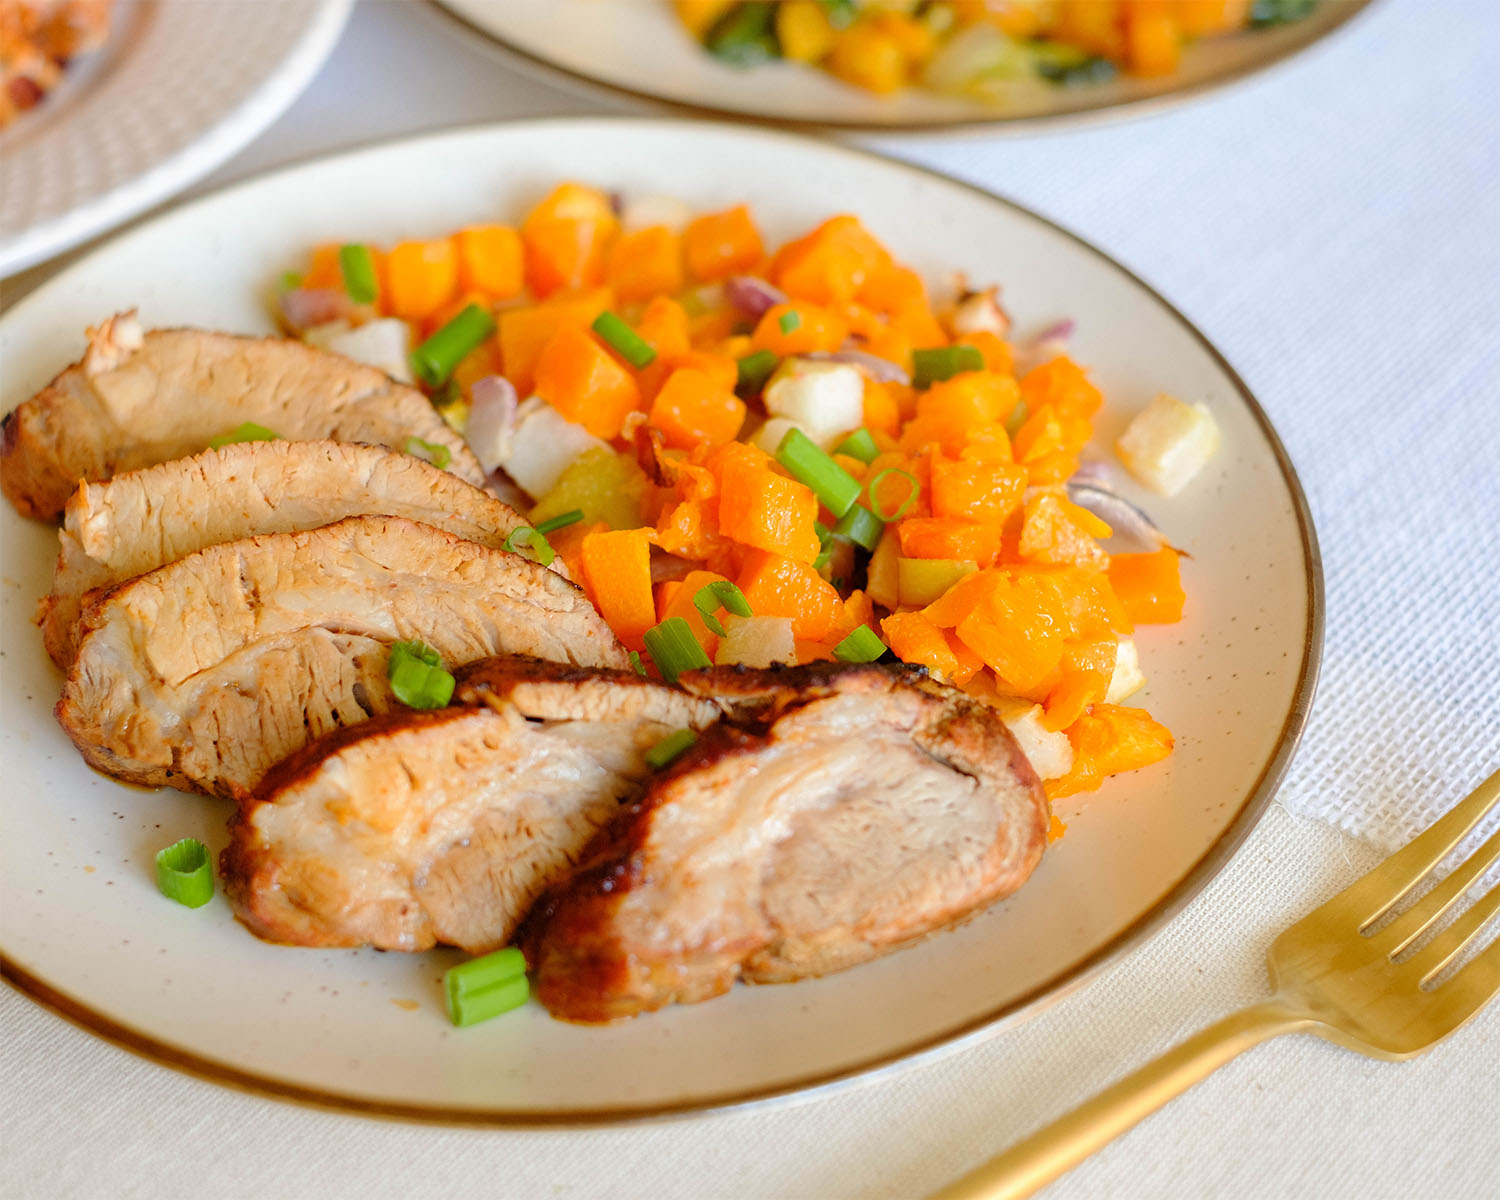
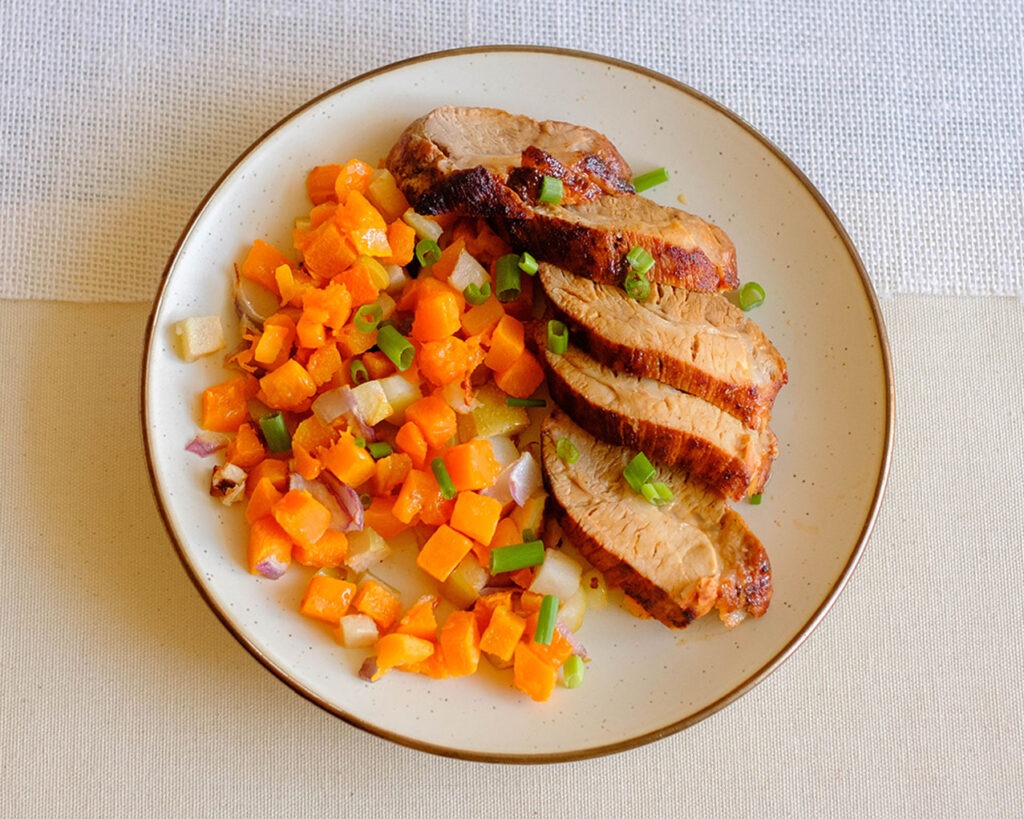
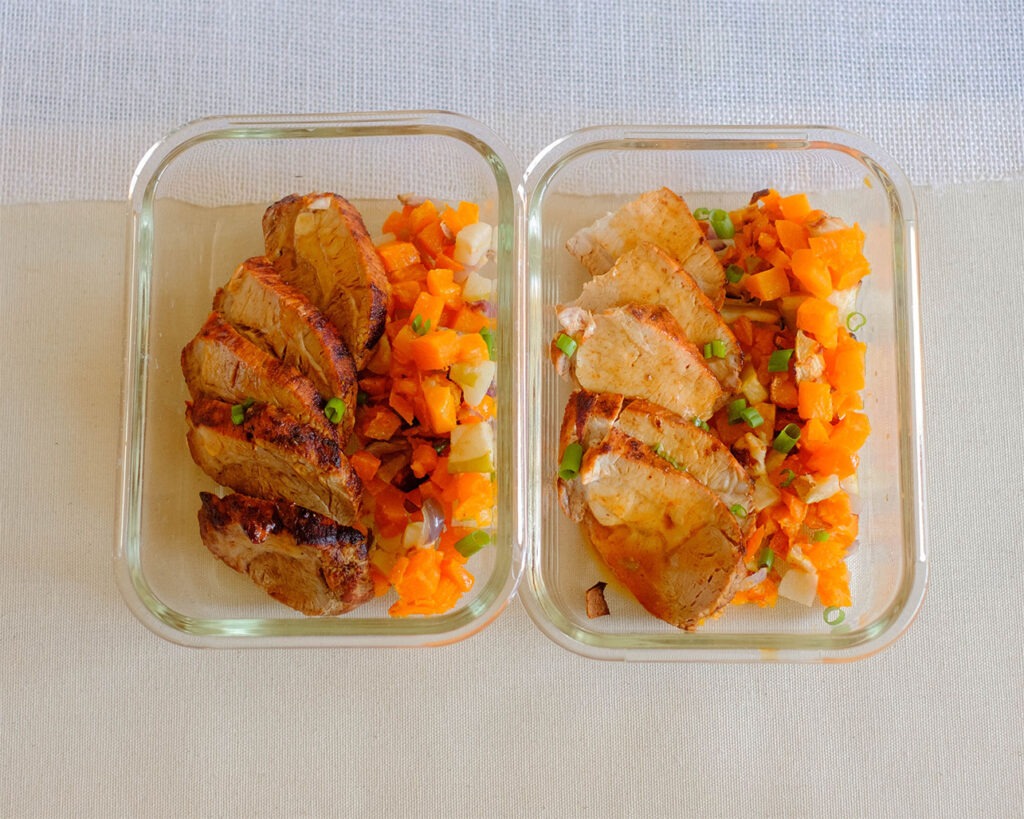
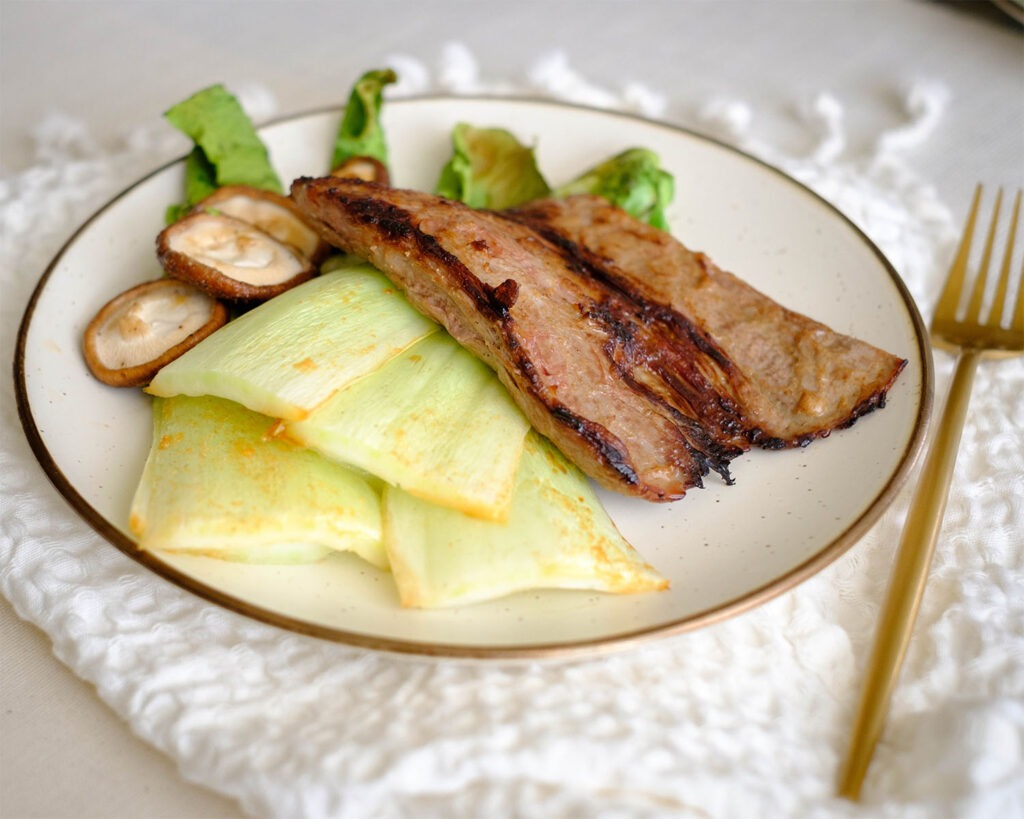
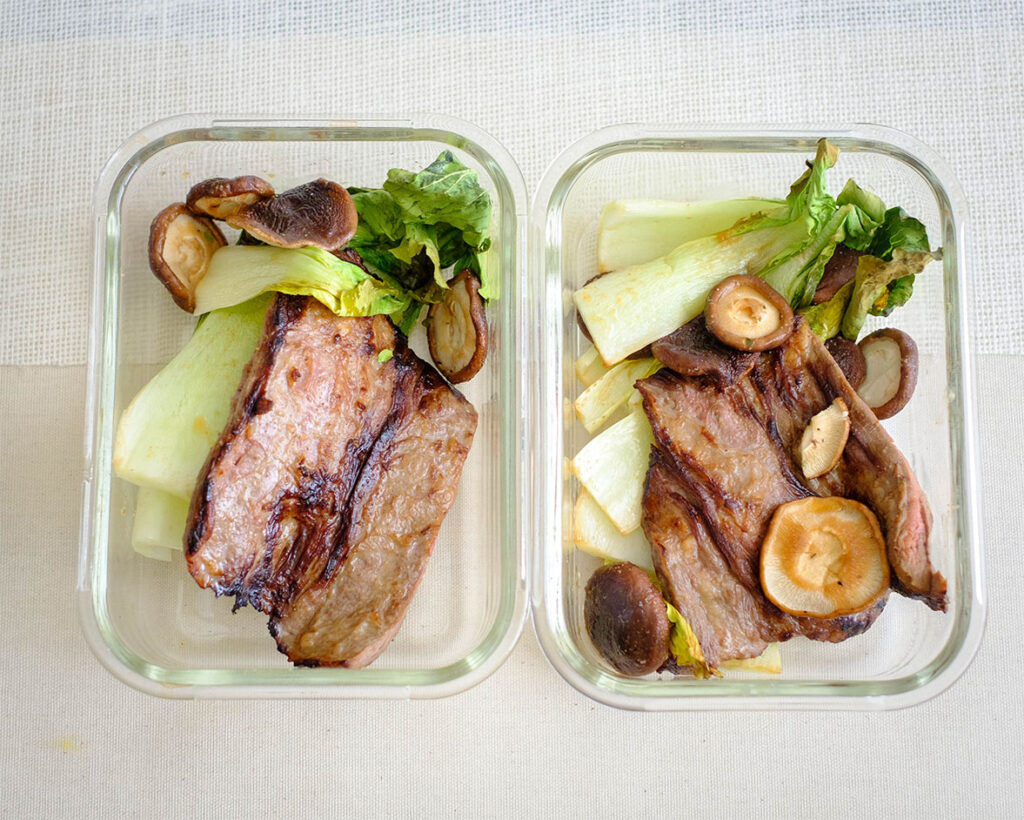
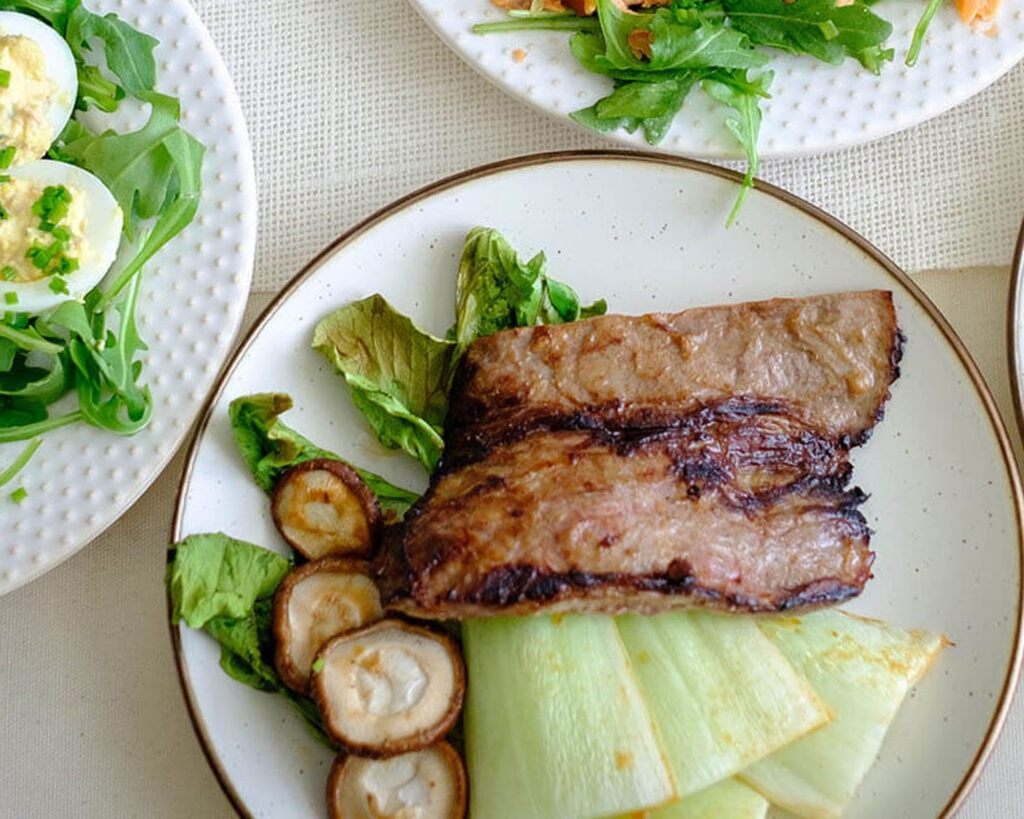
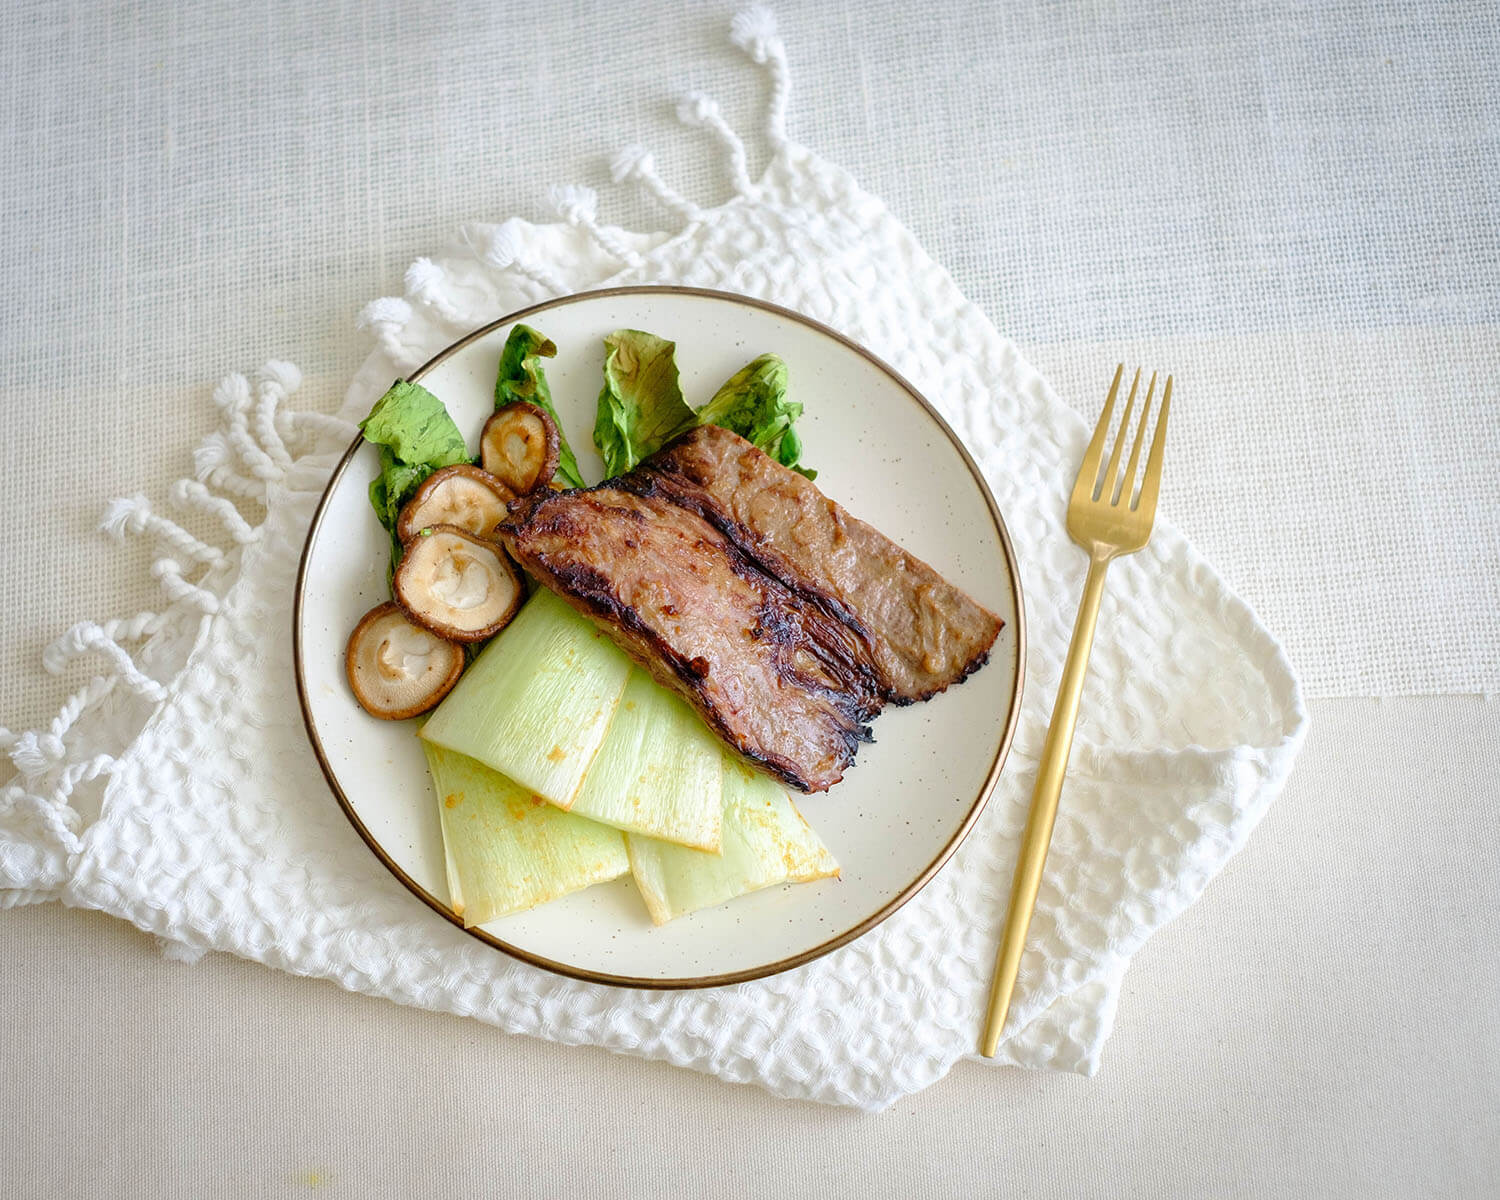
Island-Spiced Pork Loin with Butternut Squash and Apples is a meal prepper’s dream come true! The spicy, sweet, and savory notes from the pork marinade, the tender and caramelized qualities of the roasted butternut squash, the crispness and freshness of the apples, and the mild sweetness of the red onions all come together to create a balanced, satisfying, and visually stunning meal that’s perfect for meal prep. This easy pork meal prep adds new variations to your usual routine of chicken and beef.
This post may contain affiliate links. Please see our privacy policy for details.
Why This Recipe is Great for Meal Prep
A balanced meal isn’t complete without a generous helping of veggies, and this dish delivers! Butternut squash, apples, and red onions come together to create a vibrant, colorful, and nutritious side dish. The butternut squash adds a hearty dose of vitamins and fiber, while the apples provide a touch of sweetness and a pop of fruity flavor.
Speaking of fruit, it’s not just an afterthought in this recipe. Apples, with their natural sweetness, complement the savory pork beautifully. Plus, they add a delightful crunch and freshness that elevates the entire dish. This isn’t your typical pork and apple pairing; it’s a symphony of flavors!
Last but not least, the convenience factor. Meal prepping can sometimes feel like a chore, but this recipe simplifies the process. You can easily prepare the pork marinade in advance, so when it’s time to cook, all you have to do is sear the pork, pop it in the oven alongside the seasoned veggies, and voilà! You’ve got several delicious, portion-controlled meals ready to go for the week ahead.

Here’s What You Need to Make Island Spiced Pork Tenderloin
- Pork Tenderloin: Pork tenderloin is a lean and tender cut of meat. It’s low in fat and high in protein, making it an excellent choice for a balanced meal. The marinade, featuring sriracha, cinnamon, chili powder, garlic powder, and brown sugar, adds layers of flavor. Sriracha provides heat, cinnamon brings warmth, chili powder adds a spicy kick, garlic powder infuses savory notes, and brown sugar balances it all with sweetness.
- Butternut Squash: Butternut squash is a fall favorite that’s both nutritious and delicious. It’s rich in vitamins like A and C, as well as fiber, making it a nutritious addition to your meal. Roasting the butternut squash enhances its natural sweetness, creating caramelized edges and a creamy interior.
- Apples: Apples provide a touch of natural sweetness and a pleasant crunch to the dish. They’re a source of vitamins and dietary fiber, making them a healthy choice. When roasted, apples release their juices, mingling with the savory flavors of the pork and spices for a delightful contrast.
- Red Onions: Red onions add a pop of color and a mild, sweet flavor when roasted.

How to Meal Prep Island Spiced Pork
- Preheat your oven to a toasty 400°F (200°C). While it’s heating up, grab a sheet pan and arrange your butternut squash, apples, and red onions on it. Sprinkle them with a pinch of salt and a dusting of garlic powder, then drizzle with olive oil. Pop the pan into the oven and let those flavors mingle for 15-20 minutes.
- While your veggies are roasting to perfection, mix together the pork marinade in a small bowl. Coat your pork tenderloin generously with this mouthwatering blend.
- Heat up a pan over medium-high heat, add a touch of oil, and sear the pork on all sides until it’s beautifully browned. This should take about 3-4 minutes.
- Once the pork is seared to perfection, transfer it to the oven and let it finish cooking for about 20-25 minutes or until it reaches an internal temperature of 145°F (63°C).
- Cook on medium setting for 45 minutes.
- Finally, let your magnificent creation rest on the countertop for a few moments before you slice it up. Serve it alongside those roasted veggies for a pork meal prep masterpiece that’s sure to impress!
Reference the recipe card below for detailed instructions.
Pork Meal Prep Tips for Island Spiced Pork
- Storage Tips: After cooking, let the pork loin cool to room temperature before storing it in an airtight container or resealable plastic bag. Store it in the refrigerator for up to 3-4 days. For longer storage, consider freezing it for up to 2-3 months. The roasted butternut squash, apples, and red onions can also be stored in a separate airtight container in the refrigerator for 3-4 days. However, they may lose some of their texture and crispness over time. If you have any leftover marinade, you can store it in an airtight container in the refrigerator for up to a week. You might even use it as a flavorful sauce for other dishes.
- Reheating Tips: To reheat the pork loin, preheat your oven to 350°F (175°C). Place the sliced pork in an ovenproof dish, cover it with aluminum foil to prevent drying out, and warm it for about 10-15 minutes or until heated through. Alternatively, you can reheat individual slices in the microwave for a shorter period, but be cautious not to overcook and dry out the meat. Reheat the roasted veggies in the oven at 350°F (175°C) for about 10 minutes to restore their crispness and flavor. You can also use the microwave, but they may become slightly softer.
- Ingredient Swaps: If you’re not a pork fan, you can swap the pork tenderloin with chicken breast or turkey tenderloin. Adjust the cooking time accordingly to ensure your chosen protein reaches a safe internal temperature. Feel free to get creative with the marinade. You can use different spices and herbs like paprika, thyme, or rosemary, depending on your flavor preferences. If you prefer a milder spice level, reduce the sriracha or omit it altogether. While butternut squash, apples, and red onions are a wonderful combination, you can swap them with other seasonal vegetables like sweet potatoes, carrots, or Brussels sprouts. Just adjust the roasting time to suit the different vegetables.


Frequently Asked Questions
Can I use a different cut of pork?
While pork tenderloin works wonderfully in this recipe due to its tenderness, you can also use pork chops or boneless pork loin. Just be mindful of differences in cooking times.
Can I use a different type of squash?
Certainly, you can swap butternut squash with acorn squash, delicata squash, or even sweet potatoes for variety. Adjust the roasting time as needed.
What can I serve this dish with aside from roasted veggies?
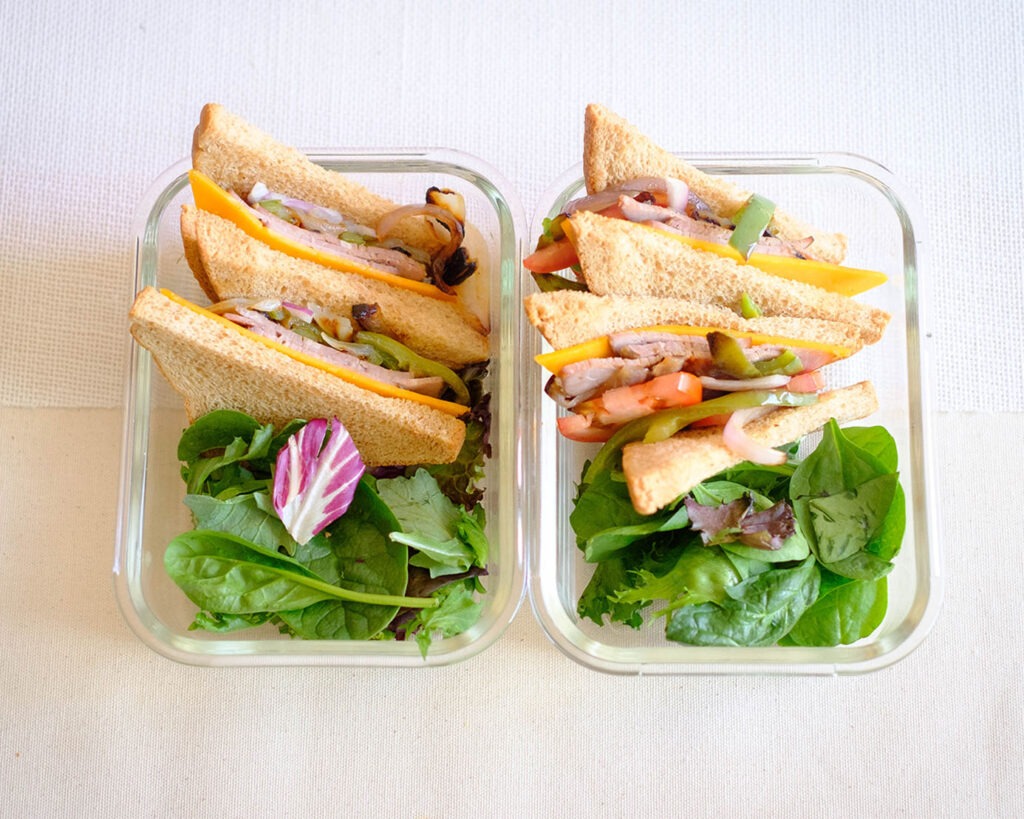
This dish pairs well with a variety of sides, such as rice, quinoa, or a simple salad. You can also drizzle a balsamic glaze or gravy over the pork for added flavor.


Island Spiced Pork Loin with Squash
Equipment
Ingredients
Pork Loin and Marinade
Roasted Vegetables
Instructions