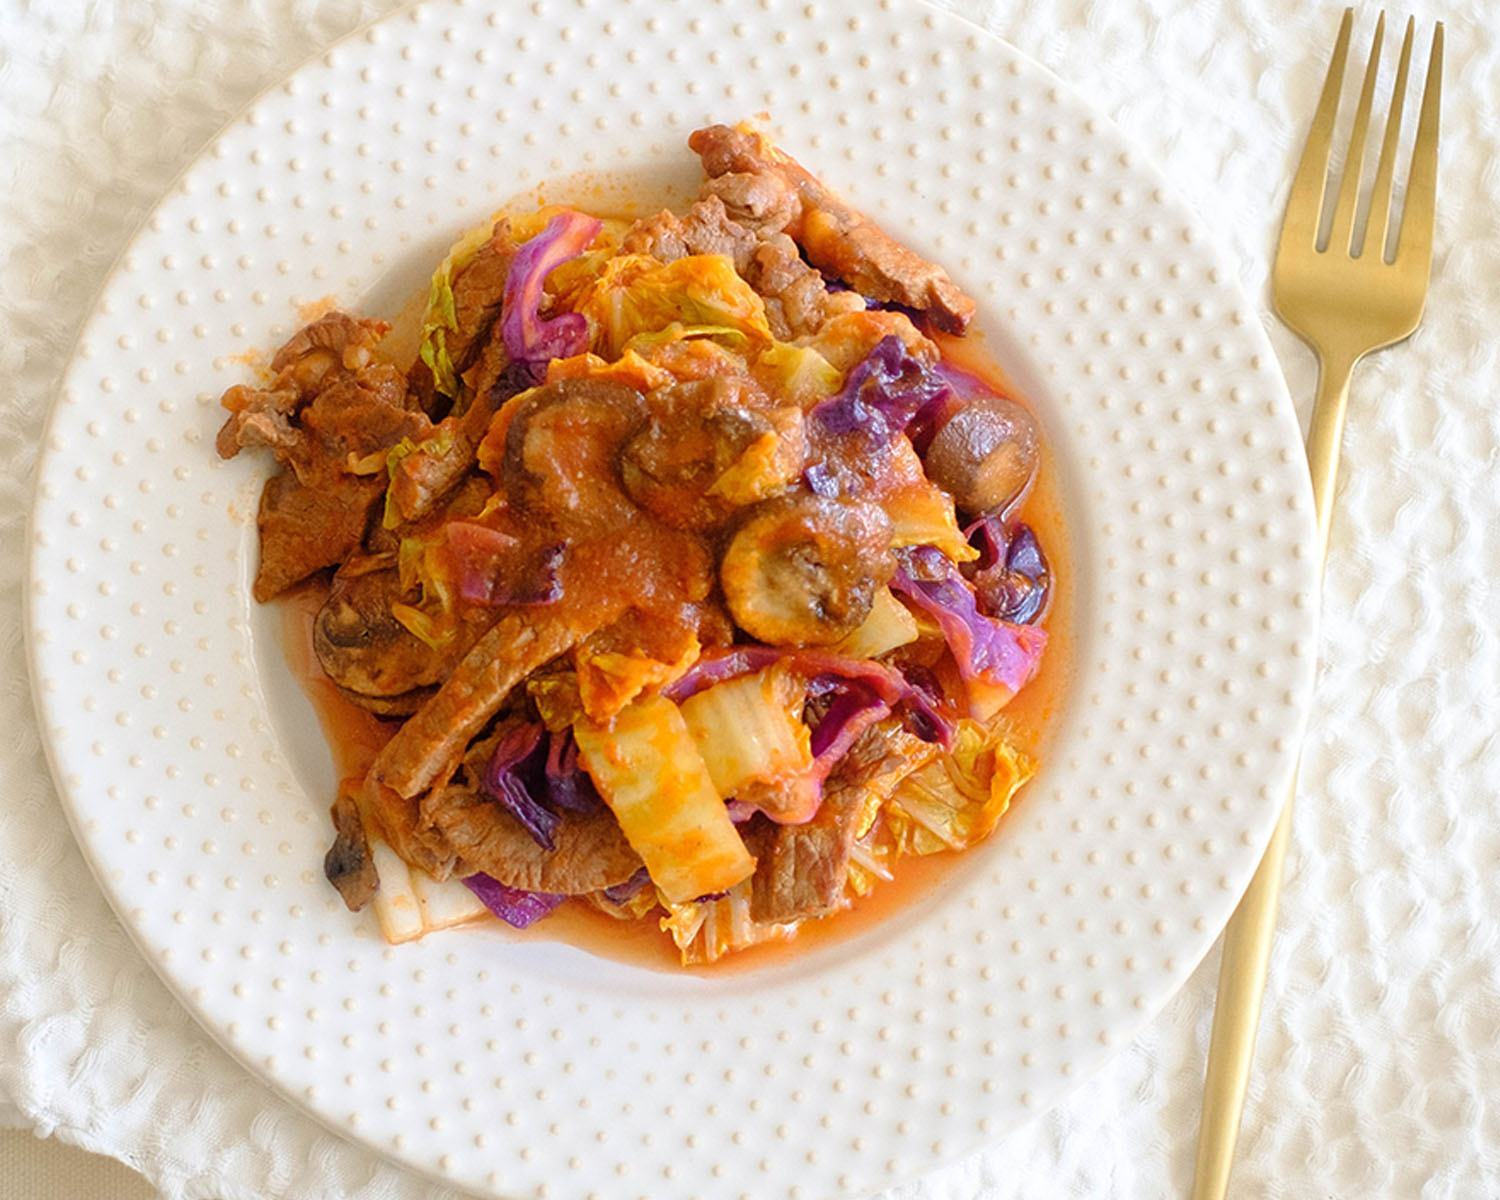
Our Stuffed Acorn Squash with Beef Marinara is the perfect budget-friendly, healthy dinner idea that brings the gourmet experience right to your kitchen table. This delectable recipe combines lean ground beef, seasonal acorn squash, and a homemade marinara sauce to create a flavorful, nutrient-rich masterpiece. Whether you’re on a budget or simply seeking a wholesome yet affordable meal prep option, this dish has got you covered. Let’s embark on a culinary journey that’s not only easy on your weekly budget but also a restaurant-quality delight for your senses.
This post may contain affiliate links. Please see our privacy policy for details.
Why Meal Prep Stuffed Acorn Squash
- Packed with nutrient-rich ingredients like lean ground beef, acorn squash, and a homemade marinara sauce, this meal provides a balanced mix of protein, vitamins, and fiber. It’s a fantastic way to nourish your body with the good stuff.
- Eating healthy doesn’t have to break the bank! Lean ground beef and seasonal acorn squash are wallet-friendly, making this meal prep idea a perfect fit for budget-conscious foodies. You can enjoy restaurant-quality flavors without the hefty price tag.
- The combination of savory beef marinara, tender acorn squash, and gooey melted mozzarella cheese creates an explosion of flavors in your mouth. It’s like dining at a five-star restaurant but without the reservation hassle.
- Short on time? No problem! This meal prep idea is a weeknight dinner hero. With just a bit of prep and 50-55 minutes of oven time, you’ll have a scrumptious, restaurant-quality meal on the table in no time. It’s perfect for busy evenings.
- This healthy dinner idea ticks all the boxes. It’s high in protein, loaded with veggies, and has just the right amount of flavor-enhancing ingredients. With acorn squash as the star, it’s a guilt-free delight that’ll make you feel like you’re dining out, all while staying on track with your health goals.

Ingredients You’ll Need
- Lean Ground Beef: Look for lean ground beef with lower fat content, ideally 90% lean or higher. Lean beef is an excellent source of protein, iron, and zinc. It’s a healthy protein choice when you opt for lower fat varieties. Ingredient Swap: You can also use ground turkey or ground chicken as an option.If you’re looking for a plant-based option, consider using ground tofu, tempeh, or plant-based crumbles.
- Marinara Sauce: When buying store-bought marinara sauce, check the label for low sodium and minimal added sugars. Ingredient Swap: If you want to make your own sauce, combine canned tomatoes with garlic, basil, and oregano for a healthier, lower-sodium alternative.
- Acorn Squash: Look for acorn squash that is firm and heavy for its size, with a deep green color and minimal blemishes. Acorn squash is rich in vitamins A and C, fiber, and antioxidants. It’s a nutritious and low-calorie vegetable. Ingredient Swap: You can substitute acorn squash with other winter squashes like butternut or kabocha if needed.
- Red Onions: Choose firm, dry, and unblemished onions with a vibrant red color. Ingredient Swap: Swap red onions for shallots or sweet onions if you prefer a milder flavor.
- Shredded Mozzarella Cheese: Opt for part-skim or reduced-fat mozzarella cheese to reduce the saturated fat content. Ingredient Swap: Consider using part-skim ricotta or a blend of Parmesan and low-fat cottage cheese for a lighter option.
How to Meal Prep this Stuffed Acorn Squash Recipe
- Preheat your oven to a toasty 400°F. Carefully cut the acorn squash in half. Watch those fingers! Once it’s cut, use a spoon to scoop out the seeds. We want all that space for our tasty filling.
- Season the acorn squash with a pinch of salt and give them a good coat of olive oil. Now, place them on a baking sheet, flesh side up. Pop them into your preheated oven and let them roast for about 50-55 minutes or until they’re tender. Your kitchen will soon be filled with amazing aromas.
- While your squash is getting all tender and flavorful in the oven, let’s work on the savory filling. Heat up some oil in a sauté pan over medium-high heat. Toss in those finely chopped red onions and cook them until they soften. It won’t take long to get that beautiful aroma filling the air. Add the lean ground beef and give it a good stir. Keep it cooking until it’s golden brown and fully cooked. That usually takes about 5 to 7 minutes.
- Now, pour in that delightful marinara sauce over the ground beef. Add in the garlic powder and a dash of salt, and give it all a good mix. Let the sauce and the beef become the best of friends in the pan.
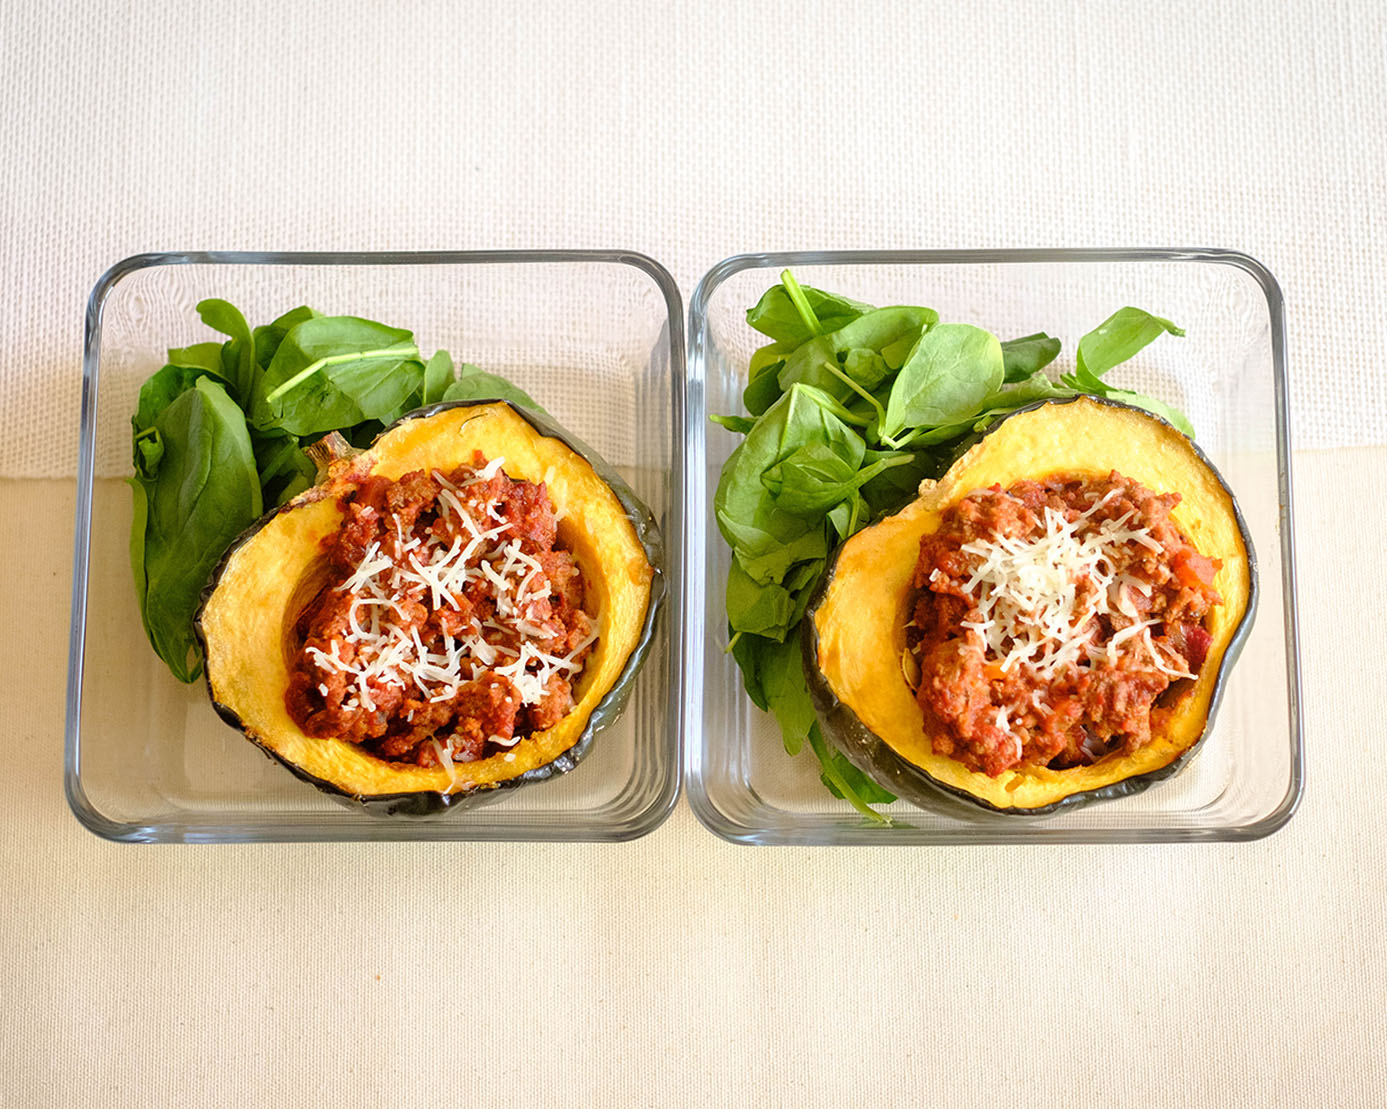
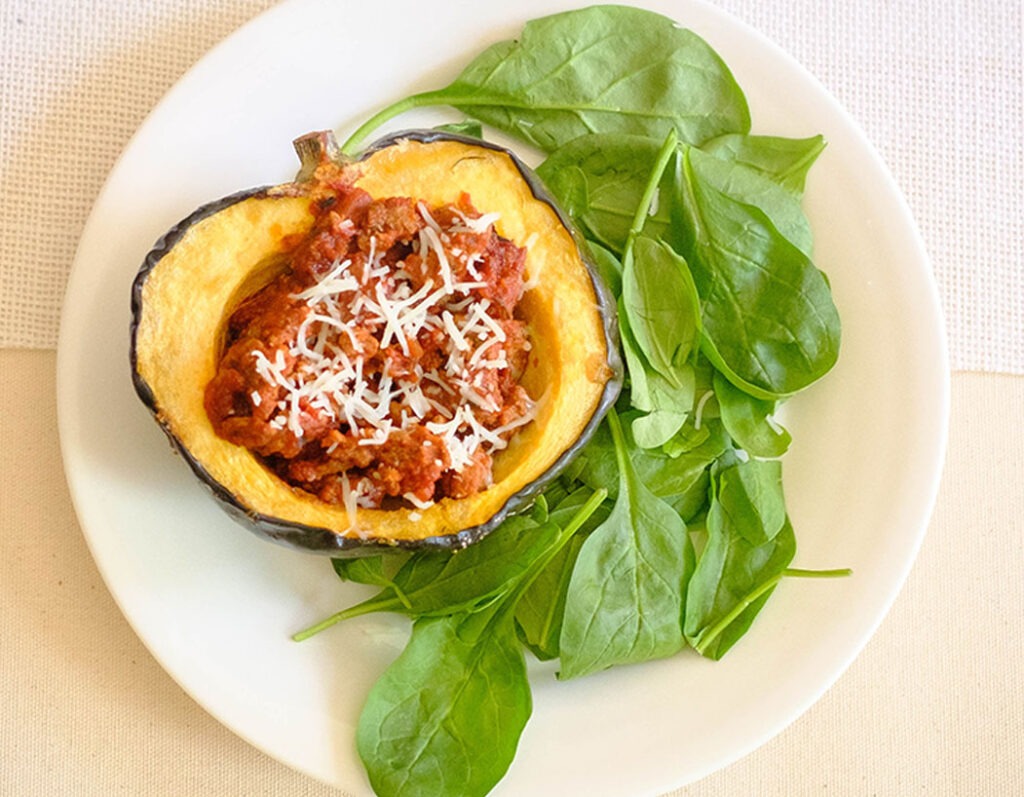
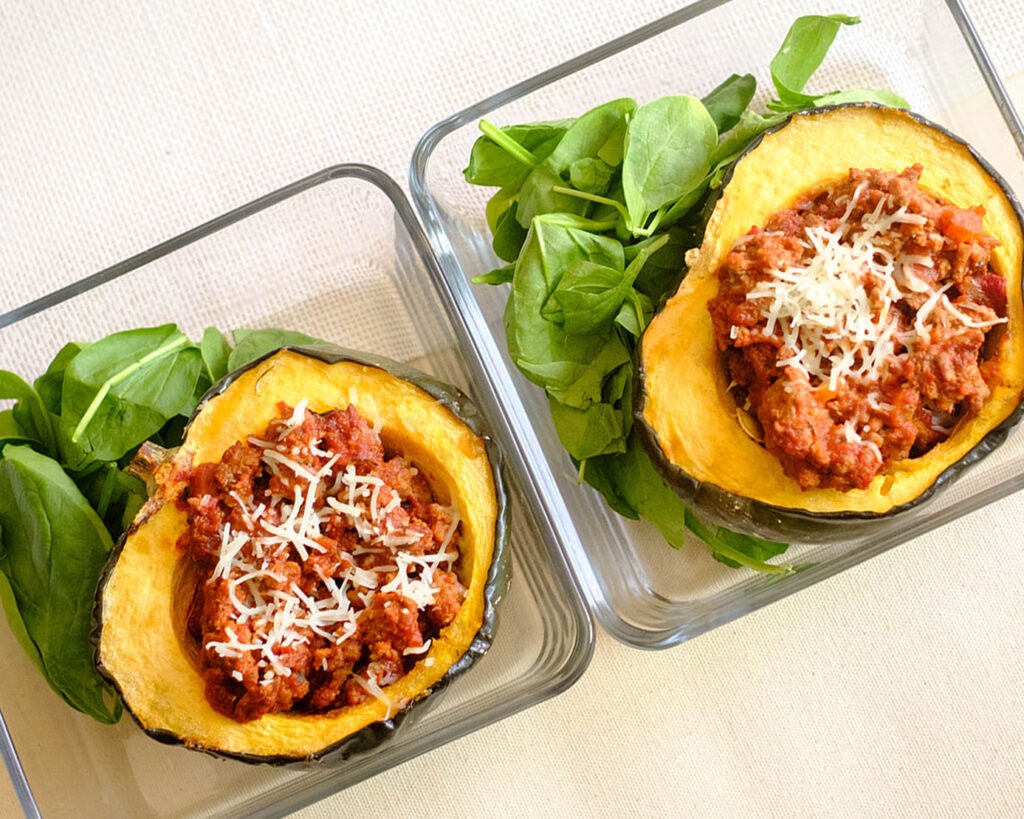
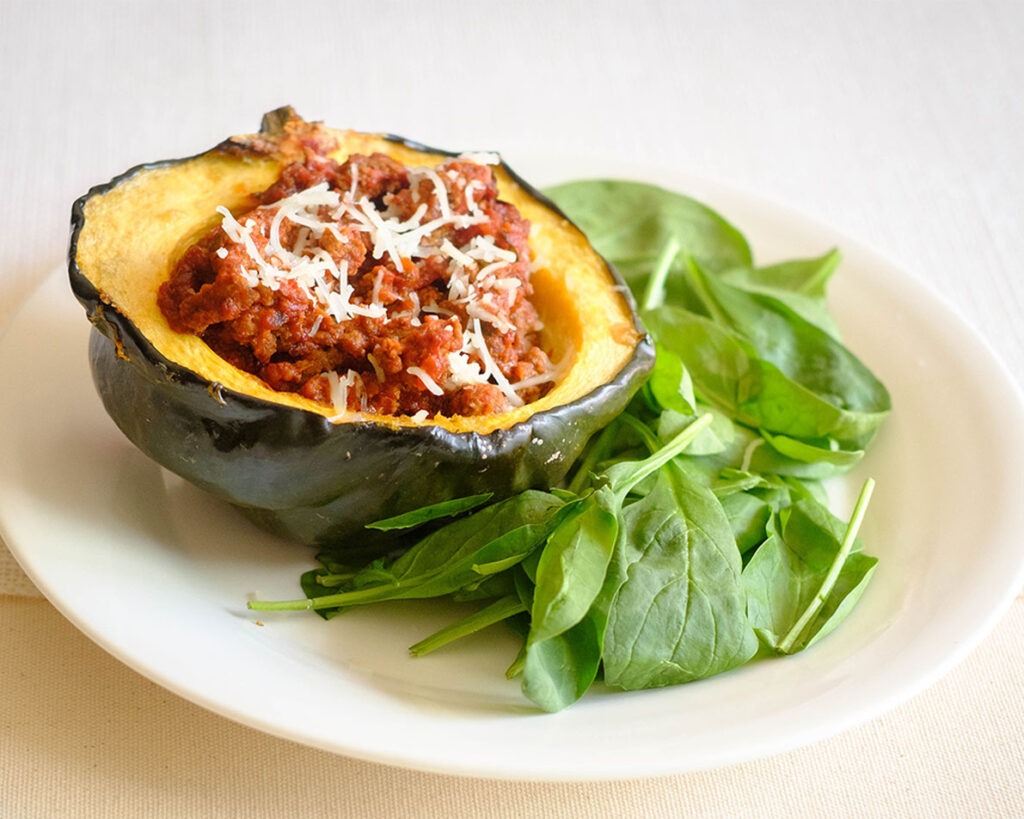
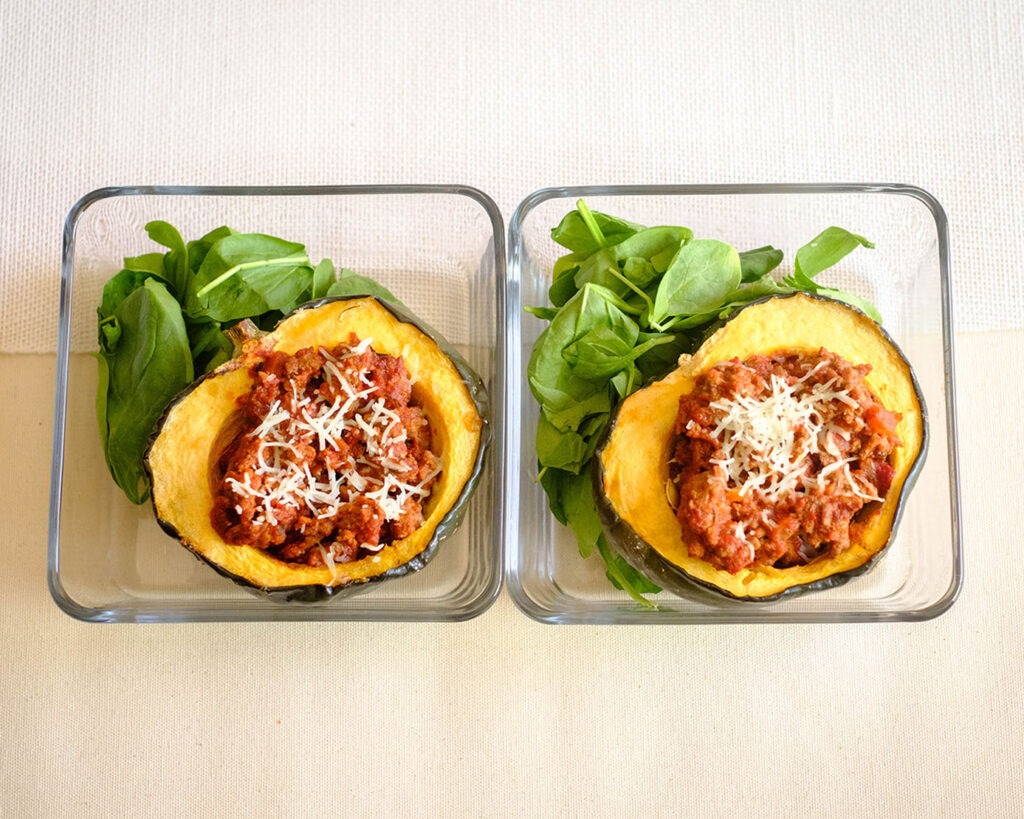
- By now, your acorn squash should be ready to take a bow from the oven. Carefully remove them. Now, evenly stuff each squash half with the meat sauce you just whipped up. Don’t be shy; pile it on! To take it up a notch, sprinkle that lovely shredded mozzarella cheese on top.
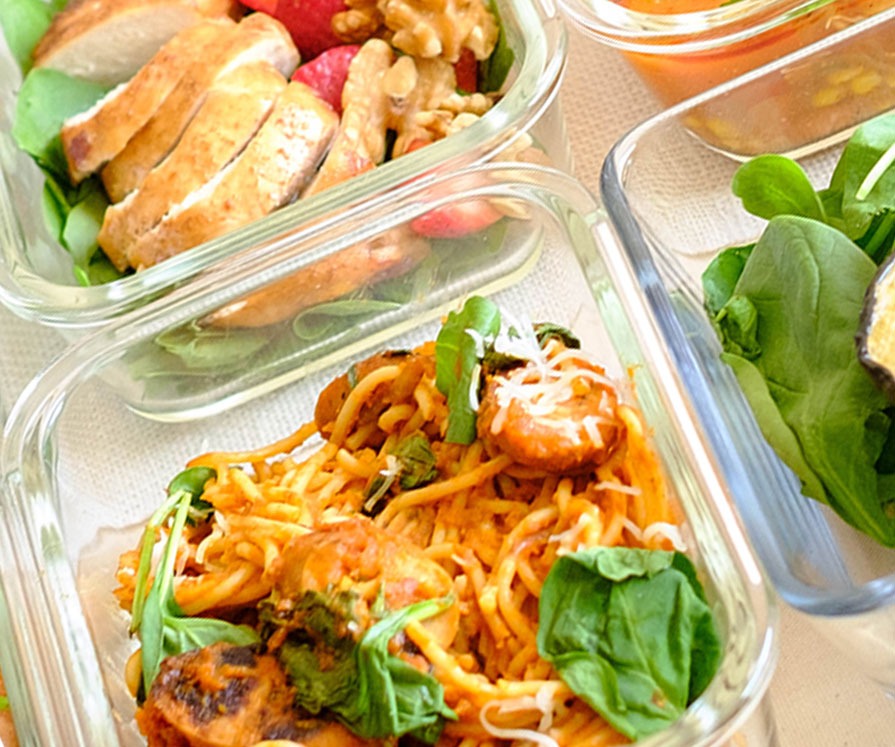
- As a final touch of healthy goodness, enjoy your stuffed acorn squash with a side spinach salad. A perfect complement to balance out your meal.
Reference the recipe card below for detailed instructions.
Meal Prep Tips:
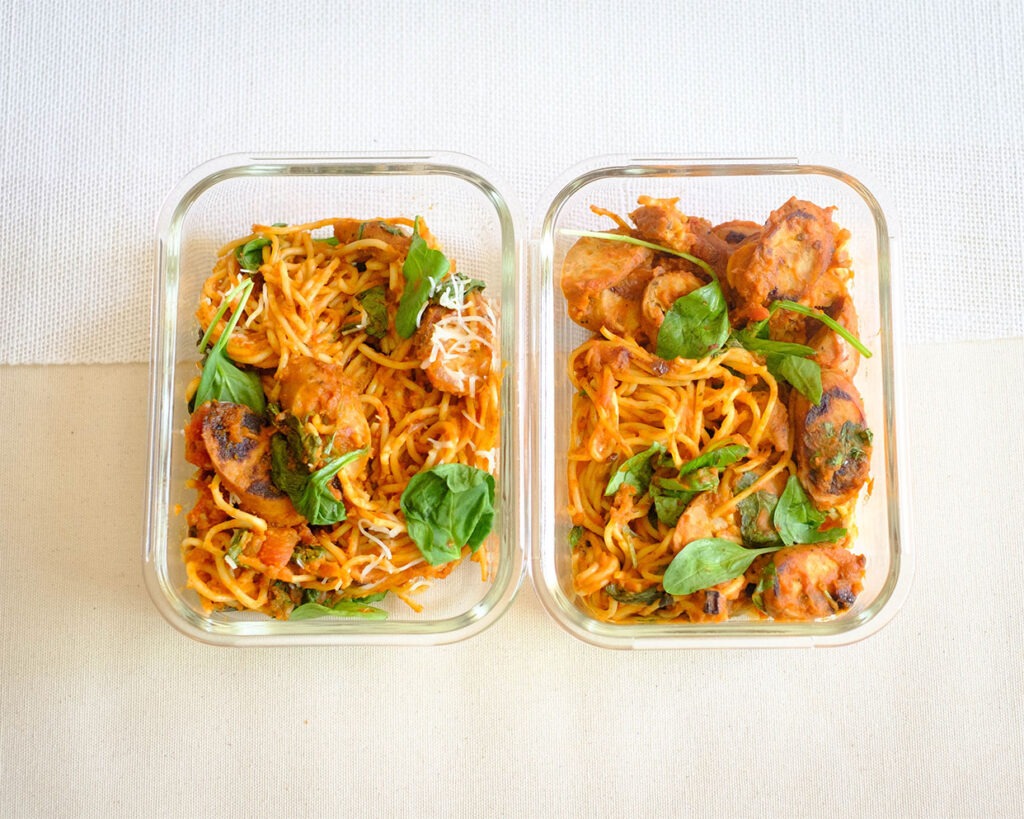
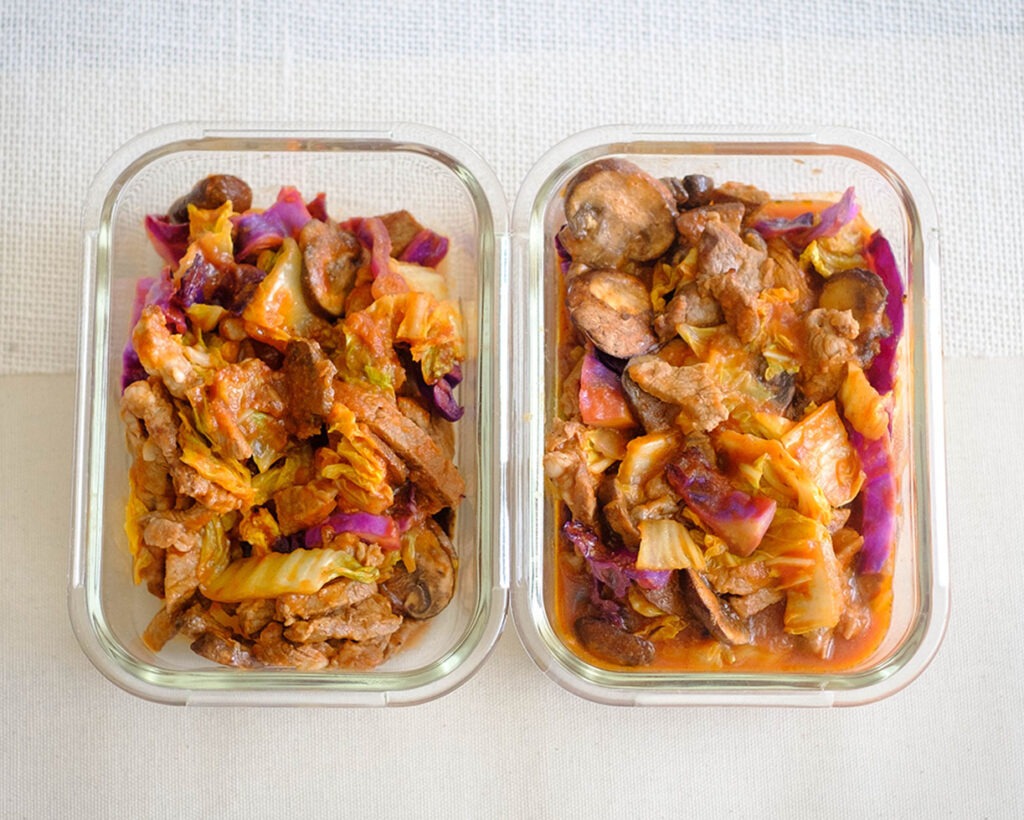
- Storage Tips: After preparing your meal, allow it to cool to room temperature. Then, store any leftovers in an airtight container in the refrigerator. It’s best to use shallow containers, as they help cool the food more quickly, reducing the risk of bacterial growth.
- Reheating Tips: Microwave: For a quick reheating, use the microwave. Place the stuffed acorn squash on a microwave-safe dish, cover it with a microwave-safe lid or a damp paper towel, and heat it in 1-minute increments until it’s thoroughly heated. Be sure to stir or rotate the squash to ensure even heating.
Leftover Ingredient Tips
- Marinara Sauce: Pasta Sauce-Use it as a sauce for pasta dishes like spaghetti, lasagna, or baked ziti. Pizza Sauce-Make homemade pizzas or flatbreads using the marinara as a base. Eggplant Parmesan-Layer it in a classic eggplant Parmesan recipe. Freeze It-Portion out the sauce and freeze it in small containers for future use.
- Extra Ground Beef: Tacos or Burritos-Turn it into taco or burrito filling with your favorite toppings. Stuffed Bell Peppers-Use the beef as a filling for stuffed bell peppers. Spaghetti Bolognese-Make a quick and hearty spaghetti Bolognese sauce. Chili-Transform it into a delicious chili with beans and spices.
- Additional Acorn Squash: Roasted Squash-Cube and roast it with olive oil, salt, and your favorite spices as a side dish. Squash Salad-Add it to your salads for extra texture and flavor. Squash Soup-Blend it into a creamy butternut squash or acorn squash soup.
- Extra Mozzarella Cheese: Caprese Salad-Make a classic Caprese salad with fresh tomatoes and basil. Grilled Cheese-Add it to your grilled cheese sandwich for a gooey, cheesy twist. Cheese Quesadillas-Create cheesy quesadillas with your favorite fillings.


Frequently Asked Questions
Can I use other types of winter squash besides acorn squash for this recipe?
Yes, you can substitute acorn squash with other winter squashes like butternut, kabocha, or delicata. The cooking times may vary slightly, so keep an eye on them while roasting.
What are some recommended variations for the side salad?
For variety, you can try different side salads such as a kale and quinoa salad, a mixed greens salad with a citrus vinaigrette, or a cucumber and red onion salad. Get creative with your salad choices!
What can I do with the scooped-out acorn squash seeds?
Leftovers can be used in various ways. Try adding them to omelets, grain bowls, or as toppings for pizza or pasta dishes.


Stuffed Acorn Squash with Beef Marinara
Equipment
Ingredients
Beef Marinara Sauce
Acorn Squash
Optional Side Salad and toppings
Instructions
Notes
Nutrition