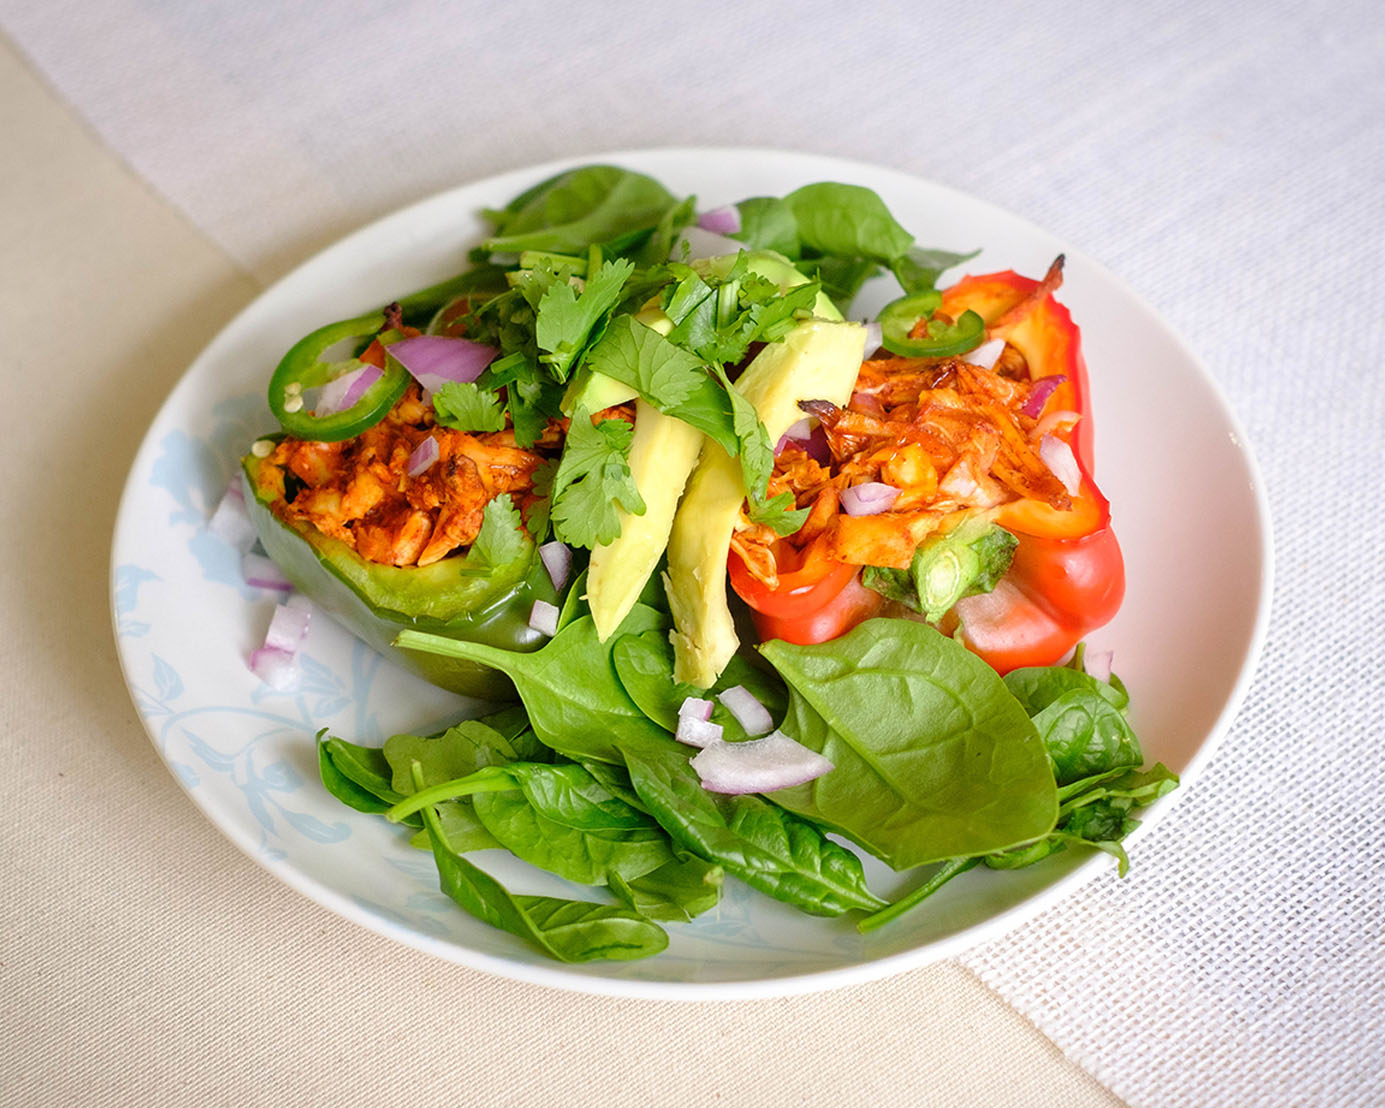
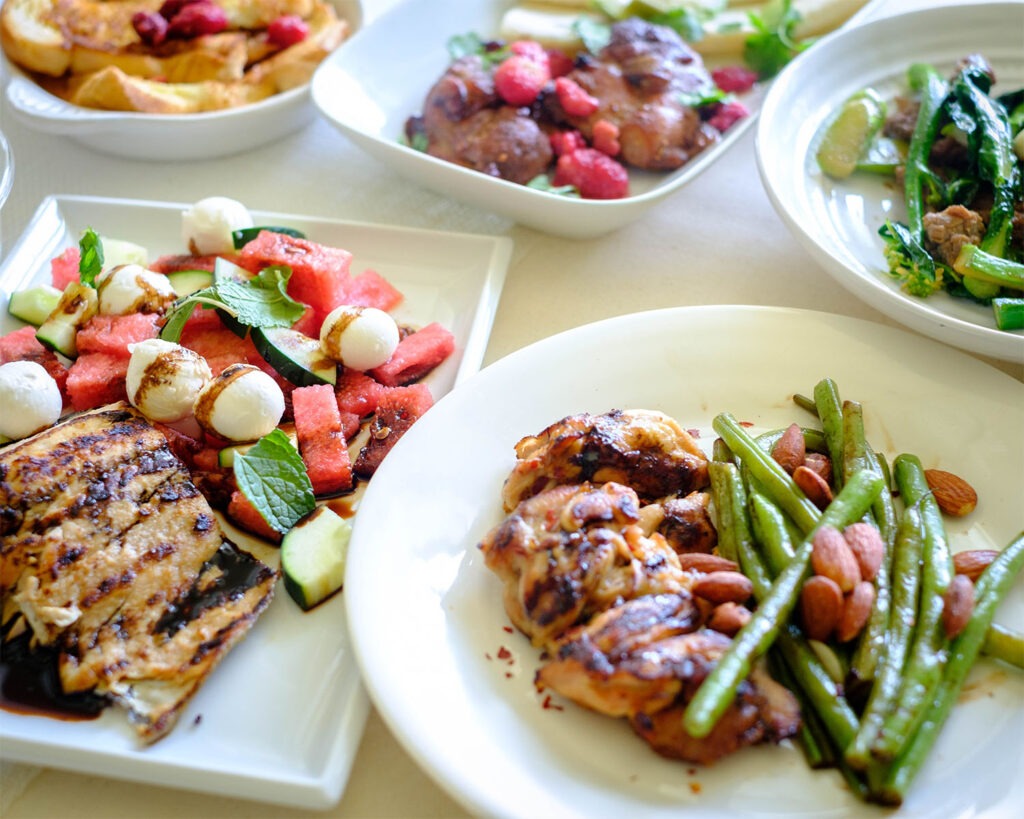
Hello meal preppers! Let’s make lunchtime something to look forward to with these incredible Chicken Enchilada Stuffed Peppers. They’re vibrant, nutritious, and bursting with Tex-Mex flair. Say goodbye to boring lunches, and embrace the joy of flavorful and convenient meal prep. Your taste buds will thank you!
This post may contain affiliate links. Please see our privacy policy for details.

I am thrilled to share with you a lip-smacking recipe that will add a burst of flavor to your lunchtime routine. Not only are these peppers a delightful explosion of mouthwatering goodness, but they also work wonders for your meal prep game. So, let’s dive right in and discover why these stuffed peppers are the ultimate lunchtime meal!
These vibrant bell pepper beauties not only bring a pop of color to your plate but also pack a punch in terms of nutritional benefits. Bell peppers are loaded with vitamins A and C, antioxidants, and dietary fiber, making them a fantastic addition to your lunch. Plus, they provide a crisp and refreshing texture that perfectly complements the savory filling.
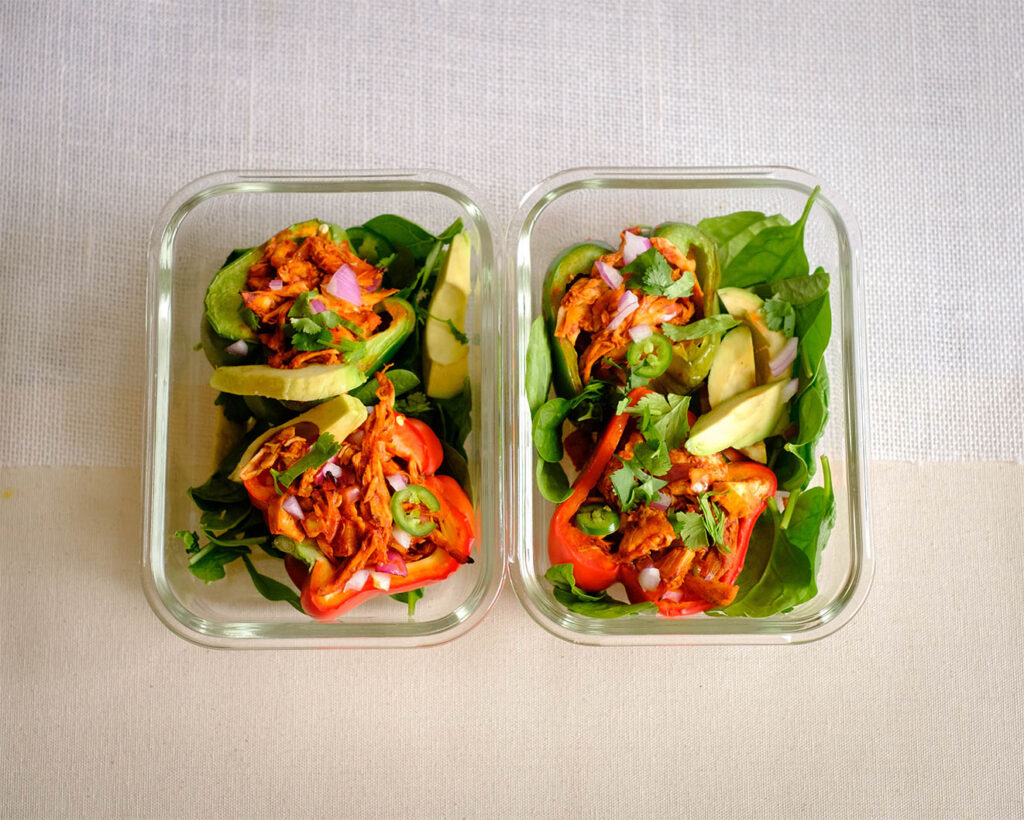
One of the many reasons why Chicken Enchilada Stuffed Peppers excel at meal prep is their single-serving nature. Each pepper acts as its own self-contained lunch, allowing for easy portion control. You can prep multiple peppers ahead of time, ensuring you have a delicious and satisfying lunch ready to go throughout the week. Say goodbye to sad desk lunches!

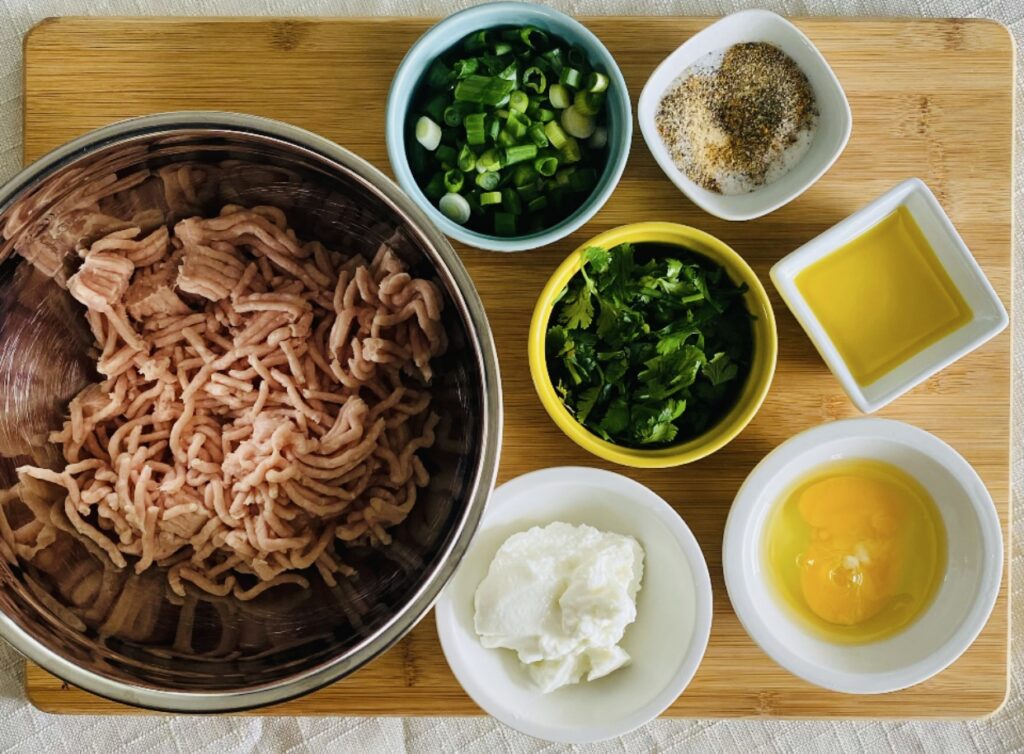
Gather the Following Ingredients
- Chicken: You can use pre-cooked chicken from the local rotisserie, or you can boil chicken breasts for about 25 minutes and shred the chicken
- Bell Peppers: Feel free to use any color of bell peppers
- Enchilada Sauce: We used pre-made enchilada sauce to save time on meal prep. You can find this in the canned goods aisle.
- Cilantro and Red Onions: These ingredients add a level of freshness to the recipe.

How to Make Enchilada Stuffed Peppers
What makes this recipe a meal prep champion is its ease of preparation. The filling comes together in a snap, using simple and readily available ingredients. Once your peppers are stuffed, pop them in the oven, and let the magic happen. You’ll have a lunch that is not only delicious but also packed with protein and veggies—perfect for keeping you fueled and satisfied throughout the day.
- Preheat the oven to 400F. Slice the bell peppers in half and remove the inside core.
- Next, combine the chicken, red onions, cilantro, and enchilada sauce.
- Use a spoon to scoop the chicken mixture into the peppers.
- Place the peppers on a baking dish and bake in the oven for 20-25 minutes until the peppers are cooked to your desired tenderness.
Reference the recipe card below for detailed instructions.
Meal Prep Tips for Stuffed Peppers
- Storage is a breeze when it comes to these stuffed peppers. Once cooked, allow them to cool completely before storing them in airtight containers in the refrigerator. They’ll stay fresh and flavorful for up to four days. When it’s time to enjoy your lunch, simply heat them in the microwave or oven until warmed through. Talk about a hassle-free lunchtime solution!
- Now, let’s discuss serving options. These Chicken Enchilada Stuffed Peppers are delightful on their own, but you can take them to the next level by adding a dollop of sour cream, a sprinkle of fresh cilantro, or a squeeze of lime juice. Serve them with your favorite side of salsa. These little touches elevate the flavors and bring a burst of freshness to every bite. Feel free to get creative and make it your own!
- You can also freeze the stuffed peppers for future meals. Once cooked and cooled, place them in freezer-safe containers or wrap them tightly in aluminum foil. Thaw in the refrigerator overnight before reheating in the oven or microwave.


Frequently Asked Questions
Can I use a different type of protein instead of chicken?
Absolutely! While the recipe calls for chicken, you can easily swap it out with other proteins such as ground beef, turkey, or even plant-based options like black beans or tofu. Customize the recipe to your liking and dietary preferences
Can I make the filling ahead of time?
You can prepare the filling for the Chicken Enchilada Stuffed Peppers ahead of time and store it in the refrigerator for a day or two. When you’re ready to assemble the peppers, simply stuff them and bake them according to the recipe instructions.
Can I use different types of peppers?
While the recipe typically calls for bell peppers, you can experiment with different pepper varieties to add a unique twist to your stuffed peppers. Try using poblano peppers for a smoky flavor or banana peppers for a touch of sweetness. The choice is yours!


Chicken Enchilada Stuffed Peppers
Equipment
Ingredients
Instructions