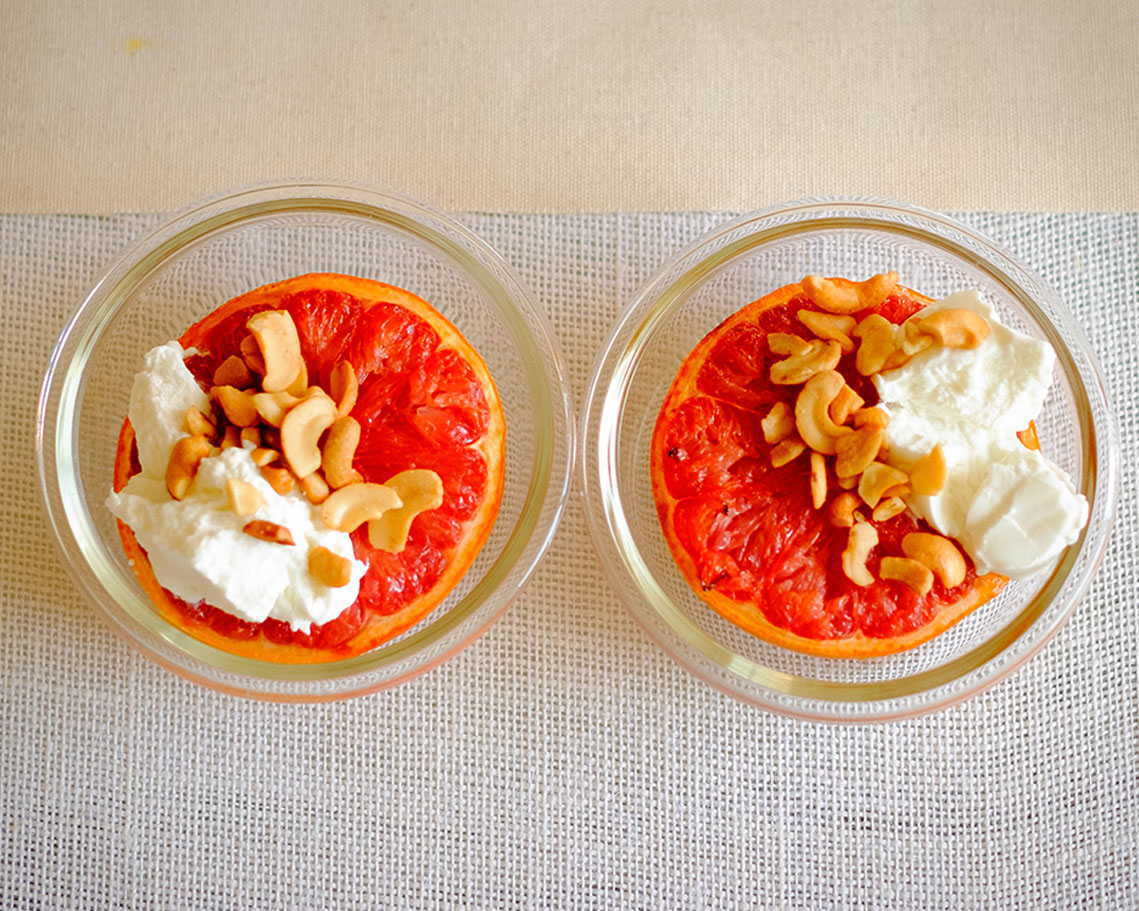
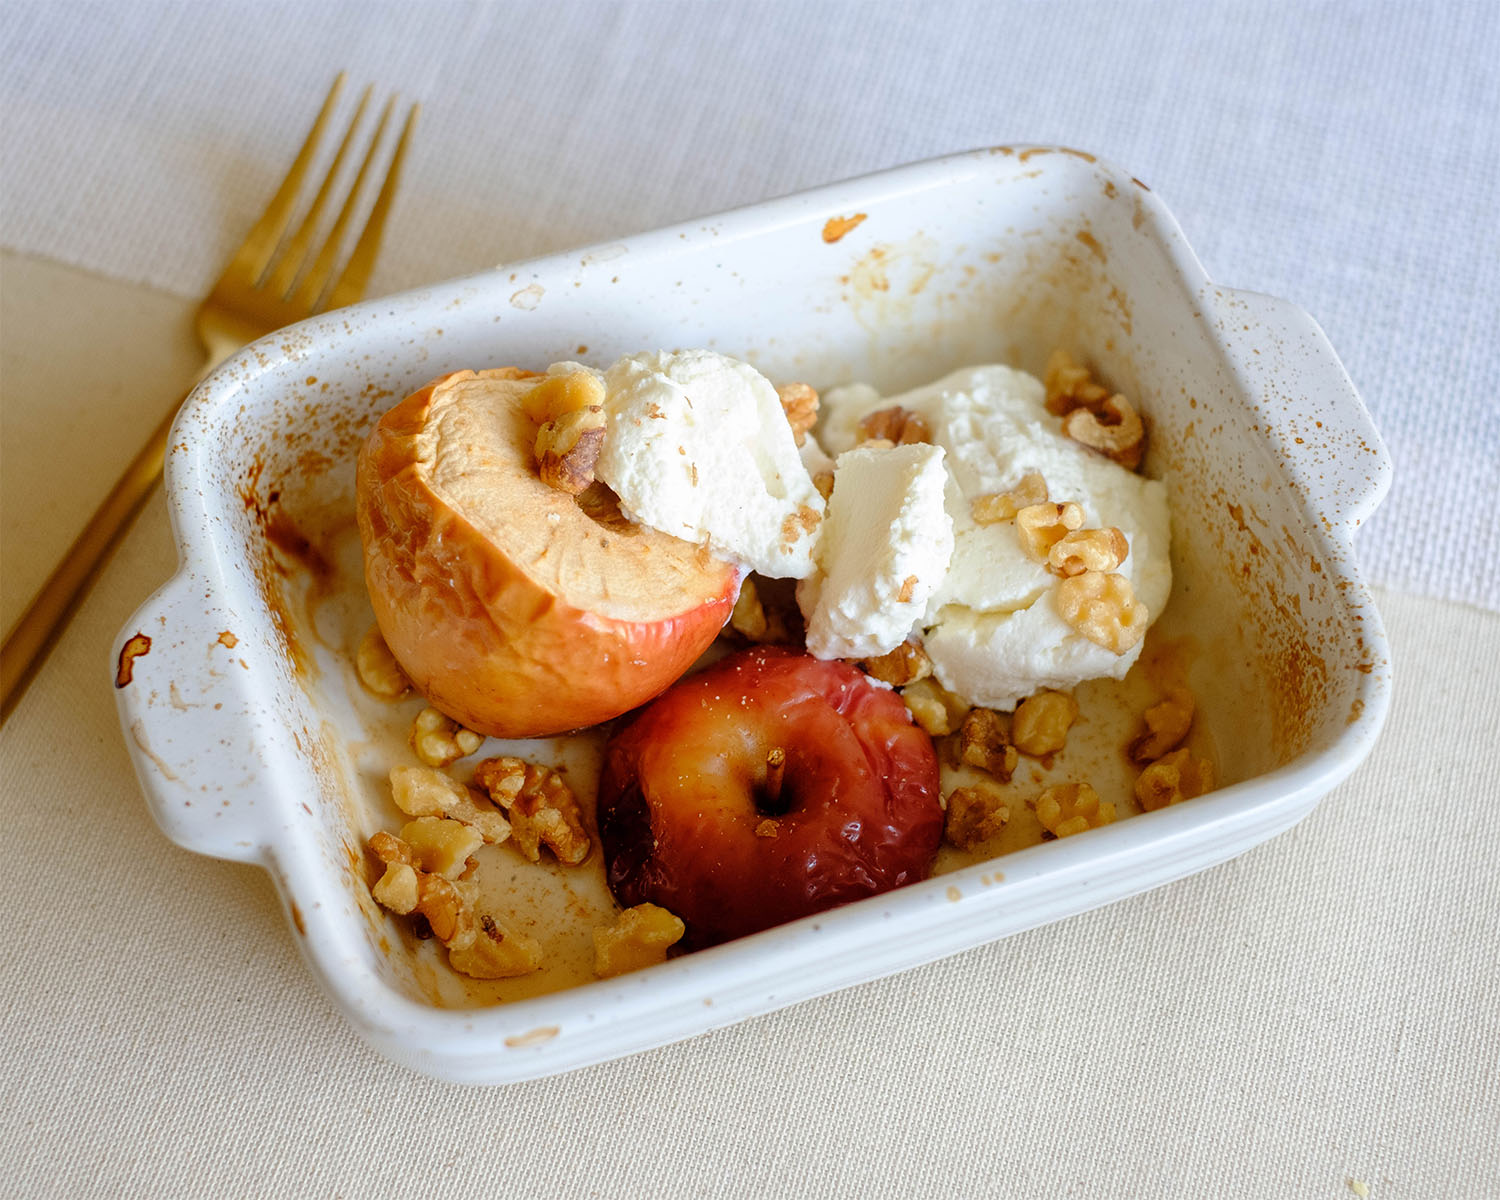
Air Fryer Honey Grapefruit! This delightful creation combines the sweet and zesty goodness of grapefruit with the rich touch of honey, crunchy cashews, and your favorite yogurt. Let’s dive right into this citrusy adventure for an air fryer breakfast!
This post may contain affiliate links. Please see our privacy policy for details.
This Air Fryer Honey Grapefruit breakfast isn’t just a tasty and convenient option for busy mornings – it’s a deliberate choice for health and well-being. From its quick preparation to its nutrient-rich profile and adaptability, it’s a meal that aligns with the needs of individuals navigating a hectic lifestyle while aiming for a healthy reset. Here’s the reason we love this meal prep idea:
- Efficiency and Speed: In the fast-paced world we live in, efficiency is key. The Air Fryer makes this breakfast a breeze to prepare – in just 8 minutes, you have a delicious, health-packed meal ready to go. This means less time in the kitchen and more time for other morning routines or a few extra minutes of sleep.
- Nutrient-Packed Goodness: Grapefruit is a nutrient powerhouse, loaded with vitamin C and antioxidants. Combining it with honey, cashews, and yogurt adds a variety of essential nutrients – from healthy fats and proteins to gut-friendly probiotics. This meal isn’t just tasty; it’s a nutrient-packed, energy-boosting start to your day.
- Balanced and Satisfying: This breakfast hits all the right notes – the natural sugars in honey and grapefruit provide a quick energy boost, while the yogurt and cashews add proteins and healthy fats that keep you feeling satisfied throughout the morning. It’s a balanced combination that curbs mid-morning cravings and sets you up for success.
- Versatility in Flavors and Textures: The beauty of this recipe lies in its adaptability. You can customize the yogurt choice to your preference, experiment with different types of honey, or even try various nuts for added crunch. This versatility ensures that you won’t get bored and allows you to cater the flavors to your liking, keeping your taste buds excited.
- Gentle Reset for Healthy Choices: After a weekend of indulgence or during busy weeks where meal choices may sway off track, this Air Fryer Honey Grapefruit serves as a gentle reset button. It’s a deliciously wholesome option that feels like a treat, making it easier to transition back to healthier eating habits. The natural sugars in the grapefruit and honey satisfy sweet cravings without derailing your health goals.

Ingredients You’ll Need For This Nutritious Air Fryer Breakfast
- Grapefruit: Our main squeeze, the grapefruit, is not only a burst of vibrant citrusy flavor but also packs a punch of nutritional goodness. Loaded with vitamin C, antioxidants, and a refreshing tanginess, the grapefruit sets the tone for a wholesome and invigorating dish. Grocery Tip: Look for grapefruits that are firm, heavy for their size, and have a bright, smooth skin for the juiciest results.
- Honey: Ah, liquid gold! The honey in this recipe is not just a sweetener; it’s a caramelized drizzle of goodness that enhances the natural sweetness of the grapefruit. Beyond its delightful taste, honey also brings its antibacterial and anti-inflammatory properties to the table, making this recipe a treat for your taste buds and your well-being. Grocery Tip: Opt for locally sourced honey for a touch of regional flair and to support local beekeepers.
- Cashews: Now, let’s talk about the crunchy element – cashews! These buttery nuts add a layer of texture to the dish, elevating each bite to a whole new level. Cashews bring a subtle nuttiness and a satisfying crunch that complements the juicy tenderness of the grapefruit. Plus, they’re a fantastic source of healthy fats and essential minerals. Prep Tip: Toast the cashews briefly in a dry pan for an extra depth of flavor before adding them to the grapefruit.
- Yogurt: Yogurt, the creamy canvas that ties everything together! Whether you choose Greek yogurt for its thickness, coconut yogurt for a tropical twist, or almond yogurt for a nutty undertone, the yogurt adds a velvety richness to the dish. It also introduces a layer of probiotics, promoting gut health and making this recipe a deliciously nutritious treat. Grocery Tip: Experiment with different yogurt varieties to find your perfect flavor combination.
Easy Recipe Steps to Air Fry Grapefruit
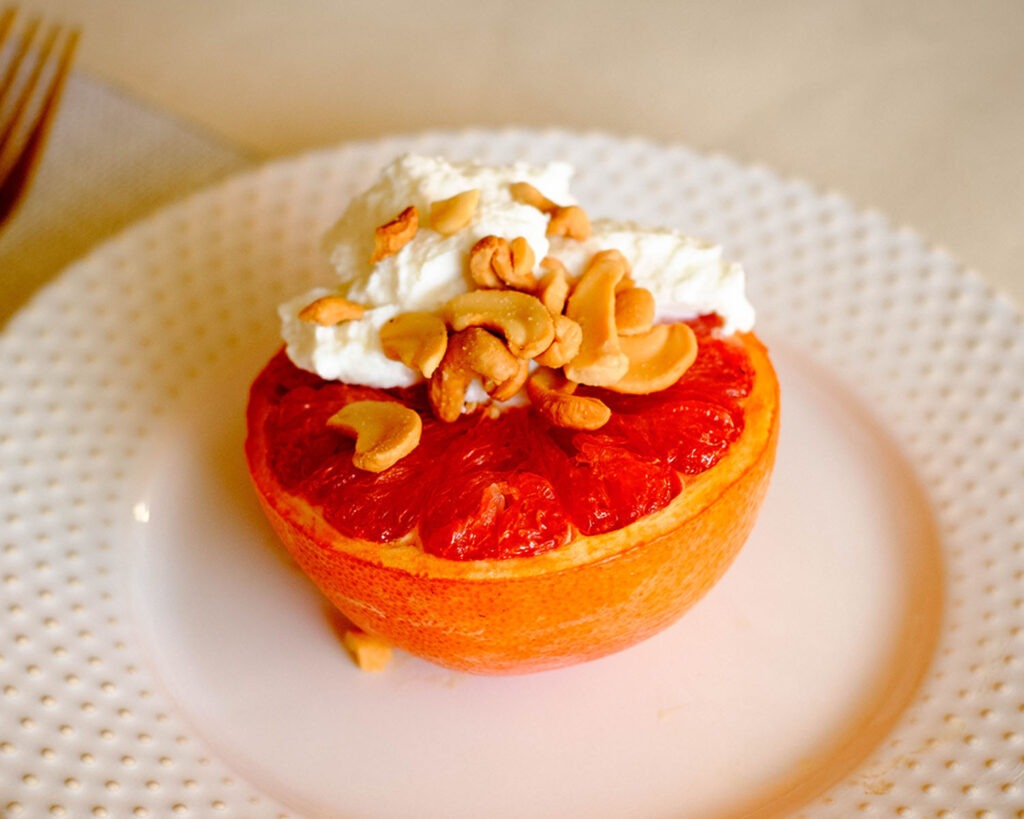
- Start by grabbing a juicy grapefruit – the star of our show! Slice it in half, revealing those vibrant citrusy segments. Now, get ready to elevate the flavor with a drizzle of liquid gold – honey! Pour honey on top of the grapefruit flesh, and with a spoon, spread it evenly to ensure every bite is coated in sweetness.
- Time to place the grapefruit in the Air Fryer! Place the honey-drizzled grapefruit halves in the basket, and set the temperature to 400°F. Let the magic happen for 8 minutes – the aroma that fills your kitchen will have you counting down the seconds!
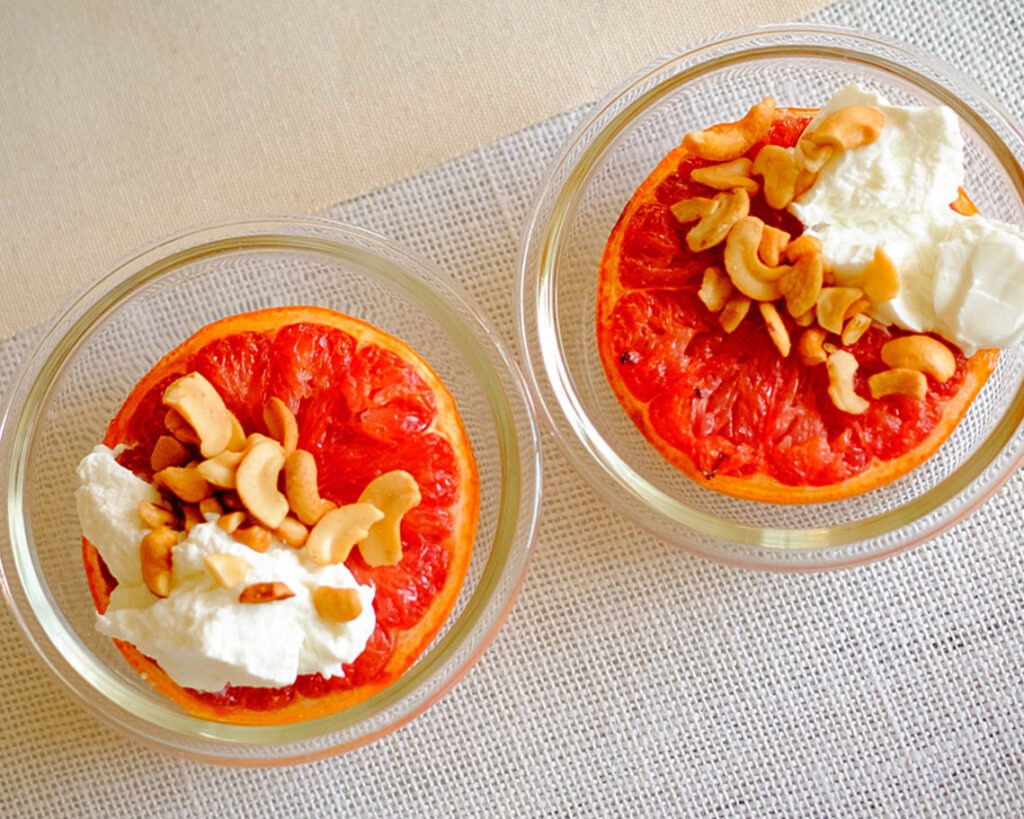
- As your grapefruit basks in the Air Fryer glory, it’s time to prepare the crunchy surprise. Take 1/4 cup of cashews and give them a rough chop for that extra texture. After the 8-minute mark, sprinkle these golden nuggets over the grapefruit, adding a delightful crunch that will have your taste buds doing a happy dance.
- Last but certainly not least, let’s crown our Air Fryer Honey Grapefruit masterpiece with a generous dollop of yogurt! Whether you prefer Greek, coconut, or almond yogurt, the choice is yours. Spoon it over the honey-drizzled, cashew-covered grapefruit halves, turning each bite into a symphony of flavors.
Reference the recipe card below for detailed instructions.

Meal Prep Tips:
- Set Up a Breakfast Station: Designate a specific area in your refrigerator for all the prepped components – honey-drizzled grapefruit halves, portioned yogurt, and a container of chopped cashews. Having a designated breakfast station makes it easy to grab everything you need quickly.
- Use Air Fryer Liners for Easy Cleanup: Consider using air fryer parchment paper or liners for easy cleanup after cooking the grapefruit. This eliminates the need for scrubbing the air fryer basket, saving you time in the morning rush.
- Experiment with Flavors: While meal prepping, consider experimenting with different honey varieties, yogurt flavors, or even trying different types of nuts. This way, you can switch things up throughout the week, keeping your breakfasts exciting and flavorful.


Frequently Asked Questions
Can I Use Any Type of Grapefruit?
Yes, feel free to use your favorite variety of grapefruit! Whether it’s ruby red, pink, or white grapefruit, the recipe works well with all types.
Can I Use a Different Sweetener Instead of Honey?
Certainly! While honey adds a unique flavor, you can experiment with other natural sweeteners like maple syrup or agave nectar to suit your taste preferences.
Do I Need to Peel the Grapefruit Before Air Frying?
No need to peel! The grapefruit halves are air fried with the skin intact. Once cooked, the juicy segments can be easily scooped out with a spoon.


Air Fryer Honey Grapefruit
Equipment
Ingredients
Instructions
Notes
Nutrition