
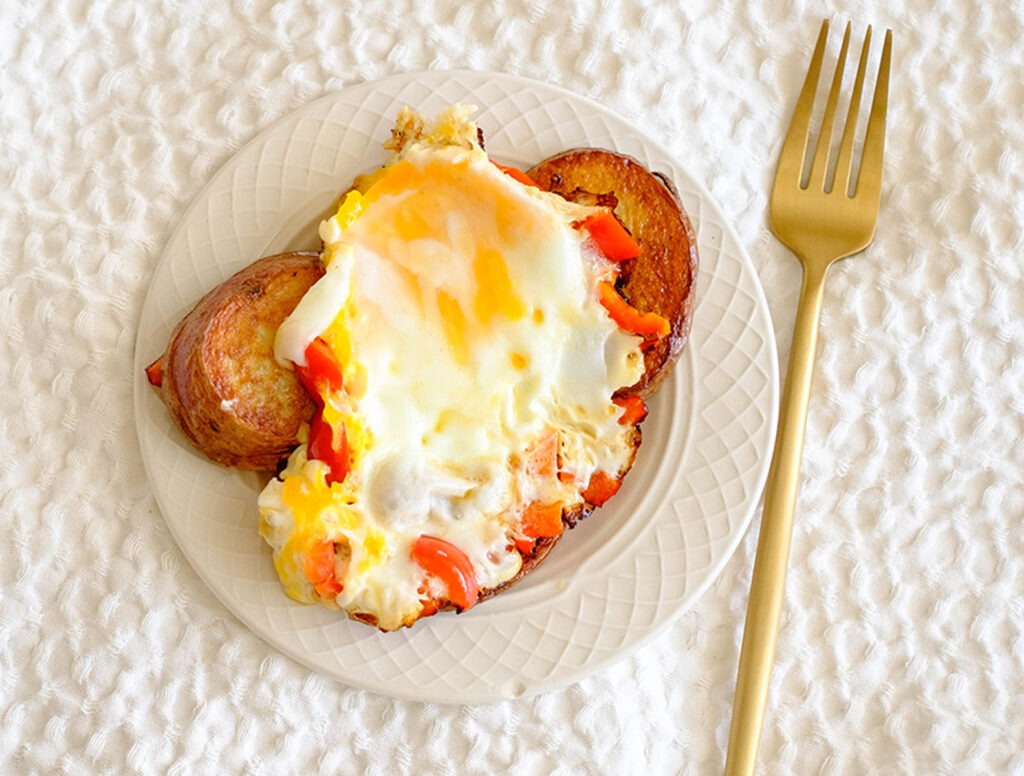
Start your mornings right with our budget-friendly breakfast recipe featuring pan-fried potatoes, bell peppers, and eggs. This delightful dish offers a perfect balance of flavors and textures, combining crispy potatoes with tender, sautéed bell peppers and perfectly cooked eggs. Whether you’re meal prepping for the week ahead or treating yourself to a leisurely brunch, this recipe is sure to satisfy your cravings
This post may contain affiliate links. Please see our privacy policy for details.

Why this recipe is budget-friendly and convenient:
- Minimal Ingredients: With just a handful of simple, affordable ingredients like eggs, potatoes, and bell peppers, this recipe won’t put a dent in your wallet. You likely already have most of these items in your kitchen, making it a cost-effective choice.
- Versatility: This recipe is incredibly versatile, meaning you can easily customize it based on what you have on hand or what’s on sale at the grocery store. Swap out the bell peppers for any other veggies you love, or add in some extra protein like diced ham or crumbled sausage for a hearty twist.
- Prep Ahead Potential: One of the biggest perks of this recipe is its meal prep potential. You can easily slice up your potatoes and dice your bell peppers ahead of time, then store them in the fridge until you’re ready to cook. This means you can have a delicious breakfast ready to go in minutes, even on the busiest of mornings.
Simple Ingredients You’ll Need
- Eggs: Eggs are a staple ingredient in many breakfast dishes for good reason. They’re not only affordable but also packed with high-quality protein, vitamins, and minerals. In this recipe, eggs serve as the star of the show, adding richness and creaminess to the dish while also providing essential nutrients to keep you feeling satisfied and energized throughout the morning.
- Potatoes: Potatoes are a budget-friendly pantry staple that adds heartiness and substance to any meal. They’re rich in vitamins, minerals, and fiber, making them a nutritious choice for breakfast. Slicing and pan-frying the potatoes in this recipe gives them a crispy exterior and a fluffy interior, creating the perfect base for the eggs and bell peppers.
Feel free to swap the red baby potatoes for any other variety of potatoes you have on hand, such as Yukon Gold or russet potatoes. - Bell Peppers: Bell peppers are not only vibrant and colorful but also incredibly nutritious. They’re loaded with vitamin C, antioxidants, and fiber, making them a fantastic addition to any meal. Dicing them up and sautéing them alongside the potatoes adds a sweet and tangy flavor that complements the richness of the eggs perfectly. Don’t have bell peppers? No problem! You can easily swap them out for any other veggies you have in your fridge, such as onions, mushrooms, spinach, or zucchini.
- Salt: While salt may seem like a small ingredient, it plays a crucial role in enhancing the flavors of the dish. Just a pinch of salt helps to balance out the sweetness of the bell peppers and brings out the natural flavors of the other ingredients. You can experiment with different seasonings and spices to add flavor to your dish, such as garlic powder, paprika, chili flakes, or dried herbs like thyme or rosemary.
- Olive Oil: Olive oil serves as the cooking fat in this recipe, adding richness and depth of flavor to the dish. It also helps to prevent sticking and ensures that the potatoes and bell peppers get nice and crispy during the pan-frying process.
Feel free to use any other cooking oil you have on hand, such as vegetable oil, coconut oil, or avocado oil.

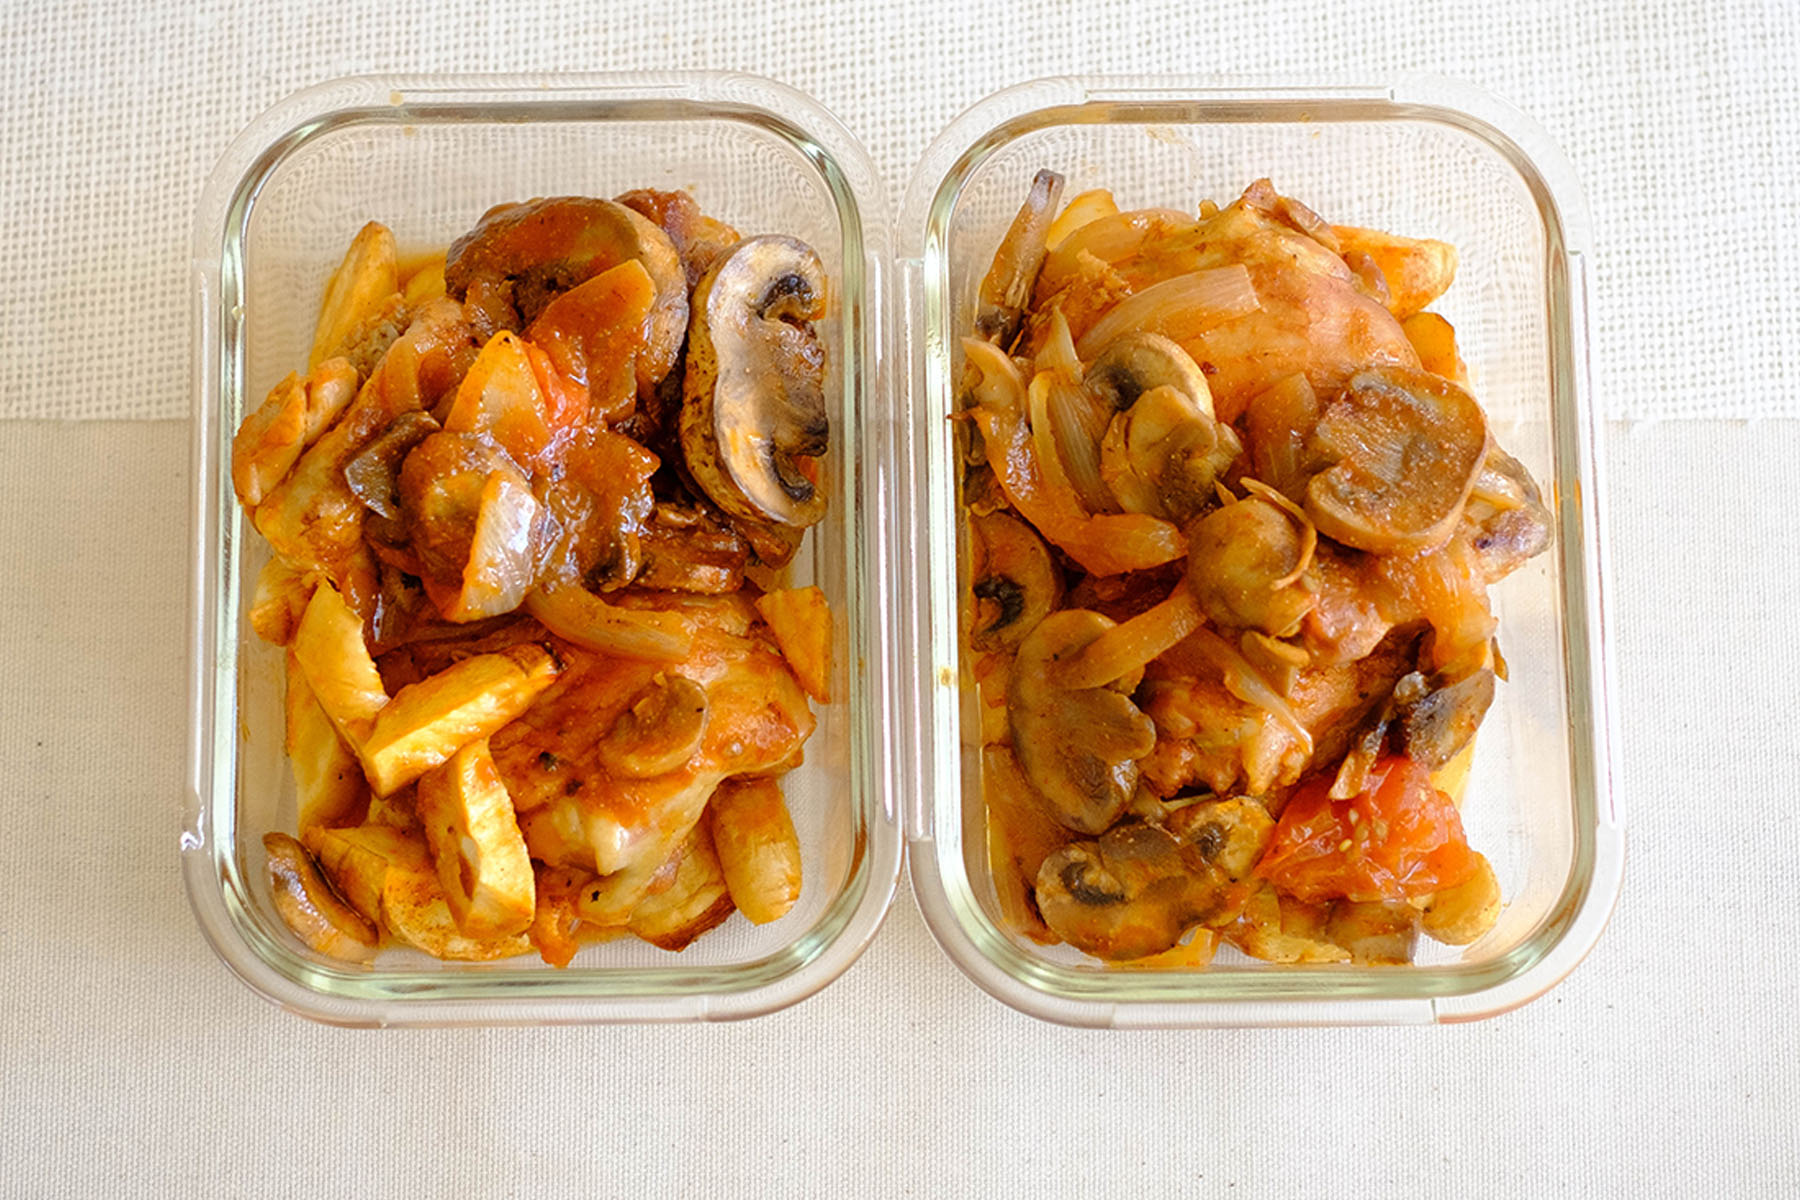
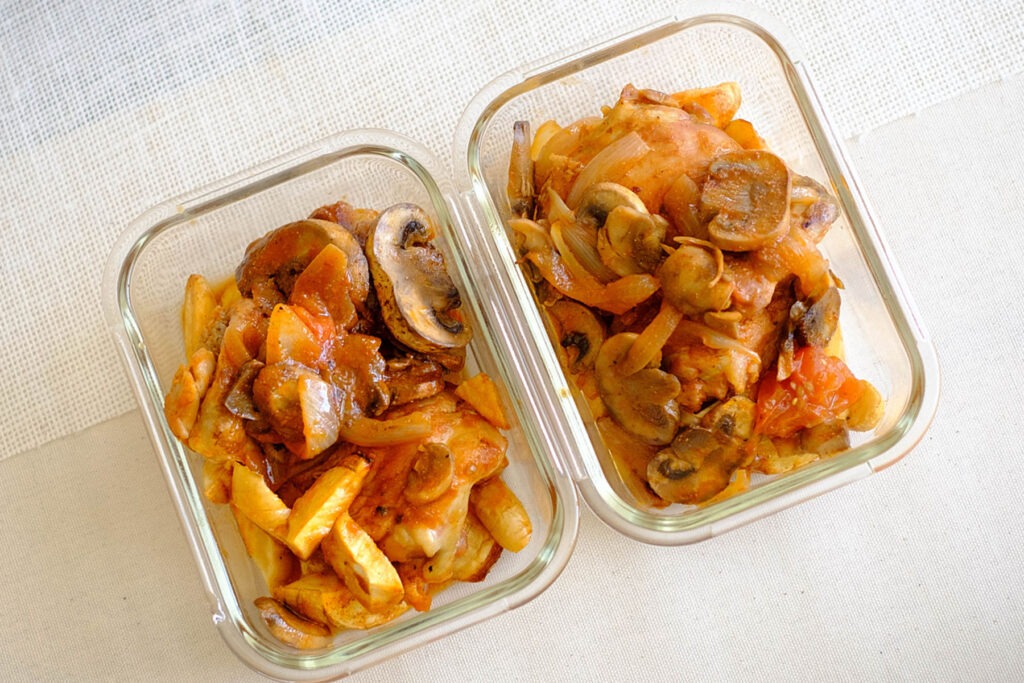
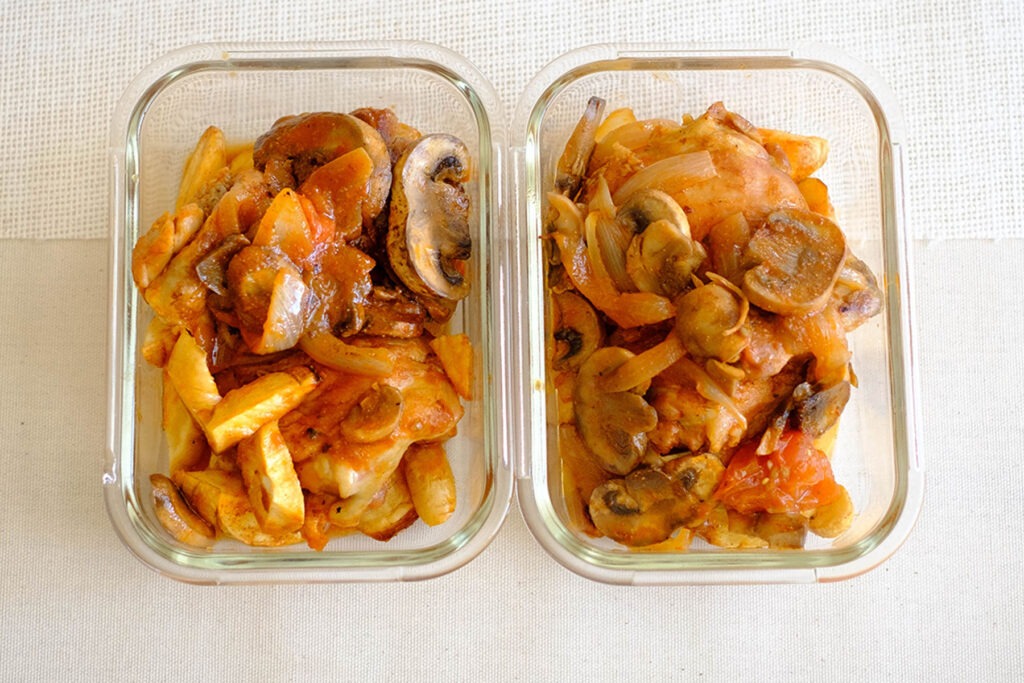
How to Meal Prep Pan-Fried Potatoes and Eggs
- Start by slicing your potatoes into 1/4 inch thick slices and dicing up those vibrant red bell peppers into small, irresistible pieces. This prep step will ensure everything cooks evenly and tastes downright amazing.
- Heat up a sauté pan over medium-high heat and add a teaspoon of olive oil to get things going. Once that pan is nice and hot, it’s time to add in those potato slices. Let them sizzle away for about 2 to 3 minutes on each side until they’re golden brown and tender. Trust me, your kitchen will be filled with the most mouthwatering aroma!
- Once your potatoes are perfection, set them aside and toss those diced bell peppers into the pan. Let them dance around for a few minutes until they start to soften up and release their delicious flavors.
- Now it’s time to crack those eggs right into the pan. Lower the heat to medium and let those beauties cook for about 2 minutes until the whites start to set. Then, with a flick of the wrist, give them a gentle flip. Cook ’em up until the yolks are just how you like them – whether it’s sunny side up or perfectly over easy.
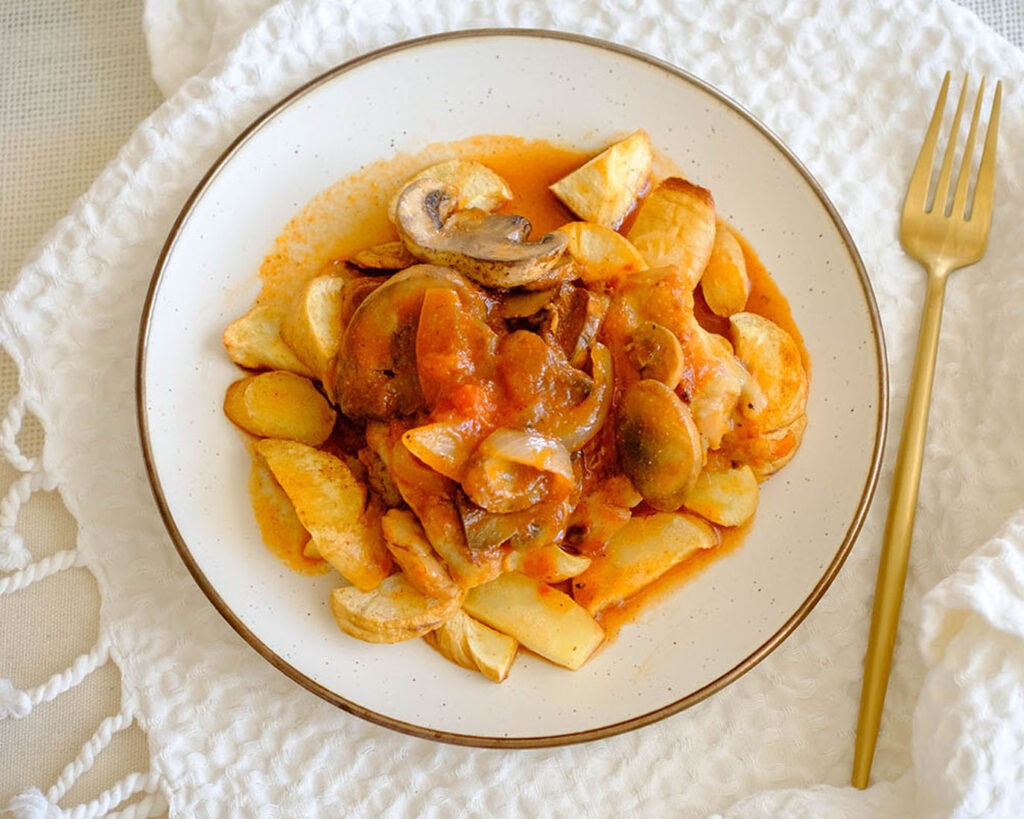
- Once your eggs are cooked to perfection, it’s time for the grand finale! Place those golden potato slices on a plate, top them off with your glorious eggs, and sprinkle on those sautéed bell peppers for an extra burst of color and flavor. A pinch of salt adds that final touch of perfection.
Reference the recipe card below for detailed instructions.

Meal Prep and Pairing Tips:
- Fresh Fruit: Balance the savory flavors of the potatoes, eggs, and bell peppers with the natural sweetness of fresh fruit. Sliced oranges, berries, or melon make refreshing and nutritious accompaniments that add a burst of color to your plate.
- Whole Grain Toast: Serve your Pan-Fried Potatoes with Eggs and Bell Peppers alongside some whole grain toast for a satisfying and filling meal. The toast provides additional fiber and complex carbohydrates, helping to keep you energized throughout the morning.
- Avocado: Creamy sliced avocado pairs beautifully with the crispy potatoes and runny eggs. Its rich texture and mild flavor add a luxurious touch to the dish while providing healthy fats and additional nutrients.
- Salsa or Hot Sauce: Add a kick of flavor and heat to your breakfast by serving it with salsa or your favorite hot sauce. The acidity and spiciness of the condiment complement the earthy flavors of the potatoes and peppers, creating a delicious contrast.
- Greek Yogurt: For an extra boost of protein and creaminess, serve your breakfast alongside a dollop of Greek yogurt. Its tangy flavor and smooth texture contrast nicely with the crispy potatoes and add a refreshing element to the meal.
- Coffee or Tea: Start your day off right with a cup of freshly brewed coffee or tea. The warm, comforting beverage pairs perfectly with the hearty flavors of the breakfast dish, creating a cozy and satisfying meal experience.
- Green Salad: Add some freshness and crunch to your breakfast by serving it with a simple green salad. A mix of leafy greens, cucumber, and tomato tossed in a light vinaigrette provides a refreshing contrast to the warm and savory components of the dish.


Frequently Asked Questions
Can I use different vegetables in this recipe?
Absolutely! Feel free to customize this recipe with your favorite vegetables or whatever you have on hand. Onions, spinach, mushrooms, zucchini, or even broccoli would all be delicious additions or substitutions.
Can I add cheese to this dish?
Definitely! Cheese would be a delicious addition to this recipe. Simply sprinkle some shredded cheese over the cooked potatoes and bell peppers before adding the eggs to the skillet. Cheddar, feta, or goat cheese would all be fantastic options.
Can I add protein to this dish, such as bacon or sausage?
Absolutely! Adding protein like bacon or sausage can make this dish even more filling and satisfying. Simply cook the protein of your choice separately, then add it to the skillet along with the potatoes and bell peppers to heat through before adding the eggs.


Breakfast Pan-Fried Potatoes and Eggs
Equipment
Ingredients
Instructions
Notes
Nutrition