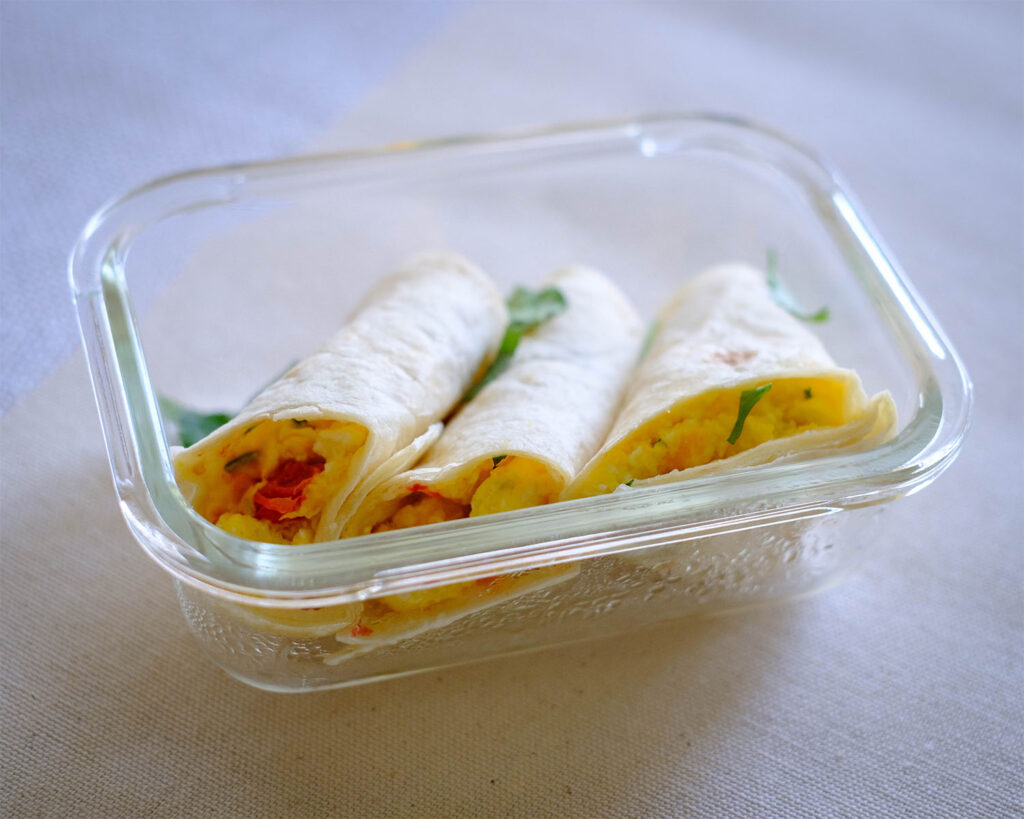
Start your mornings with a burst of flavor and energy with our Breakfast Deli Egg Roll-Ups! Packed with protein and low in carbs, these roll-ups are the perfect solution for busy individuals who crave restaurant-quality food without breaking the budget. With just a handful of ingredients and minimal prep time, you can whip up a batch of these delicious delights in no time flat. The combination of savory turkey deli meat, fluffy eggs, and vibrant bell peppers creates a mouthwatering flavor explosion that will leave you craving more. Plus, they’re completely customizable, so you can mix and match fillings to suit your taste preferences. Whether you’re rushing out the door or sitting down to a leisurely breakfast, these roll-ups are sure to satisfy your hunger and fuel your day. So go ahead, give them a try and elevate your breakfast egg game to new heights!
This post may contain affiliate links. Please see our privacy policy for details.


Here’s why you need to make this:
- Speedy Prep: With just a few simple steps, you can whip up these roll-ups in no time flat. Perfect for those busy mornings when you need a nutritious breakfast without the hassle!
- Minimal Ingredients: You don’t need a laundry list of ingredients to make these roll-ups. Just a handful of kitchen staples like eggs, turkey deli meat, and bell peppers are all you need to create a breakfast masterpiece.
- Low Carb, High Protein: Say goodbye to sugary cereals and carb-heavy pastries! These roll-ups are low in carbohydrates, making them a great choice for anyone watching their carb intake. Plus, with the protein-packed combination of eggs and turkey deli meat, you’ll stay fuller for longer and power through your morning with ease.
- Portability: Need breakfast on the go? No problem! Simply wrap these roll-ups in parchment paper or foil, and you’ve got a portable breakfast that you can enjoy anywhere – whether you’re rushing out the door or sitting at your desk.
- Customizable: Don’t be afraid to get creative with your fillings! While this recipe calls for bell peppers, you can mix things up by adding in your favorite veggies like spinach, mushrooms, or onions. The possibilities are endless!
Ingredients You’ll Need
- Eggs: Eggs are the star of this recipe, and for good reason! Not only are they a fantastic source of high-quality protein, but they also provide essential nutrients like vitamin D and choline. By using eggs as the base of our roll-ups, we ensure that they’re not only delicious but also satisfying and nutritious.
- Turkey Deli Meat: Turkey deli meat adds a savory, meaty flavor to our roll-ups without weighing them down with unnecessary calories or fat. It’s a lean source of protein, making it perfect for those looking to build muscle or maintain a healthy weight. Plus, turkey deli meat is often more budget-friendly than other types of deli meat, making it a great choice for those watching their wallets.
- Red Bell Pepper: Not only do red bell peppers add a pop of vibrant color to our roll-ups, but they also bring a subtle sweetness and crunch that complements the savory flavors of the eggs and turkey. Plus, bell peppers are packed with vitamin C, antioxidants, and fiber, making them a nutritious addition to any meal.

How to Meal Prep Breakfast Deli Egg Roll Ups
- Heat up a pan over medium heat and add a teaspoon of olive oil. Once the oil is nice and warm, toss in those vibrant red bell peppers and let them sizzle until they soften. Oh, the aroma already has me drooling!
- Now, crack those eggs into the pan with the bell peppers. Grab your spatula and give them a good stir until they’re cooked to perfection and nice and firm. We’re talking about eggs that are so fluffy and delicious, you’ll be doing a happy dance in your kitchen!
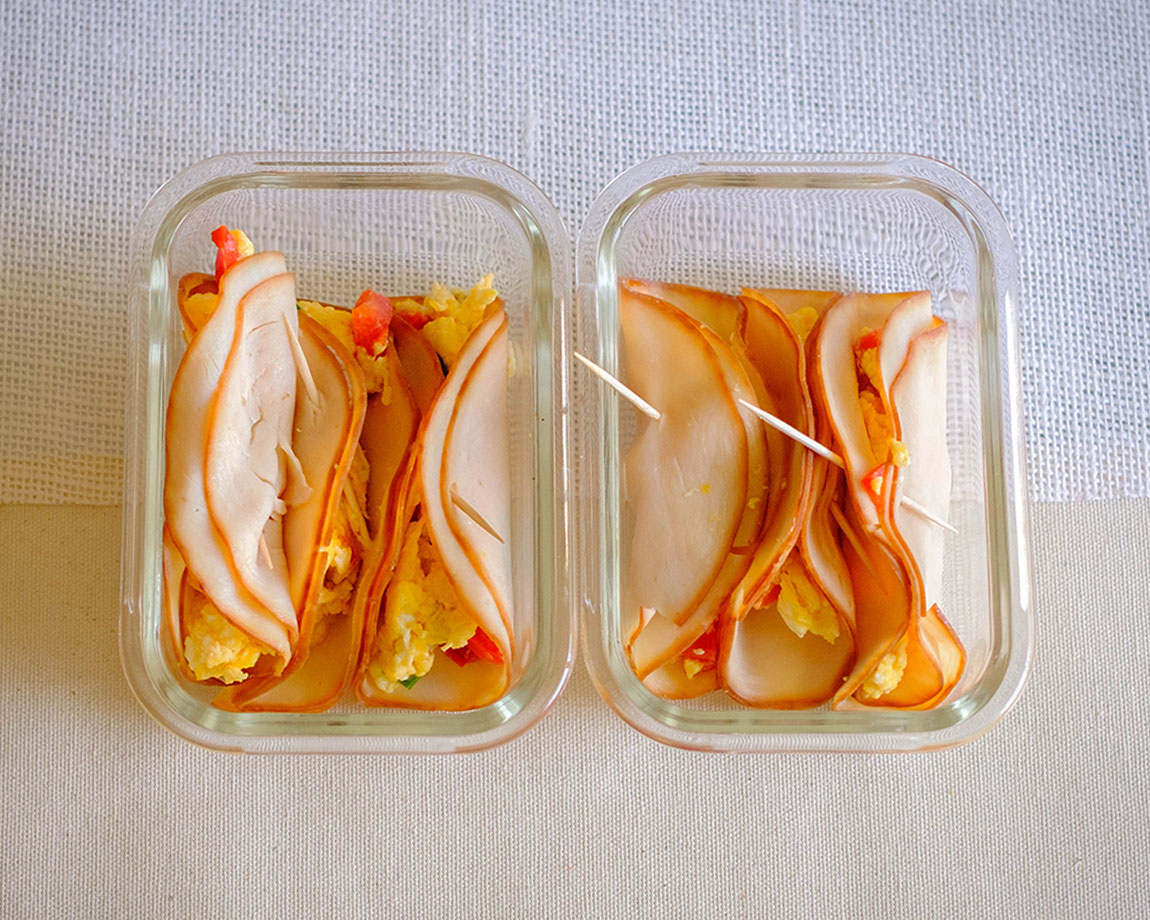
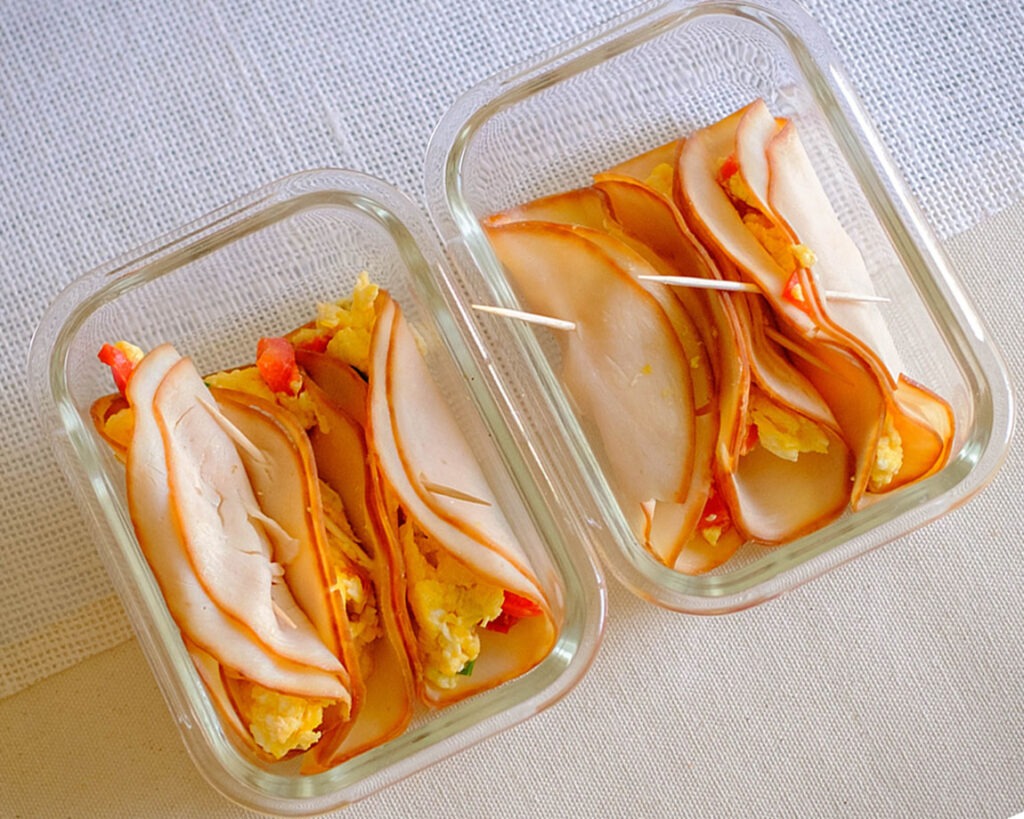
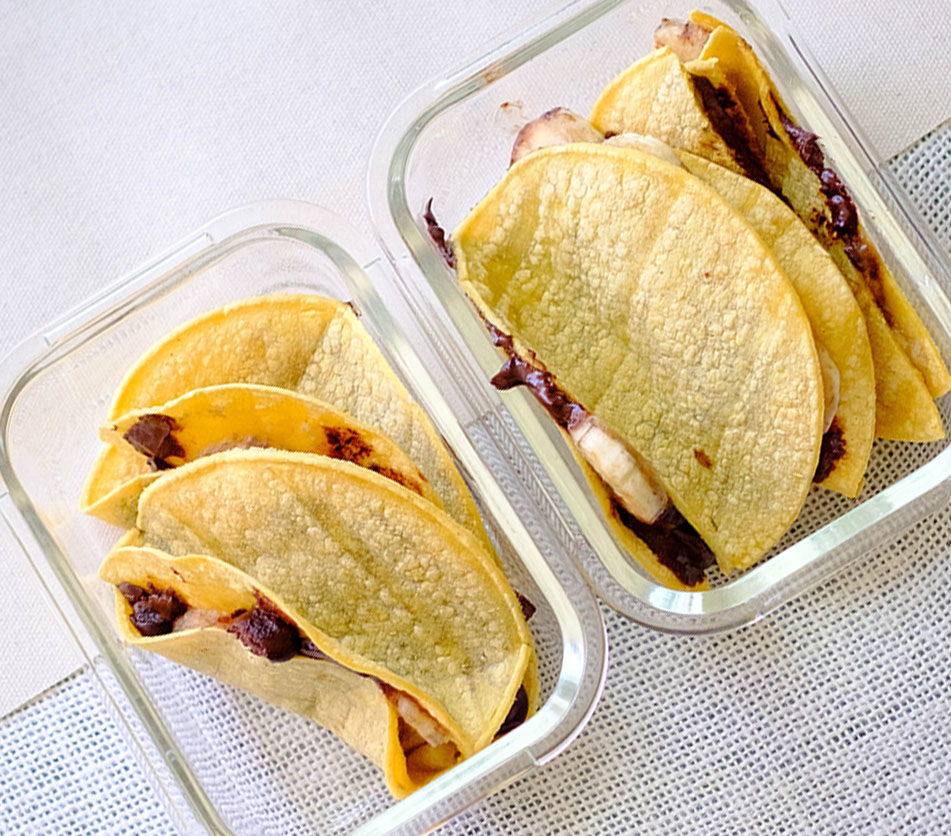
- Alright, it’s time to assemble our breakfast magic! Take two slices of turkey deli meat and layer them on top of each other. Now, scoop two tablespoons of that mouthwatering egg and bell pepper mixture right into the center of the deli meat. Are you feeling the excitement yet?
- Gently fold the deli meat over the eggs like a cozy little blanket, and secure them closed with a toothpick. Voila! You’ve just created a masterpiece – a Breakfast Deli Taco Roll-Up that’s as convenient as it is delectable.
- Now, here comes the best part – packing these beauties up for your busy mornings ahead! Simply wrap each roll-up in some parchment paper or foil, pop them in a container, and stash them in the fridge. They’ll be waiting for you like a delicious surprise when you’re ready to tackle the day!
Reference the recipe card below for detailed instructions.
Meal Prep Tips:
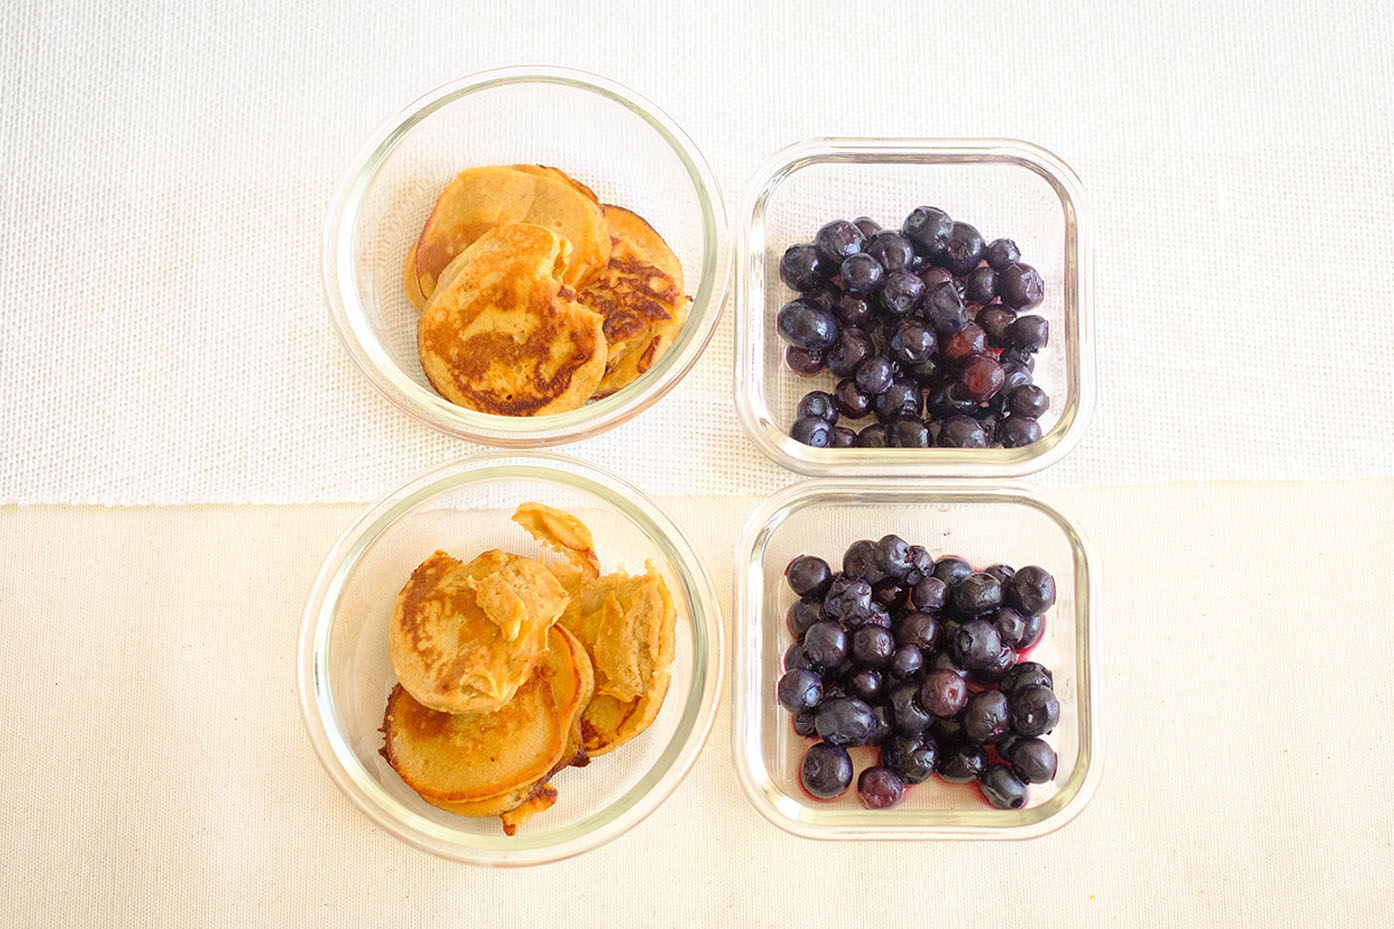
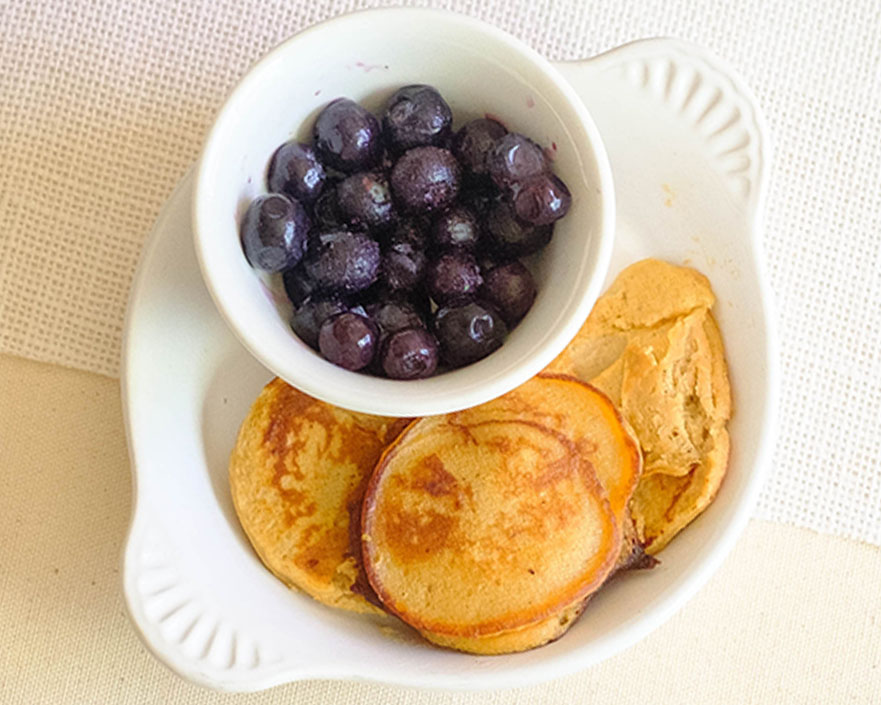
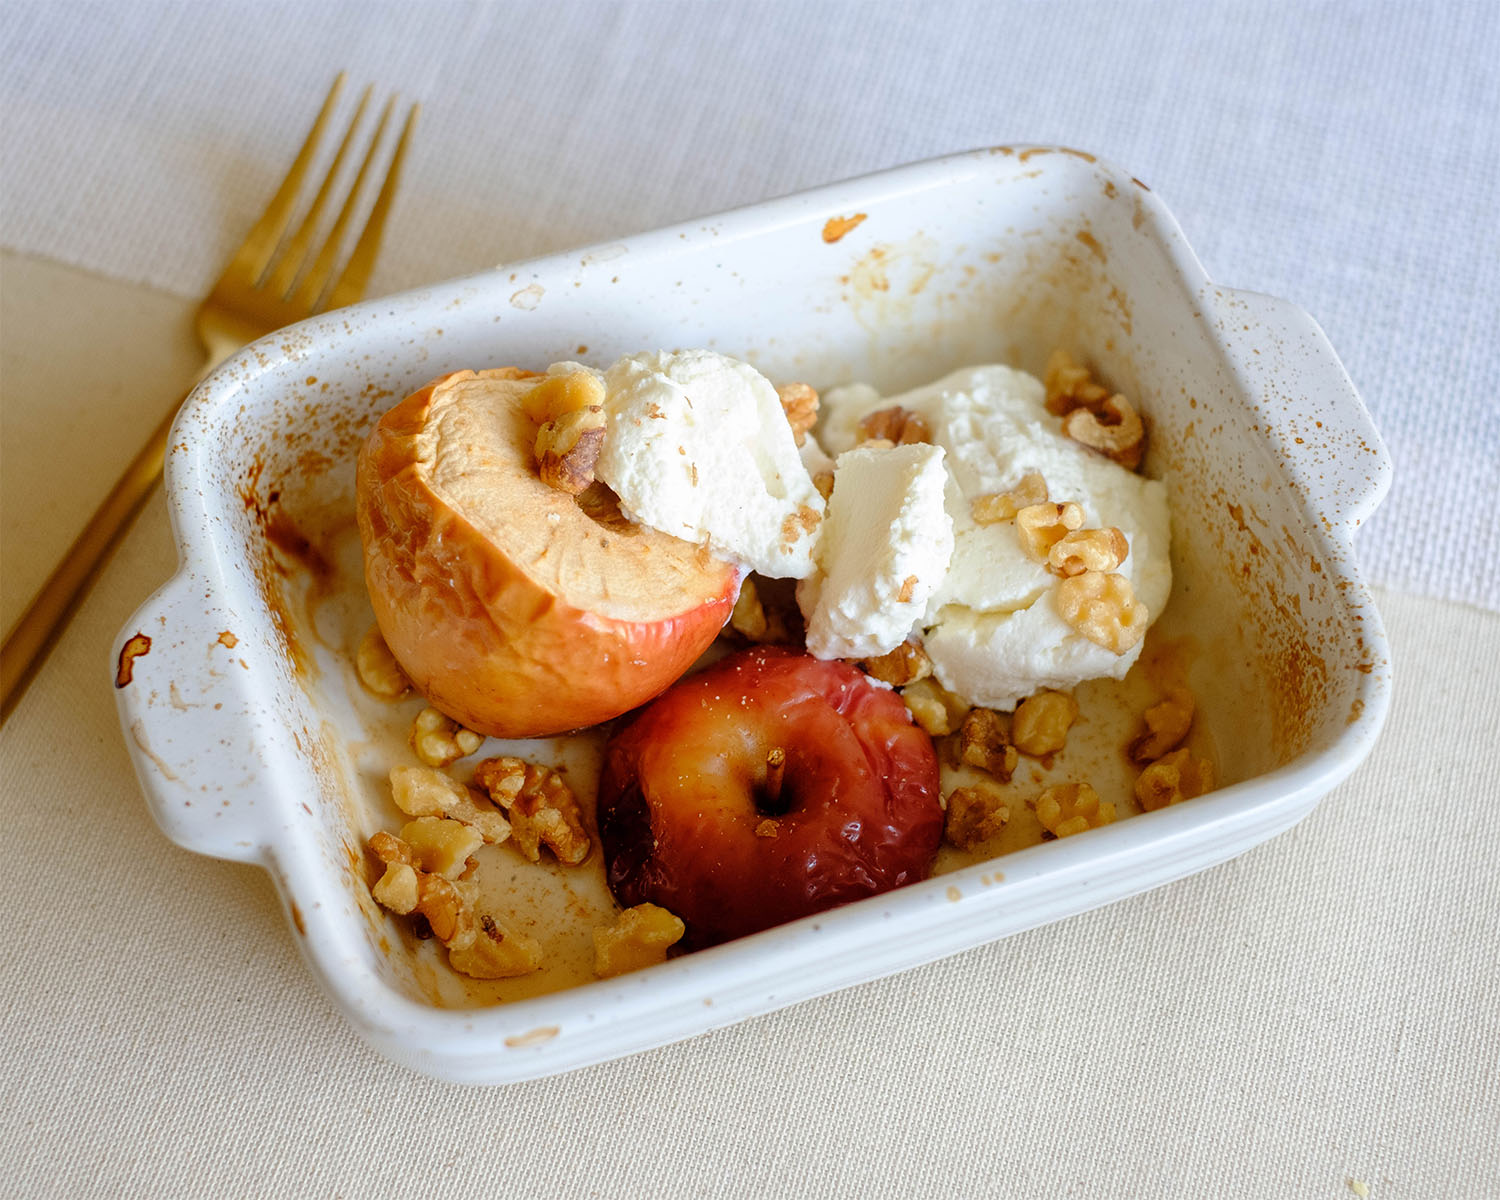
- Fresh Fruit: Balance out the savory flavors of the roll-ups with a side of fresh fruit. Sliced strawberries, blueberries, or oranges make for a refreshing and vibrant addition to your breakfast spread. Not only do they add a pop of color, but they also provide natural sweetness and a boost of vitamins and antioxidants.
- Whole Grain Toast: Serve your roll-ups alongside a slice of whole grain toast for a satisfying and hearty breakfast. The fiber from the whole grains will help keep you full and satisfied until your next meal, while the toast provides a delicious vehicle for spreading on your favorite toppings like avocado or nut butter.
- Greek Yogurt: Amp up the protein content of your breakfast by pairing your roll-ups with a side of creamy Greek yogurt. Top it off with a drizzle of honey and a sprinkle of granola for some added sweetness and crunch. Greek yogurt also adds a cool and tangy contrast to the warm and savory flavors of the roll-ups.
- Salsa or Hot Sauce: For an extra kick of flavor, serve your roll-ups with a side of salsa or your favorite hot sauce. The acidity and heat from the salsa or hot sauce complement the savory flavors of the roll-ups and add a fun and spicy twist to your breakfast.


Frequently Asked Questions
Are these roll-ups kid-friendly?
Yes, these roll-ups are a hit with kids! They’re fun to eat and packed with protein and veggies to keep little tummies satisfied. Plus, you can customize the fillings to suit your child’s taste preferences, making them a versatile option for even the pickiest eaters.
Can I customize the fillings?
Absolutely! Feel free to get creative with the fillings and customize them to suit your taste preferences. You can add in different veggies like spinach, mushrooms, onions, or tomatoes, or switch up the protein by using ham, chicken, or bacon instead of turkey deli meat. The possibilities are endless!
Can I freeze these roll-ups?
Yes, you can freeze these roll-ups for longer storage. Wrap them individually in plastic wrap and then place them in a freezer-safe bag or container. They should keep well in the freezer for up to 2-3 months. When you’re ready to enjoy them, simply thaw them overnight in the refrigerator or reheat them in the microwave or oven.


Breakfast Deli Egg Roll Ups
Equipment
Ingredients
Instructions
Notes
Nutrition