
Fall into Flavor with this Healthy Seasonal Meal Prep with Sausage and Pumpkin Marinara Pasta. Embracing the changing seasons doesn’t mean you have to compromise your health or your taste buds. As the air turns crisp and leaves blanket the ground, it’s time to welcome the comforting flavors of fall into your kitchen. Our Sausage and Pumpkin Marinara Pasta recipe is here to do just that – combining the heartiness of sausage, the warmth of pumpkin, and the convenience of meal prep into a single, mouthwatering dish. This recipe not only tantalizes your taste buds but also fits seamlessly into the busy lives of individuals who seek to maintain a healthy and balanced diet. Let’s dive into the flavorful world of autumn with a dish that’s as nutritious as it is delightful.
This post may contain affiliate links. Please see our privacy policy for details.
Why this Recipe is Great for Fall Meal Prep
Balanced Nutrition: This recipe combines lean chicken sausage, whole-grain pasta, nutrient-rich pumpkin, and fresh spinach. It’s a wholesome balance of protein, fiber, vitamins, and minerals, making it a nutritious choice for individuals striving to maintain a balanced diet.
Fall-Inspired Comfort: The warm, hearty flavors of pumpkin and savory sausage provide the comforting essence of the fall season. It’s a satisfying and cozy meal that allows you to enjoy the seasonal vibes without compromising on health.
Time-Efficiency: Meal prepping this dish saves you valuable time during busy workdays. You can prepare a batch on the weekend and have delicious, ready-made meals throughout the week, reducing the temptation to opt for less healthy, fast-food alternatives.
Portion Control: Meal prepping allows you to control your portion sizes. With this recipe, you can pre-portion your meals, preventing overeating and aiding in weight management and portion control.

Here’s What You’ll Need To Meal Prep Sausage Pumpkin Pasta
- Chicken Sausage Links: Look for chicken sausages labeled as “lean” or “low-fat” for a healthier option. Chicken sausages, especially lean varieties, are lower in saturated fat compared to traditional pork sausages. Ingredient Swap: Consider using turkey sausage or plant-based sausages for a lighter, meatless alternative.
- Dried Spaghetti Noodles: Choose whole grain or legume-based pasta for extra fiber and protein. Whole grain pasta offers more nutrients and fiber, contributing to better satiety and digestion. Ingredient Swap: Experiment with gluten-free pasta if you have dietary restrictions.
- Pumpkin Puree: Opt for canned or freshly made unsweetened pumpkin puree. Pumpkin is a rich source of vitamin A, fiber, and antioxidants. Ingredient Swap: Butternut squash puree can be a delightful alternative to pumpkin puree with a slightly different flavor profile.
- Marinara Sauce: Check the labels for low-sodium or no-sugar-added marinara sauce options. A good marinara sauce should be low in saturated fat and a decent source of vitamin C. Ingredient Swap: For a change, try a spicy arrabbiata sauce for a kick of heat or a creamy tomato sauce for added richness.
- Baby Spinach: Spinach is a low-calorie, nutrient-dense leafy green packed with vitamins and minerals. Ingredient Swap: Swap spinach for kale, arugula, or Swiss chard for a different flavor and nutrient mix.
- Shredded Parmesan Cheese: Purchase freshly grated Parmesan for the best flavor. Ingredient Swap: If you prefer a dairy-free option, use nutritional yeast or a vegan Parmesan substitute.
- Red Onions: Look for firm, unblemished red onions. Red onions provide antioxidants and vitamins, including vitamin C. Ingredient Swap: Sweet Vidalia onions or shallots can be a milder, sweeter alternative to red onions.
Easy Steps to Meal Prep Pasta Recipe
- The first step to meal prepping this delightful dish is to boil your pasta. Simply follow the package instructions for your chosen pasta, and when it’s perfectly al dente, drain the water. Using whole wheat or gluten-free pasta is an excellent way to add extra nutrition to your meal prep.
- Now, it’s time to introduce some savory goodness to the mix. Slice your favorite sausage into rounds about 1/4 inch thick. Whether you opt for sweet Italian sausage or spicy chorizo, it’s sure to add a flavorful kick to your meal prep.
- Heat a dash of oil in a pan over medium-high heat, and sauté the onions and sausage for about 3 to 5 minutes until the sausage heats through and turns golden brown. The aroma filling your kitchen will be absolutely irresistible!
- Pour in your marinara sauce, pumpkin puree, and a dash of your favorite seasonings. This autumnal twist adds depth, creaminess, and a healthy dose of vitamin A to your meal prep. Stir it all together until the sauce is perfectly blended, and your kitchen smells like a cozy fall haven.
- Time to unite your perfectly cooked pasta with the delectable pumpkin marinara. Add the pasta to the pan and mix it well until every strand is coated with that delightful sauce. The union of flavors is pure perfection.
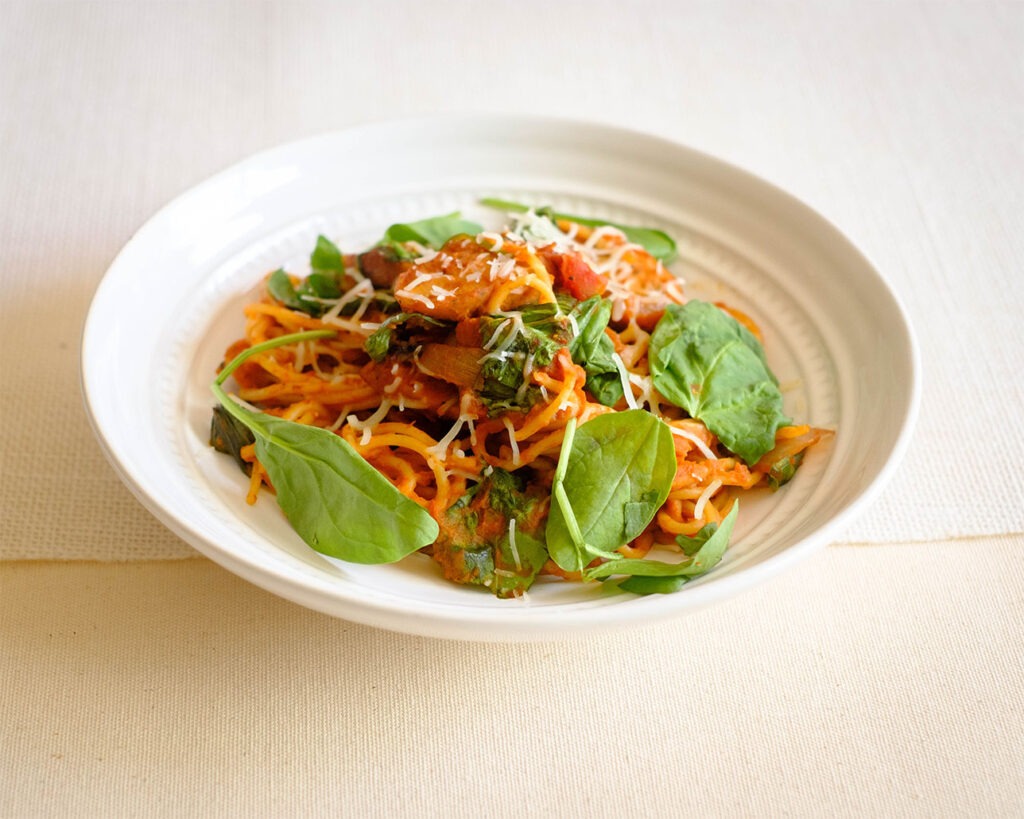
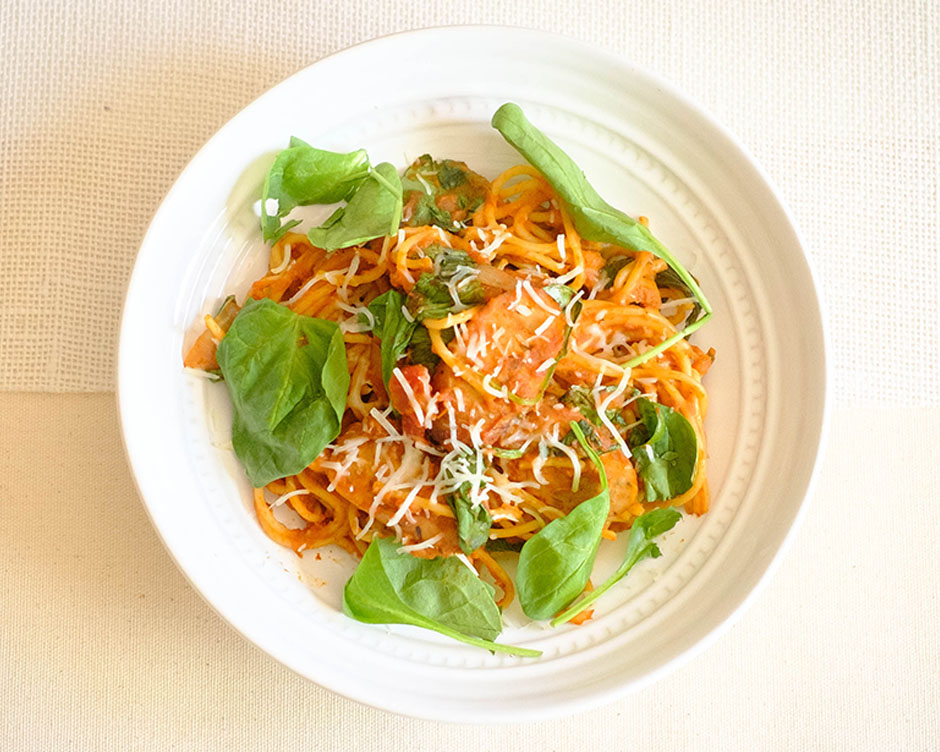
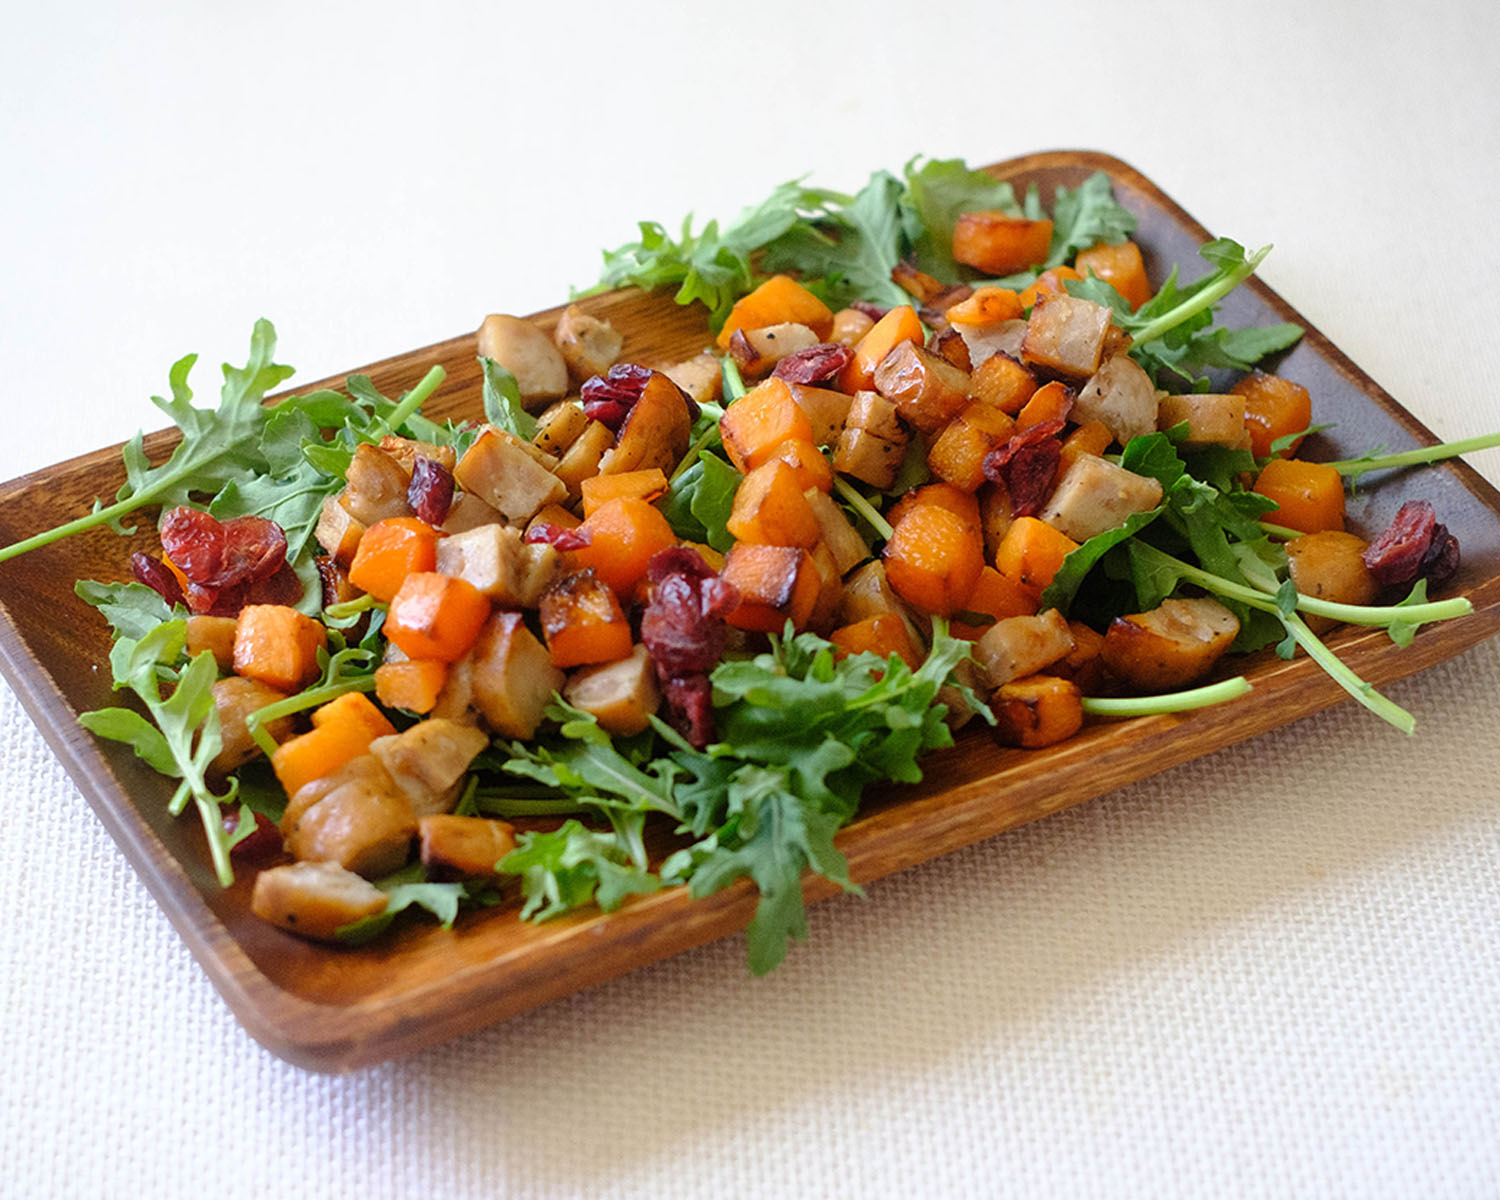
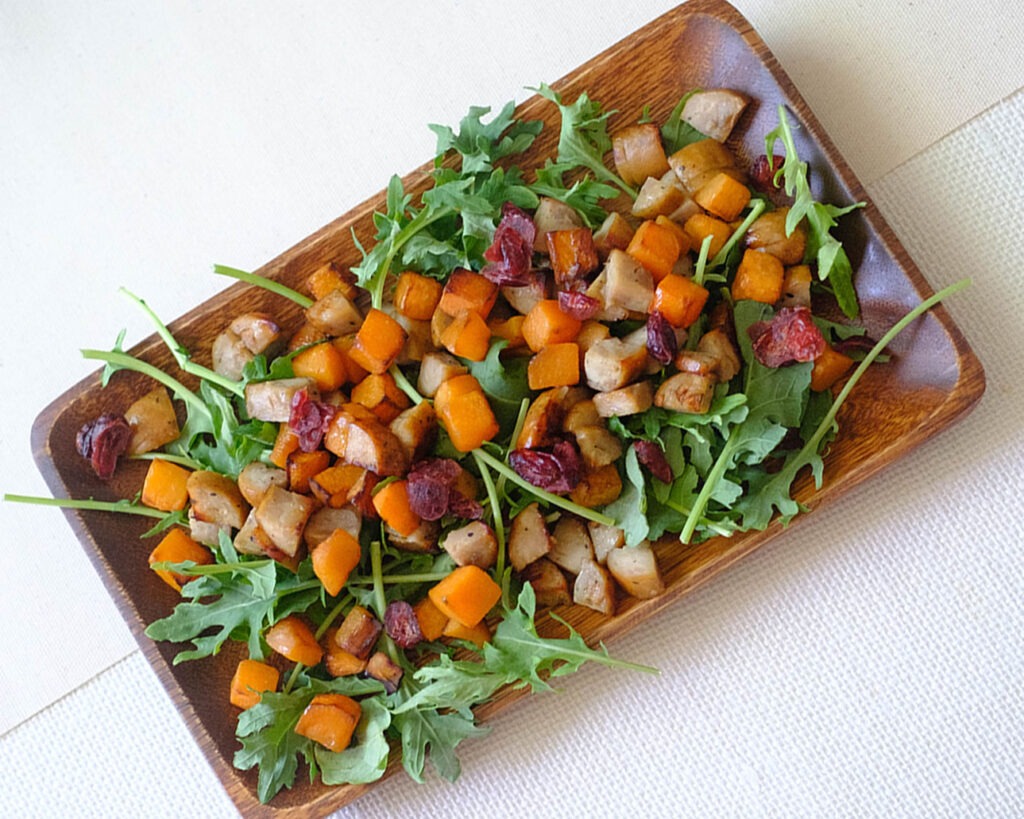
- To balance the richness of our dish, toss in some fresh baby spinach. As you fold it into the pasta, the vibrant green will not only brighten up your meal prep but also add a dose of healthy greens. It’s like a little burst of fall color right in your bowl.
- What’s a pasta dish without a touch of cheese? Finish off your meal prep by sprinkling some Parmesan cheese over the top. It adds a nutty richness that complements the pumpkin marinara perfectly. Your taste buds will thank you!
Reference the recipe card below for detailed instructions.
Meal Prep Tips for Sausage Pumpkin Pasta
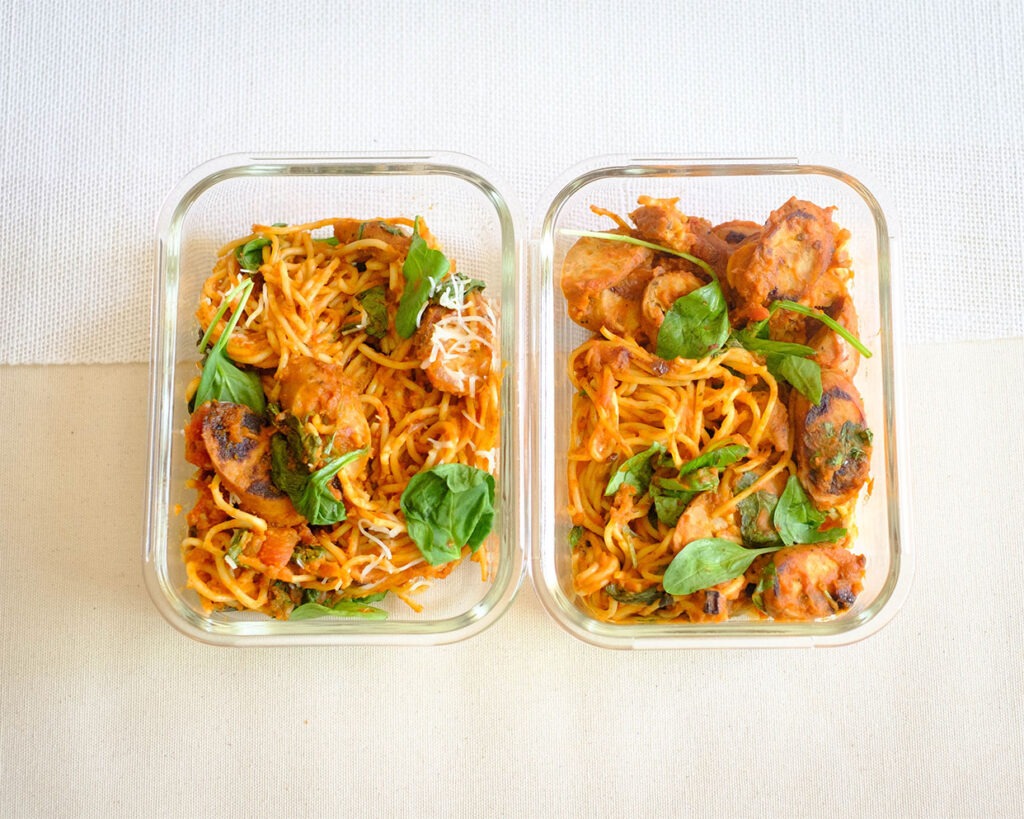
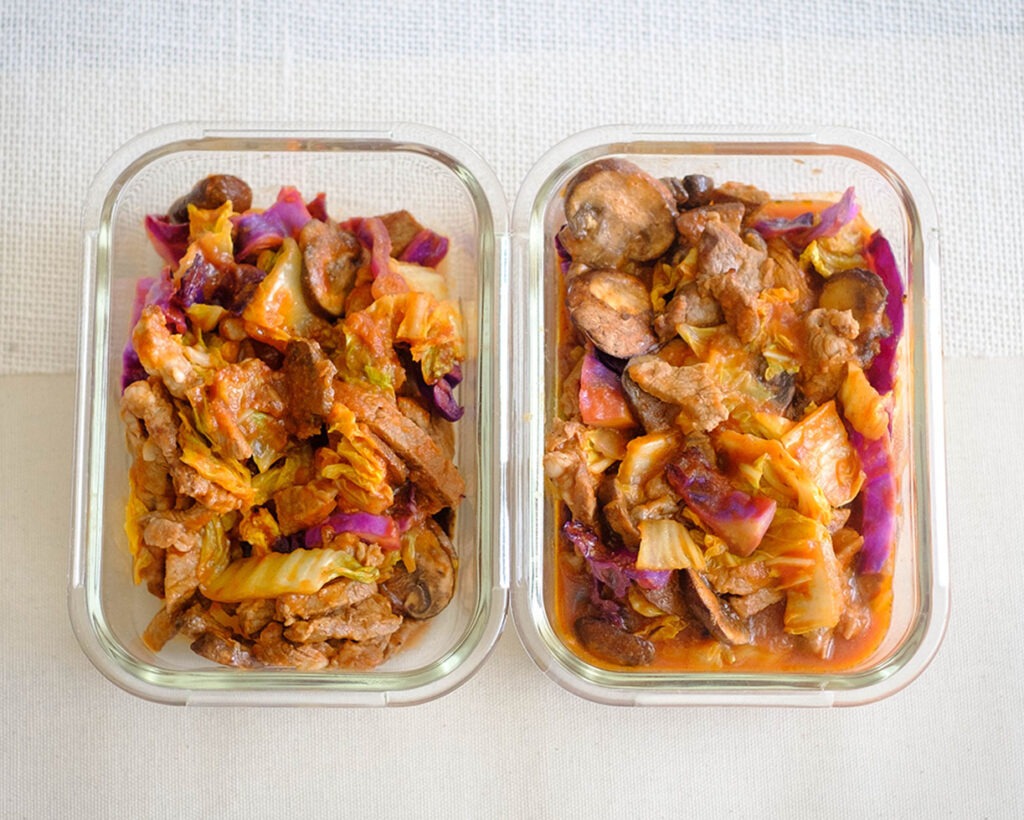
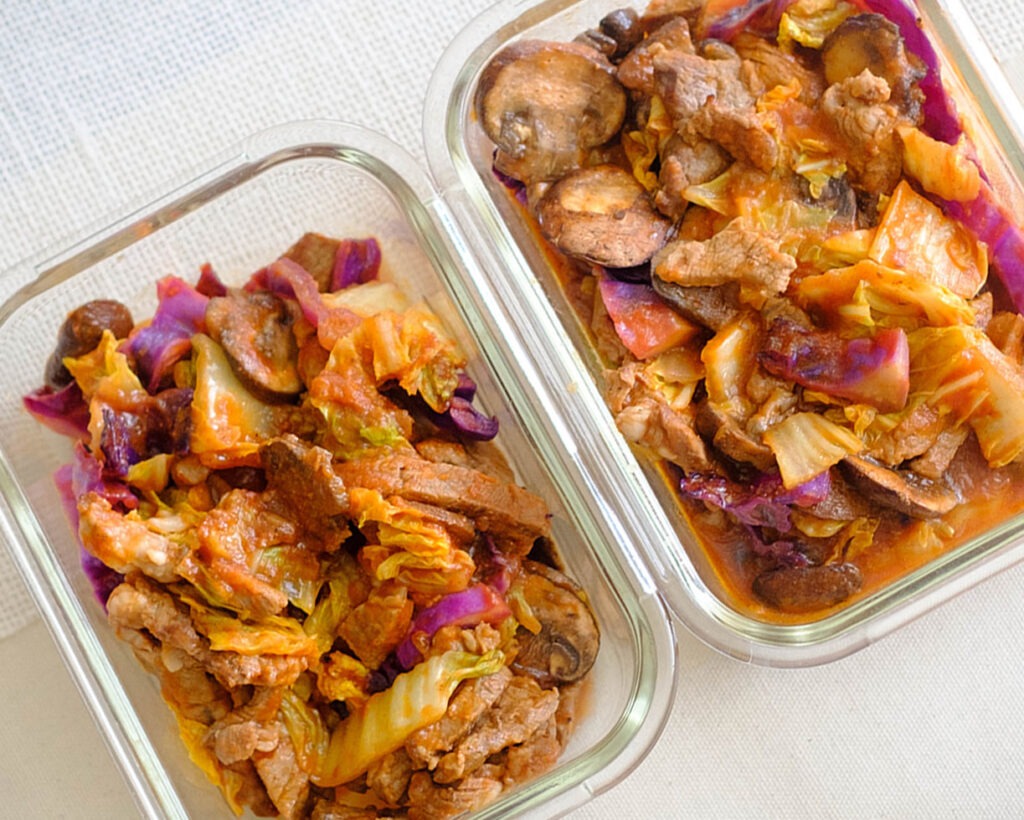
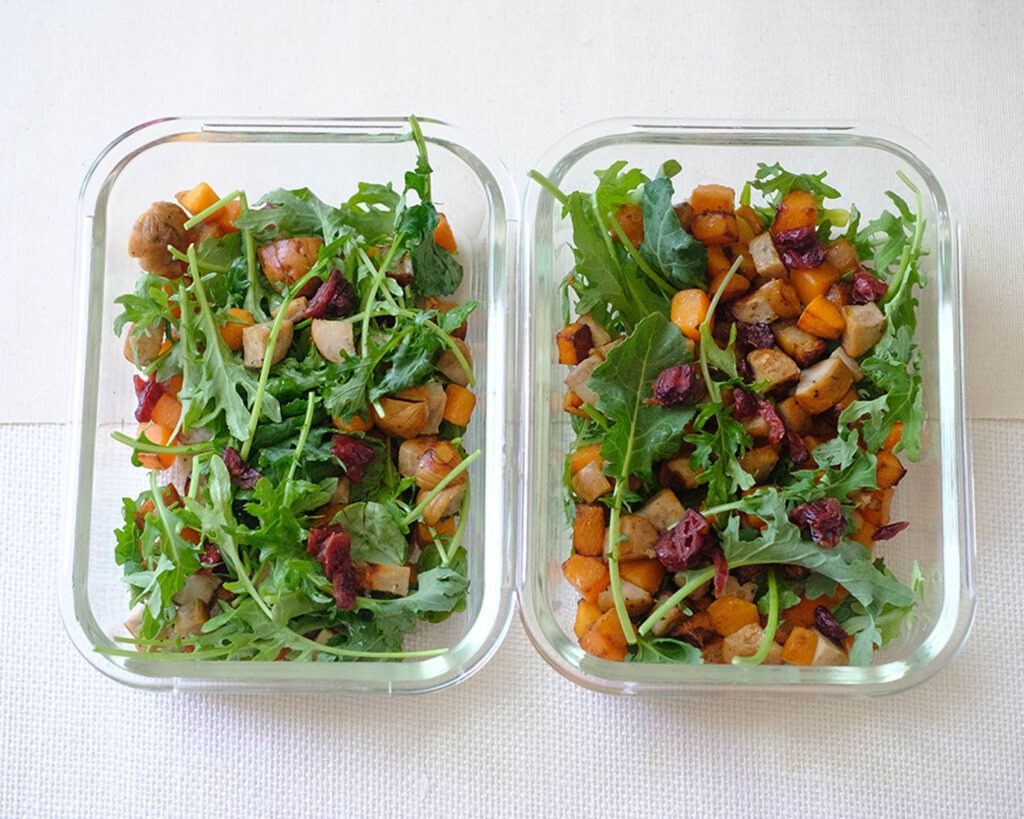
- Storage Tips: After preparing your meal, portion it into individual serving containers. This makes it easier to grab and go when you need a meal. Store your meal prep containers in the refrigerator for up to 3-4 days.
- Reheating Tips: For a quick reheating option, microwave your meal for 1-2 minutes on medium power. Make sure to stir the contents halfway through to ensure even heating. To achieve a crispy top layer, you can reheat it in the oven. Preheat your oven to 350°F (175°C), place the pasta in an oven-safe dish, cover with foil, and heat for 15-20 minutes. Uncover for the last 5 minutes to let the top crisp up. Be cautious not to overheat, as pasta can become mushy and the spinach can wilt excessively. Start with shorter reheating times and adjust as needed.


Frequently Asked Questions
Can I use a different type of pasta for this recipe?
Absolutely! You can use your preferred pasta, such as penne, farfalle, or whole wheat pasta. Just adjust the cooking time based on the type of pasta you choose.
What can I serve as a side dish with this pasta?
A simple side salad with mixed greens, balsamic vinaigrette, and crusty bread is a great complement to this dish. A warm garlic breadstick is also a popular choice.
Can I add other vegetables to this dish?
Yes, you can personalize this recipe by adding other vegetables like bell peppers, mushrooms, or zucchini. Sauté them with the sausage and onions for added flavor and nutrients.


Sausage Pasta with Pumpkin Marinara
Equipment
Ingredients
Instructions
Notes
Nutrition