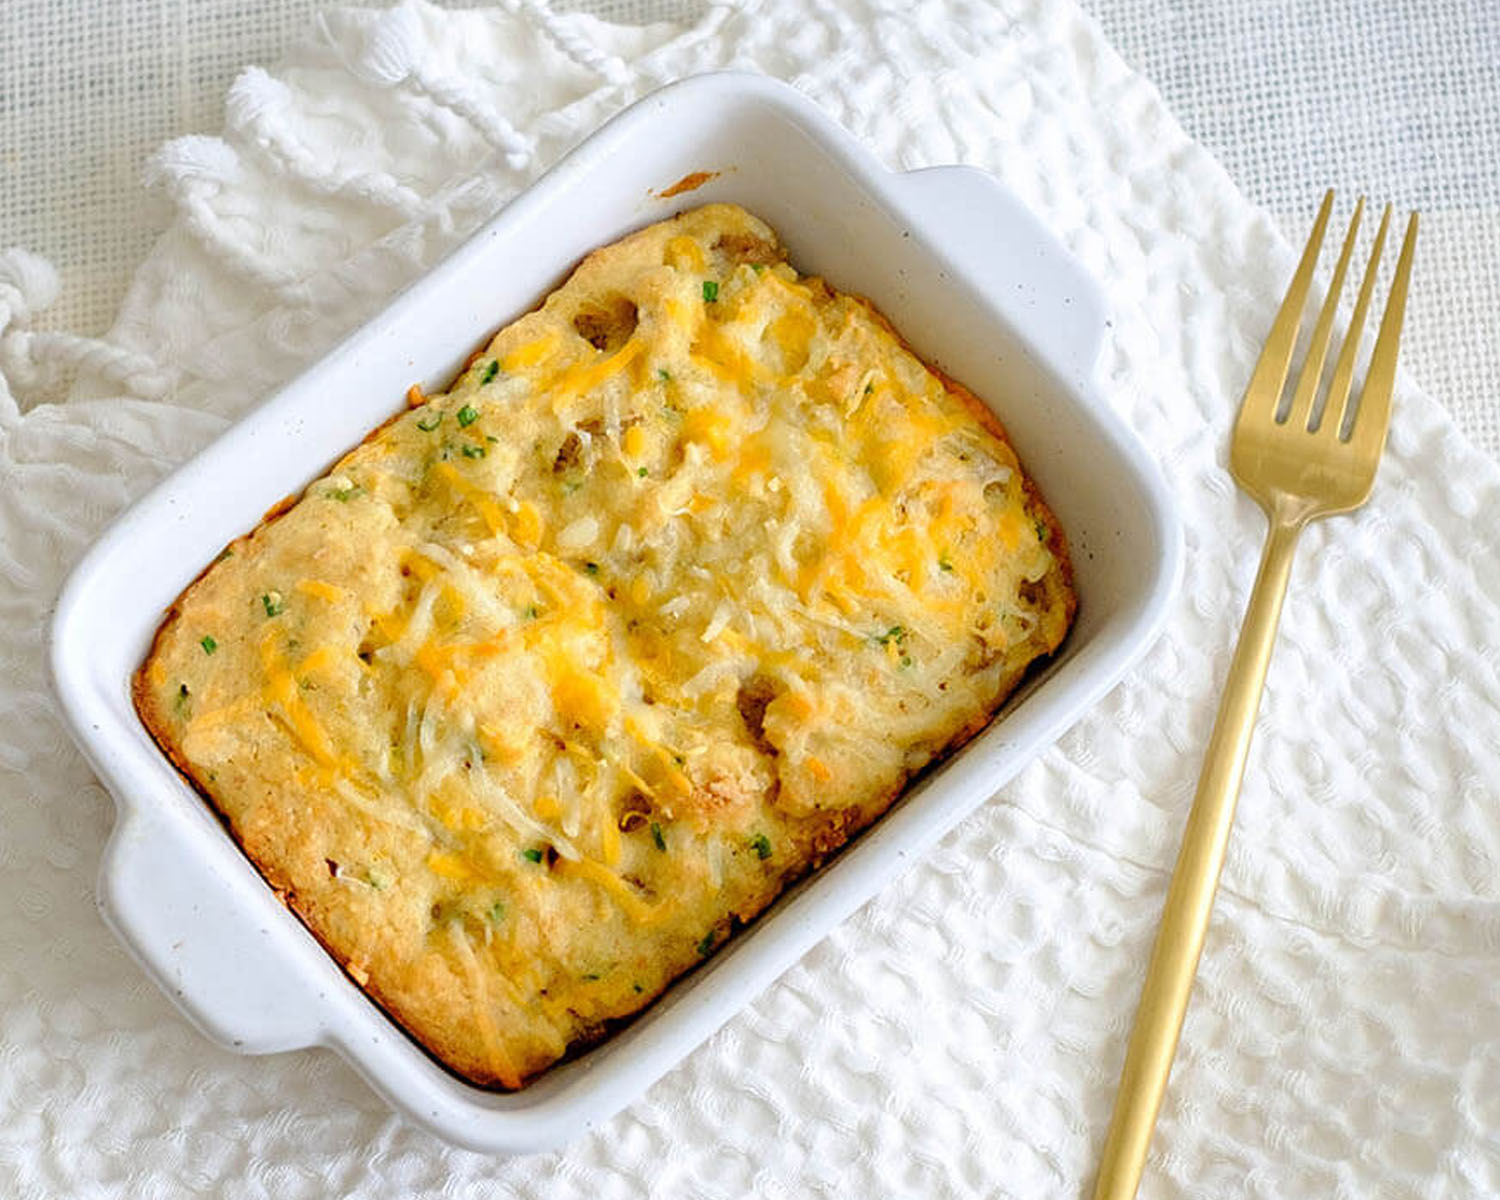
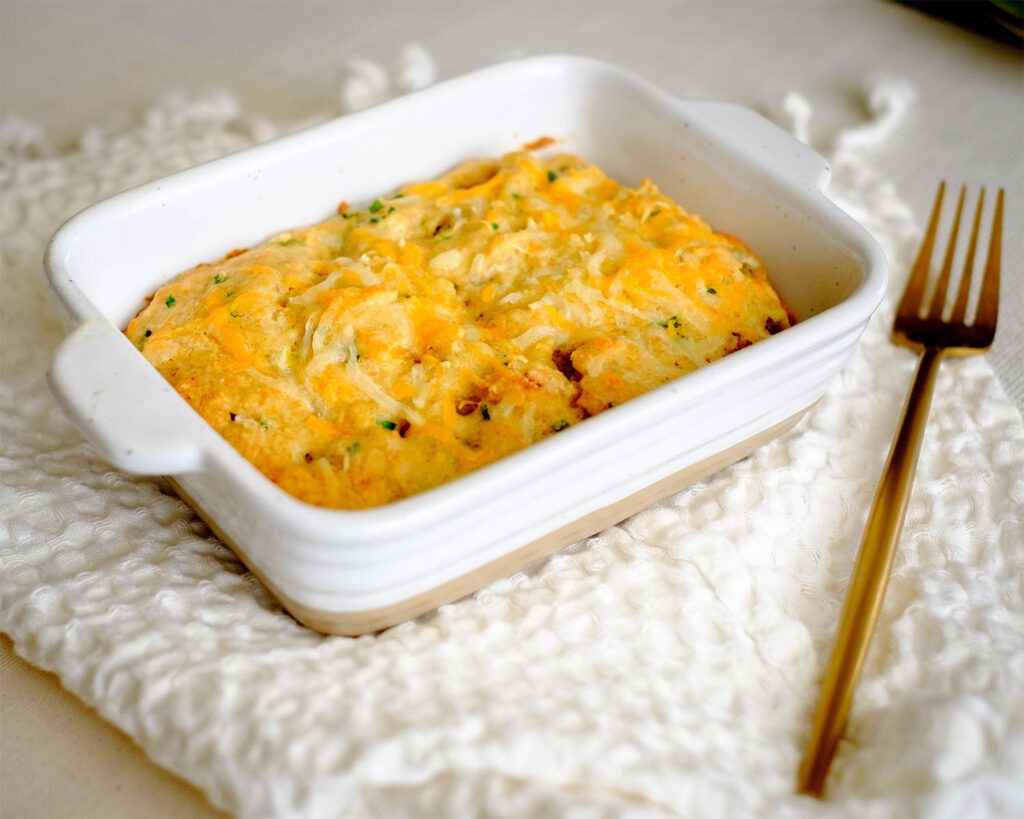
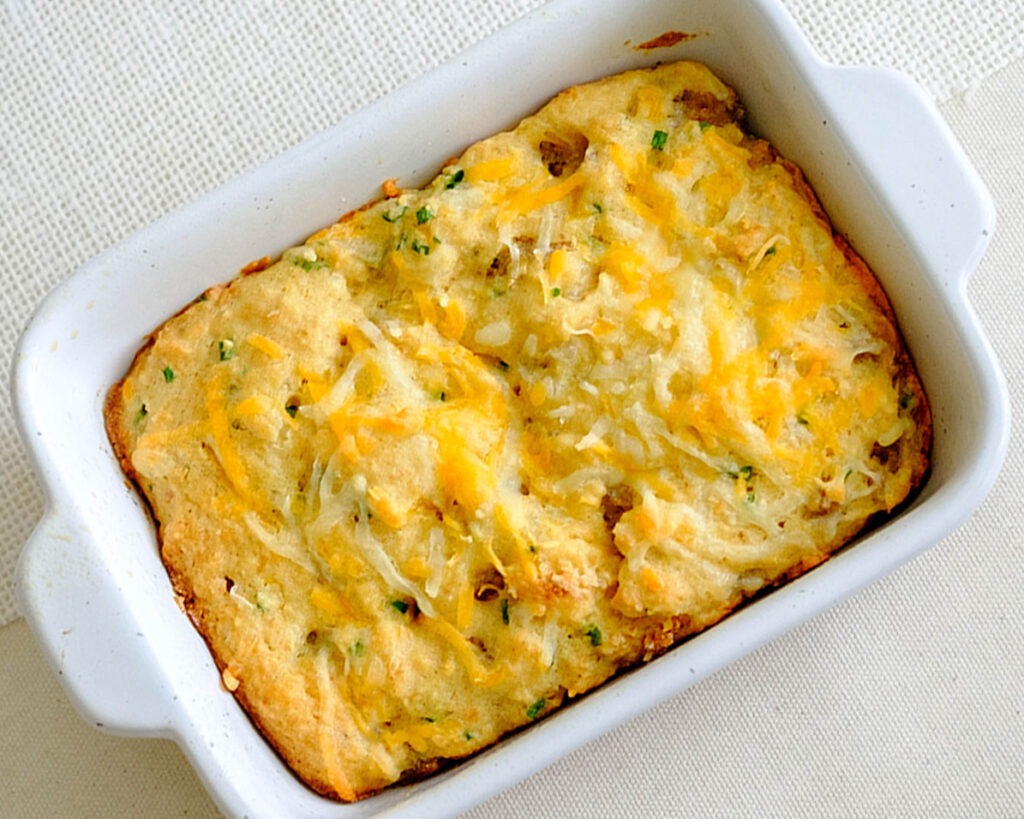
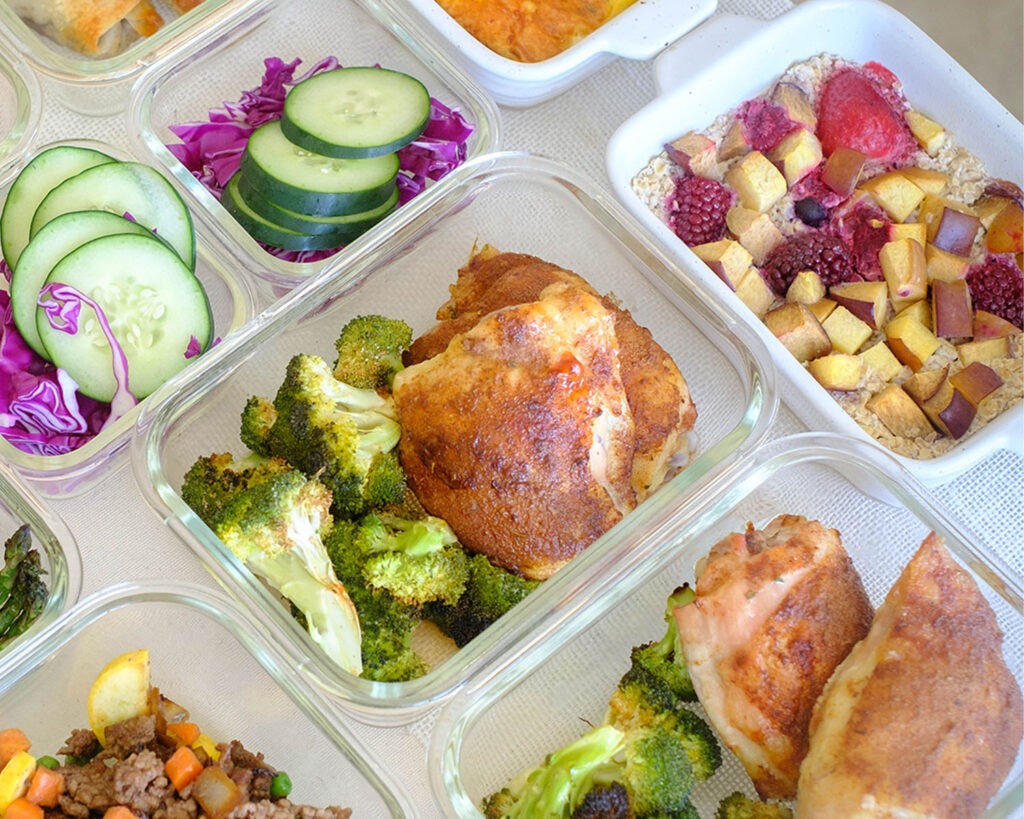
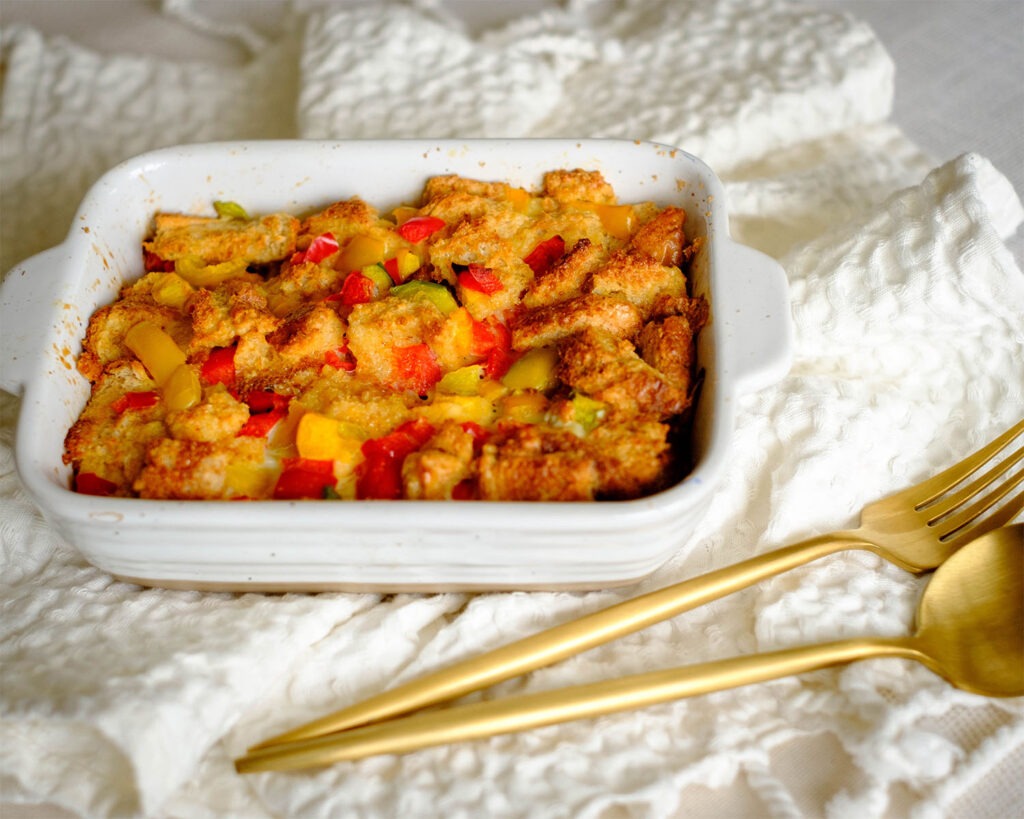
Energize Your Mornings with Easy Breakfast Sausage Cornbread Muffins! We all know the daily rush – the chaos of getting ready while craving a hearty breakfast. These muffins are your answer to a no-fuss, Busy Morning Breakfast meal prep that fuels your day right. Packed with the satisfying goodness of sausage, cheese, and chives, these Sausage Cornbread Muffins are a delightful way to start your day on the run.
This post may contain affiliate links. Please see our privacy policy for details.

Reasons Why Meal Prep Breakfast Sausage Cornbread Muffins are Perfect for On-the-Go
These muffins are a snap to make, taking just a few minutes to prep. With our simple instructions, you can have a week’s worth of breakfast meal prep ready in no time.
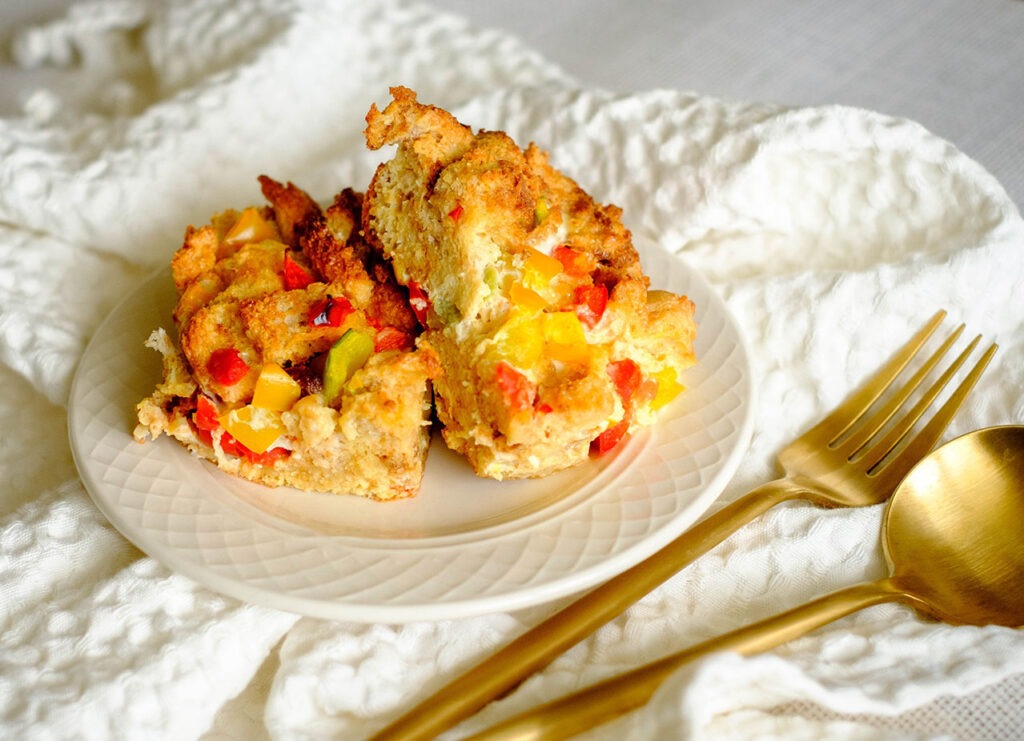
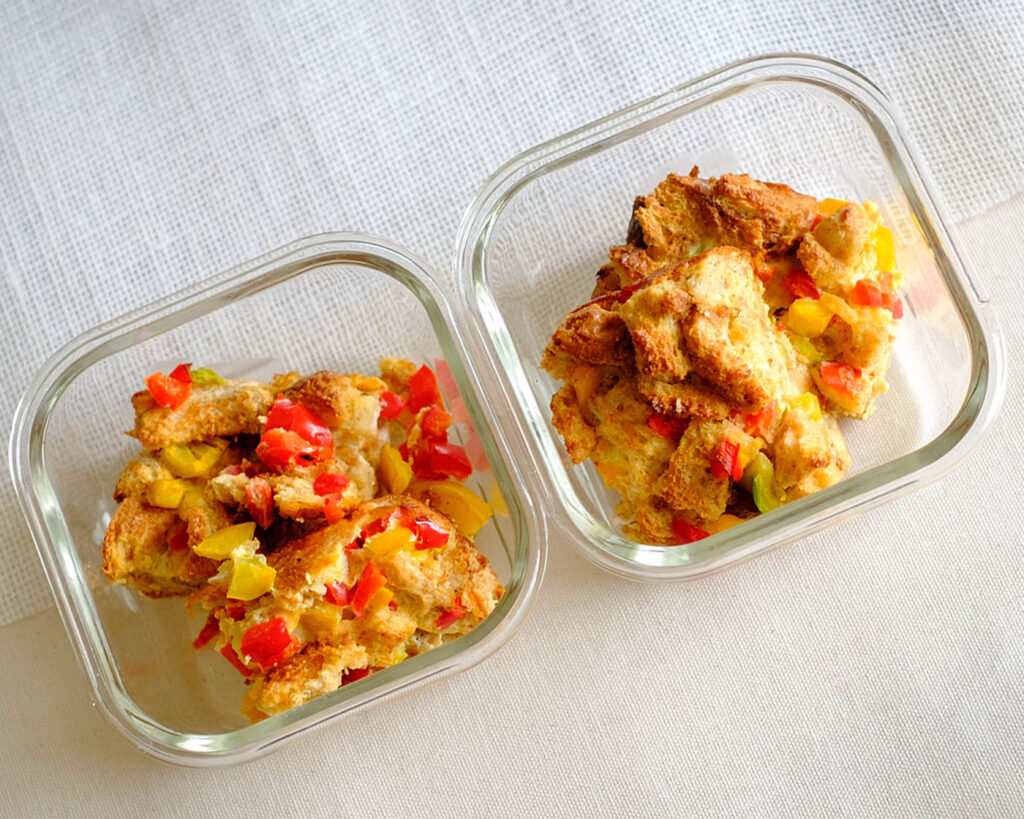
The individual muffin servings make these a grab-and-go breakfast option. Perfect for those mornings when you’re running out the door!
Packed with protein from the sausage patty and shredded cheese, and the hearty goodness of cornmeal and chives, these muffins give you the energy boost you need to start your day right.
These muffins freeze like a dream! Make a big batch, pop them in the freezer, and you’ve got breakfast ready for weeks. Just reheat and enjoy.

Ingredients You’ll Need
- Egg: Eggs are a nutritional powerhouse, providing high-quality protein, essential vitamins, and minerals. In this recipe, the egg adds moisture and acts as a binding agent, helping to hold the muffins together.
- Milk: Milk adds creaminess and moisture to the muffin batter. You can use your preferred type of milk, whether it’s whole milk, 2%, skim milk, or even a dairy-free alternative like almond or soy milk.
- Sausage Patty: The star of the show! Sausage patties bring a burst of savory flavor and protein to these muffins. You can choose from various types of sausages, such as pork, turkey, or chicken, depending on your dietary preferences.
- Shredded Cheese: Cheese not only contributes a rich, cheesy flavor but also adds creaminess to the muffins. Cheddar cheese is a popular choice for its sharp and tangy taste, but you can experiment with other varieties like mozzarella or pepper jack for different flavor profiles.
- Cornmeal: Cornmeal is the heart and soul of cornbread muffins. It imparts a slightly sweet, nutty flavor and a delightful, slightly gritty texture. It’s a great source of dietary fiber and essential minerals like iron and zinc.
- All-Purpose Flour: Flour provides structure to the muffins. All-purpose flour is versatile and readily available, making it a common choice in baking recipes. It ensures the muffins hold their shape and have a tender crumb.
- Baking Powder: Baking powder is a leavening agent that helps the muffins rise and become light and fluffy. It gives them that perfect, airy texture.
- Chives: Chives are a fresh and aromatic herb that adds a mild onion-like flavor and a pop of green color to the muffins. They’re a fantastic way to enhance the overall taste and appearance of the dish.
How to Make Baked Sausage Cornbread Muffins
- Preheat the Oven: Start by preheating your oven to 400°F (200°C).
- Mix Wet Ingredients: In a mixing bowl, beat the egg, then add the milk and mix well. Add in a touch of olive oil and a sprinkle of sugar for a hint of sweetness.
- Incorporate Dry Ingredients: Add the flour, cornmeal, and baking powder to the wet ingredients, stirring until you have a smooth batter.
- Add Flavor: Now, it’s time to jazz things up! Mix in the shredded cheese, diced sausage, and those lovely chopped chives. Your batter should be bursting with flavor.
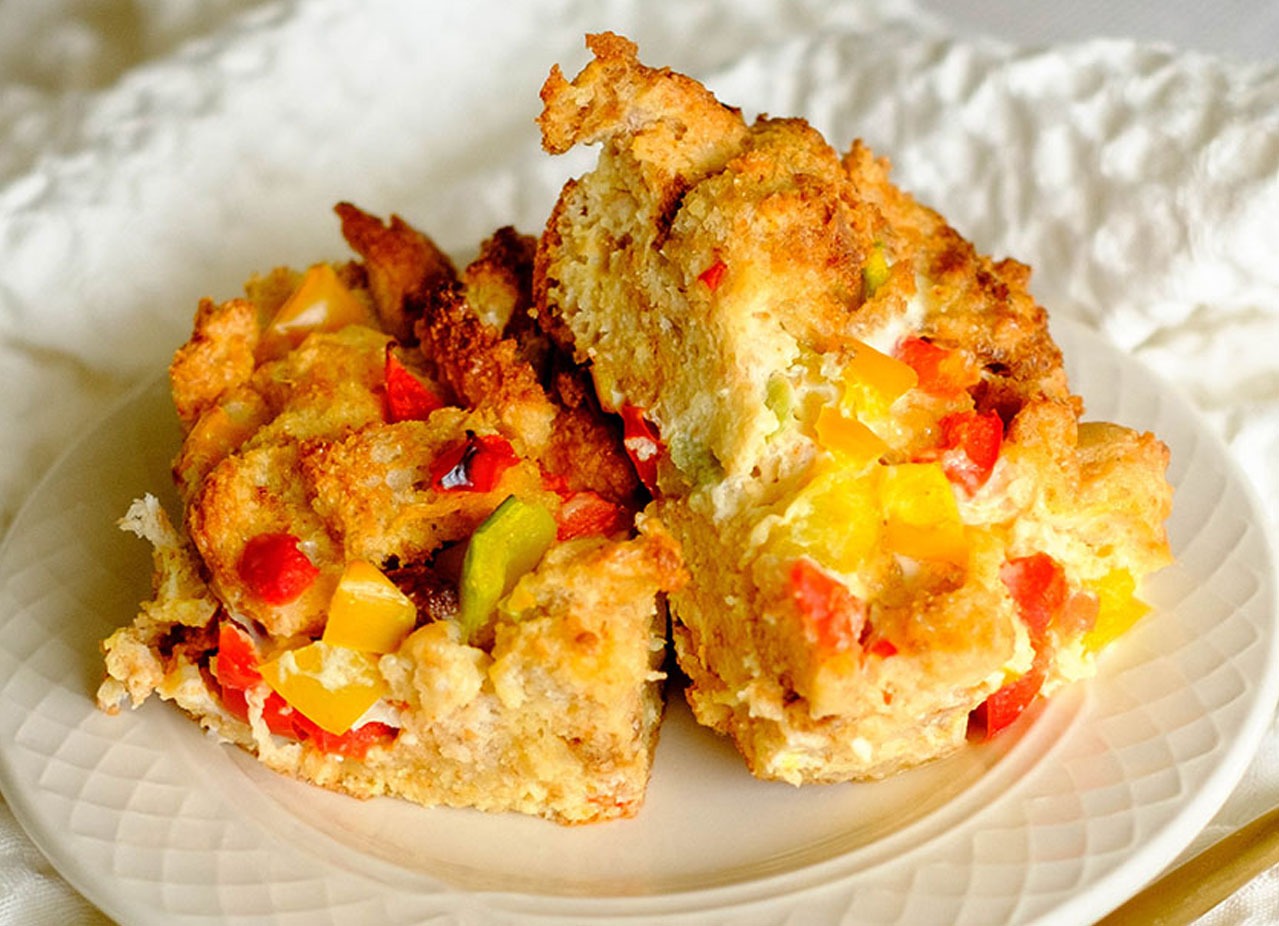
- Bake to Perfection: Grease a muffin tin or baking dish, then pour in your muffin batter. Bake in the preheated oven for 15-20 minutes, or until the centers are fully cooked and the tops are golden brown.
Reference the recipe card below for detailed instructions.

Meal Prep Tips:
- Cooking Tips: For a healthier option, use low-fat milk and lean turkey sausage. Ensure the sausage is thoroughly cooked before adding it to the batter for food safety. Feel free to adjust the cheese and chives quantities to suit your taste preferences.
- Reheating and Storage: These muffins can be stored in an airtight container in the fridge for up to five days. To reheat, simply pop them in the microwave for about 20-30 seconds, or warm them up in the oven for a few minutes.
- Ingredient Swaps: Feel free to get creative with your ingredients. Swap out sausage for turkey sausage or add some diced bell peppers for extra flavor. The possibilities are endless!


Frequently Asked Questions
Can I use different types of sausage in this recipe?
Absolutely! Feel free to use your favorite type of sausage – pork, turkey, chicken, or even a vegetarian sausage for a meatless version.
Can I make the batter the night before and bake them in the morning?
While it’s best to bake the muffins right after preparing the batter, you can mix the dry and wet ingredients separately the night before and combine them in the morning for a quicker assembly.
Are these muffins suitable for kids’ breakfasts?
Yes, kids love these muffins! They’re a great way to sneak some protein and veggies (chives) into their breakfast. You can also make mini muffins for smaller portions.


Easy Sausage Cornbread Breakfast Muffins
Equipment
Ingredients
Instructions