
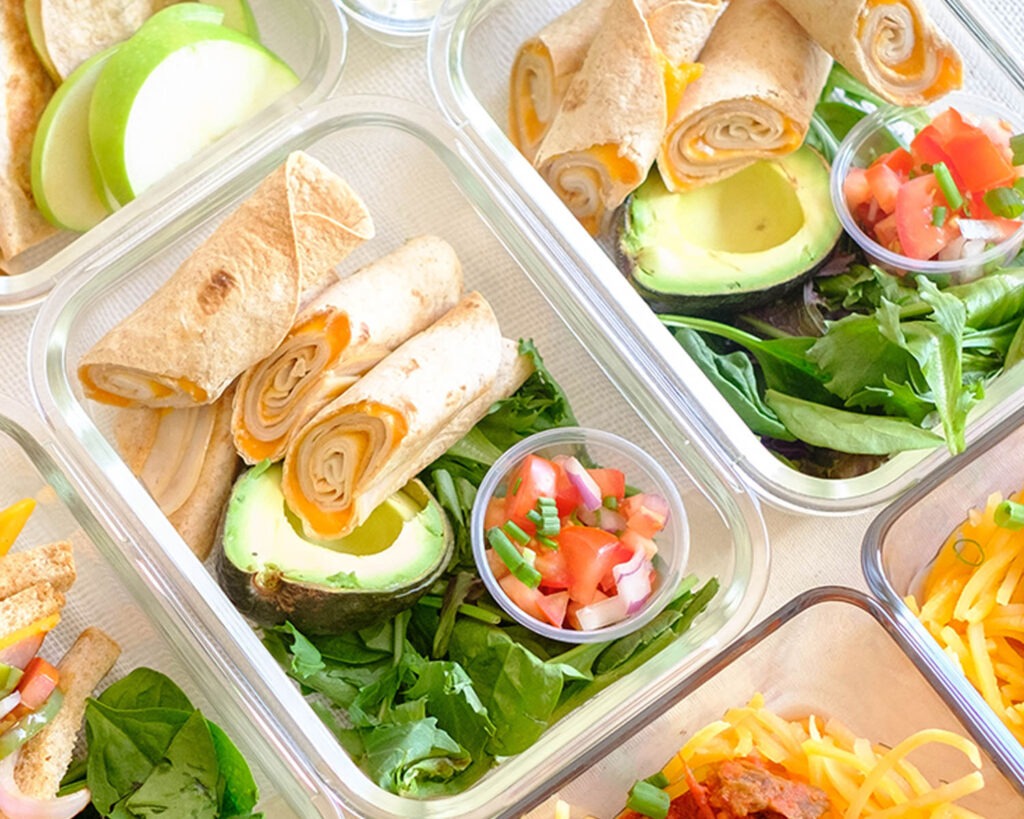
The spinach and egg breakfast quesadilla is an exceptional choice for your meal prep repertoire. From its adaptability to its freezer-friendly nature and the convenience of being able to enjoy it anywhere, this recipe is truly a meal prepper’s dream come true! This breakfast meal prep option is nutritious, and it also utilizes pantry-friendly ingredients, making it a total win-win!
This post may contain affiliate links. Please see our privacy policy for details.

Why you’ll enjoy this Spinach Egg Breakfast Quesadilla:
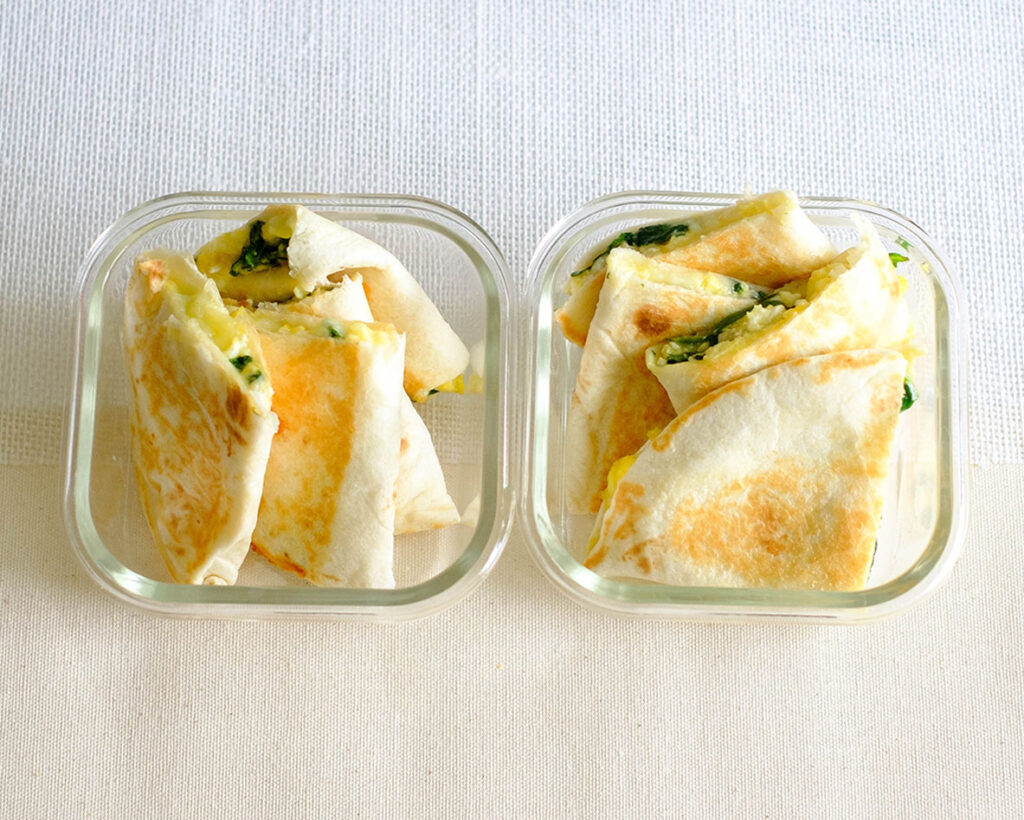
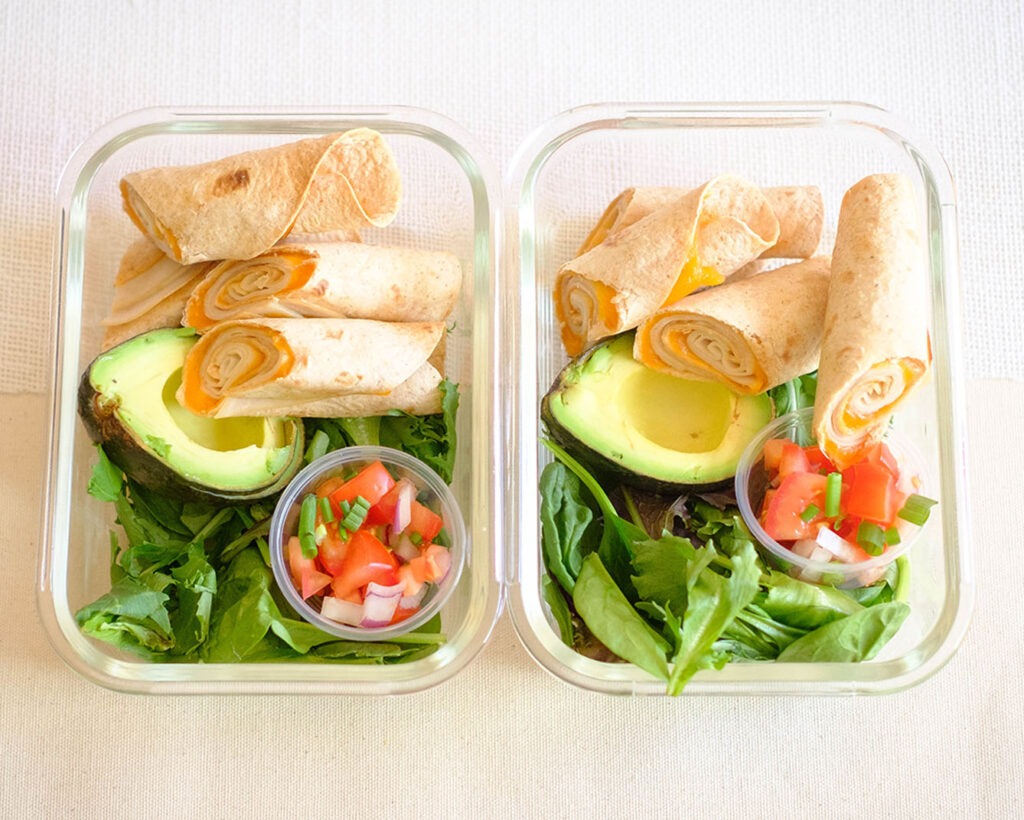
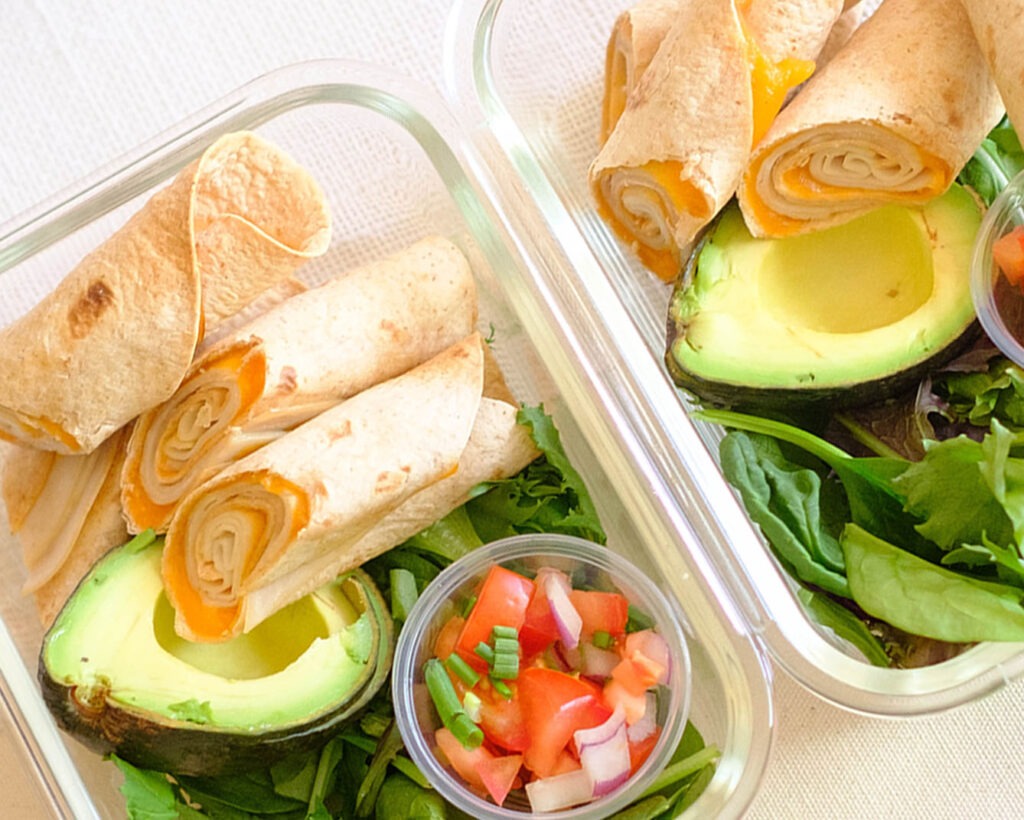
Planning for a busy week ahead? Well, good news! These quesadillas are freezer-friendly champions. After assembling and cooking them, let them cool completely, then wrap them individually in parchment paper and store them in a freezer-safe bag. They can be your “emergency breakfast” that’s ready to be heated up in a jiffy, making those hectic mornings much smoother and more satisfying.
Let’s talk convenience. These breakfast quesadillas are a meal prep dream when it comes to portability. Imagine this: You’re rushing out the door, and there’s no time to whip up breakfast. Fear not, because you can grab a pre-made spinach and egg quesadilla, and it’s your nutritious, hand-held meal on the go. Whether you’re heading to work, the gym, or an outdoor adventure, your meal prep efforts have your back, ensuring you’re always equipped with a tasty and nourishing option.
In a world where food waste is a concern, this recipe shines. By using pantry-friendly staples like eggs, cheese, and tortillas, you’re making the most of what you already have on hand. This not only saves you money but also contributes to a more sustainable way of eating. Plus, if you’ve got leftover ingredients from other recipes, like a handful of spinach or that last bit of shredded cheese, this recipe offers a tasty way to use them up before they go to waste.

Here are the Ingredients You’ll Need:
For this recipe for one, we will use simple ingredients to teach you the basics of how to make this breakfast quesadilla.
- Low Carb Tortillas: These gems are not only a great source of fiber but also help keep the carb count in check. Plus, they’re the perfect vessel to hold all that deliciousness together.
- Large Eggs: Eggs are your protein-packed BFFs. They’re loaded with essential amino acids and vitamins, including B12 and D, which are essential for bone health and energy production.
- Baby Spinach: Popeye knew what he was talking about! Spinach adds a burst of vitamins and minerals, including iron, magnesium, and vitamin K, while bringing a satisfying texture and a touch of earthiness.
- Shredded Mozzarella: Creamy, gooey, and oh-so-satisfying, mozzarella adds that irresistible cheese pull factor. It’s a good source of calcium and protein to keep you feeling full and satisfied.

How to Make an Egg Breakfast Quesadilla:
- Add 1 tbsp of olive oil to a pan on medium heat and crack those eggs into the pan.
- Gently stir the eggs as they cook until they’re firm and perfectly set.
- Introduce the baby spinach to the party and let them wilt into the egg goodness.
- Evenly spread the spinach and egg mixture onto half of the tortillas, then sprinkle that shredded mozzarella on top.
- Add the tortilla tops and place the quesadilla back into the pan. Toast both sides for about 2 minutes each, until they’re gorgeously golden brown and the cheese has melted to cheesy perfection.
- Slice and Savor: Time to cut those quesadillas into quarters – ready to dazzle your taste buds!
Reference the recipe card below for detailed instructions.
Meal Prep Tips for Spinach and Egg Quesadilla:
- Storage and Reheating Tips: Allow your quesadillas to cool before storing them in an airtight container in the fridge for up to 3-4 days. To reheat, pop them in the microwave for about 30 seconds or re-crisp them in a skillet for that delightful crunch.
- Ingredient Swaps: One of the brilliant aspects of this recipe is its versatility. You can easily customize it to suit your taste preferences or dietary needs. Want to add a dash of hot sauce for a kick? Go for it! Prefer a plant-based option? Swap out the eggs for tofu or chickpea scramble. Craving extra veggies? Load up on colorful bell peppers, mushrooms, or zucchini. This flexibility ensures that you won’t get bored and can adapt the recipe to your changing cravings. Get creative! You can swap out the mozzarella for cheddar, feta, or even dairy-free cheese if you prefer. And don’t shy away from adding diced tomatoes, bell peppers, or onions for an extra veggie boost.
- Balanced Meal Bliss: Want to take this meal up a notch? Pair your spinach and egg quesadilla with a side of fresh fruit, a dollop of Greek yogurt, or a small handful of nuts. Voila! A complete, balanced breakfast that will keep you fueled and ready to conquer the day.


Frequently Asked Questions
Can I add meat to this recipe?
Definitely! If you’re looking to up the protein content or enjoy a meaty twist, feel free to add cooked and diced chicken, turkey, or even some crispy bacon. Just ensure the meat is fully cooked before incorporating it into your quesadilla.
Can I add other seasonings or herbs?
Experiment with different seasonings to tailor the flavor to your liking. Fresh herbs like cilantro or chives can add a burst of freshness. You can also sprinkle in some smoked paprika, cumin, or chili powder for an extra layer of depth.
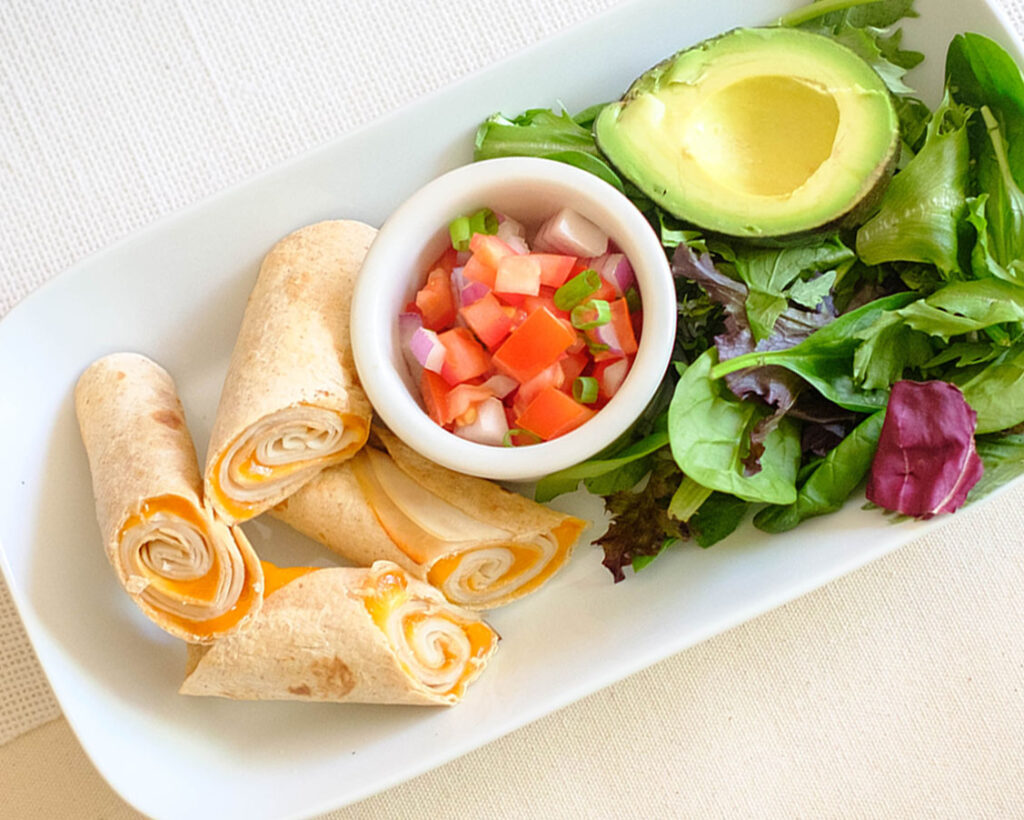
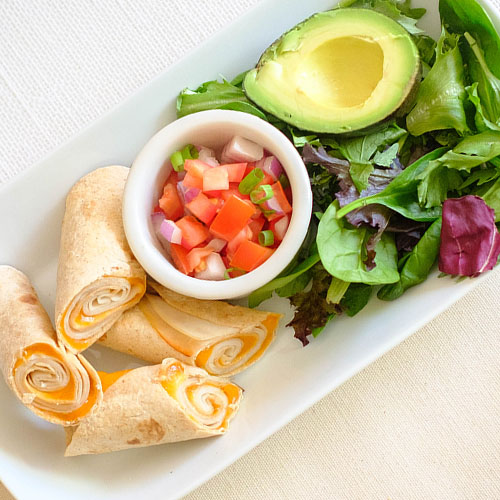
Can I add avocado to these quesadillas?
Avocado adds a creamy, nutrient-rich element to your quesadilla. You can either slice avocado and add it to the filling before folding or spread mashed avocado onto the tortilla before adding the egg mixture.


Spinach And Egg Quesadilla
Equipment
Ingredients
Instructions