
Hey there, meal preppers! Are you ready to add some zesty excitement to your weekly meal prep routine? Look no further than our delicious and nutritious Beef Tomatillo Stew, one pot soup. Packed with lean ground beef, vibrant veggies, and a burst of flavor from tomatillo sauce, this dish will have your taste buds dancing with joy. Plus, it’s the perfect way to keep your healthy eating goals on track! Let’s dive right into the world of meal prep magic.
This post may contain affiliate links. Please see our privacy policy for details.

What is Tomatillo Sauce and Why is it Great for Meal prep?
Tomatillo sauce, also known as salsa verde, is a vibrant and tangy sauce made from tomatillos, which are small, green, tomato-like fruits. Tomatillos are known for their slightly citrusy and tart flavor. To make tomatillo sauce, tomatillos are typically husked, boiled or roasted, and then blended with ingredients like green chilies, cilantro, onions, and sometimes garlic. The result is a versatile, green sauce that can be used in a variety of dishes, such as enchiladas, tacos, soups, and stews. Tomatillo sauce adds a zesty and refreshing kick to dishes and is a common condiment in Mexican and Southwestern cuisine.
- Time-Saving: Pre-made tomatillo sauce eliminates the need for preparing and cooking tomatillos and other ingredients from scratch, cutting down on meal prep time significantly. One pot soups reduce clean up time and effort.
- Consistent Flavor: Store-bought tomatillo sauce offers a consistent and authentic flavor, ensuring that your stew base will taste as delicious as your favorite restaurant dishes.
- Cost-Efficient: Buying pre-made tomatillo sauce can be more cost-effective than purchasing individual ingredients and spices, saving you money in the long run.
- Convenience: It’s a hassle-free option, making it ideal for busy individuals who want to create restaurant-quality flavors without the culinary expertise or the time commitment.
- Wide Availability: Pre-made tomatillo sauce is readily available at most grocery stores, making it accessible to anyone looking to elevate the flavor of their stew with minimal effort and maximum taste.

Ingredients You’ll Need
- Lean Ground Beef: You can substitute lean ground turkey or chicken for beef if you prefer a lighter protein option.
- White Onions: Red onions or shallots can be used as a flavorful alternative.
- Green Onions: Chives or scallions can be used as substitutes for green onions.
- Garlic: If you’re in a hurry, pre-minced garlic, garlic paste, or garlic powder can be used as an alternative.
- Sweet Potato: Regular potatoes, butternut squash, or carrots can be used instead of sweet potatoes.
- Green Bell Pepper: Look for firm, brightly colored peppers to ensure freshness. Red, yellow, or orange bell peppers can be used for a sweeter flavor.
- Tomatillo Sauce: You can make your own tomatillo sauce by blending fresh tomatillos, onions, and spices. Tomatillos are low in calories and provide vitamins like vitamin C, A, and K. Salsa verde can be a convenient alternative to tomatillo sauce.
- Chicken Broth: Buy low-sodium or no-sodium-added chicken broth to have more control over the salt content. Vegetable broth can be used as well.
- Cilantro: Store fresh cilantro with a damp paper towel in a plastic bag to keep it fresh longer. Parsley or fresh basil can be used for a different herb flavor.
- Jalapeno: Serrano peppers or crushed red pepper flakes can be used for extra heat.
Basic Steps to Meal Prep Beef Tomatillo Stew
- Heat up a soup pot over medium-high heat and add a touch of oil. Toss in your white and green onions, sautéing them until they become soft and fragrant. This should take about 2 to 3 minutes. It’s the perfect way to start building those savory layers of flavor!
- Time to introduce our star player – the lean ground beef. Pop it into the pot alongside the minced garlic. As it cooks, use a spatula to break it up into smaller, delectable pieces. Continue to stir and cook for about 5 to 6 minutes until the beef is browned and cooked through. The aroma alone is enough to get your taste buds tingling!
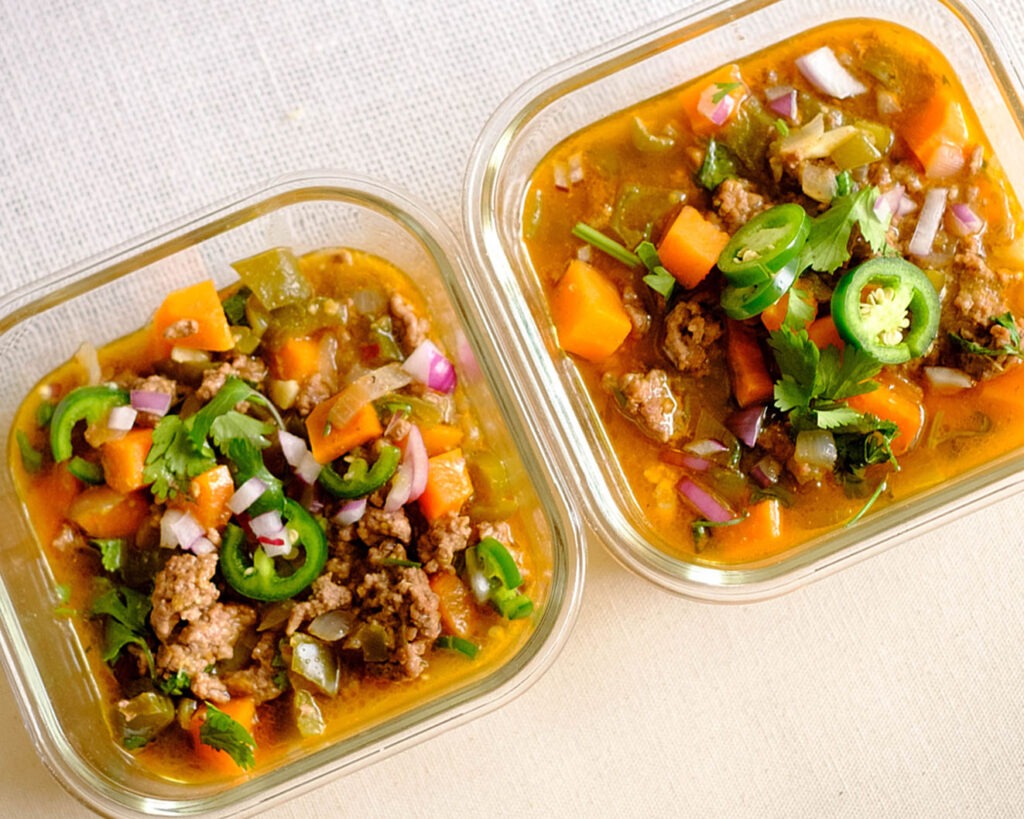
- Once the beef is cooked to perfection, it’s time to add in the chicken broth, tomatillo sauce, diced bell peppers, and sweet potatoes. We’re infusing your stew with nutrients and flavor! Bring this hearty mixture to a rolling boil, and once it’s bubbling, reduce the heat to low-medium and cover the pot with a snug lid. Let it simmer for around 10 minutes, allowing the flavors to meld together in delicious harmony.
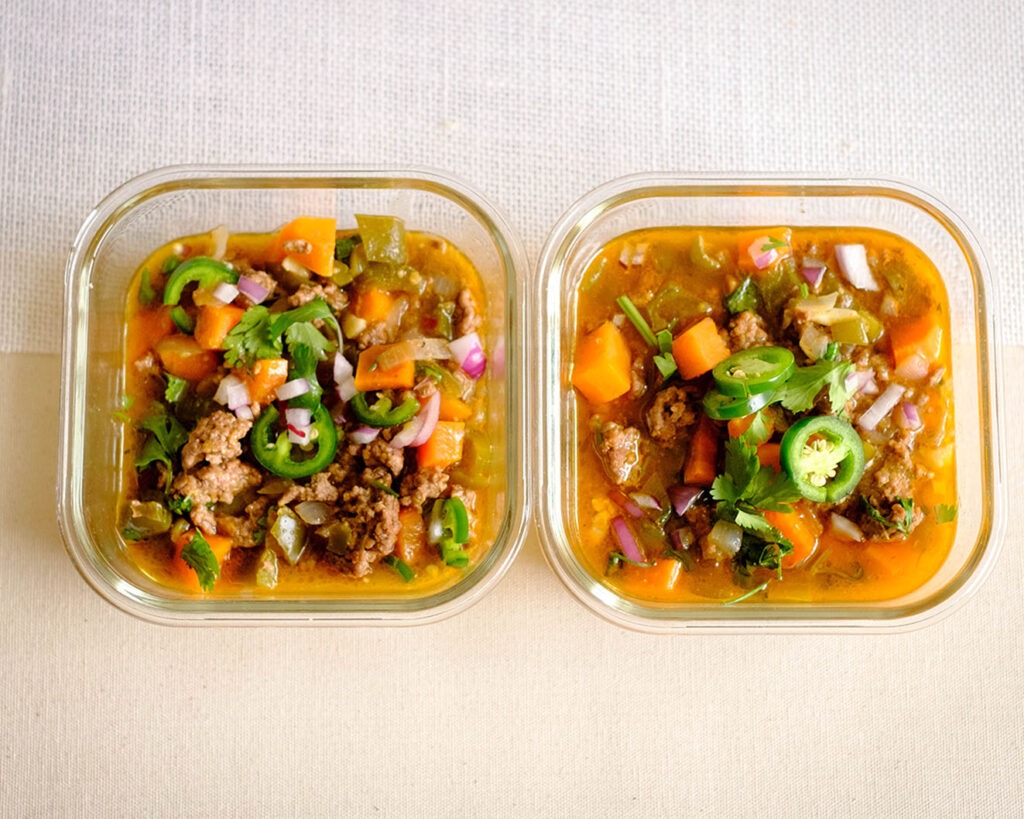
- After the stew has simmered to its full potential, it’s time for the grand finale. Top off your Beef Tomatillo Stew with a vibrant medley of fresh toppings. Sprinkle on the chopped cilantro, diced red onions, and sliced jalapenos. These final touches not only add a burst of color but also a pop of freshness that’s simply irresistible.
Reference the recipe card below for detailed instructions.

Meal Prep Tips for Beef Tomatillo Stew – One Pot Soup
- Prep Your Ingredients: Before you start cooking, wash, peel, chop, and measure all your ingredients. Having everything ready will streamline the cooking process and make it more efficient.
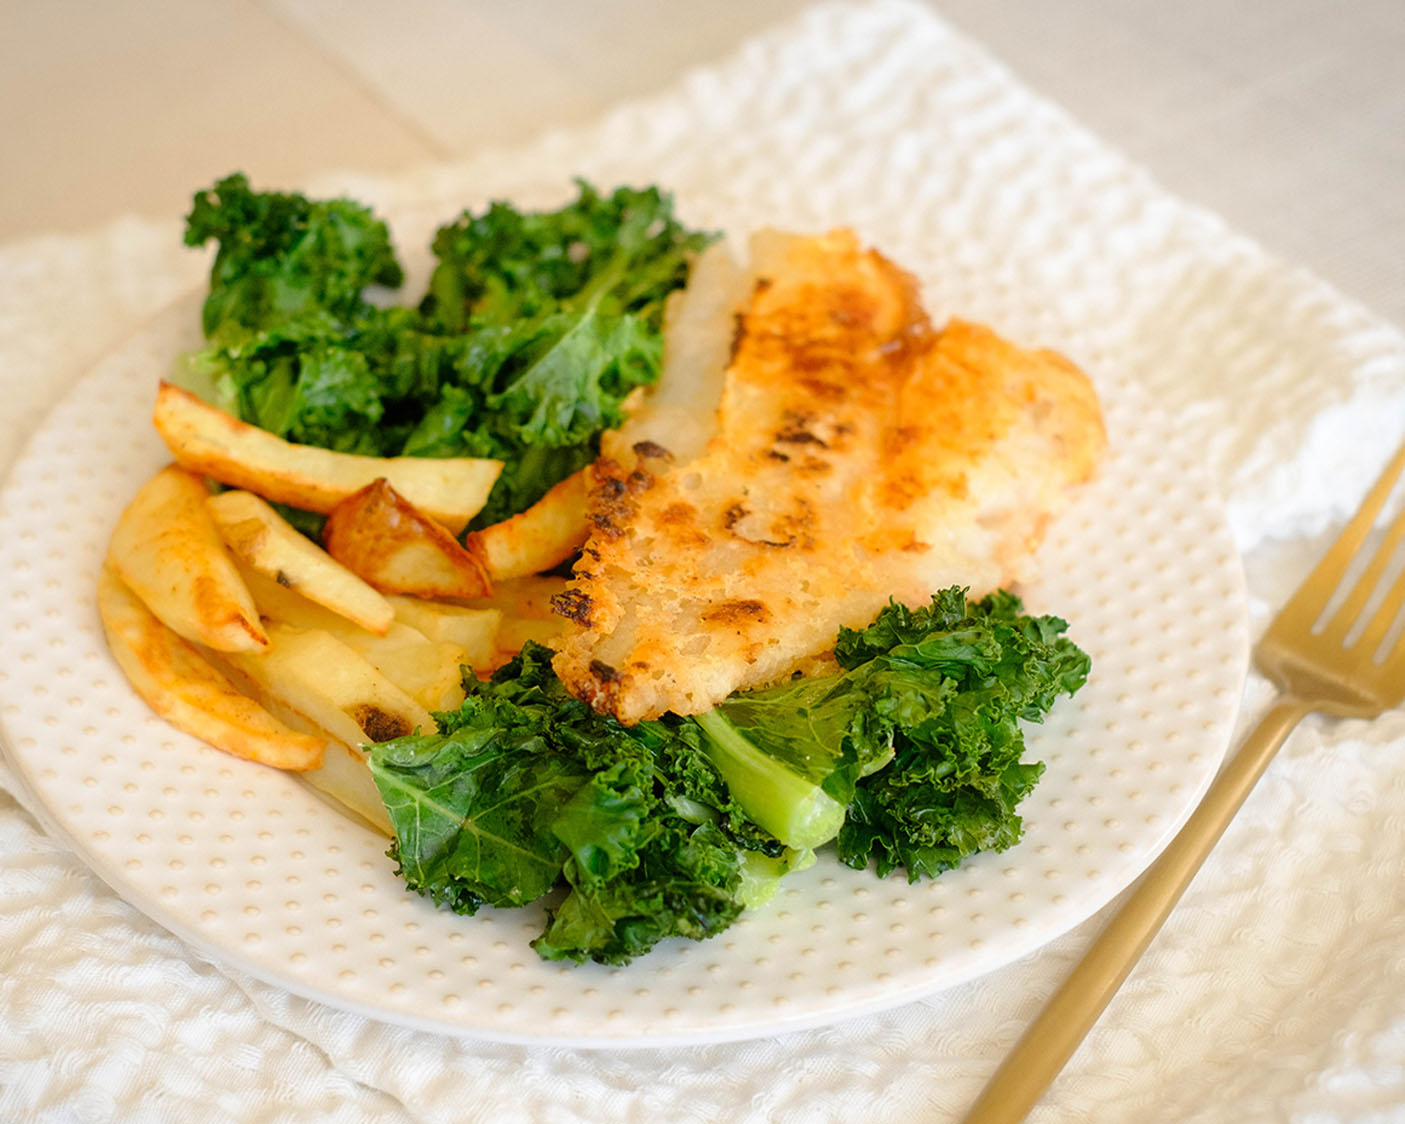
- Serve with Complementary Sides: Enhance your meal prep experience by pairing the Beef Tomatillo Stew with healthy sides such as brown rice, quinoa, or a side salad. Prep these sides in advance for a complete meal.
- Maintain Freshness: To keep your Beef Tomatillo Stew fresh throughout the week, consider portioning the toppings (cilantro, red onions, jalapenos) separately and add them just before eating. This will ensure they stay crisp and vibrant.
- Storage Guidelines: Store your meal prep containers in the refrigerator for up to 3-4 days. If you’ve frozen portions, they can last for 2-3 months.
Leftover Ingredient Tips
- Ground Beef: Make a hearty beef and vegetable stir-fry with any leftover ground beef. Add stir-fry veggies, a splash of soy sauce, and some ginger for a quick and satisfying meal. Transform the beef into a filling for tacos, burritos, or quesadillas. Just add some cheese, your favorite toppings, and tortillas for a new dish.
- Sweet Potatoes: Mash leftover sweet potatoes and turn them into sweet potato pancakes or fritters. Add a bit of flour and an egg to bind the mixture, then pan-fry until golden brown. Cube and roast the sweet potatoes with olive oil, salt, and pepper for a simple side dish. Add a sprinkle of your favorite herbs or spices for extra flavor.
- Green Bell Pepper: Slice the green bell pepper and use it as a crunchy addition to salads or wraps. It adds a fresh and colorful touch to your meals. Stuff the bell peppers with a mixture of rice, beans, cheese, and any leftover beef. Bake them until the peppers are tender and the filling is hot.
- Tomatillo Sauce: Use tomatillo sauce as a marinade for chicken, shrimp, or tofu. It will add a tangy kick to your protein of choice. Mix tomatillo sauce with plain Greek yogurt or sour cream to create a flavorful dip for chips or fresh vegetables.
- Jalapeno: Slice jalapenos thinly and use them to spice up your pizza, nachos, or omelets. They add a nice kick to a variety of dishes. Create a homemade hot sauce by blending jalapenos with vinegar, salt, and garlic. Adjust the spice level to your preference.


Frequently Asked Questions
Can I make this stew without sweet potatoes if I’m watching my carb intake?
Certainly, you can omit sweet potatoes or substitute them with lower-carb alternatives like cauliflower, zucchini, or additional bell peppers.
Can I make this recipe in a slow cooker or Instant Pot?
Yes, you can adapt this recipe for a slow cooker or Instant Pot. Brown the beef and sauté the onions and garlic before transferring everything to your chosen appliance. Adjust the cooking times accordingly.
What are some optional add-ins or variations for this stew?
You can get creative with this recipe. Consider adding black beans, corn, or diced tomatoes for extra flavor and texture. Experiment with different herbs and spices to suit your taste.


Beef Tomatillo Stew
Equipment
Ingredients
Instructions
Notes
Nutrition