
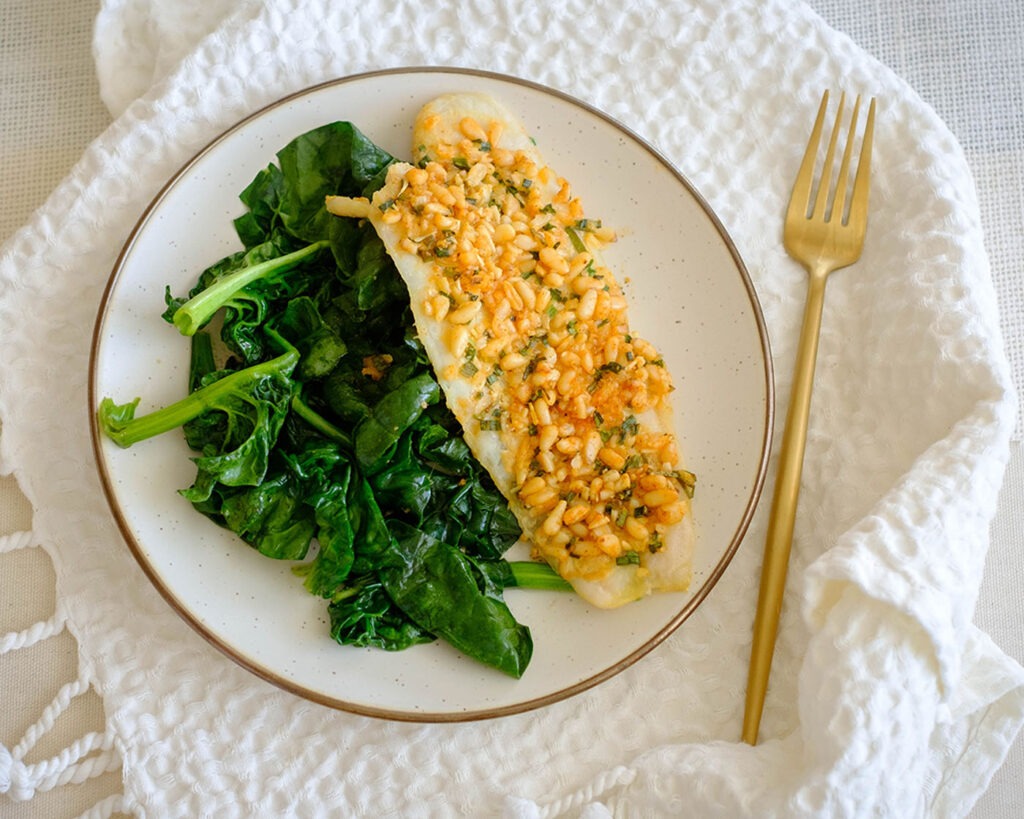
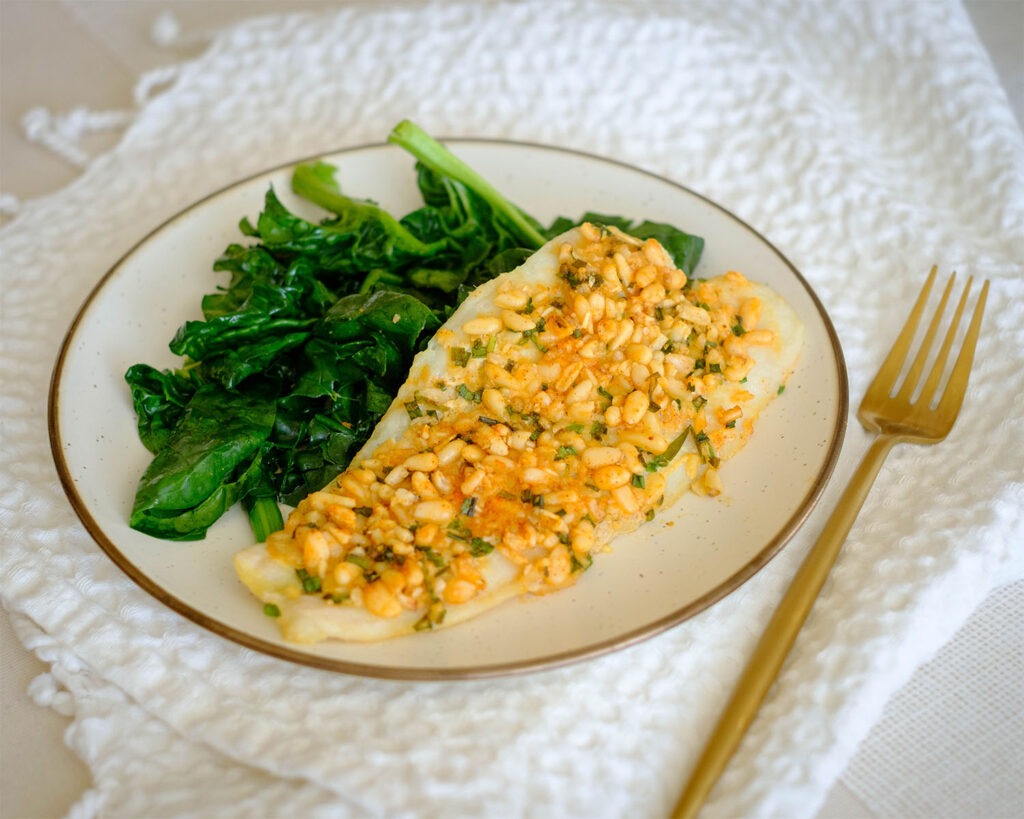
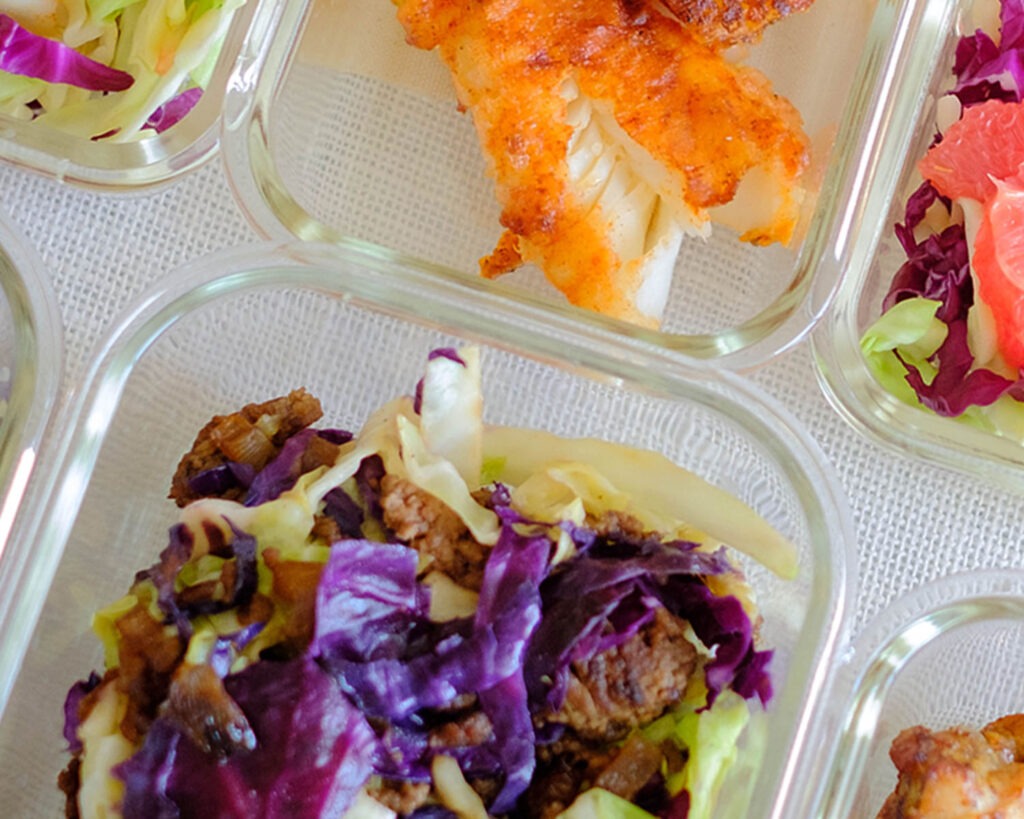
If you’re looking for a low-carb, keto-friendly meal, then you’ll enjoy this healthy baked white fish with a pinenut crust served with sauteed spinach.
This post may contain affiliate links. Read the disclosure policy.
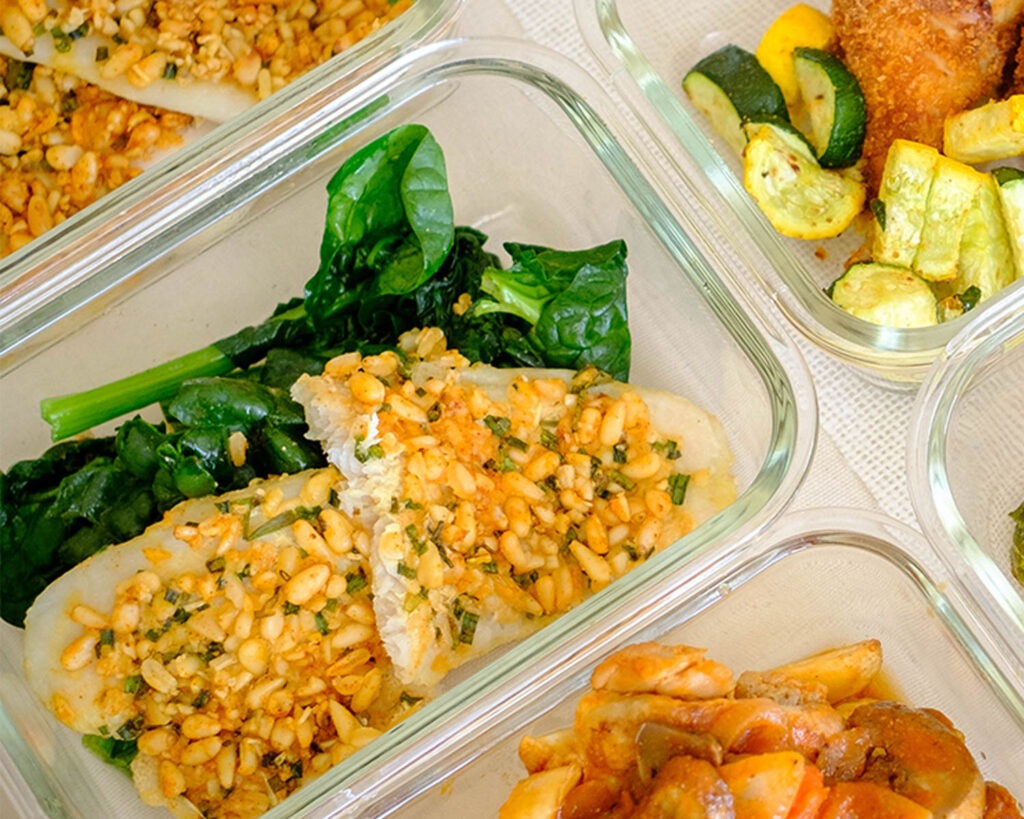
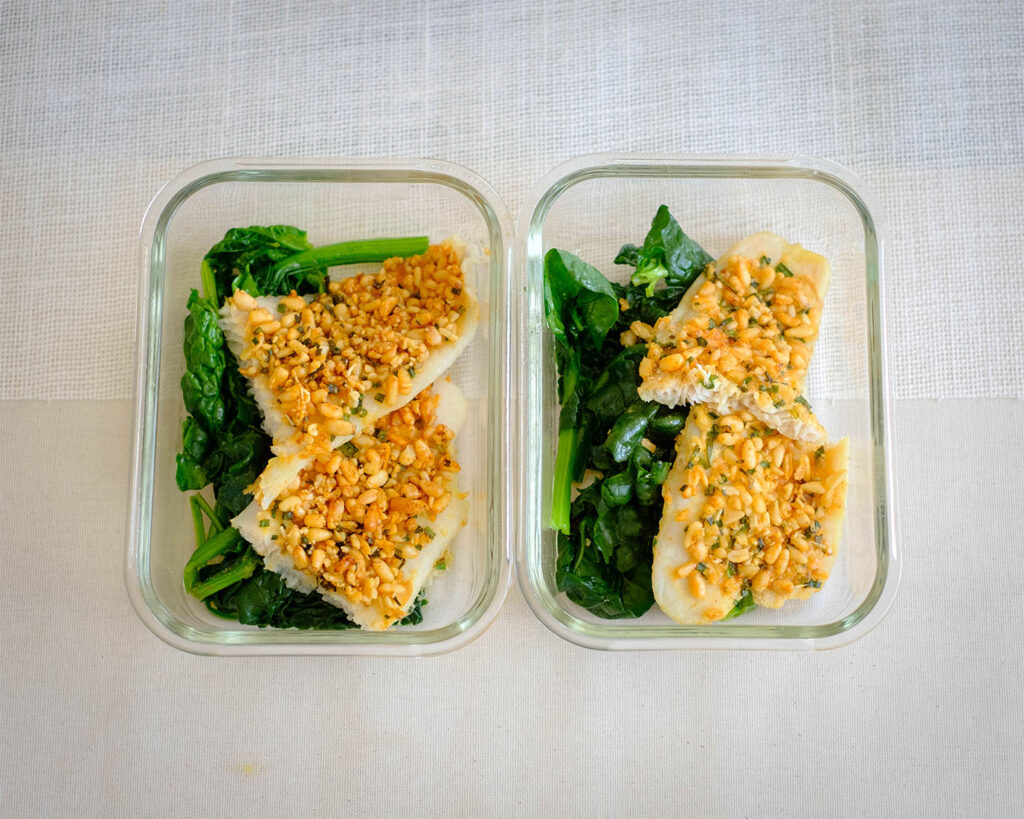
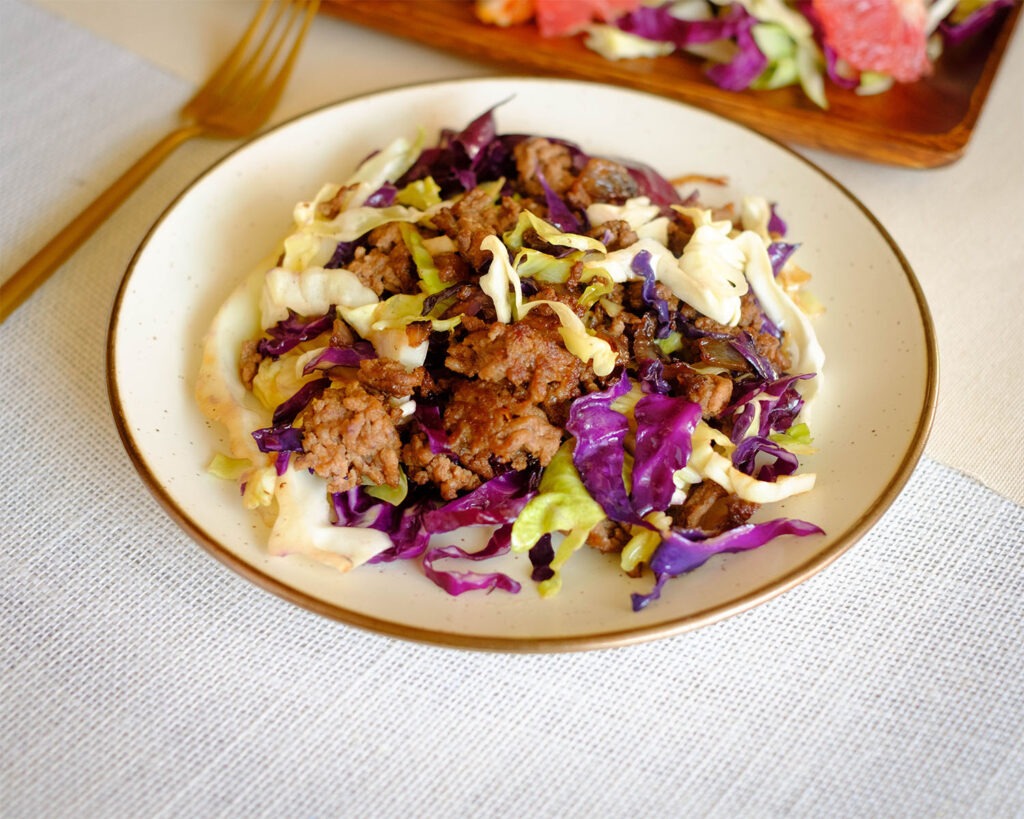
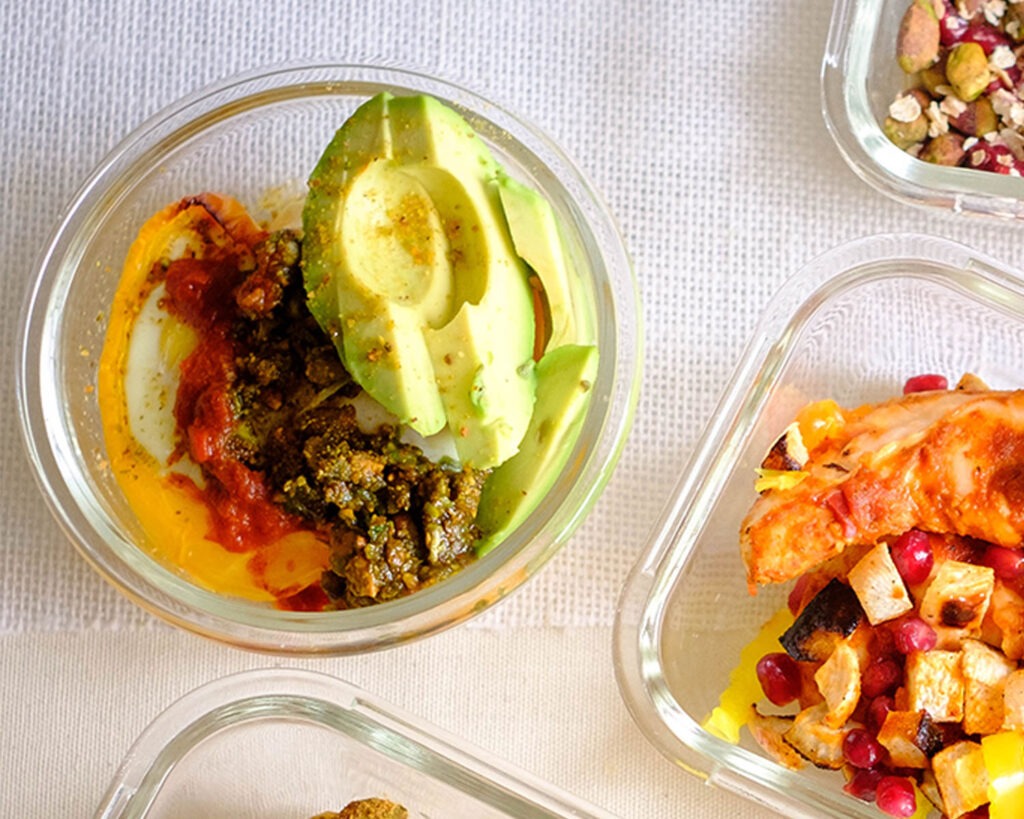
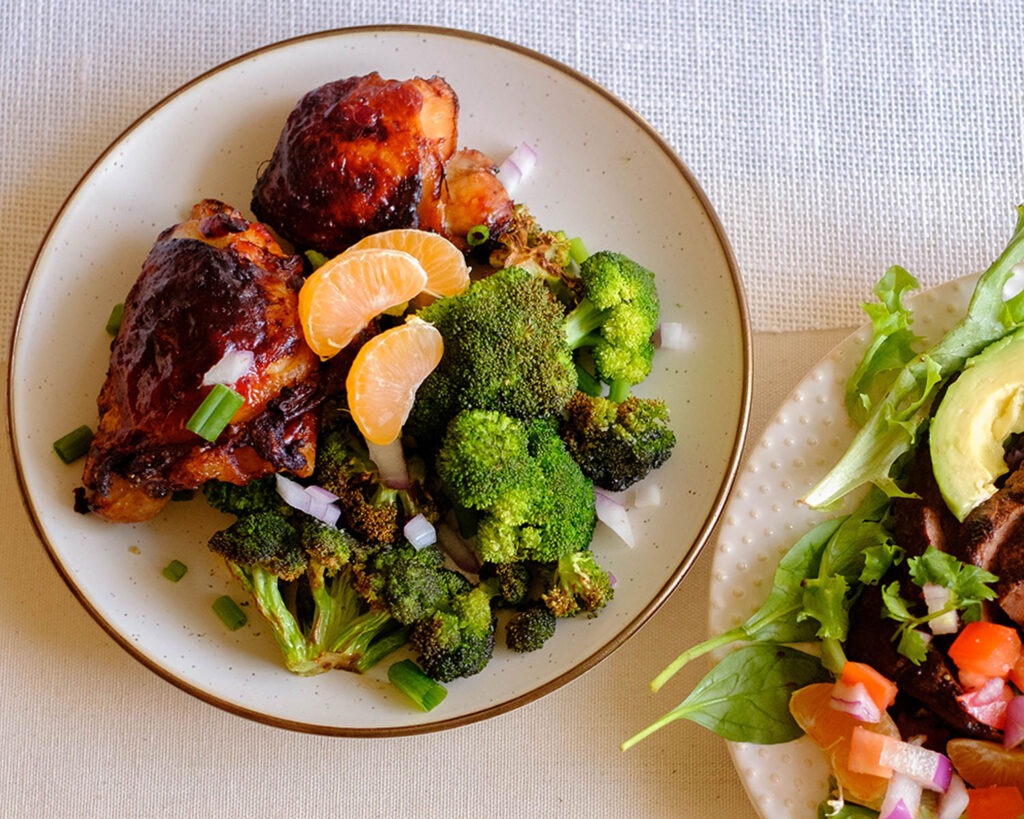
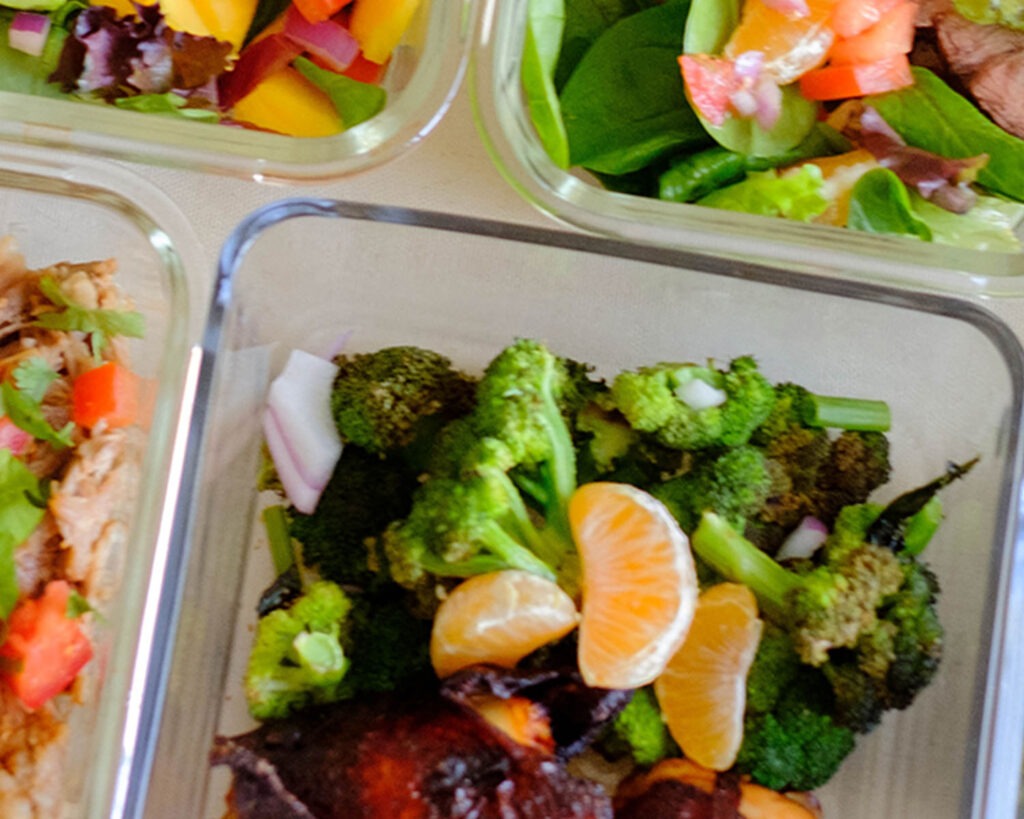
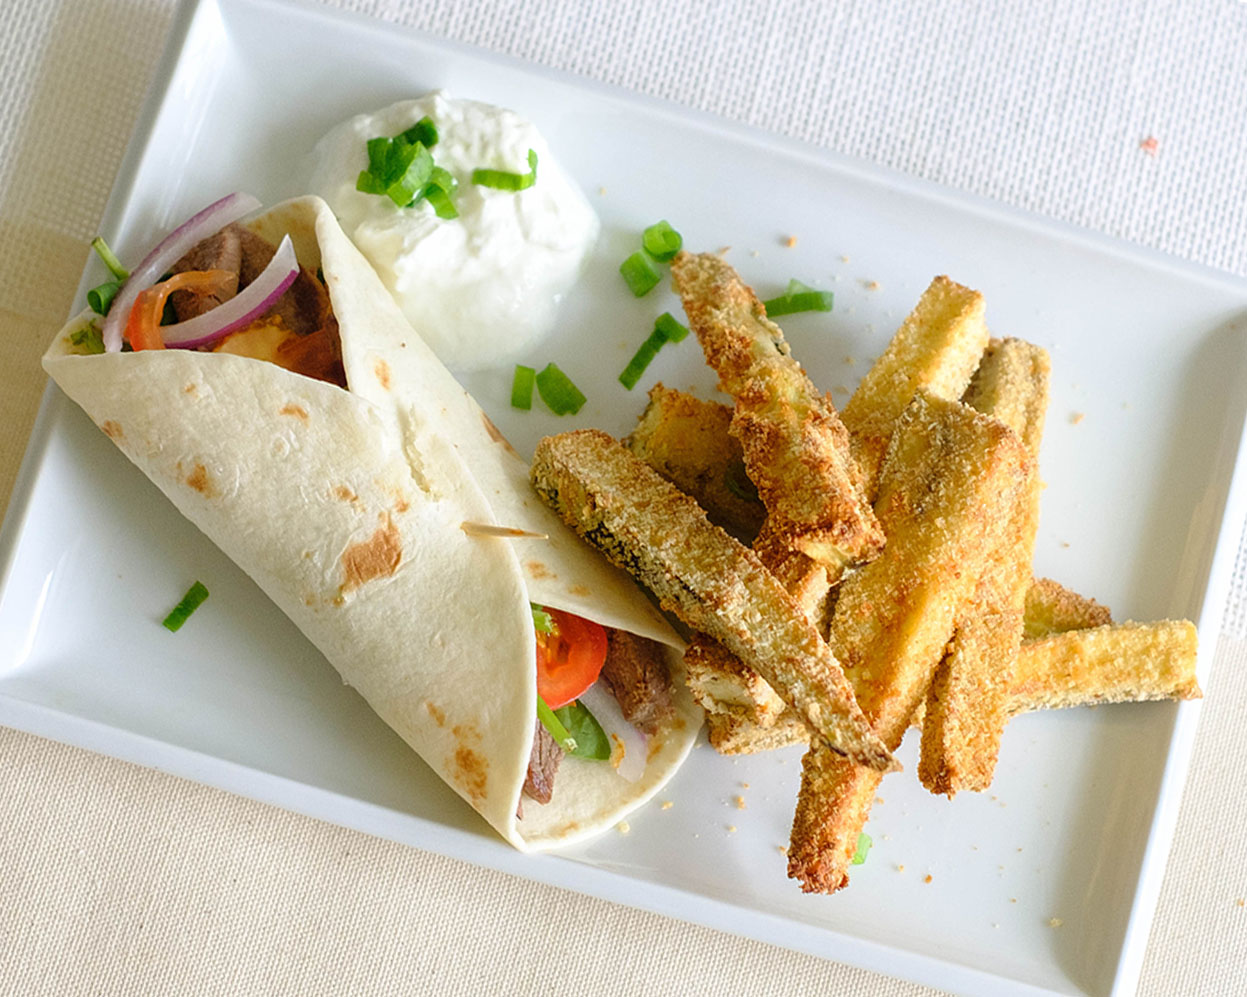
Meal prepping can help you learn more about nutrition and how to treat food as fuel. Here’s a simple meal prep idea that you can prep for the week and keep you on a healthy eating track.
This baked fish is a good source of protein. Adding the pine nut crust provides a good source of healthy fats and also adds a flavorful crunch against the soft, flaky white fish.

Here’s What You Need
- Tilapia: You can use any kind of white fish such as cod, grouper, or halibut
- Pine Nuts: Pine nuts contain a variety of nutrients and antioxidants that can contribute to heart health
- Spinach: Spinach is also a good source of fiber and vitamins
- Dijon Mustard: This helps the pine nuts stick to the fish while baking and it also adds a layer of flavor
How to Bake Pine Nut Crusted Tilapia
- Pre-heat the oven to 400F.
- Pine Nut Crust: Insert nuts, chives, olive oil, and seasonings inside a plastic bag. Use a mallet or small pan to crush the pine nuts into crumbs.
- Prep the Tilapia: Spread dijon mustard on top of each fillet and top it off with the pine nut mixture.
- Bake the Tilapia: Bake it in the oven until it is fully cooked and the crust is golden brown.
- Spinach: Meanwhile, saute the spinach in a saute pan.
Reference the recipe card below for detailed instructions.
Meal Prep Tips for Pine Nut Crusted Tilapia
- Air Fryer Tip: You can also cook the fish in an Air Fryer. Cook it at 400F for 7-9 minutes
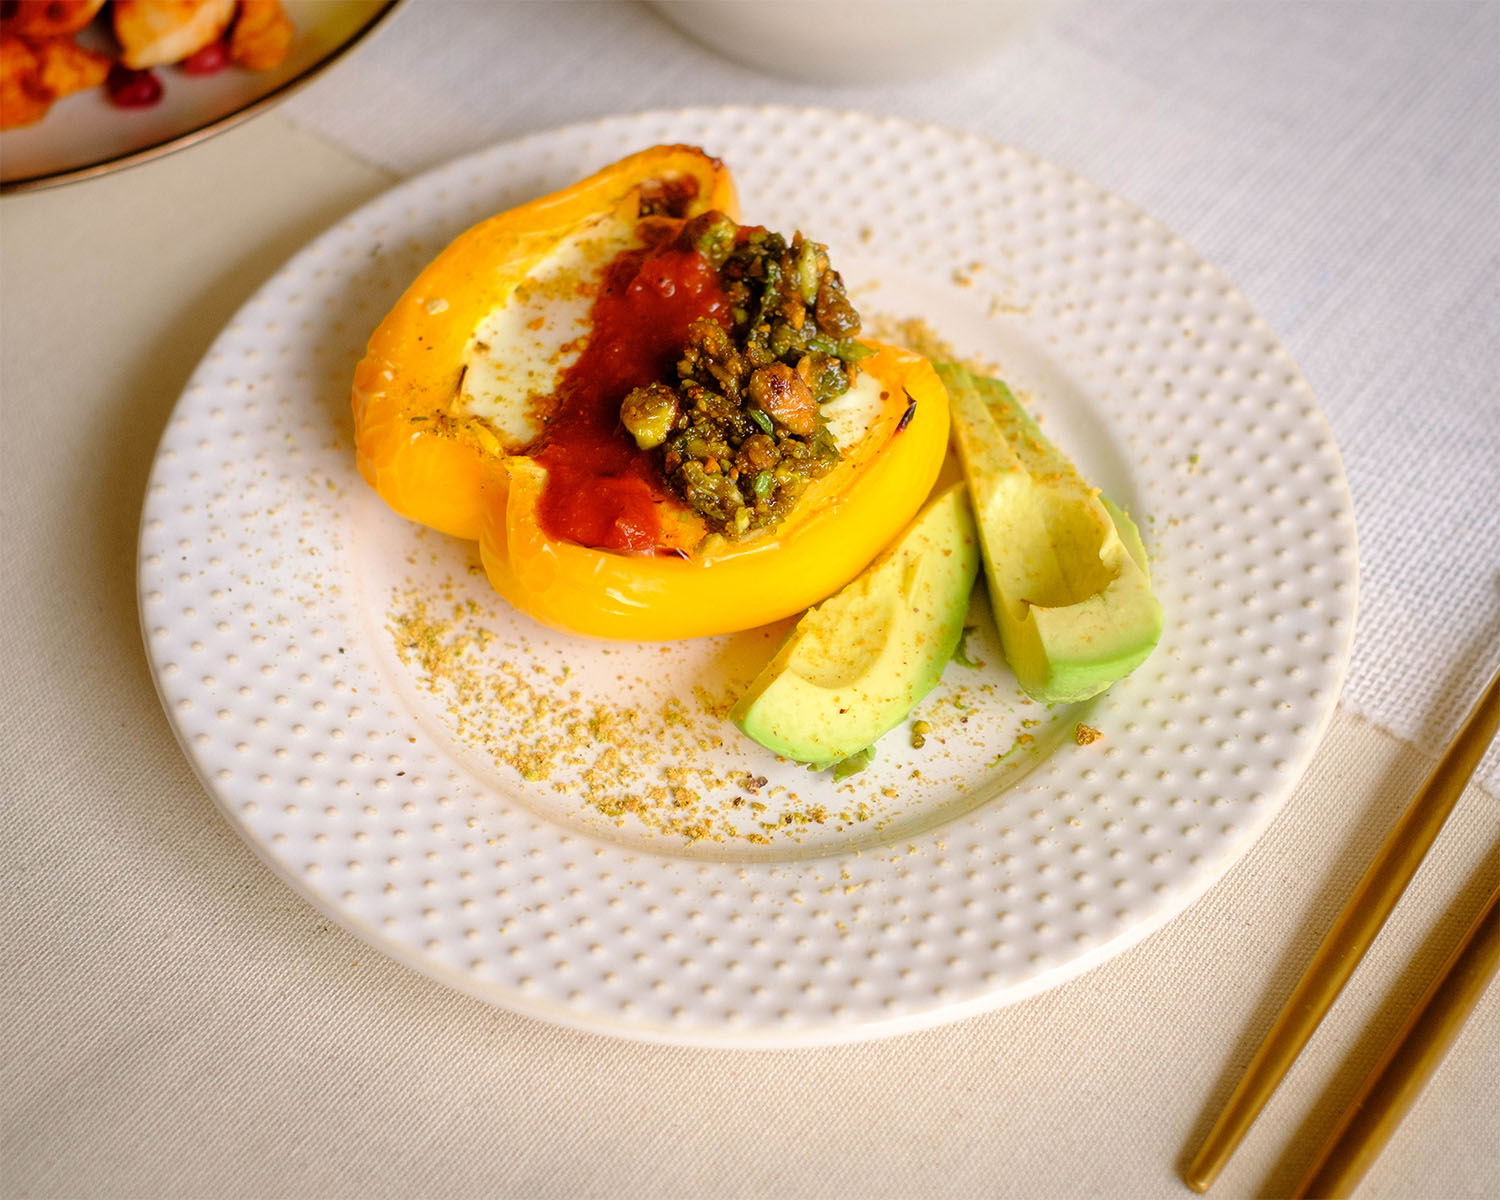
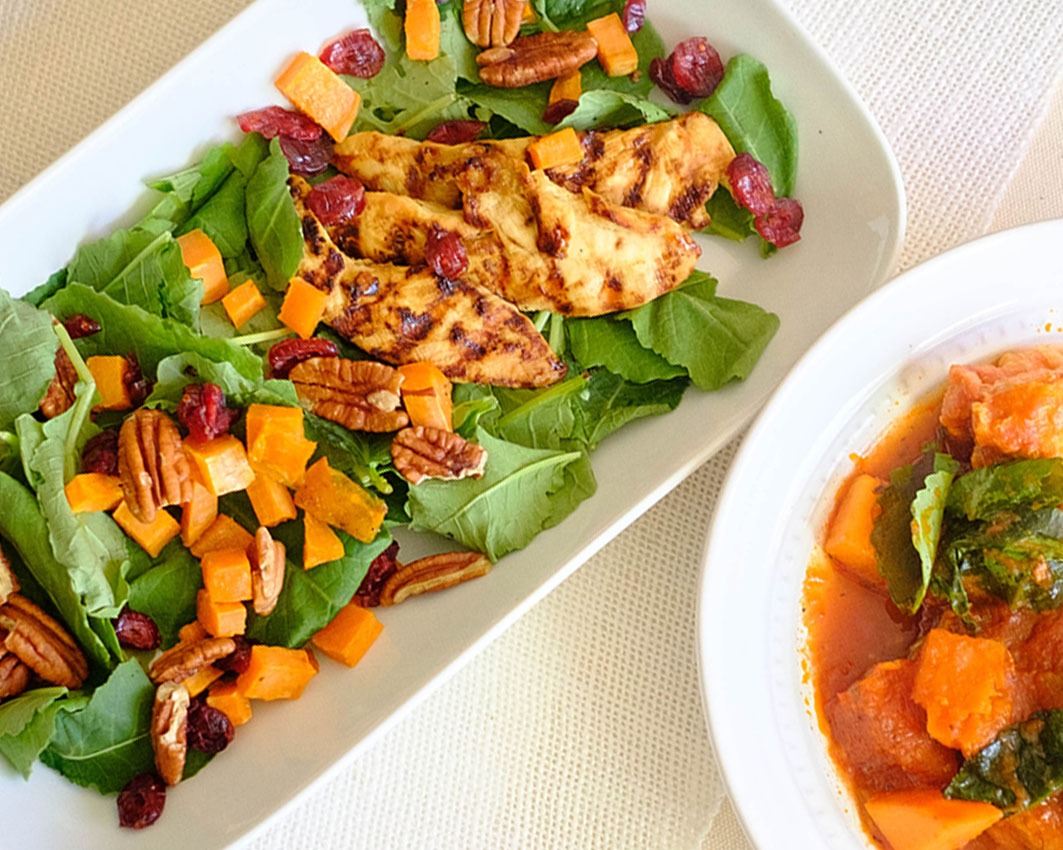
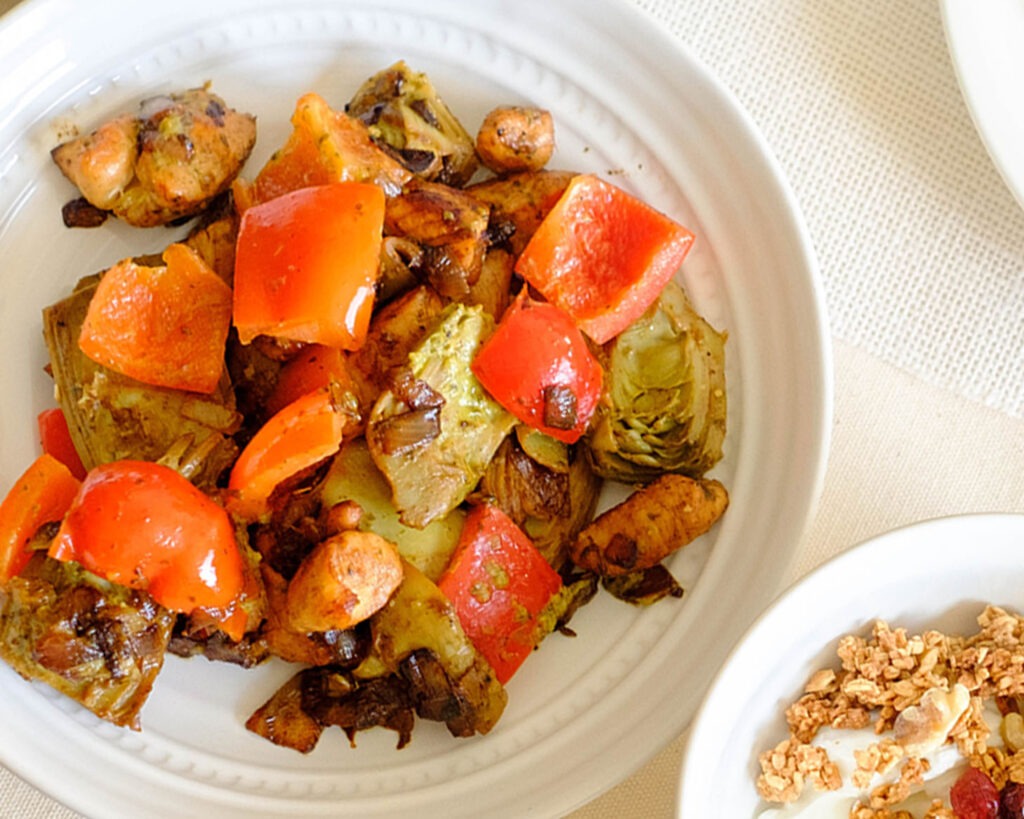
- To Serve: You can serve this dish with cauliflower rice or roasted yellow squash for additional servings of vegetables
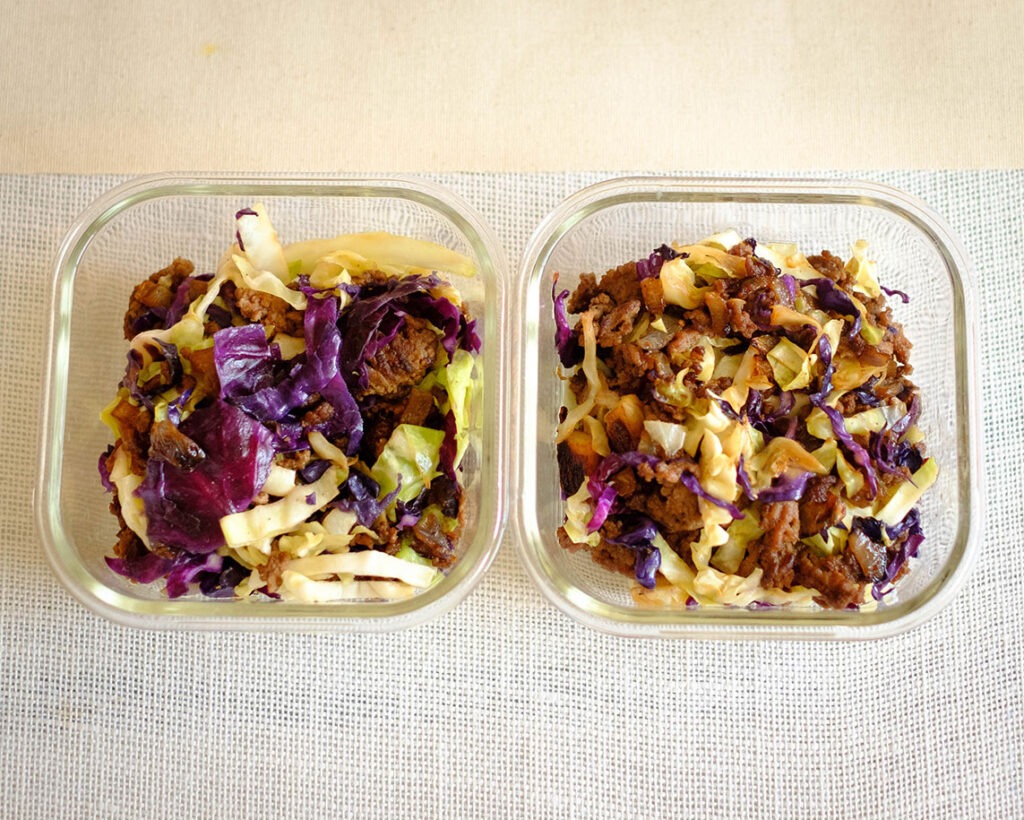
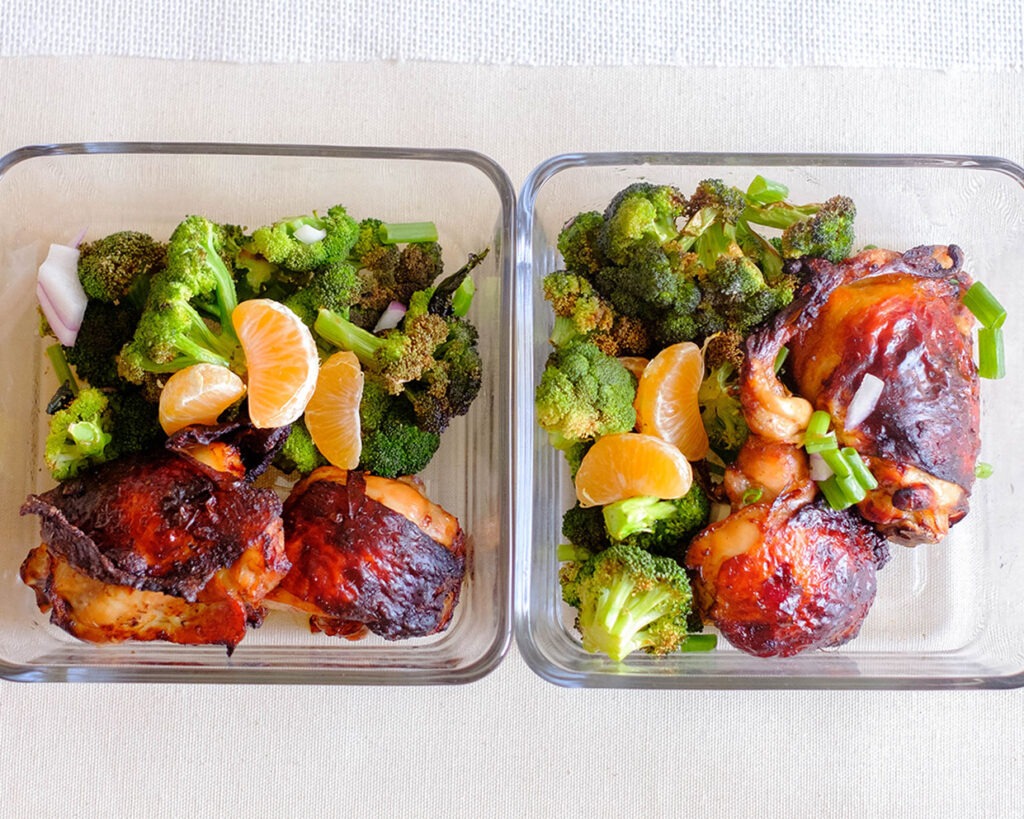
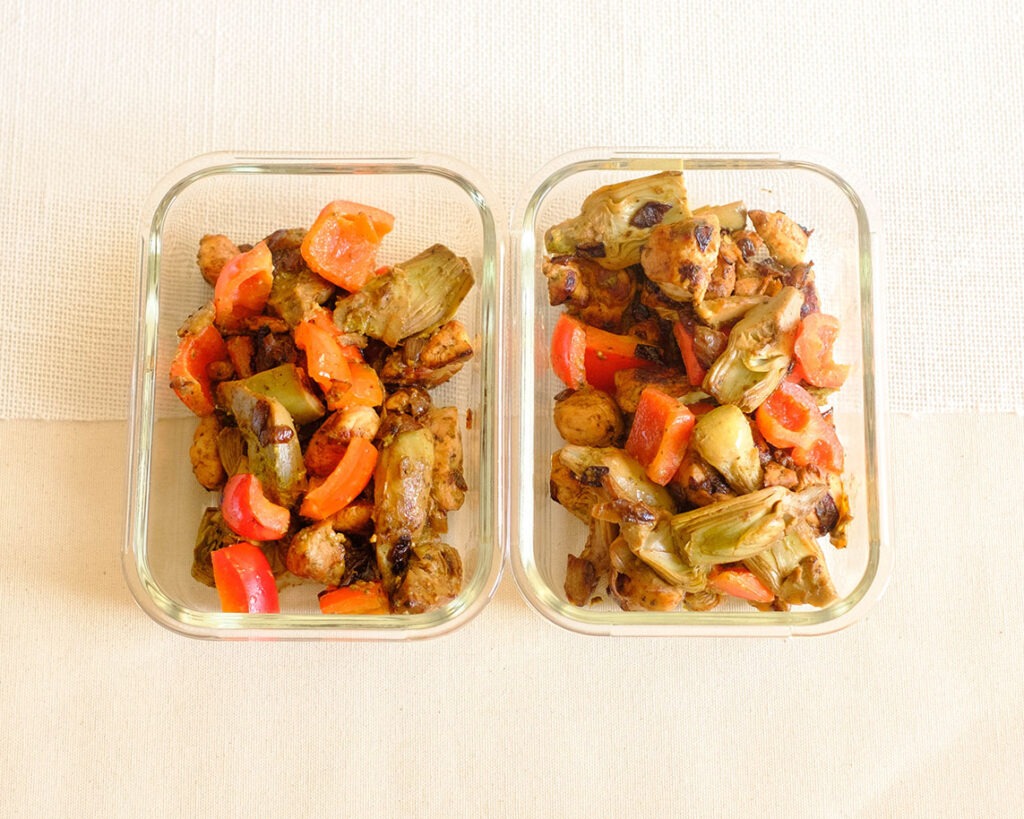
- To Store: Store in an airtight container in the refrigerator for up to 3 to 4 days.


You Might Also Like


Frequently Asked Questions
What benefits do pine nuts have?
They are rich in antioxidants and anti-inflammatory compounds that promote heart health and also help improve blood glucose control.
What if I don’t have pine nuts?
You can also use chopped almonds in place of pine nuts.
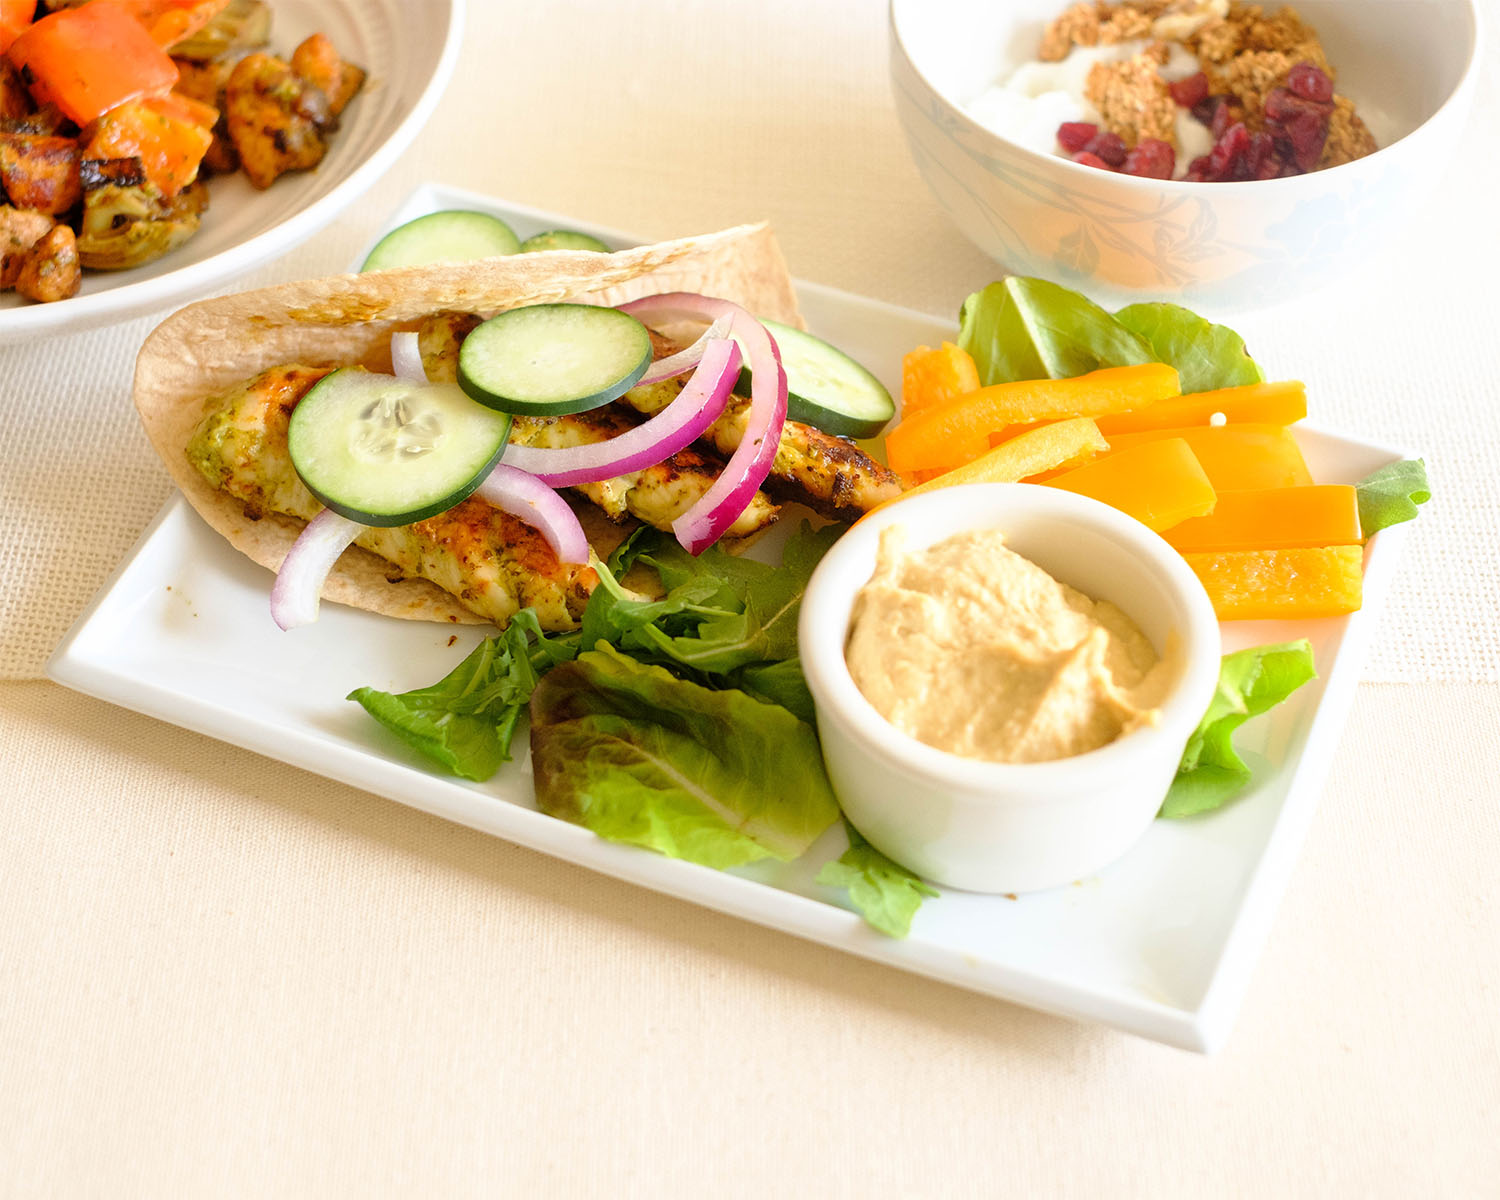
What can I serve with this meal?
You can also serve this with roasted potatoes, rice pilaf, or your favorite side salad. If you want to keep it low-carb, serve it with cauliflower rice.


Baked Pine Nut Crusted Tilapia with Sauteed Spinach
Equipment
Ingredients
Tilapia
Spinach
Instructions