
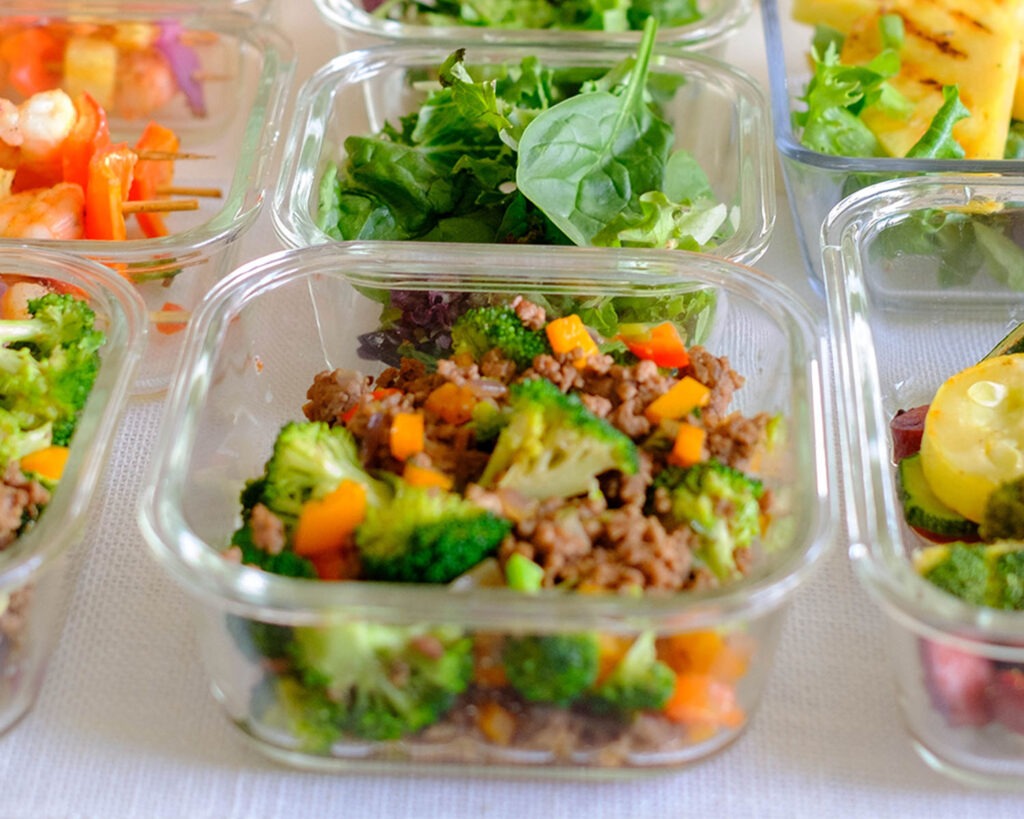
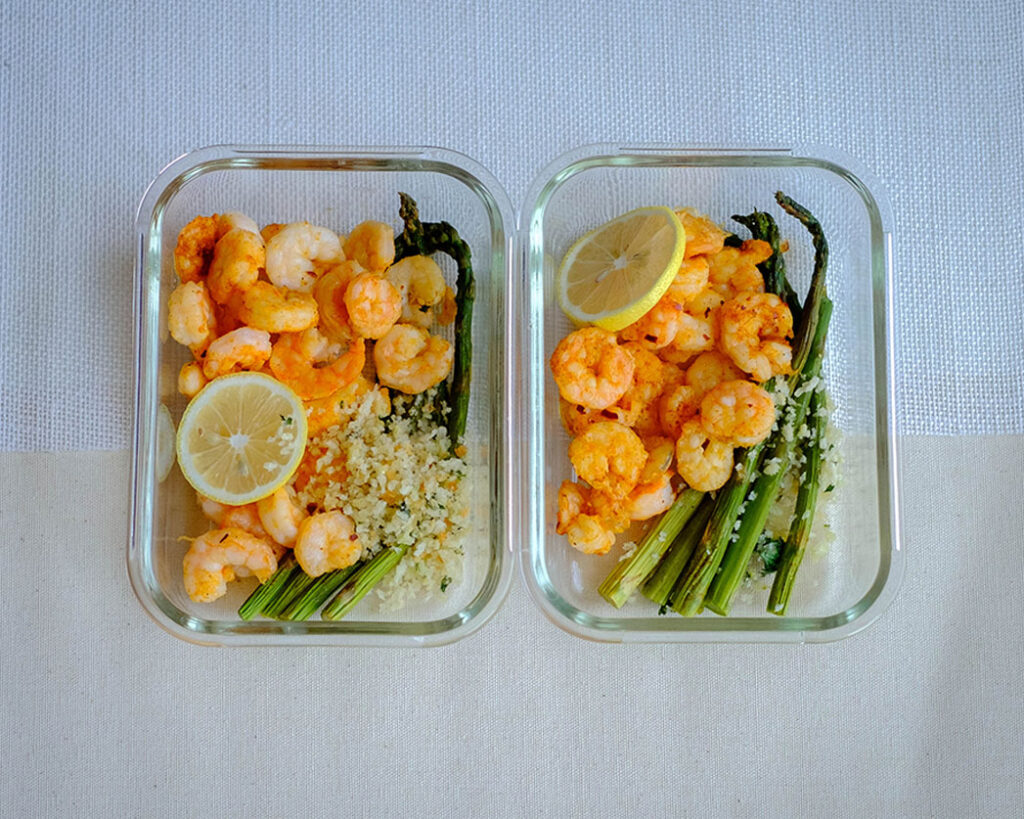
Quick and easy Air Fryer Shrimp and Pineapple kebabs filled with tropical flavors that you’re going to love for your weekly meal prep.
This post may contain affiliate links. Please see our privacy policy for details.
Why We Enjoy These Air Fryer Shrimp Kebabs
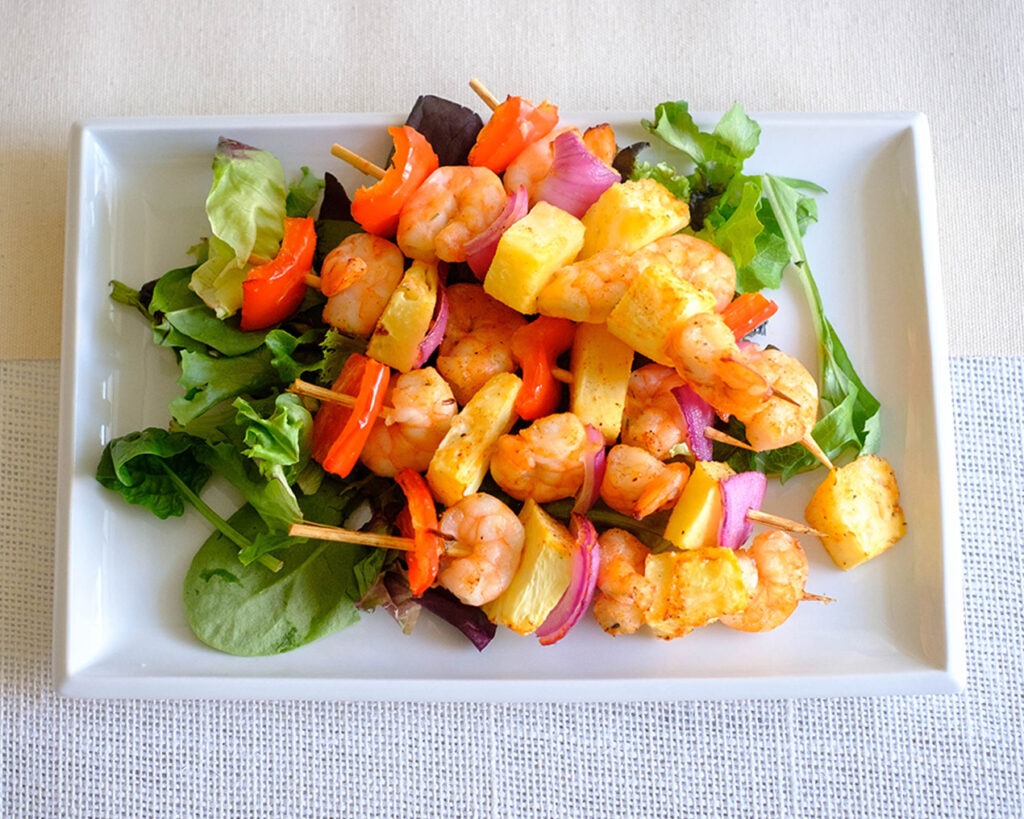
Food on skewers always just makes it more fun to eat! We load ours with skewers with juicy shrimp, sweet bell peppers, tangy pineapple, and aromatic onions.
- Cooking it in the Air Fryer makes it so easy and fast
- All the ingredients bring their own flavors, so no need for fancy seasonings
- If you don’t want to mess with skewers, you can still throw everything in the Air Fryer basket and let them cook all together

Ingredients You’ll Need
This shrimp kebab recipe uses simple ingredients. Here are the essential that you’ll need for the skewers:
- Shrimp: We used fresh, peeled, and deveined shrimp. You can find them also frozen, however, you’ll need to defrost them in the fridge the night before
- Red Bell Pepper: You can use any color of bell peppers, but we like the sweetness of red bell peppers
- Red Onions: You can use any kind of onions that you have on hand, but we like using red onions because it adds color to the dish
- Pineapple: It’s best to use fresh pineapple for this recipe because canned pineapple will be too mushy when cooked

Here Are The Steps To Make Air Fryer Shrimp Kebabs
- Cut up the pineapple, red onions, and bell peppers into one-inch cubes.
- Assemble the ingredients on the skewers, alternating each ingredient on the skewers.
- Coat with olive oil or cooking spray and sprinkle on the seasonings.
- Place the skewers in the Air Fryer Basket and cook for 8 to 10 minutes at 360F.
Reference the recipe card below for detailed instructions.
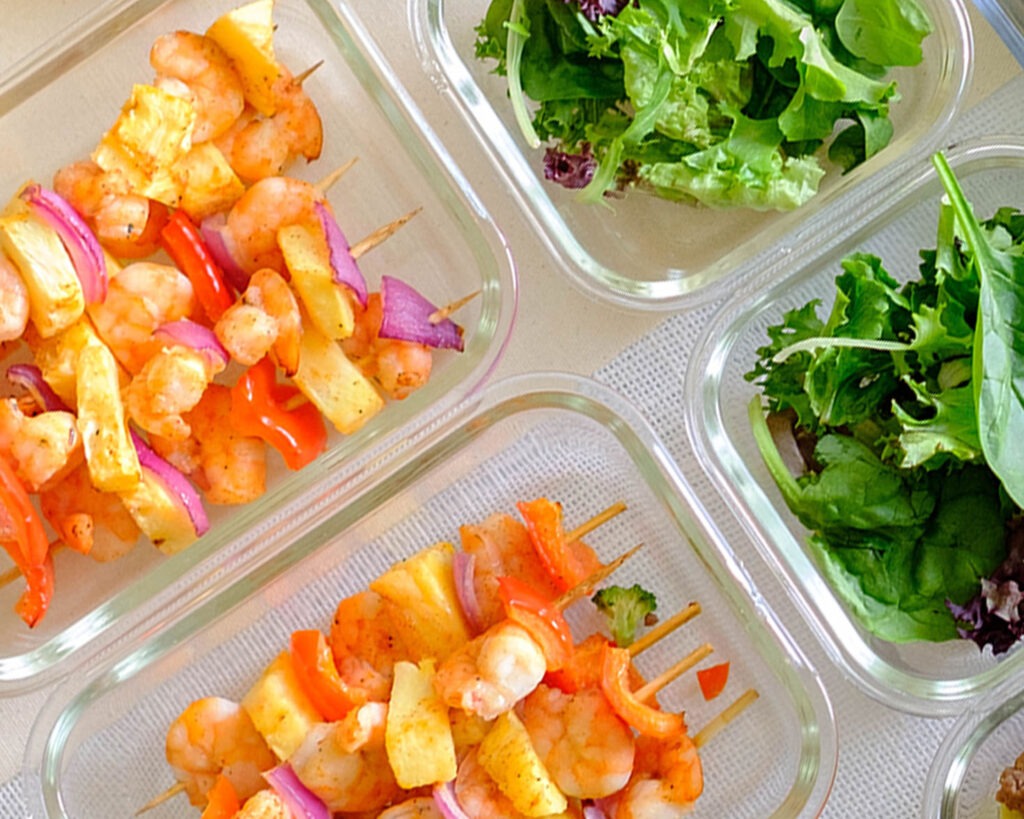
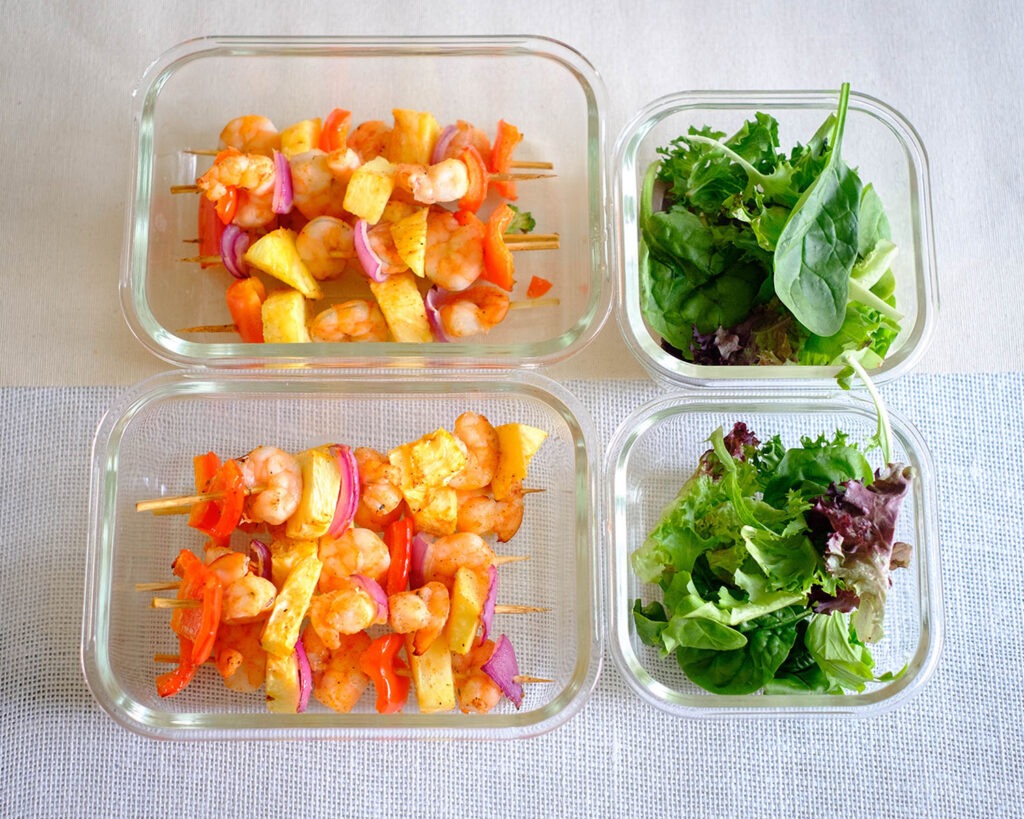
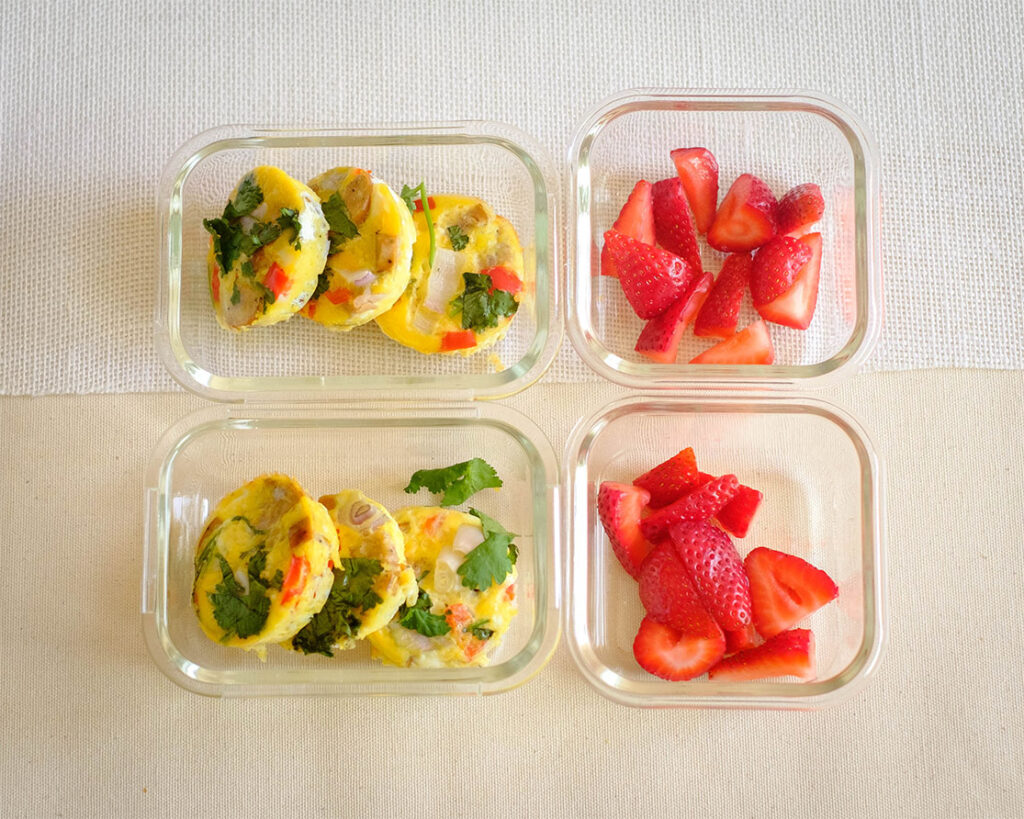
Meal Prep Tips for Air Fryer Shrimp Kebabs
- Adding more flavor: If you want to add more flavor, you can coat it with bbq sauce or a mixture of honey and soy sauce
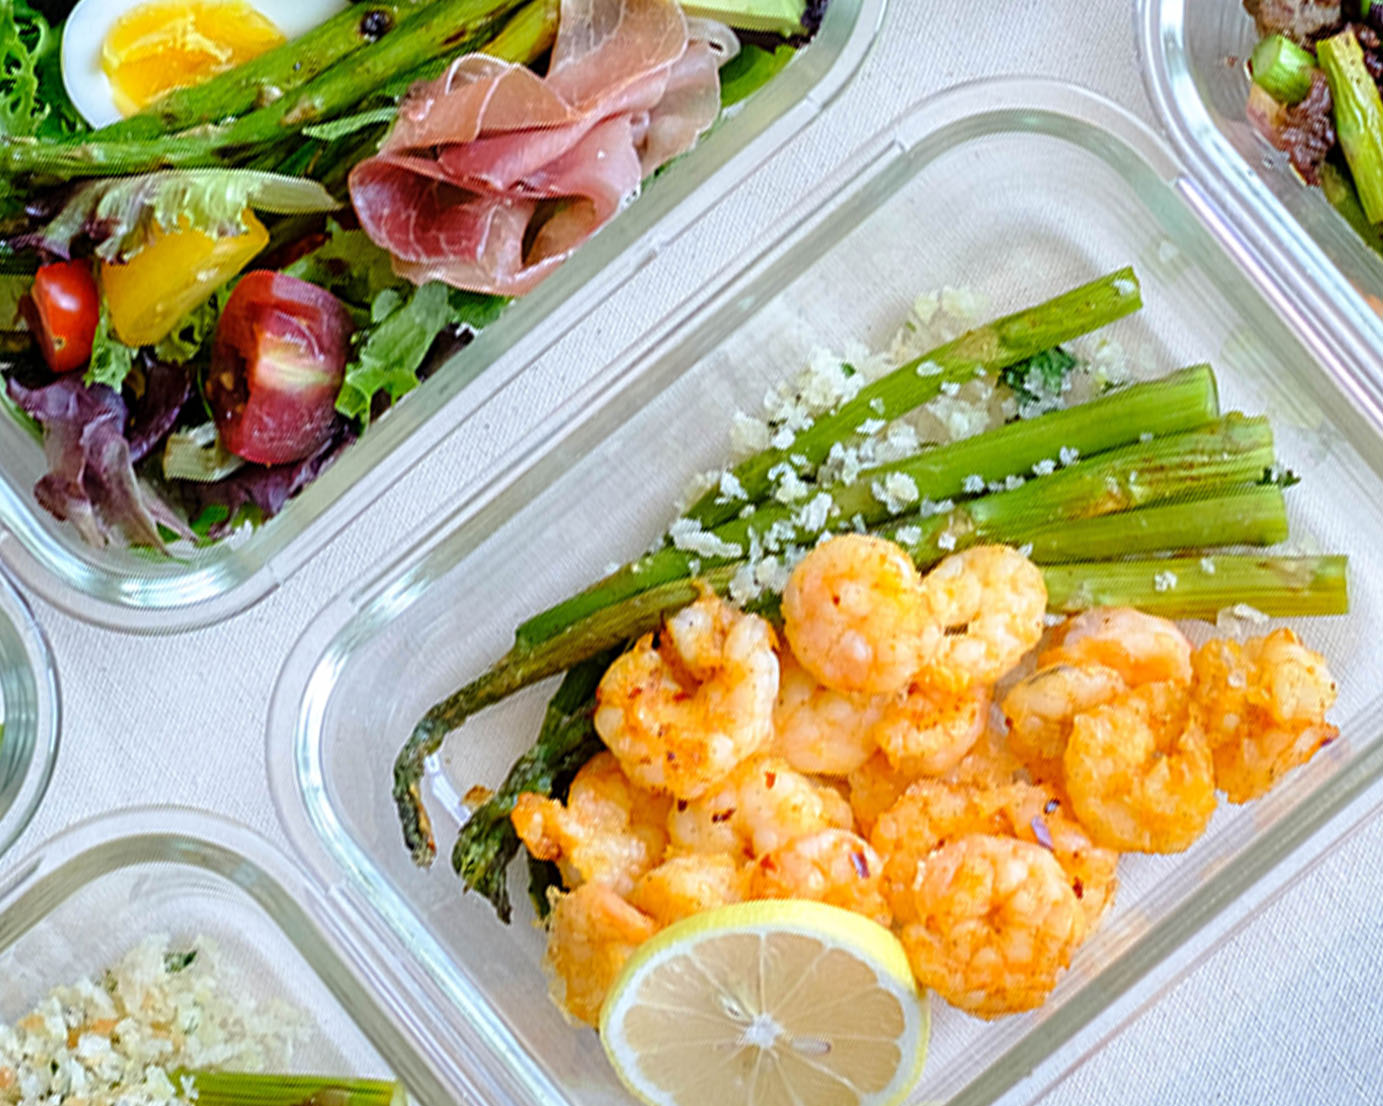
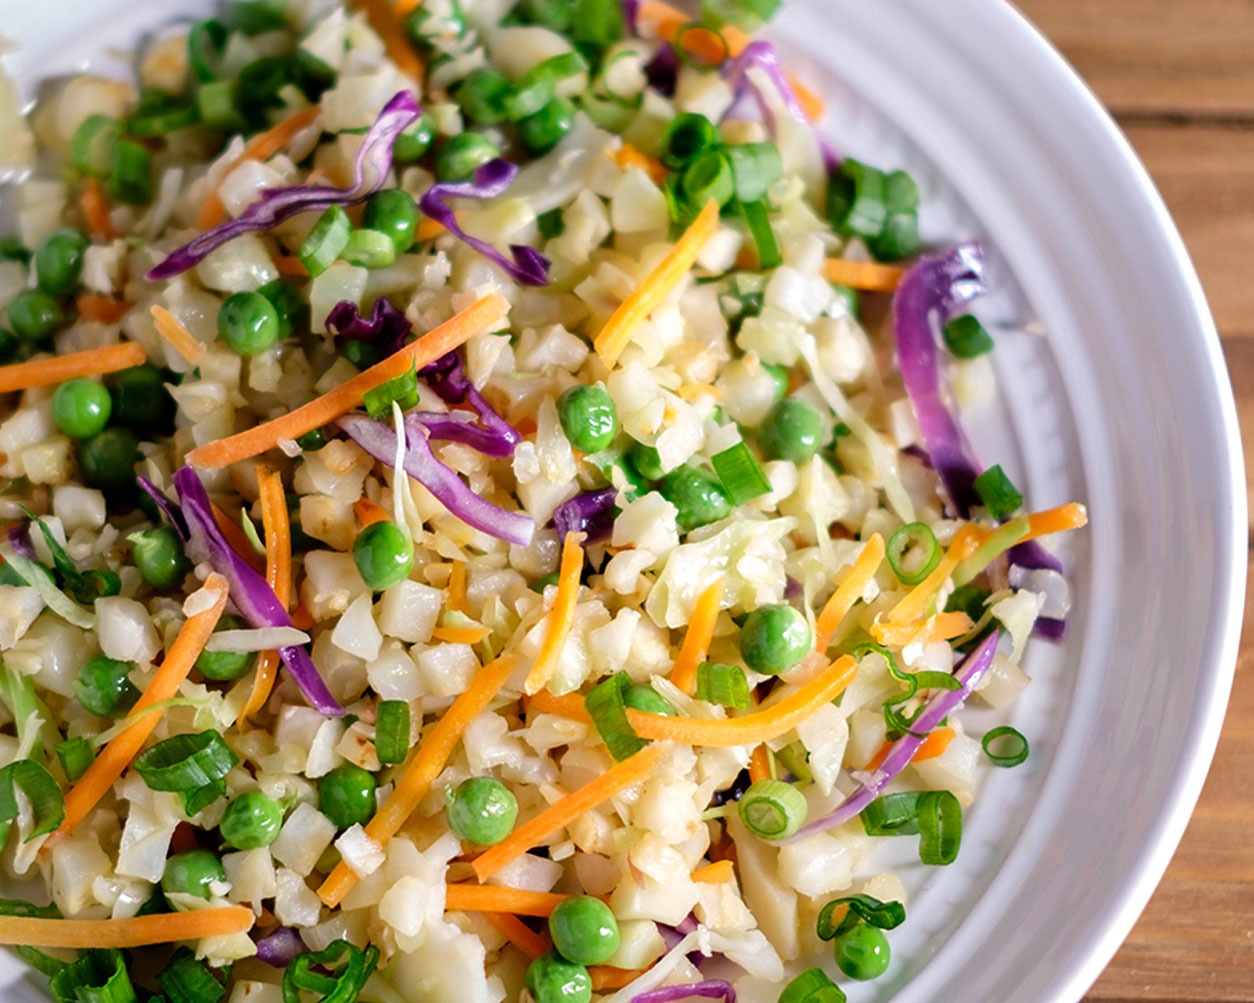
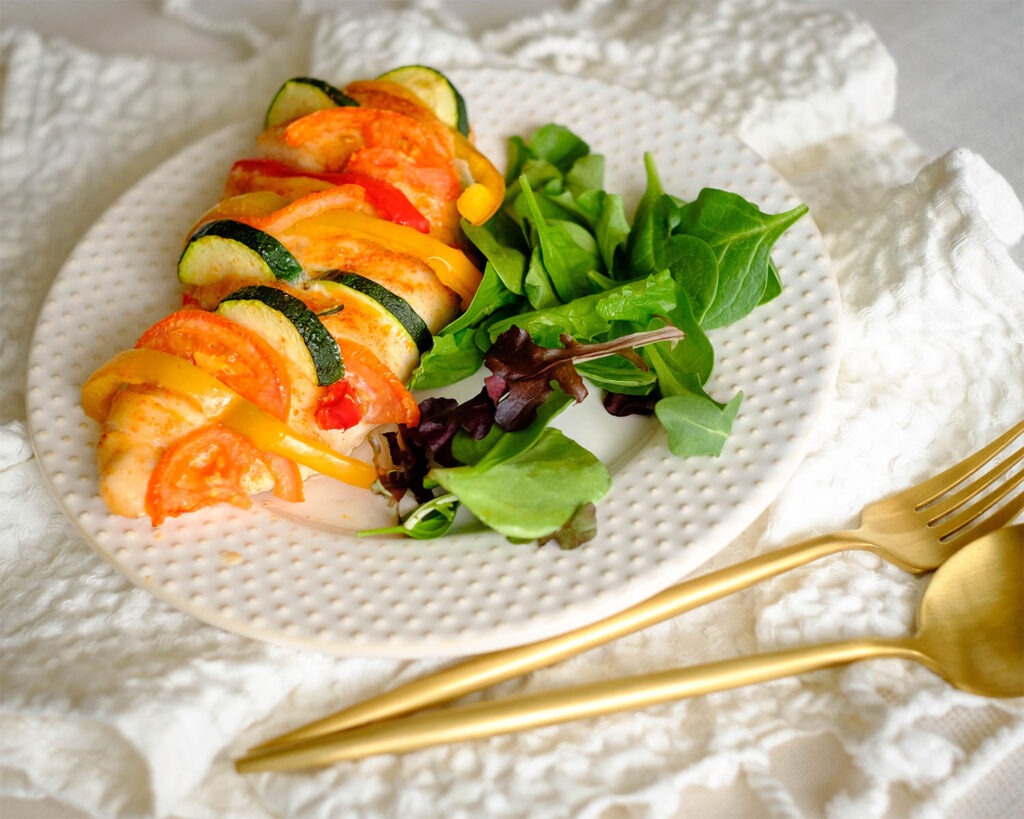
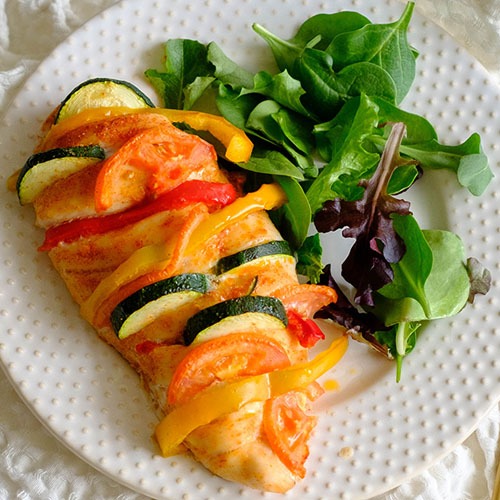
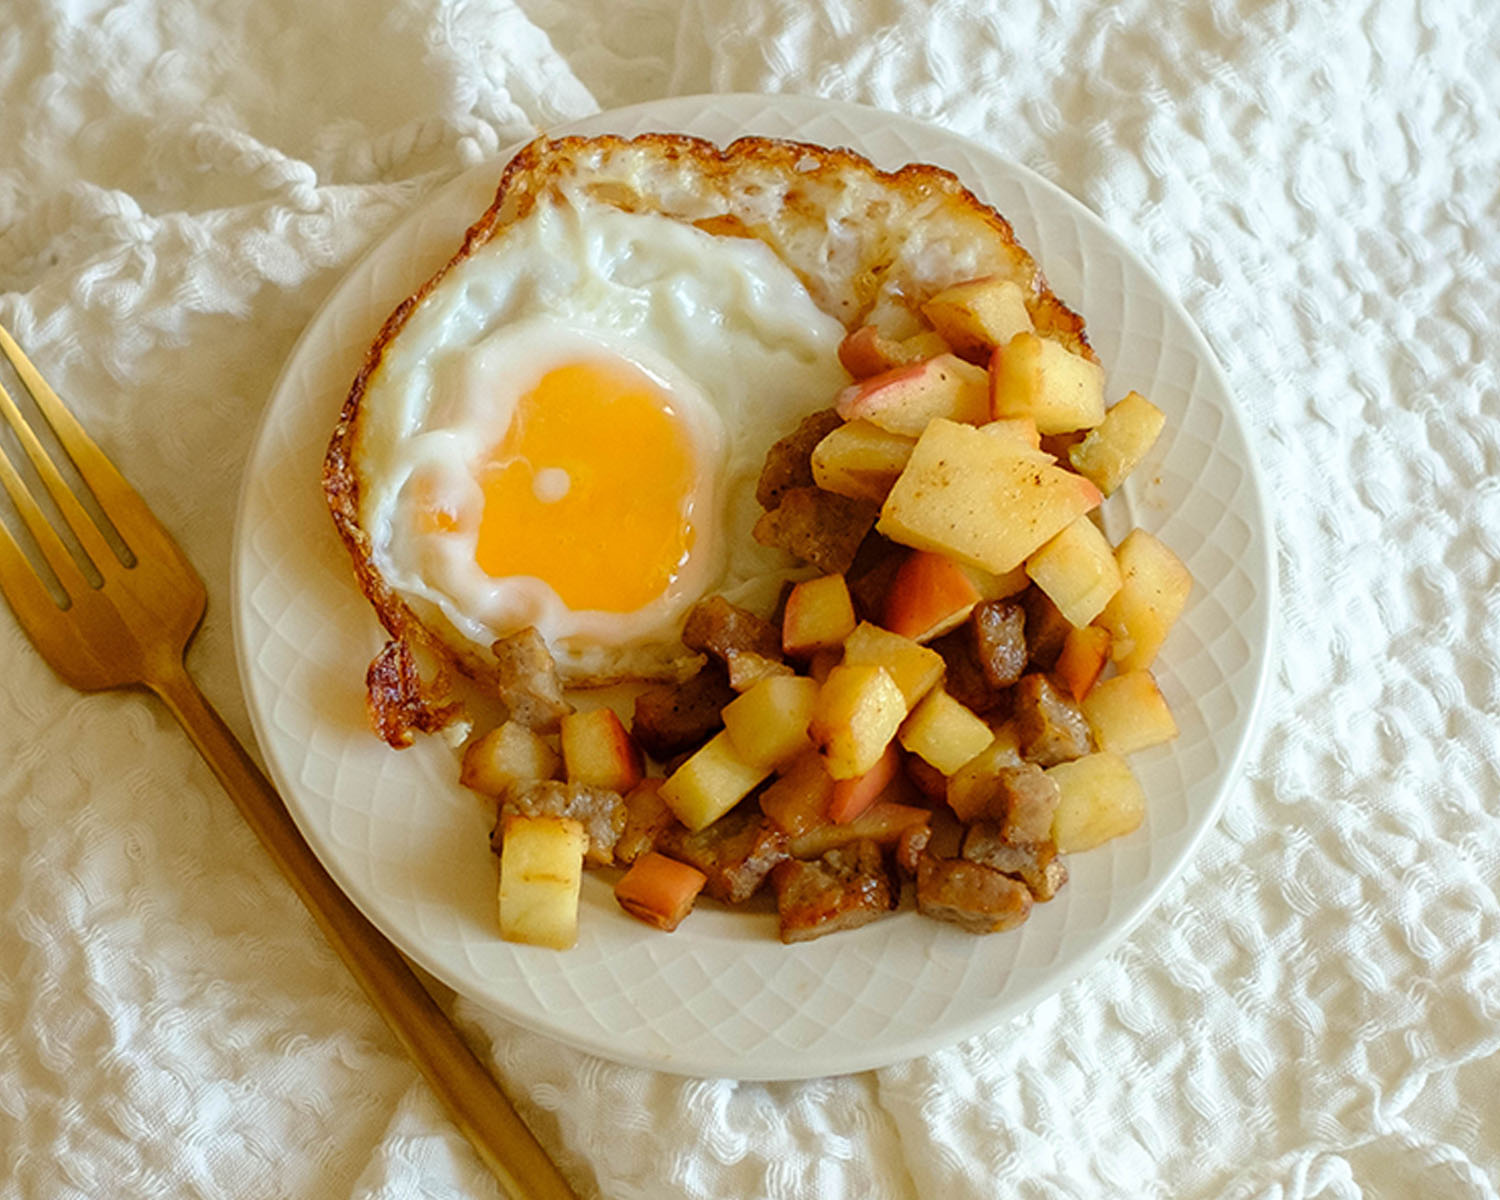
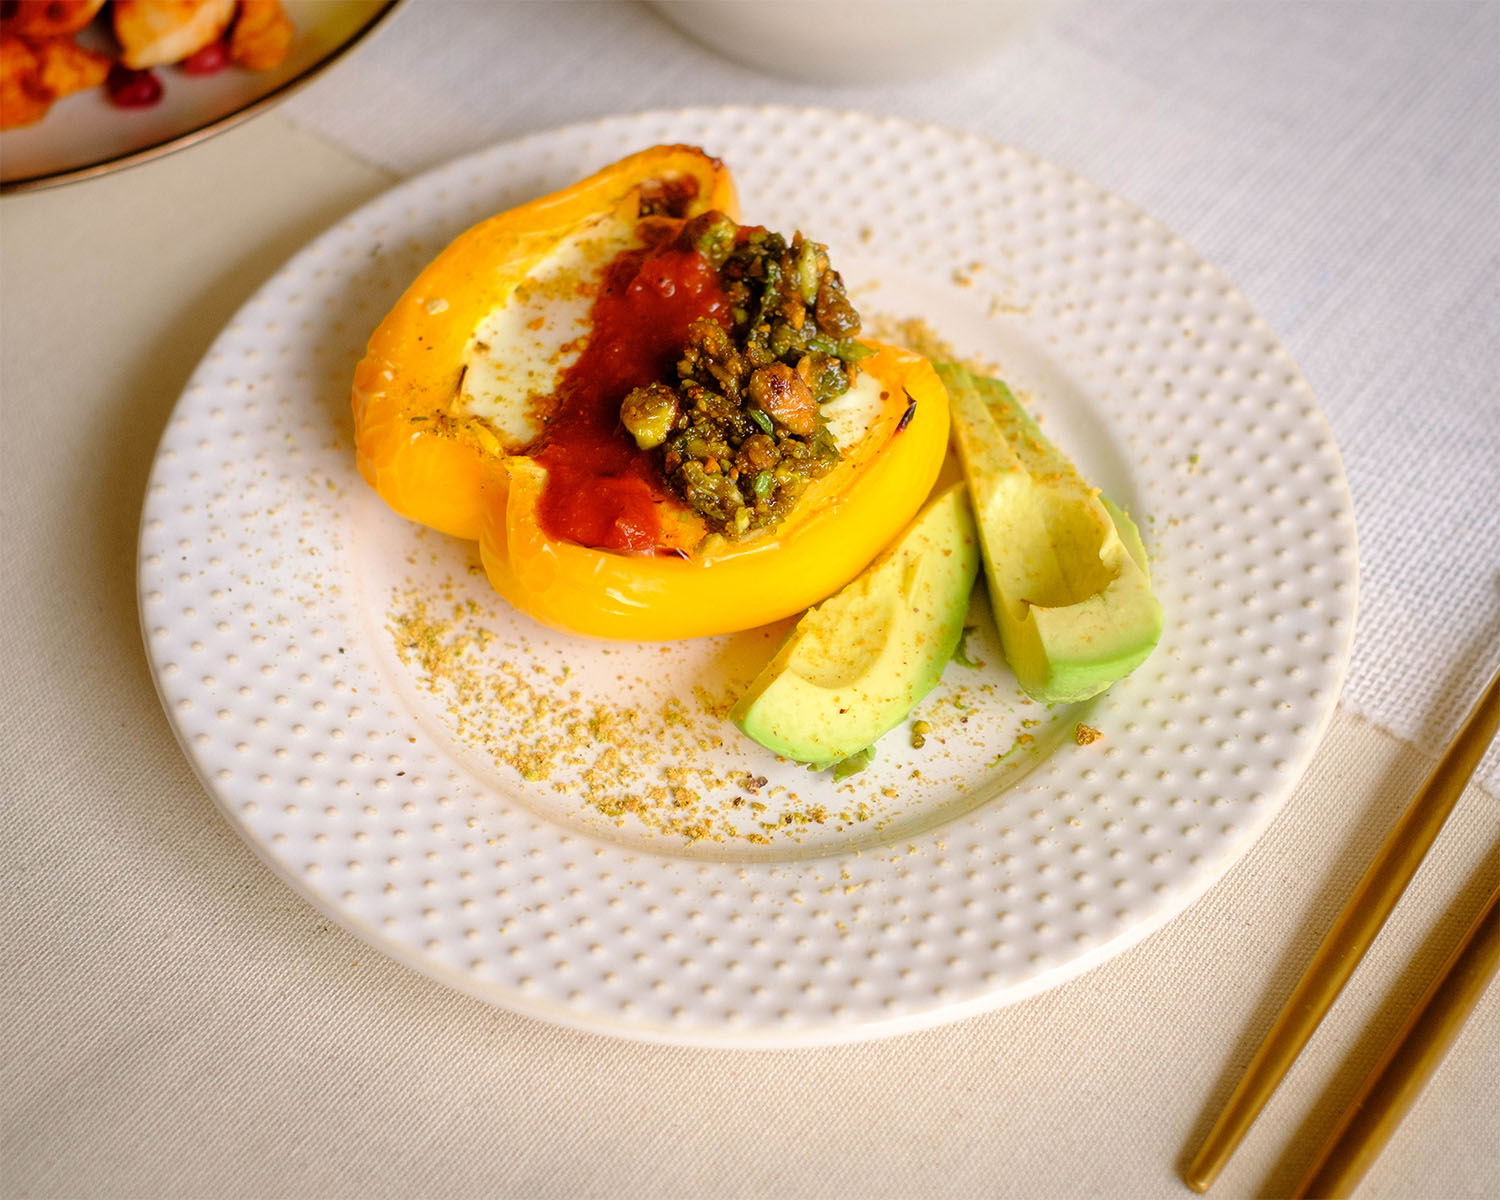
- To serve: Serve with a side salad or with a side of rice pilaf
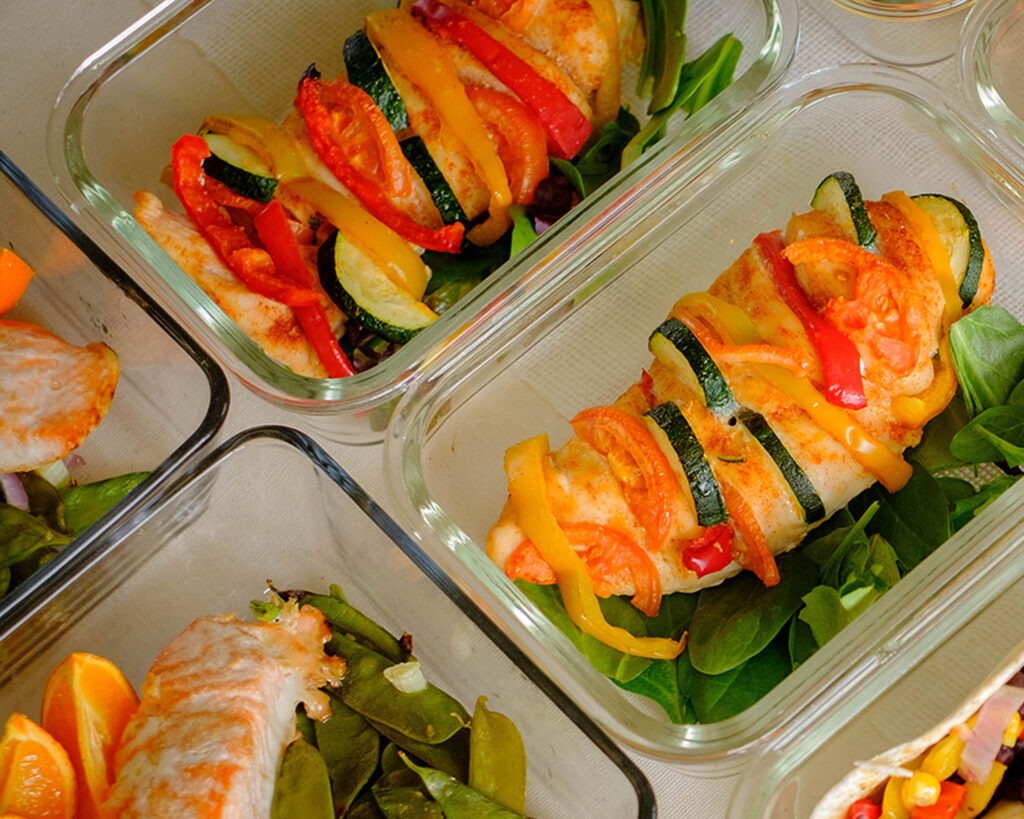
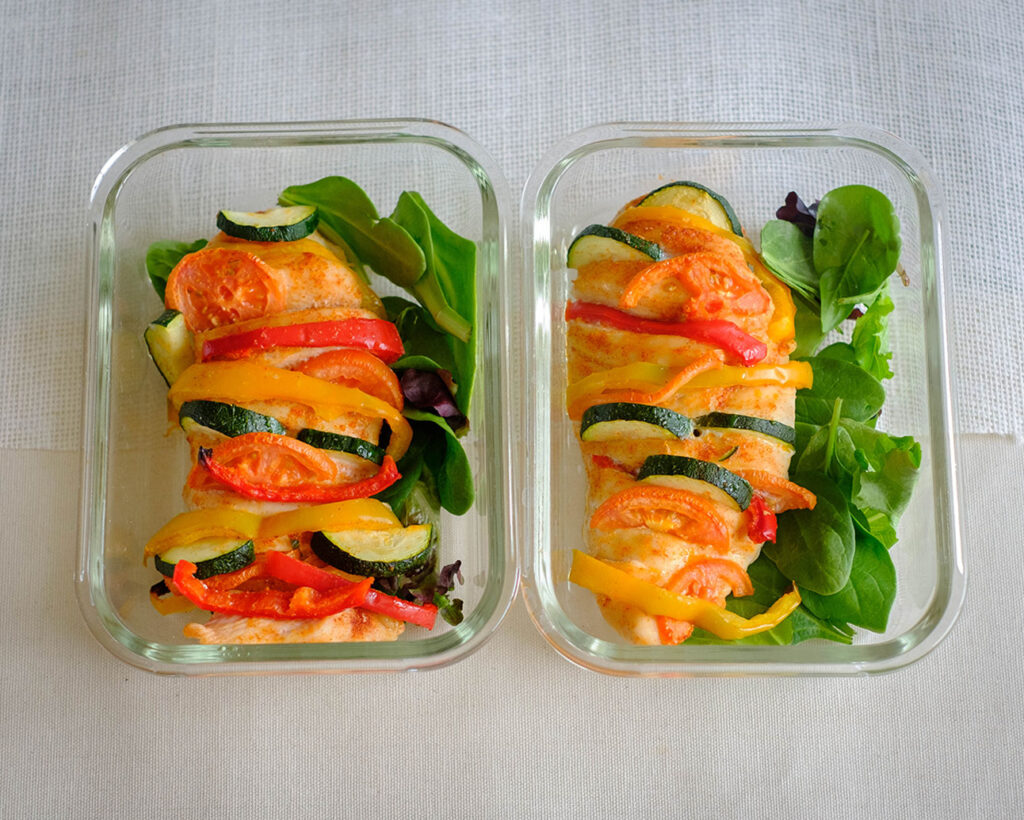
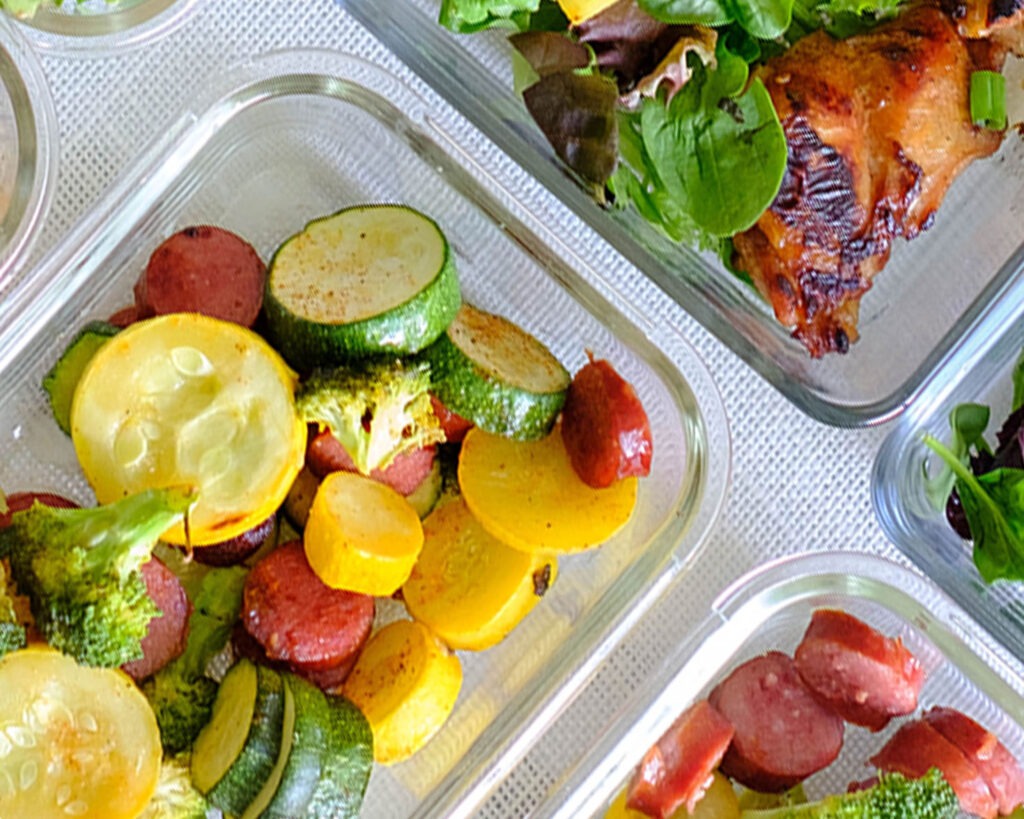
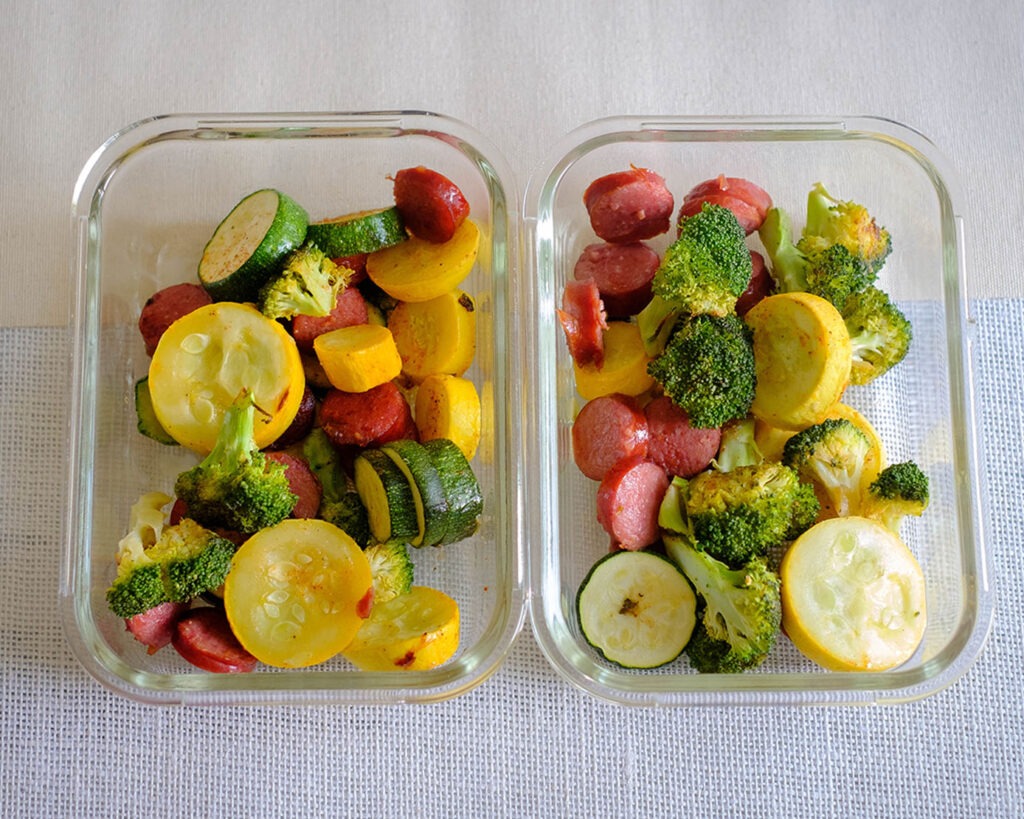
- Storage: Store in an airtight container in the refrigerator for up to 3 to 4 days for the best quality.
- Ingredient swaps: You can also use mango instead of pineapple


Frequently Asked Questions
Can I grill my skewers?
Yes, absolutely. Just be sure to soak your skewers before grilling.
What kind of shrimp do I use?
We prefer using fresh shrimp that has been peeled and deveined for this recipe.
How do you know when shrimp is cooked?
When the flesh turns from translucent to opaque, the shrimp should be cooked through.


Air Fryer Shrimp and Pineapple Kebabs
Equipment
Ingredients
Instructions