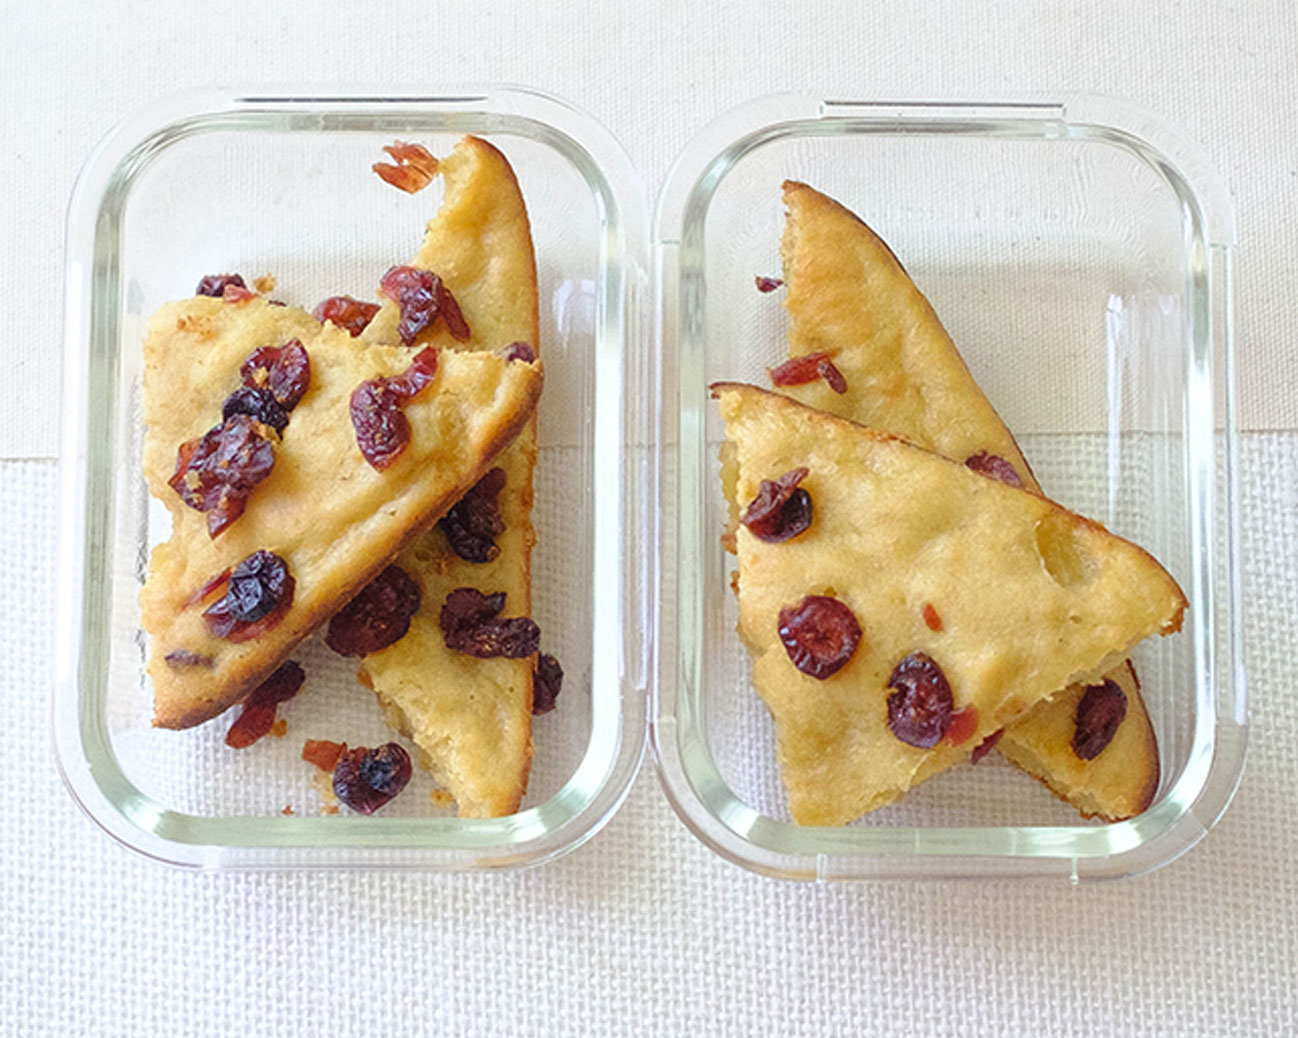
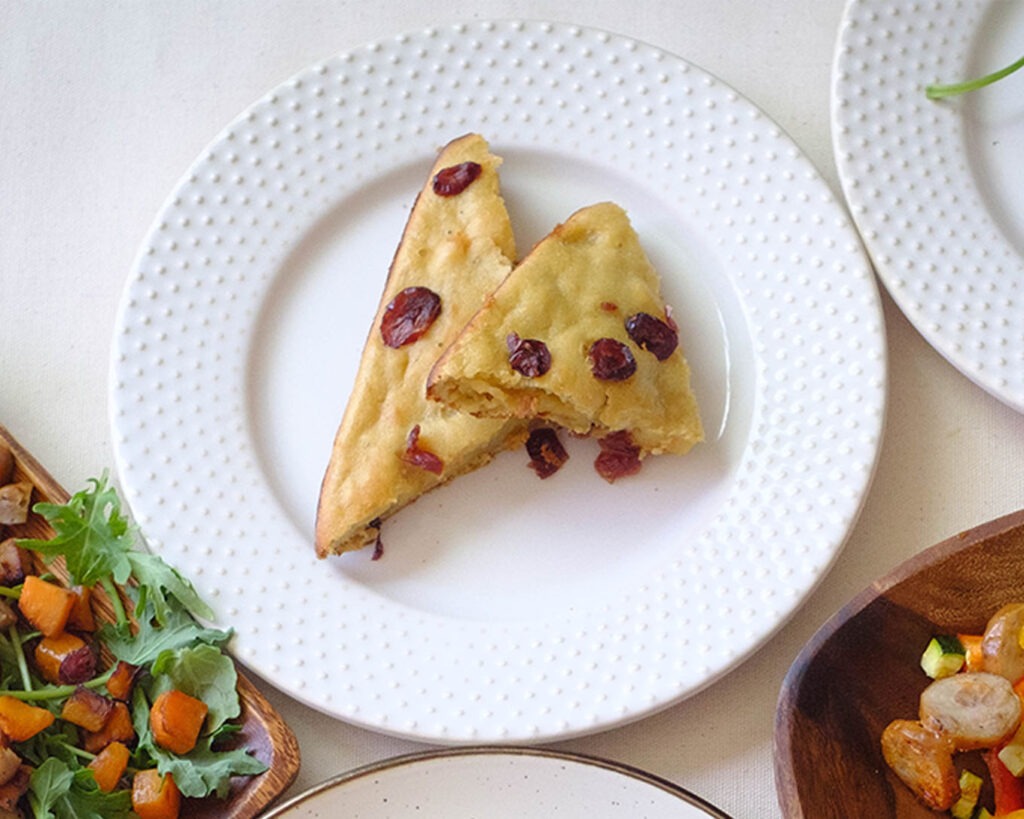
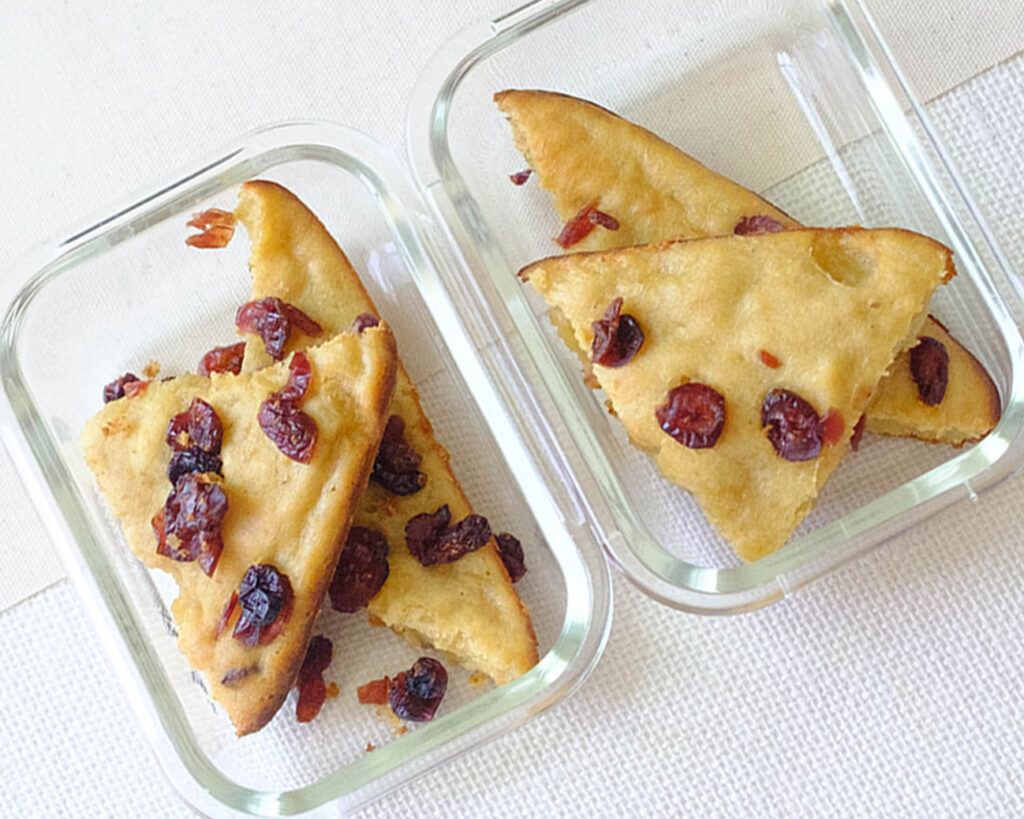
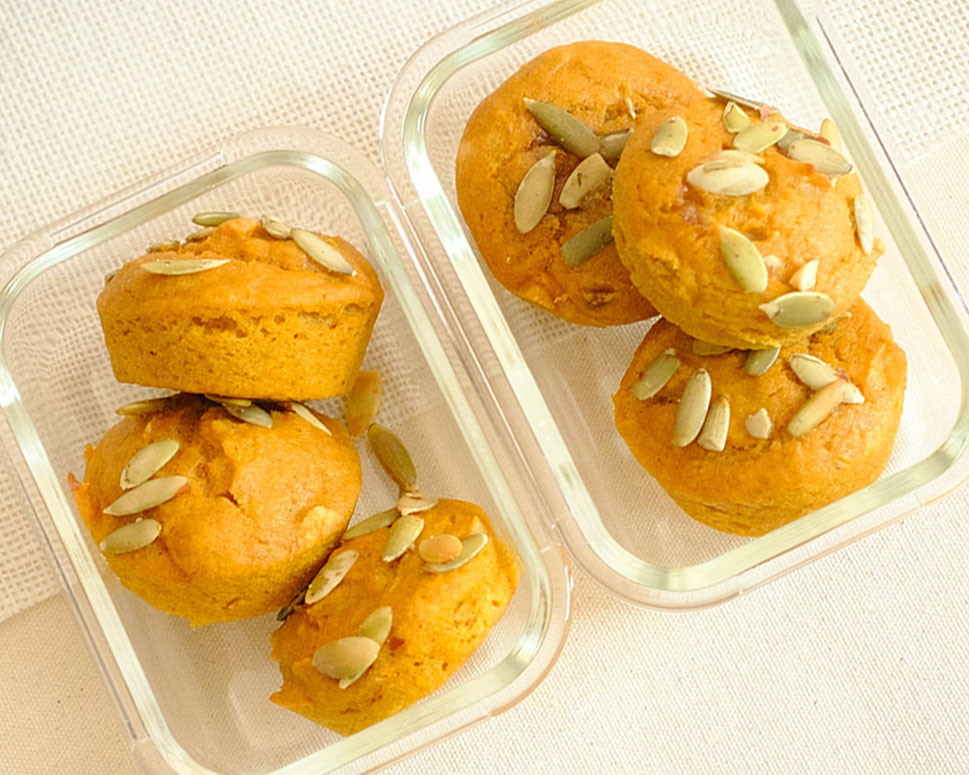
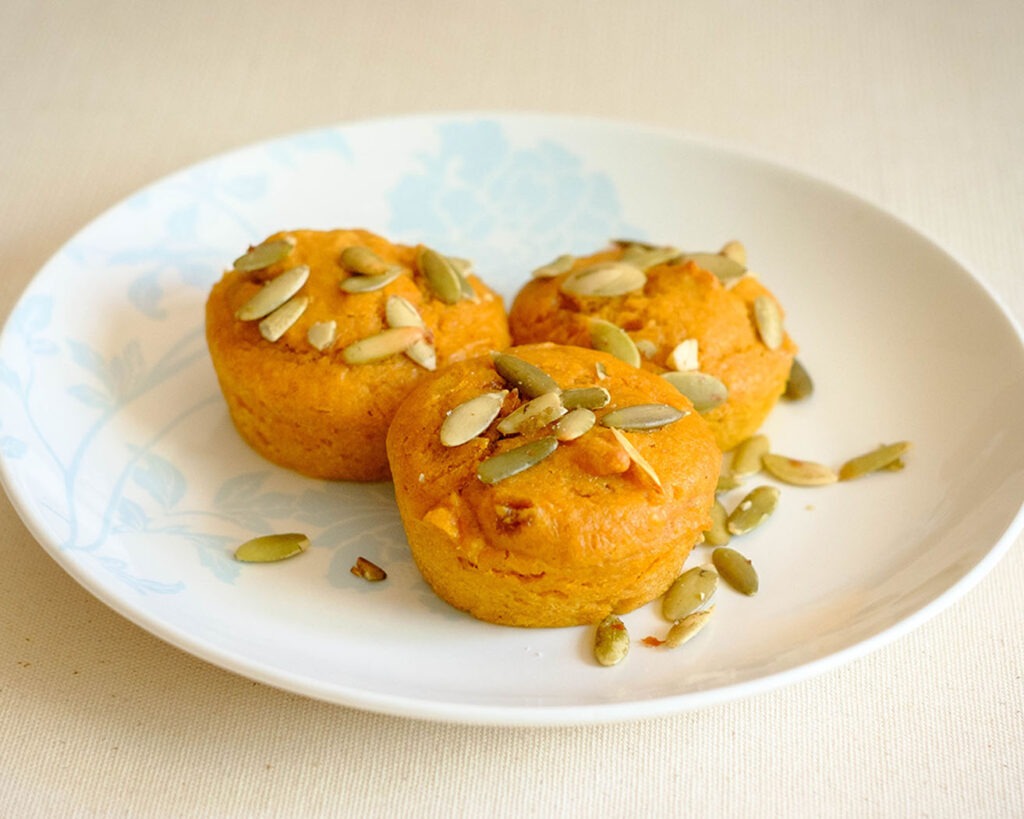
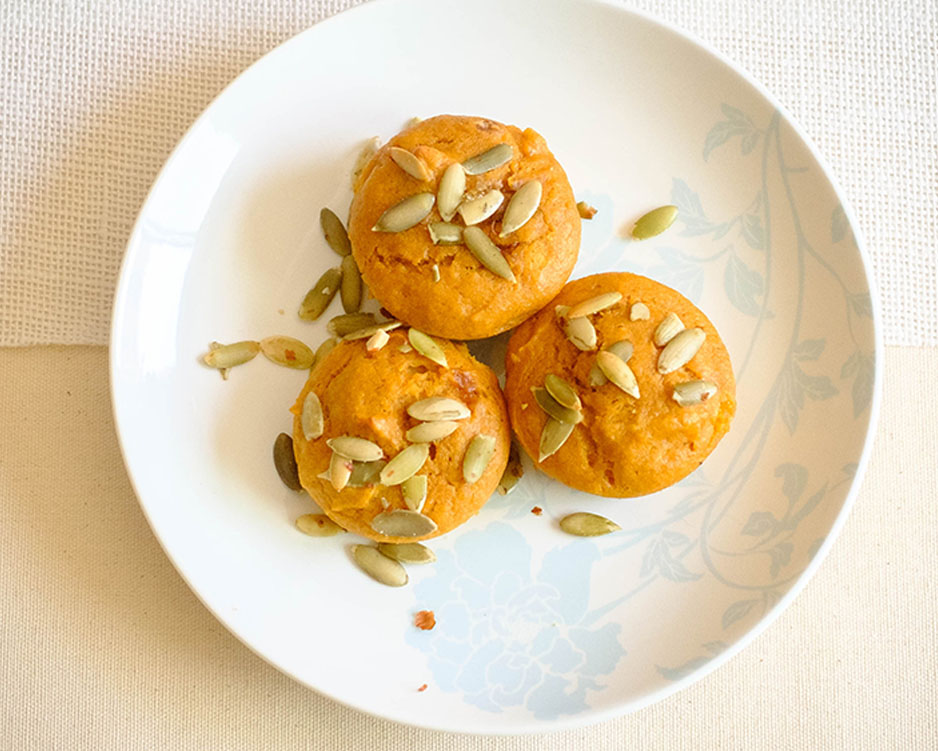
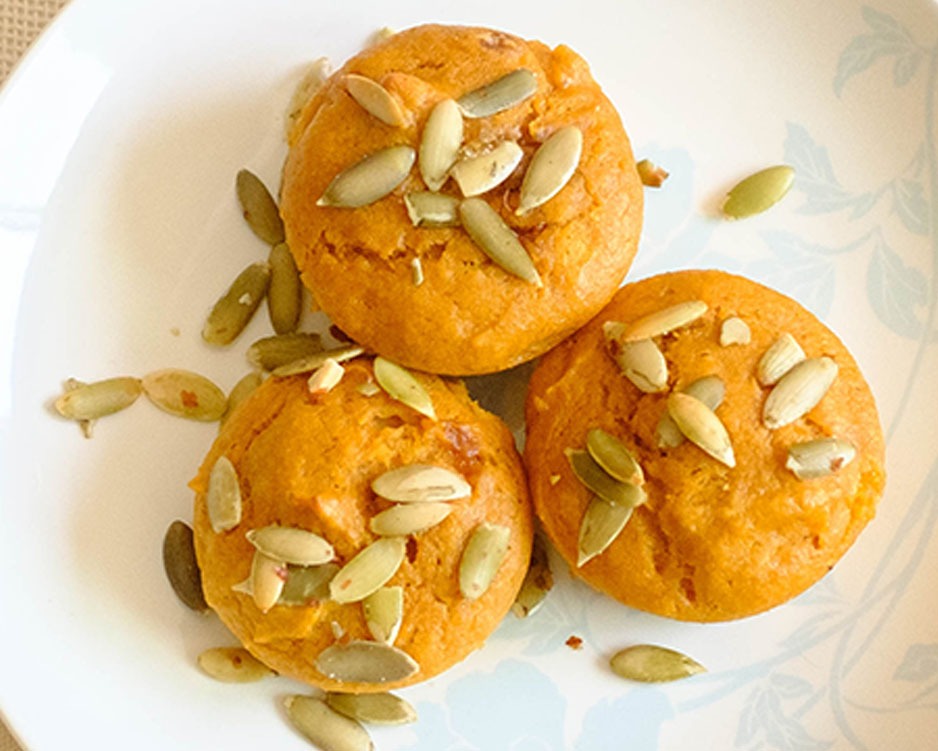
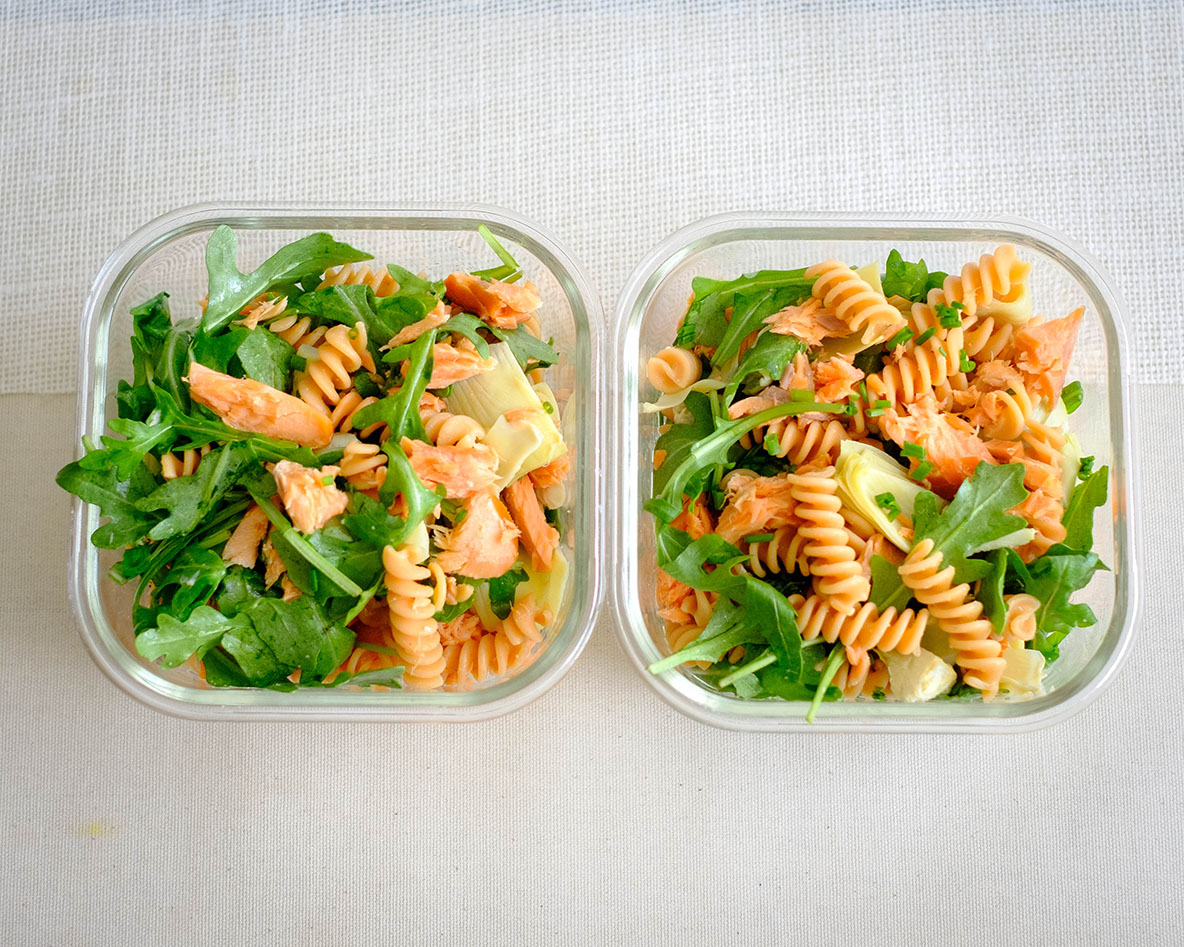
These Cranberry Applesauce Muffin Bars are ready to take center stage in your breakfast meal prep lineup! These bars are not only a taste sensation but also a fantastic way to bring a burst of fall flavor to your busy week. These bars are a delightful combination of sweet and tart and they’re also a breeze to whip up and perfect for a week morning energy or on-the-go snacking. Prep them ahead, pack them up, and snack your way to happiness. Happy munching!
This post may contain affiliate links. Please see our privacy policy for details.
Why You’ll Enjoy These Muffin Bars
In the midst of holiday chaos and workweek madness, these Cranberry Applesauce Muffin Bars are here to simplify your life. They bring ease, flavor, and a touch of festive joy to your daily routine. So, go ahead, treat yourself to a stress-free morning, and let the deliciousness of these bars make your days a little brighter!
So, let’s dive into the top 5 reasons why these Cranberry Applesauce Muffin Bars are a game-changer for busy individuals during hectic work weeks, especially in the festive holiday season!
- Quick and Effortless Prep: Life moves fast, and these muffin bars keep up! With minimal ingredients and a straightforward process, you can have a batch ready to roll in no time. Perfect for those busy mornings when every second counts.
- Versatile Ingredients for Stress-Free Shopping: The ingredient list is short and sweet, and chances are you already have most of these staples in your kitchen. No need for a lengthy shopping trip or searching for obscure items. Keep it simple, keep it tasty!
- Portable Deliciousness: The hustle and bustle of the holiday season demand snacks that can keep up. These bars are not only delicious but also portable, making them the ideal companion for your on-the-go lifestyle. Grab one on your way out the door, and you’re set!
- Holiday Flavors in Every Bite: The festive combo of cranberries and applesauce brings a taste of the holidays to your daily routine. It’s like a little celebration in every bite, uplifting your mood and giving you that extra boost to power through the busiest of days.
- Make-Ahead Magic: Meal prep enthusiasts, rejoice! These muffin bars are the definition of make-ahead magic. Whip up a batch during your Sunday meal prep session, and you’ll have a week’s worth of scrumptious breakfasts or snacks at your fingertips. Less stress, more yum!

Ingredients You’ll Need
- Large Egg: The egg plays a crucial role in binding our muffin bars together, giving them that perfect texture. It adds richness and contributes to the overall moistness of the bars. Plus, eggs are a fantastic source of high-quality protein, making these bars a wholesome choice to kickstart your day.
- Applesauce: Ah, the unsung hero of healthier baking! Applesauce not only imparts a natural sweetness to our bars but also replaces some of the fat, keeping them moist without sacrificing flavor. It brings a hint of apple goodness to every bite, adding a touch of fruity freshness.
- Flour (Gluten-free if preferred): The backbone of our recipe, flour gives structure to the muffin bars. Whether you opt for traditional or gluten-free, it’s the canvas on which the other flavors dance. A simple yet essential ingredient, ensuring our bars have that satisfying, cake-like texture.
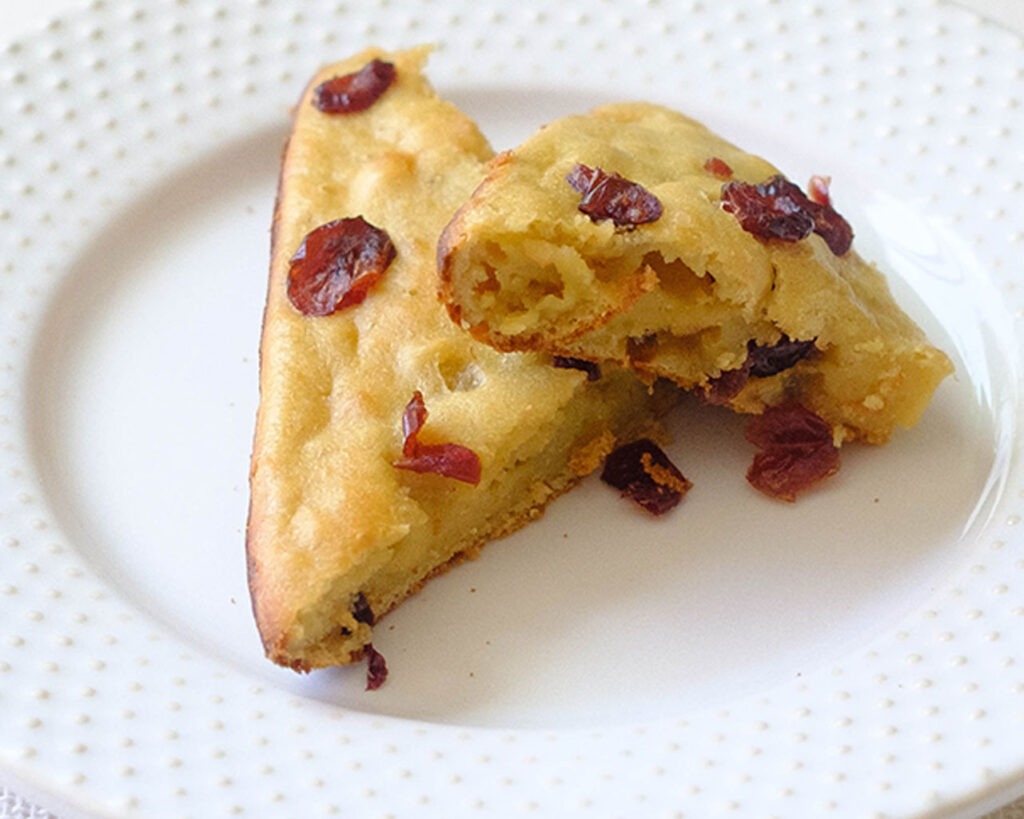
- Dried Cranberries: These little bursts of tartness are like jewels in our muffin bars. Dried cranberries add a pop of color, a hint of sweetness, and a delightful chewiness. Packed with antioxidants and flavor, they elevate the bars to a whole new level, making each bite a delightful surprise.
- Olive Oil: A touch of good-for-you fat! Olive oil adds a subtle richness to the bars while contributing to their moistness. It also brings its unique flavor profile, complementing the sweetness of the applesauce and the tartness of the cranberries. A healthier alternative that doesn’t compromise on taste.

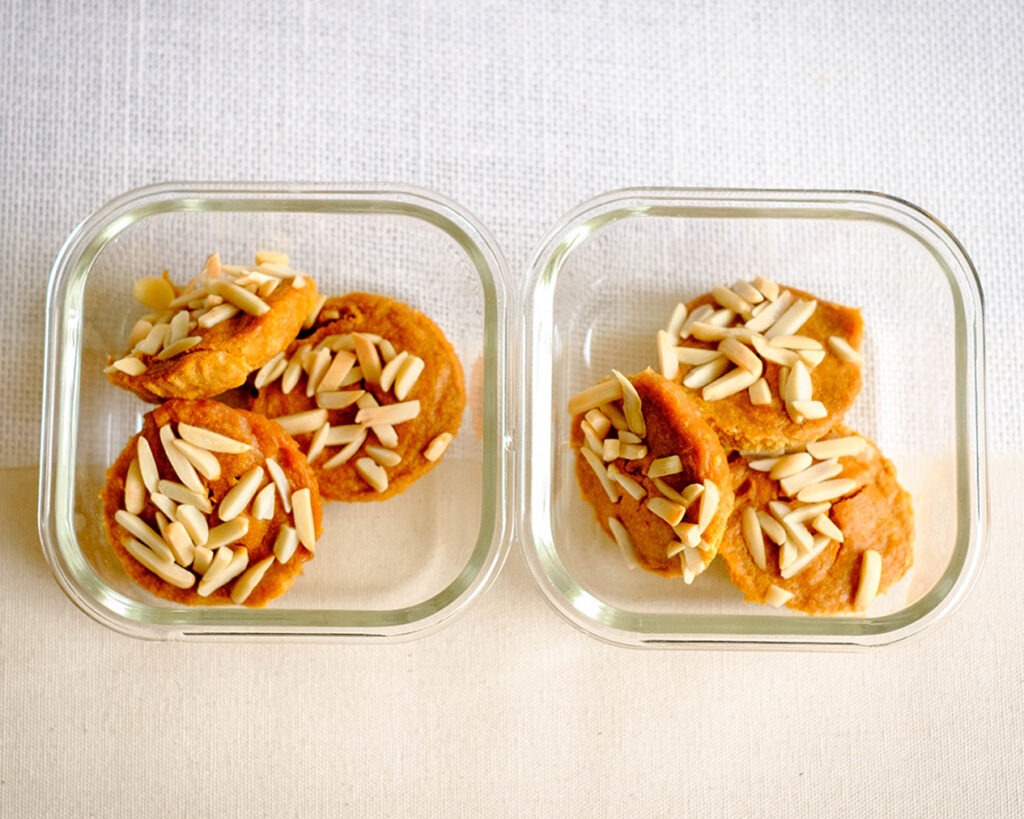
How to Meal Prep Cranberry Applesauce Muffin Bars
- Preheat your oven to 350°F (175°C).
- Grab a mixing bowl and let the whisking party begin! Crack open that egg, add in the applesauce, and sprinkle in the sugar. Give it a good whisk until everything is harmoniously blended.
- Time to add the flour to our mix. Pour it in, toss in those vibrant dried cranberries, and let the magic happen as you stir everything together. Watch the batter come to life!
- A little olive oil love for our baking dish – make sure it’s coated to prevent any muffin bar from sticking. Now, pour in that luscious batter. Can you smell the deliciousness already?
- Pop that baking dish into the preheated oven and let the baking magic unfold. In just 15-20 minutes, you’ll have golden-brown, heavenly bars. Keep an eye on them and let your kitchen fill with that irresistible aroma.
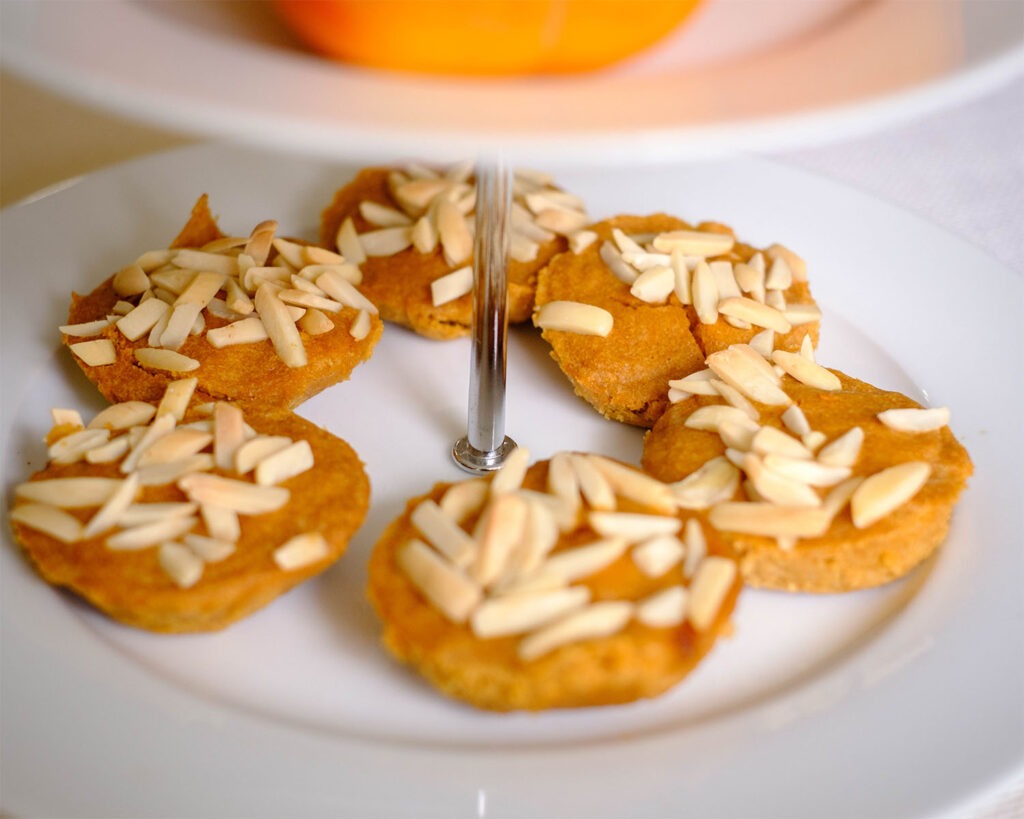
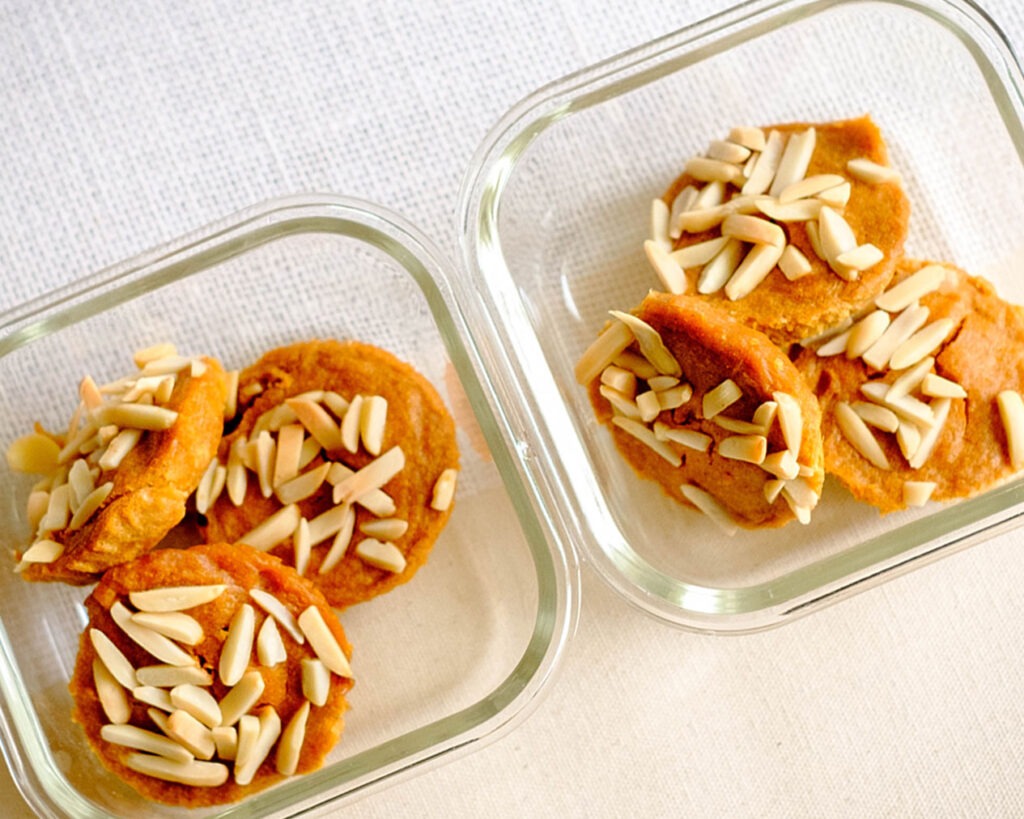
- Once the center is fully cooked and your kitchen is filled with the irresistible scent of cranberry applesauce bliss, take the bars out and let them cool. When they’re comfortably warm, cut them into squares or bars – whatever your heart desires!
Reference the recipe card below for detailed instructions.
MealPrep Tips:
- Double or Triple the Recipe: If you have the oven fired up, why not make a larger batch? Doubling or tripling the recipe allows you to prepare a surplus of muffin bars that can be stored for the entire week. This way, you’ll have a ready-made breakfast or snack whenever hunger strikes.
- Freeze for Future Convenience: Muffin bars freeze remarkably well. Wrap individual bars in plastic wrap or place them in a freezer-friendly container, and you’ll have a stockpile of convenient, ready-to-eat snacks. Just pop them in the microwave or let them thaw in the fridge overnight when you’re ready to enjoy.
- Mix Up the Flavors: While the cranberry applesauce combo is delightful, don’t be afraid to experiment with other mix-ins. Try adding nuts, seeds, or different dried fruits to customize the bars to your liking. This way, you can enjoy a variety of flavors throughout the week.
- Pair with Complementary Snacks: Enhance your meal prep game by pairing these muffin bars with complementary snacks. Consider adding a dollop of Greek yogurt, a handful of fresh berries, or a piece of cheese for a well-rounded and satisfying meal.


Frequently Asked Questions
Can I use fresh cranberries instead of dried?
Yes, you can use fresh cranberries, but keep in mind that the texture and sweetness may differ. Adjust sugar levels accordingly.
Can I add spices like cinnamon or nutmeg?
Absolutely! Enhance the flavor profile by adding a pinch of cinnamon, nutmeg, or your favorite spices.
Can I use a different fruit besides applesauce?
Experiment with mashed bananas, pumpkin puree, or pear sauce for a unique flavor twist.


Cranberry Applesauce Muffin Bars
Equipment
Ingredients
Instructions
Notes
Nutrition