
In today’s fast-evolving work environment, employees are navigating a mix of remote, in-office, and hybrid work schedules. While this flexibility offers many benefits, it also brings new challenges to maintaining a healthy diet and lifestyle. Long hours in front of a screen, back-to-back meetings, and easy access to unhealthy snacks can make it difficult to prioritize nutrition. However, fueling your body with the right foods is key to sustaining energy, enhancing focus, and maintaining overall well-being.
At PrepYoSelf, we understand that proper nutrition is the foundation of physical and mental health, leading to improved workplace performance and reduced healthcare costs. Here are some practical strategies to help you stay on track with healthy eating—no matter where you work.
1. Prioritize Meal Planning and Prep
Meal prepping is one of the most effective ways to ensure you have healthy options readily available, whether you’re working from home or in the office.
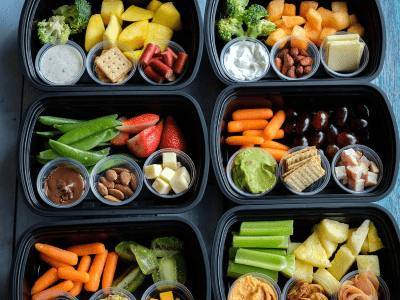
- Batch Cooking: Prepare nutritious meals in advance so you have quick, balanced options on hand.
- Healthy Grab-and-Go: Stock up on nutrient-dense snacks like mixed nuts, Greek yogurt, or sliced veggies with hummus.
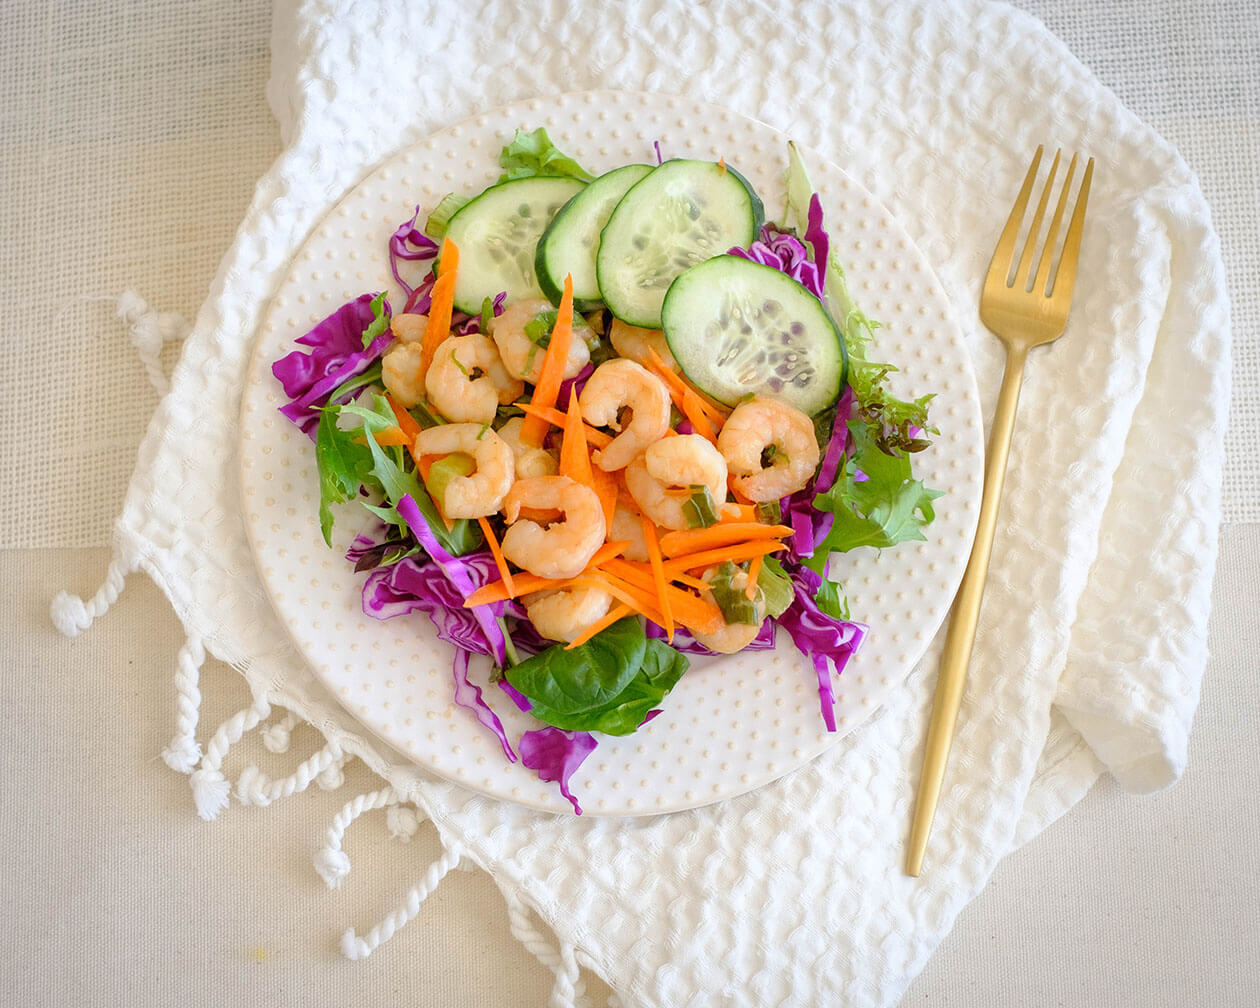
- Portable Lunches: If you’re heading to the office, pack meals that are easy to transport, such as quinoa bowls, salads with lean protein, or overnight oats. Make sure your meals are a mix of protein, complex carbs, and healthy fats.

2. Set Smart Snacking Habits
Mindless snacking is a common challenge, especially when working from home with easy access to the kitchen. Combat unnecessary cravings with these tips:
- Keep Healthy Snacks Visible: Place a bowl of fruit on your desk or pre-portion healthy snacks in containers.
- Hydrate First: Often, we mistake thirst for hunger. Drink a glass of water before reaching for a snack.
- Choose Smart Combos: Pairing a protein with fiber (e.g., apple with almond butter) keeps you satisfied longer.
3. Stay Hydrated and Limit Caffeine
Dehydration can lead to fatigue and decreased focus. Keep a reusable water bottle nearby and aim for at least 8 cups of water per day. While coffee is a great productivity booster, too much caffeine can lead to energy crashes. Swap your afternoon coffee for green tea or infused water for a more sustained energy boost.

4. Mindful Eating & Work Breaks
Eating while multitasking can lead to overeating and poor digestion. Whether in the office or at home:
- Step Away from the Screen: Take a break and eat without distractions.
- Chew Slowly: Enjoy your food and listen to your body’s hunger cues.
- Schedule Meal Times: Just as you schedule meetings, set designated times for meals to avoid skipping or overeating.
5. Build a Healthy Food Environment
The environment plays a crucial role in our food choices. Improve yours with these tips:
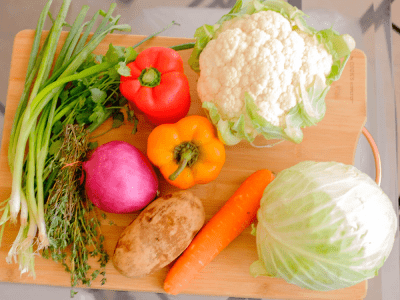
- At Home: Stock your pantry and fridge with whole foods and limit processed snacks.
- In the Office: Advocate for healthier vending machine options or workplace wellness initiatives that provide nutritious snacks.
- On the Go: Carry healthy options like protein bars or homemade trail mix to avoid fast-food temptations.
Final Thoughts: Your Health is Your Competitive Advantage
In the new age of workplace flexibility, prioritizing nutrition is not just about eating well—it’s about fueling your best self. Whether you’re working remotely, commuting to the office, or balancing both in a hybrid setup, small, intentional food choices can make a significant impact on your productivity, energy levels, and overall well-being.
At PrepYoSelf, we help businesses implement wellness programs that empower employees to make healthier choices—because a nourished team is a thriving team. Interested in bringing wellness initiatives to your workplace? Let’s talk! Reach us at Contact@prepyoself.com

Recipes
Discover easy and nutritious workplace meal prep ideas! Visit our recipe collection to fuel your workday success.


Baked Lemon Garlic Yogurt Chicken
Equipment
Ingredients
Instructions
Video
Notes
Nutrition