
Pesto Shrimp Mini Pizzas are a meal prep masterpiece that’s not only incredibly tasty but also budget-friendly and super convenient for all you busy individuals out there. These easy shrimp mini pizzas are the perfect solution for those days when you need a quick and satisfying meal without breaking the bank. Whip up a batch and enjoy these scrumptious delights any time you like! Happy meal prepping!
This post may contain affiliate links. Please see our privacy policy for details.
Why Make These
- These mini pizzas provide a balanced mix of macronutrients and essential nutrients, making them a smart choice for weight-conscious individuals.
- One of the biggest challenges in maintaining a healthy weight is controlling portion sizes. These mini pizzas come in built-in portions, making it easier to manage your calorie intake. Plus, the visual appeal of these bite-sized beauties helps satisfy your hunger.
- Healthy eating doesn’t mean sacrificing flavor. The combination of the zesty basil pesto, succulent shrimp, and crisp vegetables creates a burst of taste that will keep your taste buds happy. This can help prevent cravings for less nutritious, high-calorie options.
- The key to maintaining a healthy weight is to find meals that you genuinely enjoy and can sustain over the long term. Pesto Shrimp Mini Pizzas offer a delicious alternative to restrictive diets, helping you stay on track without feeling deprived.

Basic Ingredients You’ll Need
- Pre-cooked Shrimp (Peeled and Deveined): Start with pre-cooked shrimp, which you can easily find in the frozen section of your local grocery store. Be sure to defrost them according to the packaging instructions and then chop them up into bite-sized pieces. These little seafood gems are not only delicious but also packed with protein.
- English Muffins: Our crispy, crunchy base is none other than the humble English muffin. They’re not only budget-friendly but also provide a perfect canvas for all our toppings.
- Basil Pesto Sauce: This vibrant green sauce adds a burst of flavor to our pizzas. Its rich, herby notes complement the shrimp beautifully.
- Cherry Tomatoes: These tiny bursts of sweetness will balance out the flavors and provide a juicy, fresh contrast.
- Diced Red Onions: The onions add a delightful crunch and a hint of zing to every bite.
- Spring Mix: For that refreshing touch, we’re using spring mix as a side salad. It’s a great way to get your greens in while enjoying your pizza.
- Salad Vinaigrette: To dress our spring mix, whip up a simple salad vinaigrette using olive oil, vinegar,
How to Make These Mini Shrimp Pizza Sandwiches
- Start by defrosting the pre-cooked shrimp following the packaging instructions.Once they’re ready, chop the shrimp into bite-sized pieces. They’ll be the star topping on our pizzas!
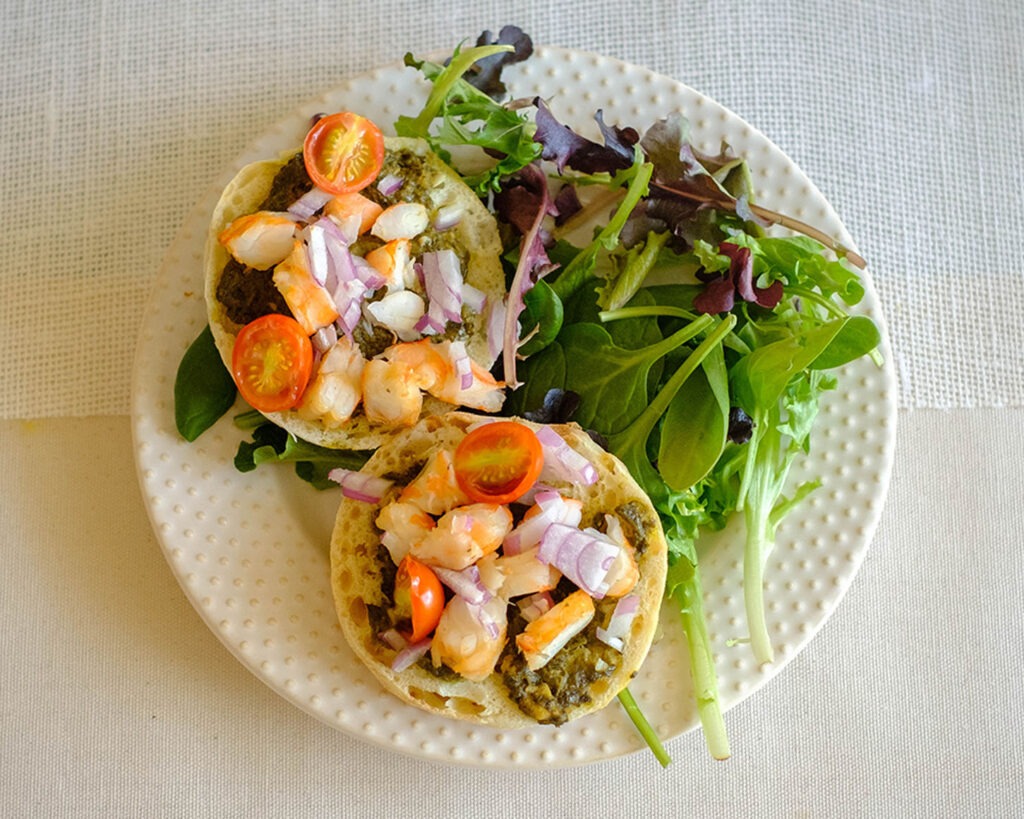
- Slice the English muffins in half and lay them out on a plate. Evenly spread the basil pesto sauce on each side of the muffin halves. This is where the magic begins!
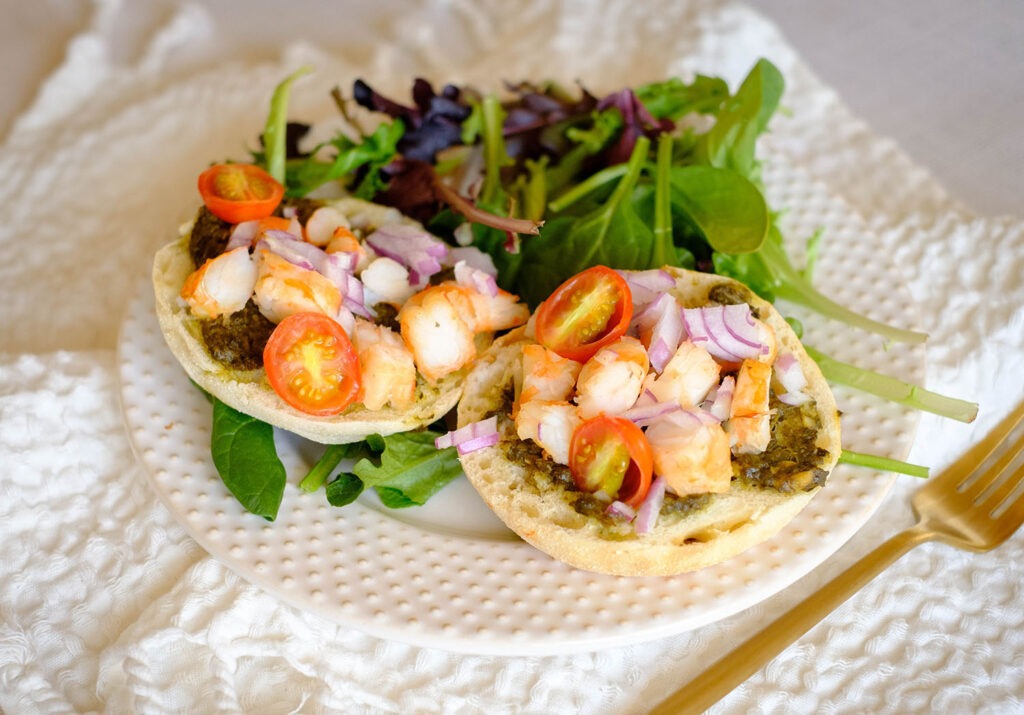
- Sprinkle the chopped shrimp, sliced cherry tomatoes, and diced red onions on top of the pesto-covered muffin halves. The colors and textures are just fabulous!
- In a separate bowl, prepare your spring mix. Mix together your salad vinaigrette ingredients (olive oil, vinegar, lemon juice, salt, and pepper) in a small bowl. Drizzle it over the spring mix and toss well.
- Plate up your Pesto Shrimp Mini Pizzas alongside the fresh spring mix salad. Drizzle some more vinaigrette on the salad for that extra zing.
Reference the recipe card below for detailed instructions.
Meal Prep Tips
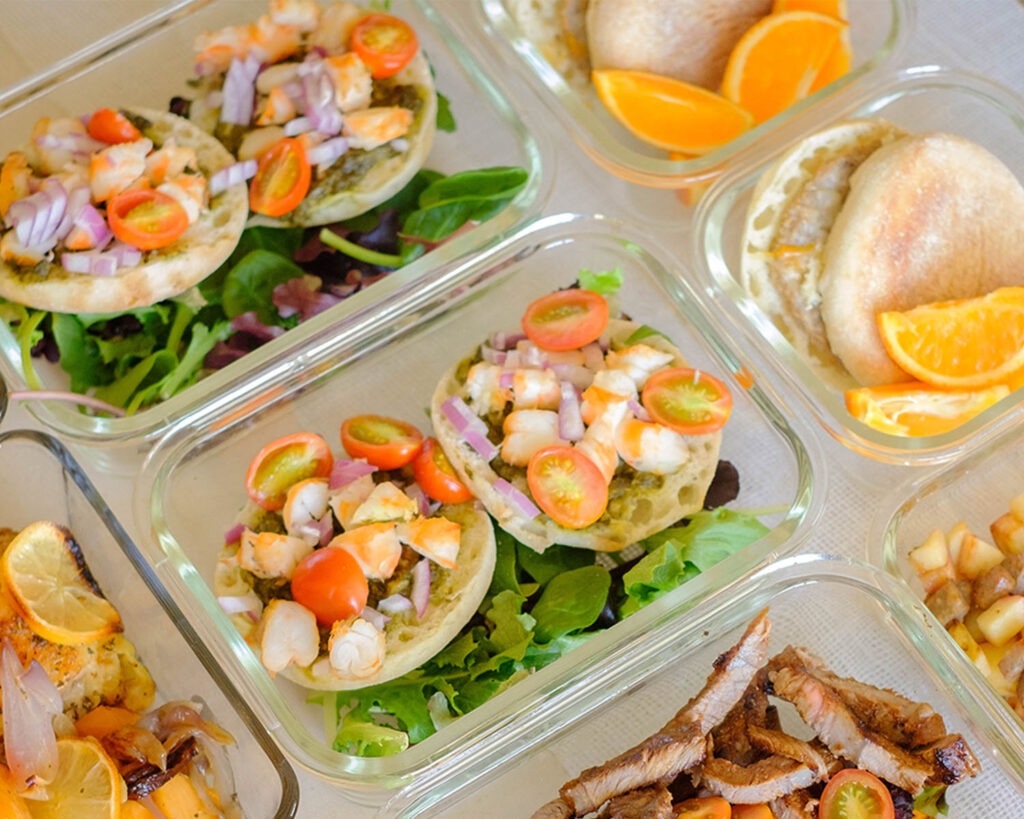
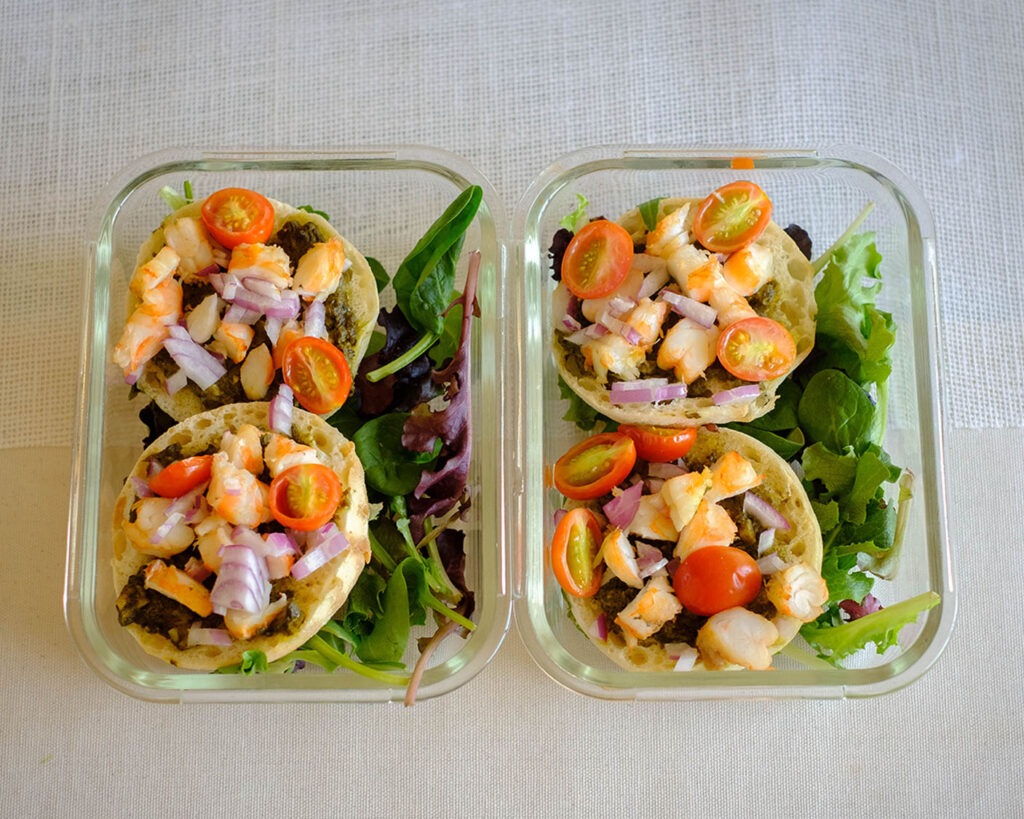
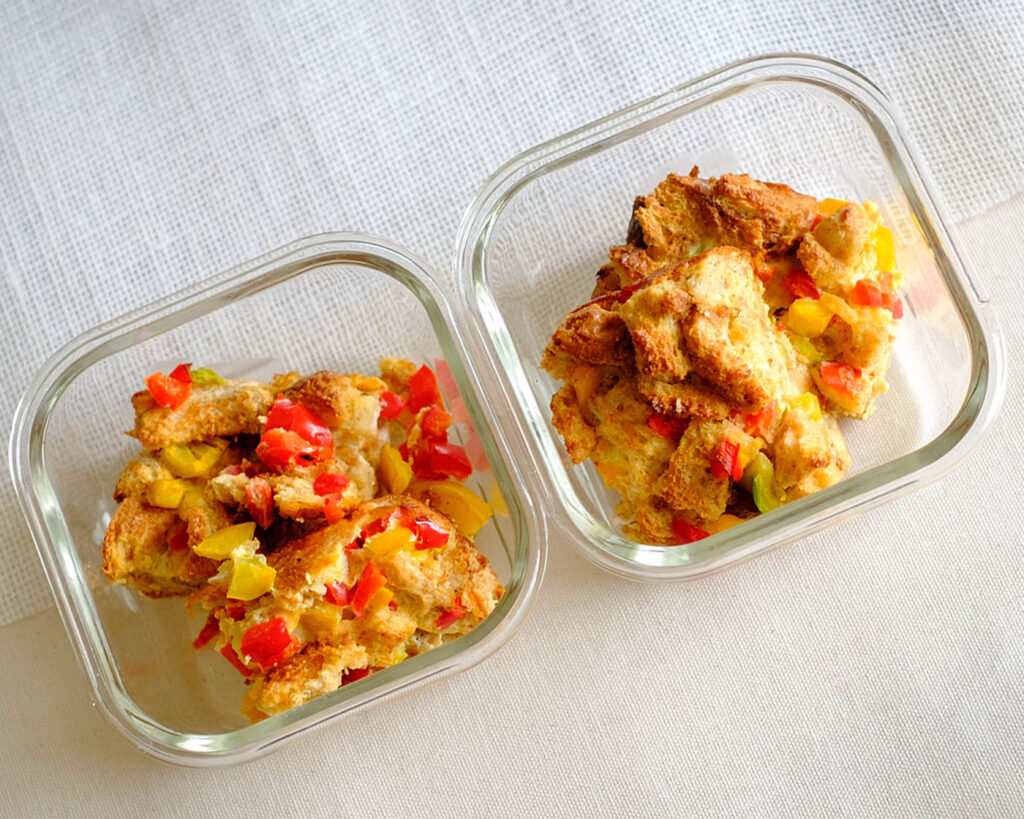
- To store these mini pizzas, place them in an airtight container in the refrigerator for up to 3-4 days. The salad should be stored separately to keep it fresh.
- If. you want to eat these warm, simply pop them in the toaster oven at 350°F (175°C) for about 3 to 5 minutes or until they’re heated through. This will keep the muffins nice and crispy.
- Feel free to get creative with ingredient swaps. You can use whole wheat English muffins for a healthier twist or add some mozzarella cheese if you’re feeling cheesy!


Frequently Asked Questions
Can I use fresh shrimp instead of pre-cooked shrimp?
Absolutely! Just ensure they are cooked thoroughly before adding them to the pizzas.
Is this recipe suitable for a low-carb diet?
To make it low-carb, you can use cauliflower crusts or a similar
What can I use as a substitute for basil pesto sauce?
If you’re not a fan of basil pesto, try using a tomato-based sauce or a creamy garlic sauce for a different flavor profile.


Pesto Shrimp Mini Pizzas
Equipment
Ingredients
Lemon Dressing
Instructions