I’m excited to share with you a fabulous recipe that will surely add a crispy twist to your meal prep routine: Oven-Baked Crispy Panko Chicken Tenderloins! Not only are these tenderloins deliciously crunchy and satisfying, but they also offer numerous health benefits and cost advantages. Get ready to tantalize your taste buds and keep your meal prep exciting throughout the week!
This post may contain affiliate links. Please see our privacy policy for details.

Why You Need to Make This
- Let’s start with the health benefits. By opting for oven-baked chicken tenderloins, you’re already making a smart choice. Baking reduces the need for excessive oil, making it a healthier alternative to frying. Additionally, using lean chicken tenderloins ensures you’re getting a good source of protein without the extra fat. This recipe is perfect for those looking to maintain a balanced diet without compromising on flavor.
- Now, let’s talk about the cost benefits. Chicken tenderloins are often more affordable compared to other cuts of chicken, making them budget-friendly for your meal prep endeavors. By utilizing panko breadcrumbs, you create a delightful crunch without breaking the bank. Panko is light, crispy, and incredibly affordable, making it a fantastic ingredient to have in your pantry.
- One of the best aspects of this recipe is how it keeps your meal prep interesting and tasty all week long. The crispy panko coating adds a satisfying texture, while the seasonings give it a burst of flavor. Every bite will leave you wanting more! And because these tenderloins are so versatile, you can easily pair them with a variety of sides to keep your taste buds engaged.

Ingredients You’ll Need
- Let’s quickly run through the star ingredients in this recipe. First up, we have tender and juicy chicken tenderloins. They’re the perfect blank canvas for the crispy panko coating to adhere to, providing you with a delightful combination of textures.
- Next, we have eggs, which act as a binder for the panko breadcrumbs. They help create that golden-brown and crispy exterior that we all adore. Plus, eggs are a great source of protein and provide essential vitamins and minerals.
- Speaking of panko breadcrumbs, they are light, airy, and create an extra crunchy coating. Made from crustless bread, panko is coarser than traditional breadcrumbs, resulting in a superior crispy texture. It’s a fantastic ingredient that elevates the overall experience of your chicken tenderloins.
- Lastly, let’s not forget about the seasonings! Feel free to get creative and experiment with different combinations of herbs and spices. You can go for a classic blend of salt, pepper, garlic powder, and paprika, or try adding some cayenne pepper for a little kick. The choice is yours, and it’s an excellent opportunity to personalize your meal prep creations.
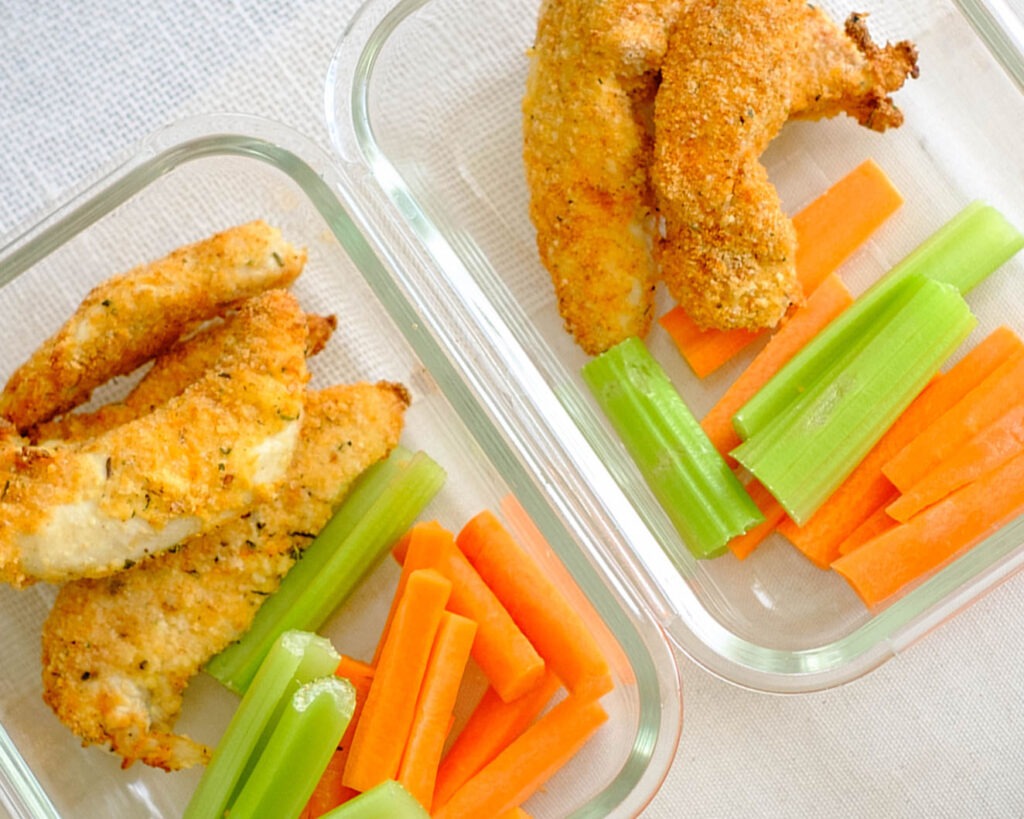
How to Meal Prep Crispy Chicken Tenders
- First, pre-heat the oven and prepare your breadcrumbs and seasonings in a mixing bowl.
- In another bowl, whisk the eggs.
- Dip each tenderloin in the egg wash. Then, dredge them in the breadcrumb mixture.
- Place the tenders on a sheet pan and spray them with cooking spray. Then, place them in the oven to bake.
Reference the recipe card below for detailed instructions.
Meal Prep Tips for Crispy Panko Chicken Tenders
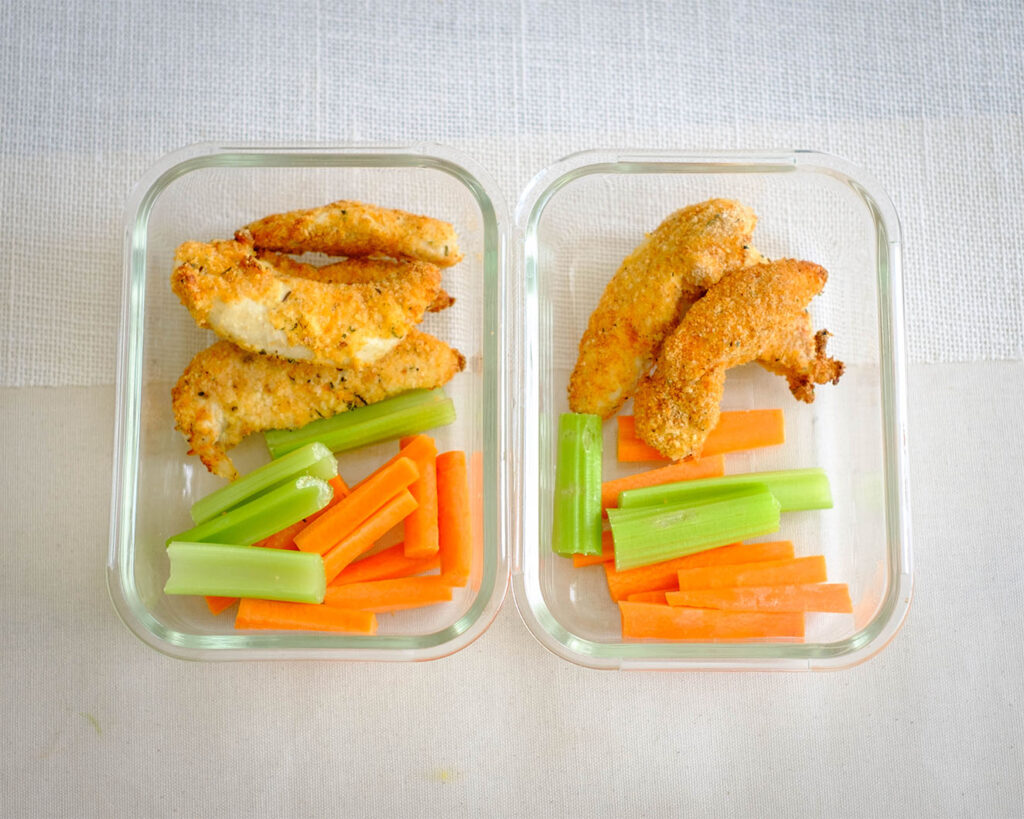
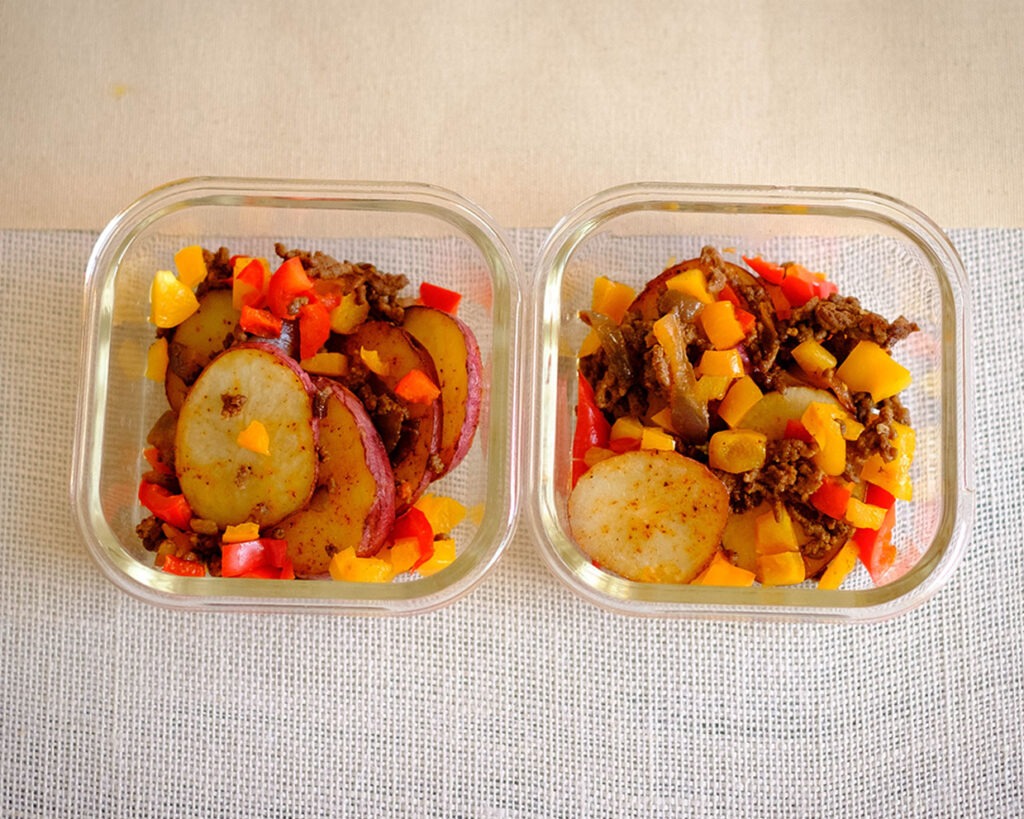
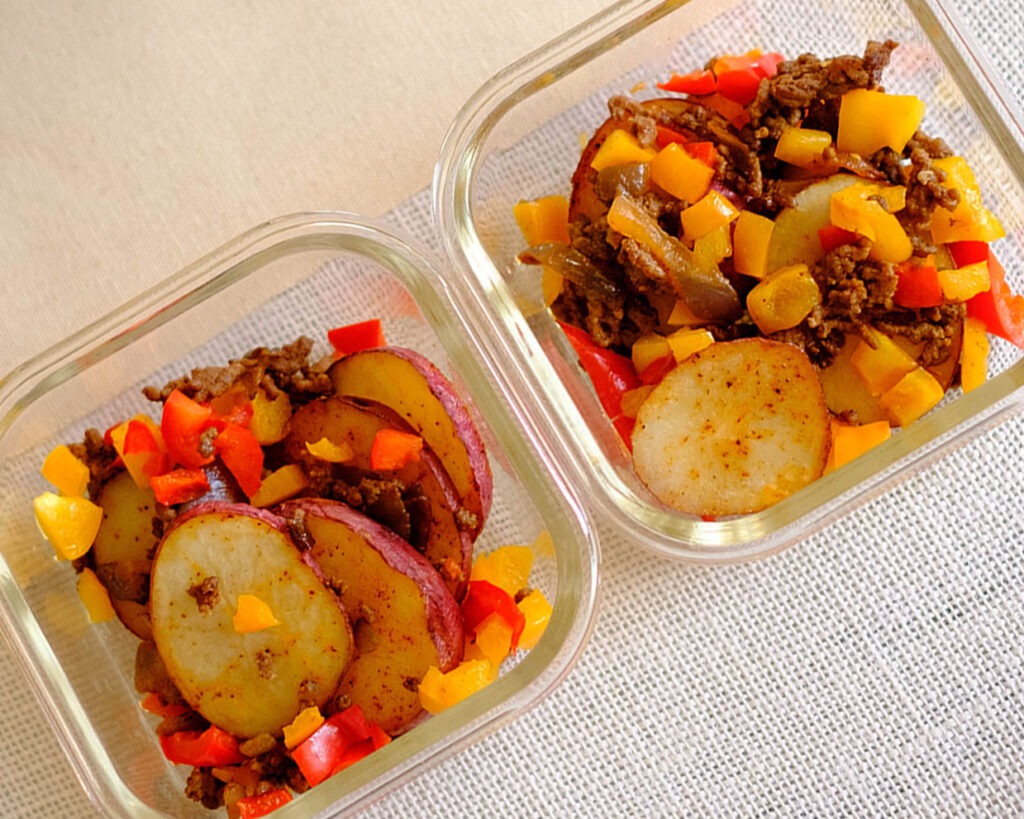
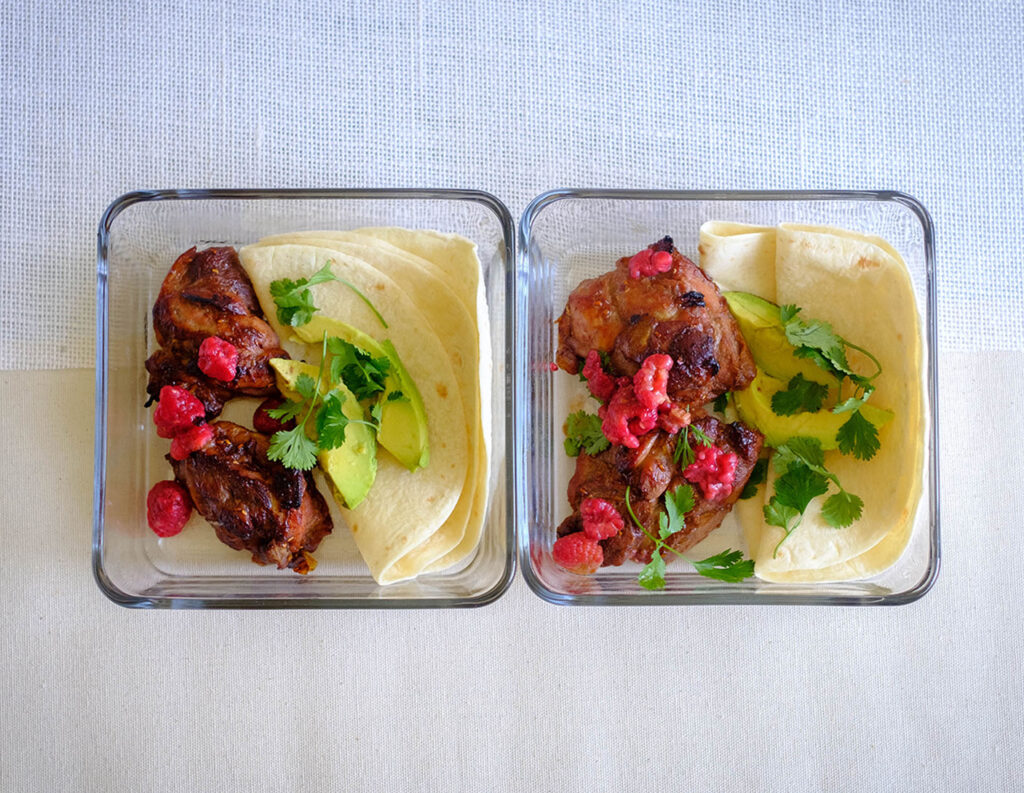
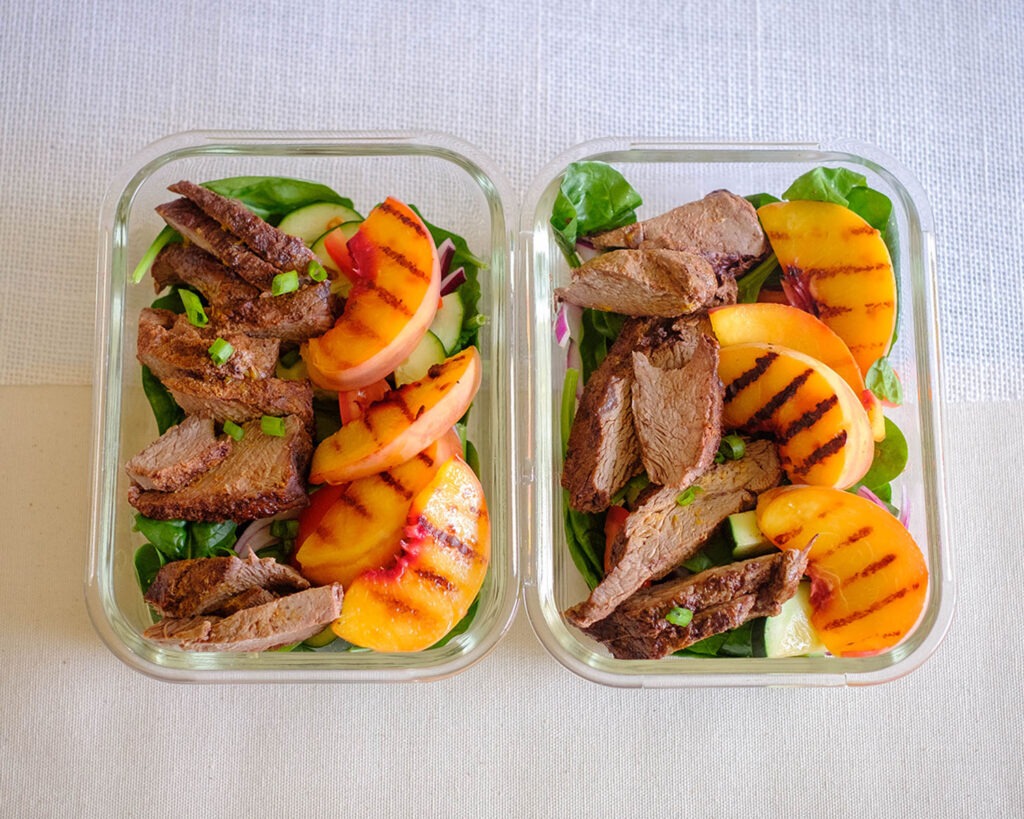
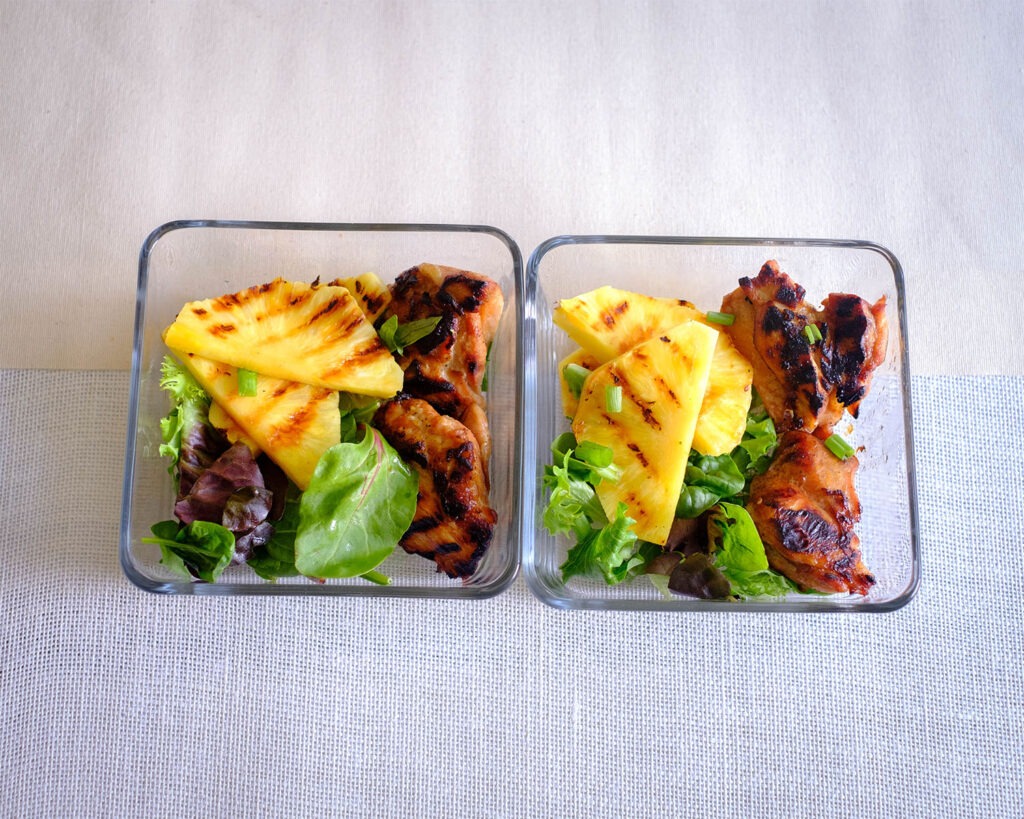
- Once you’ve baked your chicken tenderloins, allow them to cool completely. To store them, place them in an airtight container or wrap them tightly in aluminum foil. They can be refrigerated for up to four days, ensuring you have a delicious protein option ready to go throughout the week.
- When it’s time to enjoy your meal prep masterpiece, reheating is a breeze! Simply pop the tenderloins into a preheated oven at 350°F (175°C) for about 10 minutes or until they are heated through and crispy once again. Alternatively, you can reheat them in a skillet over medium heat with a touch of oil for a quick and crispy revival. You can also reheat them in the microwave, however, they may not be as crispy.
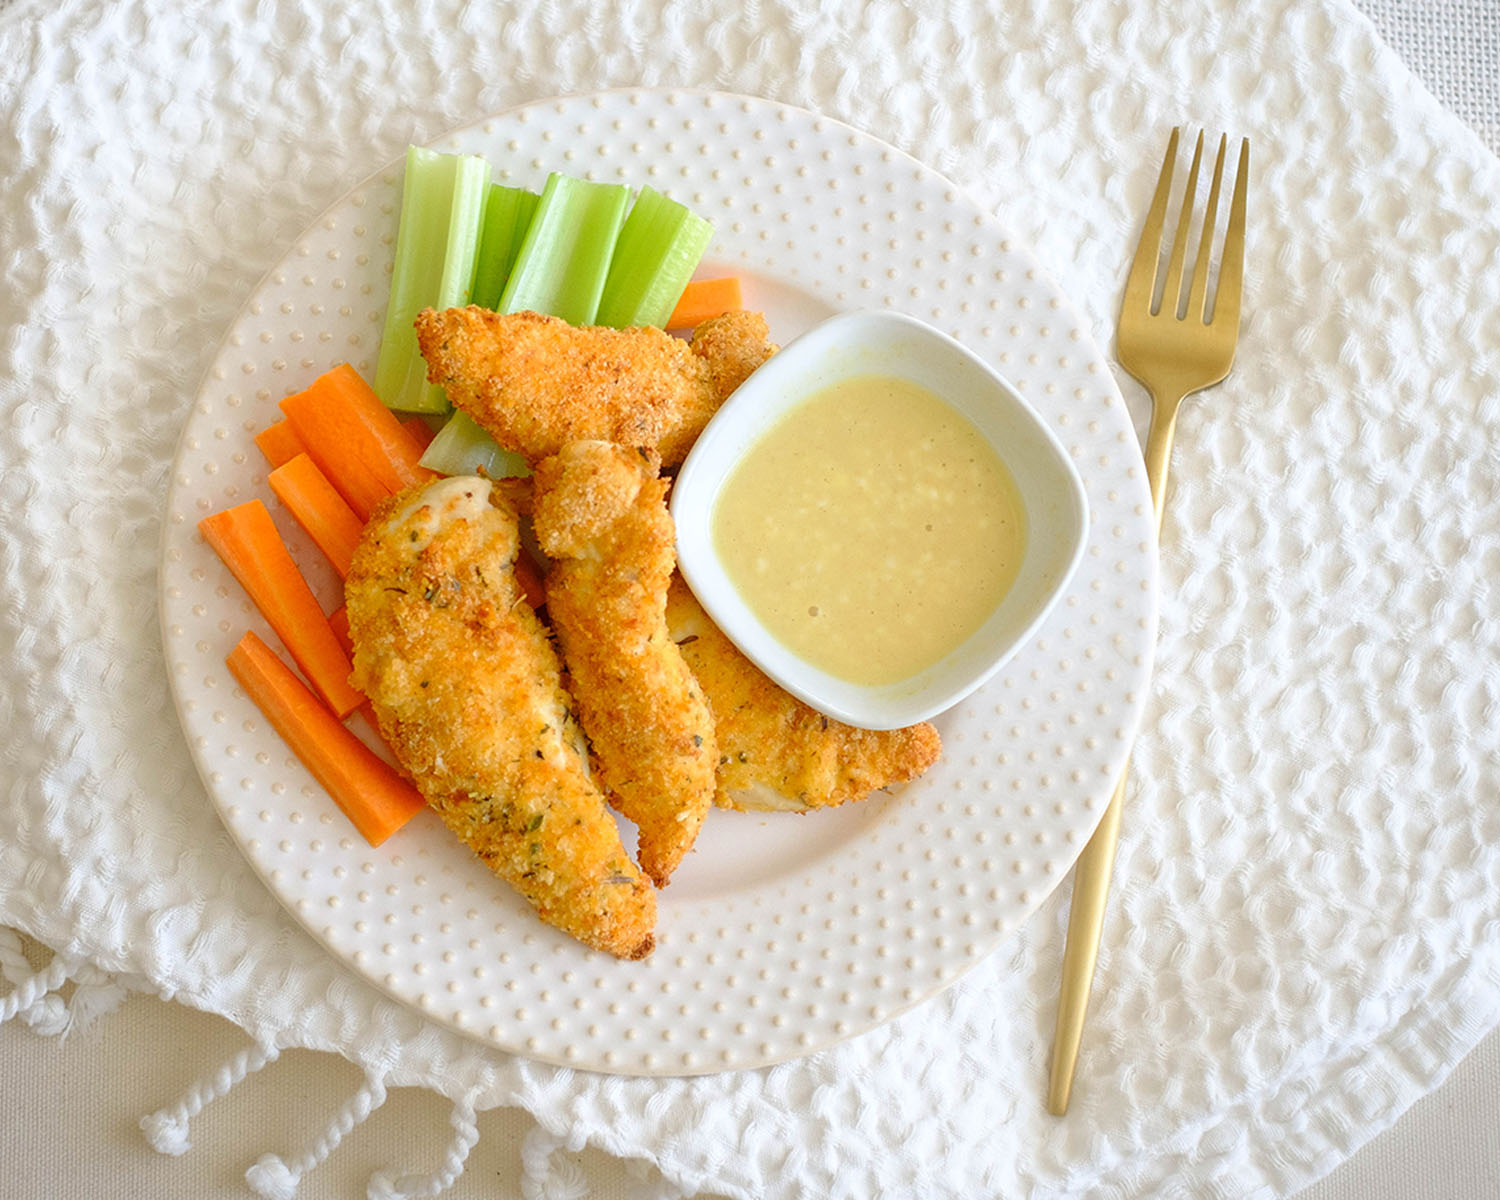
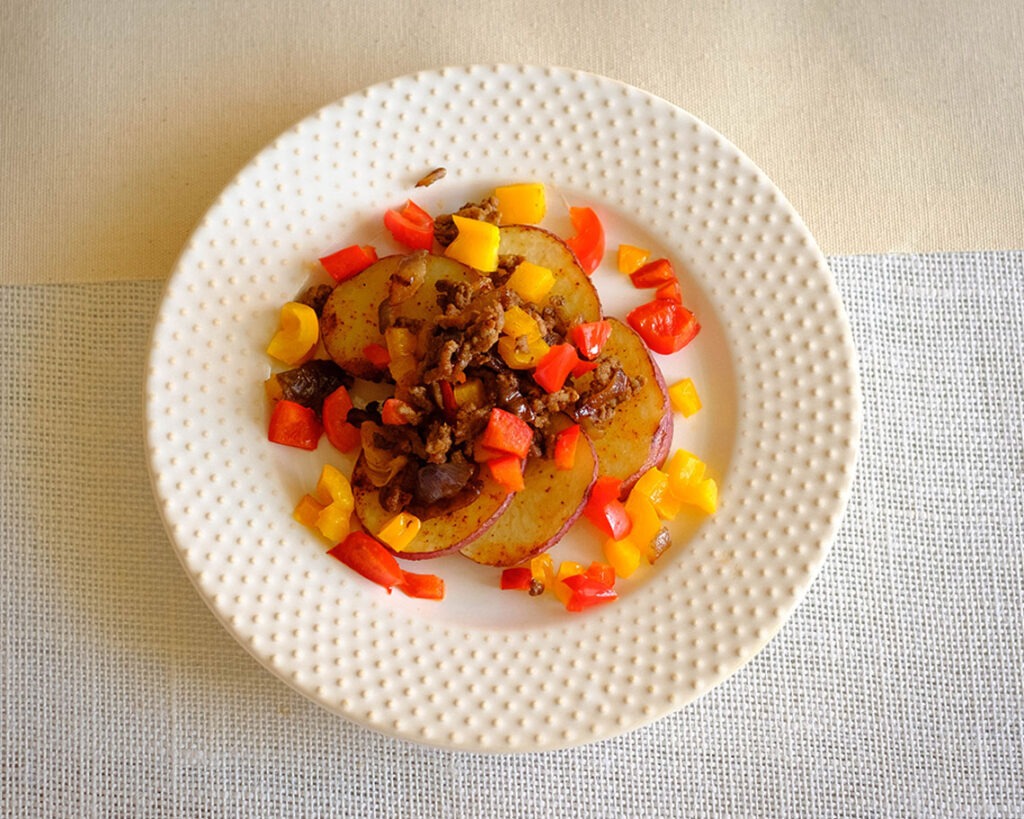
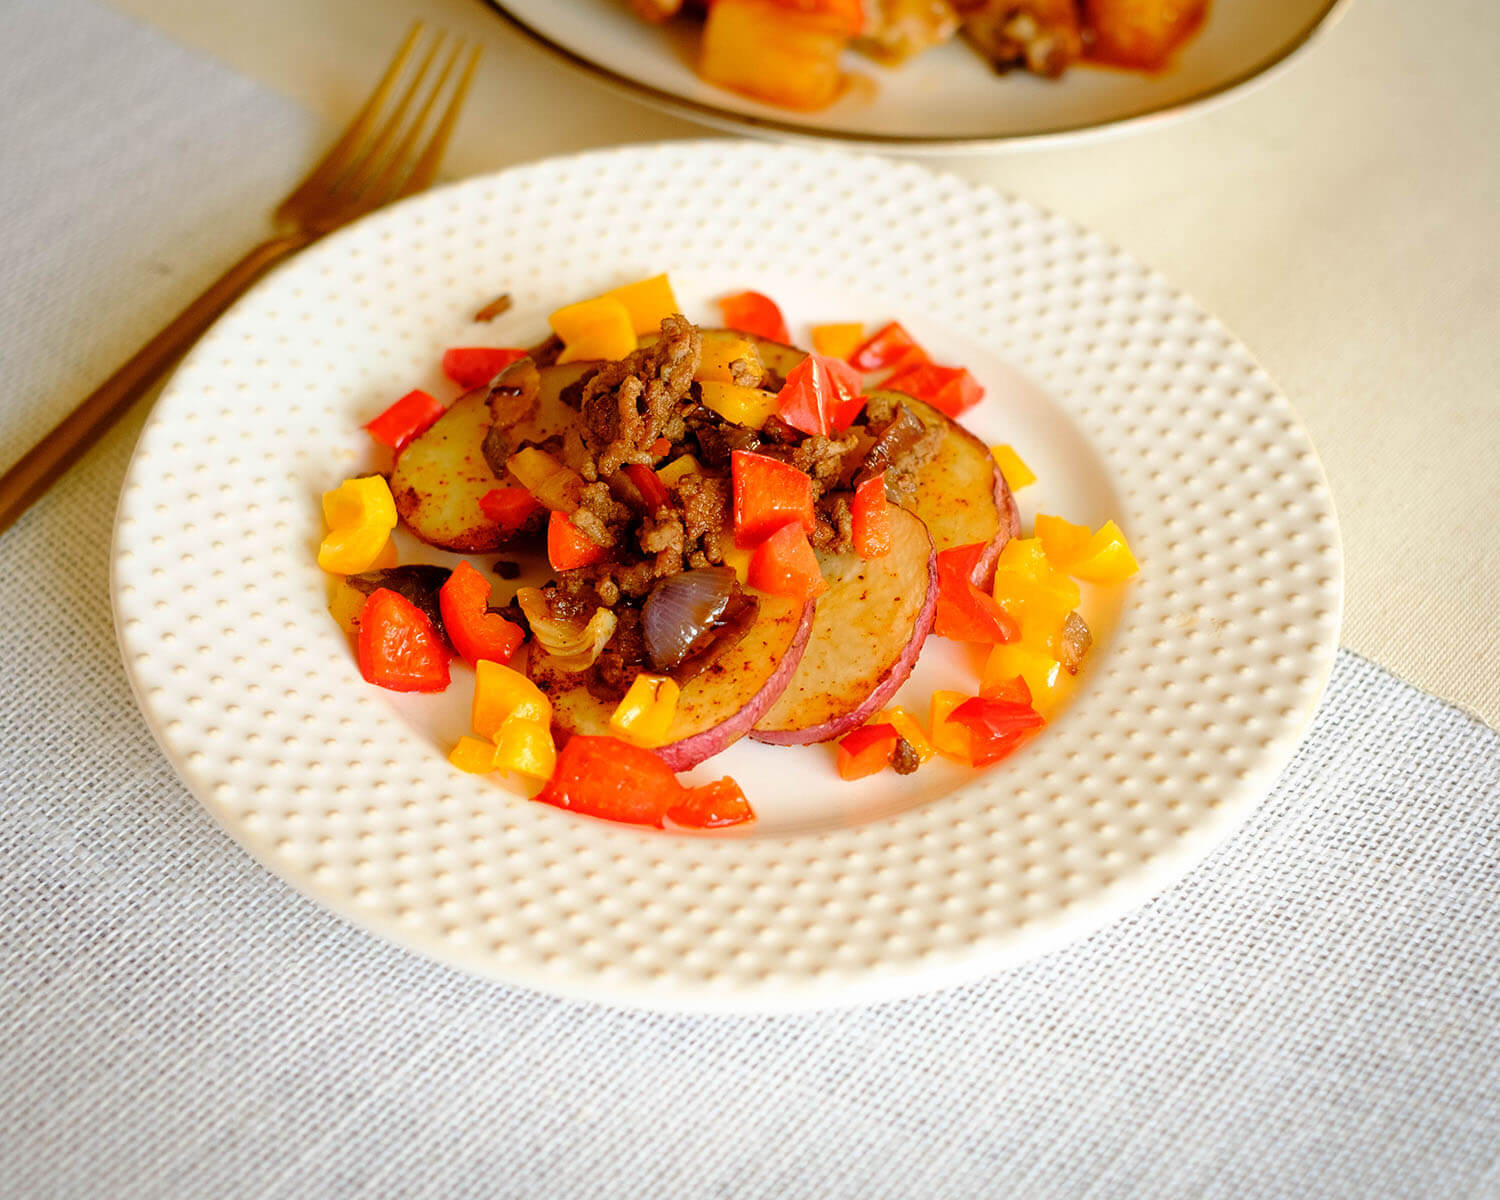
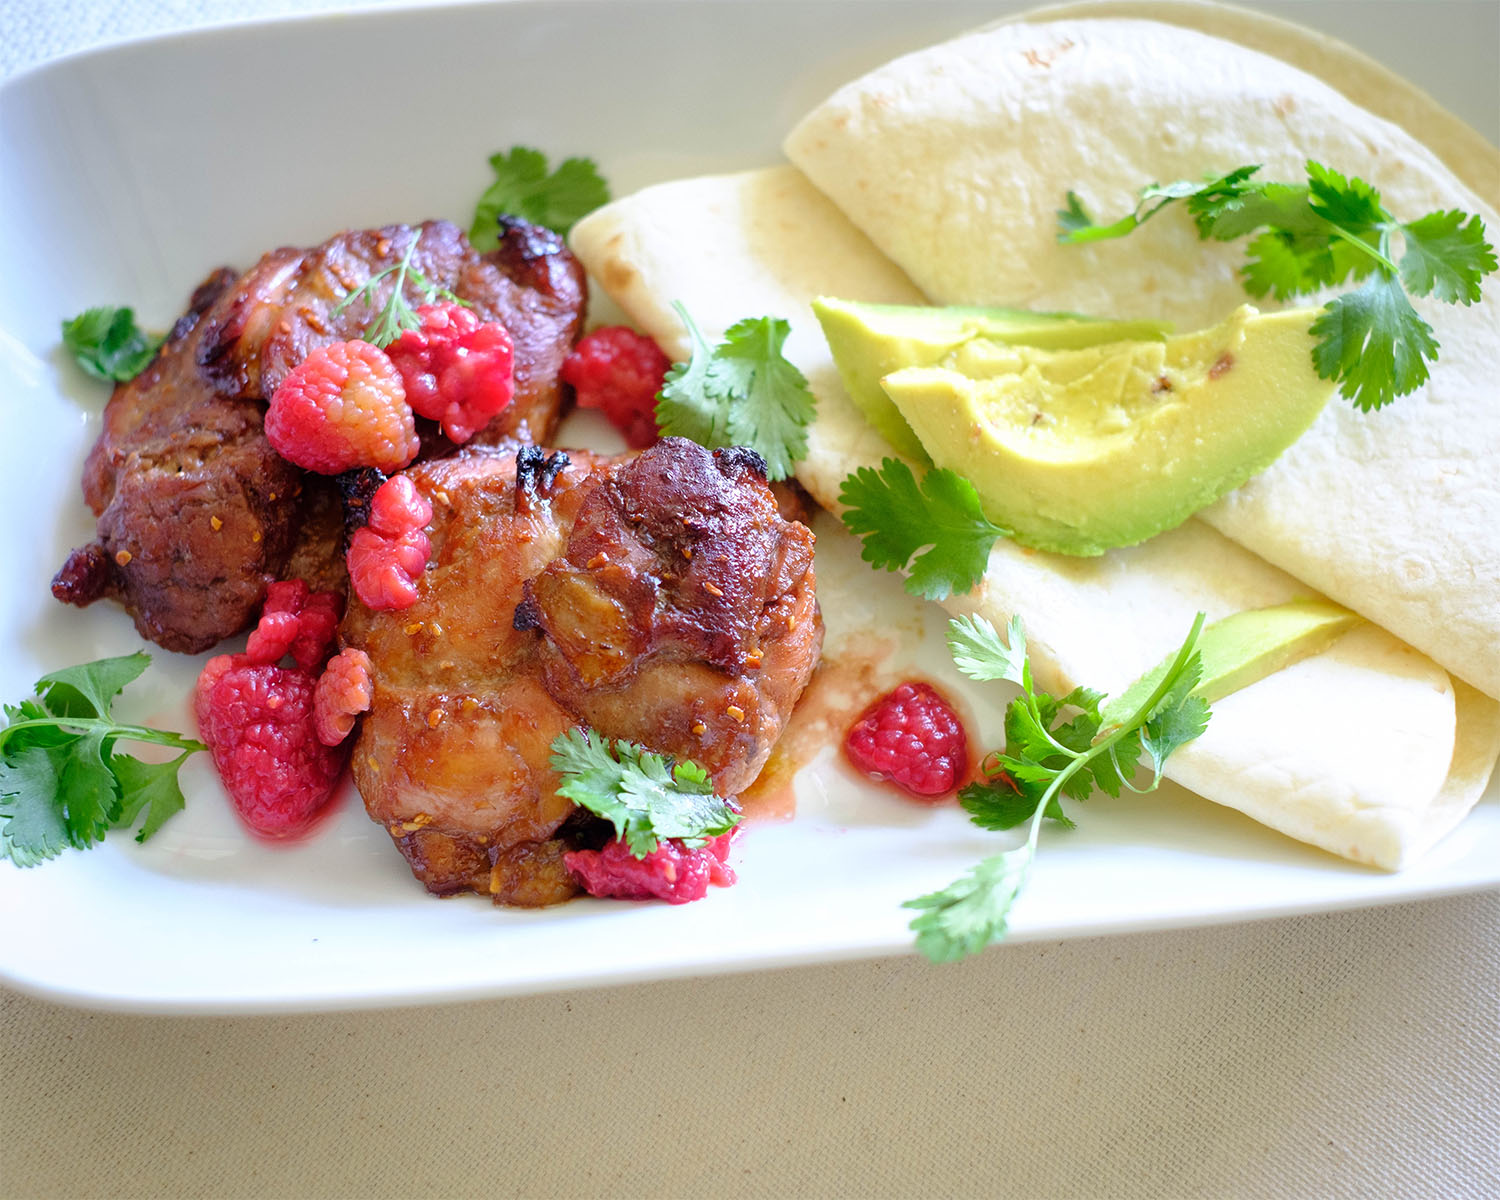
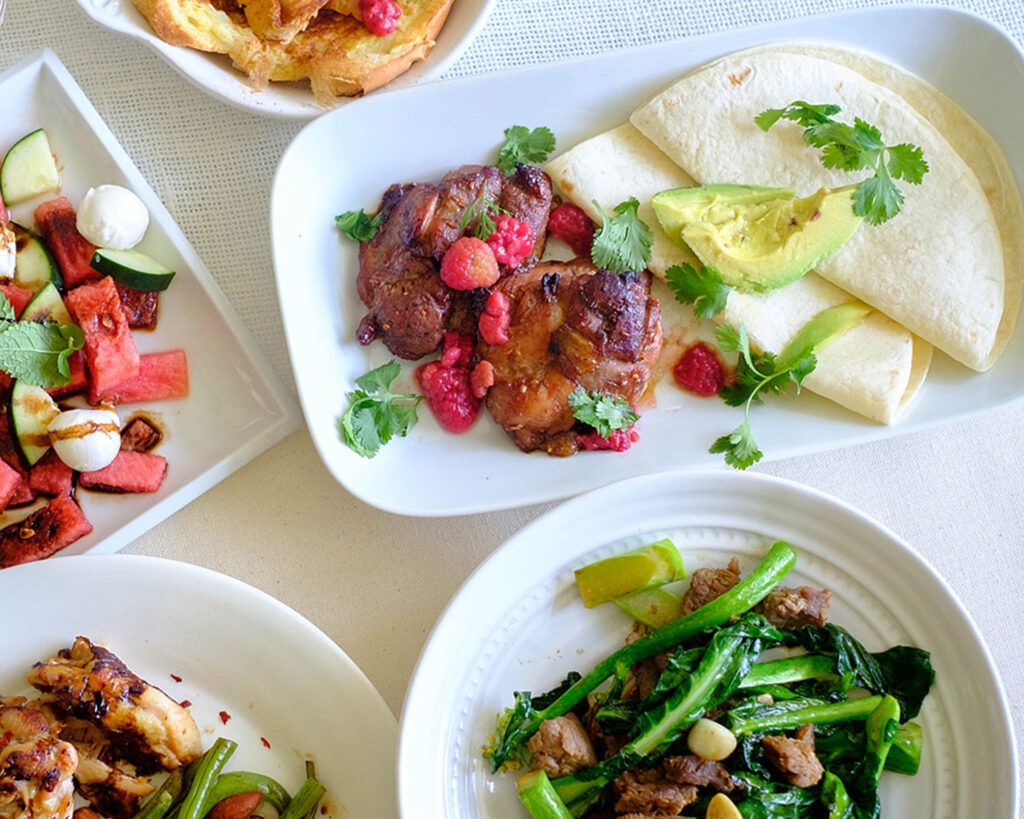
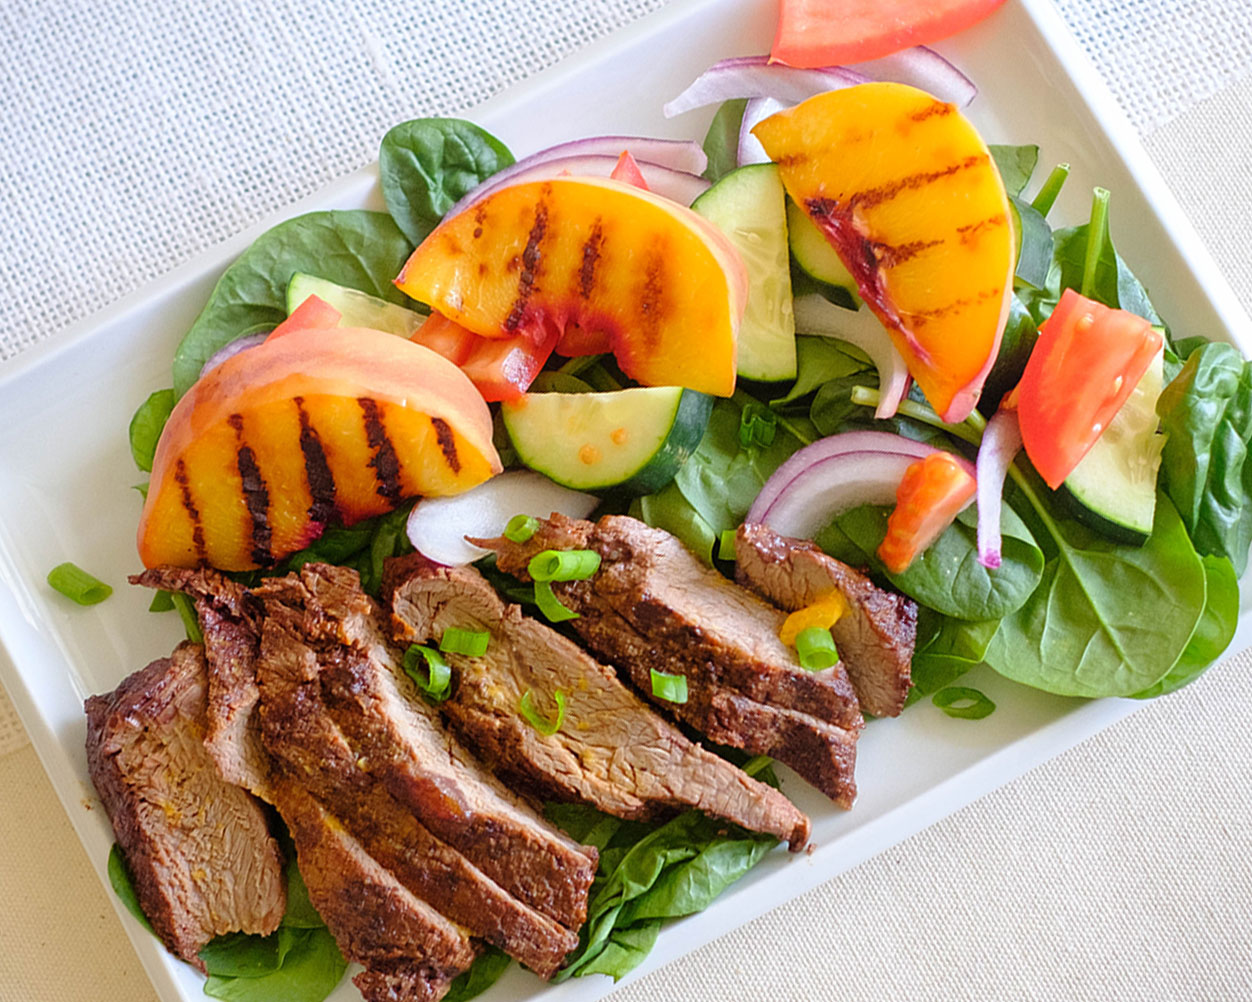
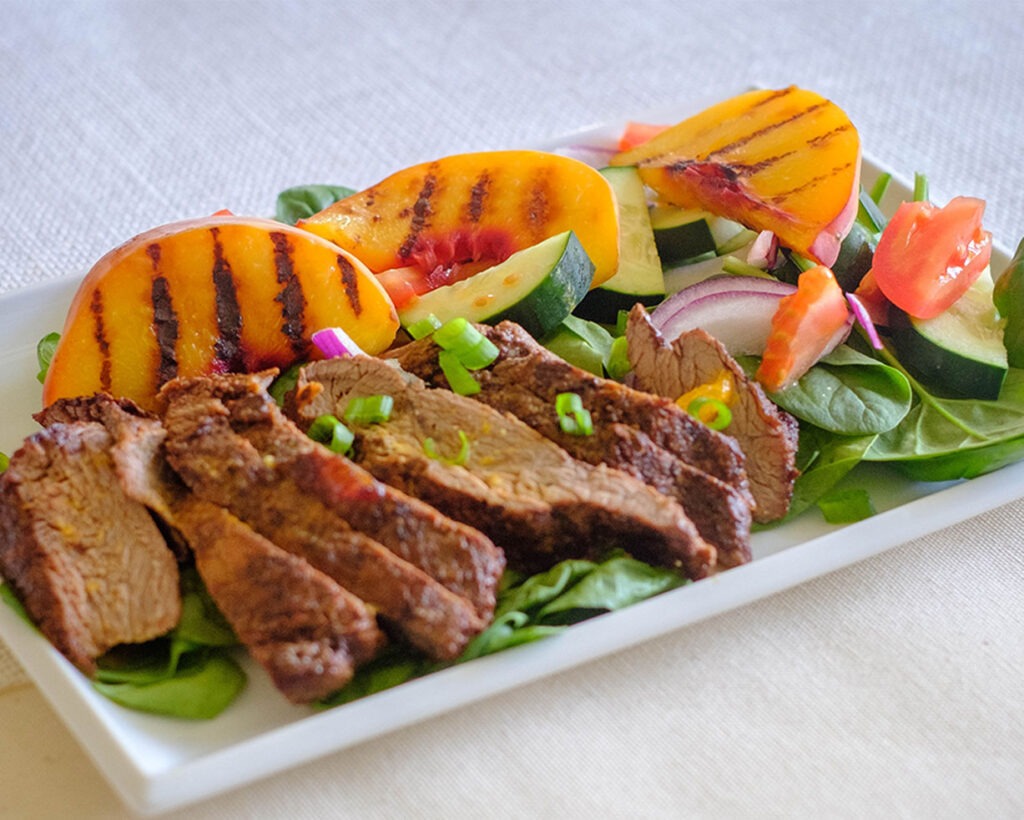
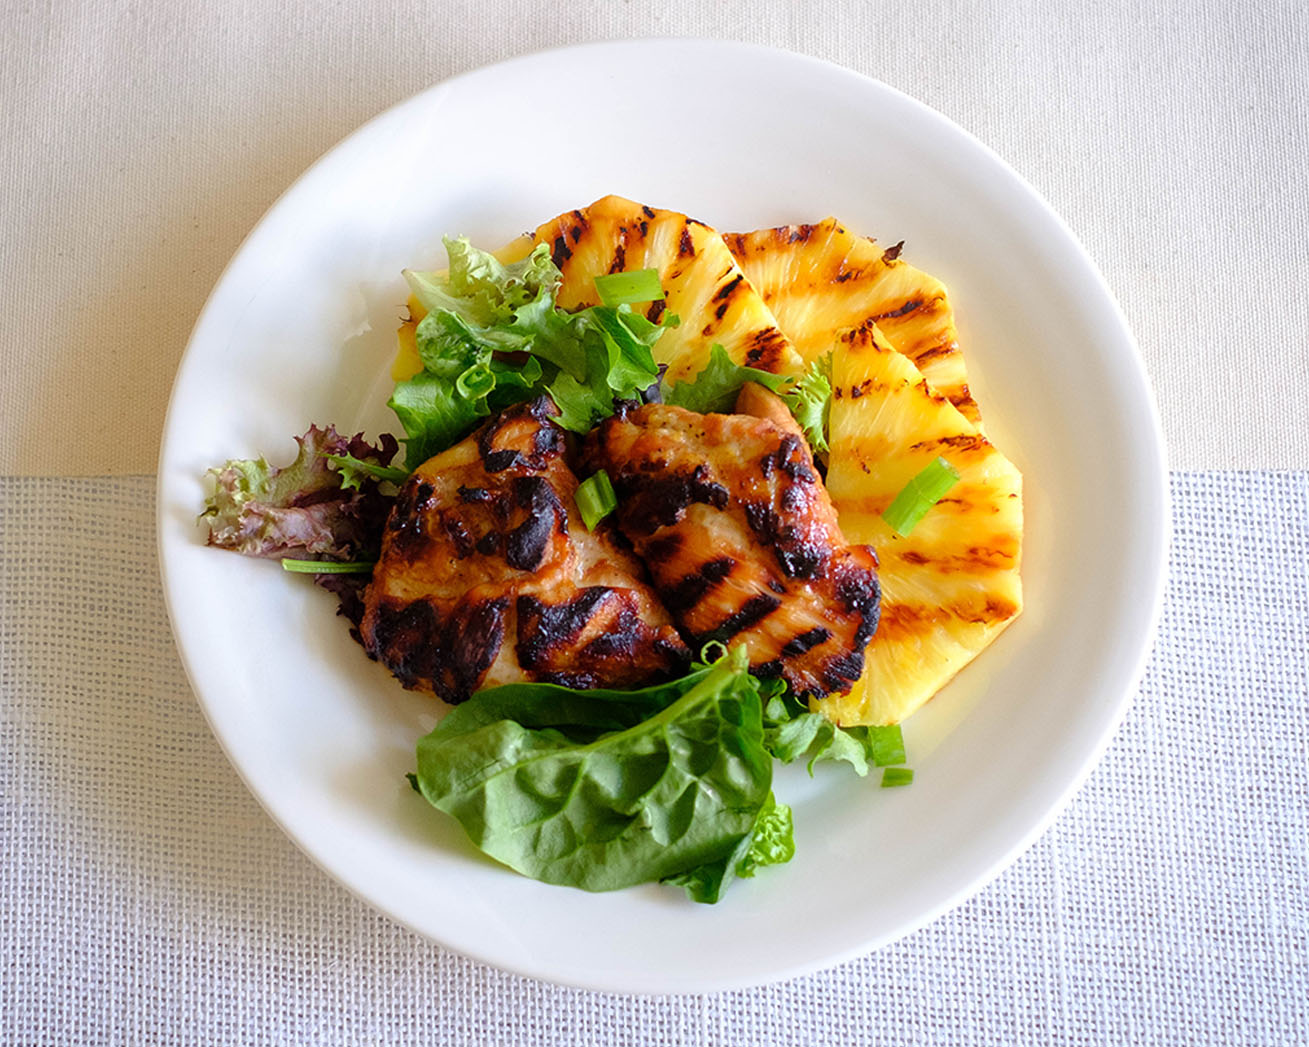
- Now, let’s talk about the fabulous pairings for these oven baked chicken tenderloins. They go wonderfully with a variety of options, such as a fresh garden salad, roasted vegetables, or a fresh veggie sticks with your favorite dipping sauce. You can also slice them up and add them to wraps, sandwiches, or top them on a bed of greens for a satisfying protein-packed salad. The possibilities are truly endless!


Frequently Asked Questions
Can I use chicken breasts instead of chicken tenderloins?
Absolutely! Chicken breasts can be used as a substitute for tenderloins in this recipe. However, keep in mind that the cooking time may vary slightly, as chicken breasts are larger and may require a few extra minutes in the oven to ensure they are cooked through.
Can I use regular breadcrumbs instead of panko breadcrumbs?
While panko breadcrumbs provide a distinct crispy texture, you can use regular breadcrumbs if that’s what you have on hand. Just keep in mind that the final result may not be as crunchy as when using panko. To enhance the crispiness, you can add a bit of oil or butter to the regular breadcrumbs before coating the chicken.
Can I use an air fryer instead of the oven?
Absolutely! Using an air fryer is a great option for achieving a crispy exterior while keeping the chicken tender and juicy. Preheat the air fryer to the recommended temperature and cook the chicken tenderloins according to the manufacturer’s instructions. Keep a close eye on them to prevent overcooking.


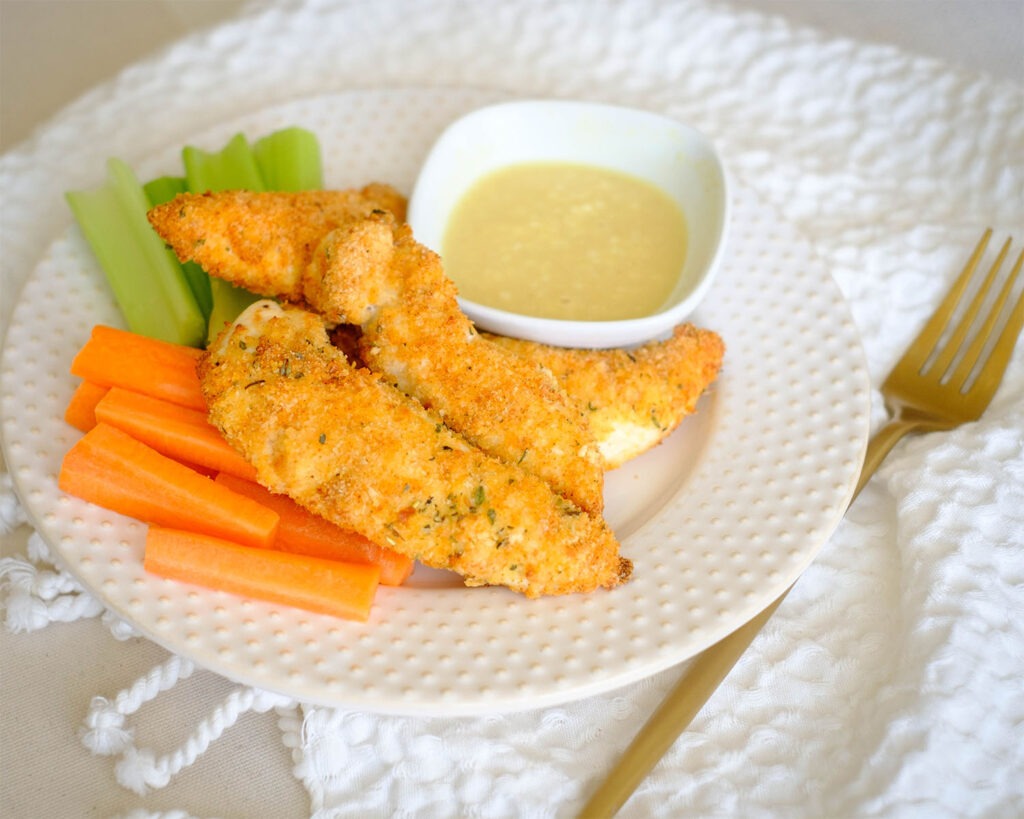
Oven Baked Chicken Tenders with Veggie Sticks
Equipment
Ingredients
Chicken Tenders
Veggie Sticks
Honey Mustard
Instructions
Notes
Nutrition