
So, whether you’re a busy bee on the go or simply looking for a scrumptious breakfast idea to kickstart your day, the Breakfast Turkey Sausage and Veggie Scramble Egg is a winner in every aspect. It’s hearty, filling, and bursting with flavors that will put a smile on your face. Happy cooking, and bon appétit!
This post may contain affiliate links. Please see our privacy policy for details.

Why this scramble egg is great for weight loss
Now, let’s talk health benefits because this recipe is not only delicious but also good for you. The scramble eggs bring a significant protein punch, promoting muscle growth and keeping you feeling fuller for longer. Meanwhile, turkey breakfast sausage is a leaner alternative to pork sausage, reducing the fat content while maintaining its savory goodness.
Tomatoes bring a burst of vitamin C and lycopene, which supports heart health and may even help protect against certain types of cancer. Red onions offer a dose of antioxidants, while green onions add a pop of flavor and essential nutrients. It’s a nutrient-packed party on your plate!

Simple Ingredients
Let’s dive right into the ingredients that make this recipe an absolute winner. First up, we have scramble eggs – the superstar of breakfast dishes. Packed with protein, vitamins, and minerals, these humble little gems provide a solid nutritional foundation. Combined with the savory touch of turkey breakfast sausage, we’re in for a protein-packed party!
Next on the list, we add some vibrant ingredients to elevate the flavor profile. Picture this: juicy tomatoes bursting with freshness, followed by the mild crunch of red onions and the gentle zing of green onions. With every bite, your taste buds will be dancing in joy!
Here are the basic steps for making egg muffins:
- Whisk the eggs in a mixing bowl.
- Saute the ground turkey breakfast sausage until it is fully cooked and golden brown (about 4 to 5 minutes)
- Next, pour in the eggs and stir for about 3 minutes until the eggs start to be firmly set.
- Finally, top it off with fresh tomatoes, red onions, and green onions
Reference the recipe card below for detailed instructions.

Meal Prep Tips for Turkey Sausage Scramble Eggs:
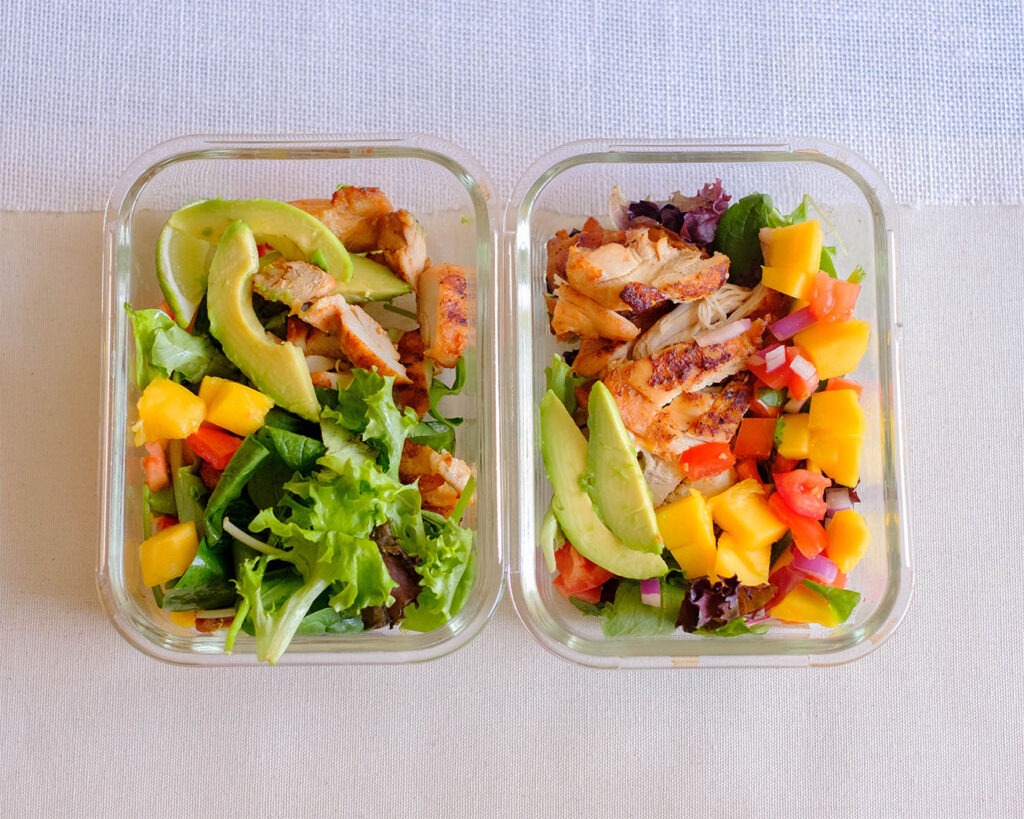
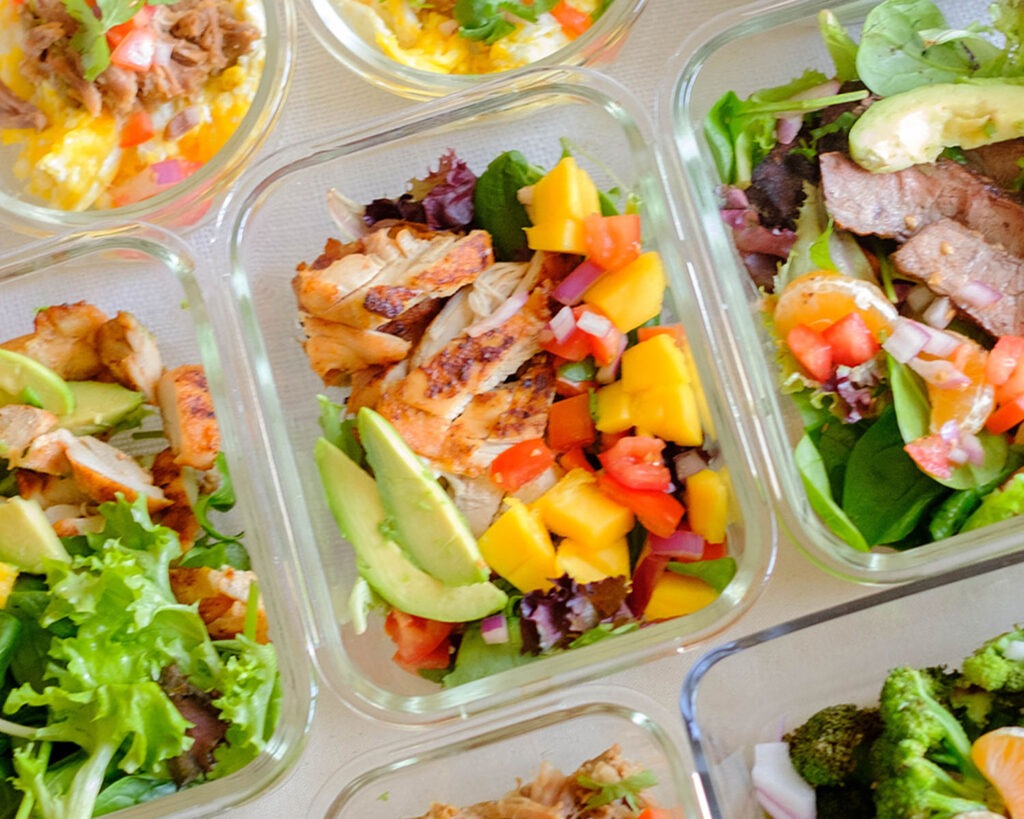
- This recipe is a meal prepper’s dream come true. You can easily whip up a big batch of this Breakfast Turkey Sausage and Veggie Scramble Eggs, divide it into individual portions, and store it in airtight containers. Pop them in the fridge, and you’ve got hassle-free breakfasts ready to go for the week ahead. Talk about convenience and time-saving!
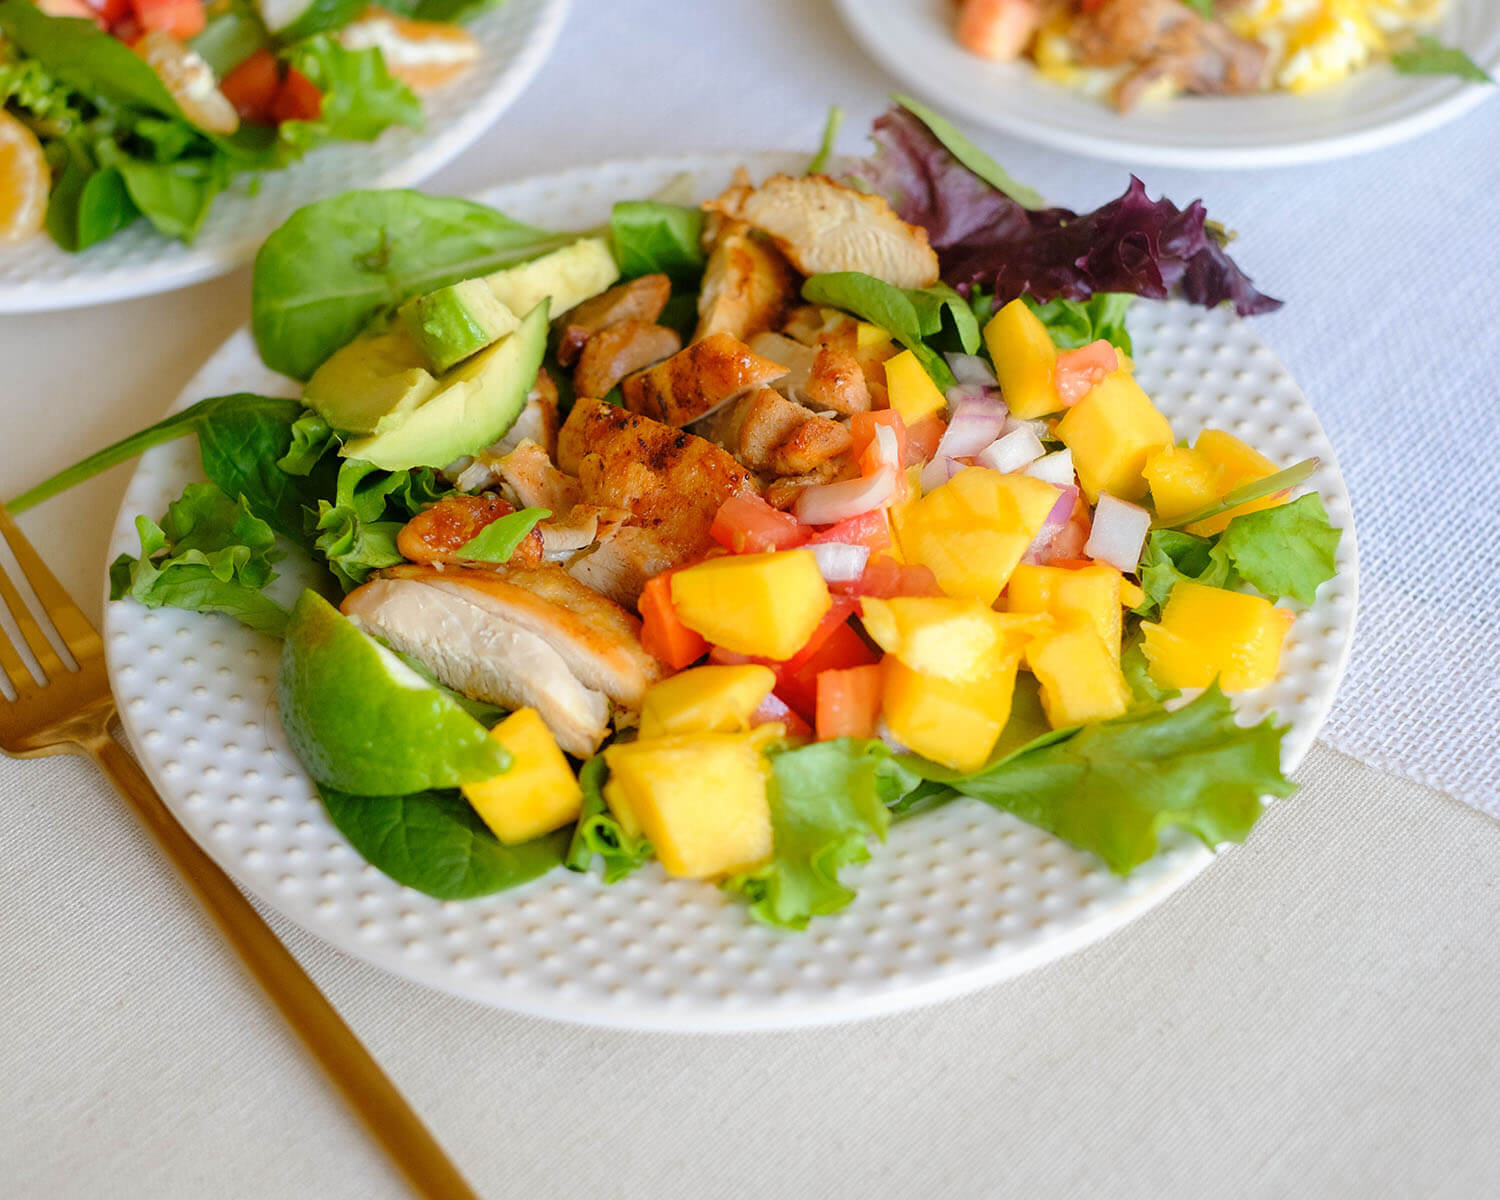
- Now, let’s talk about pairing this delightful dish with other food items. If you want to keep things light, a side of fresh fruit or a mixed green salad would be a refreshing accompaniment. If you’re looking for a heartier option, you could serve it with whole-grain toast or a fluffy biscuit. And for those who enjoy a little heat, a sprinkle of hot sauce or a dollop of salsa will take this breakfast creation to the next level of deliciousness. The possibilities are endless, my friends!


Frequently Asked Questions
Can I substitute the turkey breakfast sausage with another type of meat?
Of course! While turkey breakfast sausage adds a lean and flavorful touch to this recipe, you can experiment with other types of sausage, such as chicken or even vegetarian sausage, depending on your dietary preferences.
Can I customize the vegetables in this scramble?
Absolutely! Feel free to get creative and add or substitute vegetables based on your preferences. Spinach, mushrooms, or zucchini are excellent options that can add even more color, flavor, and nutrition to your scramble.
Can I make this recipe vegan?
While this particular recipe includes eggs and turkey breakfast sausage, you can modify it to make it vegan-friendly. Replace the eggs with tofu and swap the turkey sausage for plant-based sausage or crumbled tofu seasoned with your favorite spices.


Turkey and Veggie Scramble
Equipment
Ingredients
Instructions