
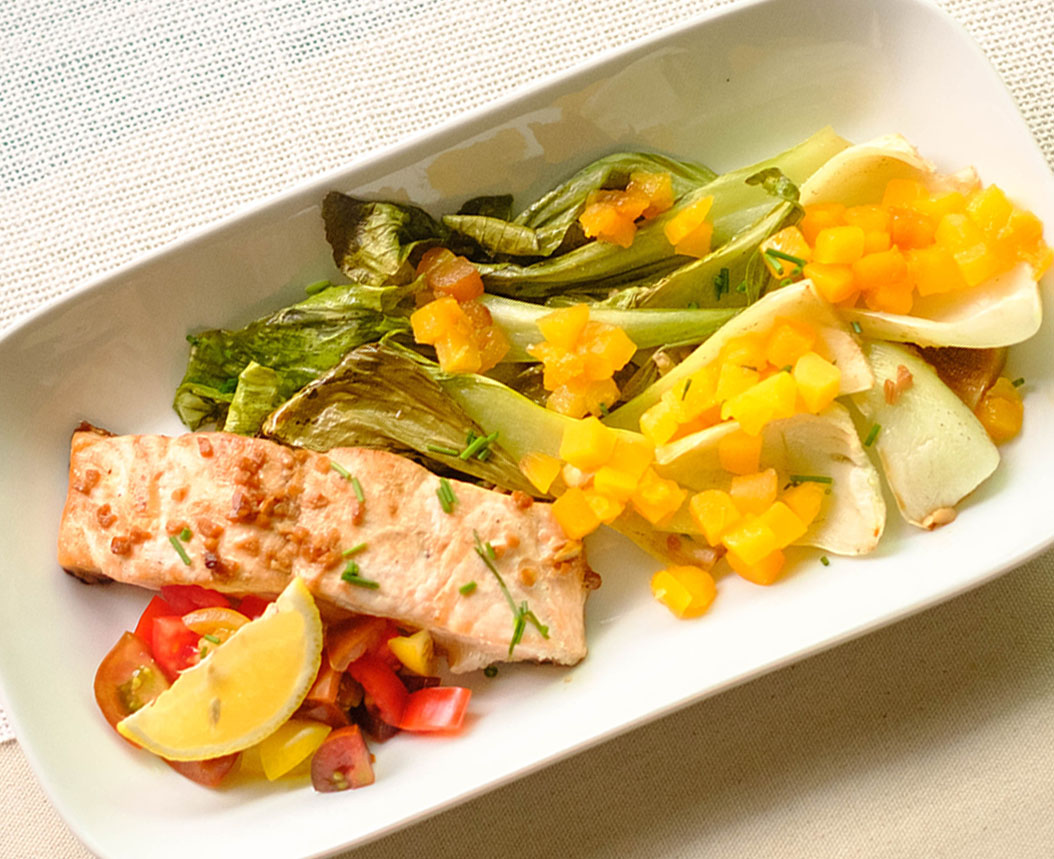
| Busy workweeks don’t mean you have to sacrifice flavor or nutrition. This Air Fryer Sweet Chili Glazed Salmon is the ultimate proof! With just a handful of pantry staples, a quick whisk of sauce, and less than 15 minutes of cook time, you’ve got a meal prep superstar that looks (and tastes) like it came from a restaurant. |
This post may contain affiliate links. Please see our privacy policy for details.
Calories: 225kcal | Carbohydrates: 10g | Protein: 24g | Fat: 9g | Saturated Fat: 1g | Polyunsaturated Fat: 4g | Monounsaturated Fat: 3g | Cholesterol: 62mg | Sodium: 724mg | Potassium: 593mg | Fiber: 0.3g | Sugar: 8g | Vitamin A: 75IU | Vitamin C: 1mg | Calcium: 22mg | Iron: 1mg
Why This Recipe Is Perfect for Busy Individuals
- Fast & Fuss-Free: Ready in under 15 minutes, perfect for hectic weekdays.
- Minimal Cleanup: Just one bowl for the glaze and the air fryer basket—done!
- Pantry-Friendly: Uses simple sauces and pastes you likely already have stocked.
- Meal Prep Friendly: Reheats beautifully without losing flavor or texture.
- Nutritious & Balanced: Salmon is packed with protein and omega-3s, fueling your brain and body.
- Customizable Sides: Pair with rice, roasted veggies, or even a fresh salad—whatever you’ve got on hand.
- Restaurant Vibes at Home: The sweet, tangy glaze makes it feel gourmet with zero extra effort.

The Ingredients You’ll Need
- Salmon: Naturally rich in protein and omega-3 fatty acids, salmon is the star of the dish. It’s hearty, flavorful, and absorbs marinades beautifully, making it a perfect canvas for bold glazes
- Sweet Chili Sauce: Brings a balance of sweet, tangy, and mild heat. It caramelizes slightly in the air fryer, creating a glossy glaze that locks in moisture
- Soy Sauce: Adds savory depth and umami that balances the sweetness of the chili sauce, rounding out the flavor profile
- Ginger Paste: Offers a zesty brightness and warmth that cuts through the richness of salmon, keeping the dish light and refreshing
- Garlic Paste: Provides a robust, aromatic base that pairs seamlessly with both sweet and savory elements in the glaze
- Sesame Oil: Infuses a nutty, toasty flavor that enhances the Asian-inspired profile of the dish while adding a silky finish
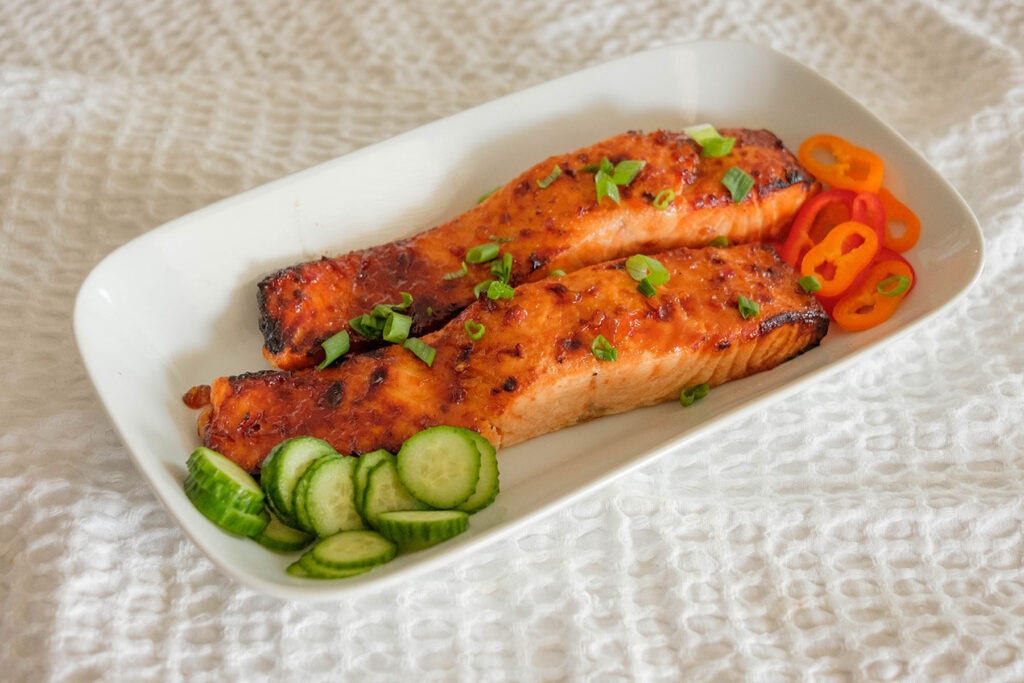
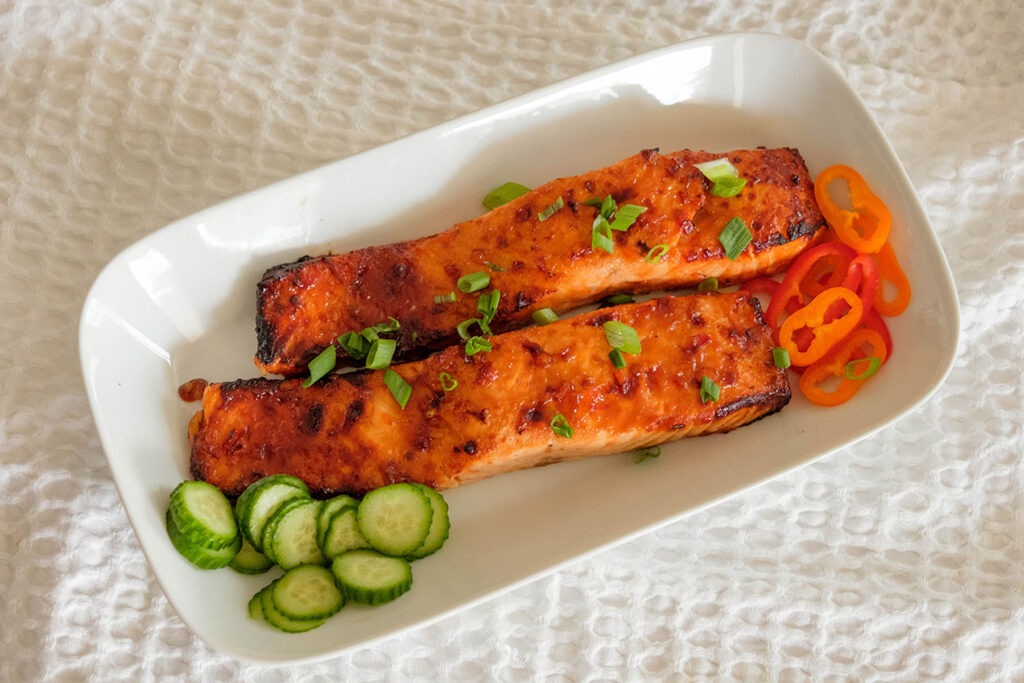
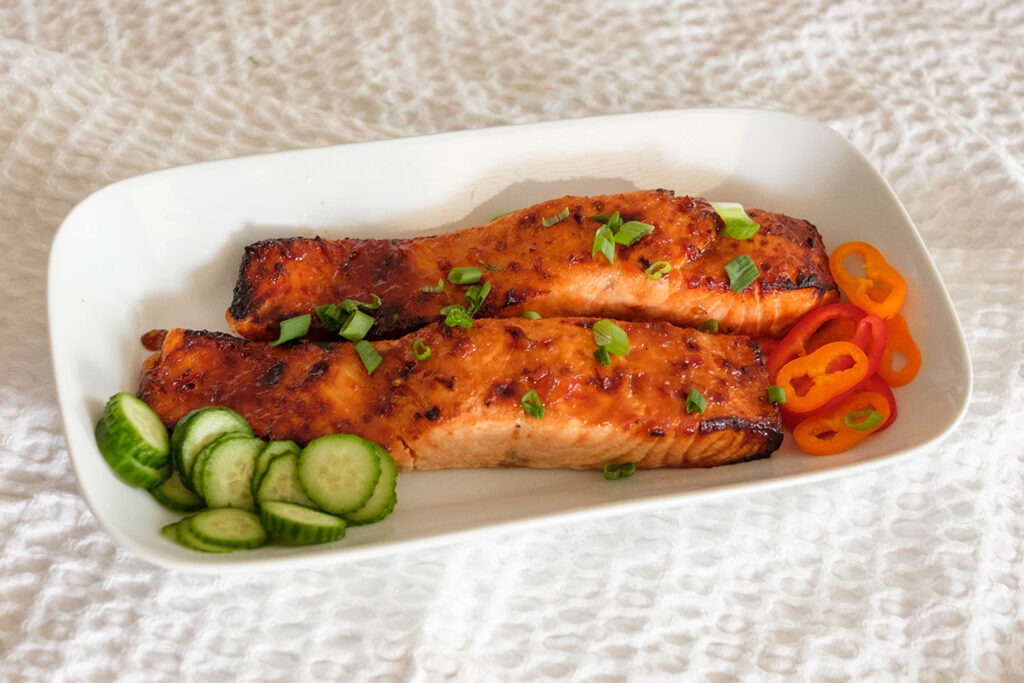
- Green Onions: Add a crisp, fresh bite that complements the glaze and provides a pop of color for presentation.
Easy Recipe Steps for Air Fryer Sweet Chili Glazed Salmon
- Preheat your air fryer to 400°F so it’s hot and ready when you place the salmon inside
- In a small mixing bowl, combine the sweet chili sauce, soy sauce, ginger paste, garlic paste, and sesame oil, stirring until the glaze is smooth and well blended
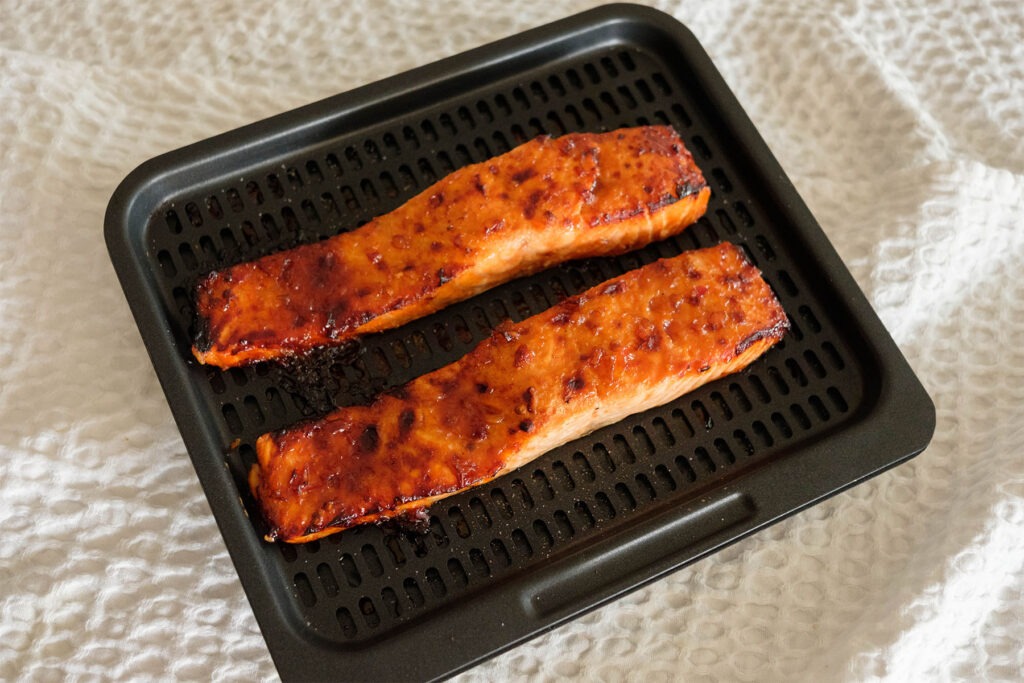
- Use a paper towel to pat the salmon fillets dry, which helps the glaze stick better and ensures the salmon cooks evenly. Place the fillets skin-side down on the air fryer rack or basket
- Spoon or brush the glaze generously over the salmon fillets, making sure each piece is evenly coated
- Insert the rack into the air fryer and cook for 8 to 10 minutes, depending on the thickness of your fillets, until the salmon flakes easily with a fork and reaches an internal temperature of 145°F
- Carefully remove the salmon from the air fryer, garnish with freshly sliced green onions, and serve with your choice of sides.
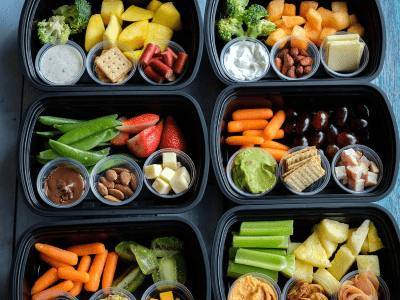
Meal Prep Pairing Tips
- Grain Base Options: Pair the salmon with brown rice, jasmine rice, quinoa, or farro for a satisfying and filling base
- Vegetable Sides: Add steamed broccoli, roasted asparagus, air-fried Brussels sprouts, or sautéed zucchini for fiber and nutrients
- Fresh Salads: Include a cucumber salad, cabbage slaw, or mixed greens with a light vinaigrette to balance the rich glaze
- Legume Additions: Consider lentils, chickpeas, or edamame for an extra boost of plant-based protein and texture variety.


Frequently Asked Questions
Can I make the glaze ahead of time?
Yes. Mix the glaze up to 3 days in advance and keep it in a sealed container in the refrigerator until ready to use
Can I substitute fresh garlic and ginger for the paste?
Absolutely. Use about 1 teaspoon each of freshly grated ginger and minced garlic in place of the pastes.
What if I don’t have sesame oil?
You can skip it or replace it with olive oil. The flavor will be slightly different, but the glaze will still be delicious


Air Fryer Sweet Chili Glazed Salmon
Equipment
Ingredients
Instructions
Video
Notes
Nutrition