
Get ready to elevate your meal prep game with this Smoked Paprika Chicken Quinoa Bowl! Packed with protein, fiber, and vibrant veggies, this dish is a powerhouse of flavor and nutrition. It’s the perfect recipe for anyone looking to incorporate healthier, whole-food ingredients into their busy lifestyle. Let’s break it down step-by-step so you can whip up this wholesome bowl with confidence!
This post may contain affiliate links. Please see our privacy policy for details.

7 Reasons This Recipe is a Meal Prep Superstar
- Protein-Packed Goodness: The chicken thighs deliver lean protein to help you build and repair muscles while keeping you full and energized.
- Complex Carbs for Lasting Energy: Quinoa and sweet potatoes are nutrient-dense, slow-digesting carbs that provide sustained energy without spikes and crashes.
- Vibrant Veggies for Nutrients: Broccoli and sweet potato bring fiber, vitamins, and antioxidants to support a healthy immune system and digestion.
- Quick & Easy: This recipe uses the air fryer for speed and convenience, perfect for meal prepping multiple servings in under 30 minutes.
- Flavor Explosion: The smoky paprika marinade brings a rich, tangy, and slightly sweet flavor that keeps you excited about eating healthy.
- Customizable: Swap out the veggies or protein to fit your preferences. This bowl is versatile enough to suit different tastes and dietary needs.
- Fuel for Life: Packed with whole, nutrient-dense ingredients, this bowl keeps you energized for busy days—whether you’re crushing work deadlines, chasing kids, or hitting the gym.

Ingredients You’ll Need:
- Chicken Thighs: Juicy and flavorful, chicken thighs bring a hearty, protein-rich base to this dish. Their natural richness pairs perfectly with the smoky and tangy marinade, making every bite satisfying and full of flavor.
- Quinoa: This tiny but mighty seed adds a fluffy texture and a nutty undertone to the bowl. Quinoa is a complete protein, meaning it contains all nine essential amino acids, which complement the chicken’s protein for a balanced, energizing meal.
- Sweet Potato: Naturally sweet and creamy, sweet potatoes provide a hint of sweetness that balances the smoky paprika and tangy dressing. They’re packed with beta-carotene, which adds both nutrition and vibrant color to the bowl.
- Broccoli: The crisp-tender texture of broccoli contrasts beautifully with the soft sweet potato and quinoa. Its slightly bitter flavor enhances the overall complexity of the dish, while its fiber and vitamin C add a nutritional boost.
- Olive Oil: Used in both the marinade and to roast the veggies, olive oil adds richness and helps bring out the natural flavors of the ingredients. Its healthy fats also help your body absorb fat-soluble vitamins from the vegetables.
- Smoked Paprika: This star seasoning infuses the chicken and dressing with a smoky depth of flavor. It ties all the ingredients together, creating a warm, cohesive taste profile that feels indulgent yet light.
- Honey & Red Wine Vinegar: These two ingredients in the marinade work as a sweet-and-tangy duo. The honey balances the acidity of the vinegar, creating a dressing that’s both bright and luscious, perfect for drizzling over the bowl.
- Garlic Powder, Salt & Pepper: These classic seasonings bring everything together. Garlic powder adds warmth and umami, while salt enhances the natural flavors, and pepper gives a subtle kick to keep the dish from feeling flat.

Easy Recipe Steps:
- Preheat & Prep the Basics: Preheat your air fryer to 400°F. Rinse the quinoa under cold running water to remove any bitterness. In a small pot, bring water to a boil, then stir in the rinsed quinoa. Lower the heat to a simmer, cover the pot, and cook for about 15 minutes, or until the quinoa is tender and the water is fully absorbed. Set it aside to cool.
- Make the Marinade Dressing: In a small jar or bowl, combine olive oil, red wine vinegar, Dijon mustard, honey, garlic powder, smoked paprika, salt, and pepper. Use a frother, whisk, or fork to mix until smooth and creamy. This dressing will add flavor and moisture to your chicken and bowl.
- Marinate the Chicken: Place the chicken thighs in a medium-sized mixing bowl. Pour half of the marinade dressing over the chicken. Use clean hands or tongs to toss the chicken, ensuring every piece is well coated. Set the remaining marinade aside—you’ll use it to drizzle over the final bowl.
- Cook the Chicken in the Air Fryer: Arrange the marinated chicken thighs in a single layer in the air fryer basket, ensuring they aren’t overlapping (this helps them cook evenly). Cook for 8–10 minutes, flipping halfway through. Use a meat thermometer to check that the internal temperature reaches 165°F. Once done, transfer the chicken to a cutting board and let it rest for 3–5 minutes before slicing into bite-sized pieces.
- Prepare the Vegetables: Peel the sweet potato, then dice it into small, even-sized cubes (about ½-inch) so they cook evenly. Rinse the broccoli and cut it into bite-sized florets. Place both in a mixing bowl and season with garlic powder, salt, and pepper. Drizzle with olive oil and toss until evenly coated.
- Roast the Veggies in the Air Fryer: After removing the chicken, place the seasoned veggies in the Air Fryer basket. Spread them out in a single layer to allow for even cooking. Roast for 4–5 minutes until they are tender but still have a slight crunch.
- Assemble the Bowl: Start with a base of cooked quinoa in your bowl or meal prep container. Add the roasted sweet potato and broccoli on top, followed by the sliced chicken. Drizzle the remaining marinade dressing over everything to bring all the flavors together.
- Final Touch: Gently toss everything in the bowl to coat it evenly with the dressing, or leave it layered for a beautiful presentation. Enjoy immediately or store in airtight containers in the fridge for up to 4 days.

Additions to Amp Up Flavor & Nutrition:
- Extra Veggies: Add roasted red bell peppers, cherry tomatoes, or sautéed spinach for more variety.
- Toppings: Sprinkle with toasted nuts or seeds (like almonds, sunflower seeds, or pumpkin seeds) for added crunch. Crumbled feta cheese or a dollop of Greek yogurt can add creaminess.
- Fresh Herbs: Garnish with fresh parsley, cilantro, or dill to brighten up the dish.
- Zest & Juice: Add lemon or lime zest and a squeeze of fresh juice for a citrusy pop of flavor.
- Heat Lovers: Drizzle with hot sauce or sprinkle with red chili flakes for a spicy kick.
- Boost Fiber & Protein: Toss in a handful of chickpeas or black beans for extra protein and fiber.


Frequently Asked Questions
Can I use pre-cooked ingredients to save time?
Absolutely! Use pre-cooked quinoa, store-bought rotisserie chicken, or frozen pre-cut veggies. Toss them with the marinade dressing to infuse flavor before assembling.
How can I make this meal vegetarian or vegan?
Replace the chicken with tofu, tempeh, or chickpeas, and swap honey in the dressing for maple syrup or agave nectar.
Is quinoa necessary, or can I substitute it?
Quinoa is a great source of protein and fiber, but you can swap it with brown rice, farro, couscous, or even cauliflower rice for a lower-carb option.


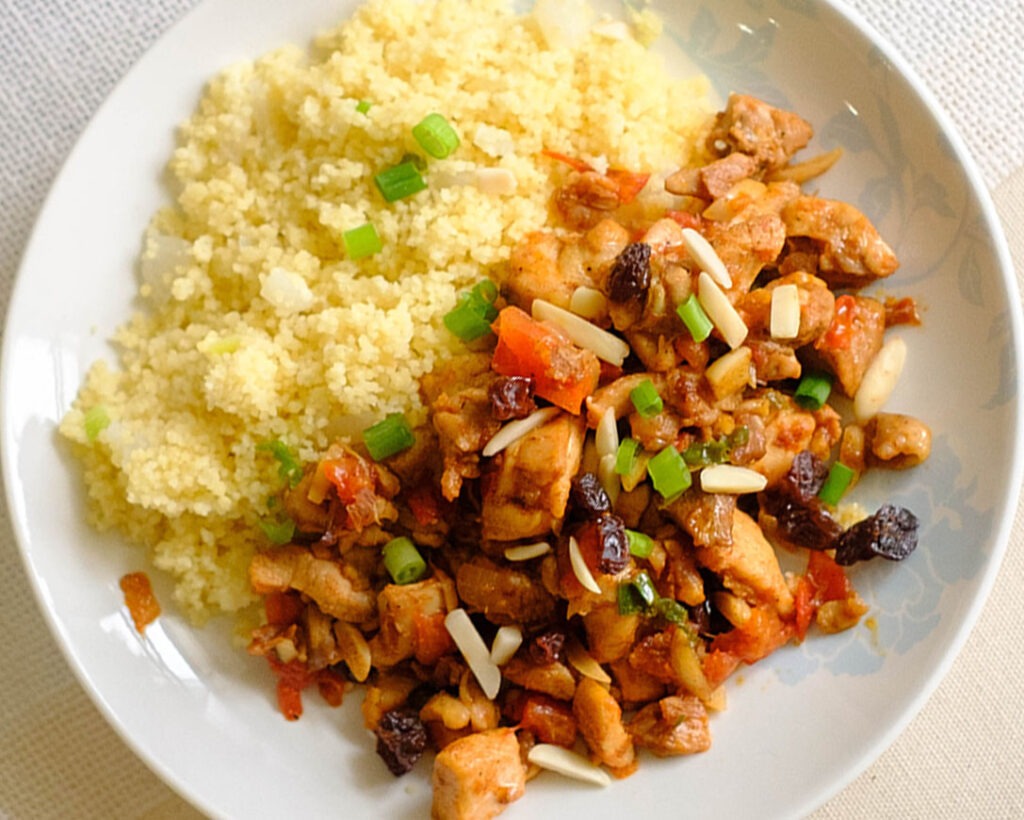
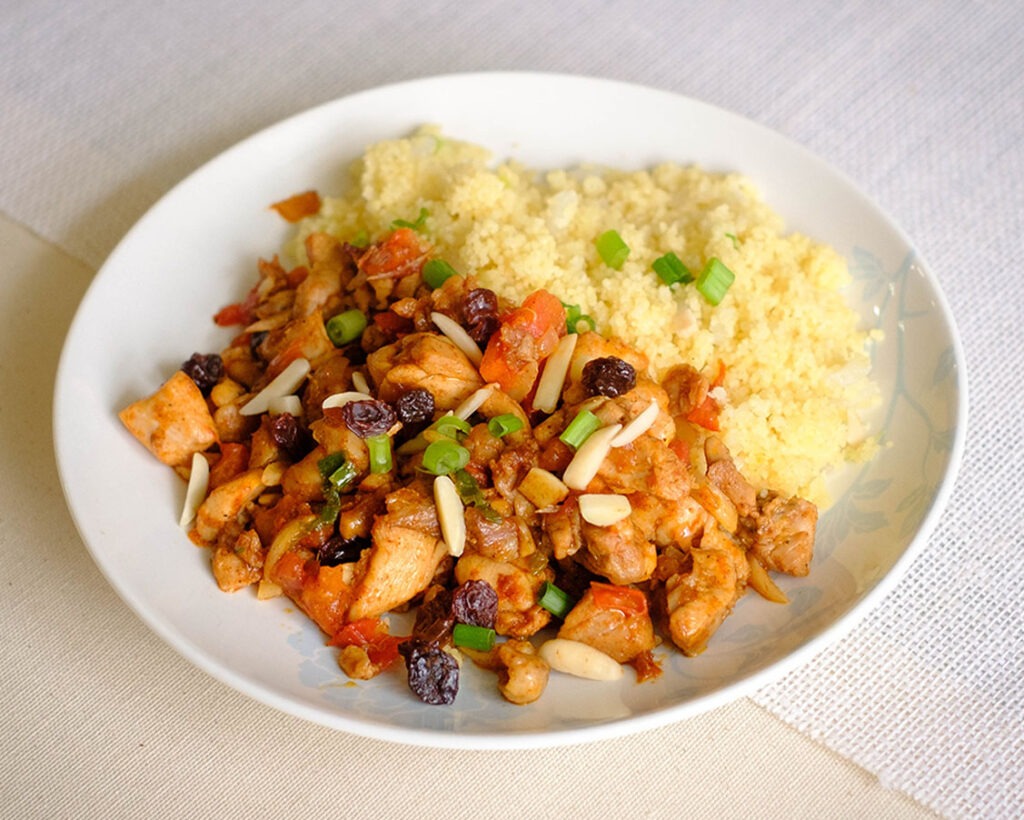
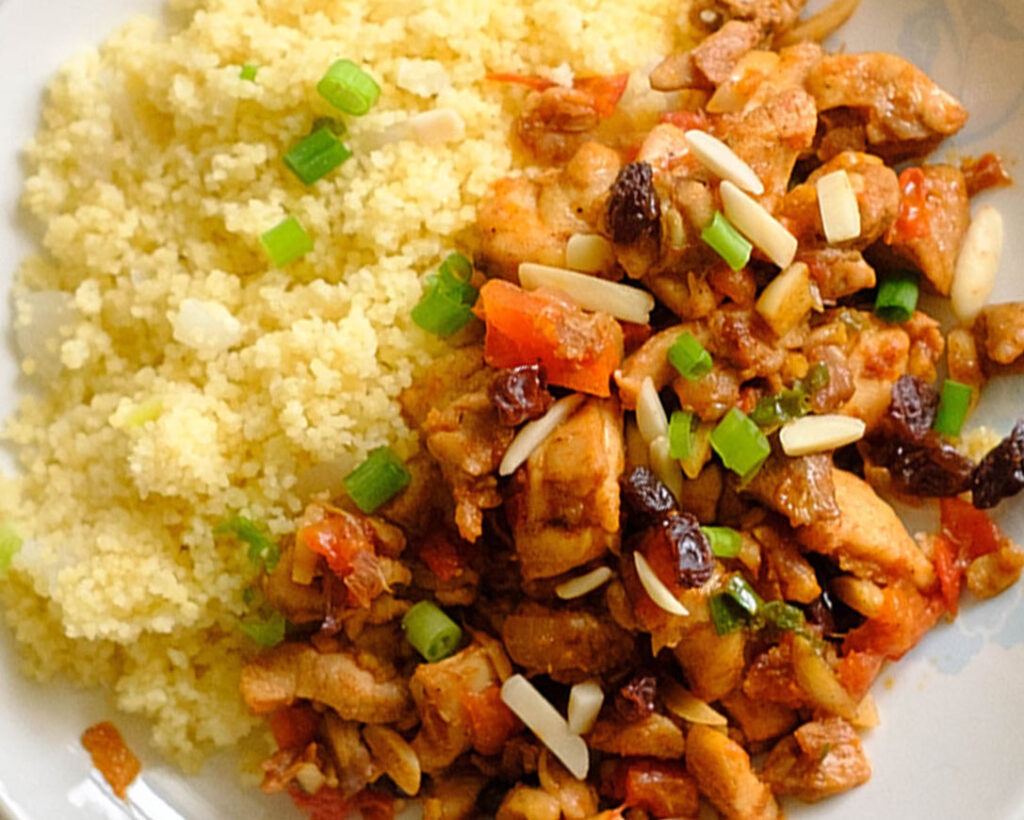


Smoked Paprika Chicken Quinoa Bowl
Equipment
Ingredients
Chicken, Quinoa, and Veggies
Smoked Paprika Dressing
Instructions
Notes
Nutrition