
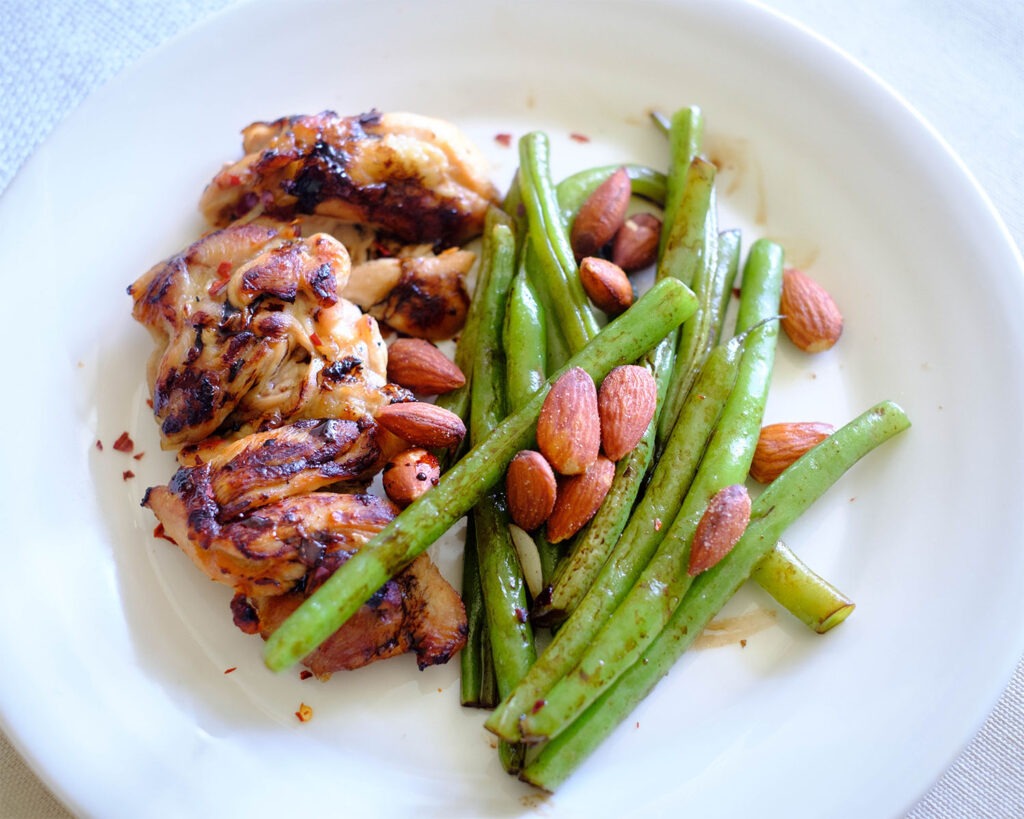
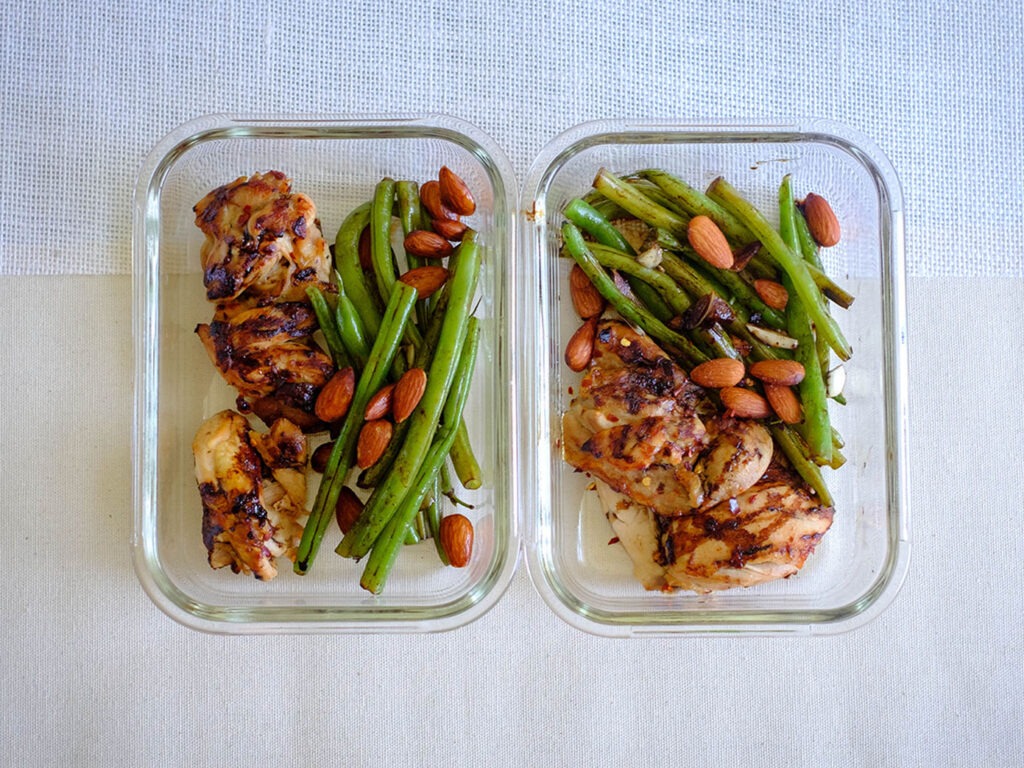
This Grilled Italian Marinated Chicken recipe is so easy to make and it results in a delicious and juicy chicken dish.
This post may contain affiliate links. Please see our privacy policy for details.
We love marinating our meats to add flavor and also keep it juicy during the cooking process. Sometimes, we don’t have the time or energy to make our marinades homemade.
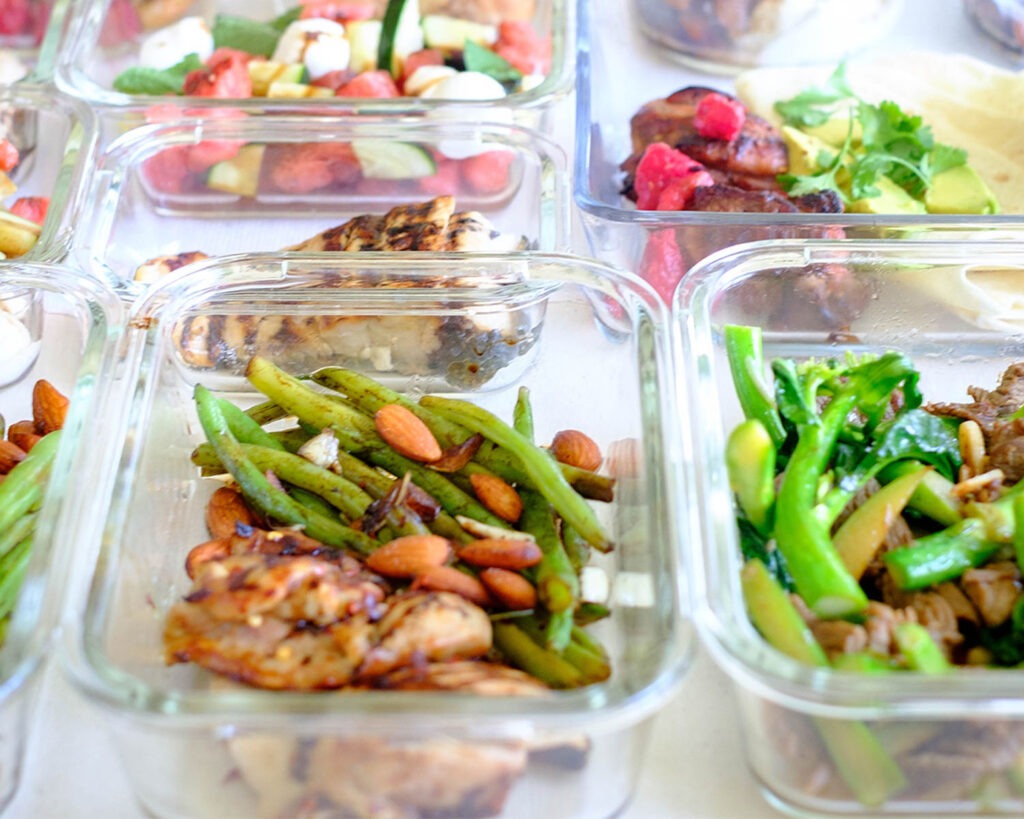
So one of our favorite meal prep hacks is using salad dressings!

Did you know salad dressing can be used for more than just salads?
Most salad dressings make for tasty marinades, in particular, vinaigrettes. So If you’re new to cooking and feel like it may be too much work to make your own from scratch, vinaigrettes are a great way to flavor up your proteins.
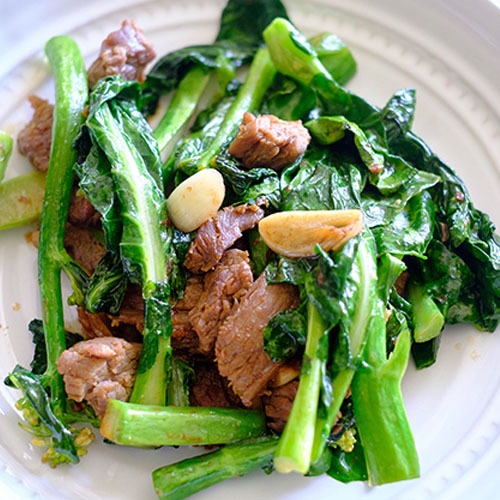
For example, in this recipe, we used an Italian vinaigrette that we already had on hand and marinated the chicken, and also used a balsamic glaze to flavor our green beans.
Ingredients You’ll Need
- Protein: We used boneless chicken thighs but you can also use chicken breasts or chicken tenderloins
- Italian salad dressing: We used this to marinate the chicken
- Green Beans: You can also use asparagus or cauliflower
- Almonds: You can also use pecans or walnuts
- Balsamic Glaze: This is used to season the green beans
How to Make Grilled Italian Chicken
- Preheat the oven to 400F.
- Marinate the chicken with the Italian salad dressing.
- Meanwhile, heat a grill pan on medium-high heat and grill the chicken on each side for a few minutes until it gets a good char.
- Then, transfer the chicken to a sheet pan and let it finish baking in the oven.
How to Saute Balsamic Green Beans
- While the chicken is cooking, boil the green beans for a few minutes to help them get tender. Then remove them from the pot with a slotted spoon.
- Add oil to a heated pan and add the green beans and almonds.
- Then, drizzle it with balsamic glaze and mix it all together.
Reference the recipe card below for detailed instructions.
Meal Prep Tips for Marinades
- Most vinaigrette salad dressings contain an acidic component such as vinegar or lemon juice. The acid will help tenderize tougher cuts.
- So you can marinate your tougher cuts for a few hours or overnight in a refrigerator in a sealed plastic bag.
- For more tender cuts such as fish, you just need to brush them with a marinade right before cooking to add flavor.


Frequently Asked Questions
How long should I marinate the chicken?
it’s best to marinate your chicken overnight, but if you’re on a time crunch, marinate it for at least 10 minutes.
How to serve grilled chicken?
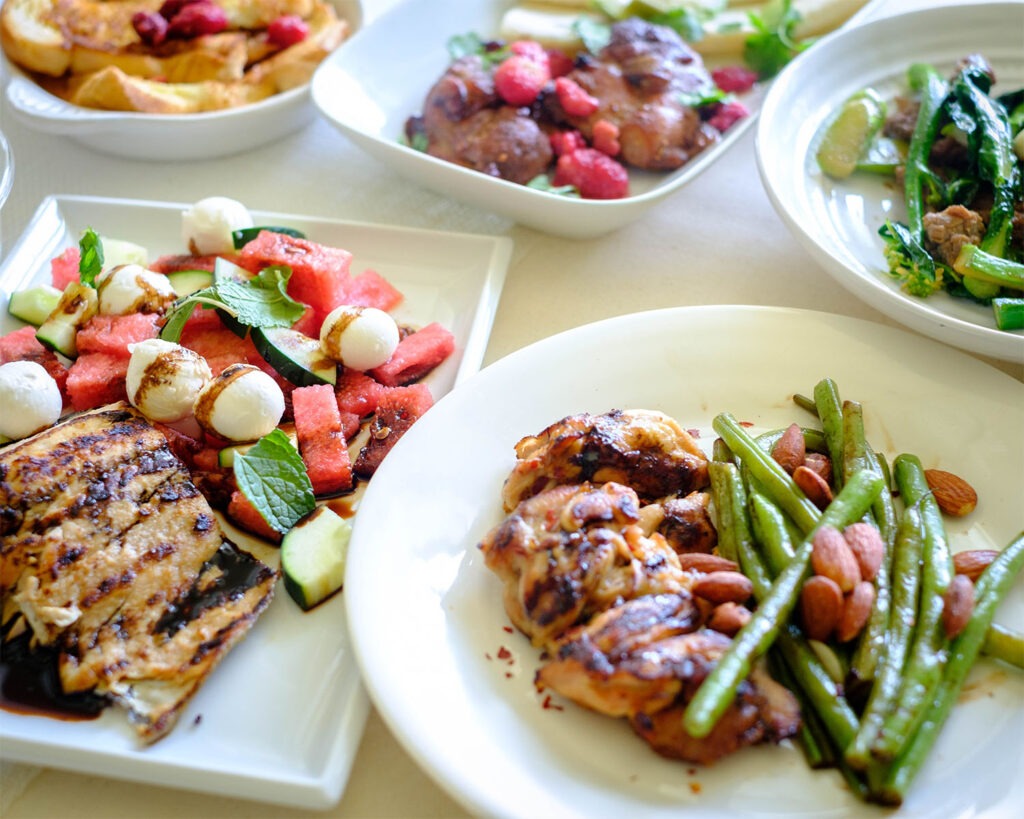
Grilled chicken is great because you can serve it with basically anything. Slice it into bite-size pieces and serve it over salads, in pasta, or in tortillas.
Can I bake my marinated chicken without grilling it?
Yes, absolutely. Place it in a baking dish and bake it for at least 25 minutes until it fully cooks and reaches an internal temperature of 165F. We like to grill our chicken for a few minutes before we transfer it to a sheet pan just to get a nice golden brown color, but it’s not necessary and will still taste delicious!


Italian Chicken with Green Beans and Almonds
Equipment
Ingredients
Instructions