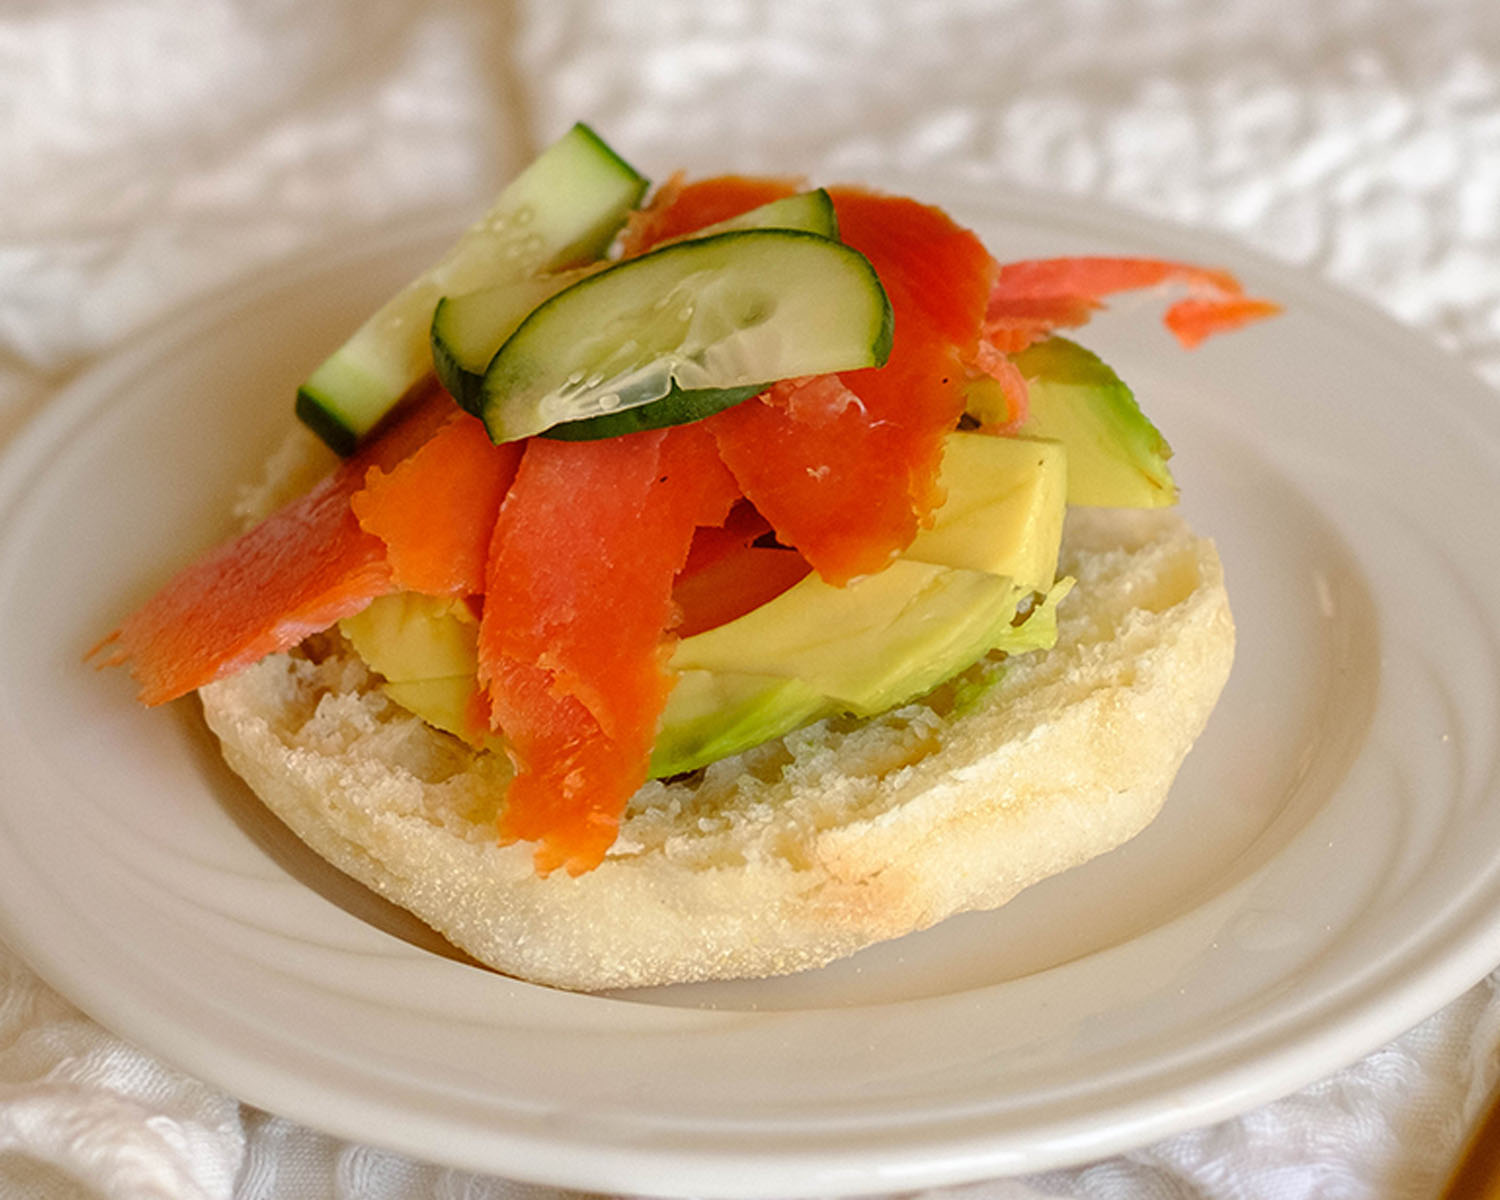
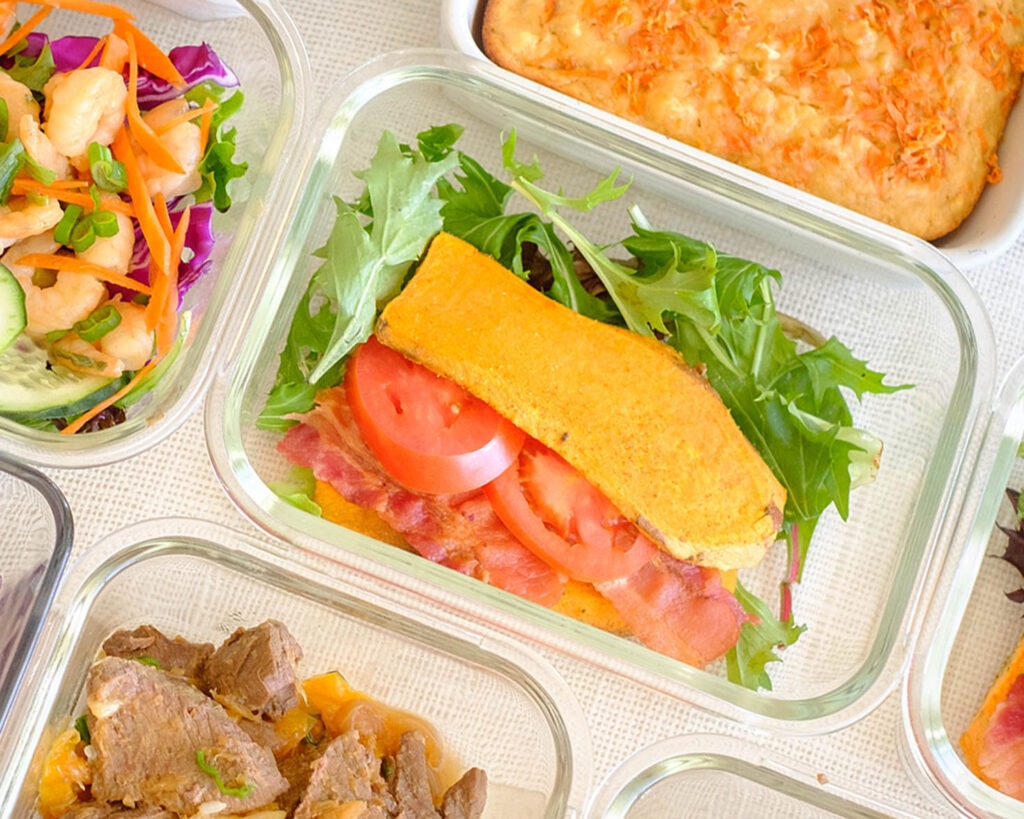
This open-faced Smoked Salmon English Muffin is the perfect healthy meal for busy mornings or an afternoon snack. It combines delicious smoked salmon with sliced avocados and comes together in less than 10 minutes for a great start to the day!
This post may contain affiliate links. Please see our privacy policy for details.
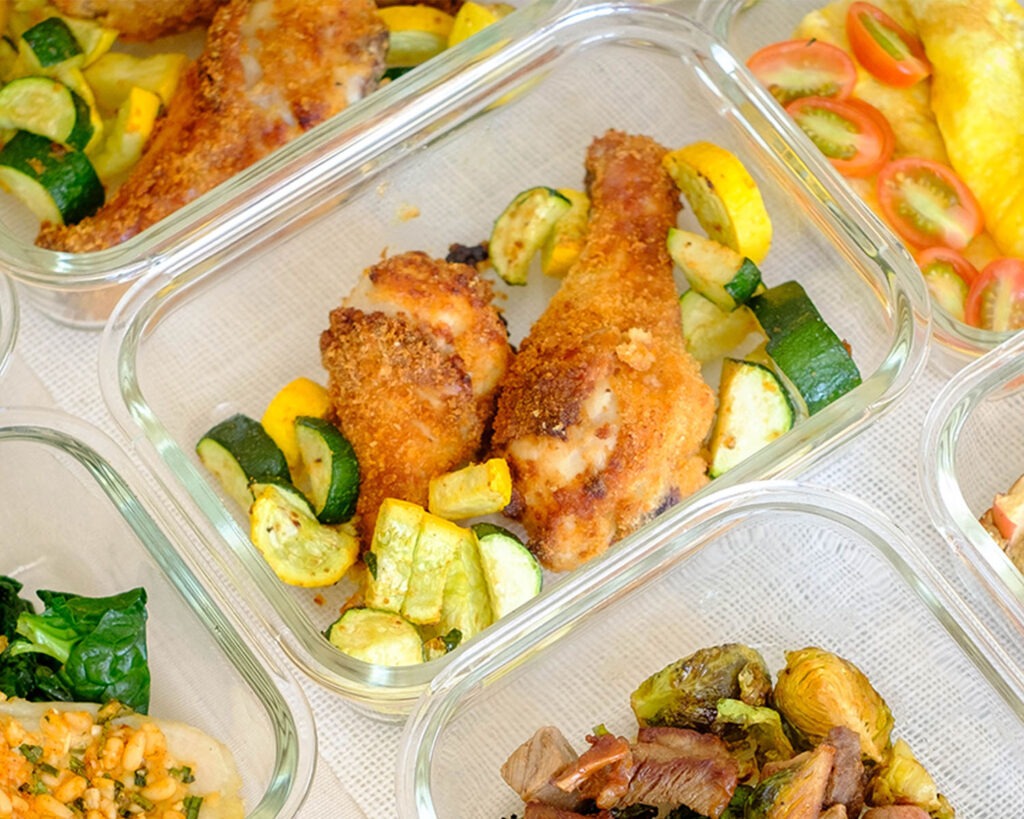
Why This Recipe is Great for Healthy Meal Prep
- There is no cooking involved! All you need to do is slice up some ingredients and assemble it all together. Definitely a major timesaver!
- This healthy meal is packed with great nutrients from the salmon and avocado to help you fuel up your day
- It literally requires only 5 ingredients!

Simple Ingredients You’ll Need
- Smoked Salmon: Look for high-quality smoked salmon that has no coloring and natural smoked salmon for the best taste. If you can’t find smoked salmon, you can also use cooked salmon and serve it chilled. However, it won’t have the smoky cured flavor that smoked salmon is known for.
- Avocado: This ingredient provides a nice buttery texture that is smooth and creamy and is a great accompaniment to the smoked salmon.
- English Muffin: These taste even better toasted. You can also use mini bagels as an alternative option.
- Sliced cucumber: You will often find smoked salmon paired with cucumber because it offers a light and refreshing taste to the smoked salmon .
- Lemon Juice: Lemon adds some acidity and brightness to help cut through the saltiness of the smoked salmon.
Easy Steps to Assemble This Recipe
- Toast the English muffin in a toaster.
- Slice the cucumber and avocado into thin slices.
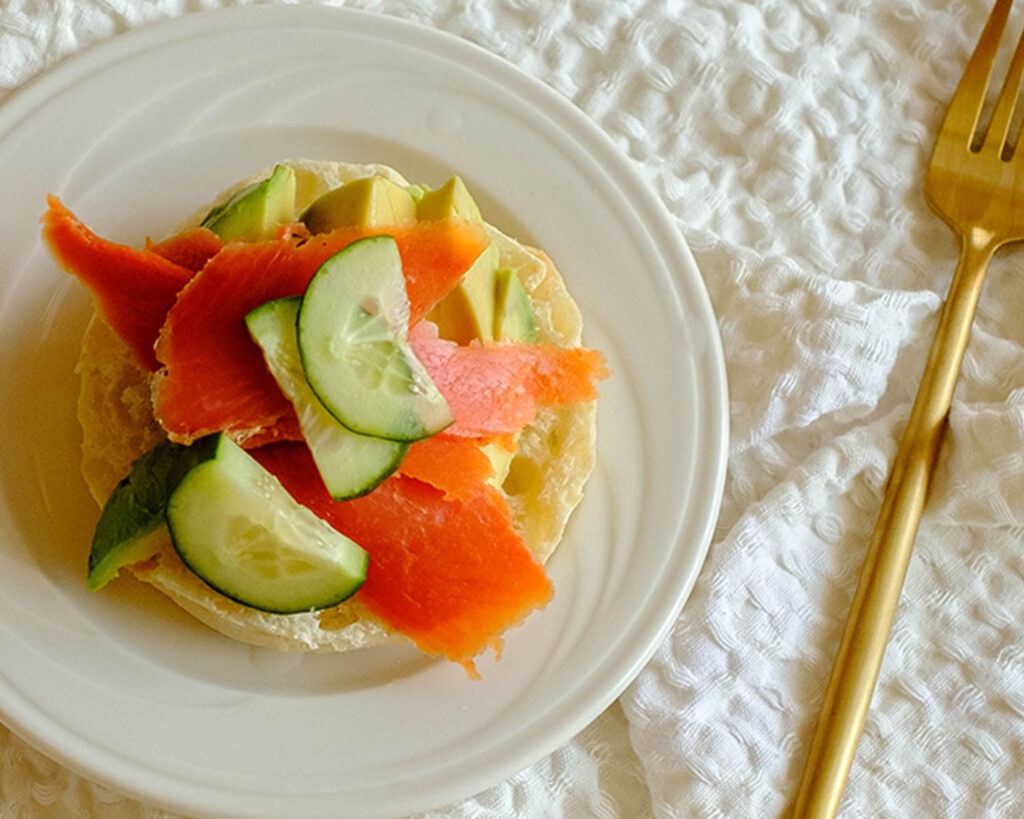
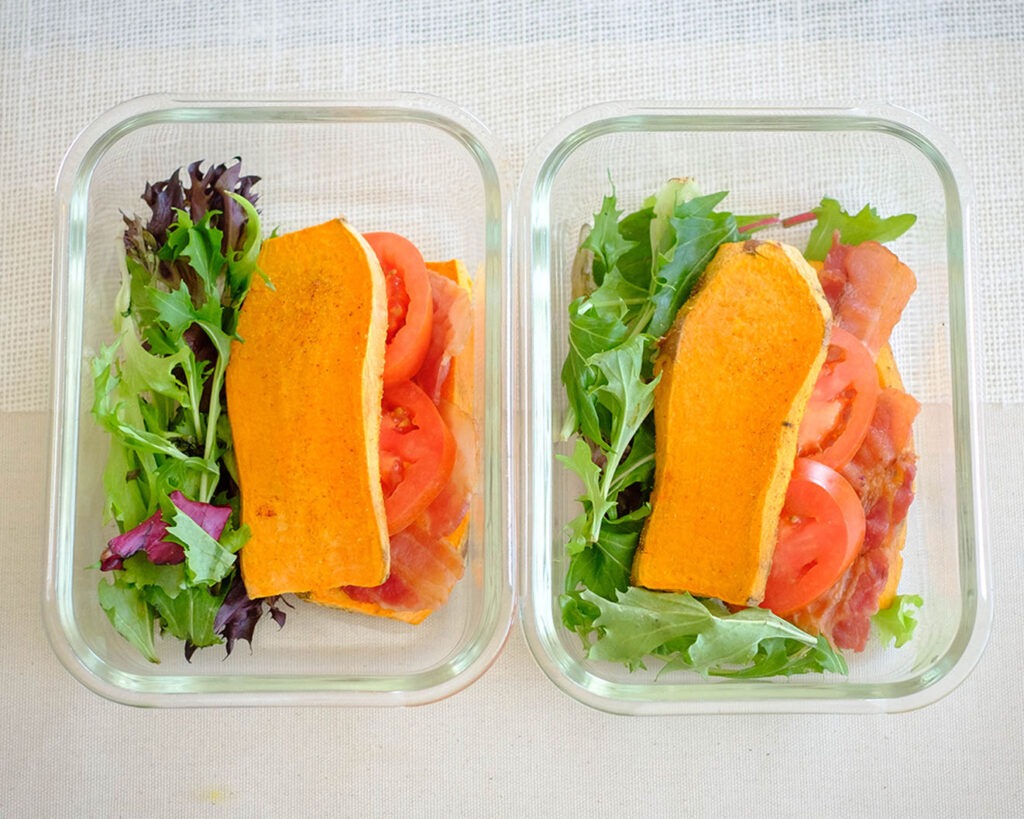
- Layer the sliced avocado on the bottom slice, followed by the salmon, and cucumber.
Reference the recipe card below for detailed instructions.
Meal Prep Tips
- To Serve: You can spread cream cheese or creme fraiche onto the English muffins. Other great toppings include capers, pickled shallots, or freshly chopped dill.
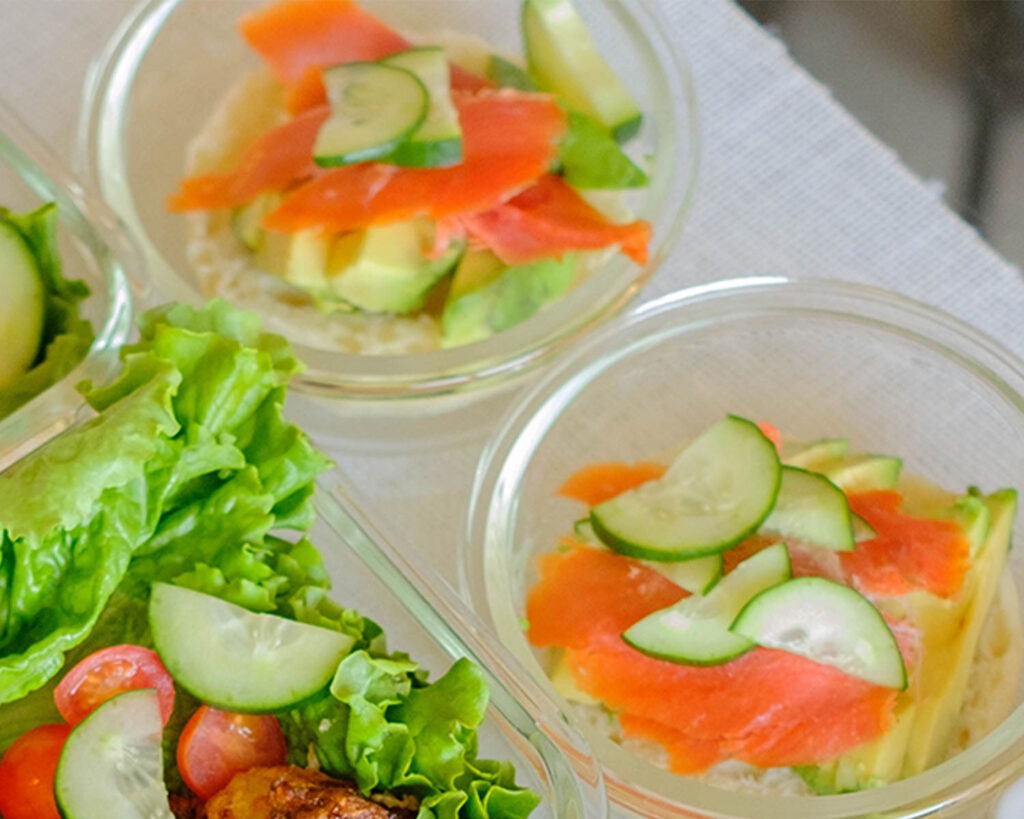
- To Store: If you are storing this ahead of time, keep the salmon, cucumber, and avocado separate from the English muffin to prevent it from getting soggy. You will also want to wait to slice the avocado until you are ready to eat the meal to prevent it from browning early. Otherwise, you can store all the ingredients in an airtight meal prep container in the refrigerator for up to 3 days for the best quality.


Frequently Asked Questions
What is the difference between smoked salmon and lox?
Smoked salmon is cured or brined, then it is smoked. However, Lox is only cured, but not smoked.
How is salmon smoked?
Salmon can be cold-smoked or hot-smoked. Cold smoking occurs over an 18-hour stretch typically between 70 to 75F degrees, while hot smoking can take up to 8 hours at a temperature of 145 degrees.
Is it healthy to eat smoked salmon?
Smoked salmon is packed with nutrients, vitamins, and omega-3 fatty acids which all can help boost your health. It is also high in protein which can help you feel full longer.


Smoked Salmon and Avocado English Muffin
Equipment
Ingredients
Instructions
Notes